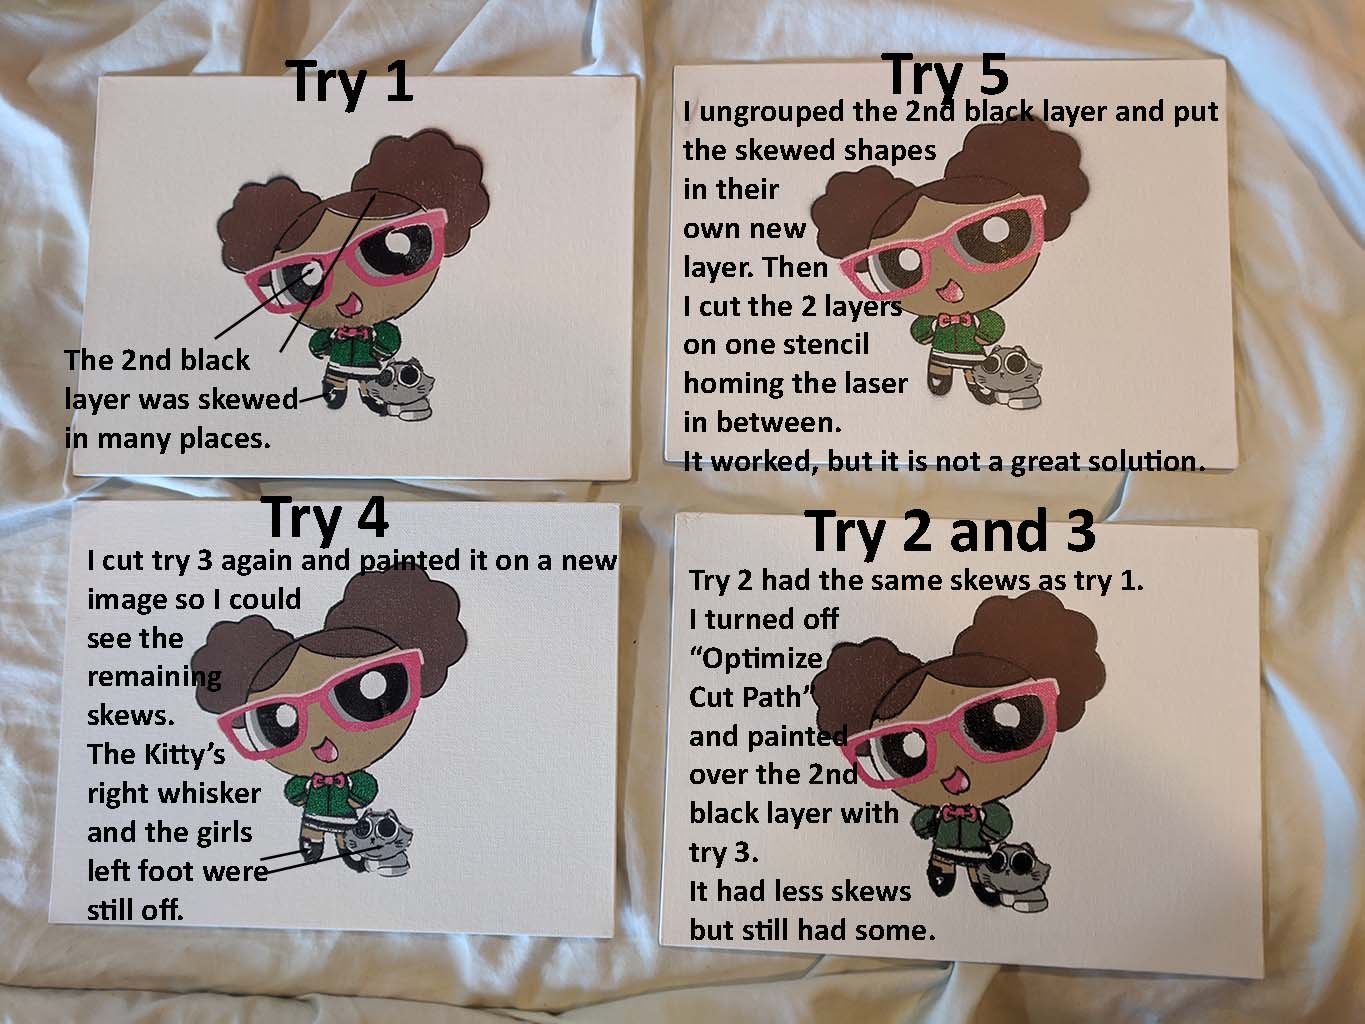
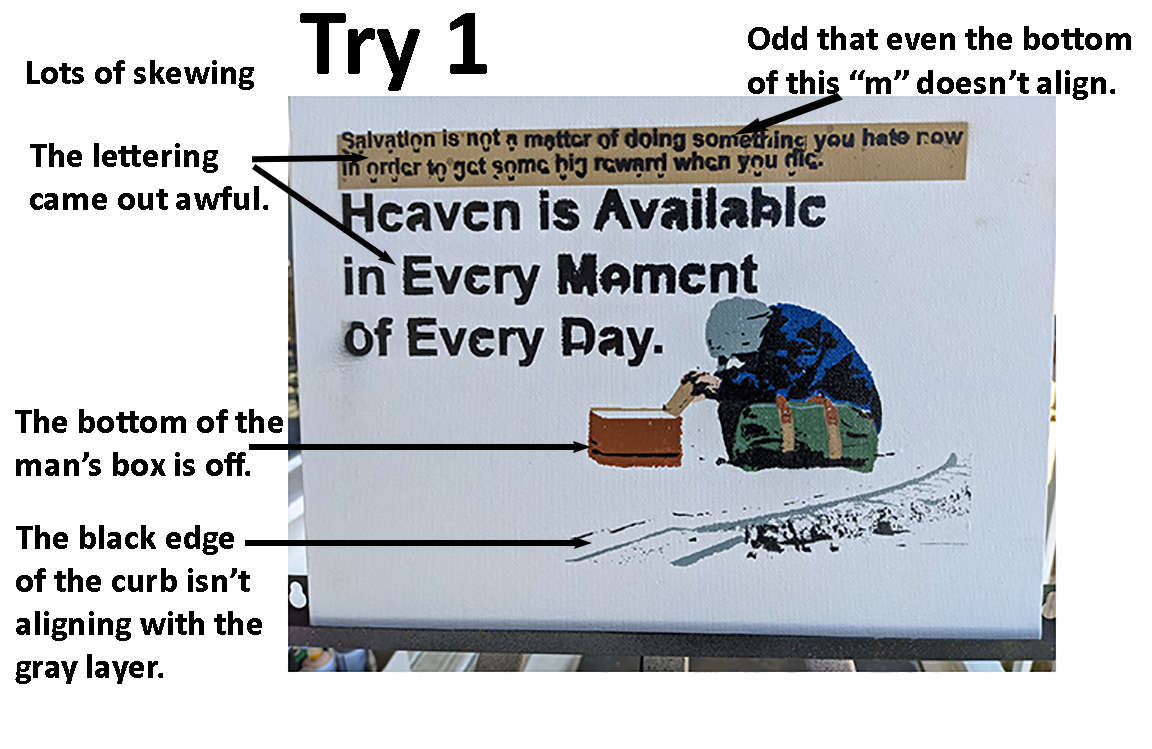
I use my laser cutter to make spray paint stencils.
I recently bought and installed a new Cohesion3D controller so I could use Light Burn software.
Unfortunately the software doesn’t put the objects in the right place on my laser bed sometimes.
The mistakes are always in the same places so I think this is not a hardware issue.
Perhaps it has to do with floating point drift or underflow?
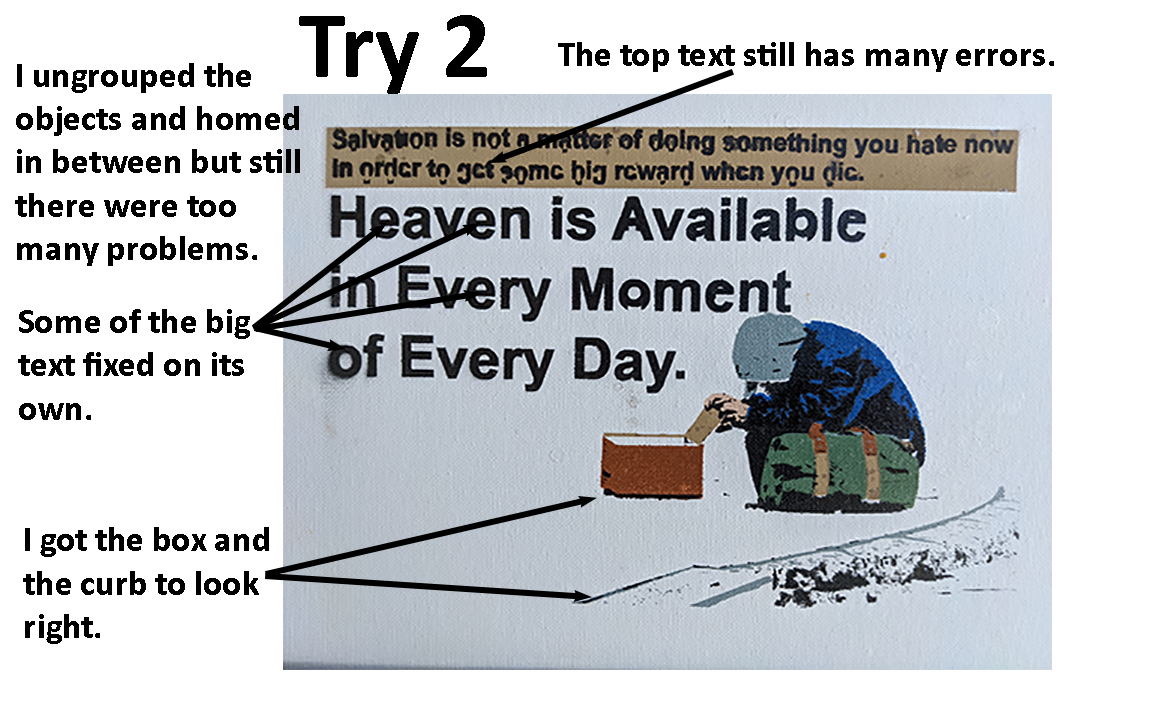
If I turn off “Optimize Cut Path” I get fewer mistakes but still there are some.
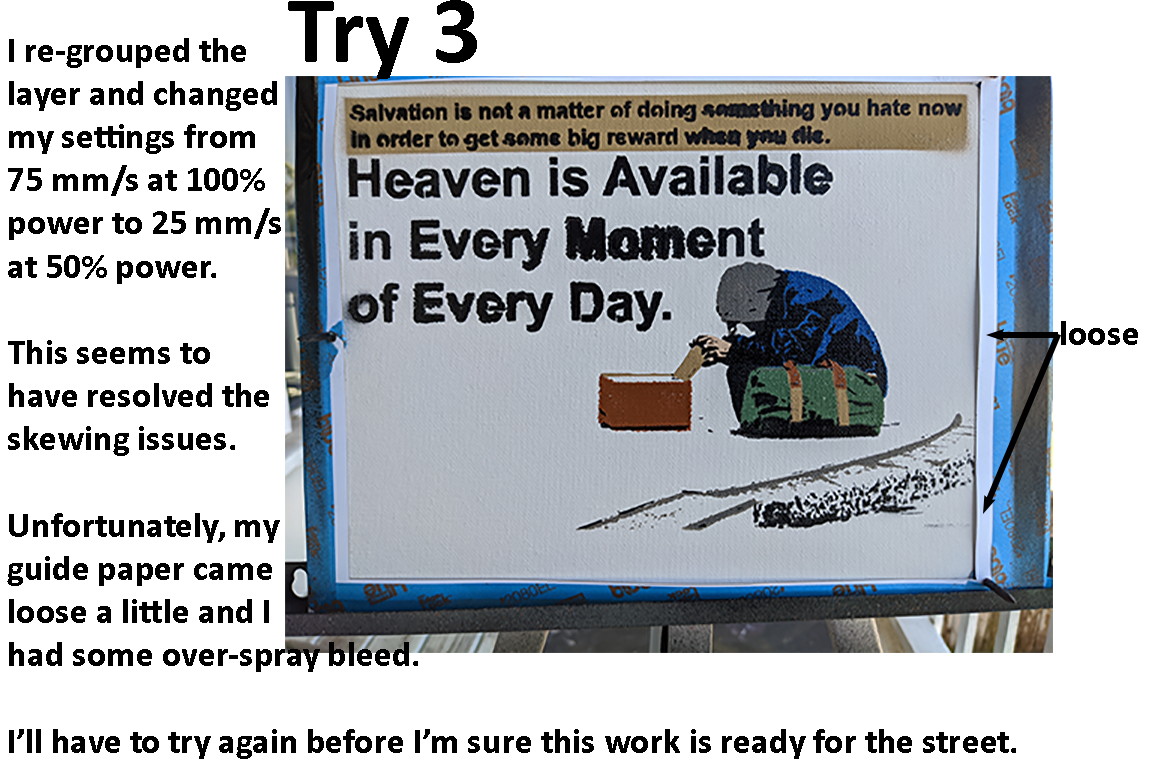
I was able to get my cut to work correctly by ungrouping the layer, isolating the skewing objects on their own new layer and cutting both layers on the same stencil, homing the laser in between.
However this is not an acceptable solution going forward.
I don’t have any suggestions for you (sorry), but I am curious what material you cut making spray stencils. Historically, I have used a vinyl cutter and Oracal Spray Mask, so when I read your post I thought “I hope he isn’t cutting spray mask with his laser”.
I make single use stencils with 100 weight card stock paper. I could explain my technique more if that would help. For example I cut holes in 3 corners of my stencils for guide pins. Other cuts need to be the right distance relative to those holes rather than absolute coordinates on my cutting bed.
Do you think more examples would help the community diagnose this problem? I’ve been checking this thread constantly for a day and you are my first response.
One theory is that I’m reaching the limits of the image trace feature and that I would do better with vector graphic files. Could the community weight in on traced jpegs vs. other base image options such as vector graphics?
Another theory is that my Cohesion3D LaserBoard is inadequate for Light Burn. Could the community weigh in on this controller chip?
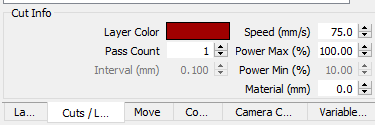
Thanks! I’ll try that. I’ve seen a lot of settings on other threads. So far I set speed to 75 and power to 100 on the Cuts/Layers tab. Is there another place to adjust the speed?
Acceleration is a setting in the controller’s config.txt file, on the SD card (assuming you’re running Smoothieware).
If there was floating point accumulation error in the software, everyone would have it, not just you. What you’re seeing is likely the motors slipping and missing steps in the same place because the path taken is the same, and the direction changes happen in the same place. Turning off optimization changes the path, and will change the place those slips happen.
Thanks for the tip RalphU, but I don’t think my hardware got bumped or moved. The mistakes happen in the same place every time. I don’t have an air assist. I will probably buy that some day. My lense and mirrors get smoky sometimes.
I do not use any air assist, and securely tape the material down to the honeycomb bed.
I’ve found that thin (3mm or so) round rare-earth (I had to look up the spelling of “neodymium”) magnets work well for paper without worrying about tearing or damage from tape. I’ve also used them for thin acrylic too, but more to flatten the material out if they are slightly bowed.