Hi there,
I just started burning projects with vertical (90 deg. scan angle) instead of horizontal fill.
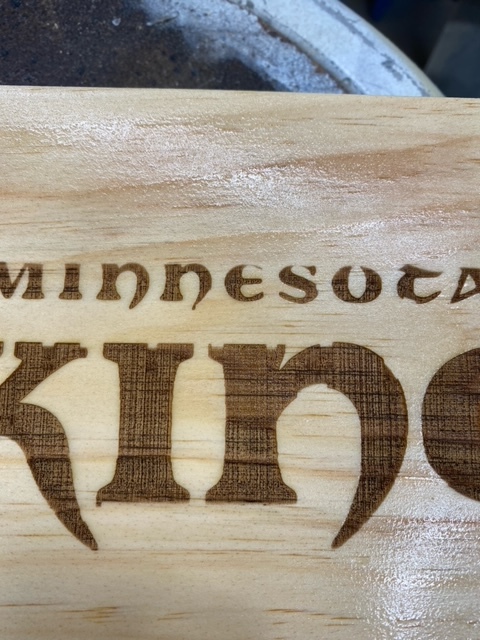
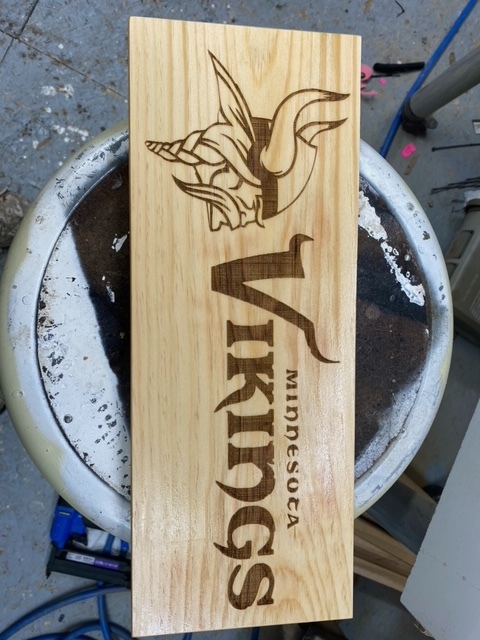
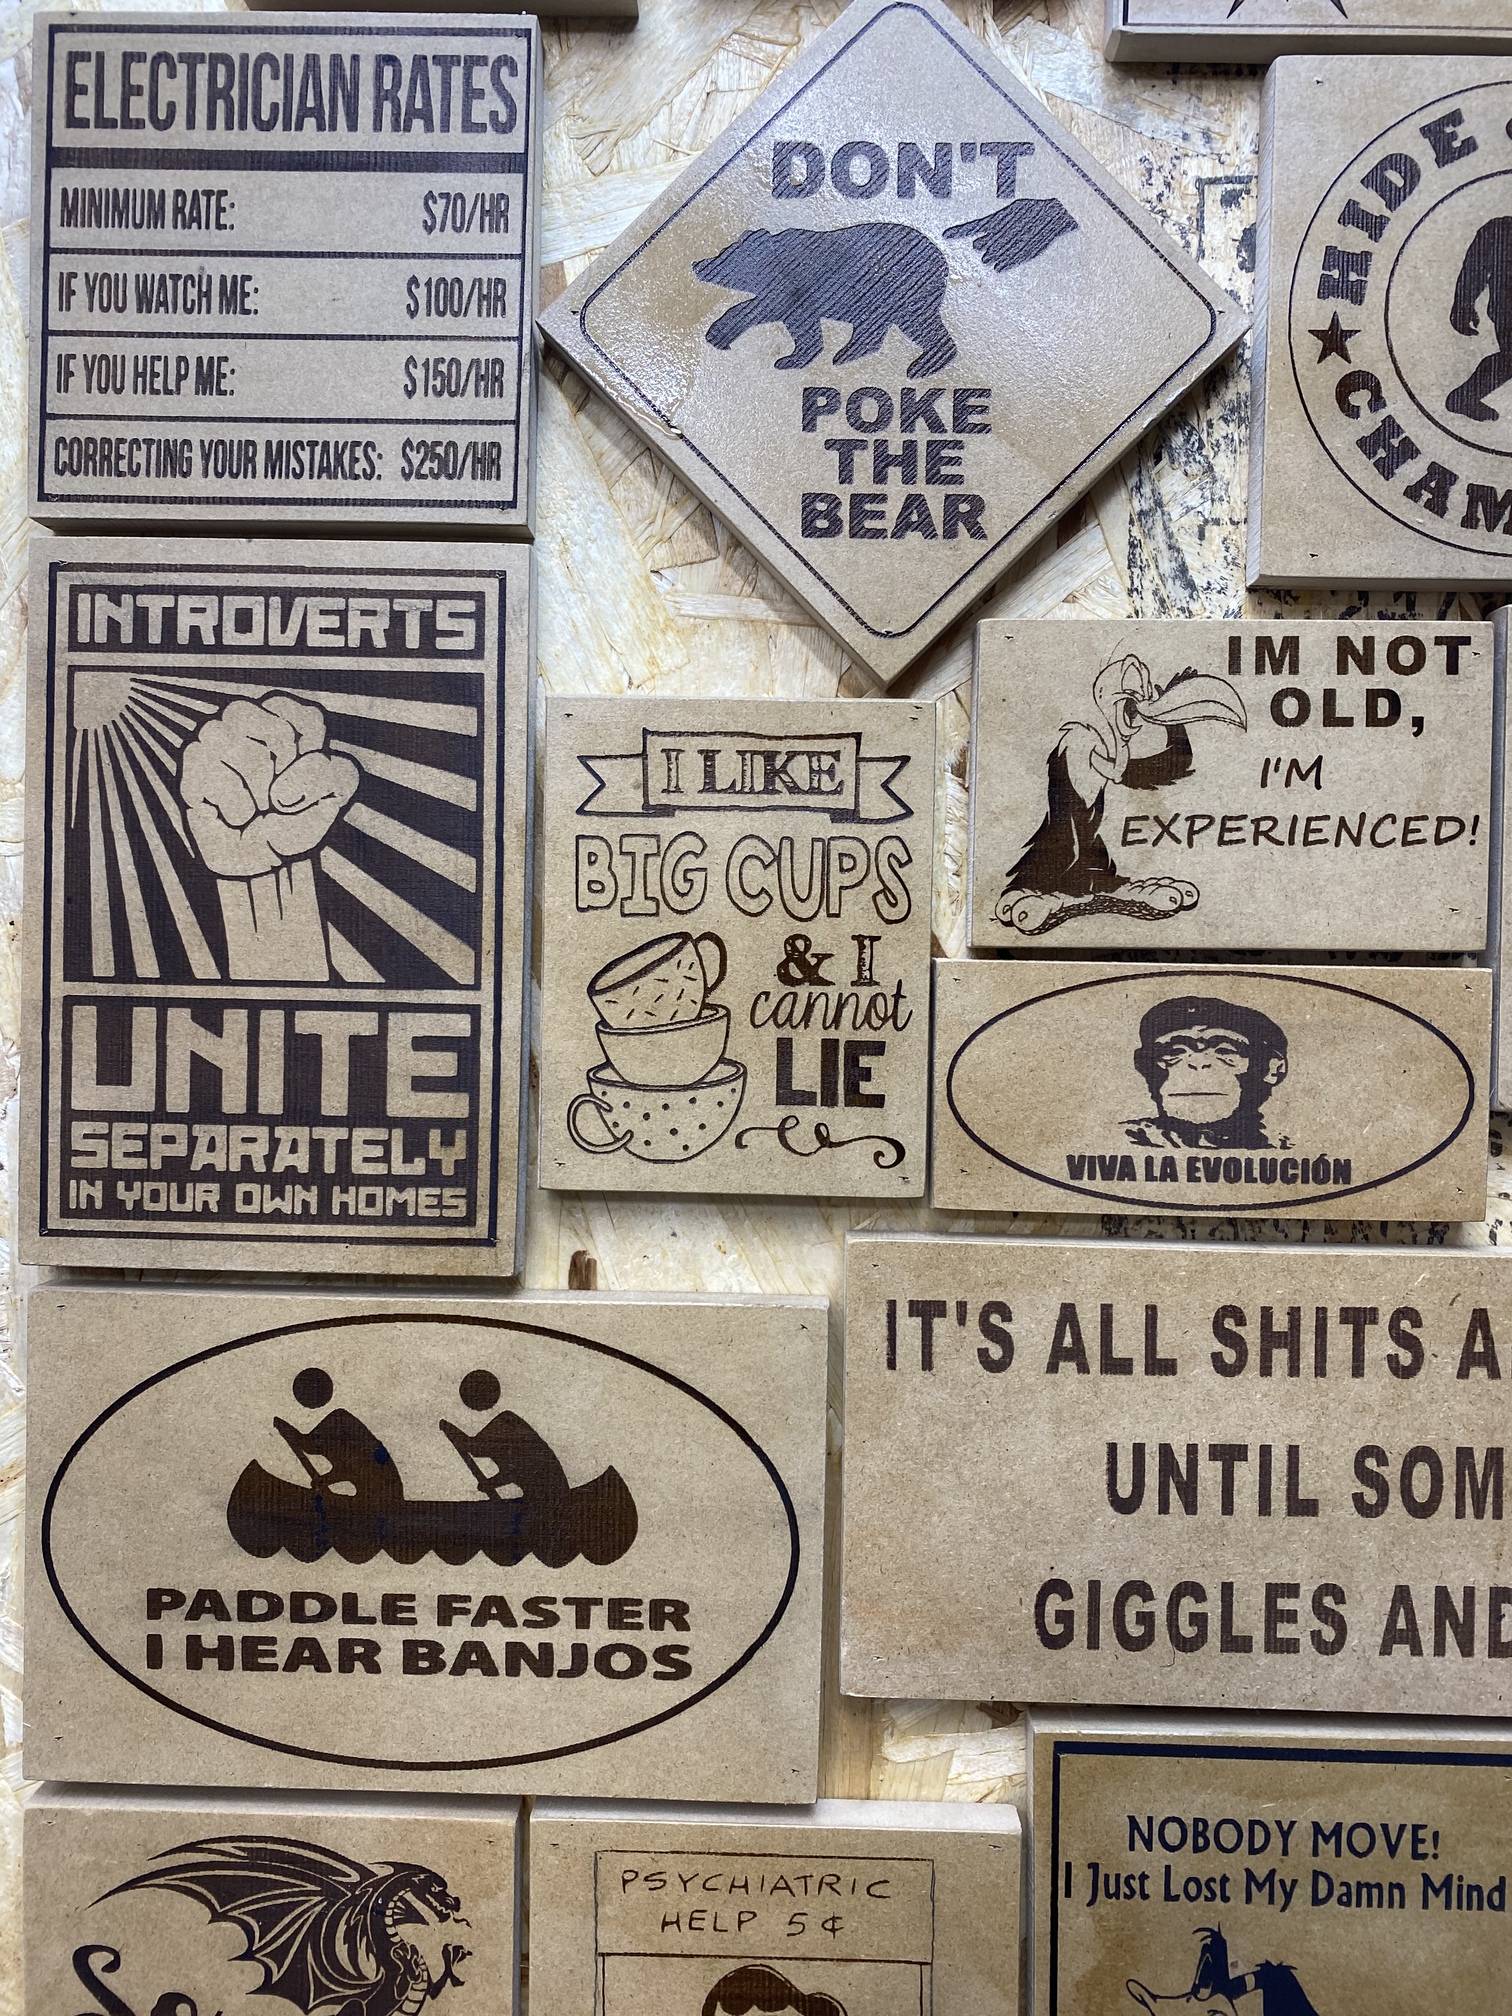
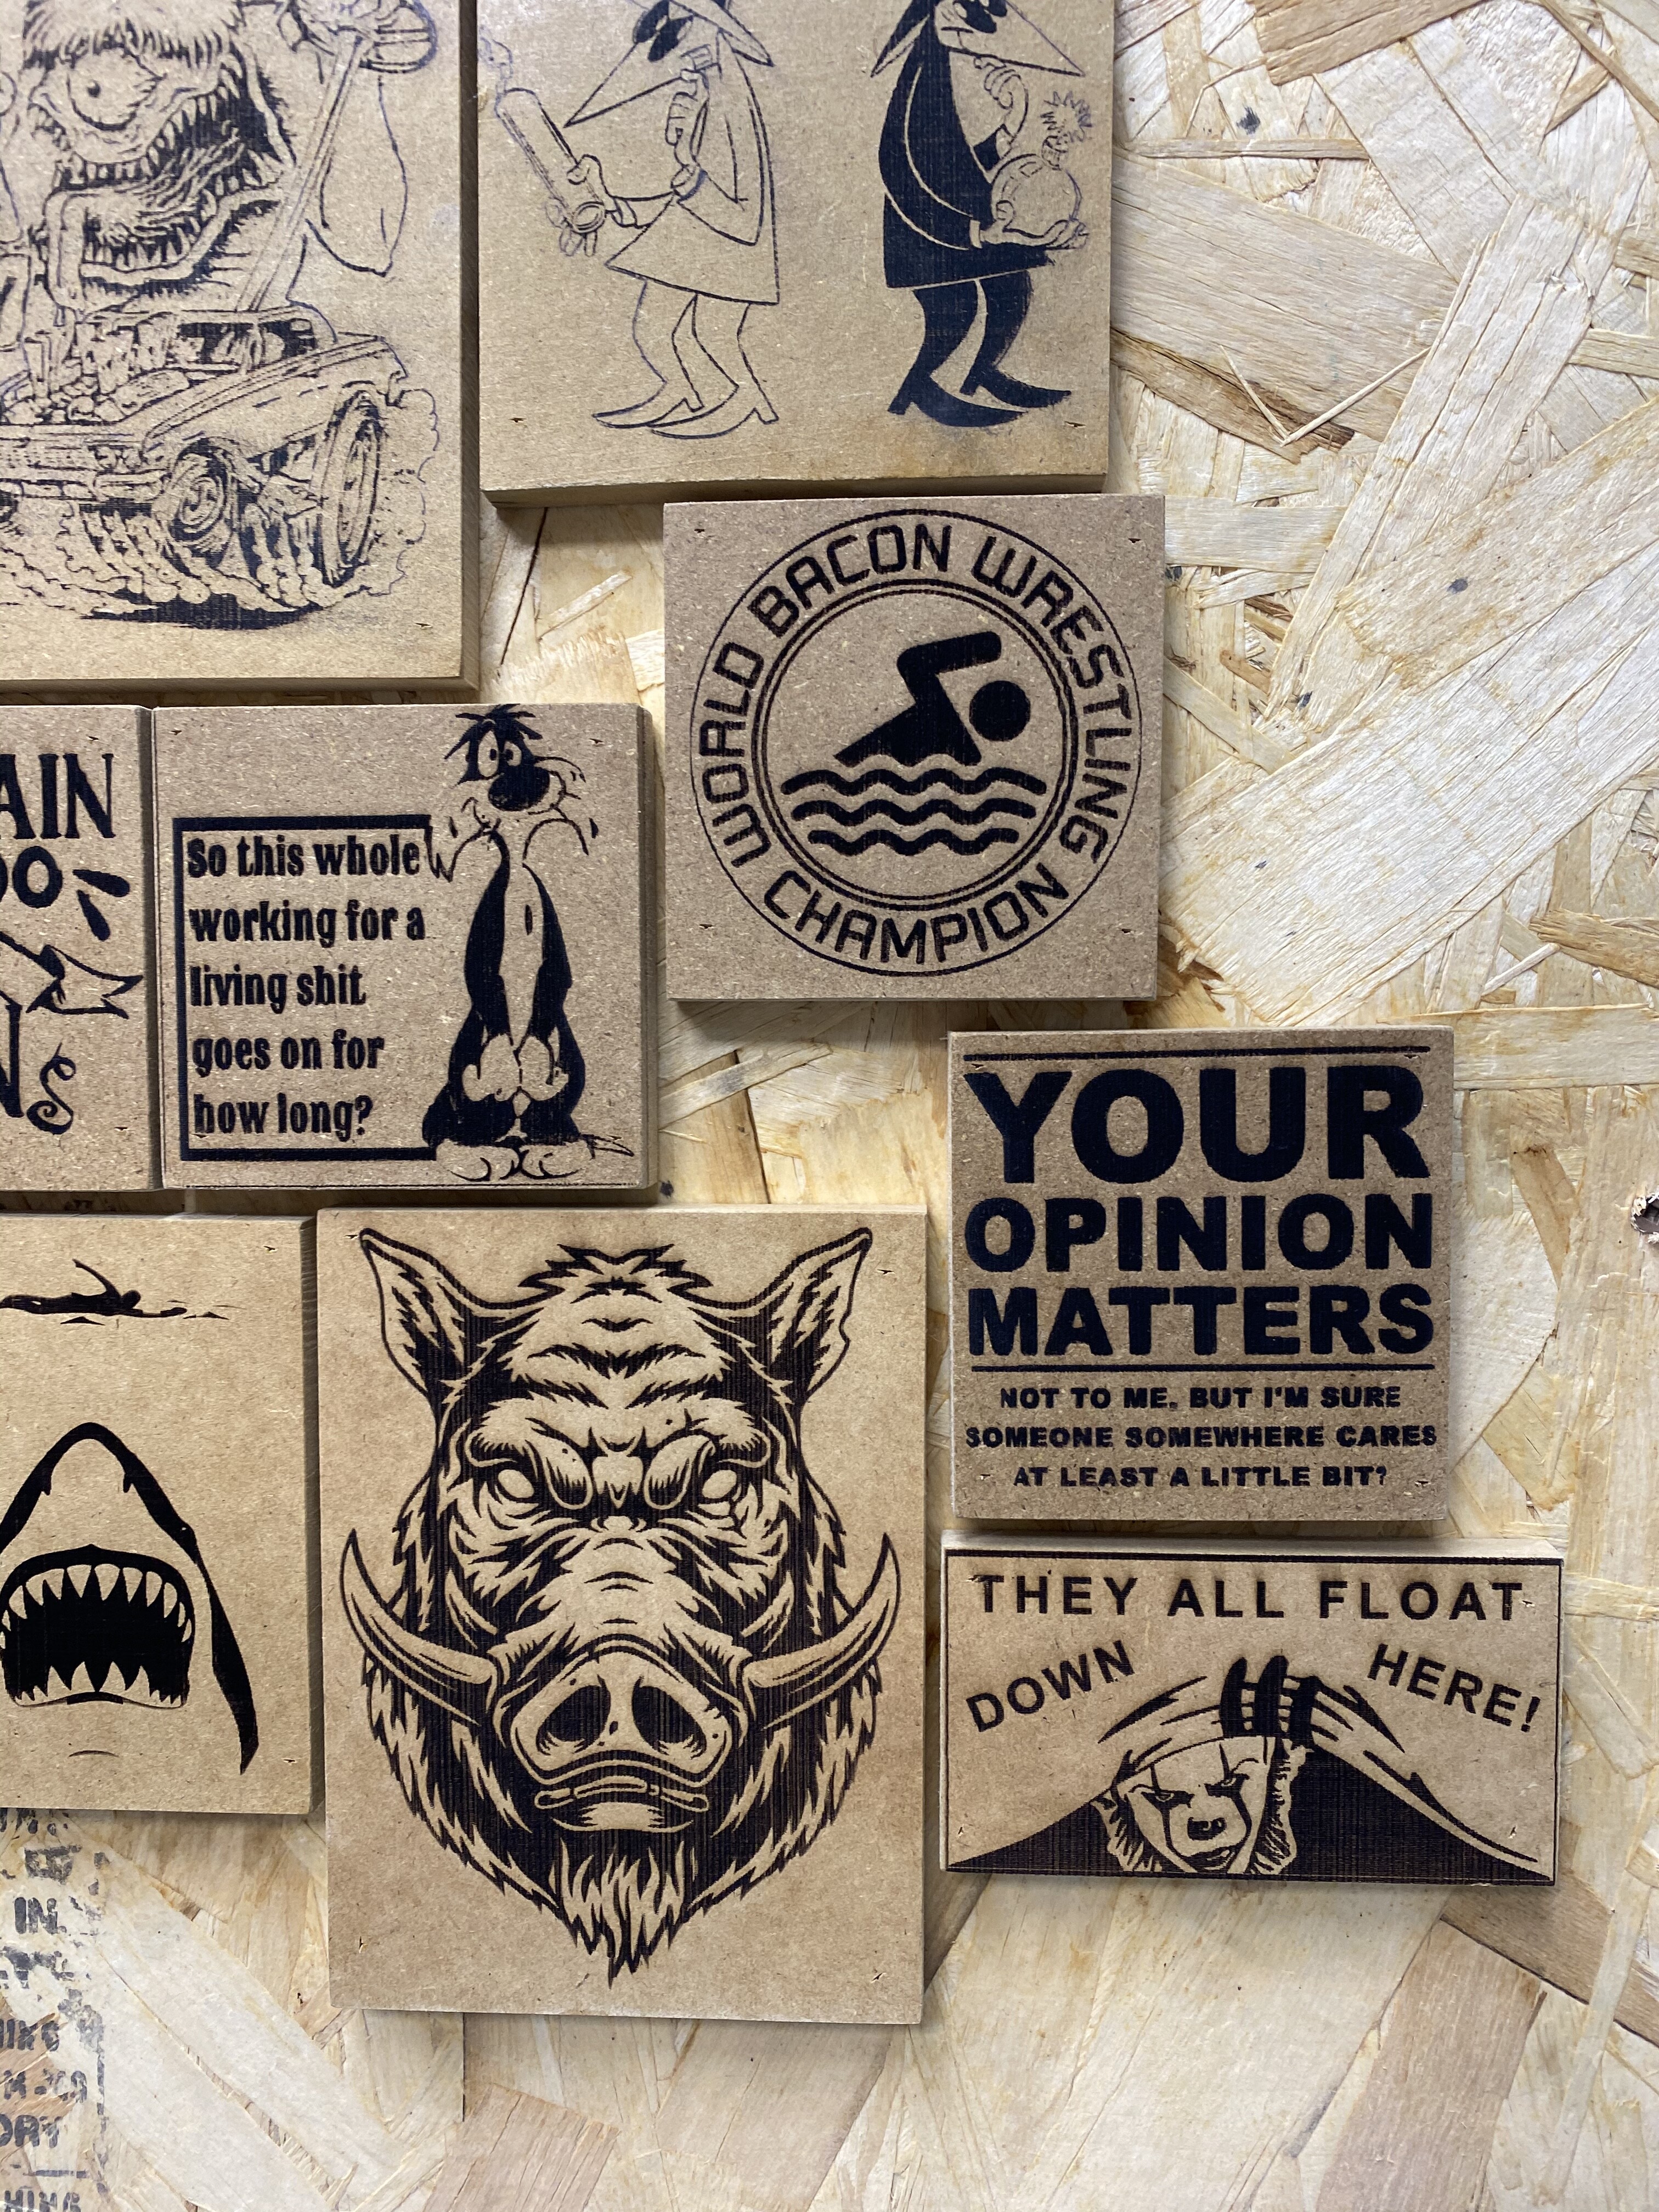
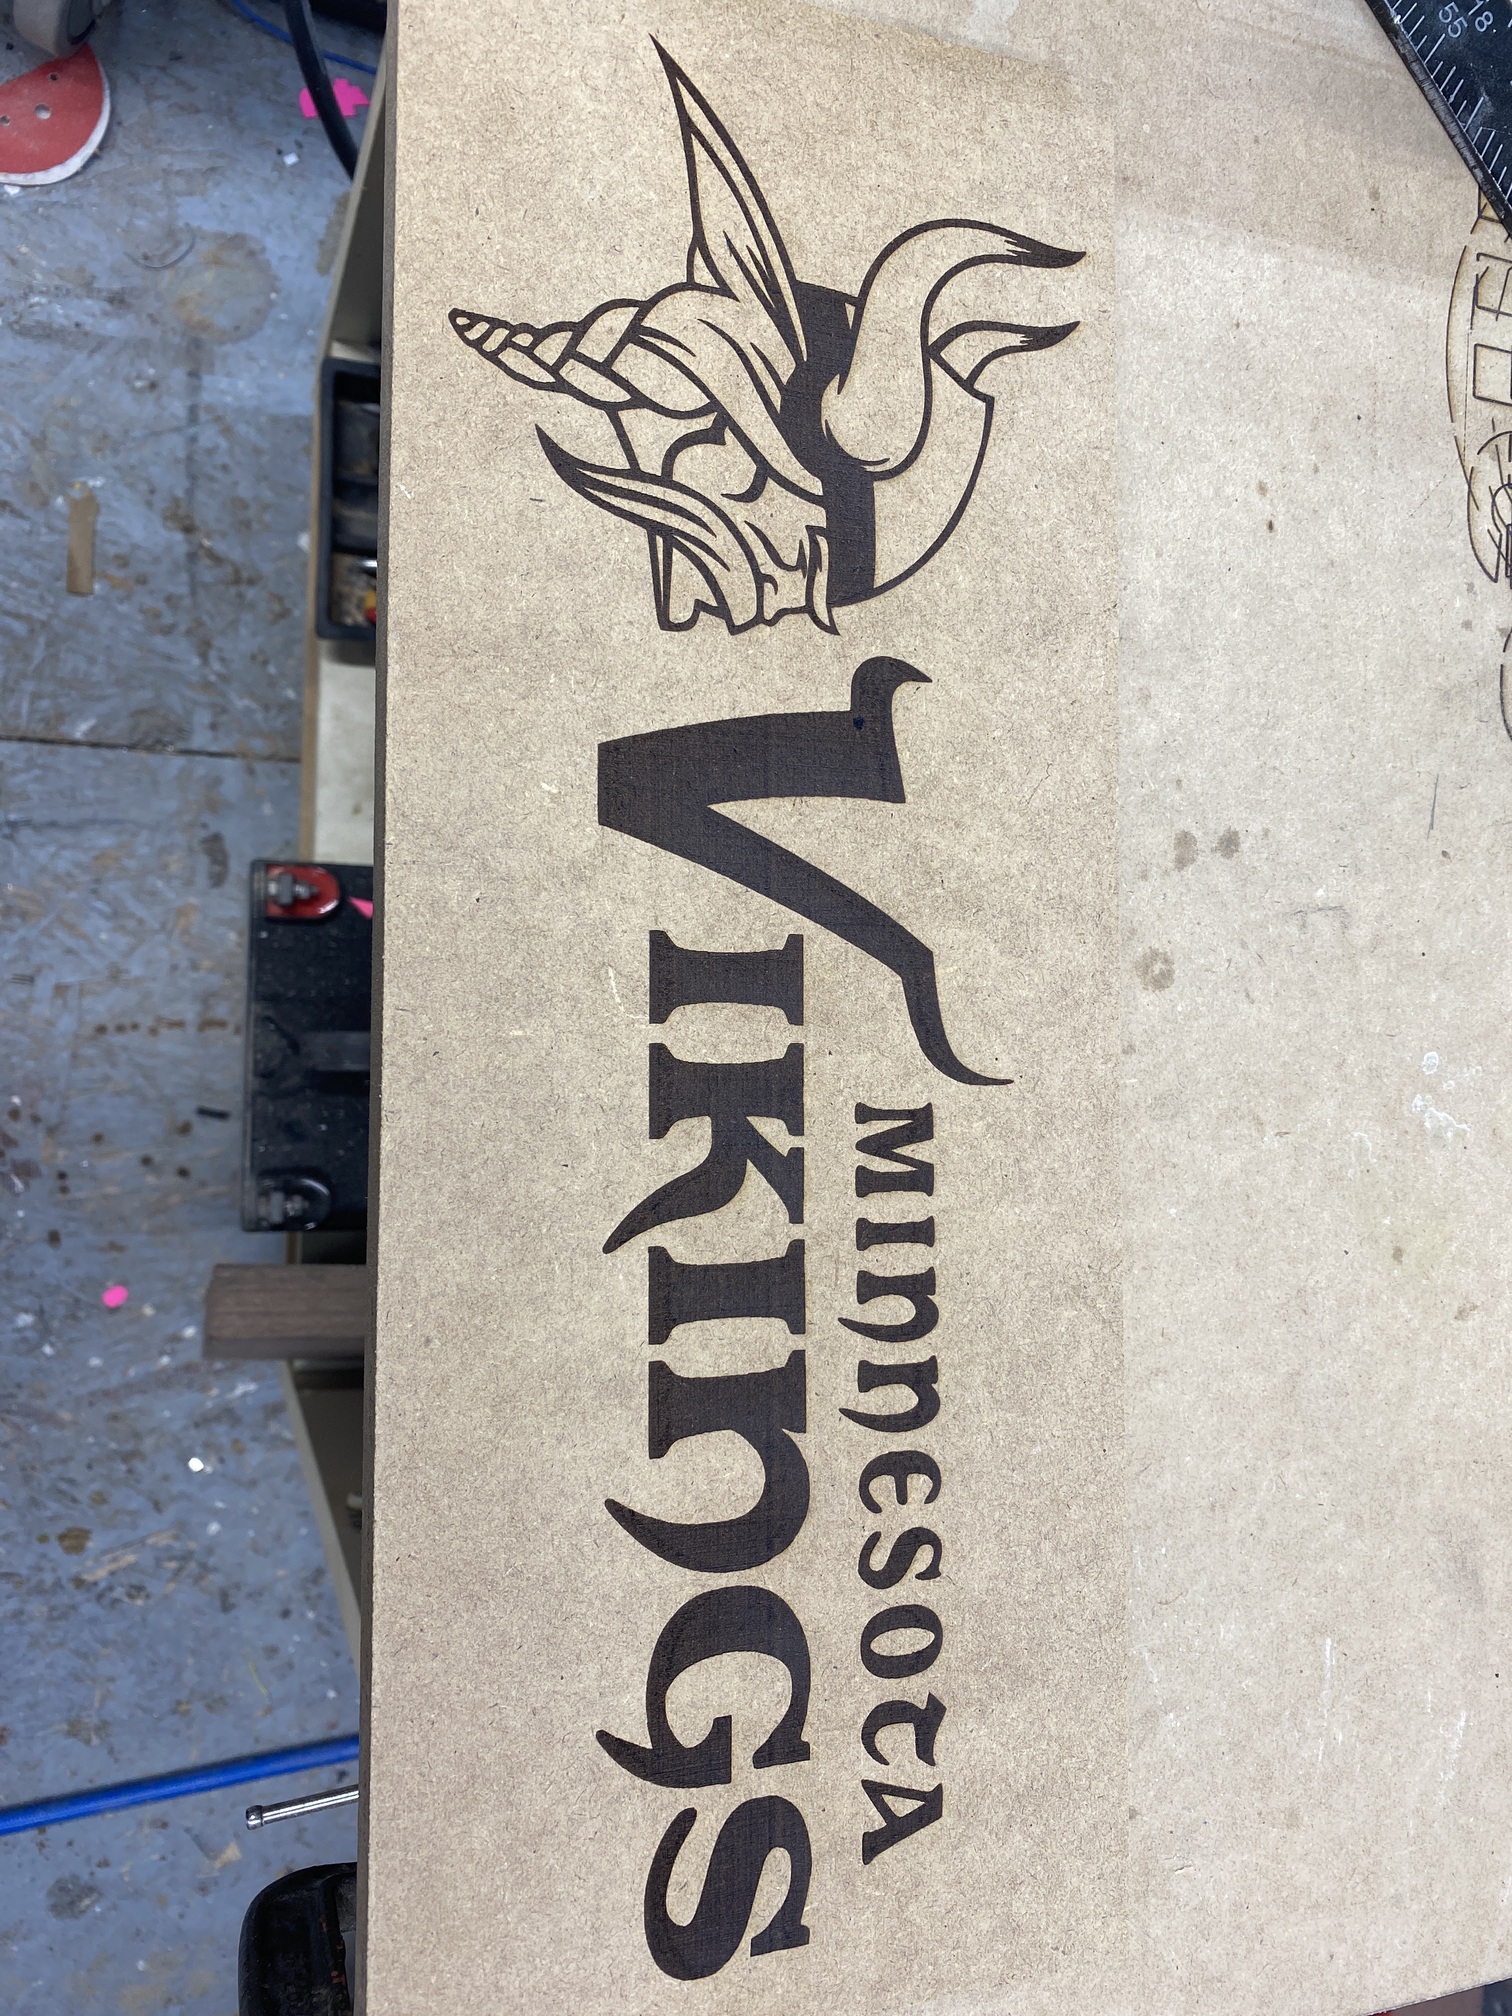
I’m now getting odd results. please see the pictures. the text image at the edges has chunks cut out or missing, yet the Vikings head came out great!!
in the second image the stick guy is holding the other guys back. The back should not have the notch in the left hand side. also please see the included files.
I’m not sure this will help, but I believe it is better to engrave horizontally because only the laser head hast to move fast, not the head and the rail when scanning vertically.
I find that wood engraves better across the grain (not with the grain), so what I do is position the work so the wood grain is vertical and scan horizontally so I get the advantage of scanning horizontally yet still going across the grain.
Hi Tim thanks for taking the time to post.
I switched to vertical because my X axis runs a bit bumpy and wiggles the laser head. In vertical, only the head is moving rapidly. My machine is a two motor belt drive one rail along the back X and one rail that the laser runs on Y the Y is smooth X is bumpy. Will fix the bumpy X soon.
And problem NOT solve…
I’m open for constructive, friendly and nice comments and suggestions.
The laser head travels on the Y axis not the X axes. I have done some other burns using the 90deg. scan angle and it worked out perfectly.
Its happening with these two files.
Glen, it was not maliciously meant, I just thought you yourself have found the error and will correct it. You can not expect proper results if your machine does not run smoothly on both axes.
It looks like the motor skips a step, have you tried slowing it down and seeing if the file cuts OK? I would be more inclined to say it is a hardware problem than a software problem, but if it does the exact same thing at slower speeds then I would look for another problem.
Thanks for taking the time to comment!
Its not skipping or loosing steps. If it had lost steps then the entire sign would be out of alignment, not just the text image portion and its only parts of the text that is effected. once its looses steps, it would be out of step for the rest of the burn. The burn starts at the far right of the sign burning up then moves to the left .07 mm then burns down… The Viking’s face is perfect and that was the last section to burn. If I had lost steps The face would be messed up and out of alignment.
If it had lost steps it doesn’t explain why the laser head would be back in the correct location to continue the text imager burn after it leaves the notches along the top edge and some of the bottom edges.
Try turning on overscanning.
It seems to not be burning the very edge of the files. Perhaps there is something in your firmware that prevents the laser from firing at a slow speed (In this case while the module is still accelerating)
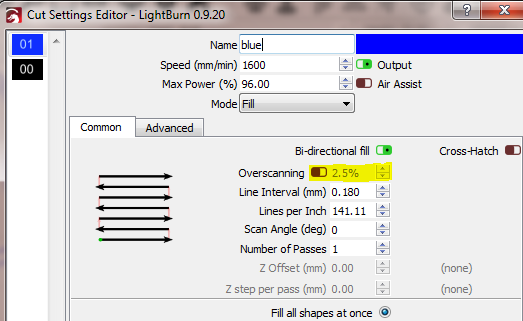
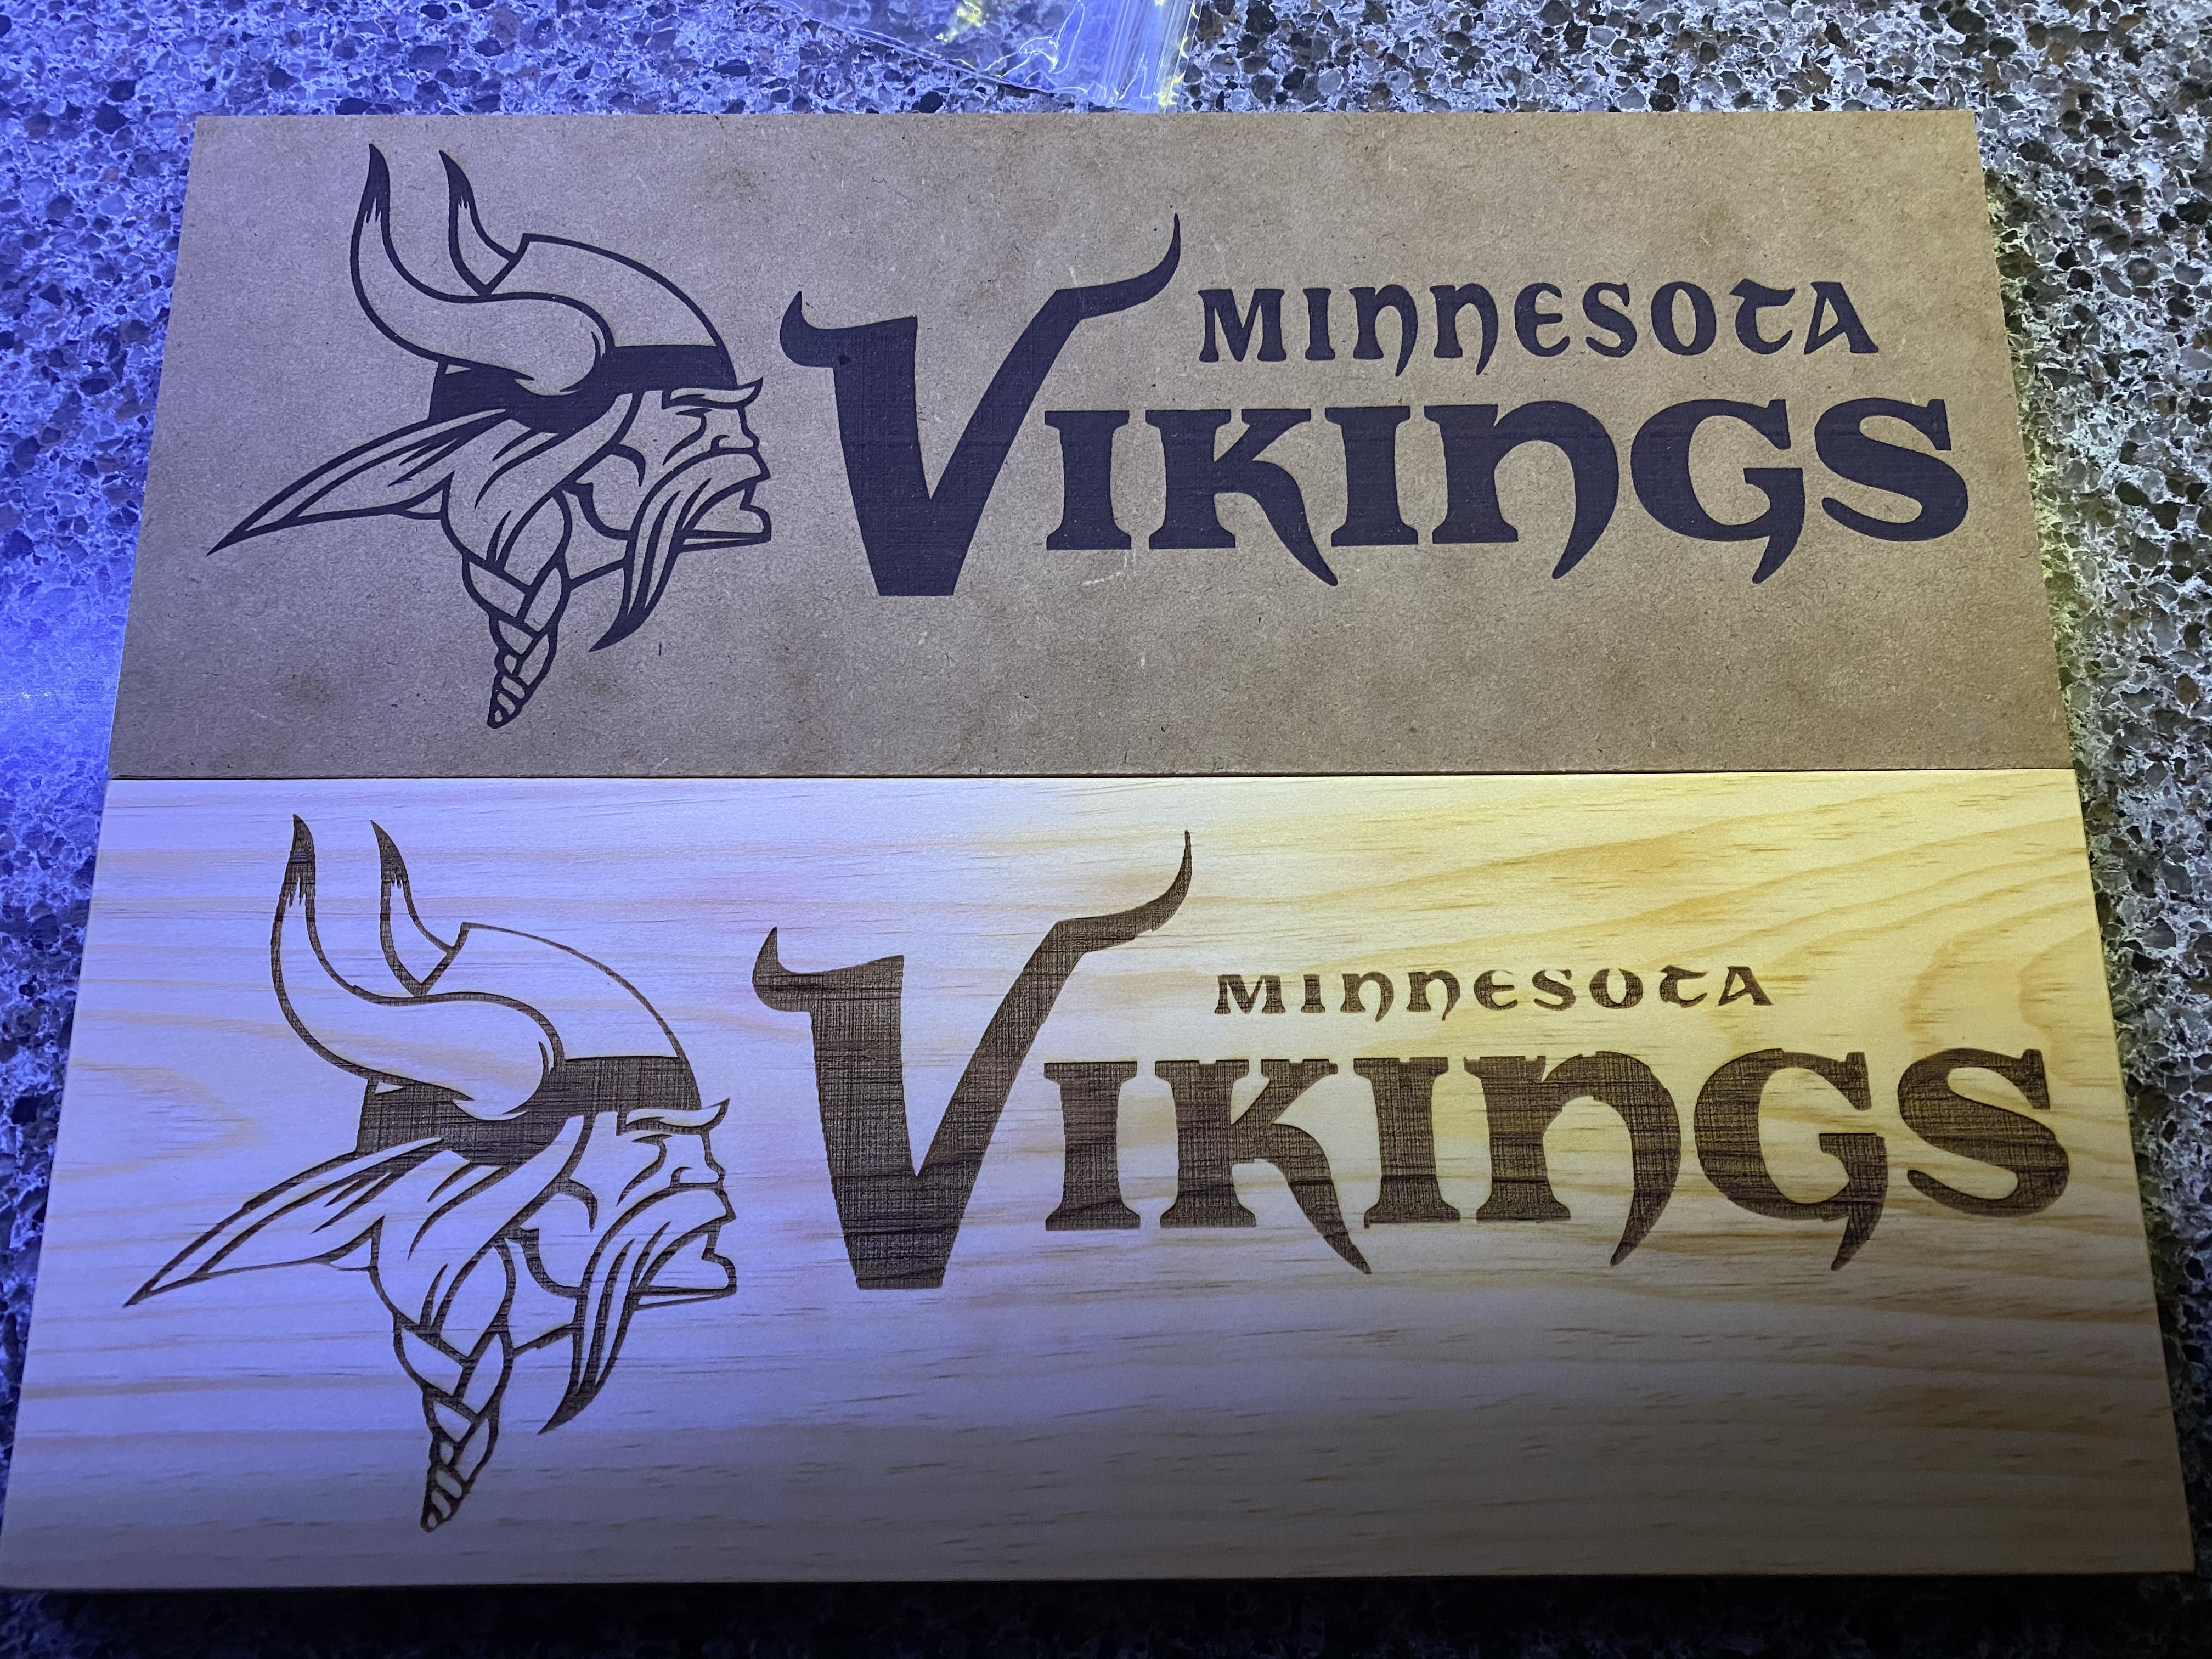
I’m at it again I’ve enabled overscaning at 2.5
And it’s turning out great. The overscan is the only thing I changed in the software. Made no changes to the machine. I’m still running 90 Deg. ( running vertical ). I’m trying it out on scrap MDF.
Will try some other files. I’m loving using vertical scan so much! It really suits my machine.
Glad you have this resolved. I had one question, is the file you are engraving a vector file or are you using an actual font for the text and did you turn on outline and fill or just fill.
Hi Jeff,
The entire image along with the text was grabbed from google as a jpeg then traced in Lightburn to convert it. I used fill only to burn the file, with a 8 watt output Blue laser diode set to 96% and 1500mm per minute speed.