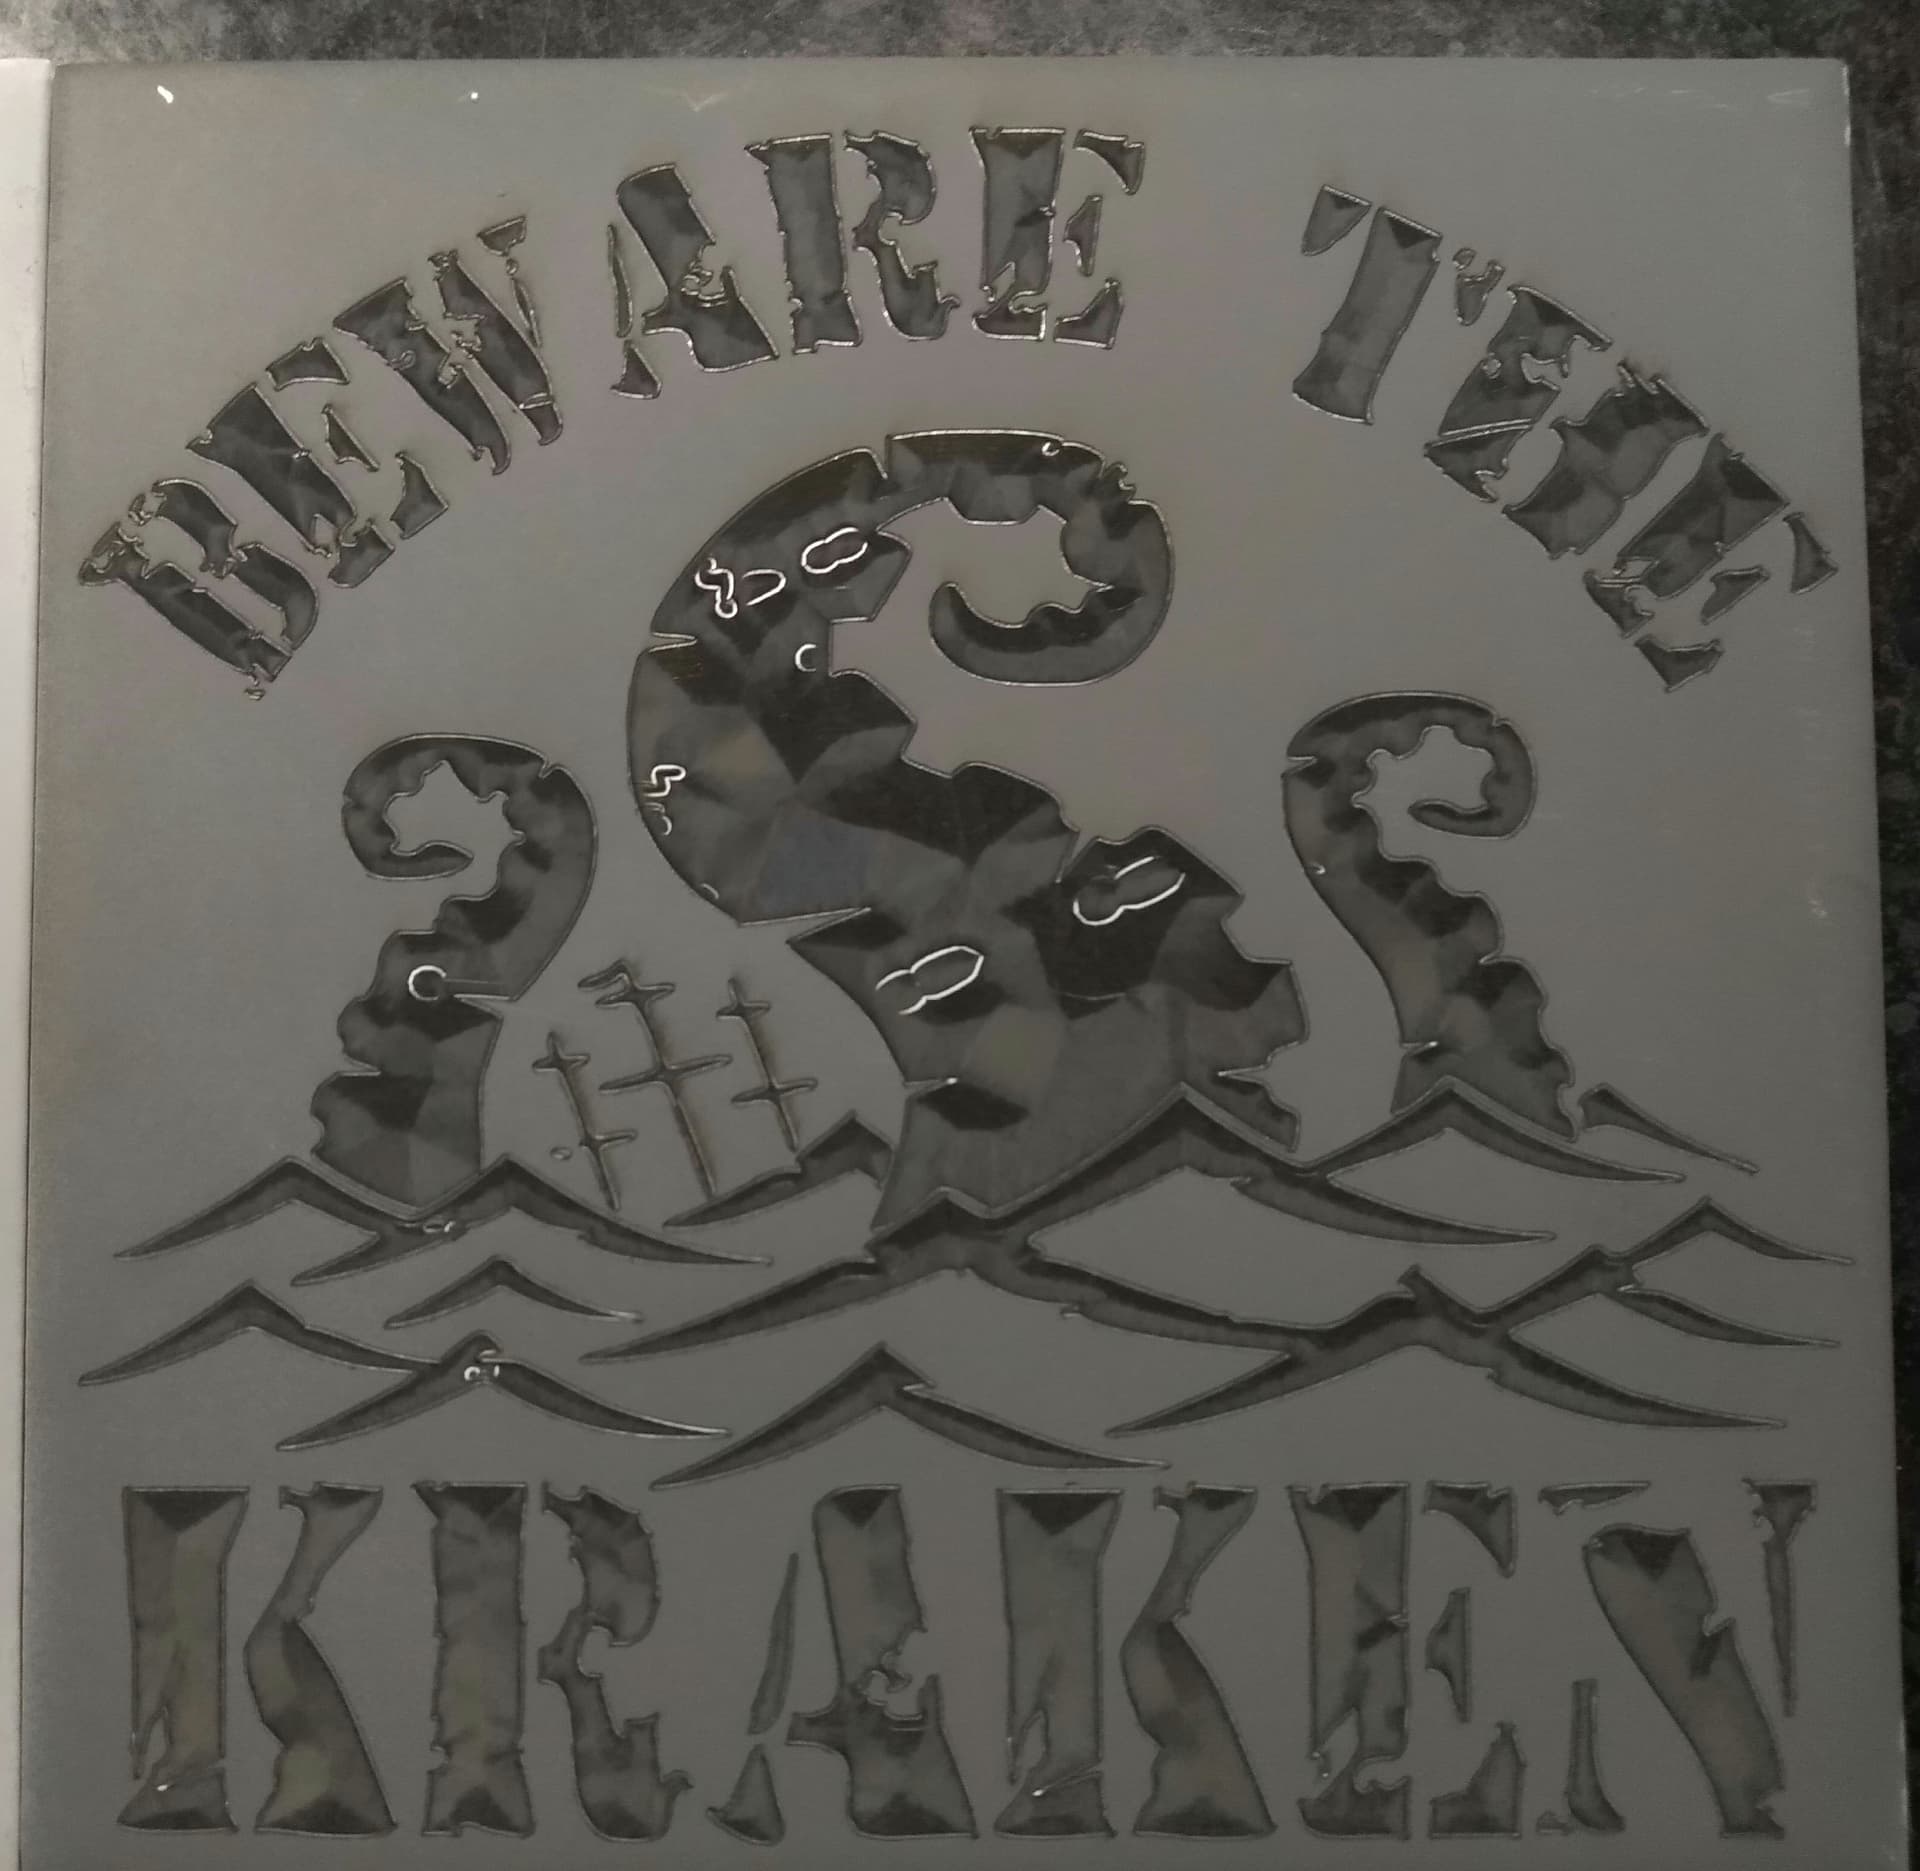
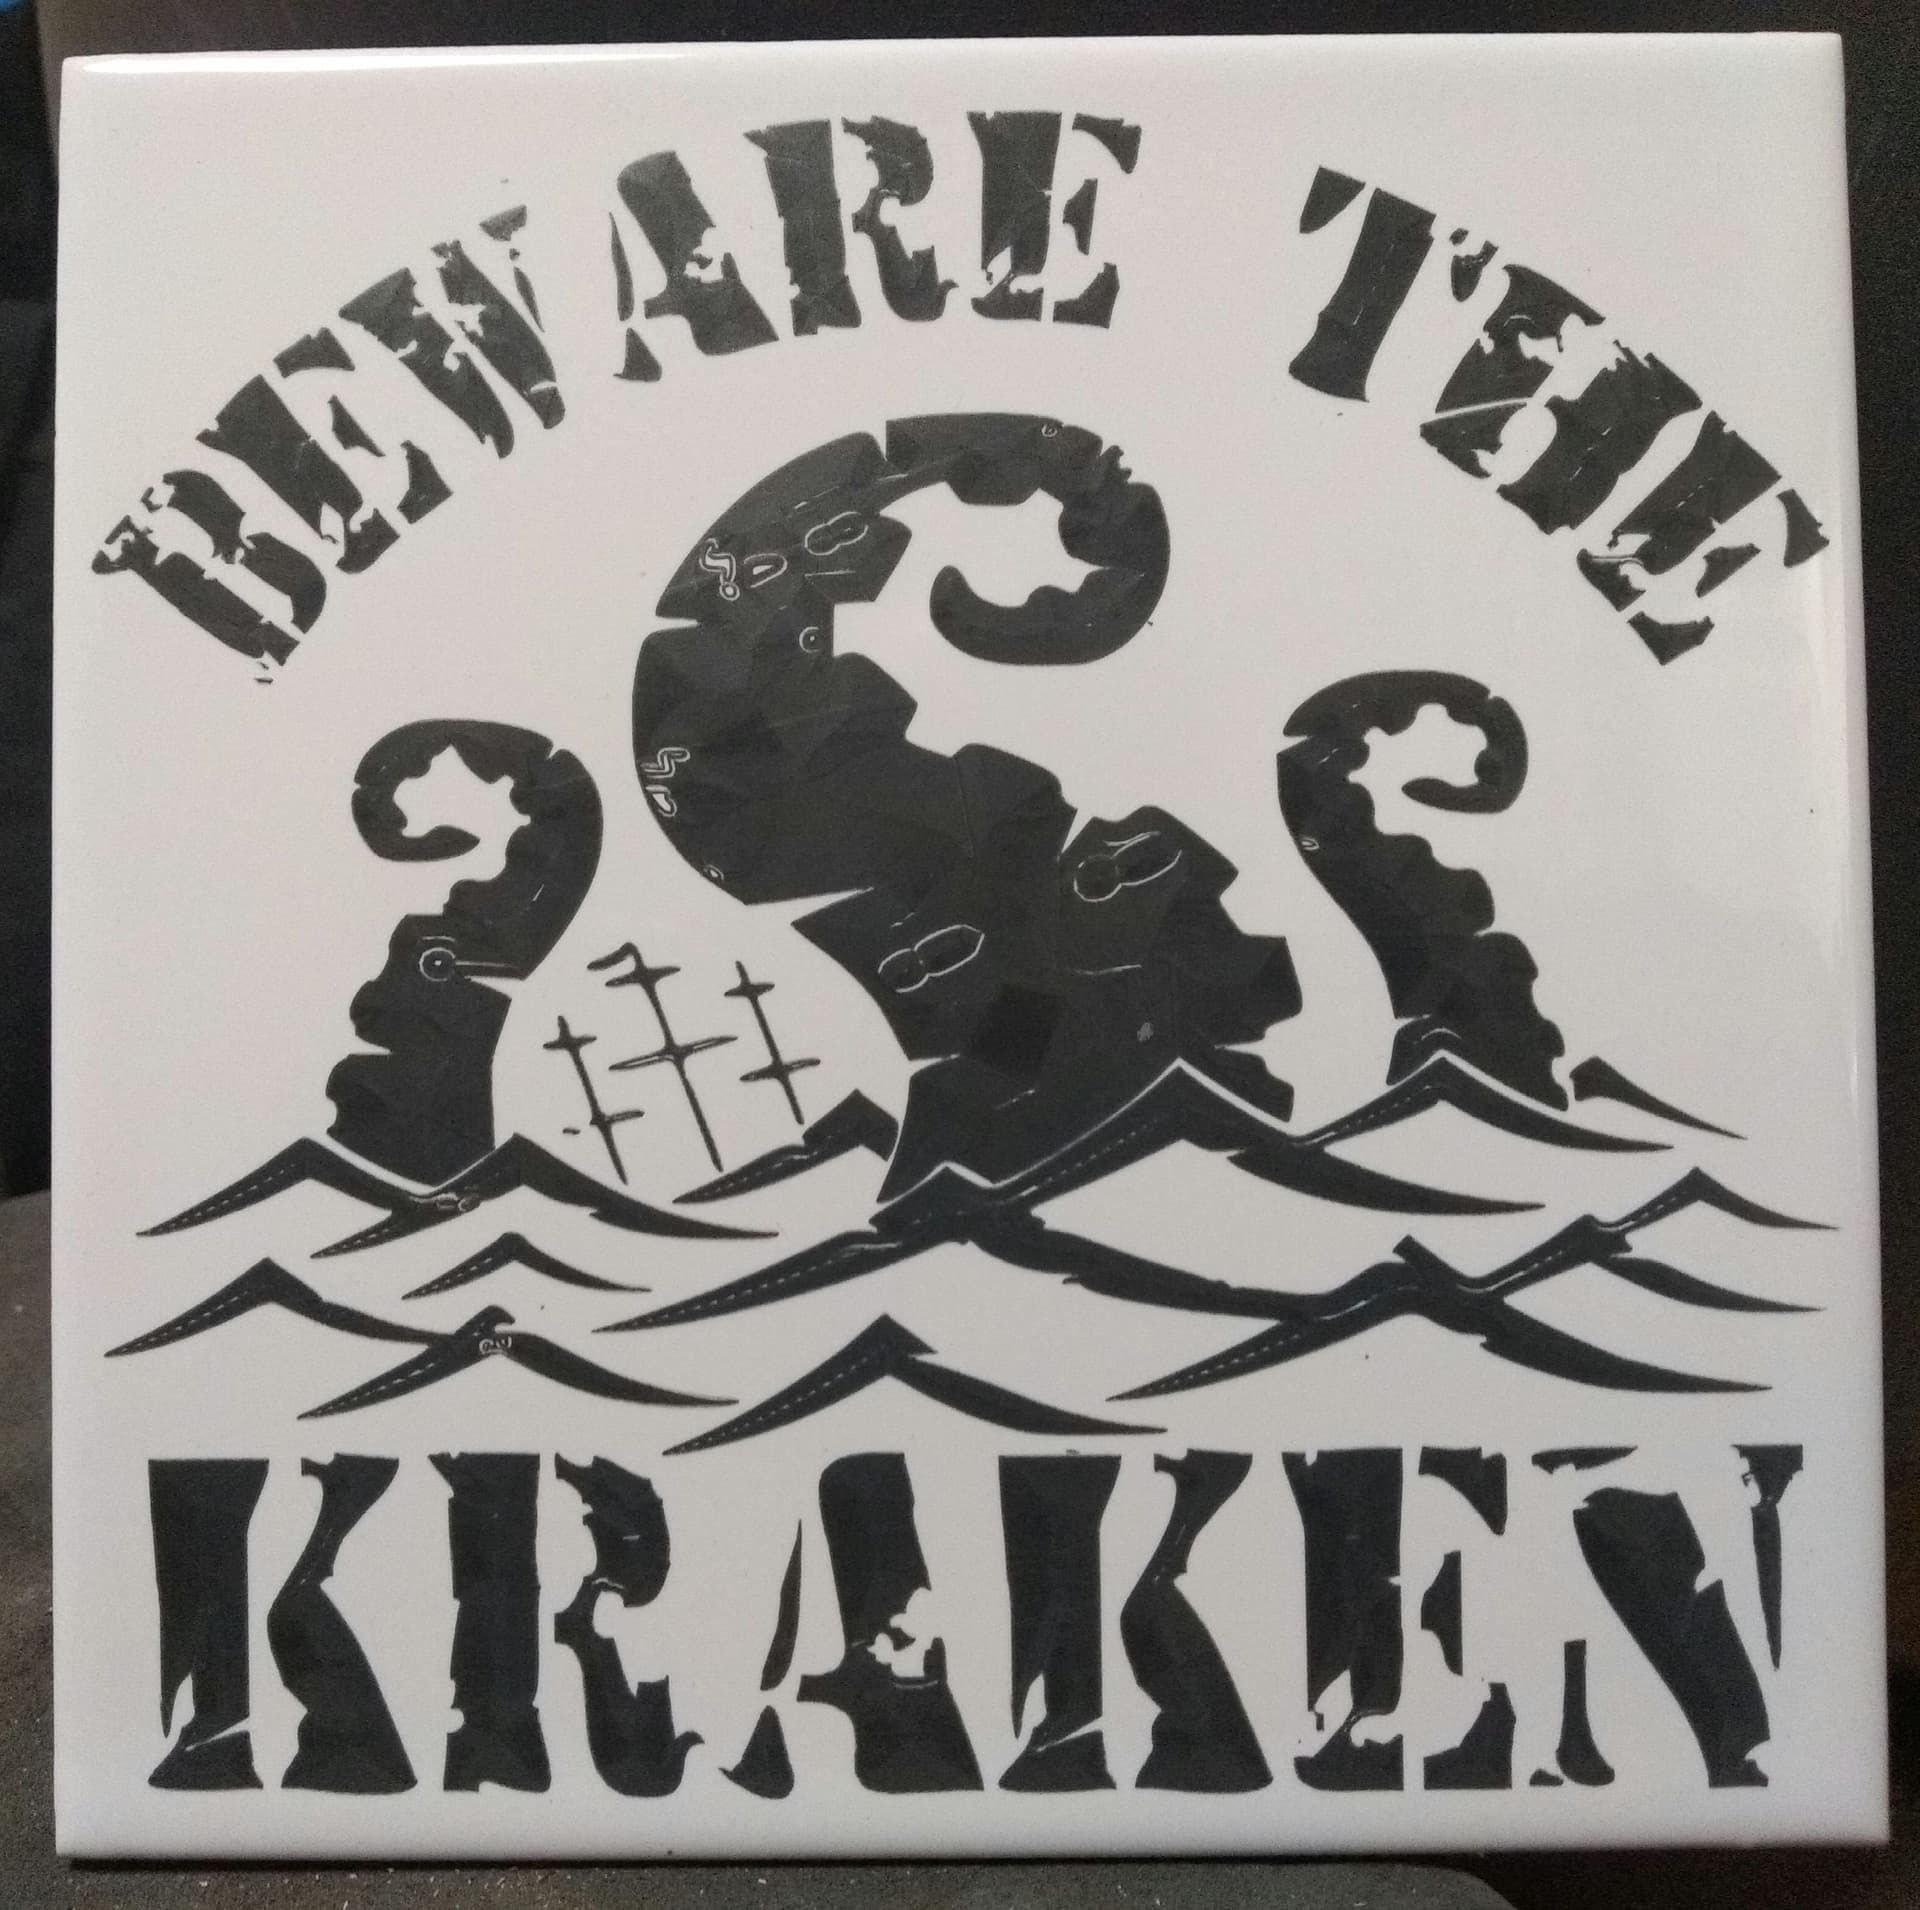
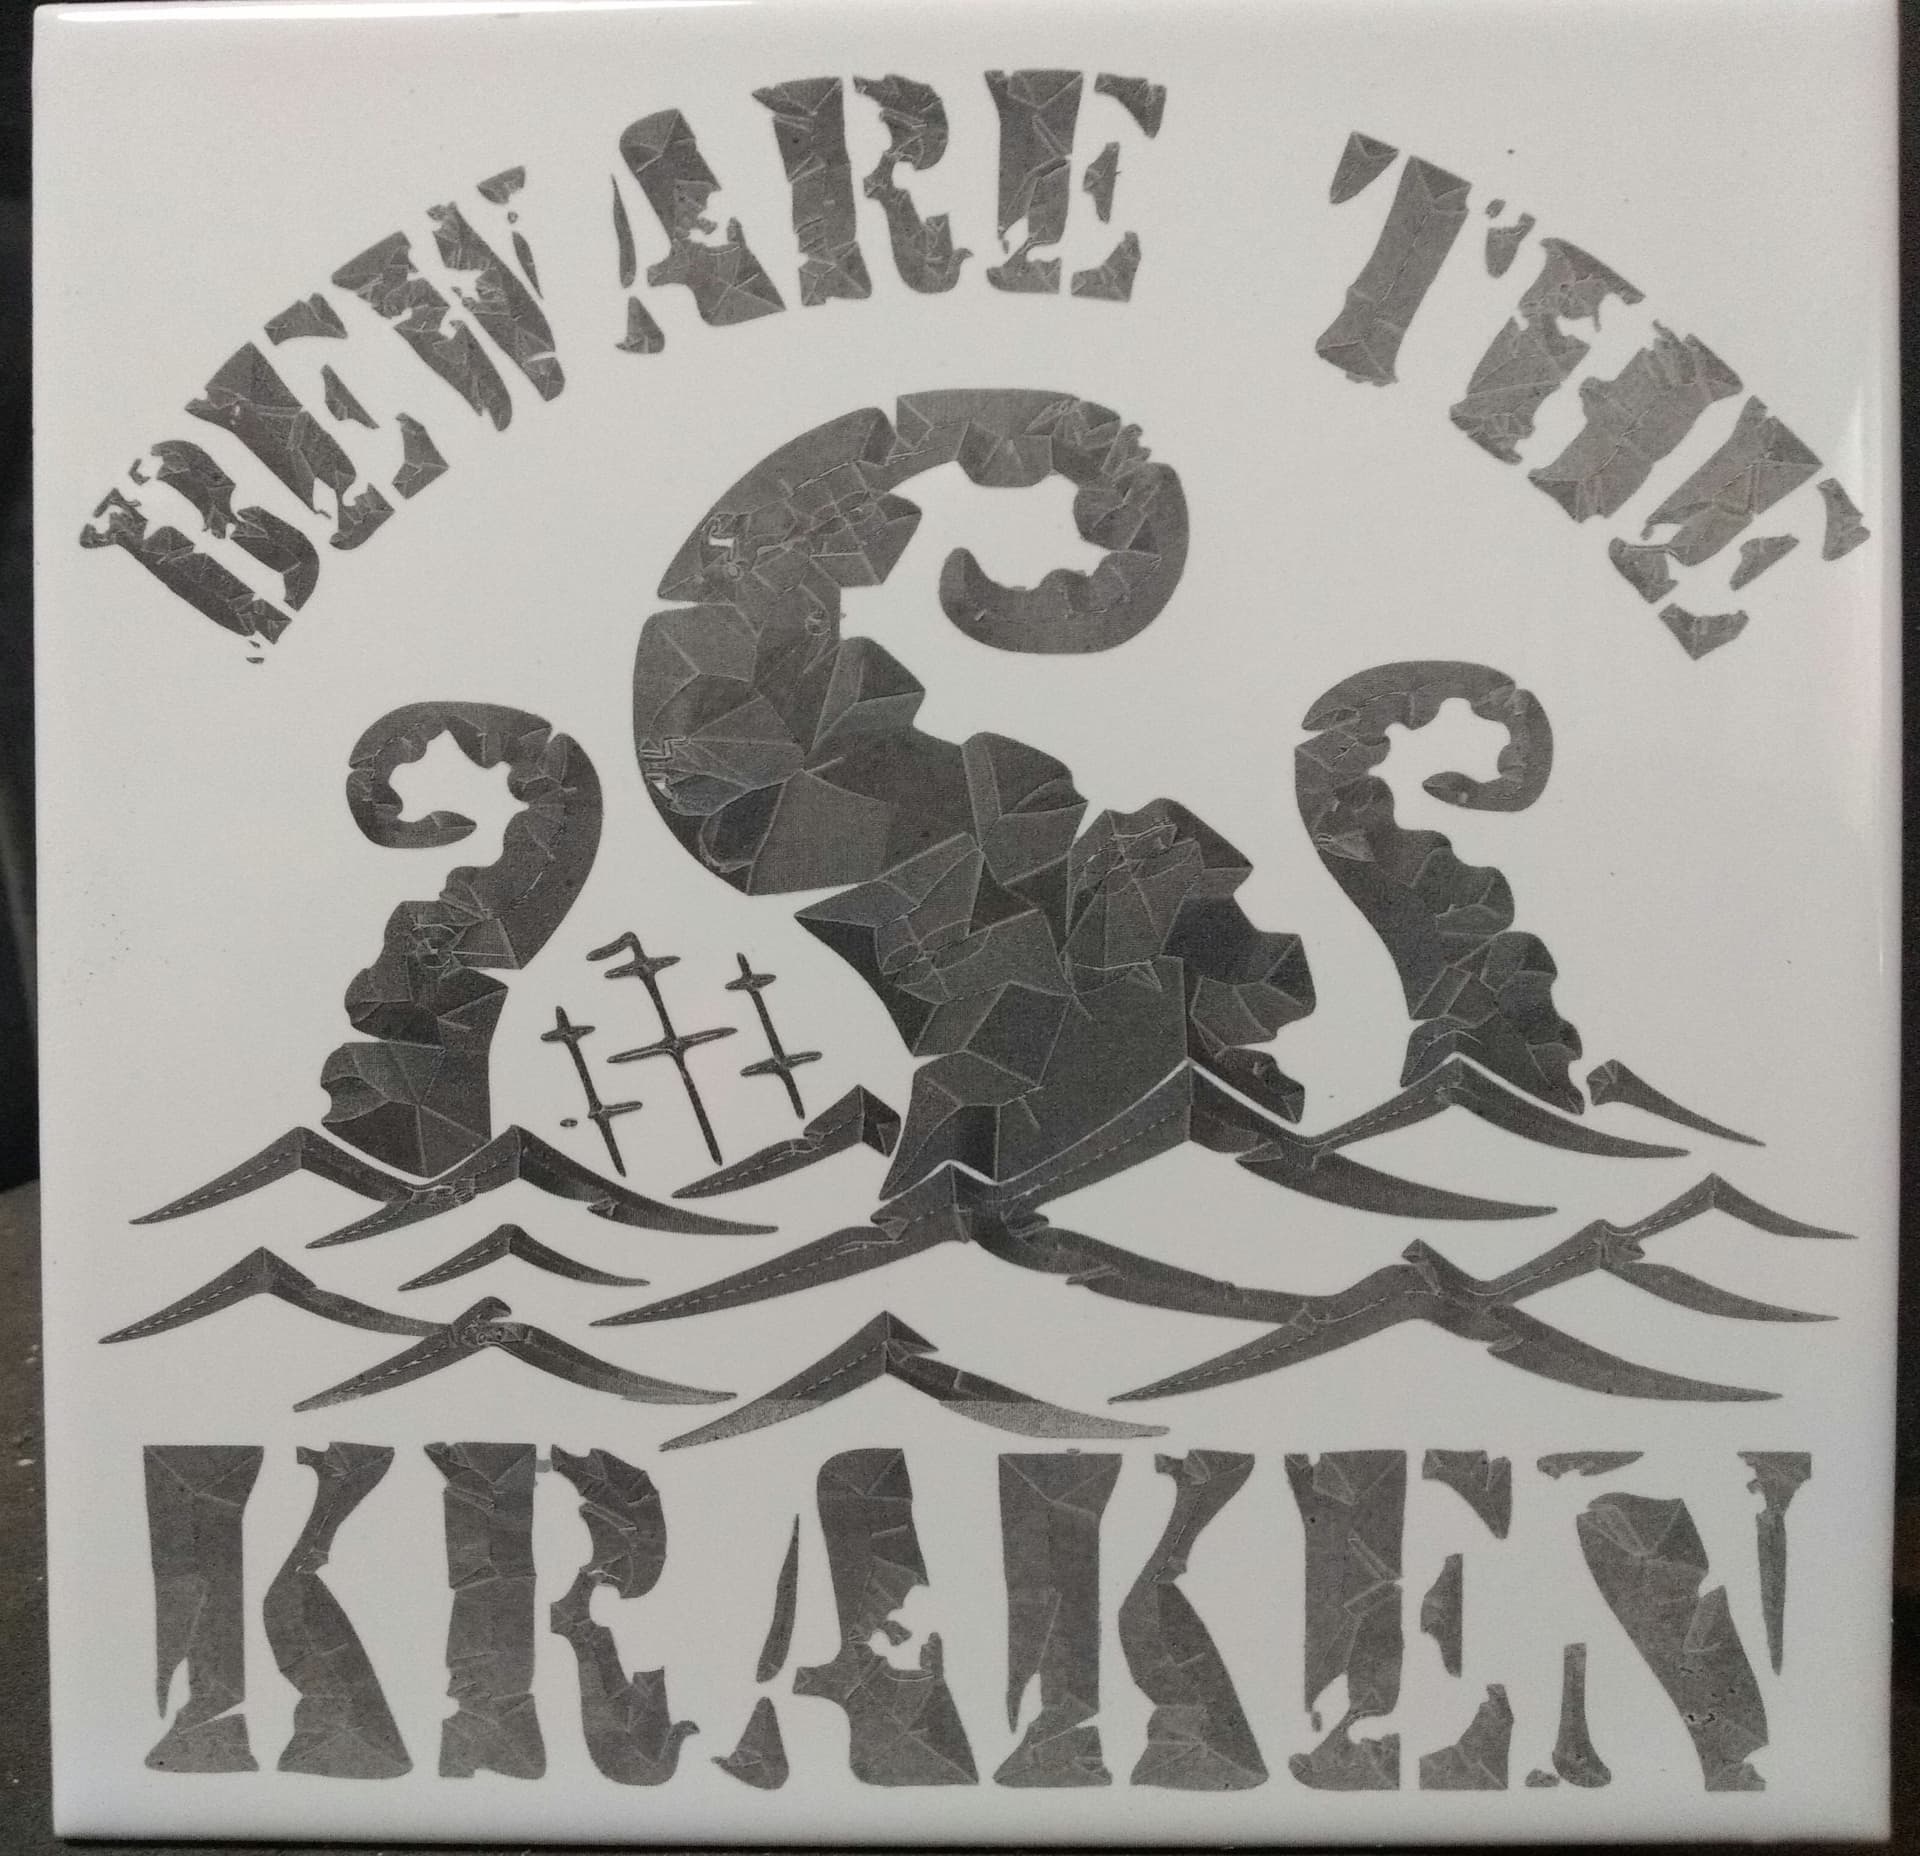
Hi new here and to lasers in general. I am currently trying to get some good results using the norton white tile method. Anyway after seeing a video on cold galvanising spray I had some grey primer to hand and tried a test tile and etched the image below. I traced the image and set it to off set infill (I think because it saved time). As you should be able to see it reflects the light differently so I repeated the sequence using galvanising spray and it is much darker, but with the same pattern. I personally think it looks great.
@GingerKarma . Sorry. as I am new I assumed it was probably old news. I just hadn’t seen any posts about it.
I didn’t know which bit you didn’t follow so here it is.
Prepare your tile (Norton white tile method). clean tile spray with paint containing titaniumm dioxide (rustoleum flat white is original I believe). I was experimenting with rustoleum grey primer and a cold galvanising spray (from tooltation in the UK).
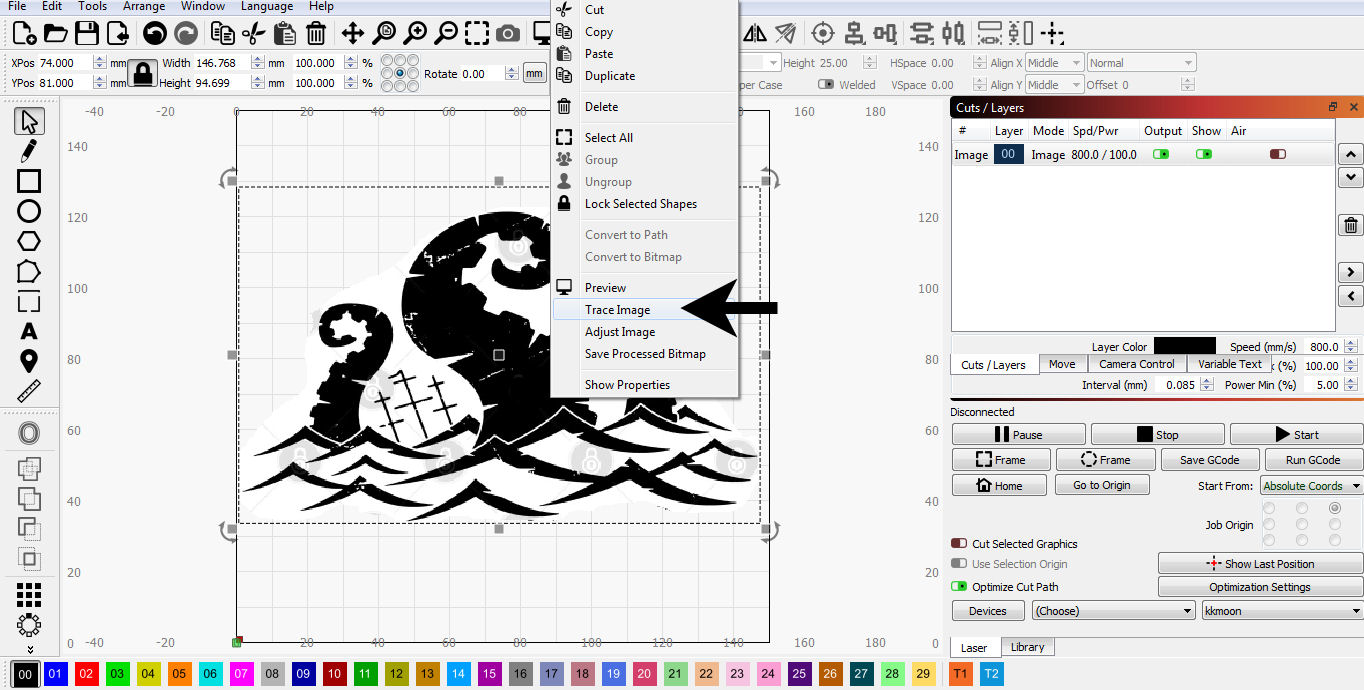
Image1: import silhouette image. select it, right click go to trace image.
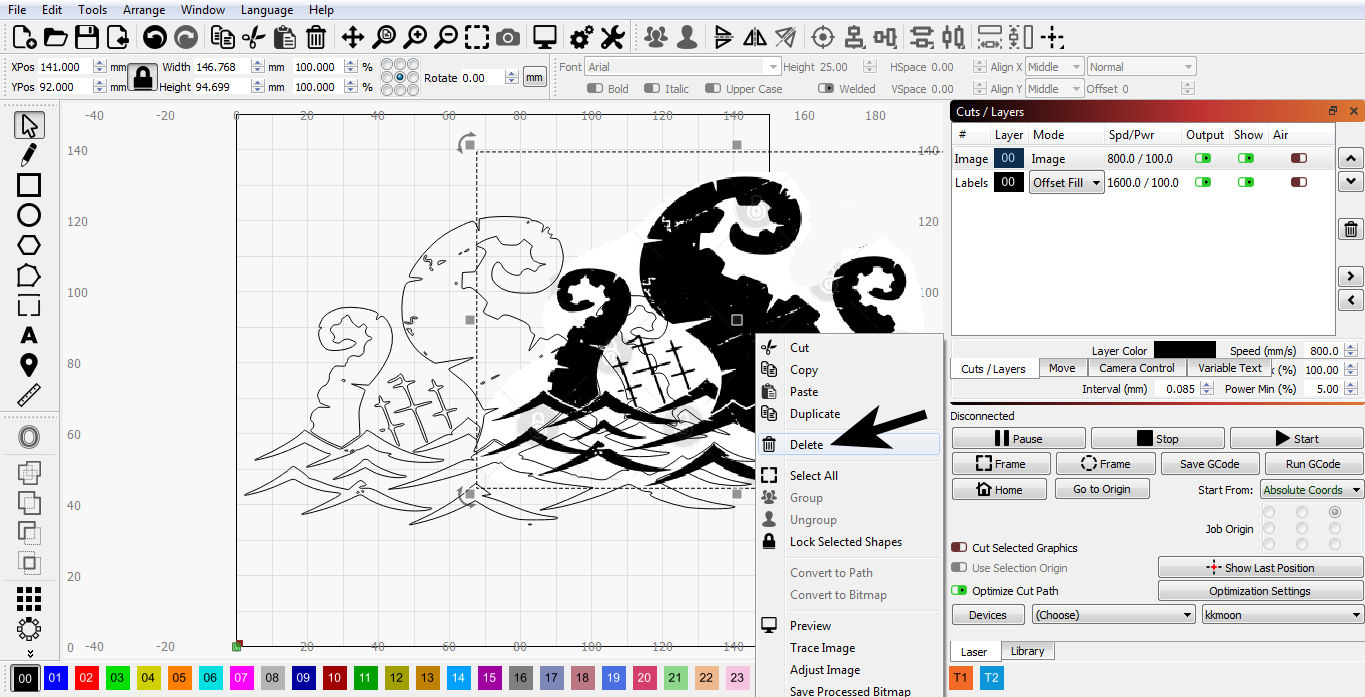
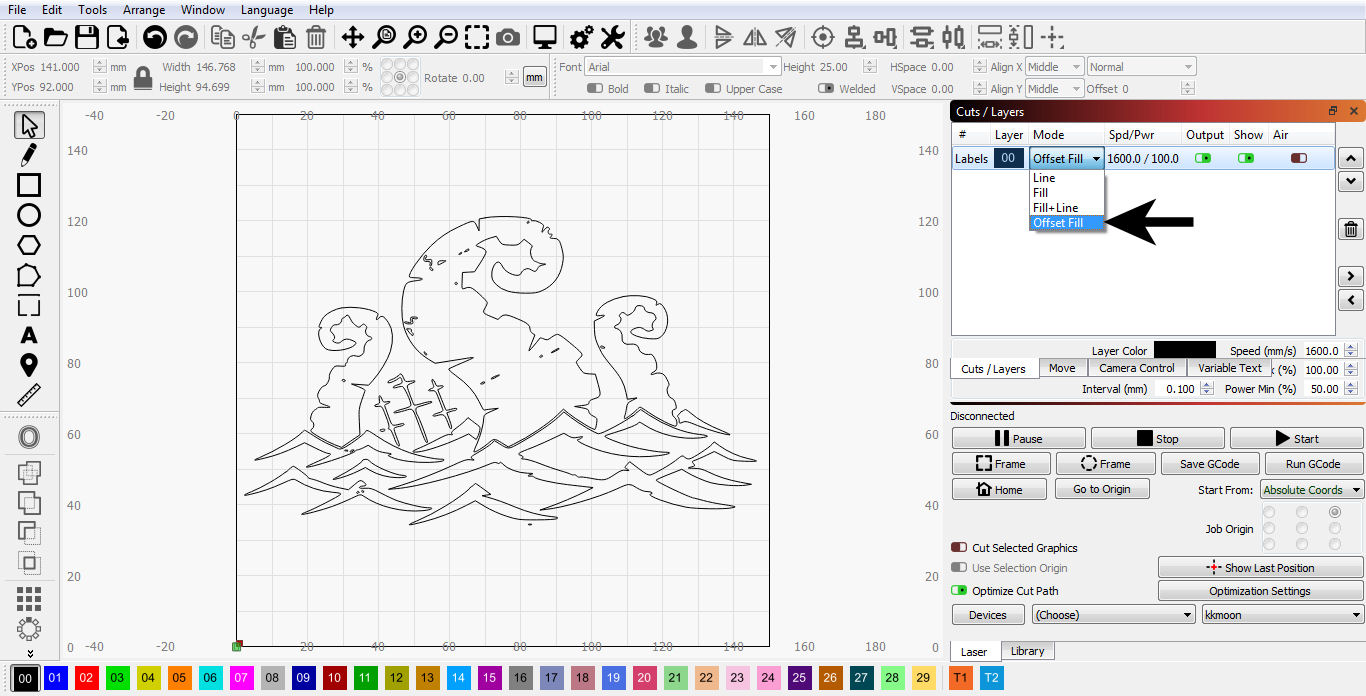
Image2: If you click fade image button and play with the sliders you can change which bits are traced. For these pictures I just left it and clicked OK.