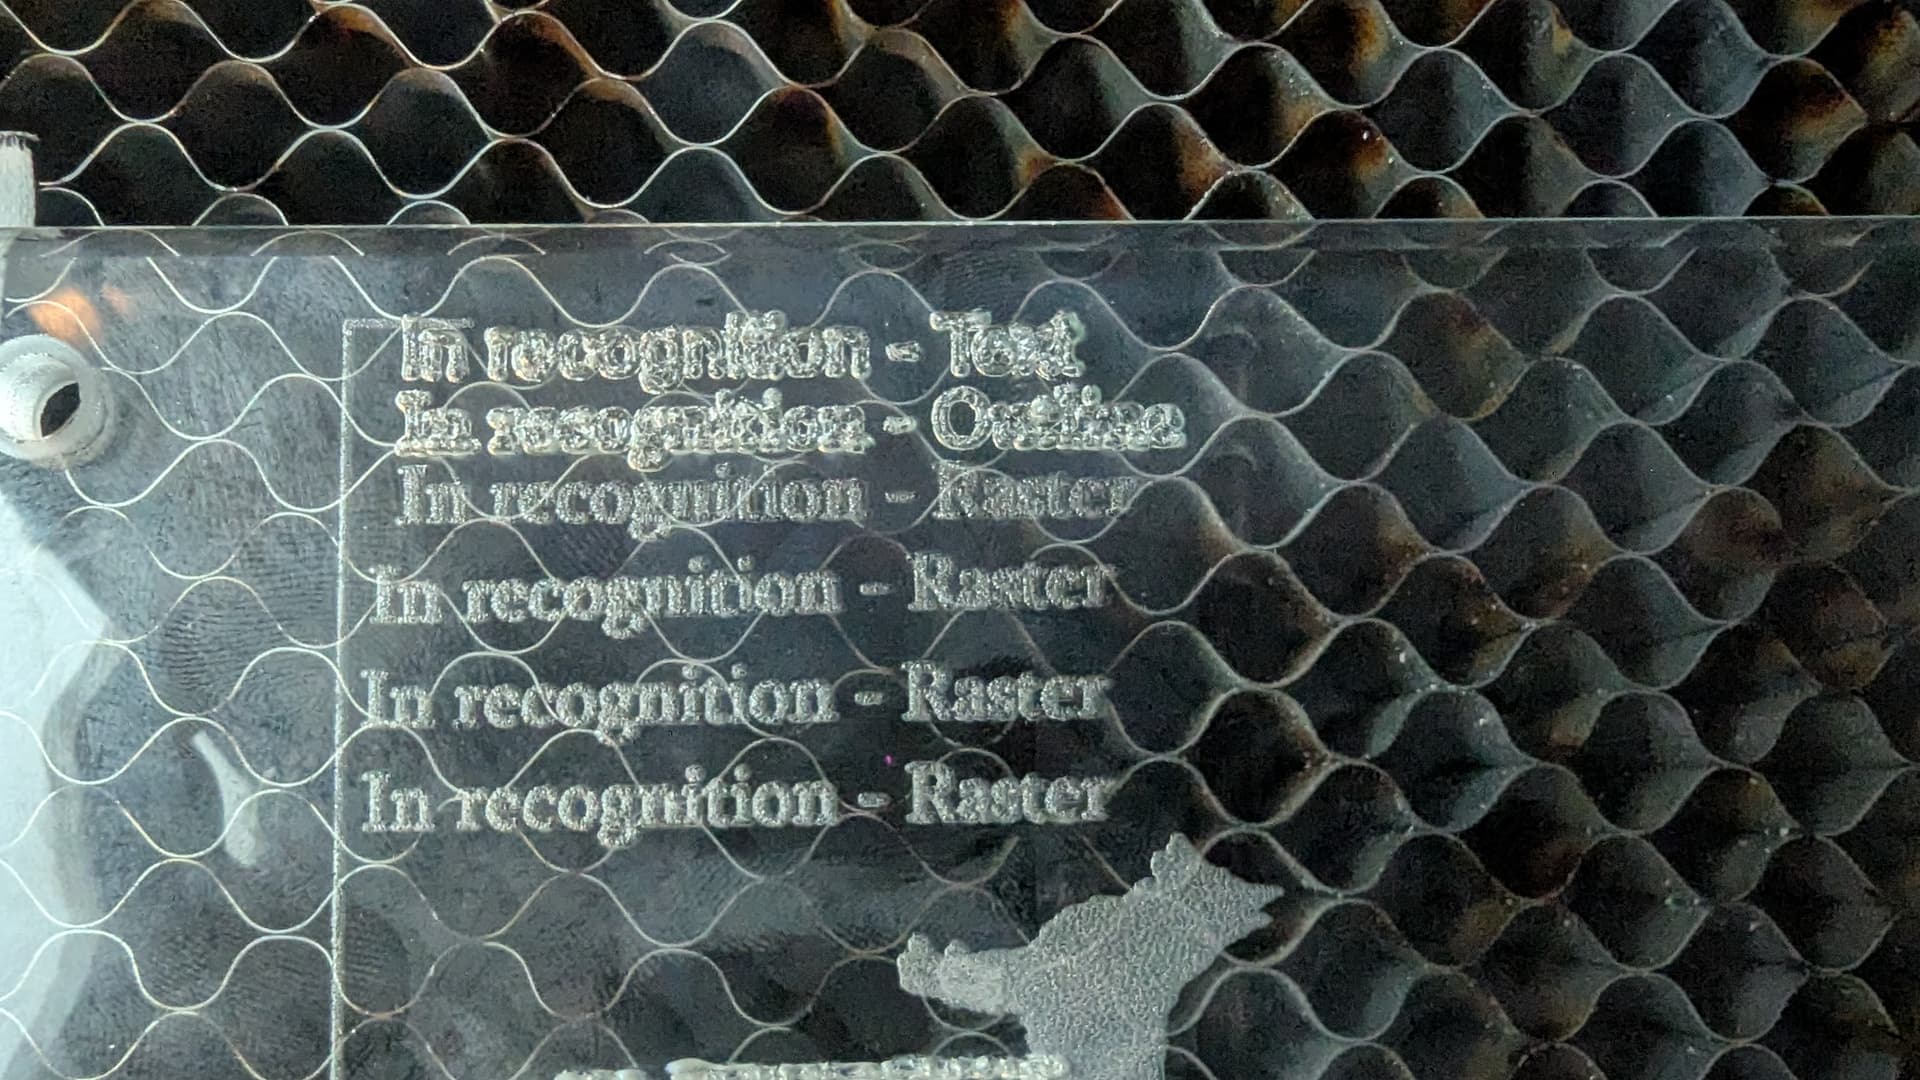
I recently attempted to engrave a plaque. My file was an SVG saved out of Adobe Illustrator with text and vector graphics. I noticed that the text layers looked awful. It looked like a different font entirely. I ran a test (see attached image) where I exported a line of text as a text layer (top line), then with outlines of the text (second row), and finally rasterized and saved as a PNG file (the remaining rows). The Raster image looks the best (There are several rows of raster as I tried a few settings out).
I do not understand why the laser isn’t able to handle the vector images, everything I read said that vector was preferred over raster graphics for this sort of thing.
My laser was recently calibrated and everything else I use it for looks great.
Is there something I need to do for vector graphics to engrave properly? A particular setting perhaps?
Engraving glass involves shattering the surface, so the result depends critically on how much energy gets deposited in the glass. The laser speed will be much lower while following the tiny lines in each character, so it’s dumping far more energy into the glass than during a full-speed side-to-side engraving pass.
Although a Ruida controller varies the laser power linearly between the Min and Max settings depending on the speed, the glass does not respond linearly to that variation: half as much power at half the speed has a completely different effect than full power at full speed.
Which is why engraving will (generally) produce a better-looking result: all parts of the image get the same power at the same speed.
The same is true for acrylic, where the laser is vaporizing, rather than shattering, the plastic: you need a uniform exposure for a uniform result.
IMO, this is yet another example of why we just can’t believe everything we read on the Interwebz.
Let me add something… I can’t tell how large these characters are and how long of a lens you use to give me some idea of the spot size.
I think if you use the fill option with your vectors might do what you want. Just don’t make them or the interval it too small… Intervals smaller than 0.20mm may dump too much heat into the material.
For this to be handled by the Ruida hardware, the scan angles much be in increments of 90 degrees. Generally you’d be running with a zero scan angle.