Hi all, brand new here and to laser engraving / cutting. Lots of useful info on here!
But i could not find anything about why my laser is cutting perfectly on the left side but charring the crap out of the wood on the right (wider cut AND chars around the pattern to the point of it being useless).
I also have experienced issues when pressing “start” in LB versus the start button on the ruida. If i do it on LB the thing just goes crazy and instead of an array of one pattern just overlaps the first (upper right corne) pattern in the array. When I Send to laser & hit start on Ruida I do not get this issue.
Let me know please, any help is appreciated!
Koda
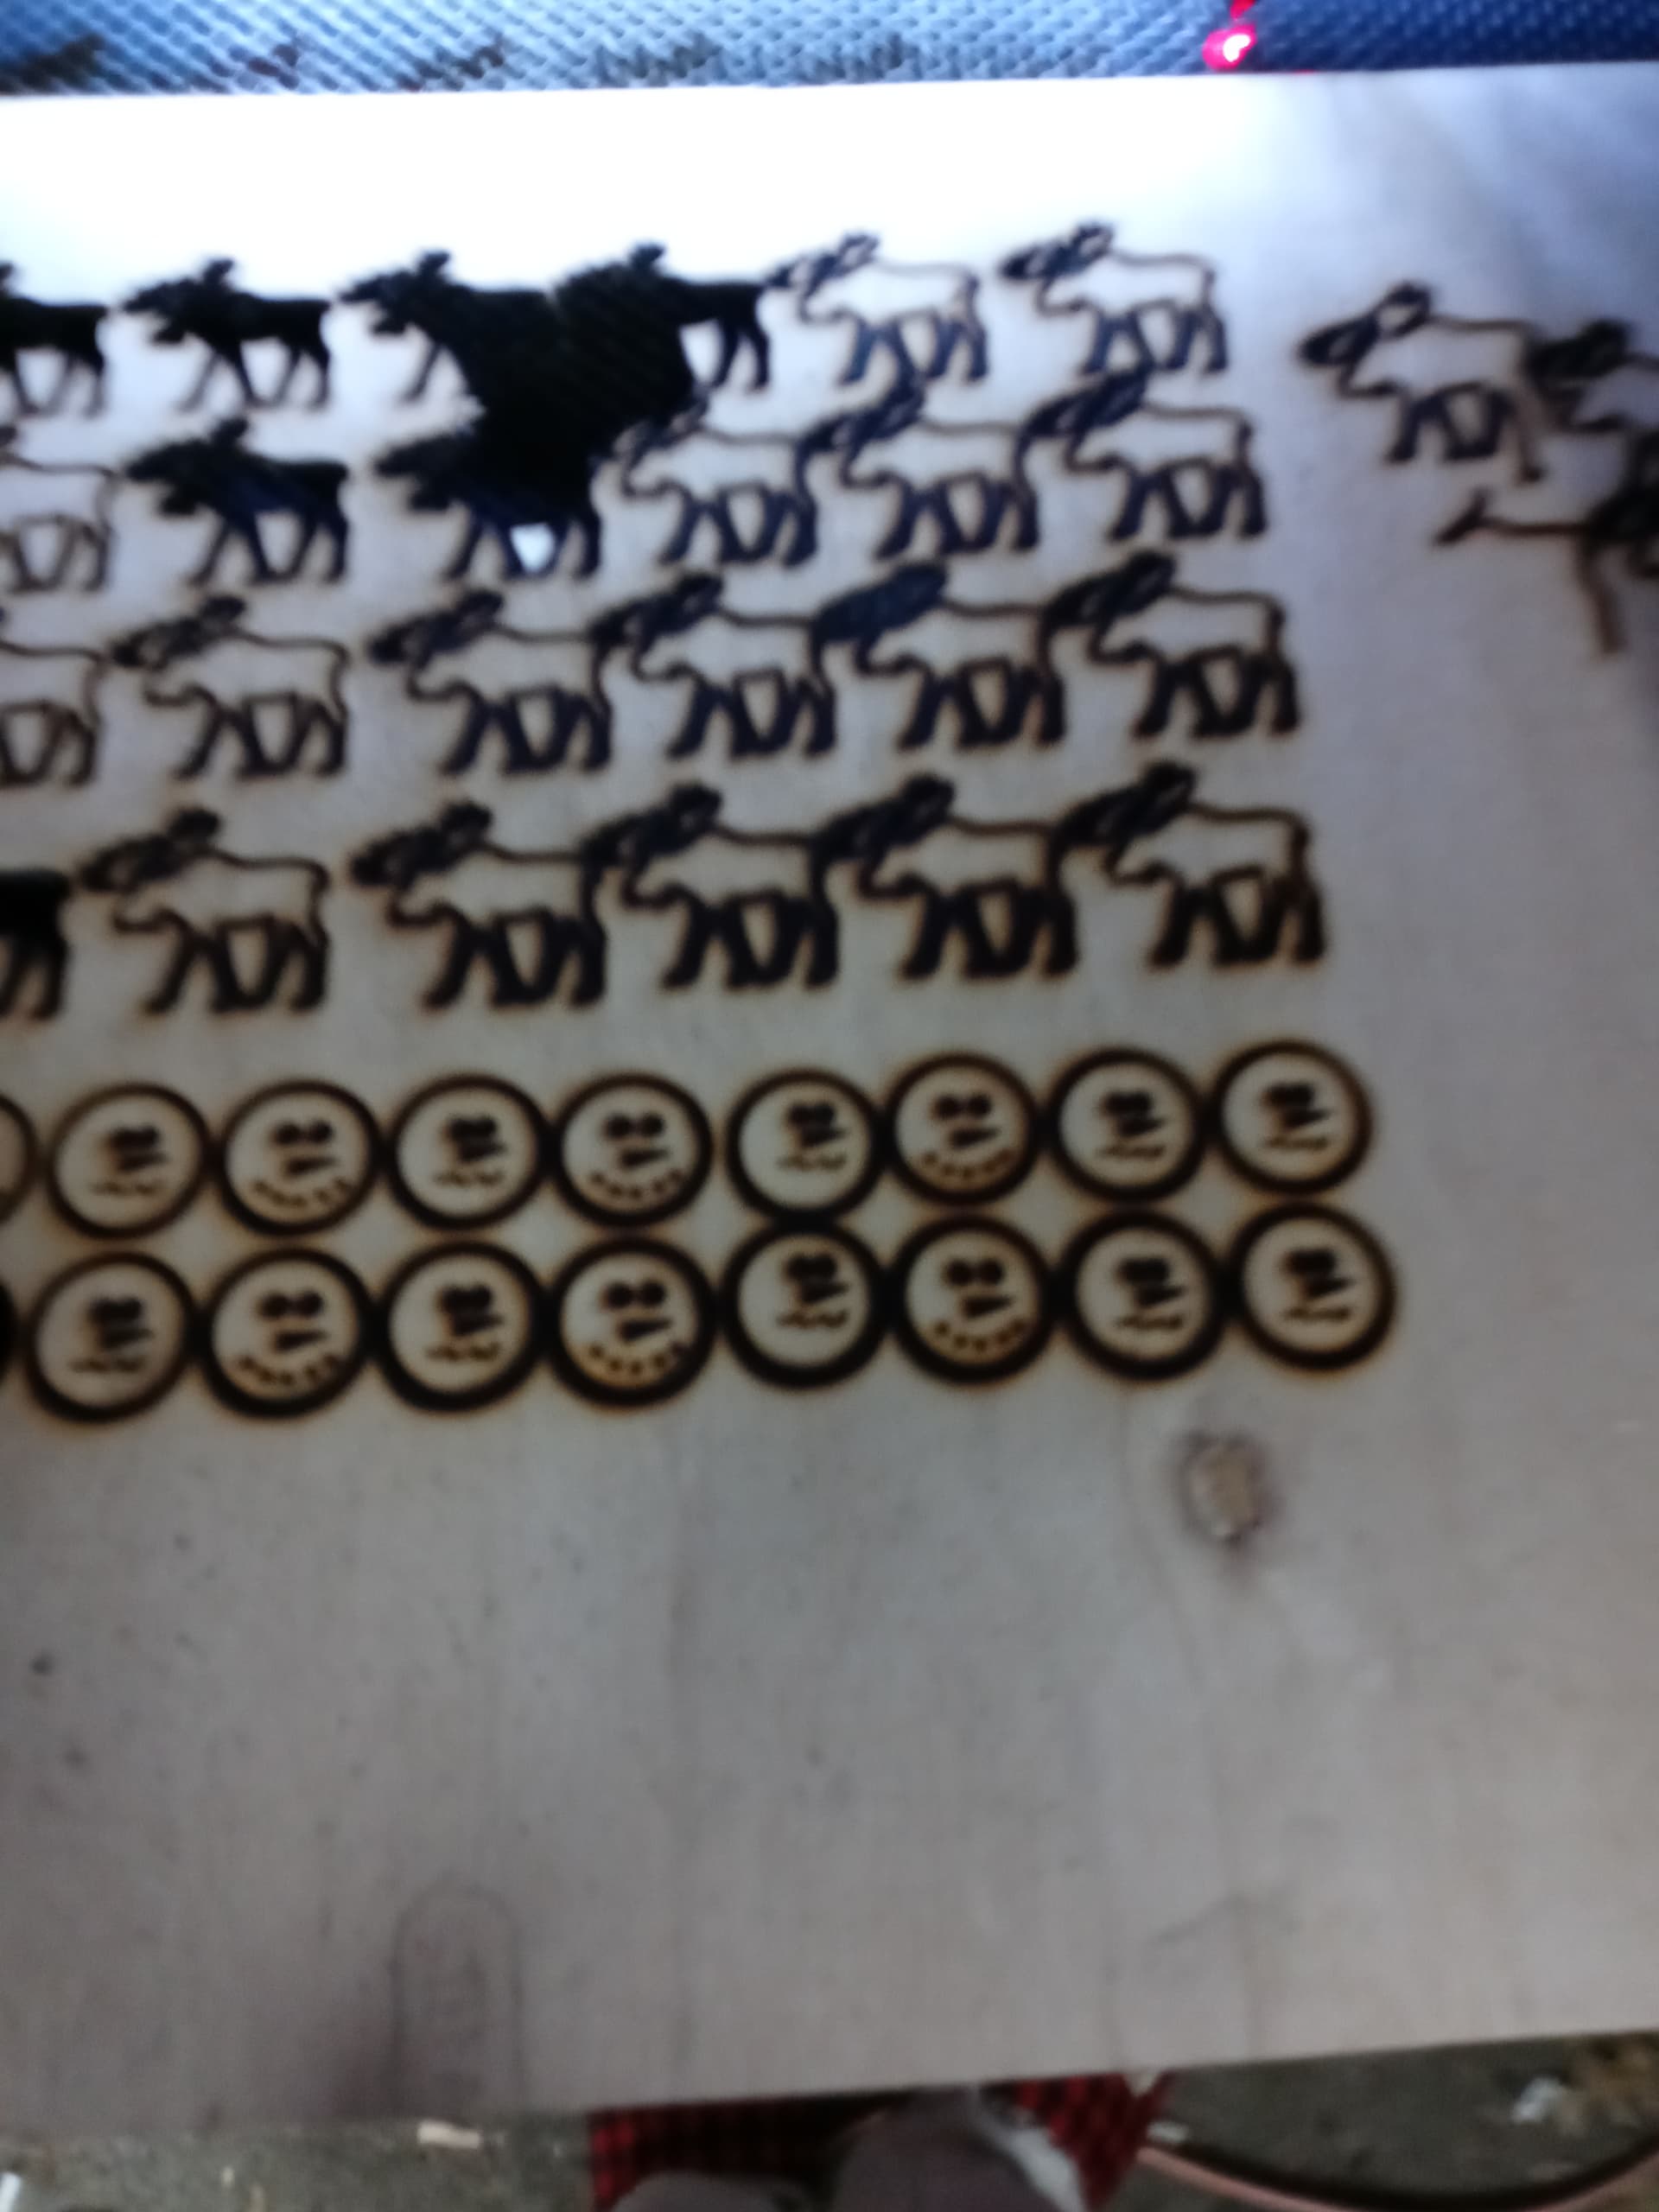
In the picture- far upper right corner is with pressing start on LB. Then the arrays after pressing start on ruida (some of the mooses on the left popped out upon picking it up - exactly what I want to happen - since they cut so nicely).
Guess i should also note that i only tried burning text once and for some reason it cut with every letter backwards.
Your first issue with burning good on the left side and not on the right side is laser alignment. You need to go through the steps to level the machine and align the mirrors.
Thanks for your quick reply. I did go through the steps and spent hours upon hours doing it. I have it probably 95% dot ontop of dot (may need a SLIGHT adjustment on mirror 2 to mirror) but I am scared to mess with it any further and cause myself more hassle.
But if you say that’s what I have to do then I suppose I will have to do it.
How important exactly is machine leveling?
How does the beam look coming out of the nozzle? The third mirror it should be as centered as you can both near and far from the second mirror. The beam needs to be coming out of the nozzle also in the center.
I put tape over the nozzle and it was pretty much dead center near and far. Didnt appear to be hitting the side of it, had a nice round dot.
When it is running and i watch through my laser glasses and/or welding shield I noticed i can see the beam / death ray much more visibly on the right than the left. It looks like a stream of plasma shooting out between the nozzle and wood.
I am much more familiar with the metals industry so this is all new to me- sorry if my terminology isn’t up to par.
I also have noticed that on the right side there is a lot more “spark” i.e. it looks like a piece of steel being welded with a lot of spatter. I assume these are just burning pieces of wood being blown by the air assist. Also seems that when circles are cut there is sort of a chamfer to them (round on top but tapers off to the right as it gets near the bottom) if you hold the cutout piece level / flat in front of your eyes
Thanks again! Do you know offhand if the bed is adjustable (if it is off )?
I suppose if it IS off, i could just place a shim under the piece i am cutting to compensate. Really don’t have a lot of time to mess with it with a newborn around.
Yeah it was pretty flat. I magged it down to the honeycomb and this was only a 3mm (1/8in) piece of luan plywood to test out the design and laser (this was the first full-bed run on it).
Anybody have any idea why the start button in LB causes overlapping but on the ruida it doesn’t? It seems that when I press start in LB with a 4-pass, 1 layer line cutout, each additional pass the lines move about 2mm. A couple of times it has moved over an inch in the same spot.
Wow! What on earth did you run that took 19 hours?? Or do you have an incredibly huge bed… Lol…
Thank you very much for this advice. I am going to run out tomorrow and get a perfectly flat piece and try again. This one was warped quite a bit and I thought magging it to the bed would suffice, but I have no idea what I’m doing.
Like I said earlier, this was just a test. The end goal is to have a precision machine ready to run orders of 100+ of coasters / tumblers perfectly duplicable. Lightburn trial has convinced me to buy the program as long as I can get the laser issue worked out.
Wow, seems like you have a much more legitimate setup than I do.
Provided that I get these hiccups taken care of,
My exhaust will be my first upgrade. The stock one is horrid. Then lights and air assist (has both already but they are also junk).
Hoping I can make this a full time gig.
Just out of curiosity, what type of aircraft parts are you cutting on a diode laser? Model aircraft I assume?
I finally had time to play with this and not half-assedly do it.
I got everything perfectly set. No longer have the same issue. Thank you!!!
However-
What’s the importance of focal length (I think that’s the correct term - z-height / distance from workpiece to nozzle)??
Through experimentation I now noticed I get a lot of charring when using the little focus piece they provided flat on the workpiece (about 3/16" from nozzle) BUT when I stand the focus piece up on it’s side, which puts the workpiece about 3/4" from nozzle I get amazingly finer lines and zero charring when cutting.
The lines are about half as wide and do not charr the surface around them. Would there be any issue running it like this?
WHat focal length is your lens? Have you done a ramp test to verify your focal length? It sounds like your focus piece is correct when you turn it on the 3/4” side. Check the lens size (1.5”, 2”, 2.5” etc) and then measure from the lens mounting point to your work. This should be the correct distance for your focal point. A ramp test will give you exact distance.
Charlie
Thank you for the help, much appreciated. I will look into this ramp test you speak of, I’m sure it’s posted somewhere. Will also measure lens since the factory handbook doesn’t tell me the size.