Total n00b here. I have tried around 20 prints and tapping out and asking for some assistance. I thought it would be much easier than this. This seems way harder than my 3d printer. I know I must just be overlooking something simple.
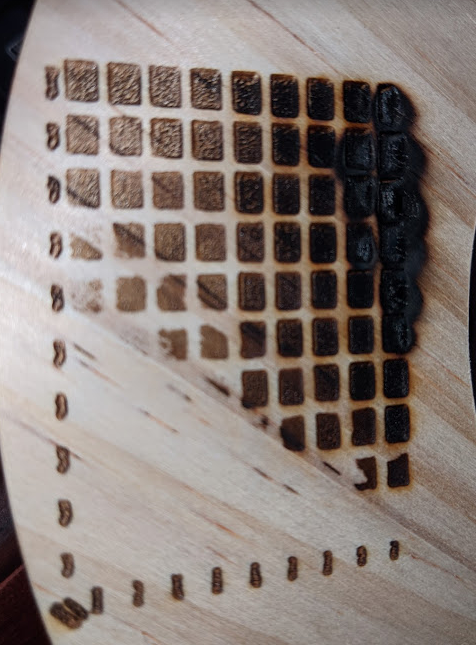
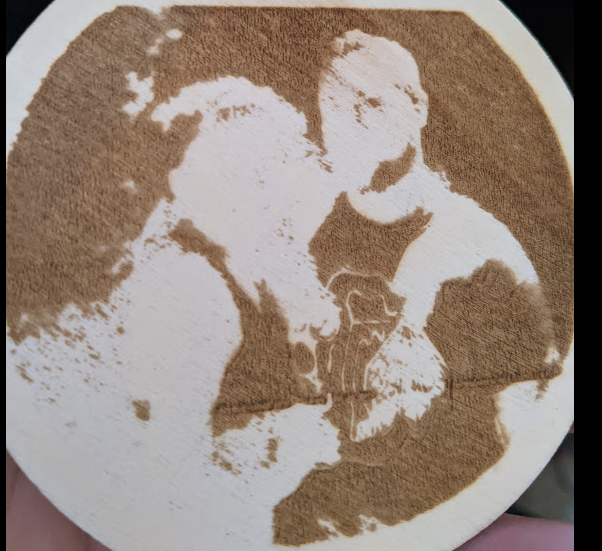
I am printing on Birch wood. I printed a test template on the back which is somewhat weird. A portion did not engrave.
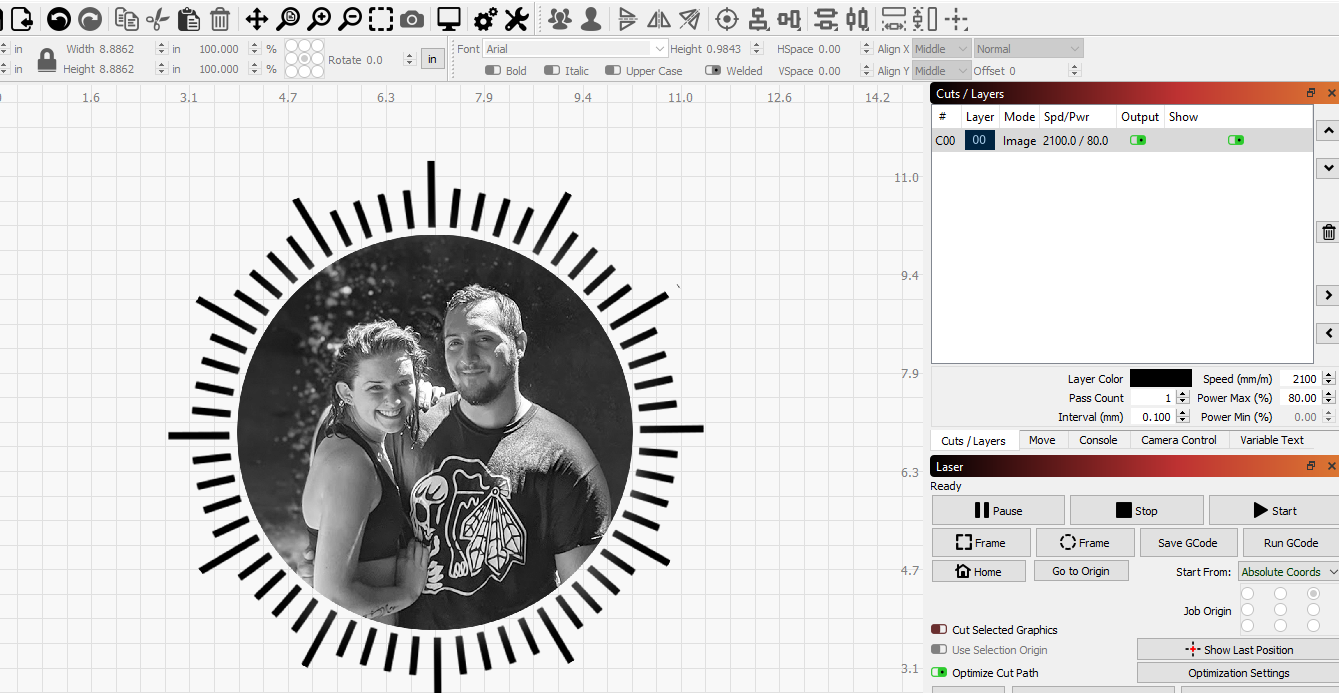
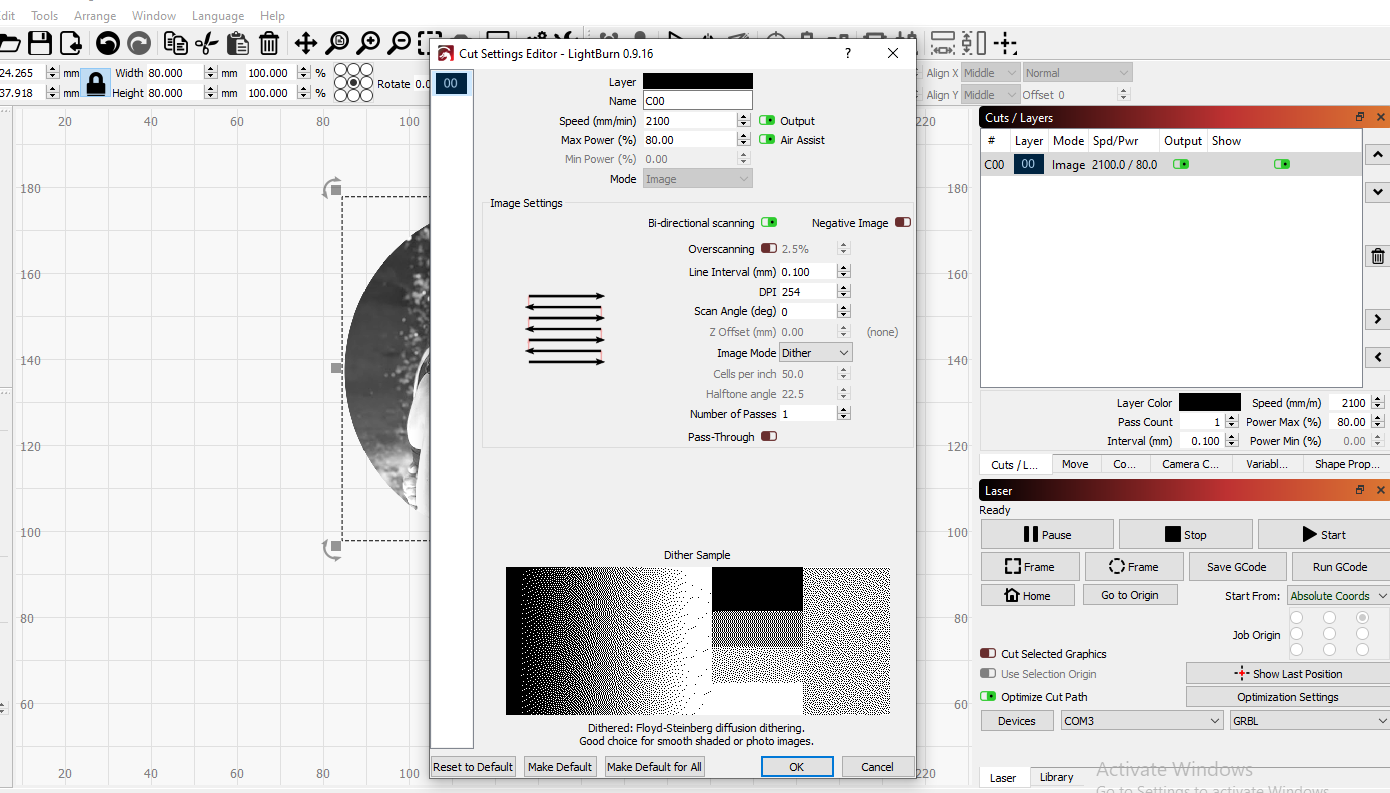
I set to 2100 Speed and 80 Power . Not sure if this is my problem and or if I need to adjust something else.
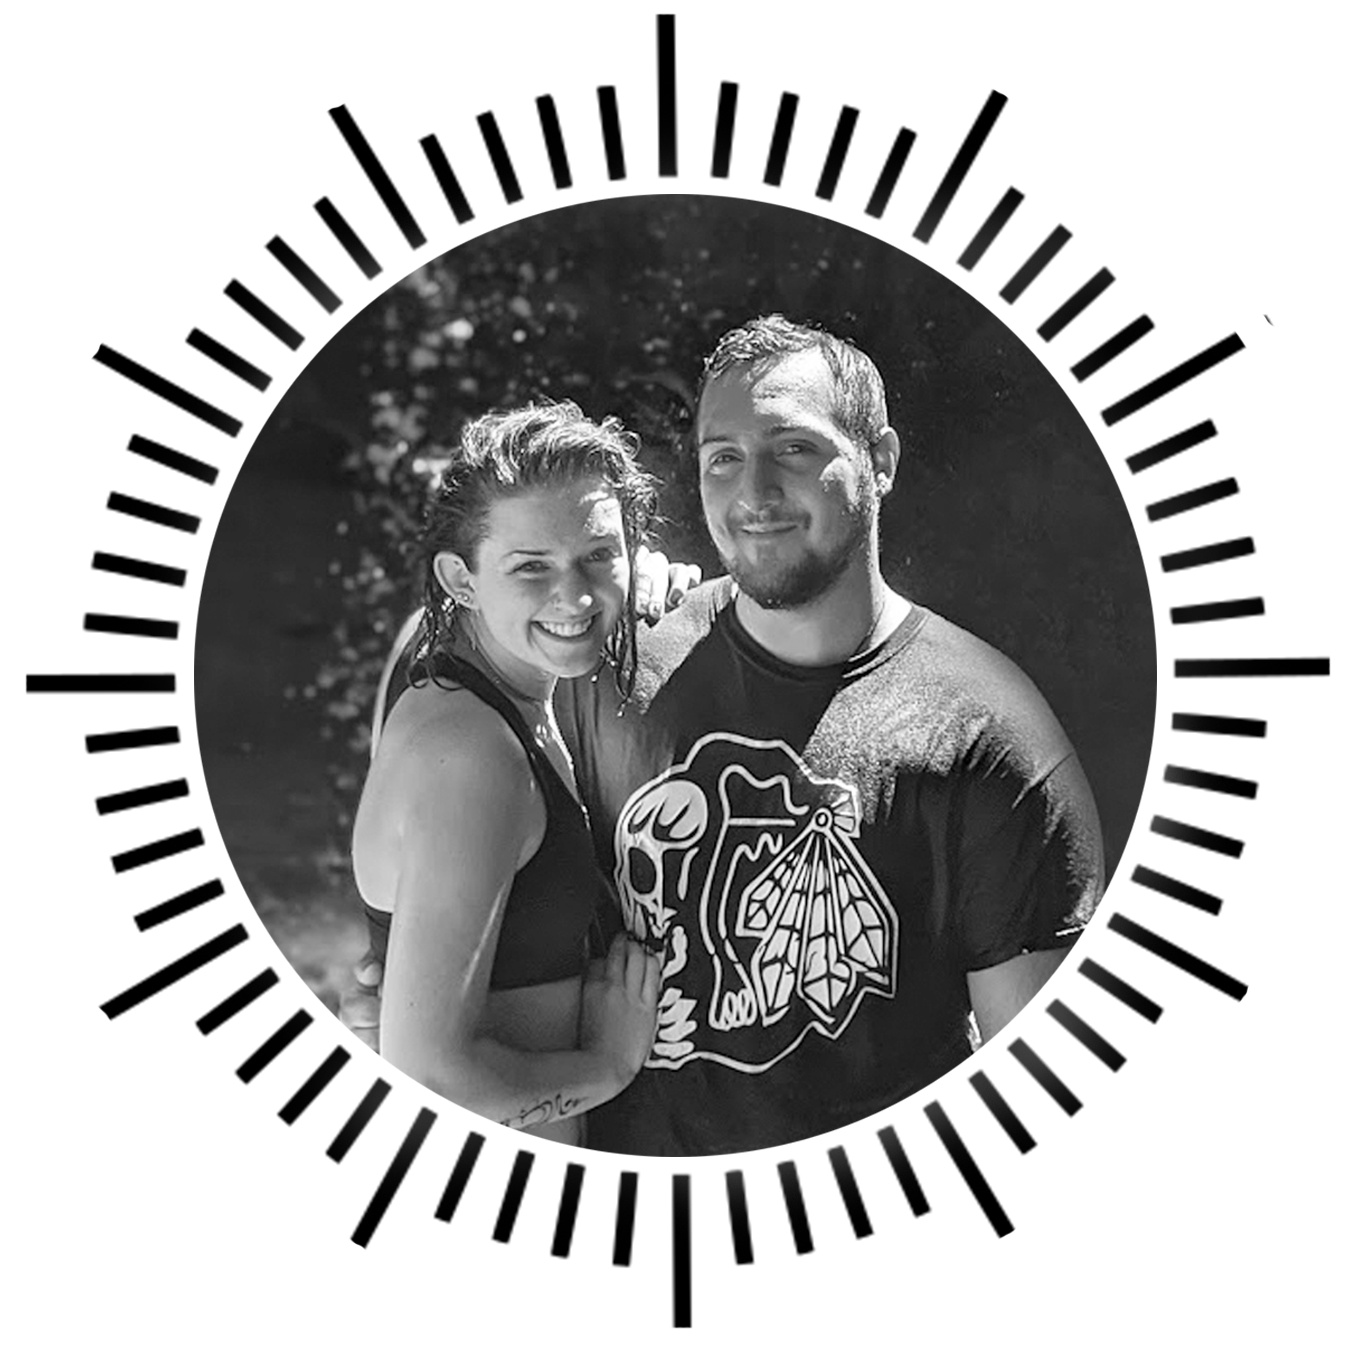
I am pretty tech savvy and good in Photoshop. I am wanting to make clocks for Christmas gifts. If anyone has time to review and help, I would be greatly and deeply appreciative. I will even payal you money for a beer if you can get me off my training wheels and get this going
We all start somewhere so no worries, before long, you will be burning like a champ. It is simply an issue of understanding a few concepts and a bunch of trial and error. This will happen faster than you think. OK, enough of that…
2100 is not a speed, it is just a number so we need the duration as well. With a smile I ask, is this 2100 in/min, mm/s, MPH? The difference can have a big effect on the output, as you can imagine. The faster you go, the less time the beam sits at a single location depositing energy, thus reducing the amount of cutting or marking accomplished.
As for the photo, post the settings for that layer so we can take a look.
It also looks like the test pattern you did is burring at the right edge. This can happen if there is not enough overscan room for the laser to slow, turn around, and start moving back again. The beam is on and the turn-around deposits more energy at that point of the burn. Adding ‘Overscanning’ will turn the beam off, then continue traveling in the same direction a bit further before slowing to make the turn. Super crisp vs bleeding burns at the edges.
I am in the same boat, but haven’t really spent a lot of time playing with it.
Part of the problem could be the grain itself, I noticed the same thing when I did a test run of a picture. From what I seen, you might need more contrast, to the human eye it looks good, but to the laser it will be a little too light - which might not be easy with a dark background.
I know it takes a long time for it to actually print, but have you considered taking part of the picture that you want the most detail and do a like you did with your test burn, but with just a snippet of the picture (when I did my test burn, I put the speed / power level next to the square for quick reference) with different settings until you find one that looks good before printing the whole picture?
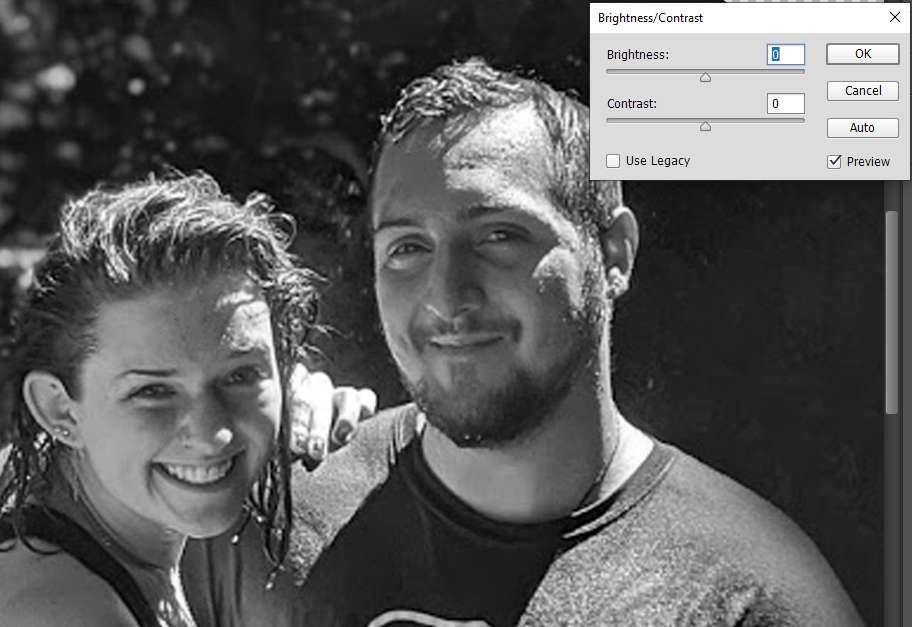
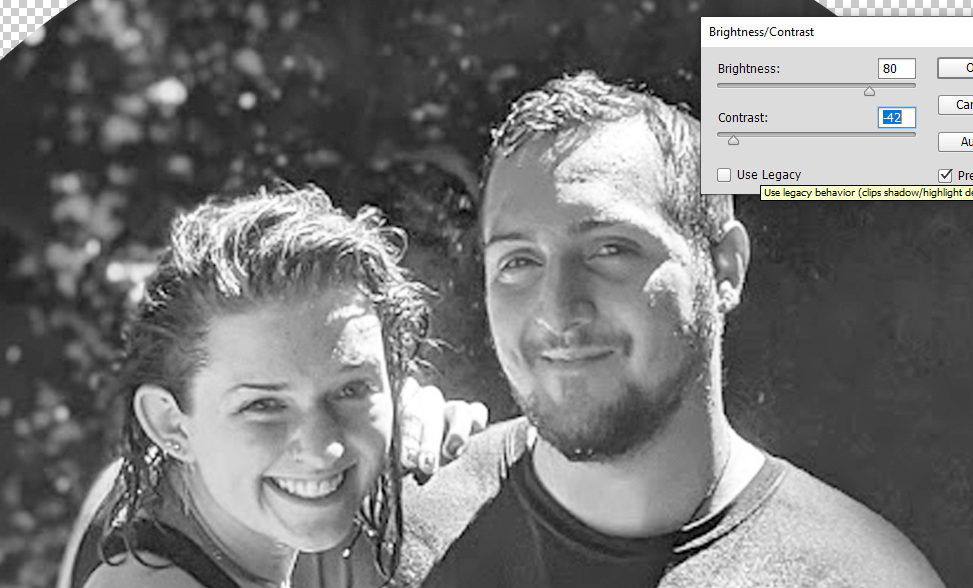
As far as the picture, I am just doing 300dpi and turning the picture to grayscale. Then adjusting the the Brightness and Contrast. I have watched youtube vids on adjusting, but not sure if my videos were really the right ones to watch.
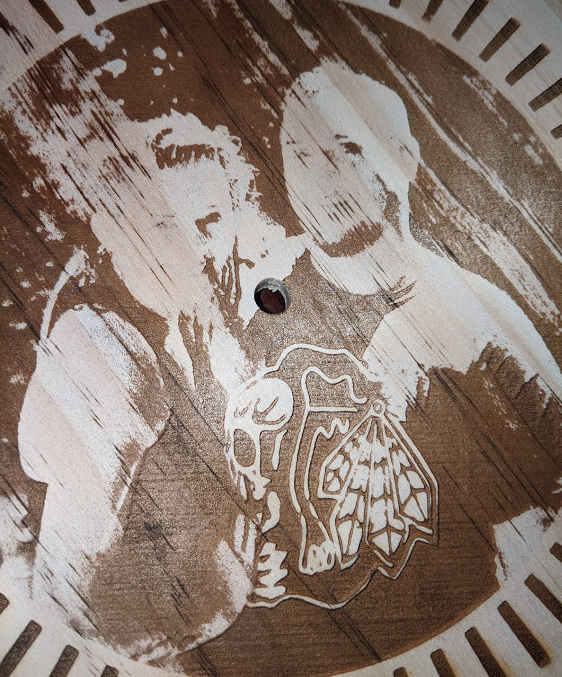
I did cut out just faces and did multiple prints. I got close once, but it was a really dark burn. Then played around so much that I lost how I did it.
As for the image edits you did outside LightBurn, no issue as you are using LightBurn to do the dithering. If you do the dithering outside LightBurn, you just need to turn ‘Pass-Through’ On so LightBurn does not touch the image at all.
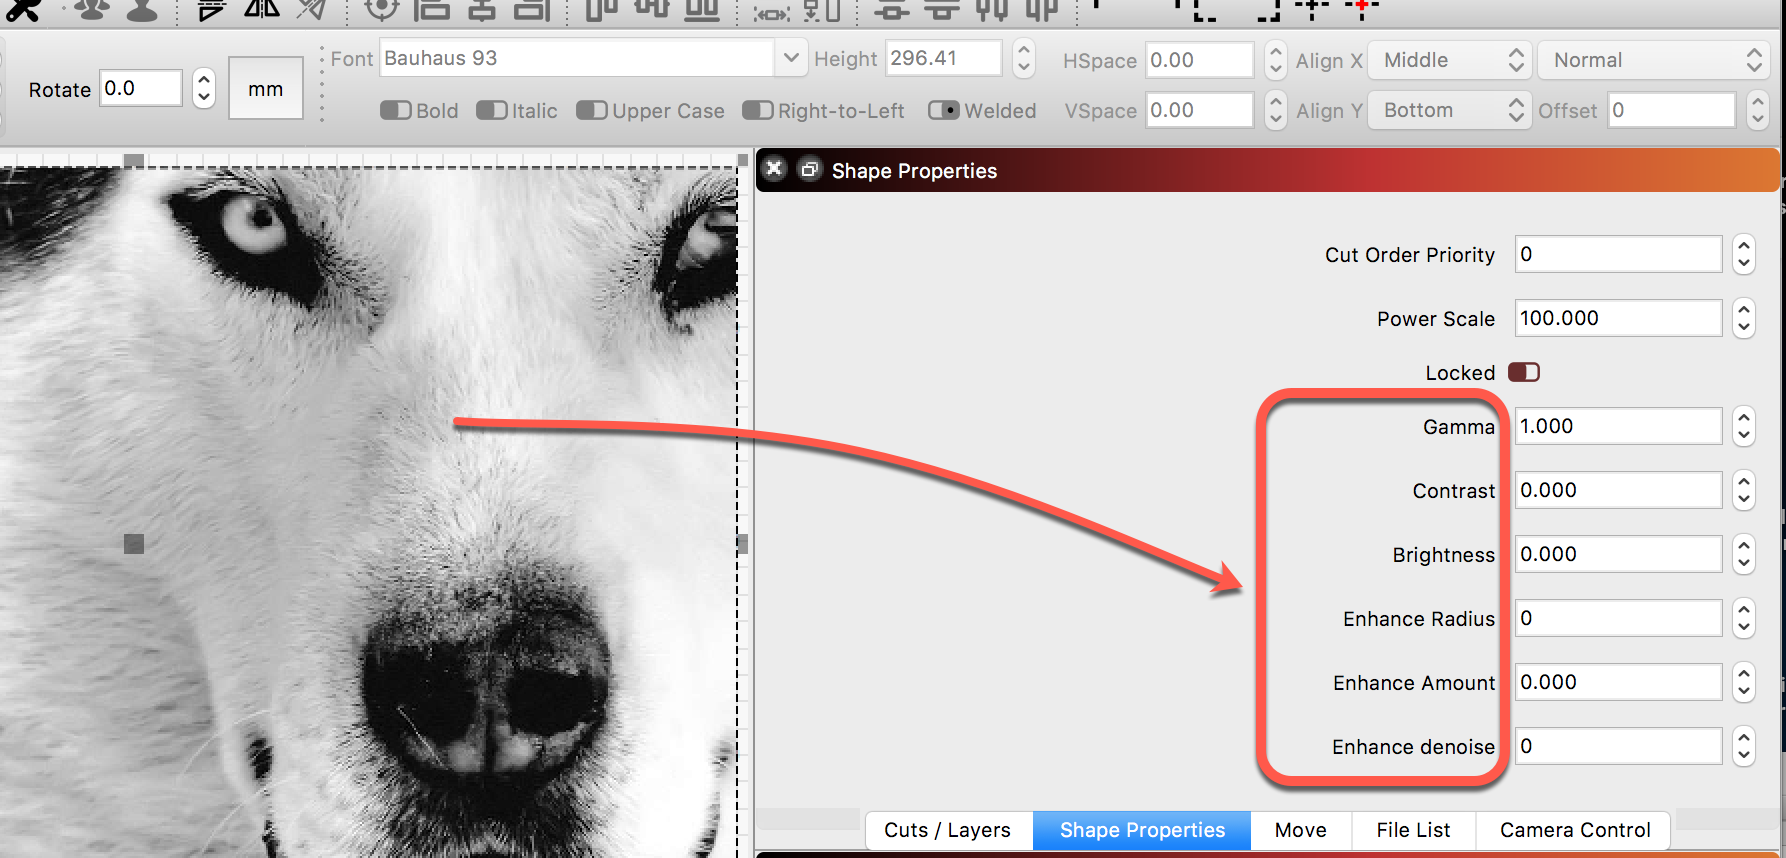
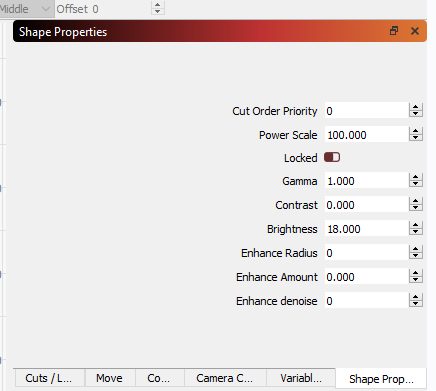
You can save a step in the image prep process by doing this editing within LightBurn, Have a look at the ‘Shape Properties’ when having an image selected.
I was looking for the Image Layer settings. Double-click the color in the ‘Cuts / Layers’ window to expose the ‘Cut Settings Editor’ window and post a screen capture of that so we can review.