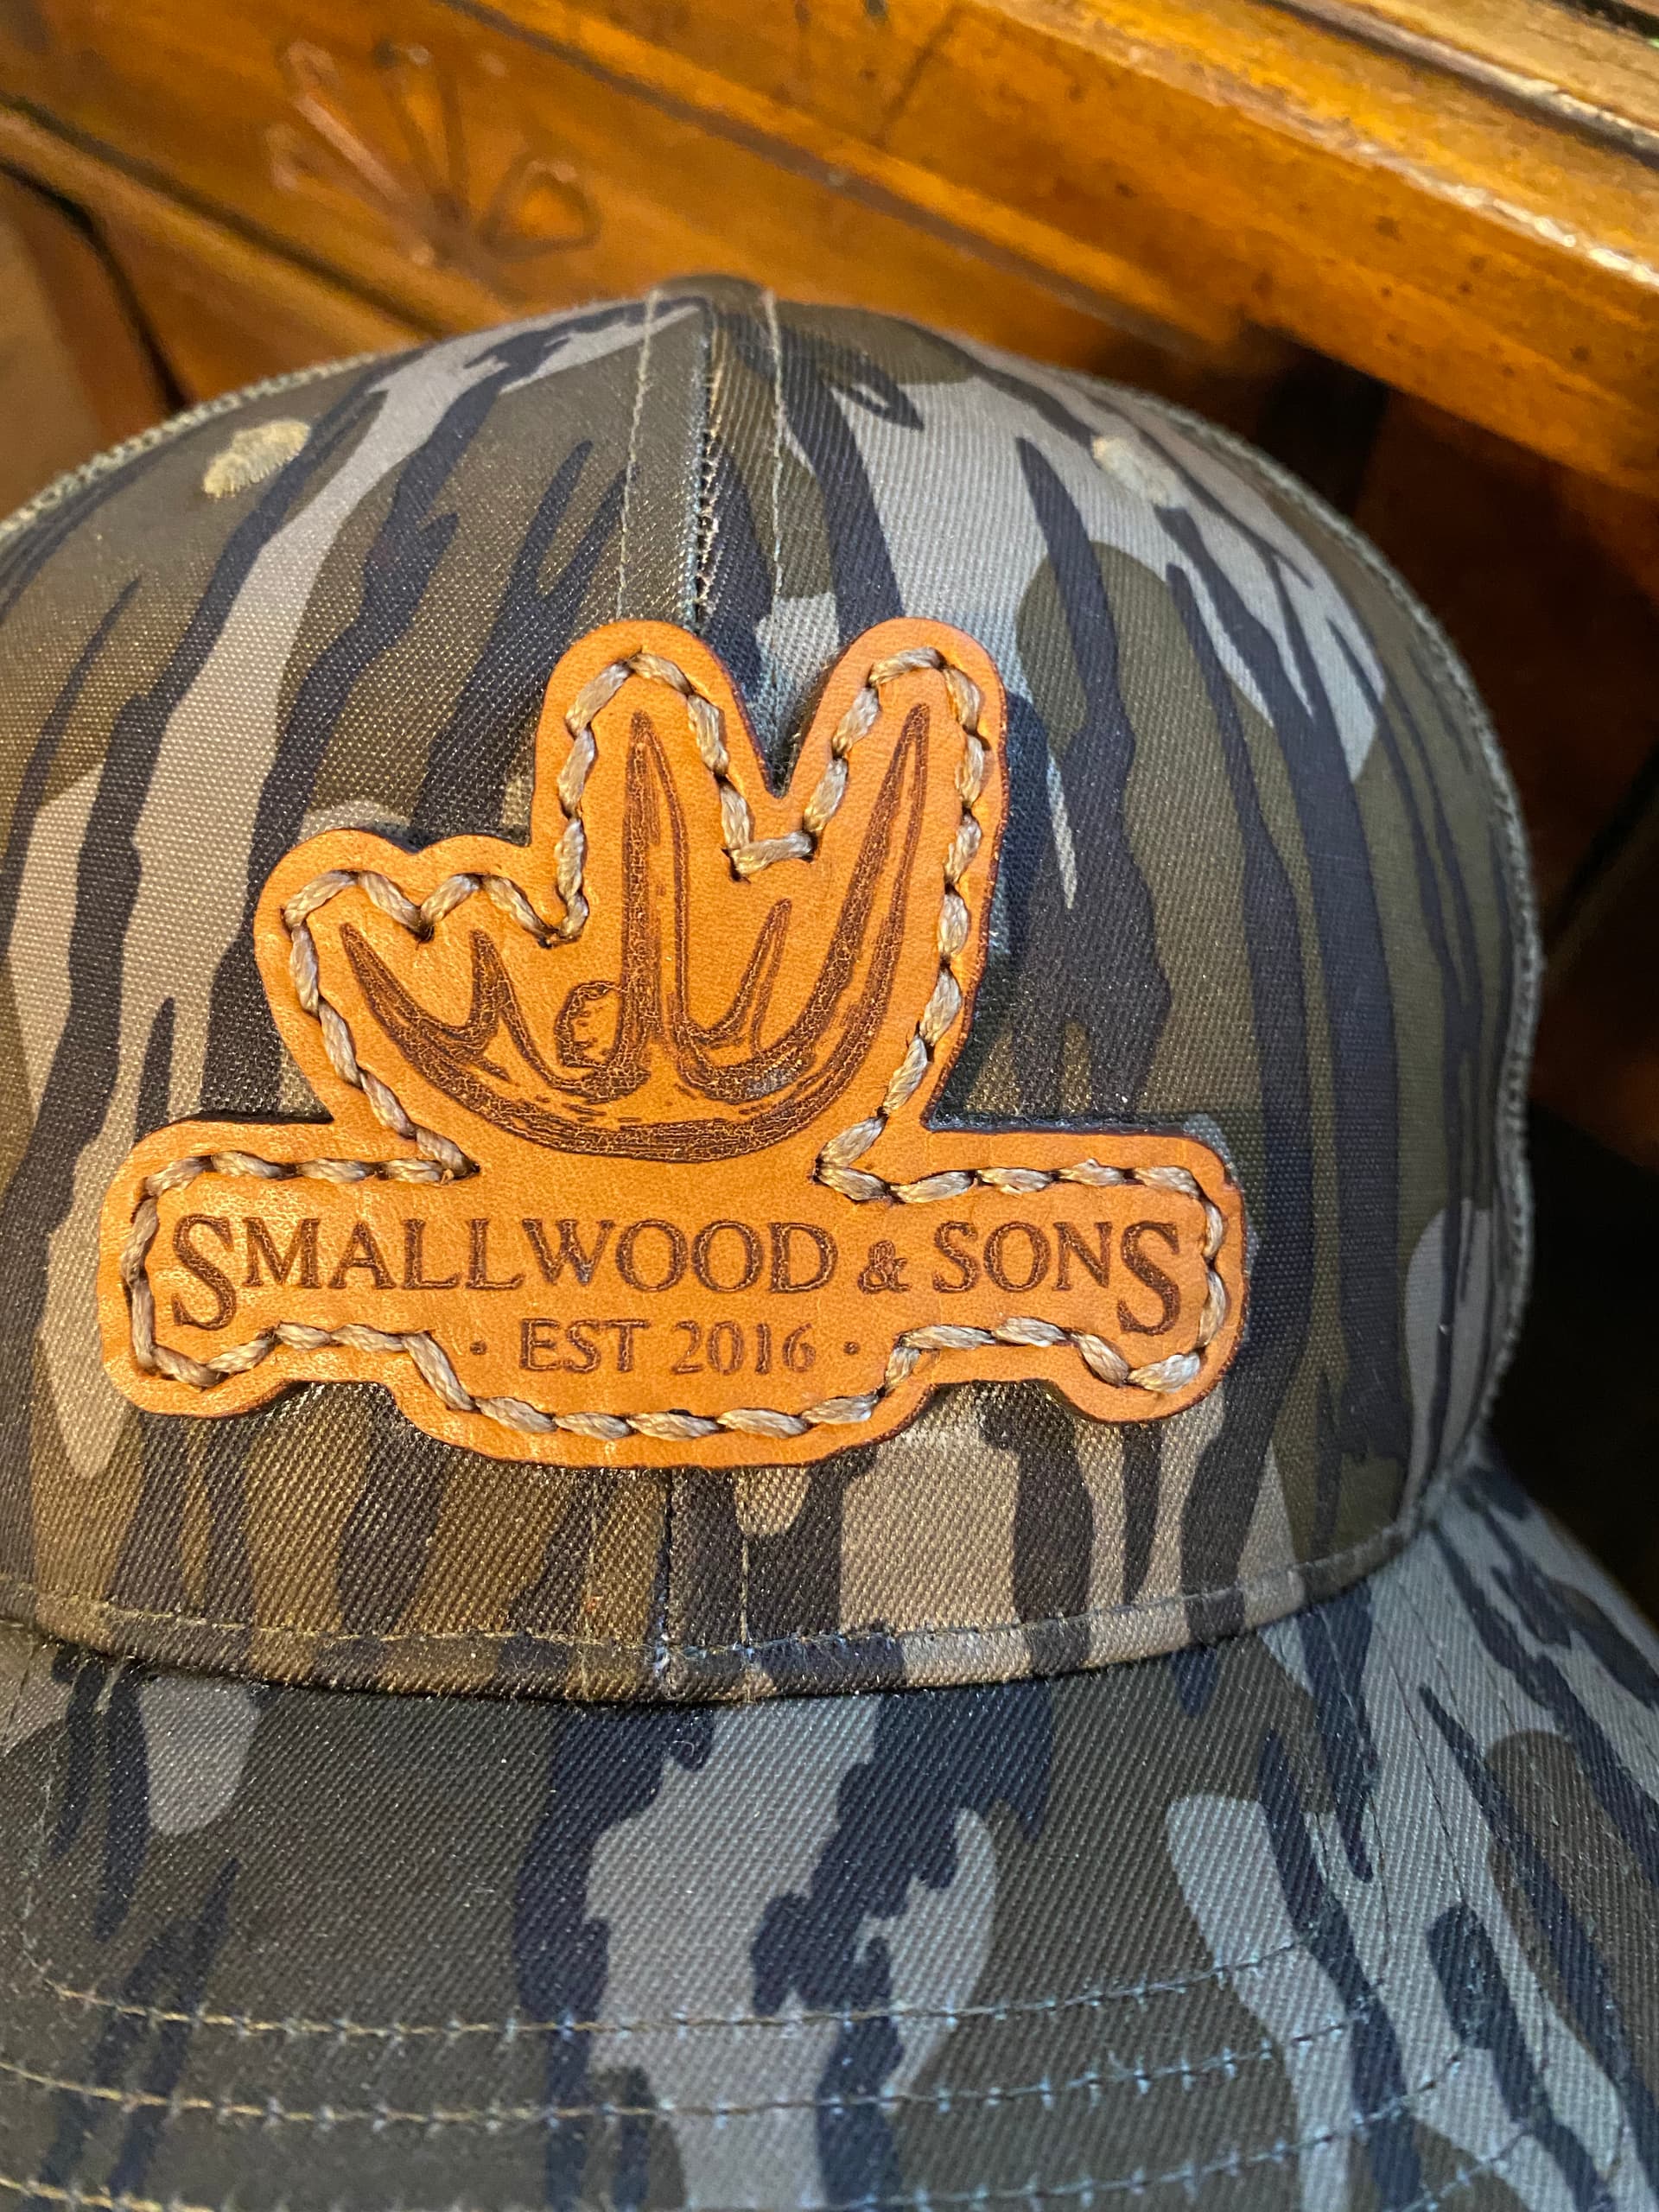
Hello, Im new to laser and laser software in general. I have a design that I’m trying to put a stitch line around and also add a cut line that is the same as the outline just offset. Can any one help with that? I have attached the file Im trying to outline. and also a photo of exactly how id like it to look. Any help would be appreciated.

Scan / trace image, text offset, graphics offset, assemble both and use boolean operation to assemble it all. New offset of it all for the sewing line and once again for the cut itself.

If there is a proper image file, the result will of course be better in addition to that, there is always room for refinement.
You can also play with how that stitch line is produced, so it is providing a real stitch line as perforations.  Line Settings - LightBurn Software Documentation
That’s exactly how I want it to look! Thanks! I’ll play with that as soon as I can! Thank you!
Thanks! I will give this a read as well
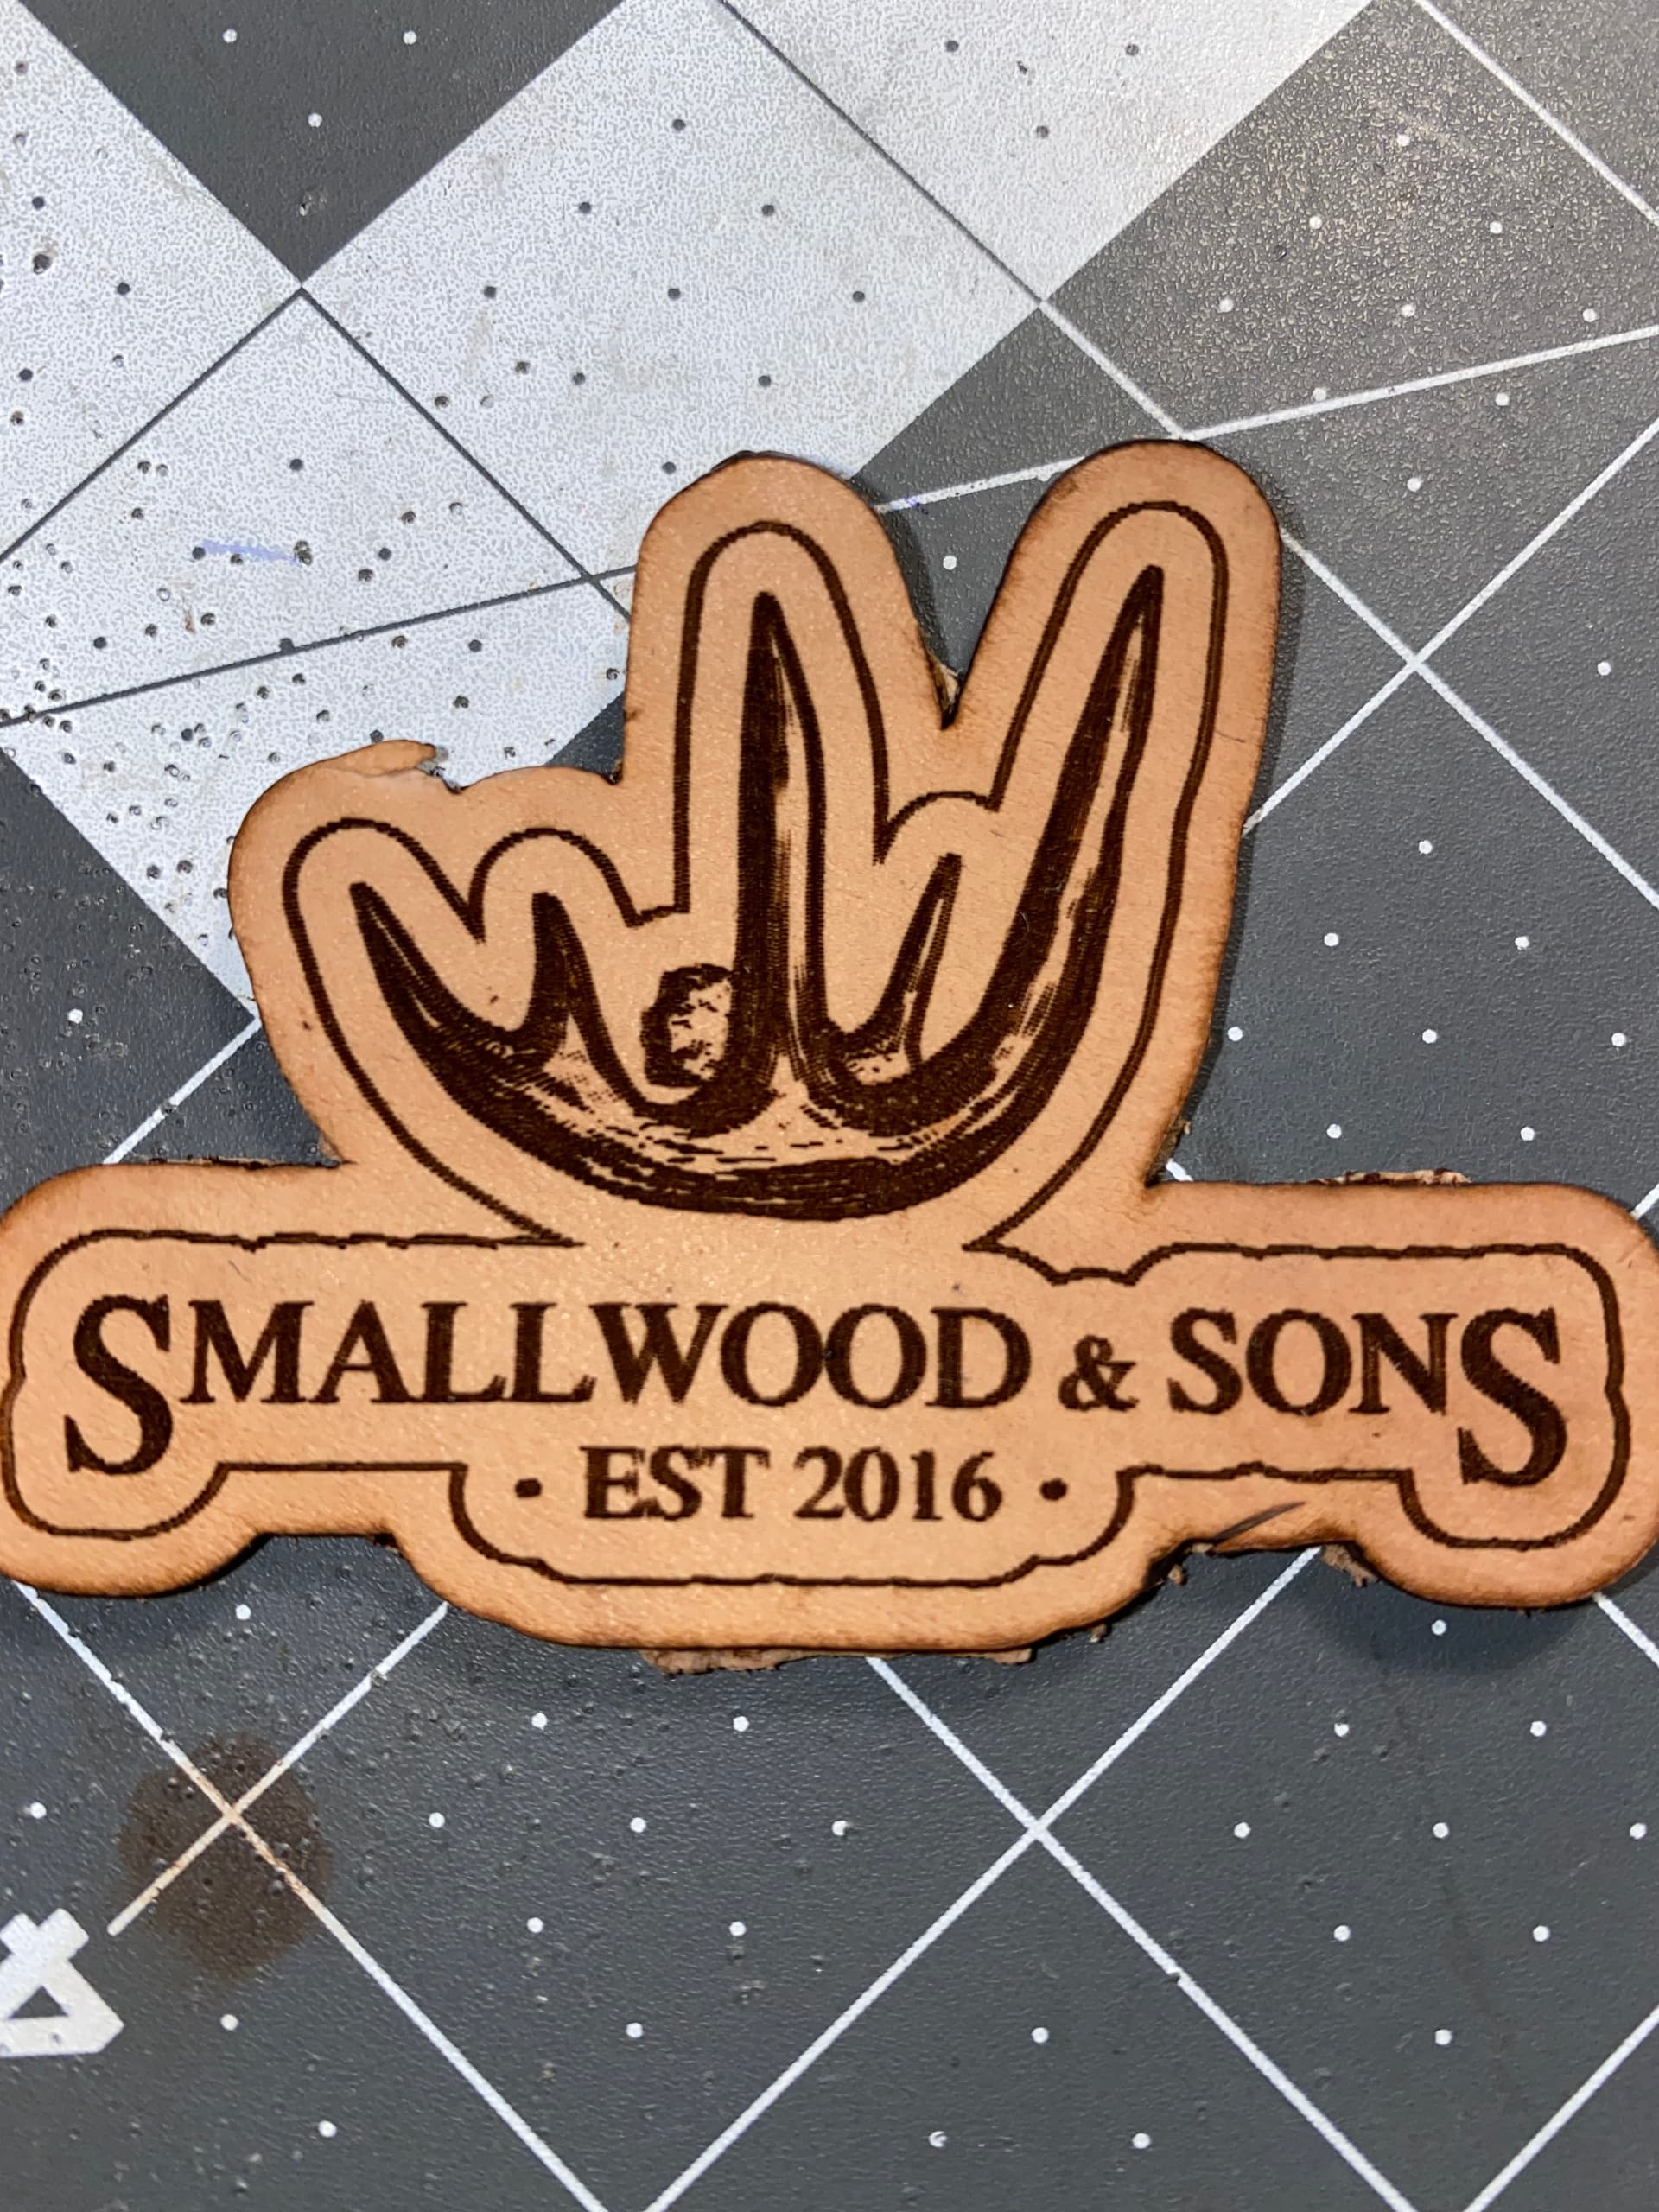
Well, that looks great! You quickly converted knowledge into tangible results - that’s the way it should be. 
Instead of a line where you are going to stitch, you could have created a dashed line that went right through the leather to make sewing the patch easier.
it is actually on the file I have provided 
I’ve been hand stitching my hats and using a stitching chisel to space the stitches and punch through the leather. So I actually just wanted a line for reference to keeping straight when punching the leather.
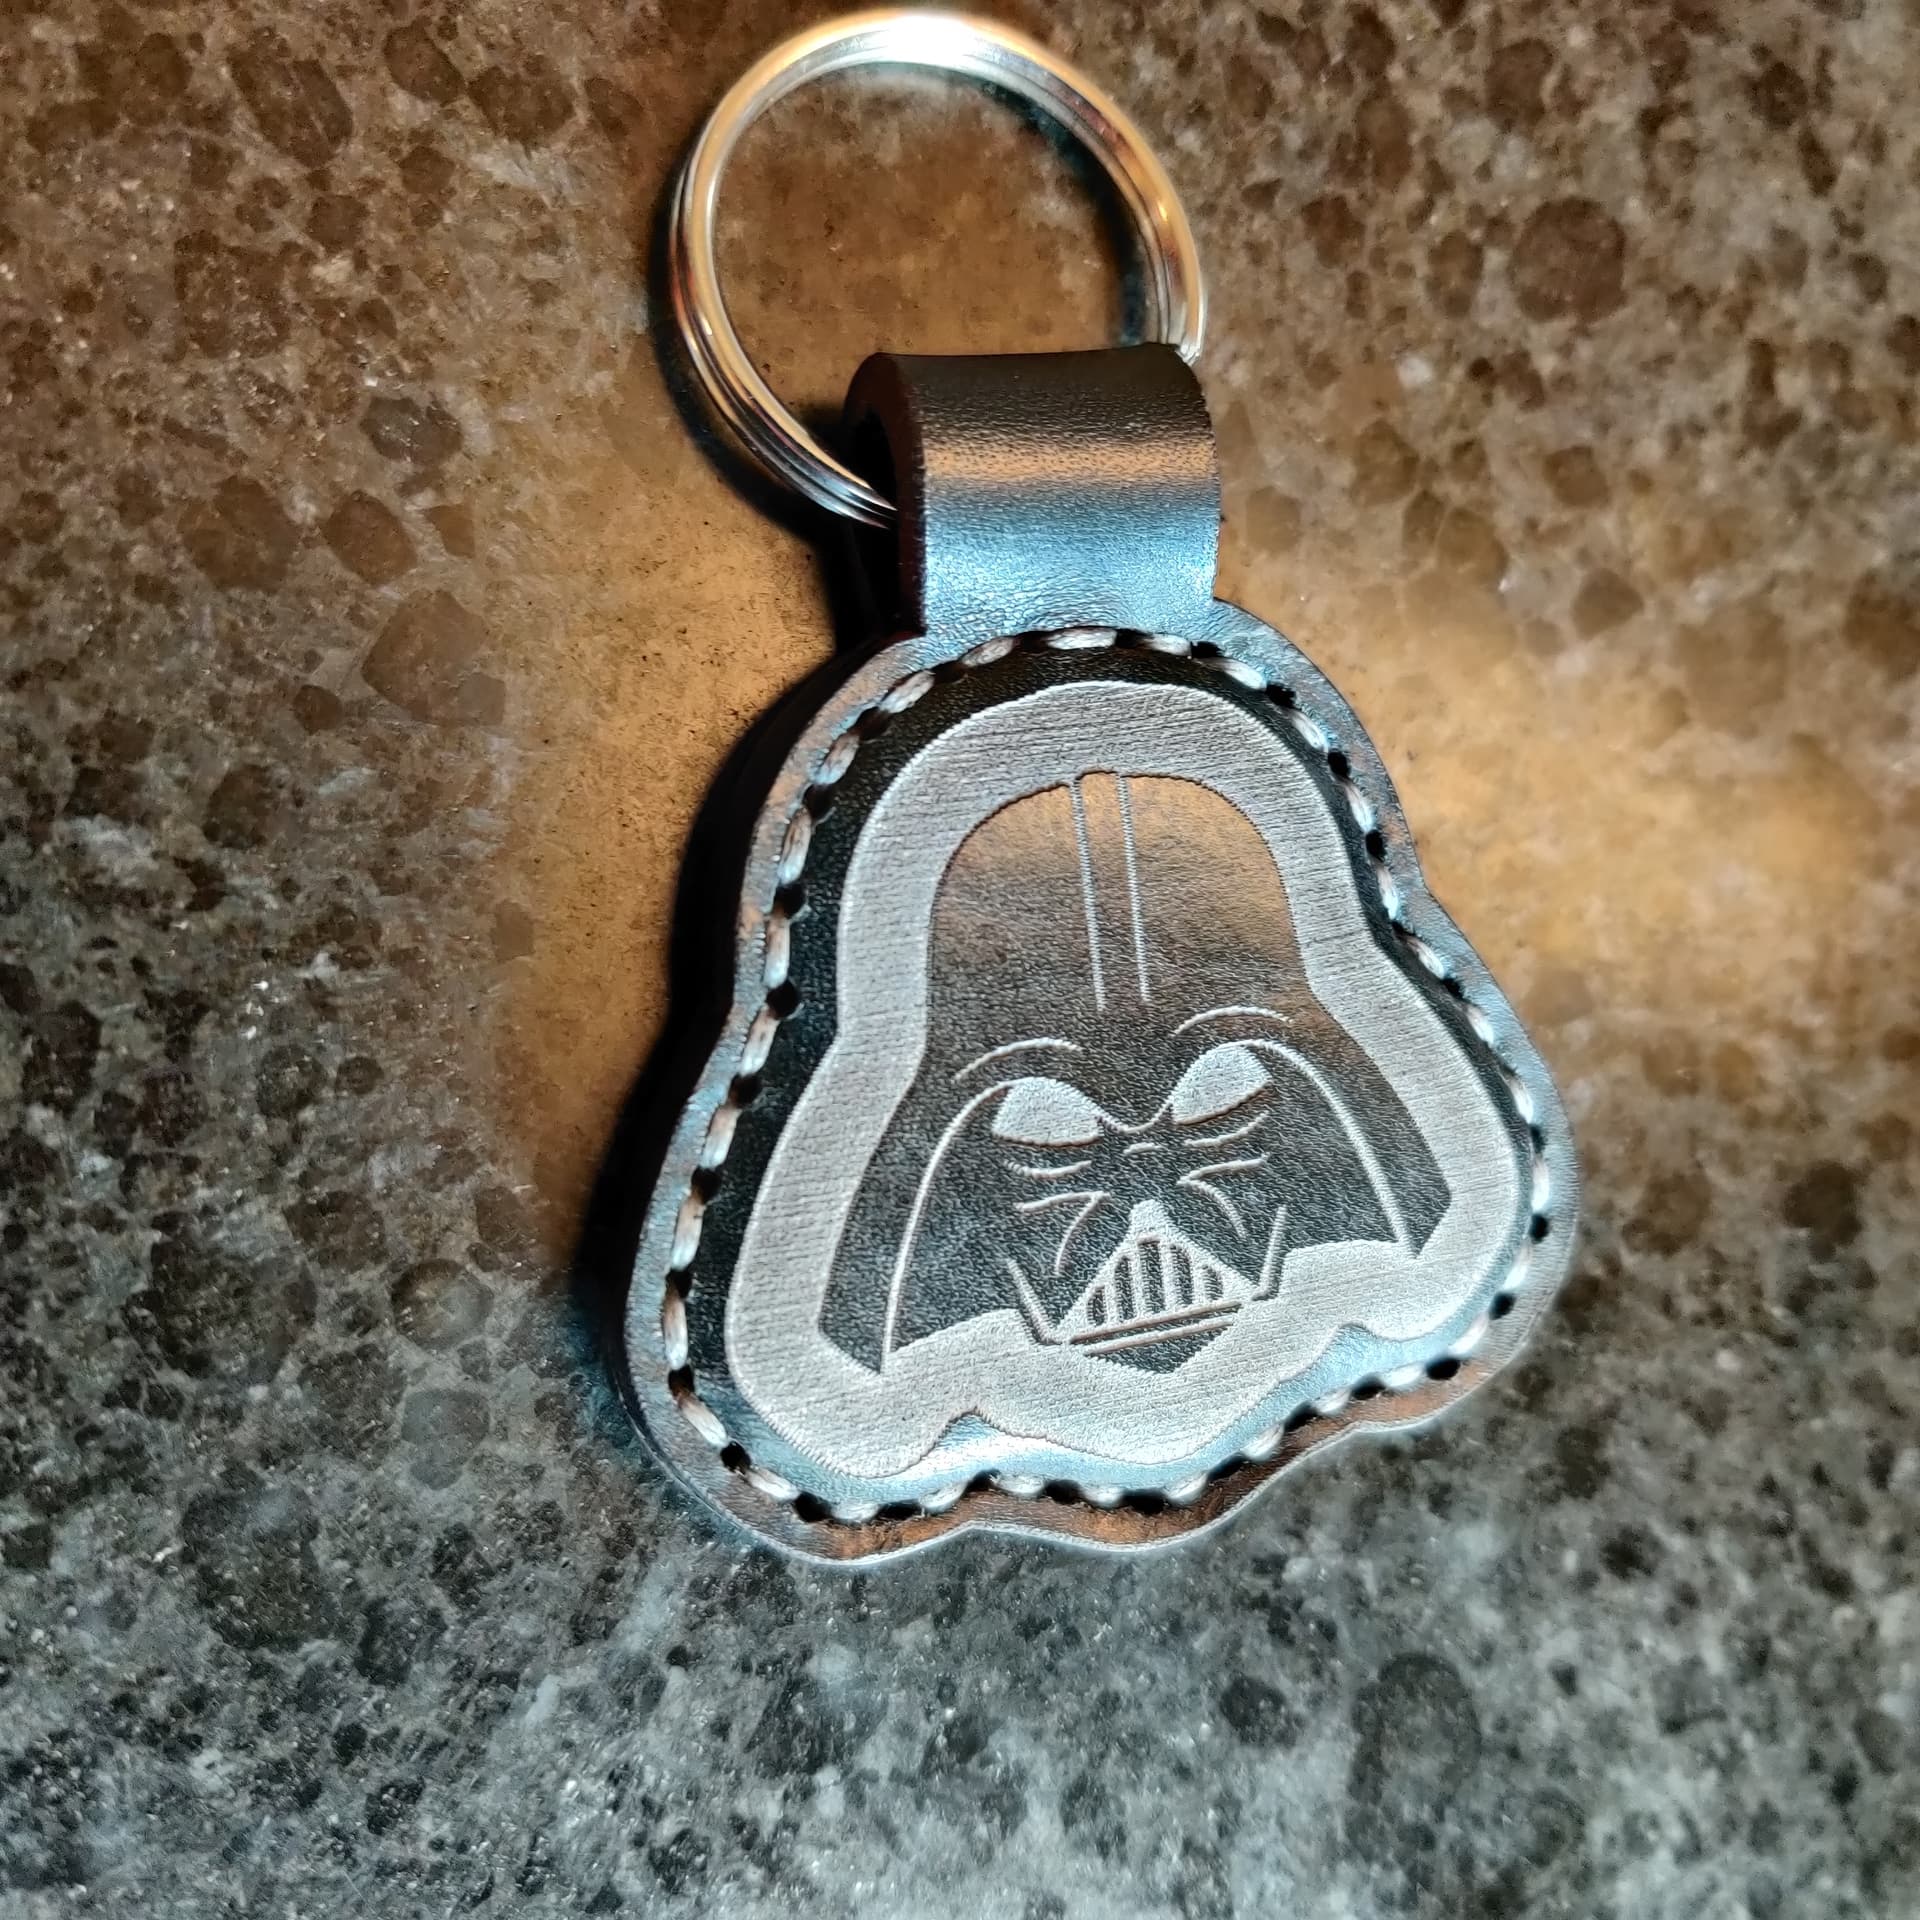
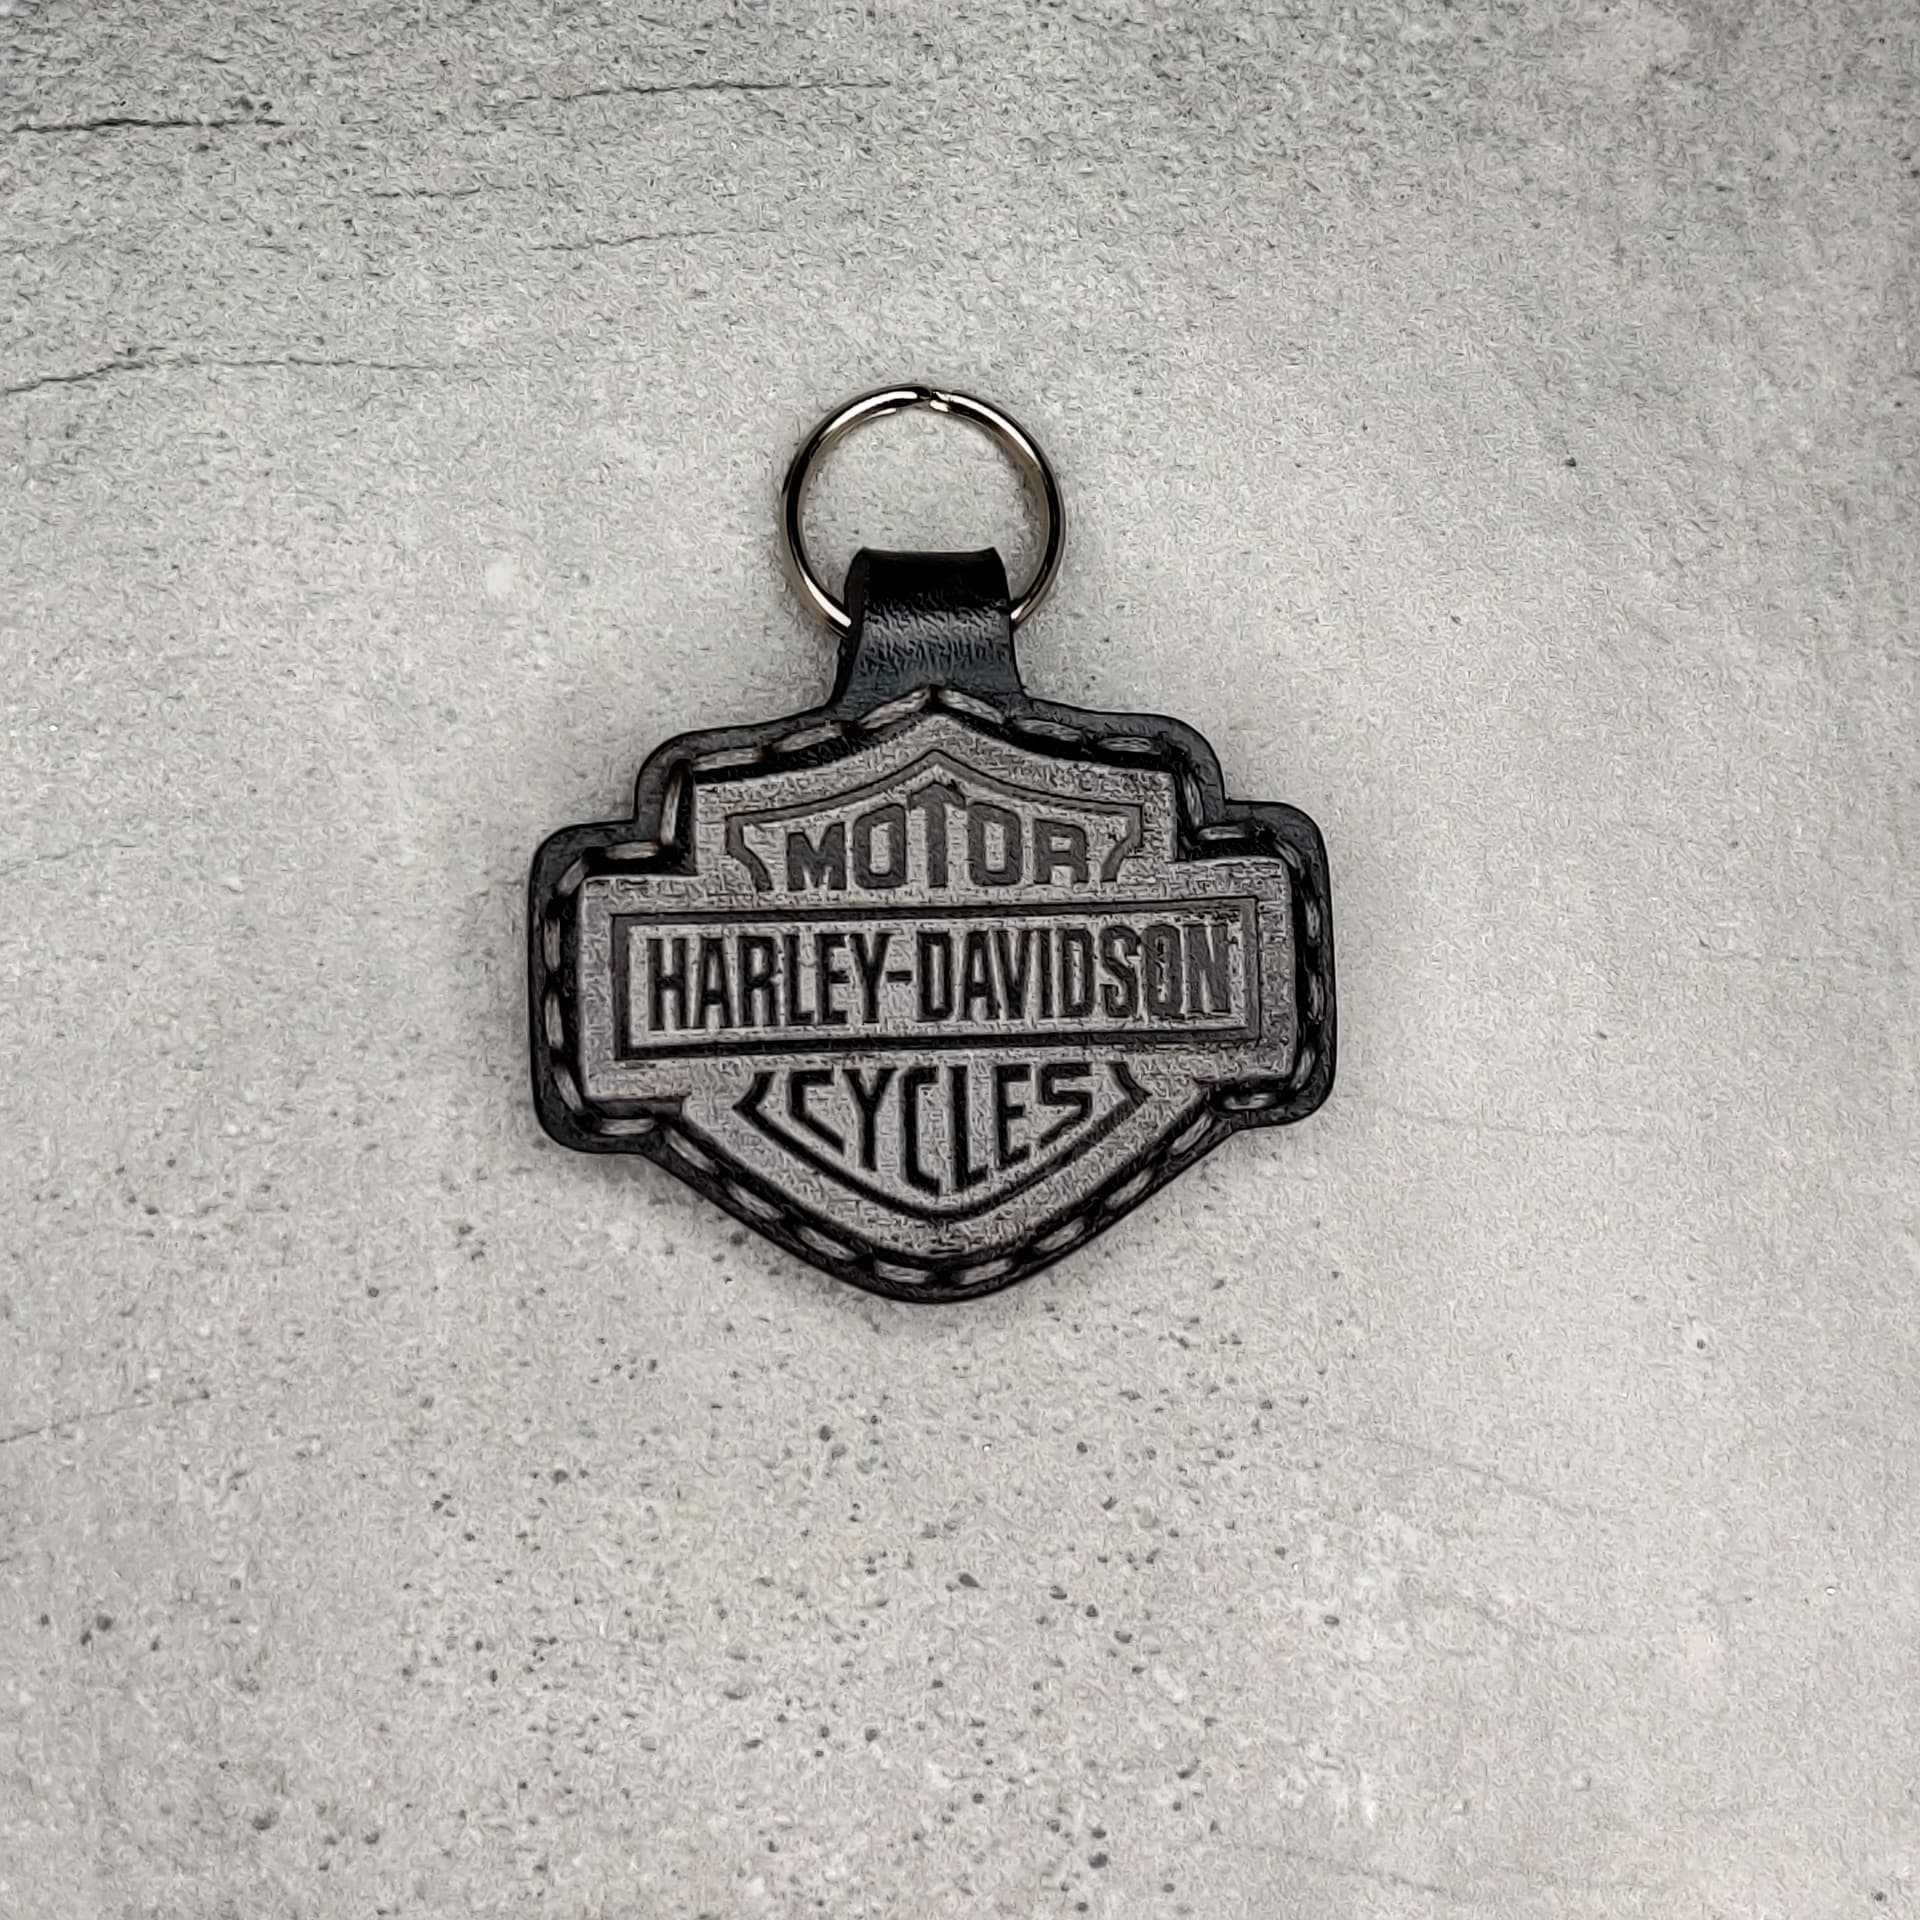
I use the laser and leather a LOT.
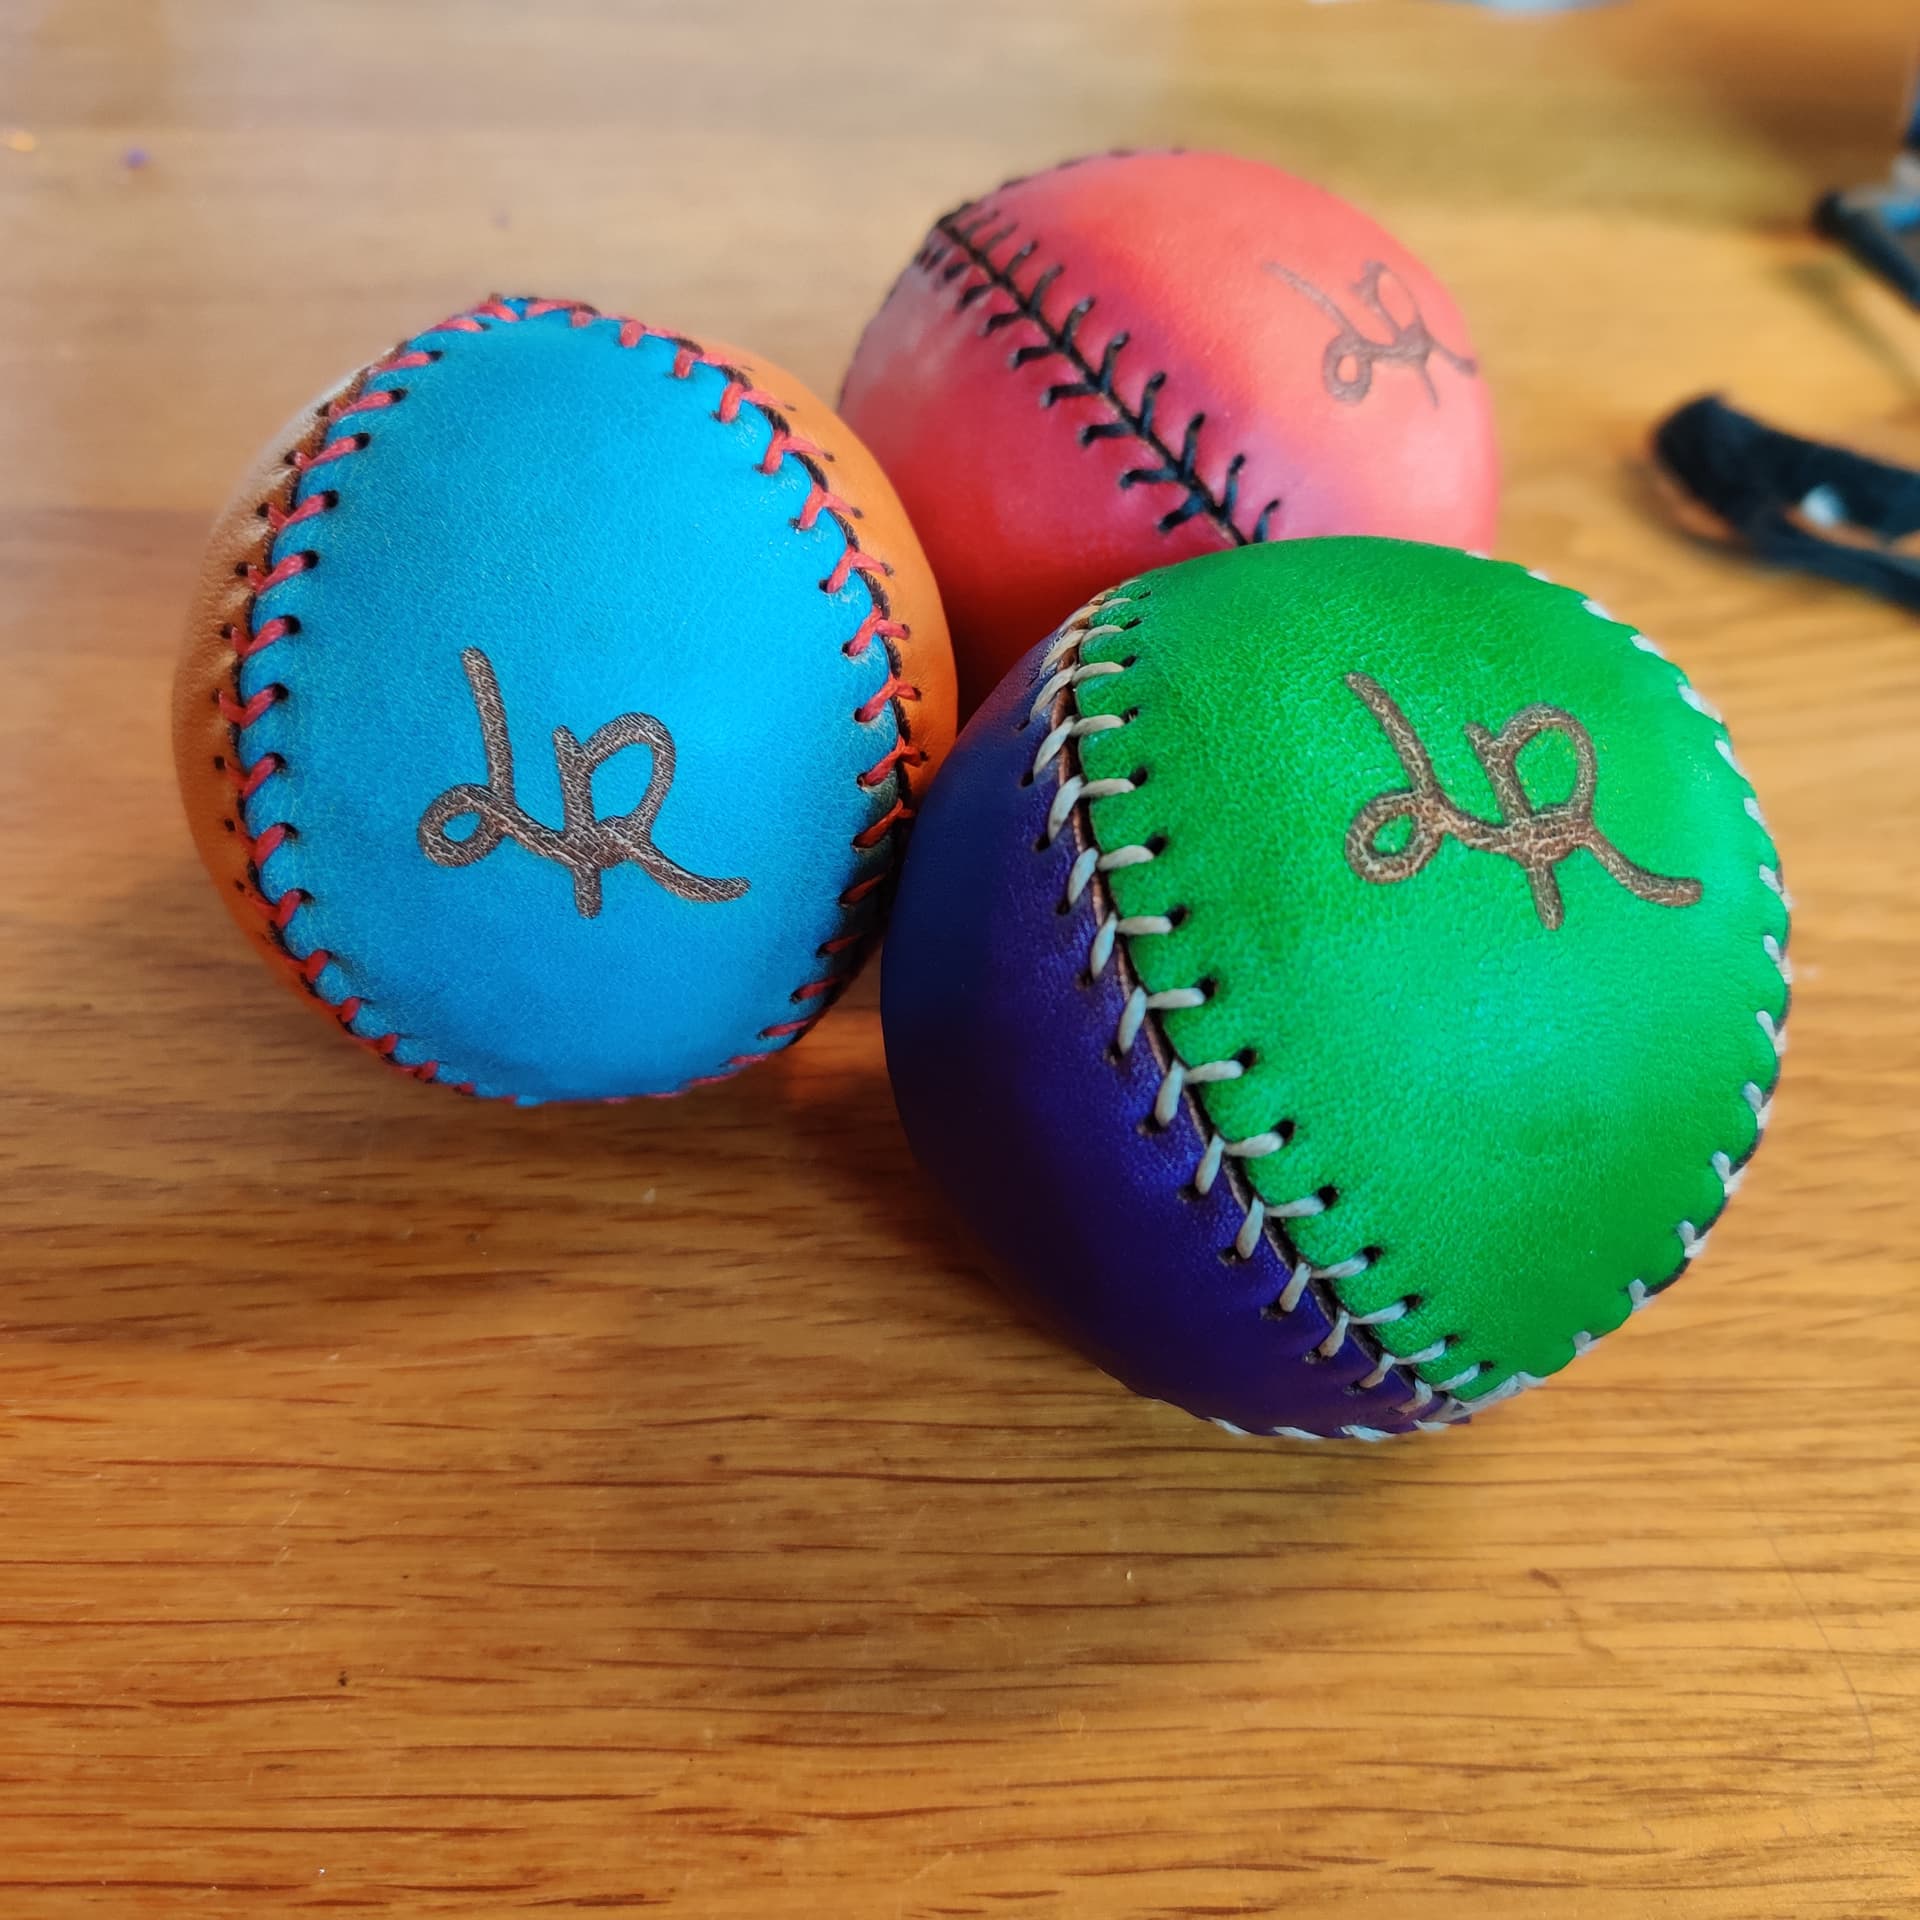
Also hand stich quite often… books, juggling balls, keychains, patches, dicebags, bags… and so on.
What I usually do… when I use a sewing machine I put a line where the stitching should go.
When I need to punch holes afterwards… I just as well make little holes with the laser… it goes in one go.
2 ways to do this… with lightburn make a little circle and place it at the beginning of a line and then use the copy along path…
But it isn’t a smart copy.
So I use a function in illustrator instead. It makes sure that the dots are places in angles corners… which makes stitching a lot nicer.

Lasercut the parts and also the holes.
If you need any help… please let me know!
I just wish my lasers were as crisp and clean as yours. However I’ve only had it 3 days. I’m hoping I get better!
It seems my laser/settings aren’t what they need to be just yet.
Thanks for the pictures. They look great.

Find the correct focal point.
This is the key. And with air some more results can be accomplished.
How much pressure do you use for ‘engraving’ and for ‘cutting’ or leather?
Would you have any tips on finding the focal point with the ortur lu2-4-sf? I’m currently using the small piece of plexiglass they provided and finding it that way.

This one can help you ![]() if you have done that… make a new piece of plexiglass with the correct heigth.
if you have done that… make a new piece of plexiglass with the correct heigth.
CO2 Laser Focus / Focusing Laser Lens Ramp Test - Laser Engraver Beginner Series Ep. 6 - YouTube is another one… youtube is filled with them.
@jkwilborn Depends on the thickness of the leather. I use air and the laser in focus… I have a 100w chinese laser myself so chances are that my numbers won’t match yours.
patch.lbrn2 (137.3 KB)