I was working on a leather sewing project to make a belt holder for my iPhone. LightBurn would be used to cut out the leather pattern for sewing, and I wanted to make the pattern automatically adjust, based on the size of the phone. I use FreeCad for my 3d printer design work, and it is a full parametric design tool, meaning that I could enter the dimensions of, say, a new phone, and the pattern would automatically adjust to its size.
So I used the following steps to design the pattern parametrically in FreeCad, and then export it as a .svg file that LightBurn could directly import for cutting the pattern:
(1) The Part Workbench in FreeCad has various shape “primitives” (rectangular cubes, cylinders, letter shapes, etc.), that are used to create complex shapes, using boolean operations. It’s very similar to what LightBurn can do with its 2d shapes. Dimensions and locations for the primatives may be saved in the cells of an internal spreadsheet, with meaningful cell labels assigned. I used this capability to design the pattern “3d body” with X and Y parameters referenced to the spreadsheet, and all Z values set to 10mm. It’s beyond the scope of this note give all the gory details, but I ended up with a 3d shape that looked like the pattern I wanted in the top view of the shape.
(2) The FreeCad Part Workbench has an “Intersection” tool that, by default, makes a cross-sectional cut at Z = 5 mm for my body. The result is basically a cut line for the sewing pattern.
(3) FreeCad can export the cross-section as a “flattened .svg file”, and that file may be imported directly into LightBurn.
I’m sure that other 3d CAD programs can be used instead of FreeCad in this technique.
Yes, I’ve done something similar with Fusion 360 and SolidWorks for birch ply boxes etc. I’m just starting to get into leatherwork so plan to incorporate parametric CAD into that workflow as well. I been trying to get to know FreeCAD better but I’ve struggled a bit coming from professional programs such as SW and F360.
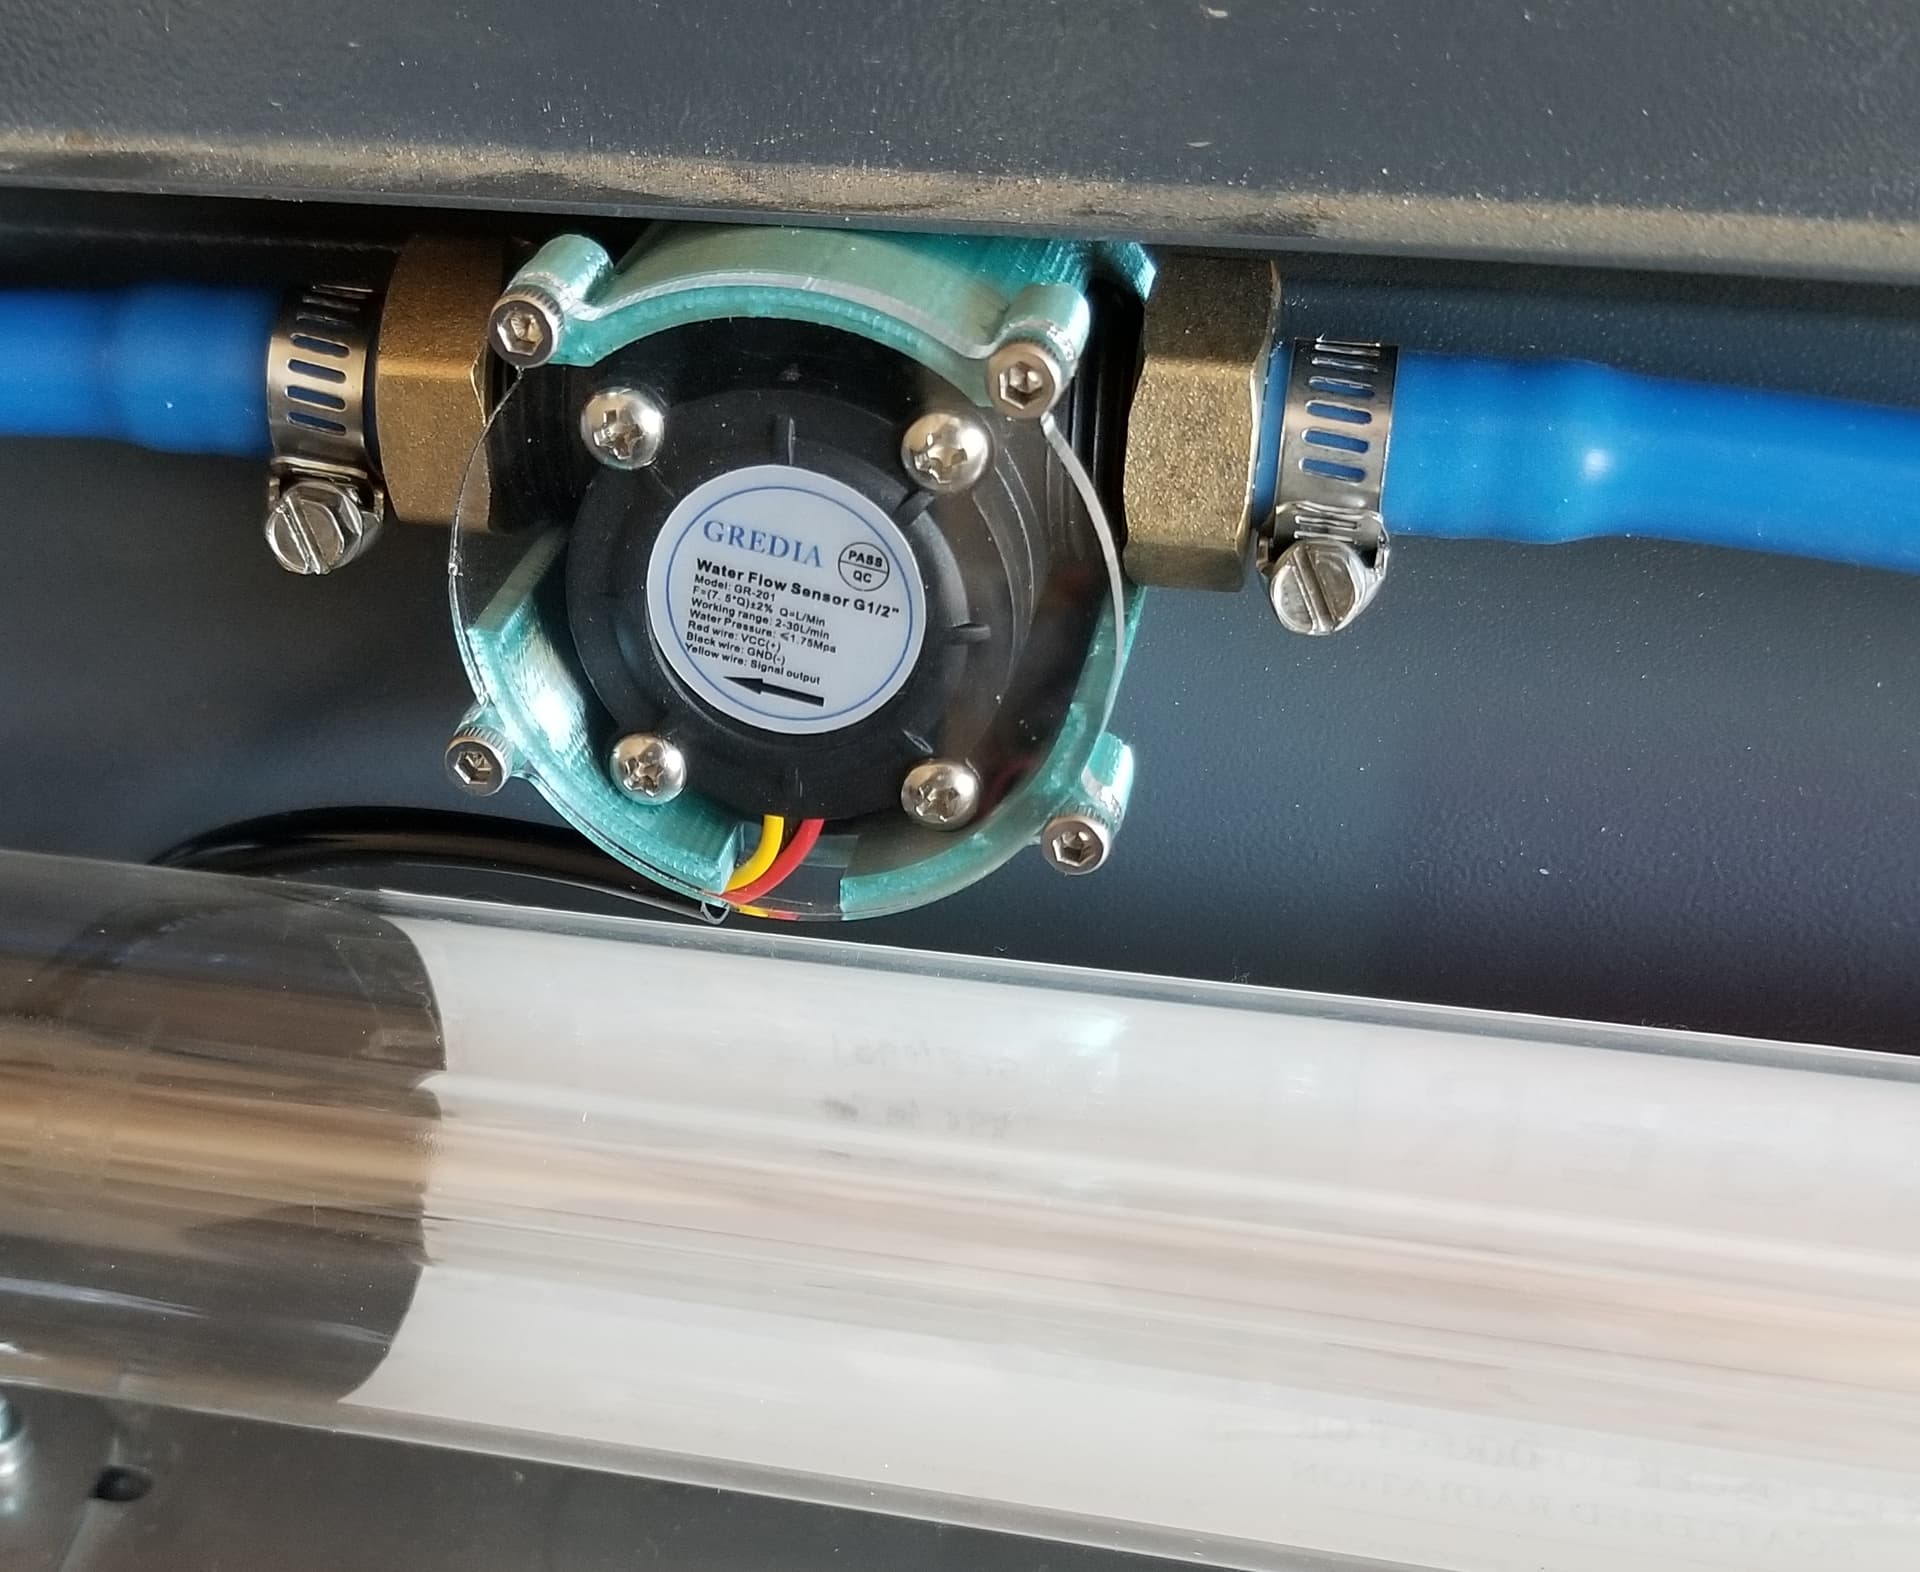
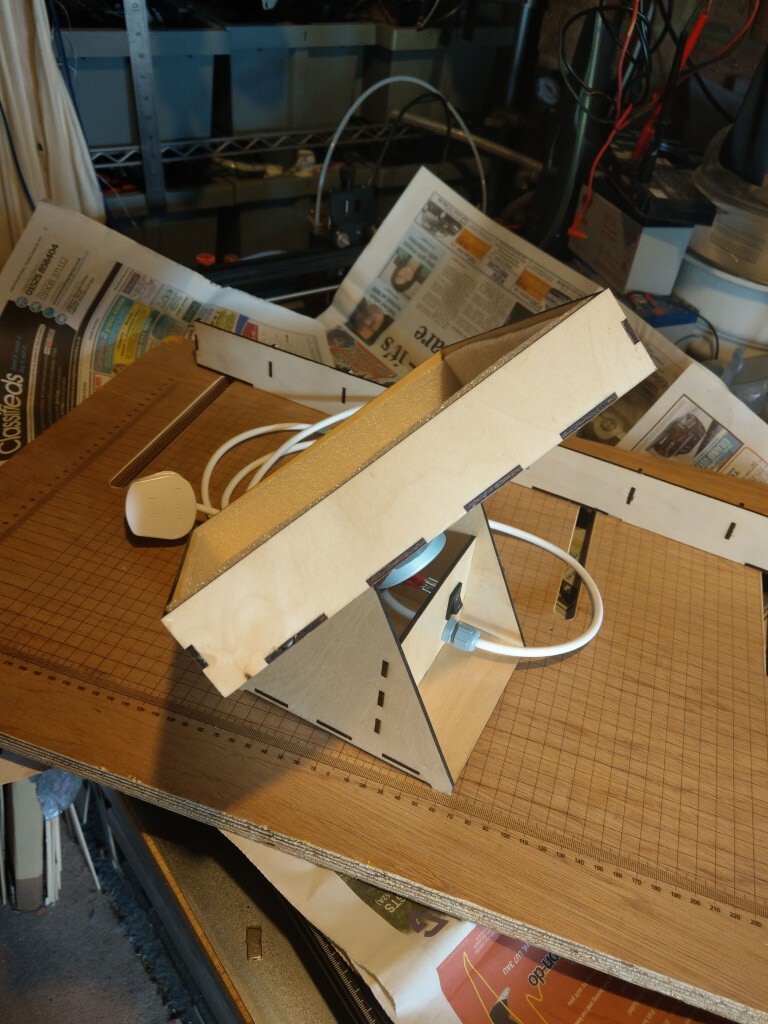
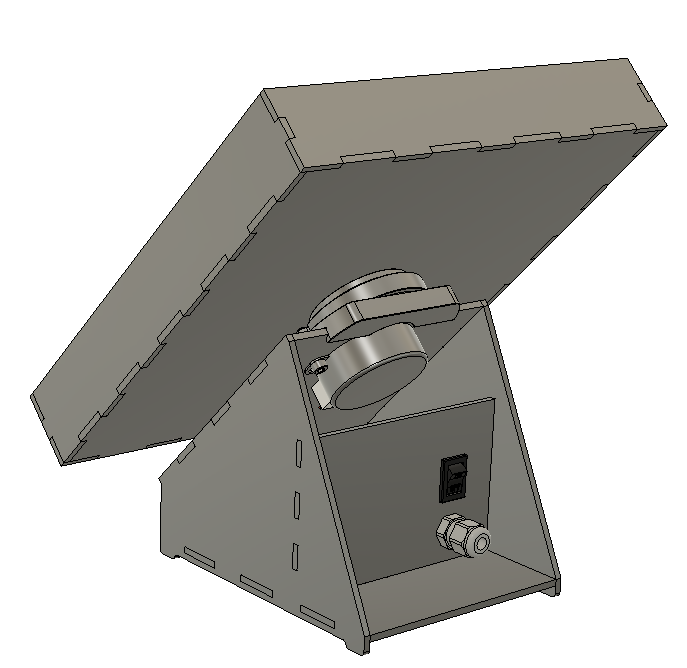
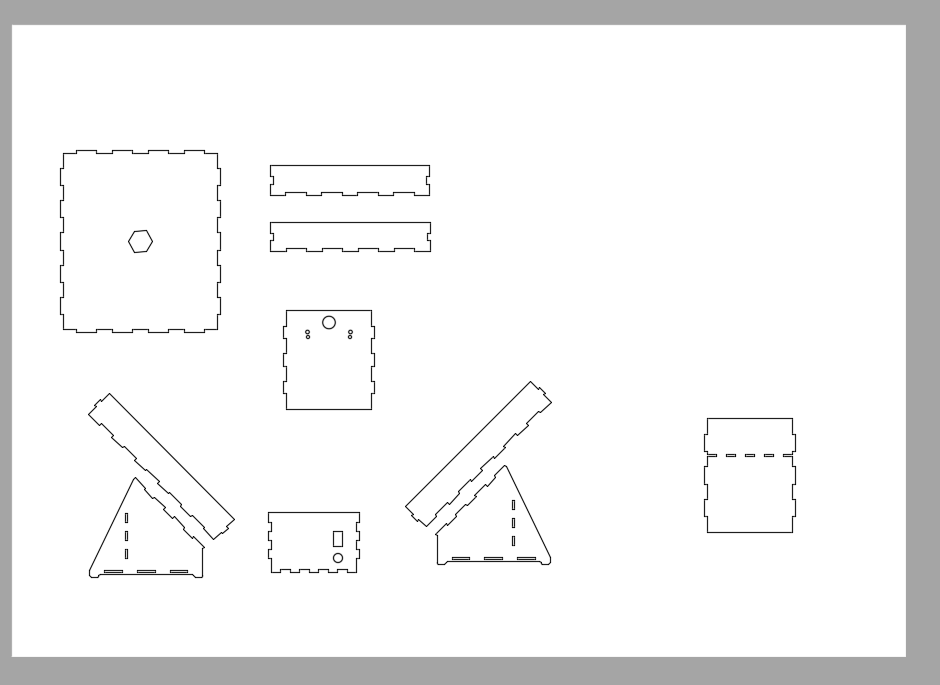
I designed my flow meter mount in Freecad. 3D printed the body and exported an svg of the lid, so I can cut the it out of acrylic on the laser…
I had to fudge it around, glad I did it this way.
![]()
Yes I saw that when you posted it some while ago. It’s great being able to do this stuff at home ![]()
Here are a couple of things I’ve created with the use of Fusion 360, a 3D printer and Ortur laser:
This is a 3D printer resin cartridge mixer:
I then create a 2D drawing containing all the views I need for lasering which I export as DXF for importing into LB.:
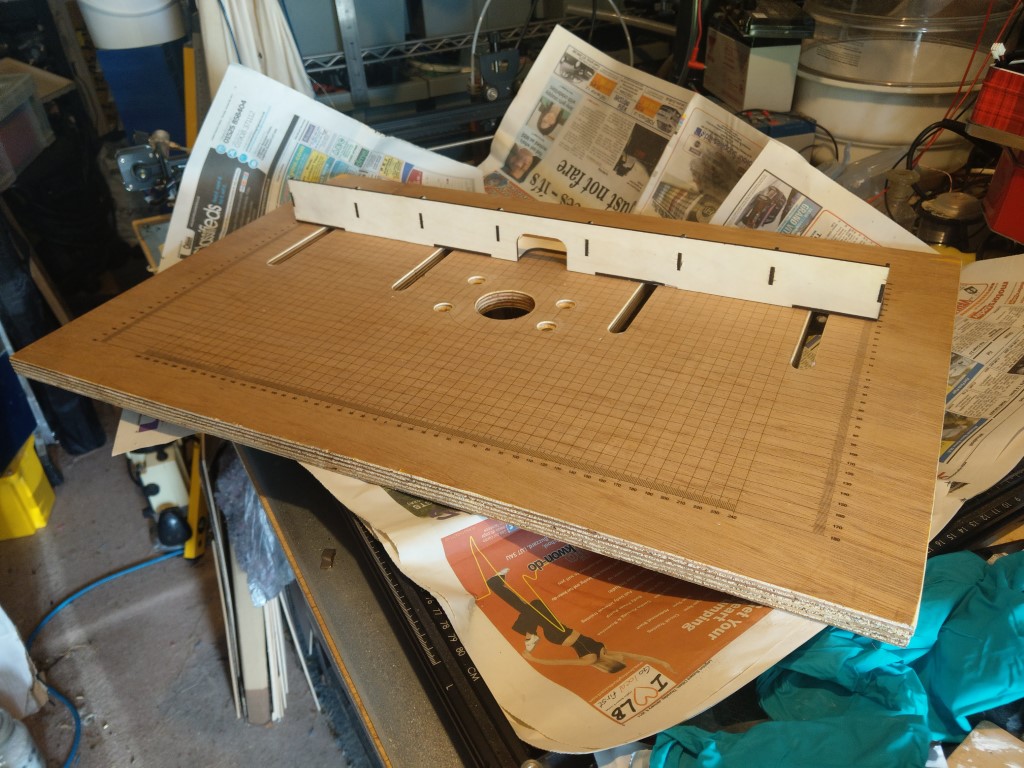
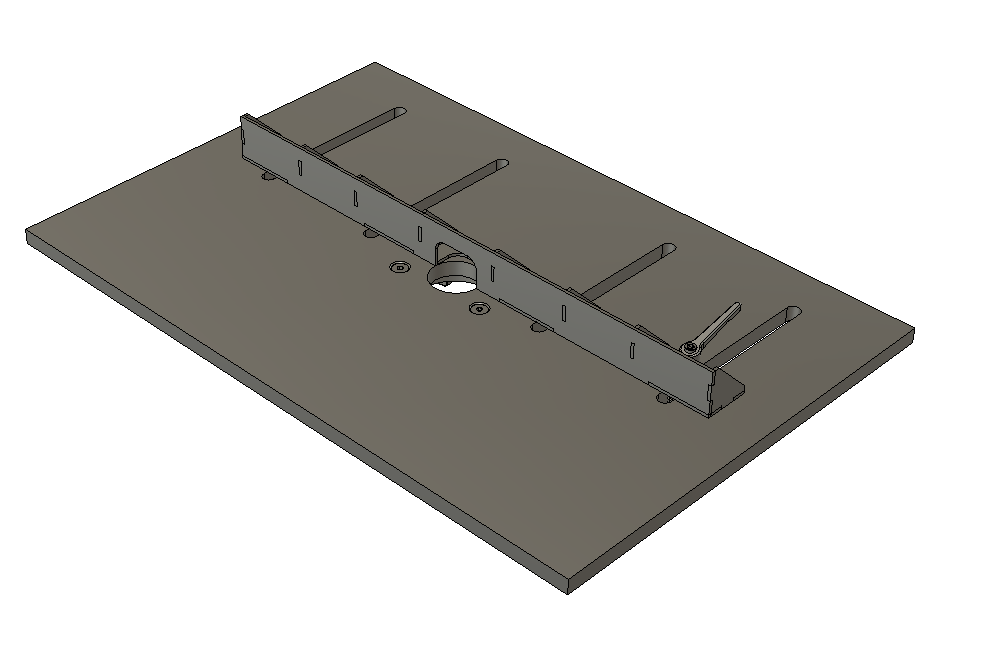
Here’s a router table that I’m making. I lasered the markings as well as the MDF templates for routing out the slots etc.
Neat stuff… thanks for sharing…
![]()
Excellent job on that router table, but if I may suggest, beef up that vertical guide by at least a factor of 3 and maybe make another one that is 3 times higher. However, not knowing what you want to route, what you got may work fine! Great Job!
Well done and one thing I learned when I first started learning CAD with F360 was that there are often a number of ways to start a design and the starting process often determines how the rest of it goes. F360 had a bunch of bugs which surprised me and I got responses like, oh yea, if you do it this way you don’t get that error.
Once AutoDesk, the owner of F360, started playing games with changing their licensing AND I found out they were making the file format completely incompatible with later versions, at the sub-version level(ex 29.02 wouldn’t be compatible with 29.03 ) I jumped to FreeCAD. It wasn’t a tough move since nothing in F360 was really memorized to the point of muscle memory AND I’d found a great video source for tutorials. Joko Engineering for example FreeCAD: The 2022 Complete Beginners Guide To Part Design |JOKO ENGINEERING| - YouTube
Some like Mango Jelly tutorials - FreeCAD 0.20 For Beginners | 2 | Create a simple model and export to STL in Part Design - YouTube
Keep at it and remember, what really will make your CAD experience enjoyable is spending time doing it and checking out the tutorials. Before long, you’ll even wonder why people even mention F360 let alone have to deal with either the annual licensing or constantly having to upgrade just to share a design made a week earlier with the then latest version.
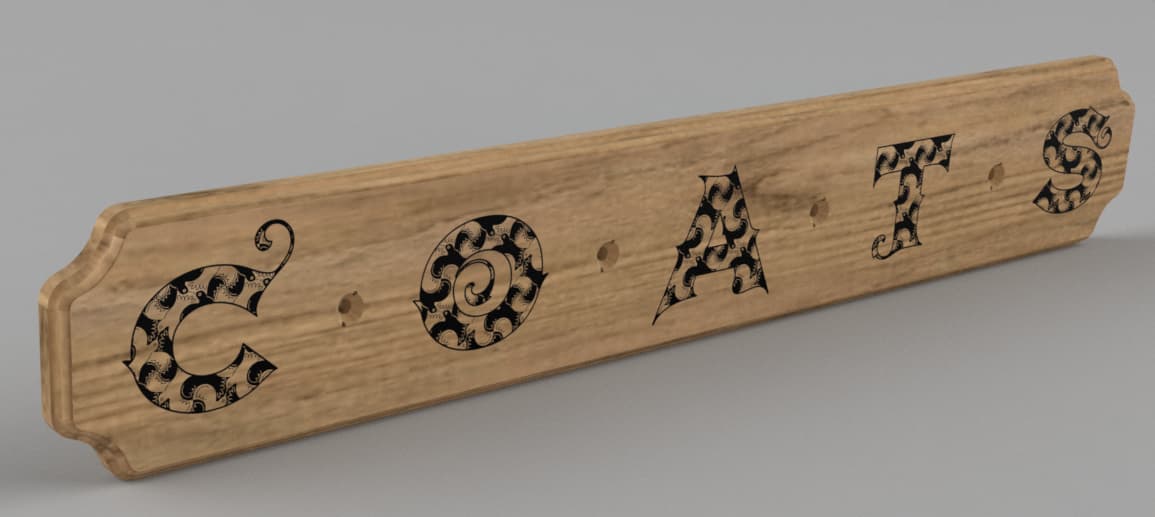
Thanks very much! I don’t do as much woodworking as I’d like as I just don’t have the space and I don’t actually have any jobs currently in mind that require the fence. It was designed around the materials I already have and it’s surprisingly rigid. However, as you suggest I expect I’ll want to make a taller and more rigid one at some point in the future. My immediate requirement is just the table as I’m making an oak coat rack that needs routing but that will be using cutters with a bearing on them. I lasered the template for routing the corners a long time ago but it’s been waiting for me to make the table!
Here’s a rendering of the coat rack (without hooks as I didn’t feel the need to go that far!). I haven’t made a final decision whether to go for ogee, chamfer or concave/convex radius around the edge yet.
Thanks very much!
I started using SW over 20 years ago, F360 since 2017 and AutoCAD since about 1988. My day job is design engineer so I’m quite used to those packages, however I’d still like to learn FreeCAD but after so many years of the aforementioned CAD systems I find FreeCAD very clunky. I’ve heard there’s a major improved version coming later this year which addresses many of the main issues so I’m looking forward to that.
Thanks for the links. I’ve watched a few of the Mango Jelly tutorials before but I find he strays off the point and goes way too slow for me to retain interest. I’ll check out the other link, thanks.
When stuff is free, you don’t get all the great, additional bells, whistles and updates that come along with these expensive packages…
Such is life in the free software world … we’re lucky to have packages like Freecad and Linux for free…
![]()
Oh yes, don’t get me wrong, I think it’s fantastic that we get stuff like FreeCAD and Linux as well as a multitude of other packages for free. I used to use Delphi (up to version 7) for all my software development but I’m now using Lazarus. It’s not as polished as Delphi and lacks some features (as well as having some some annoying bugs!) but it works for me. All hail FOSS!
Ya, with that many years on the other packages and especially AutoDesk products FreeCAD is going to take some getting used to. I went from a bunch of years using OpenSCAD to less than a year on F360 so it was an easy jump to FreeCAD since I only had concepts to shift, not any muscle memory or implementation patterns to unlearn/shift.
Joko Engineering generally does targeted tutorials and stays on target to keep the session short. It was nice he redid his Beginners Guide since so much had changed in the FreeCAD interface since his previous one. Then again, I have no corporate budget paying annual licensing fees for the non-free software and I’m vary much against renting software which I use to create design files with.
Hopefully you post to the FreeCAD forum your thoughts and issues with the software. They are super responsive and feedback is what points the devs to improvements.
Yes, FreeCad has quite a learning curve, but I eventually found the Part Workbench (and not the Part Design Workbench!), and I do 90% of my 3d print designs using that. Aside from a nice selection of primitive shapes and the full suite of boolean operators, the Loft and Sweep tools are very powerful. The Draft Workbench has some very nice array tools for replicating parts, holes etc. I use Sketcher for making outlines for extruding in the Part WB. The Spreasheet WB is really clumsy, but works well enough for parameters. And I have dabbled in the FEM WB to understand an irritating vibration mode in my Prusa 3d printer, and I have used the Path WB for jobs on my hobby CNC mill.
Two nice things about Freecad: (1) the common, unifying database behind every single workbench, so you can hop around to use any capabilities you might need, and (2) it’s free (although I have donated). Here’s something I designed and printed yesterday, using the Part and Draft WBs:
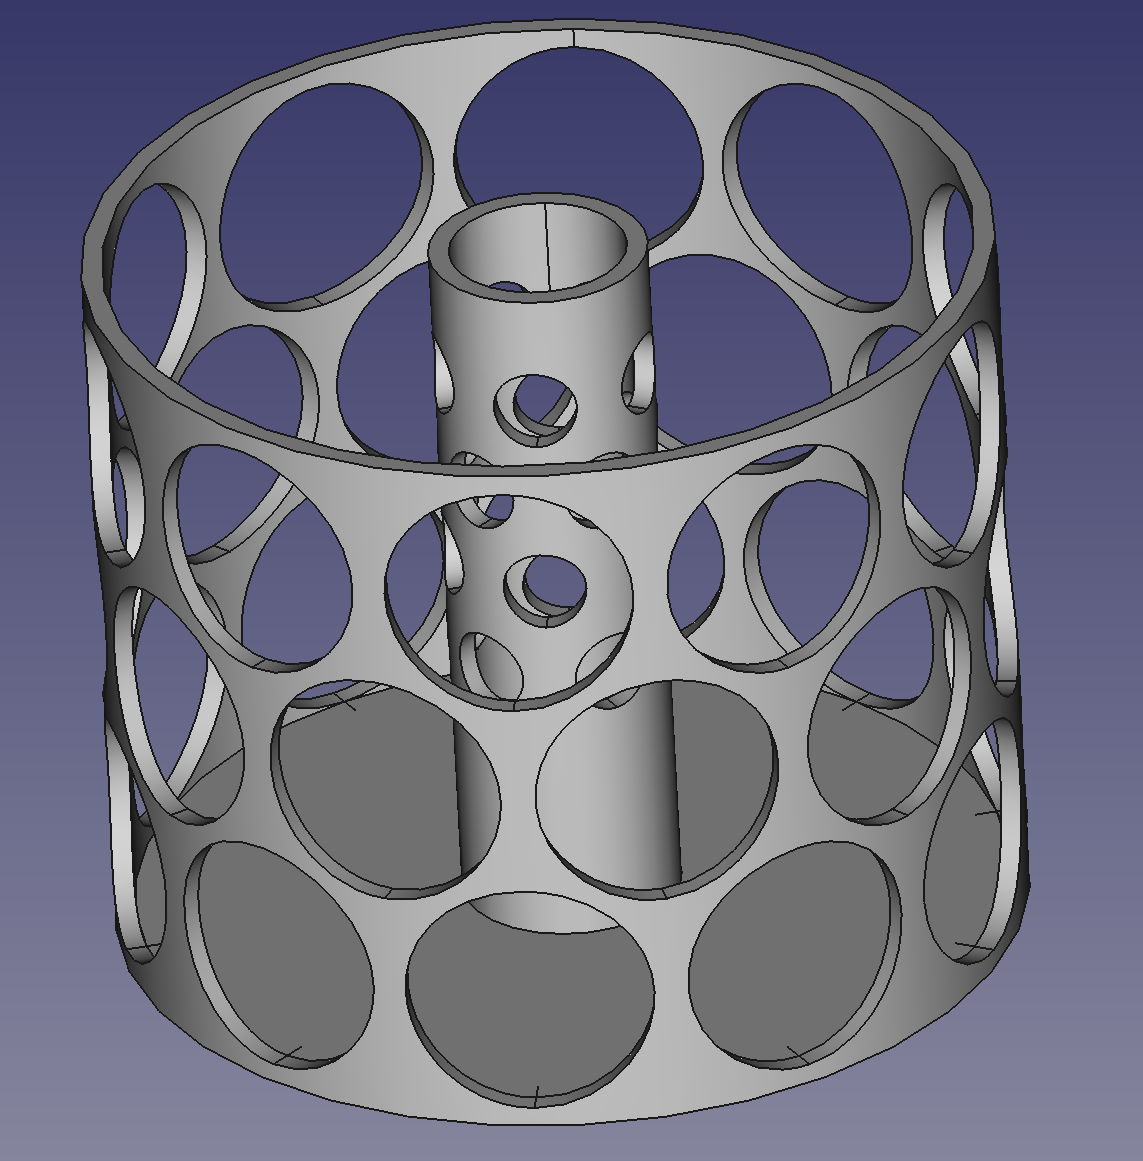
It’s a frame for an inlet filter on my birdbath water pump. Birds love moving water.
Thanks @DougL and @JacktheRipper , I’m sure I’ll get there but it might take some time as I’m quite busy with various things at the moment.