Persistent Top-Right Offset in LightBurn Print & Cut: Design vs. Actual Target Misalignment

Hello everyone, I’m new to laser cutting and a big fan of LightBurn software. I’ve purchased a license and find it incredibly professional and versatile. I’m encountering an issue related to “Print and Cut” and have already reviewed the community tutorials, YouTube videos, and most related posts here. Unfortunately, some threads describing similar problems were closed without solutions, so I’m posting this to seek help. Thank you in advance!

My Configuration:

Windows 10, LightBurn v1.7.07. Laser machine: GRBL GGODE.

Design Workflow:

1.I design files in Photoshop, export them as PNGs, and convert them to SVG.

2.Print from Photoshop without scaling (verified physical dimensions match design).

LightBurn Setup:

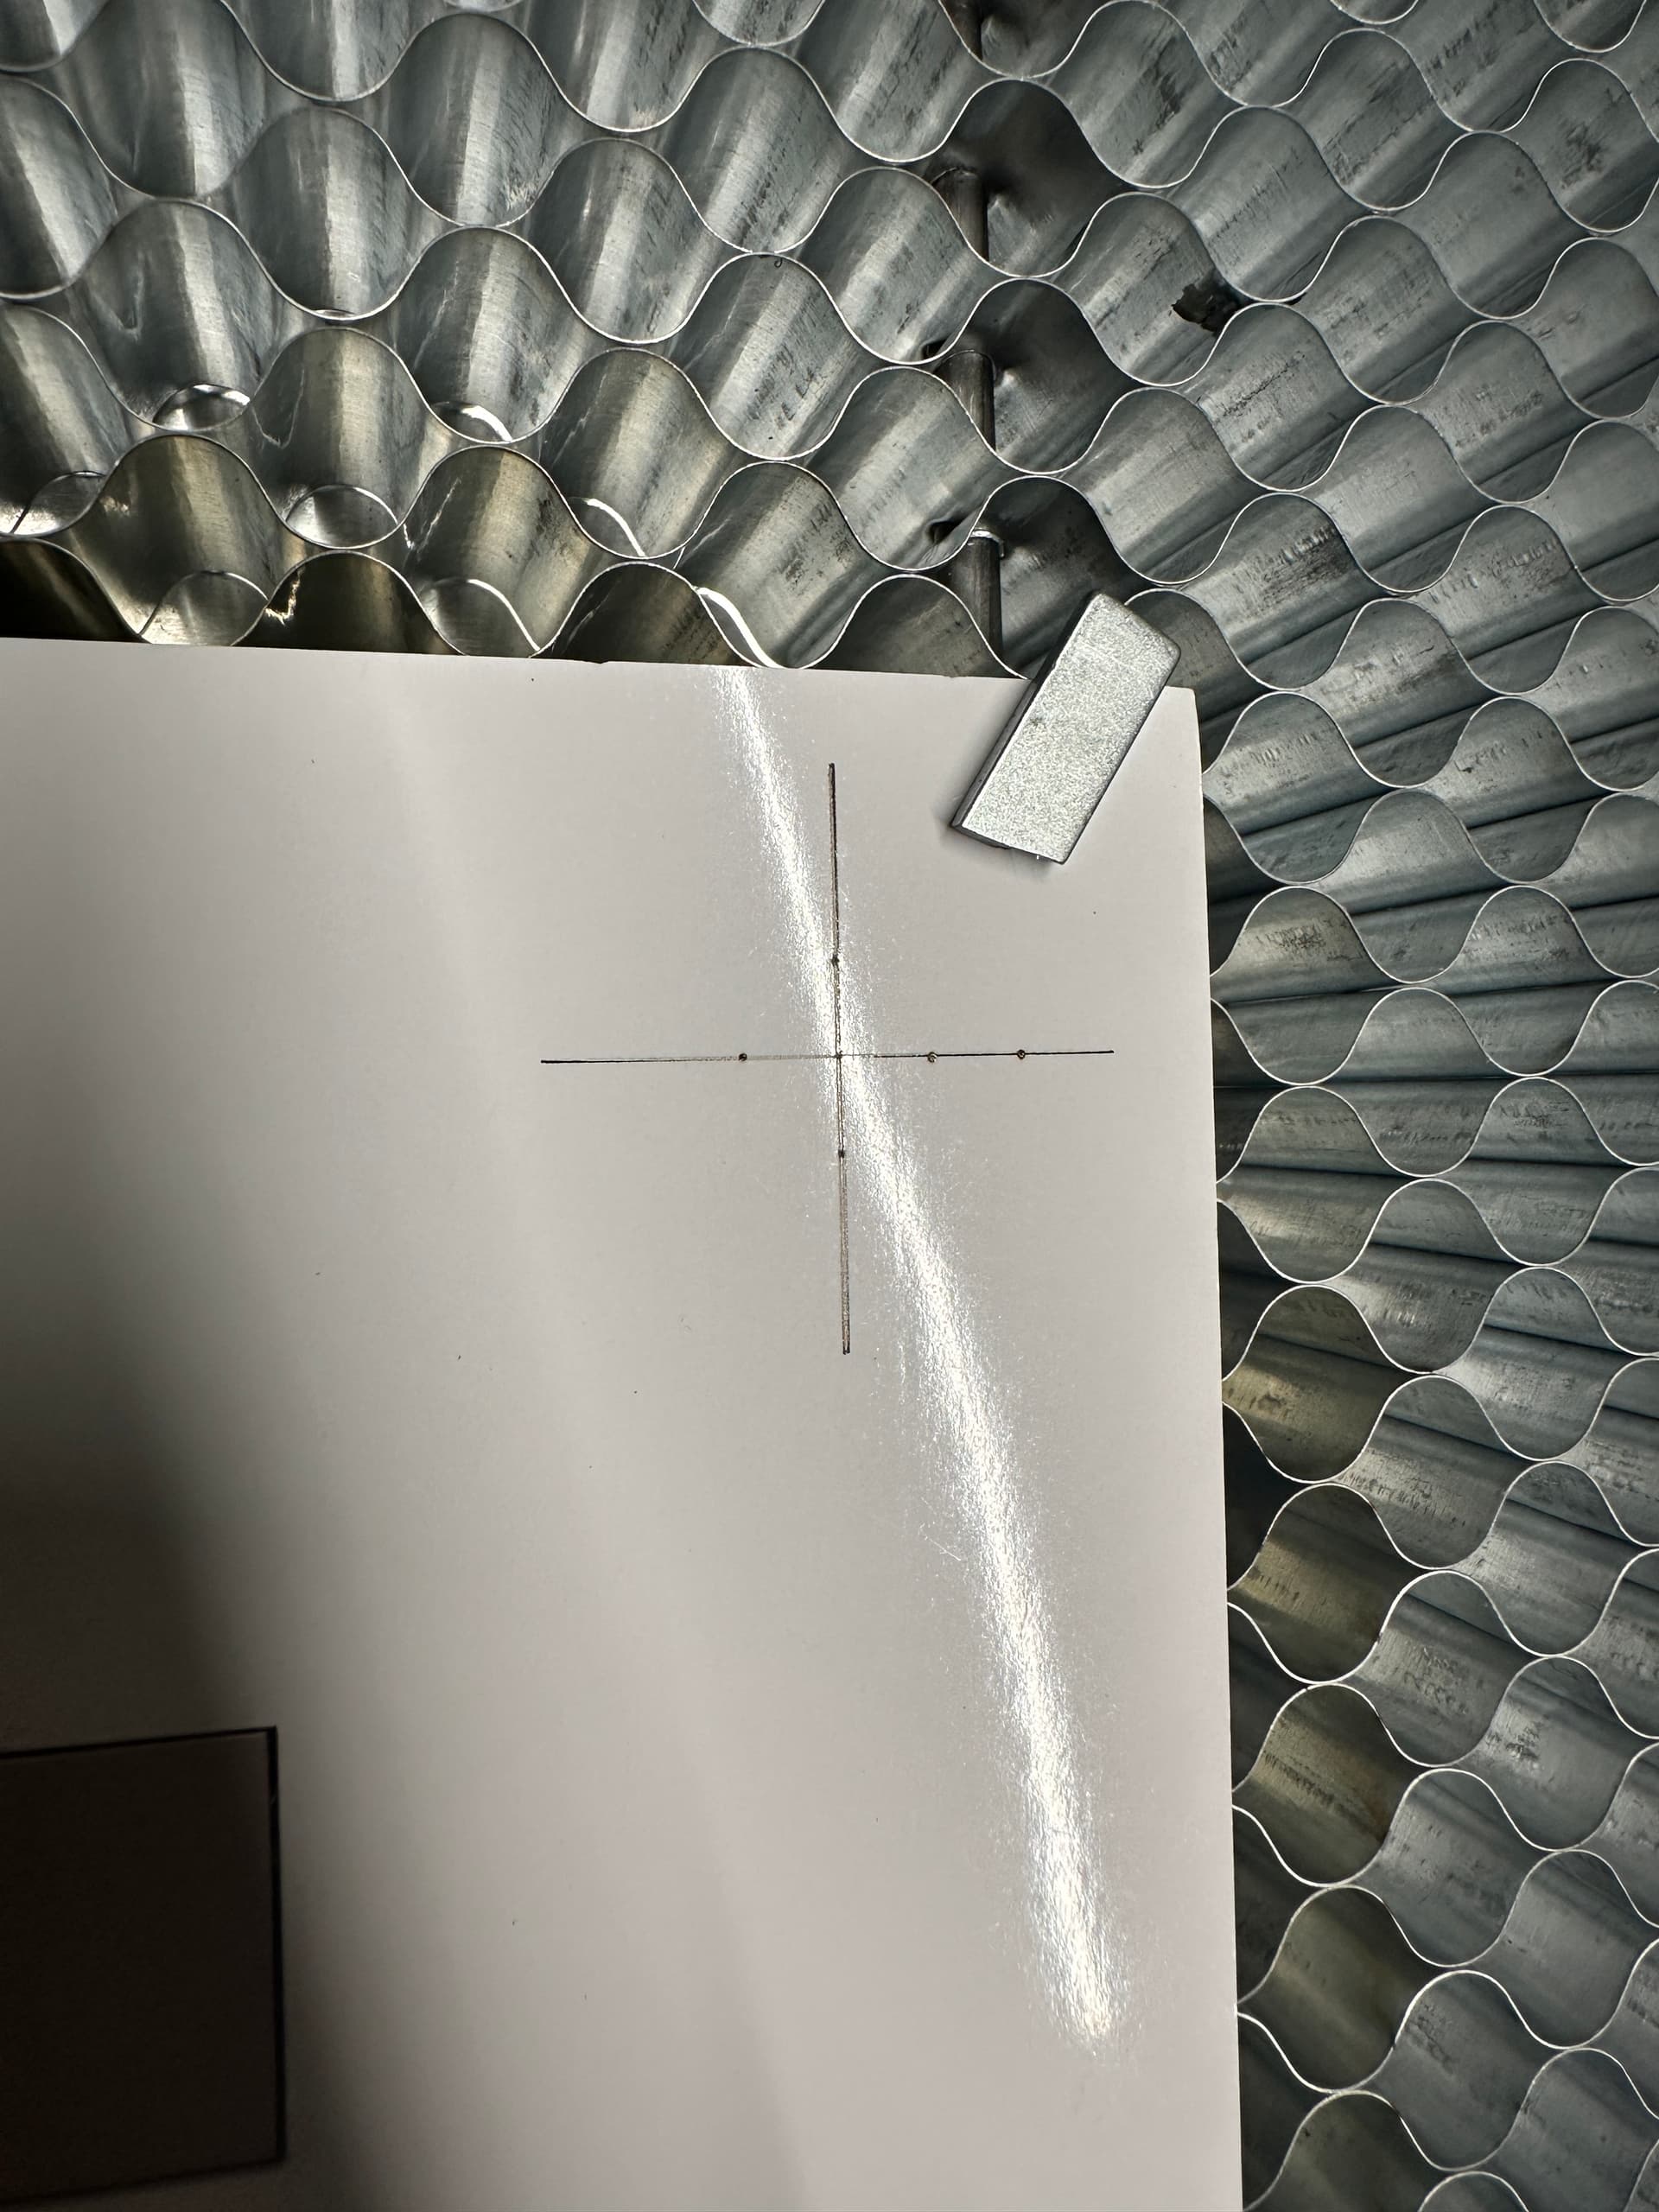
1.In LightBurn, I import the SVG, ungroup it, and use the console’s jog controls to align two crosshair markers with their target positions. I pulse the laser to mark the center (not using the red dot pointer) and save these positions for quick relocation.

2.After homing the laser, I set the first target position (top-right corner). Then I home again, set the second target position (bottom-left corner), align output to targets(no scaling)

3.The cutting starts from the absolute coordinate position. After cutting, the final pattern matches the design dimensions perfectly, but it consistently shifts toward the top-right. I’m at a loss for how to resolve this issue.

Additional info:

1.Calibration Test: Engraved a 50mm×50mm square in LightBurn → Result matched design perfectly.

2.My projects require high precision, so even minor offsets are unacceptable. Any guidance would be greatly appreciated!

The following are test files and pictures
TEST.lbrn2 (124.8 KB)


TEST


My English is not very good. If you need any information to solve this offset problem, please tell me. Thanks again.

The first thing that comes to mind is do you have laser pointer offset enabled? That would account for a consistent drift if you’re using the laser itself for alingment and not the red dot. Disable pointer offset and try again. Also, don’t home the laser during the print and cut setup. You can home it before starting the process, but not again during the process. I’m not sure if this is causing any actual problems, but it is more movement tn=han necessary.

1 Like

Step 1 = Pulse the laser.
Step 2 = Home the laser

Home should be the first thing you do before anything else. After it is Homed, never reposition the laser using your hands. I am not saying you do this, but I included it for the benefit of others.

Thanks for your reply. I did not use the laser pointer offset and always used the laser itself for alingment. I also tried the laser homing during the print and cut settings after reading one of the answers in the forum. It seems that it is not a good method. I will try it later.

Thank you for your reply. I have been using pulsed laser for alignment and positioning. I will try again later by changing the operation process. Thanks again for your guidance.

1 Like

I still haven’t completely solved this problem :smiling_face_with_tear:

Something that I missed in your original post. You state that you’re homing between setting the targets. That is not a correct workflow. You should not home the machine after setting any target.

Just verifying that you are only using the move arrows to move your laser head, not ever moving it by hand, correct?

1 Like