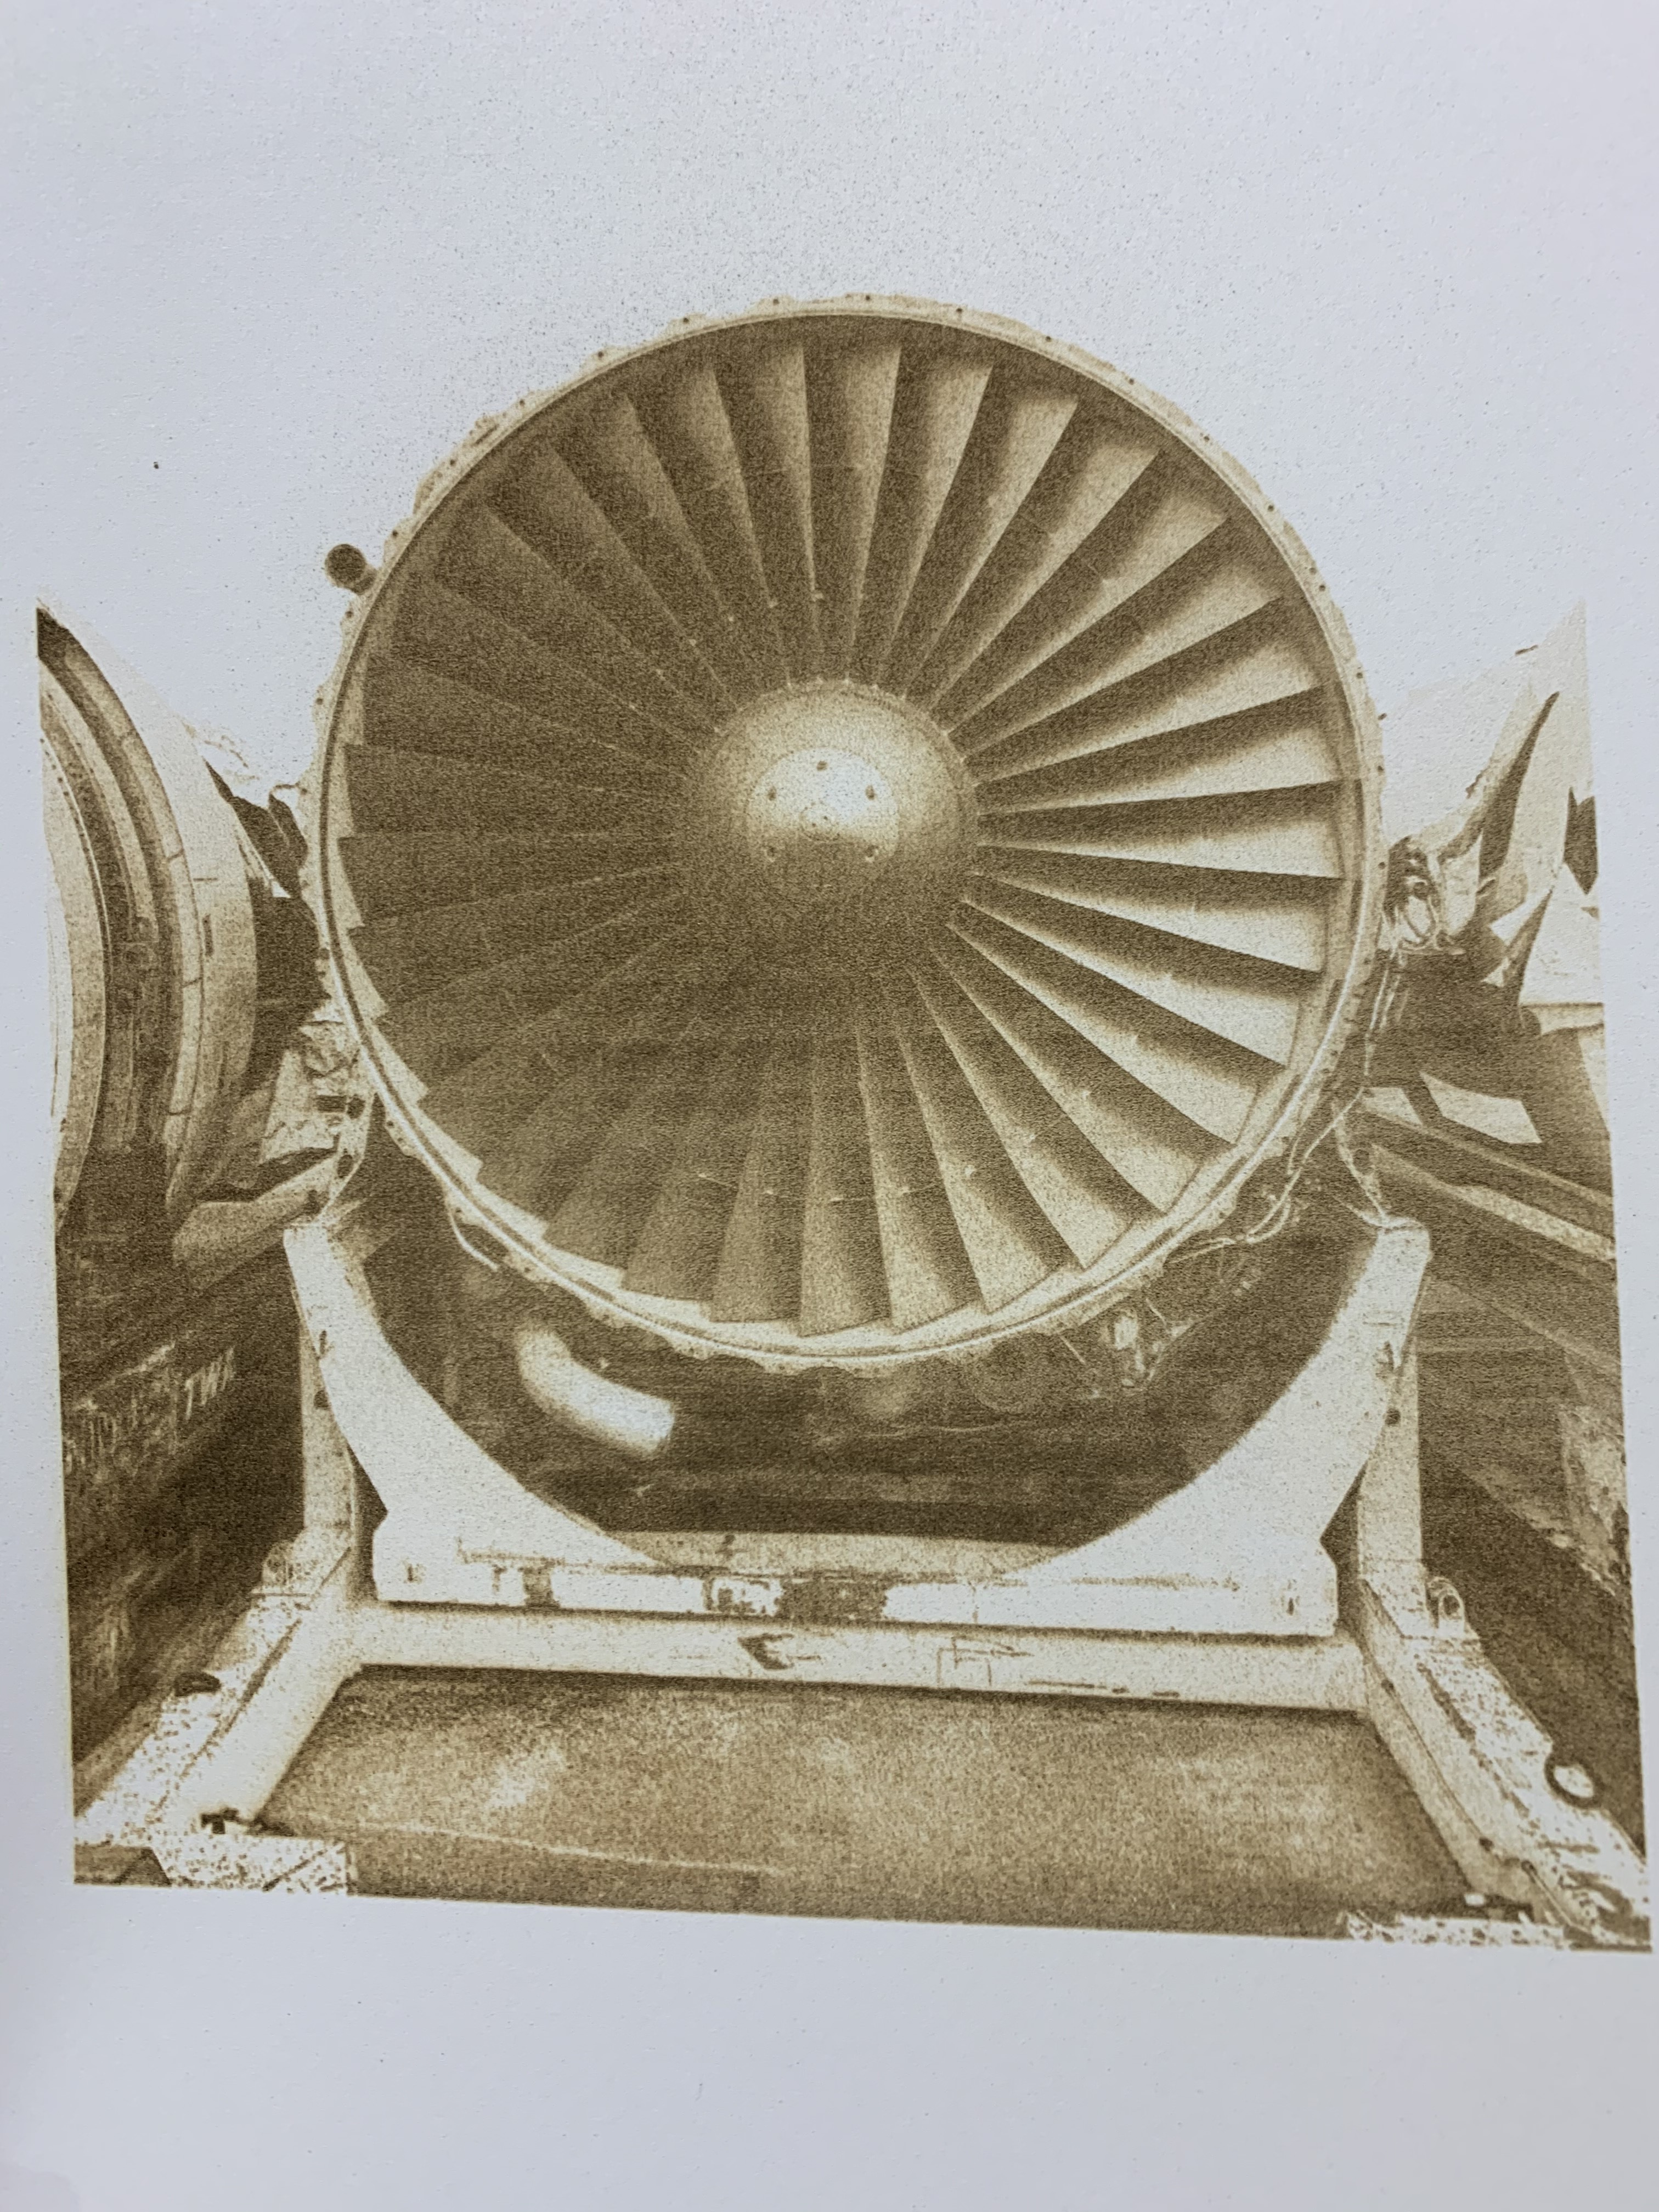
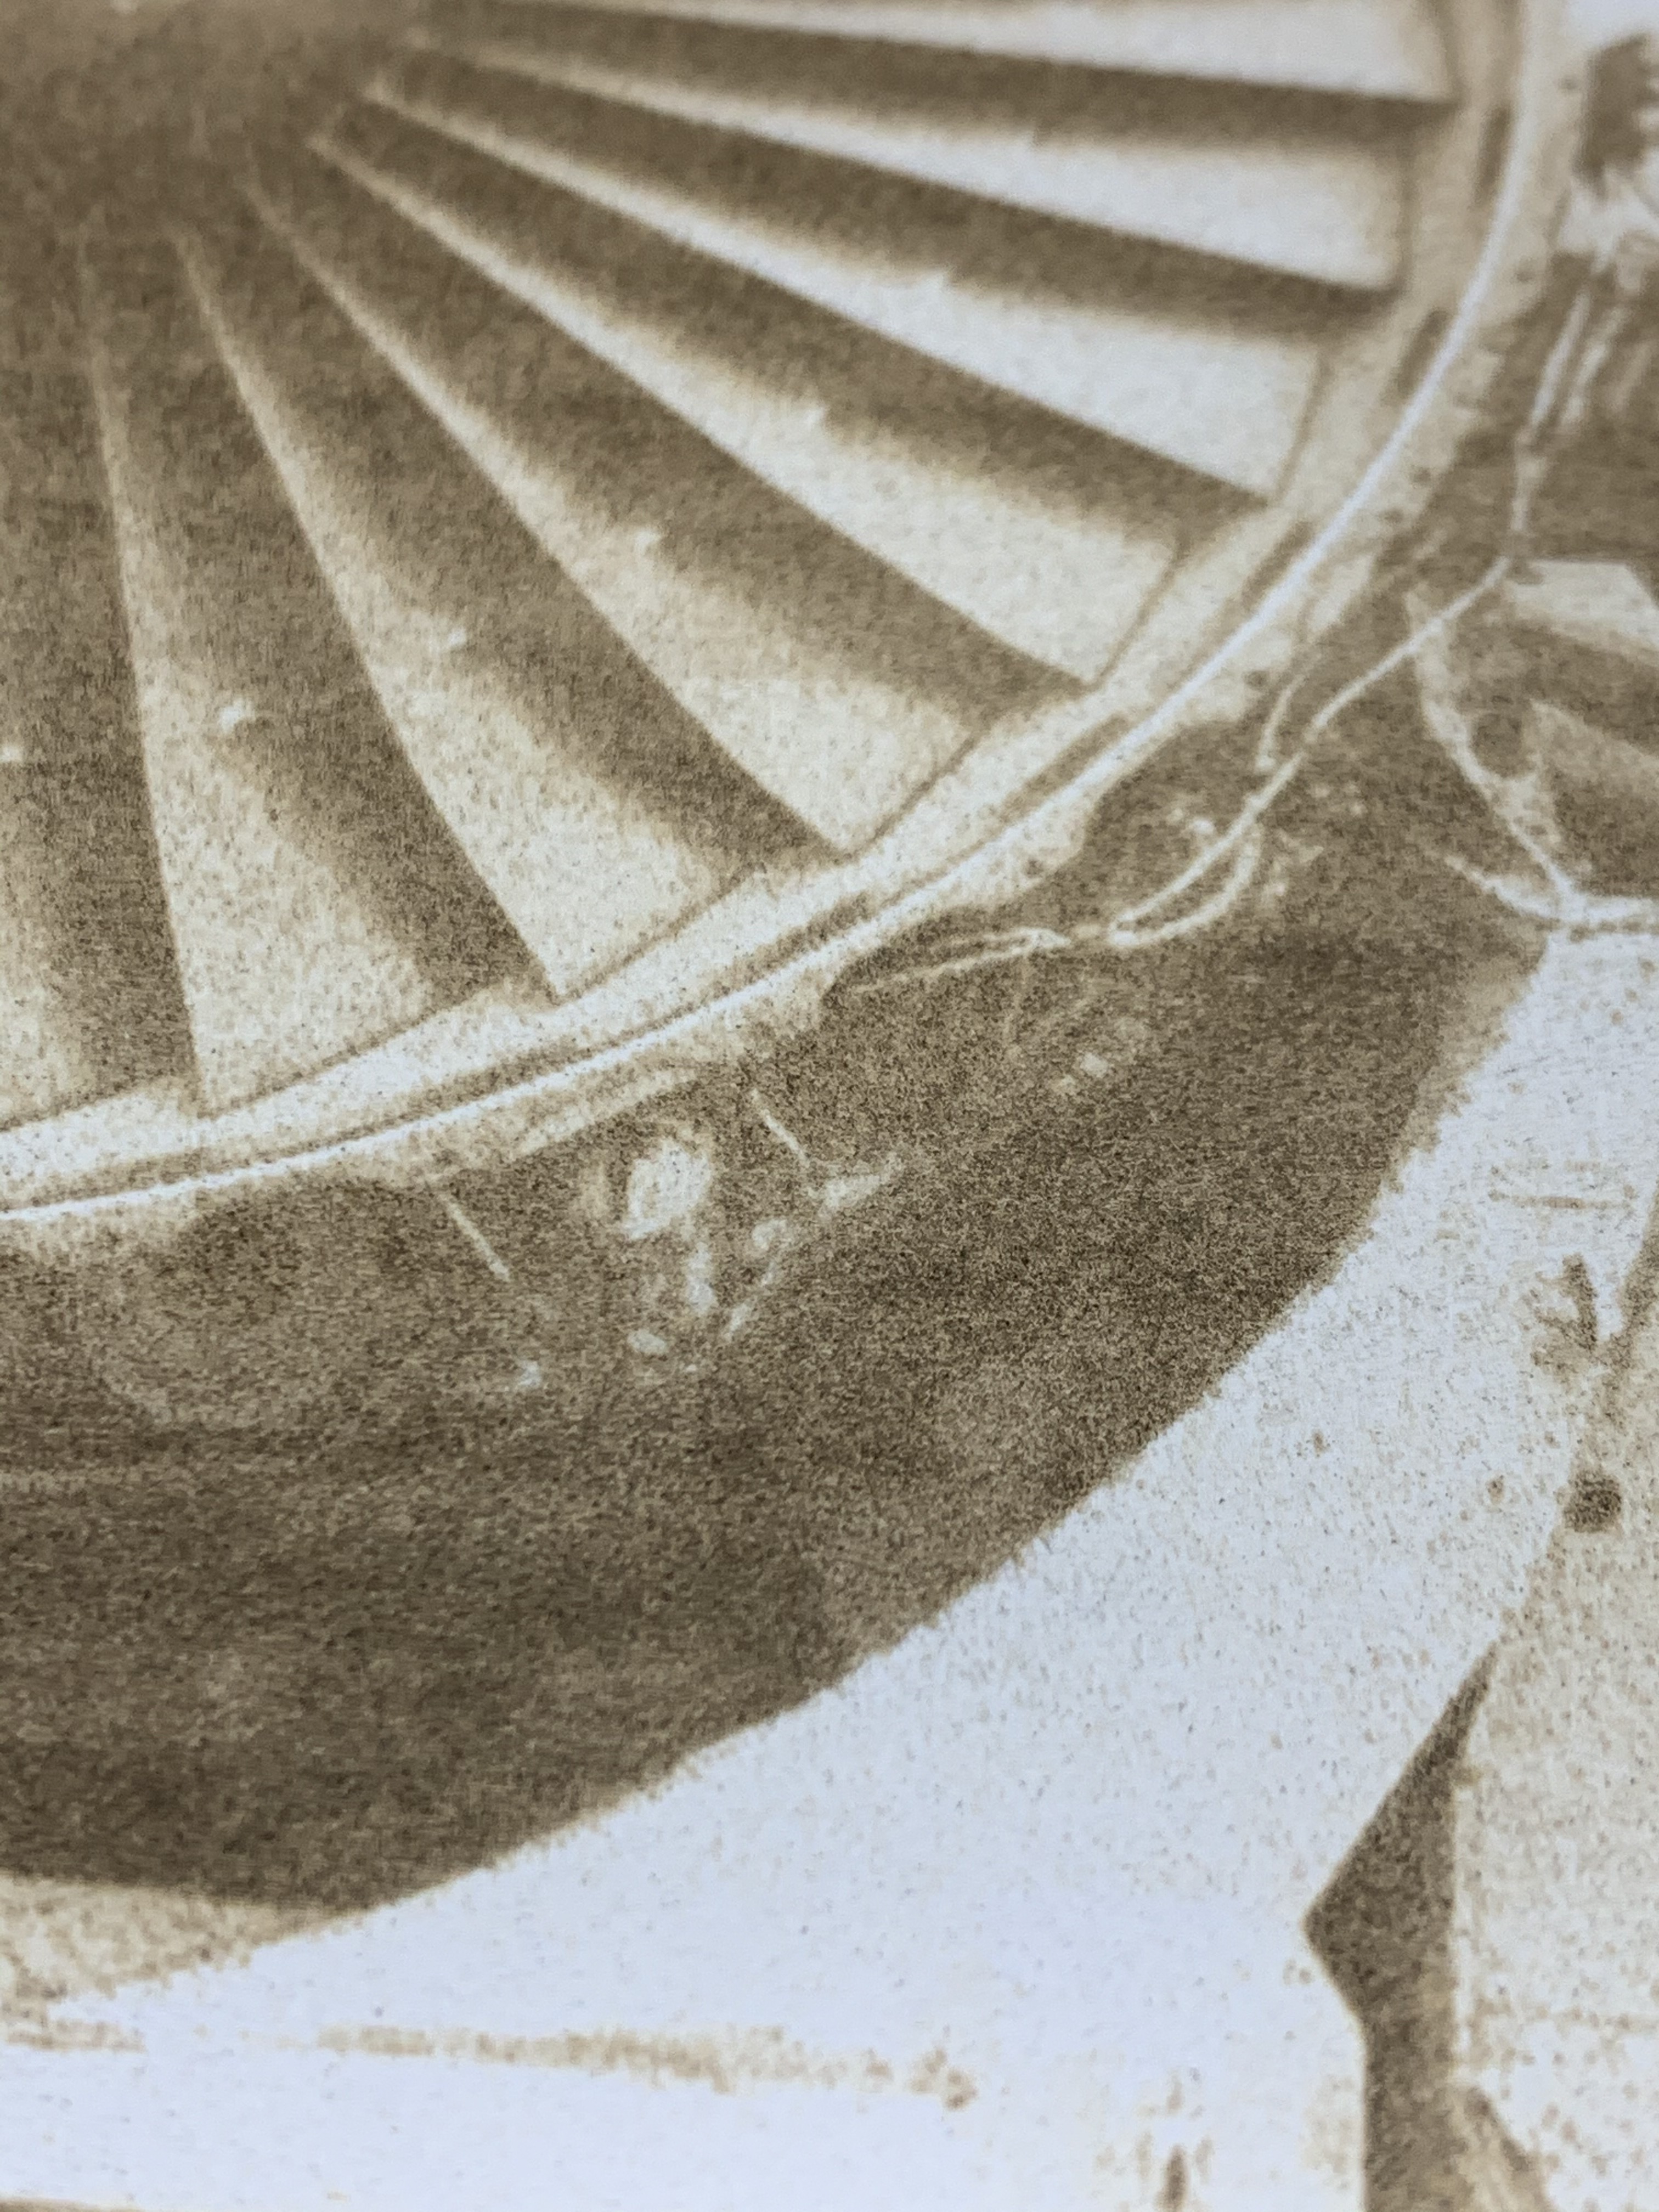
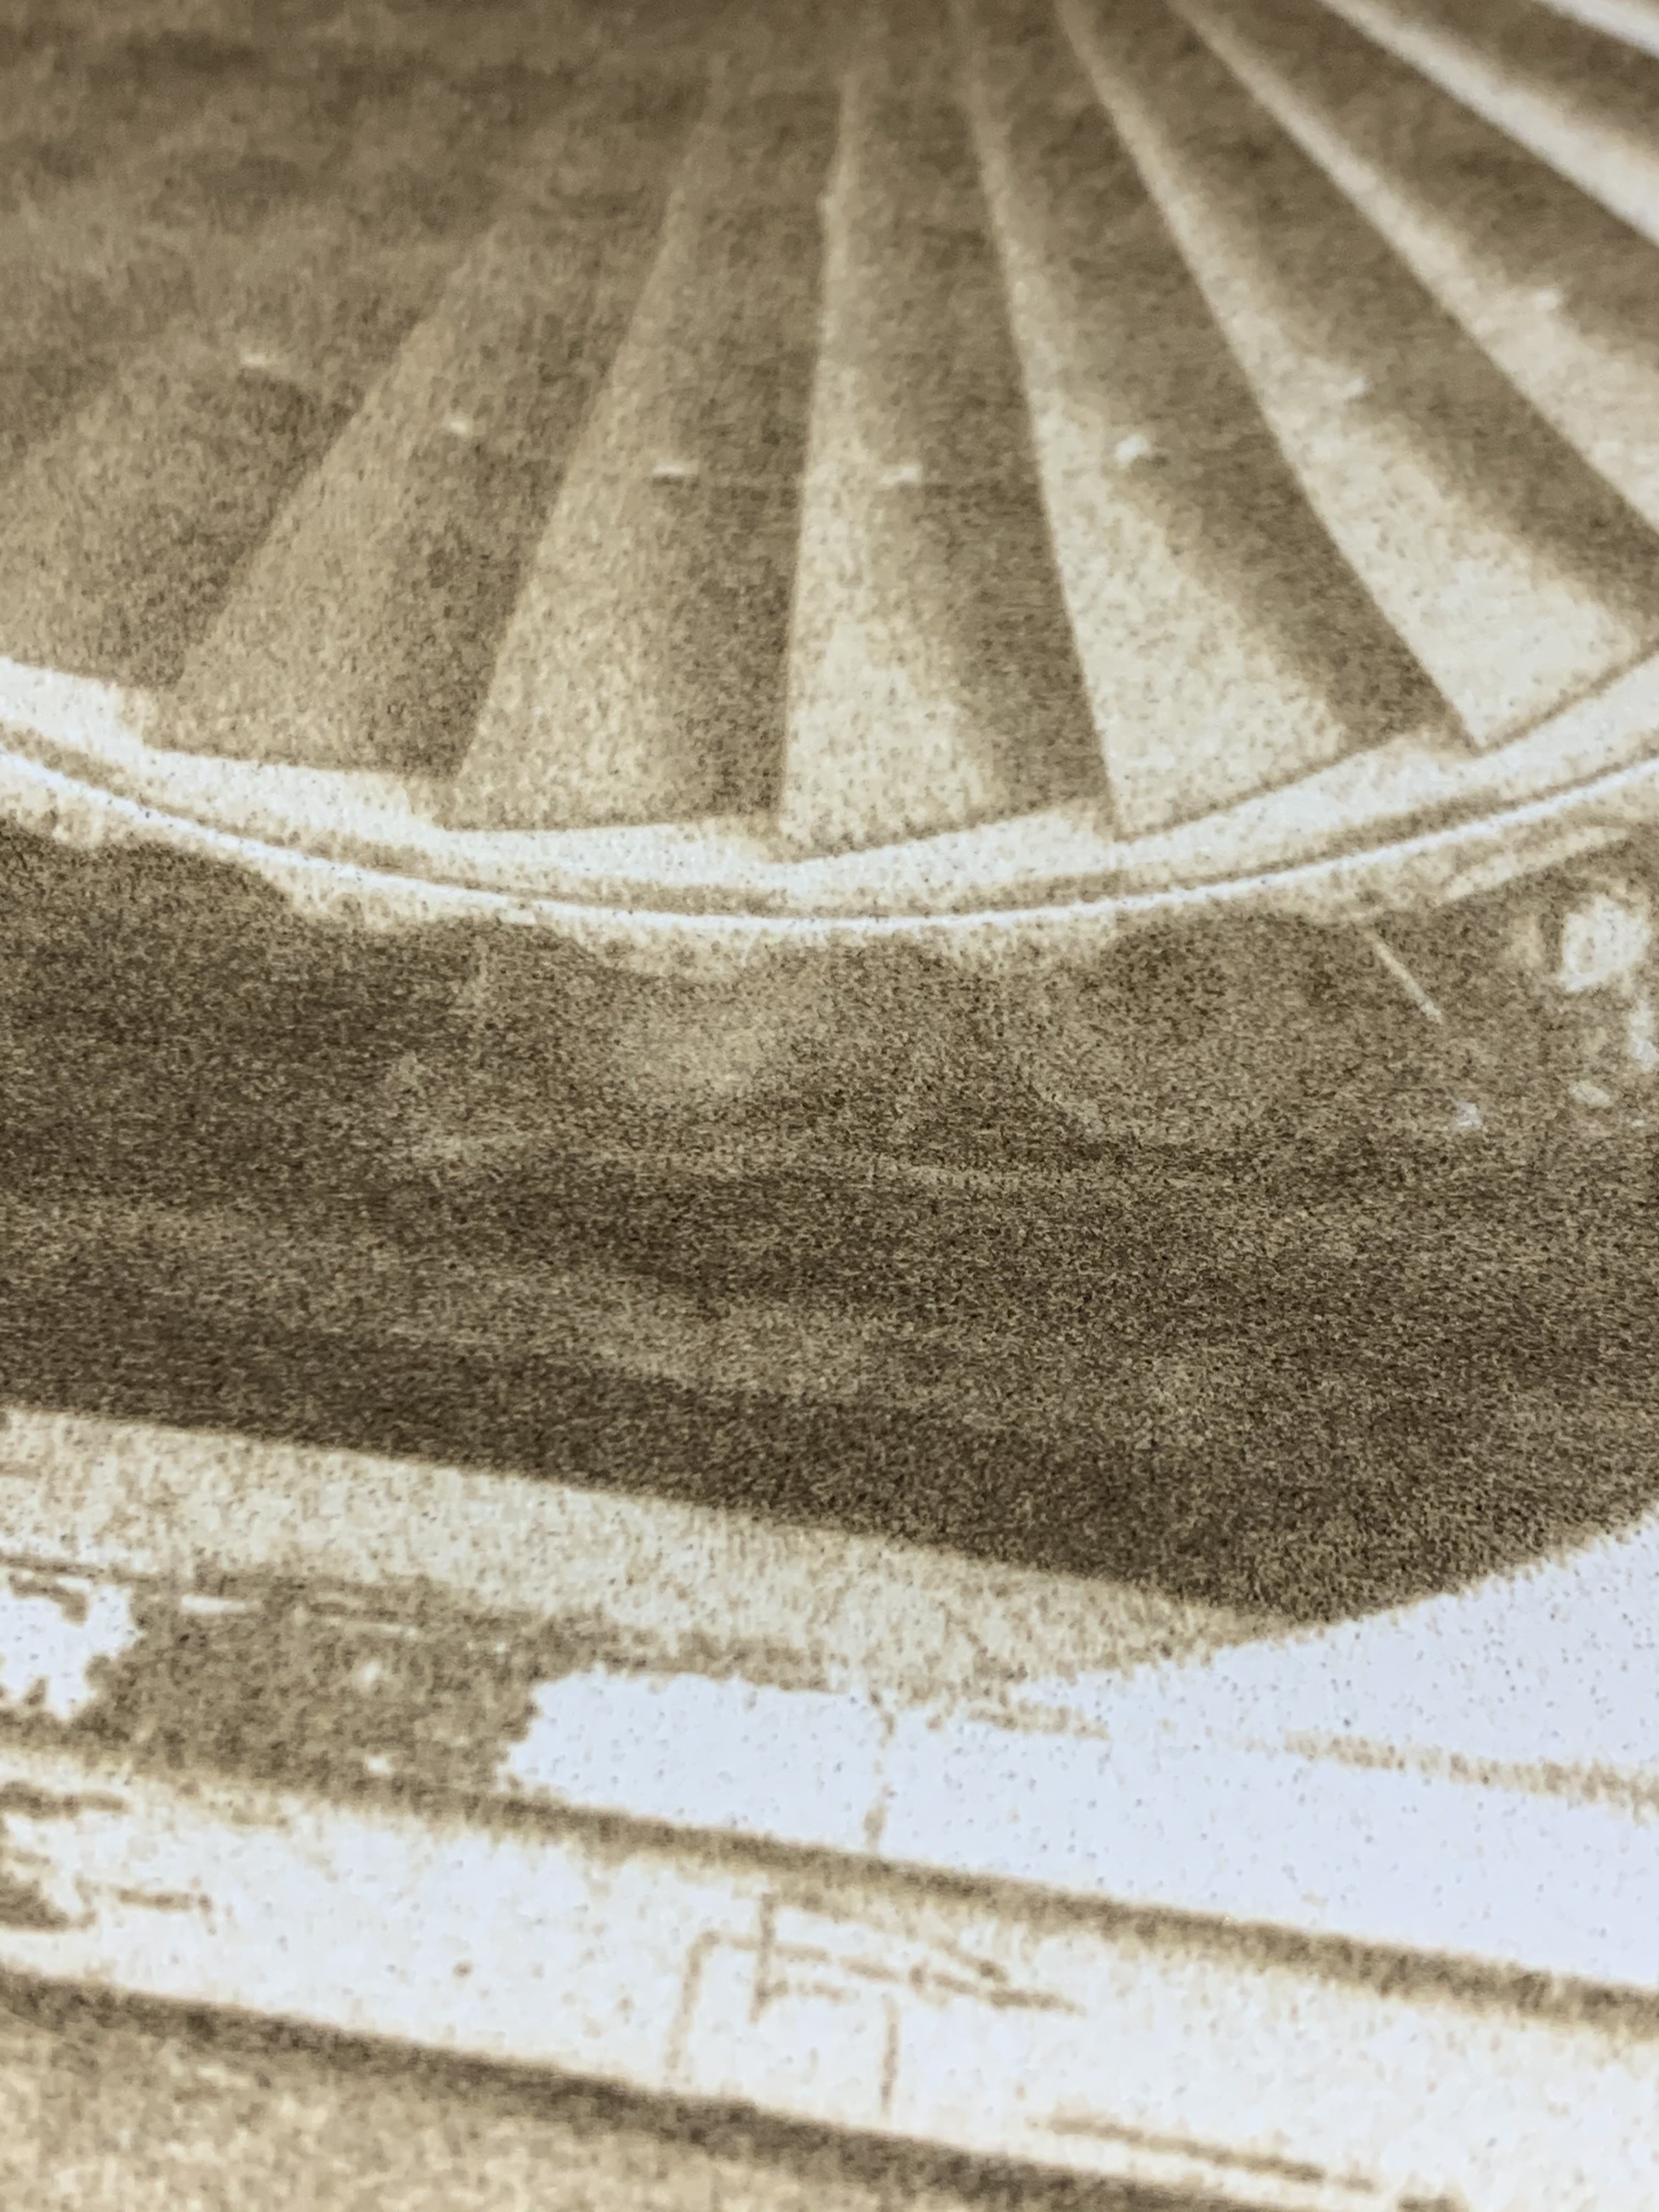
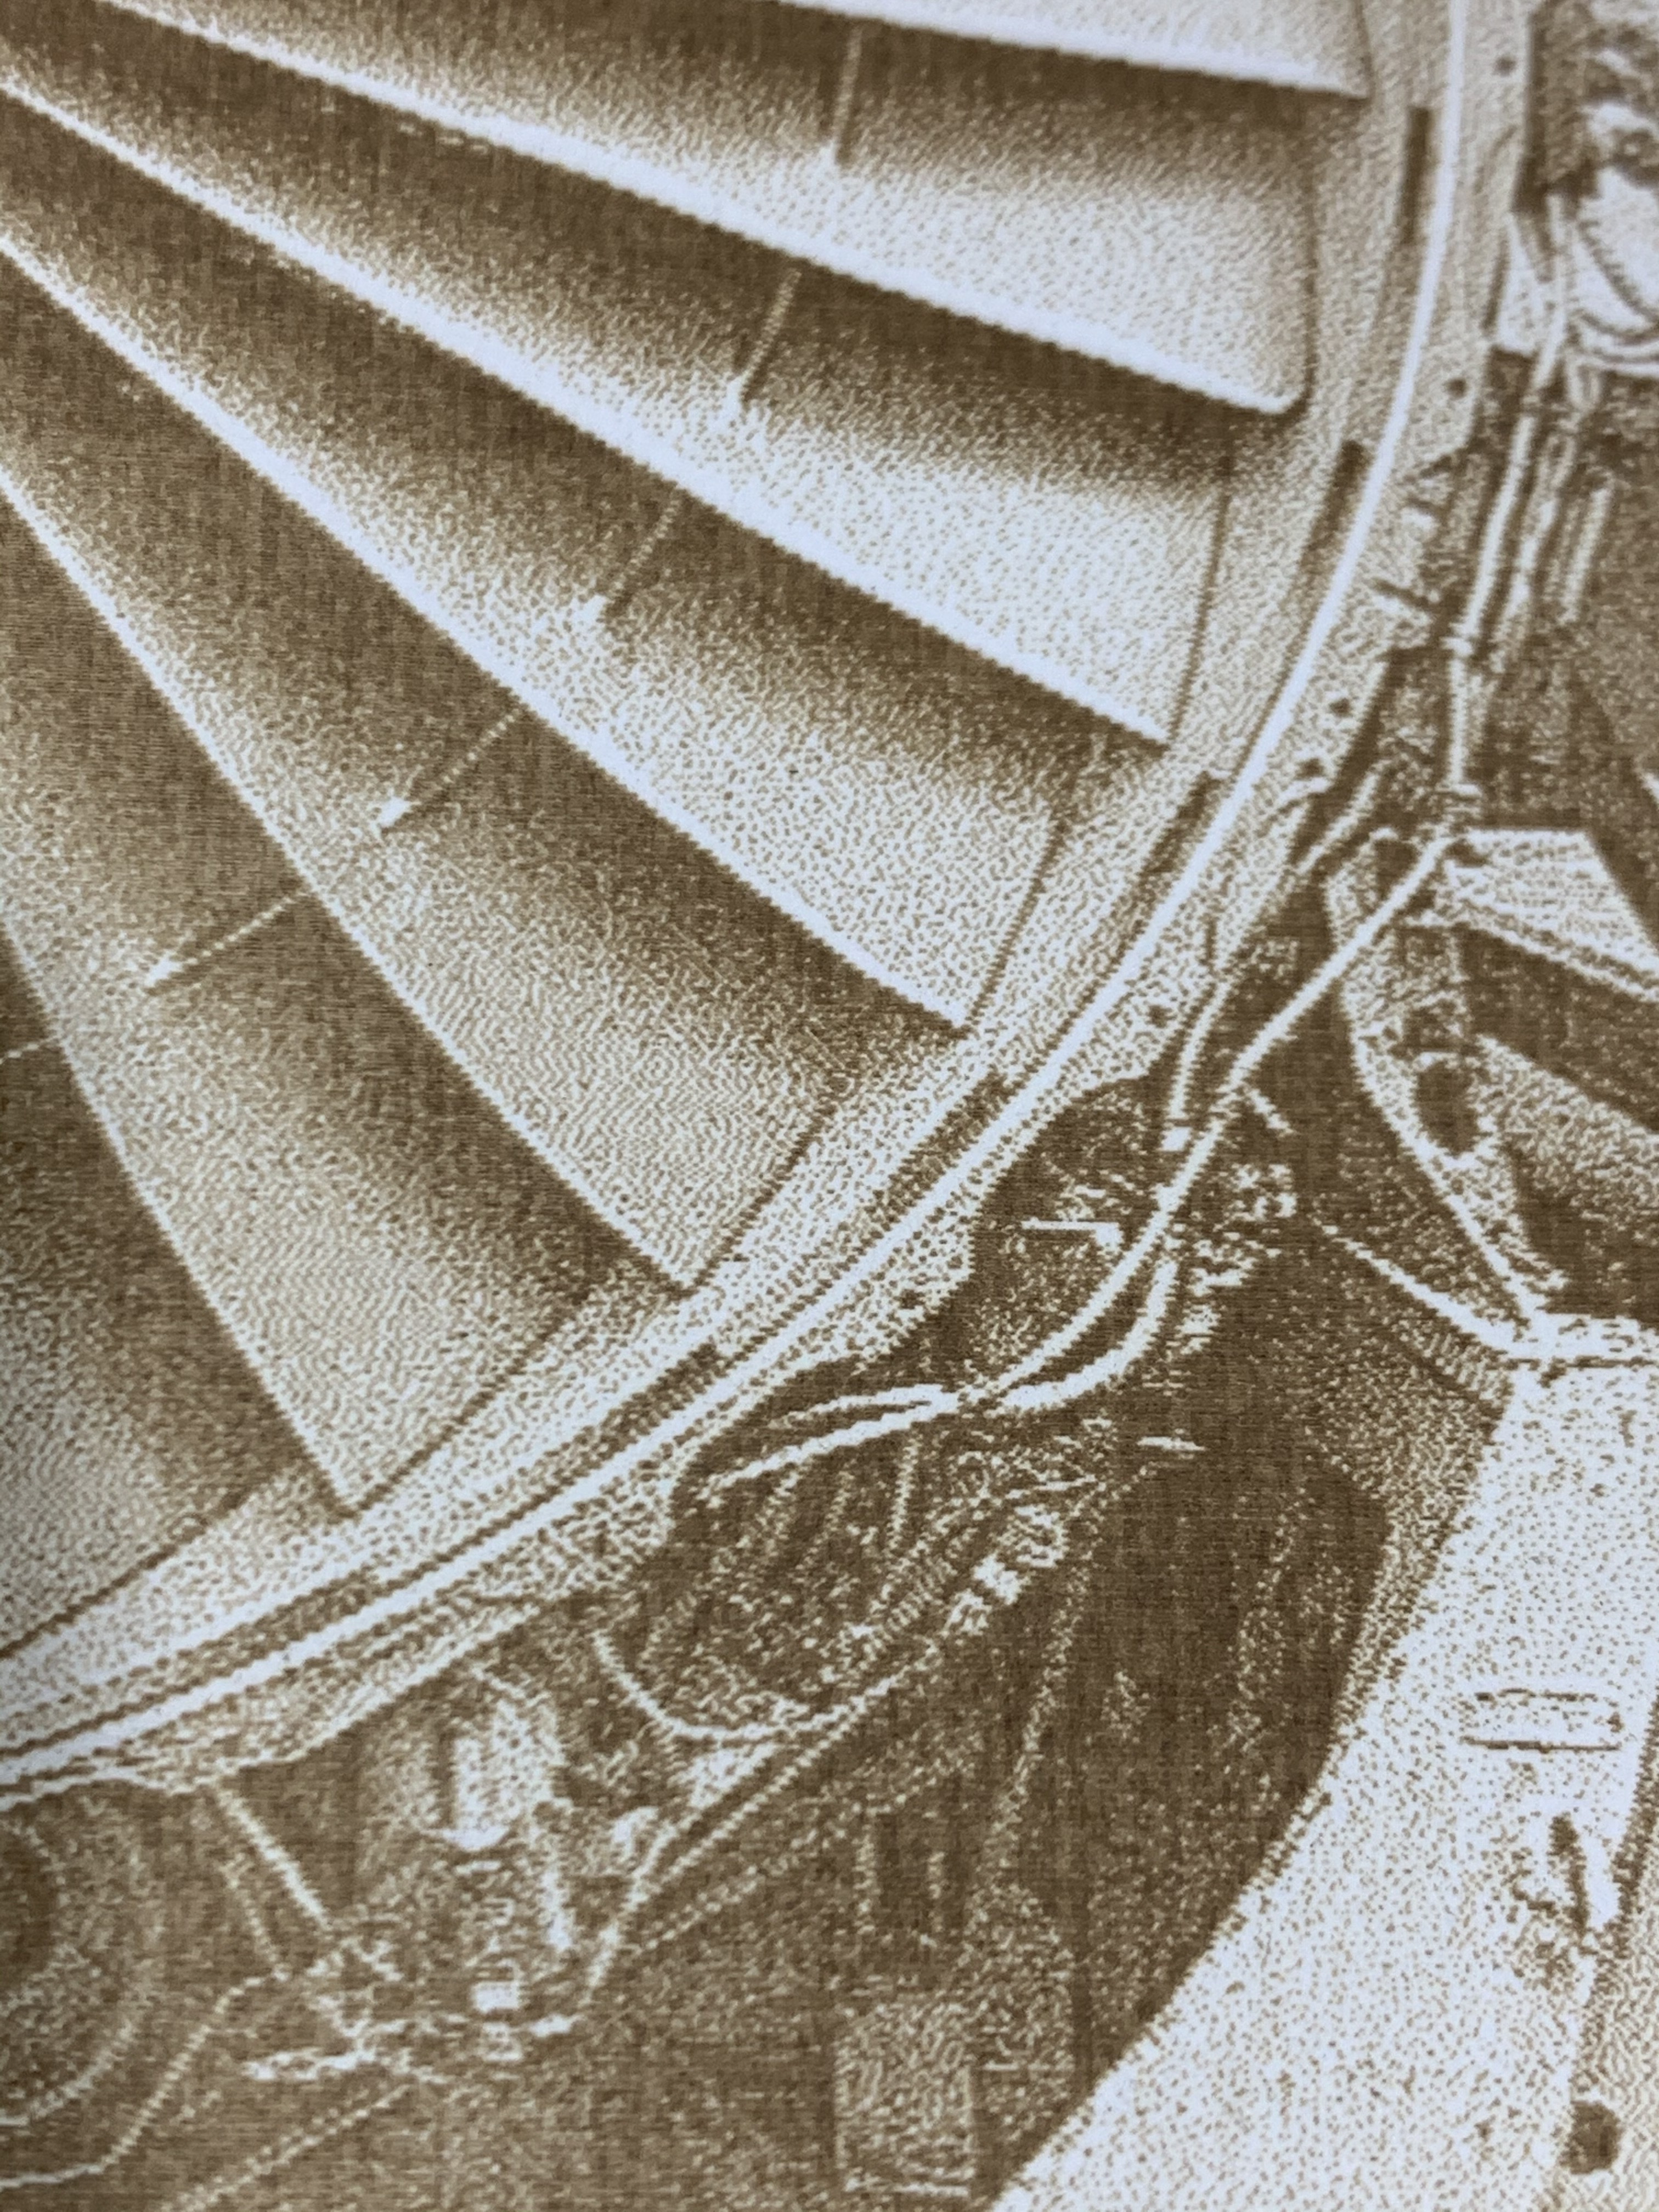
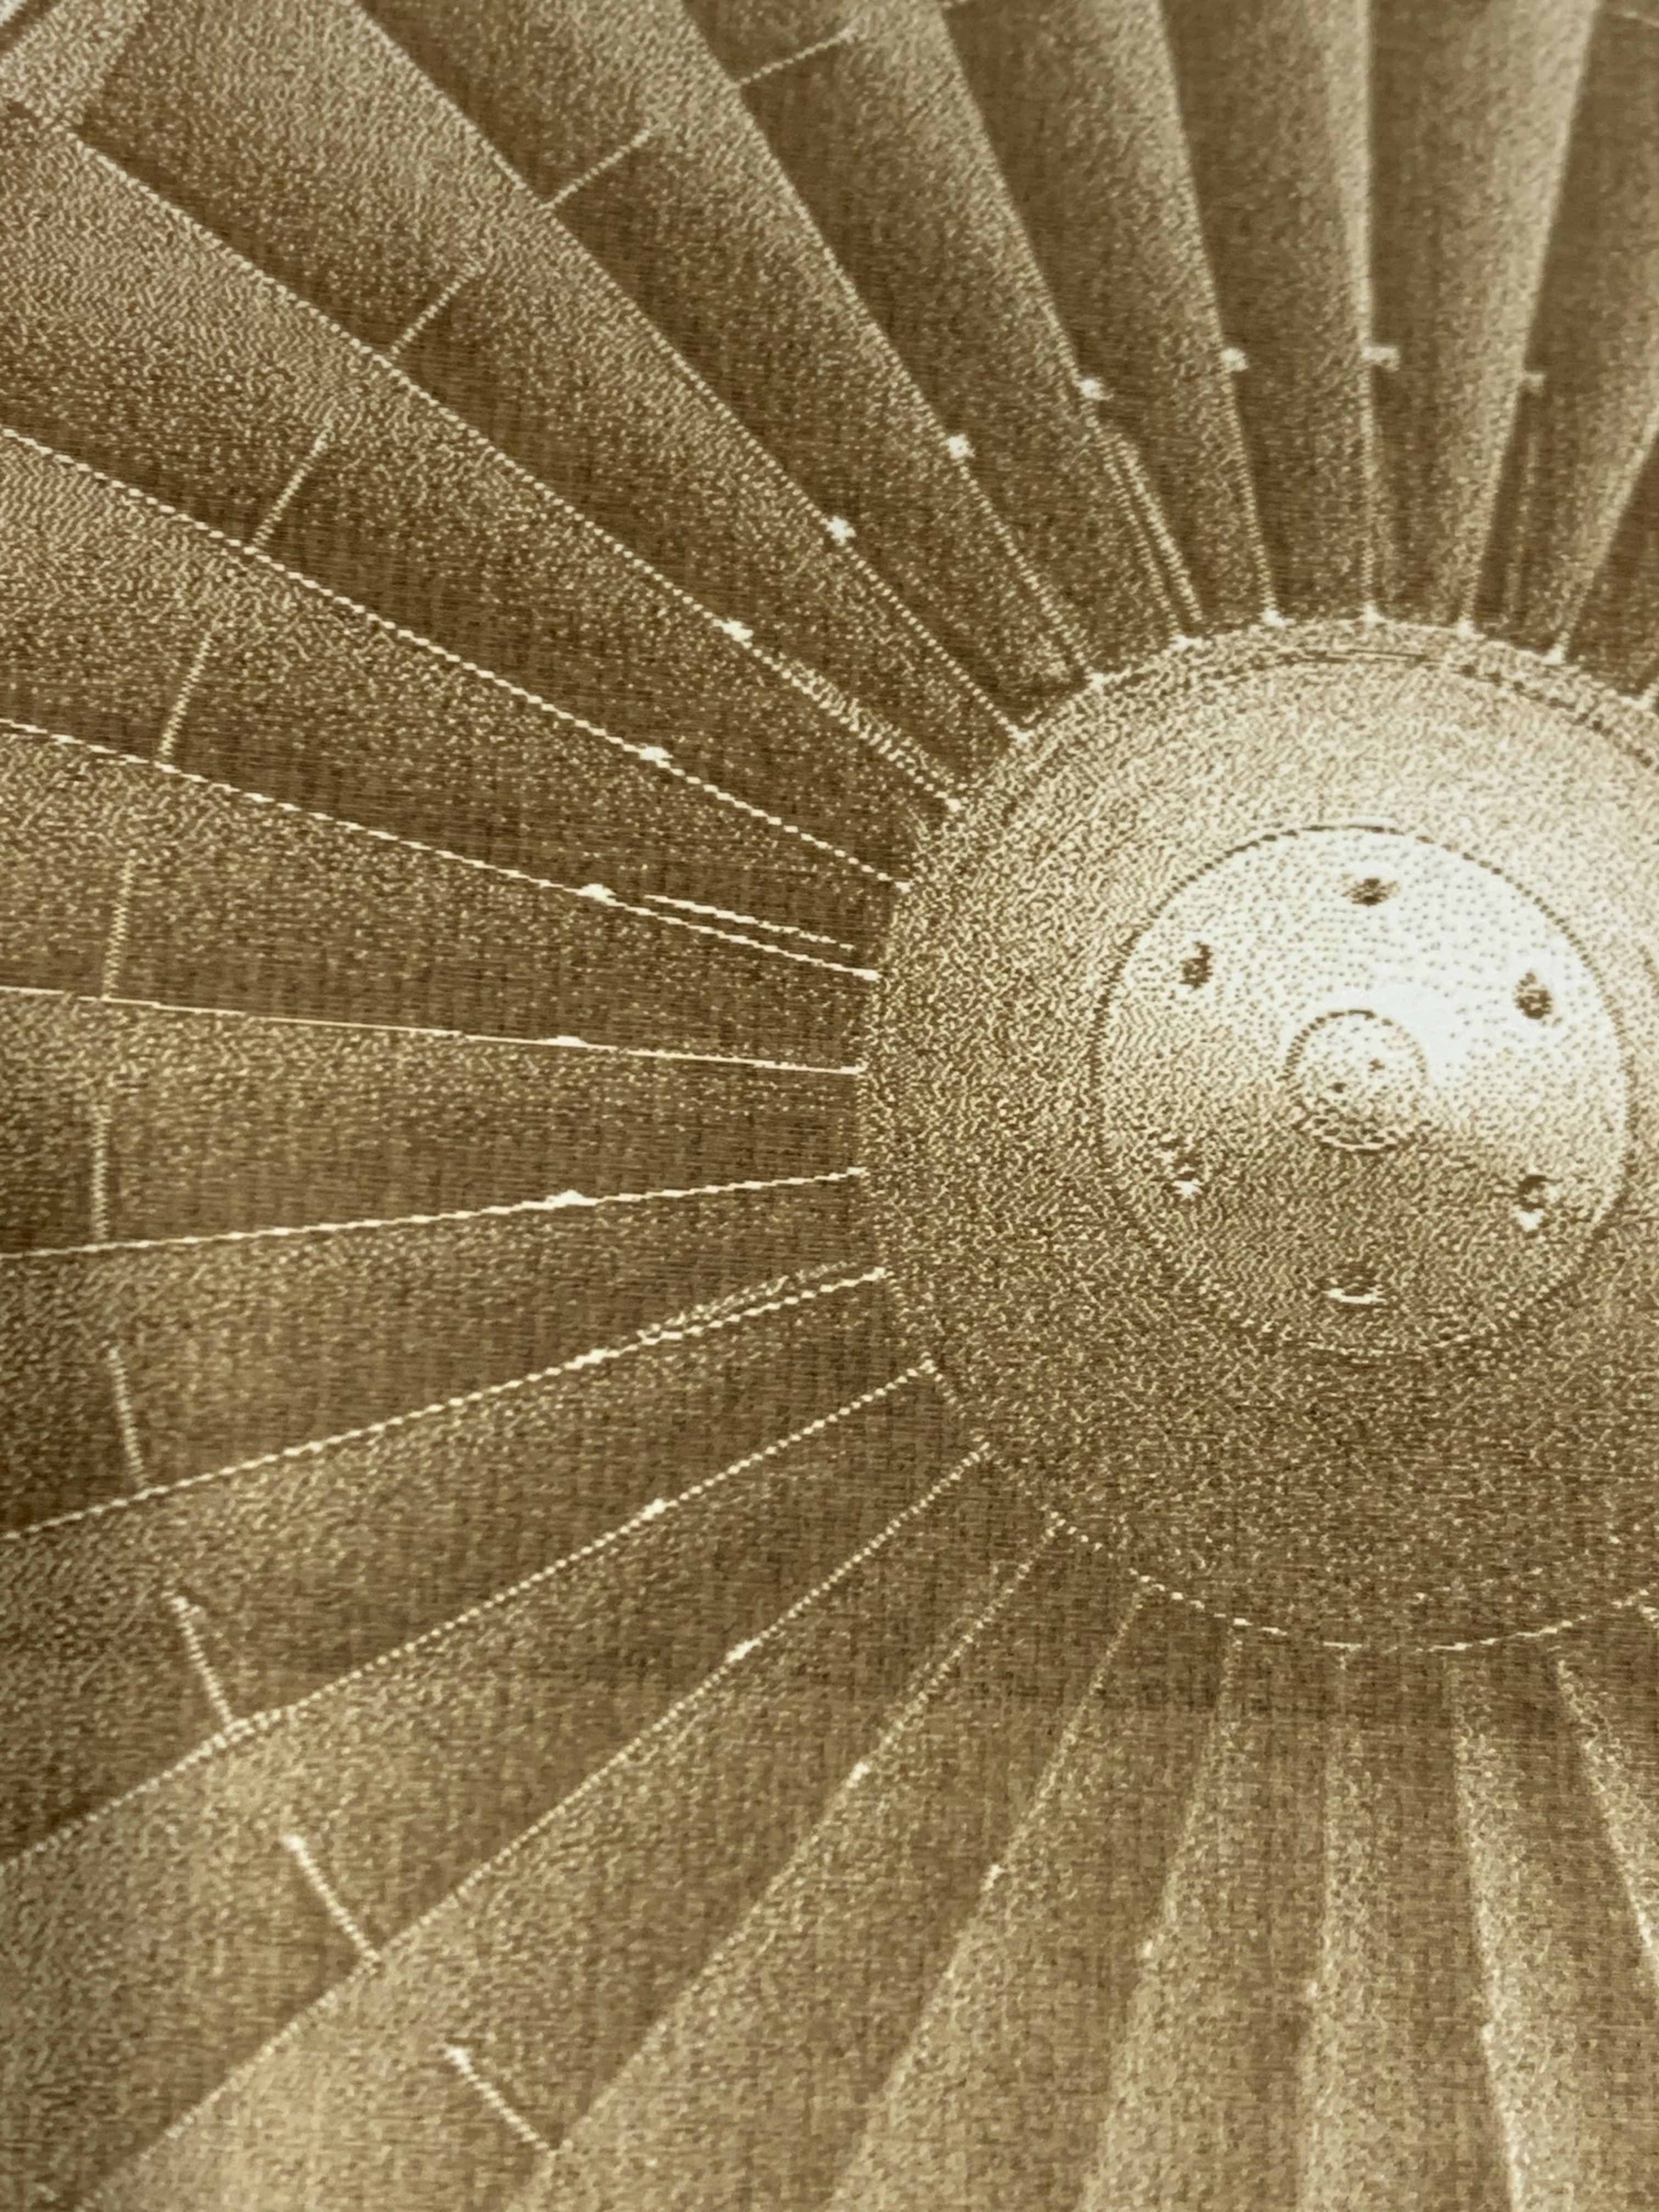
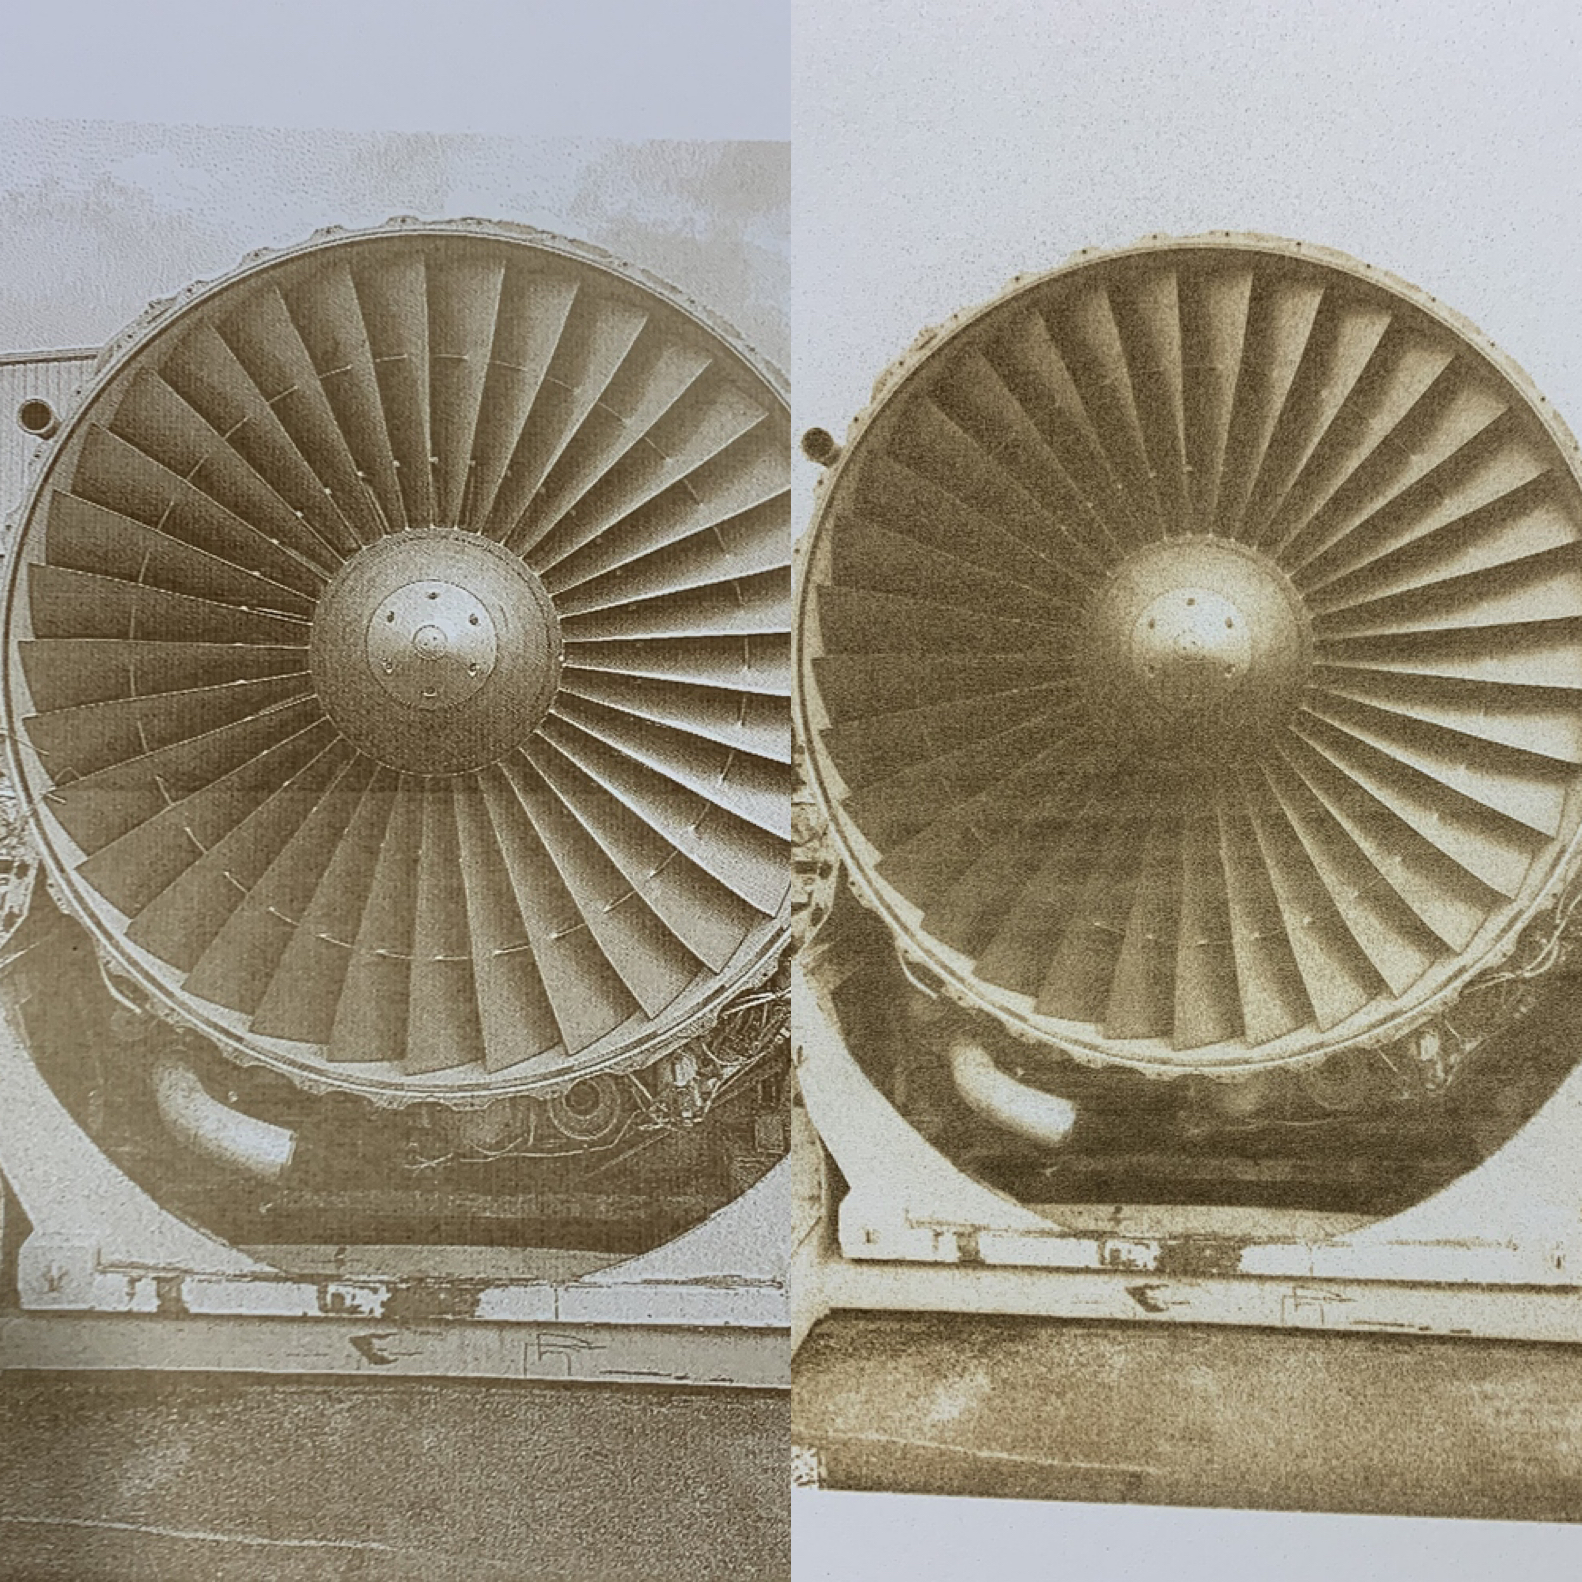
On the two closeups above I had to tilt my phone at an angle when I took the pics so only the bottom middle of the photos are in good focus.
Still chasing some slight horizontal banding. Not from the compressor this time.
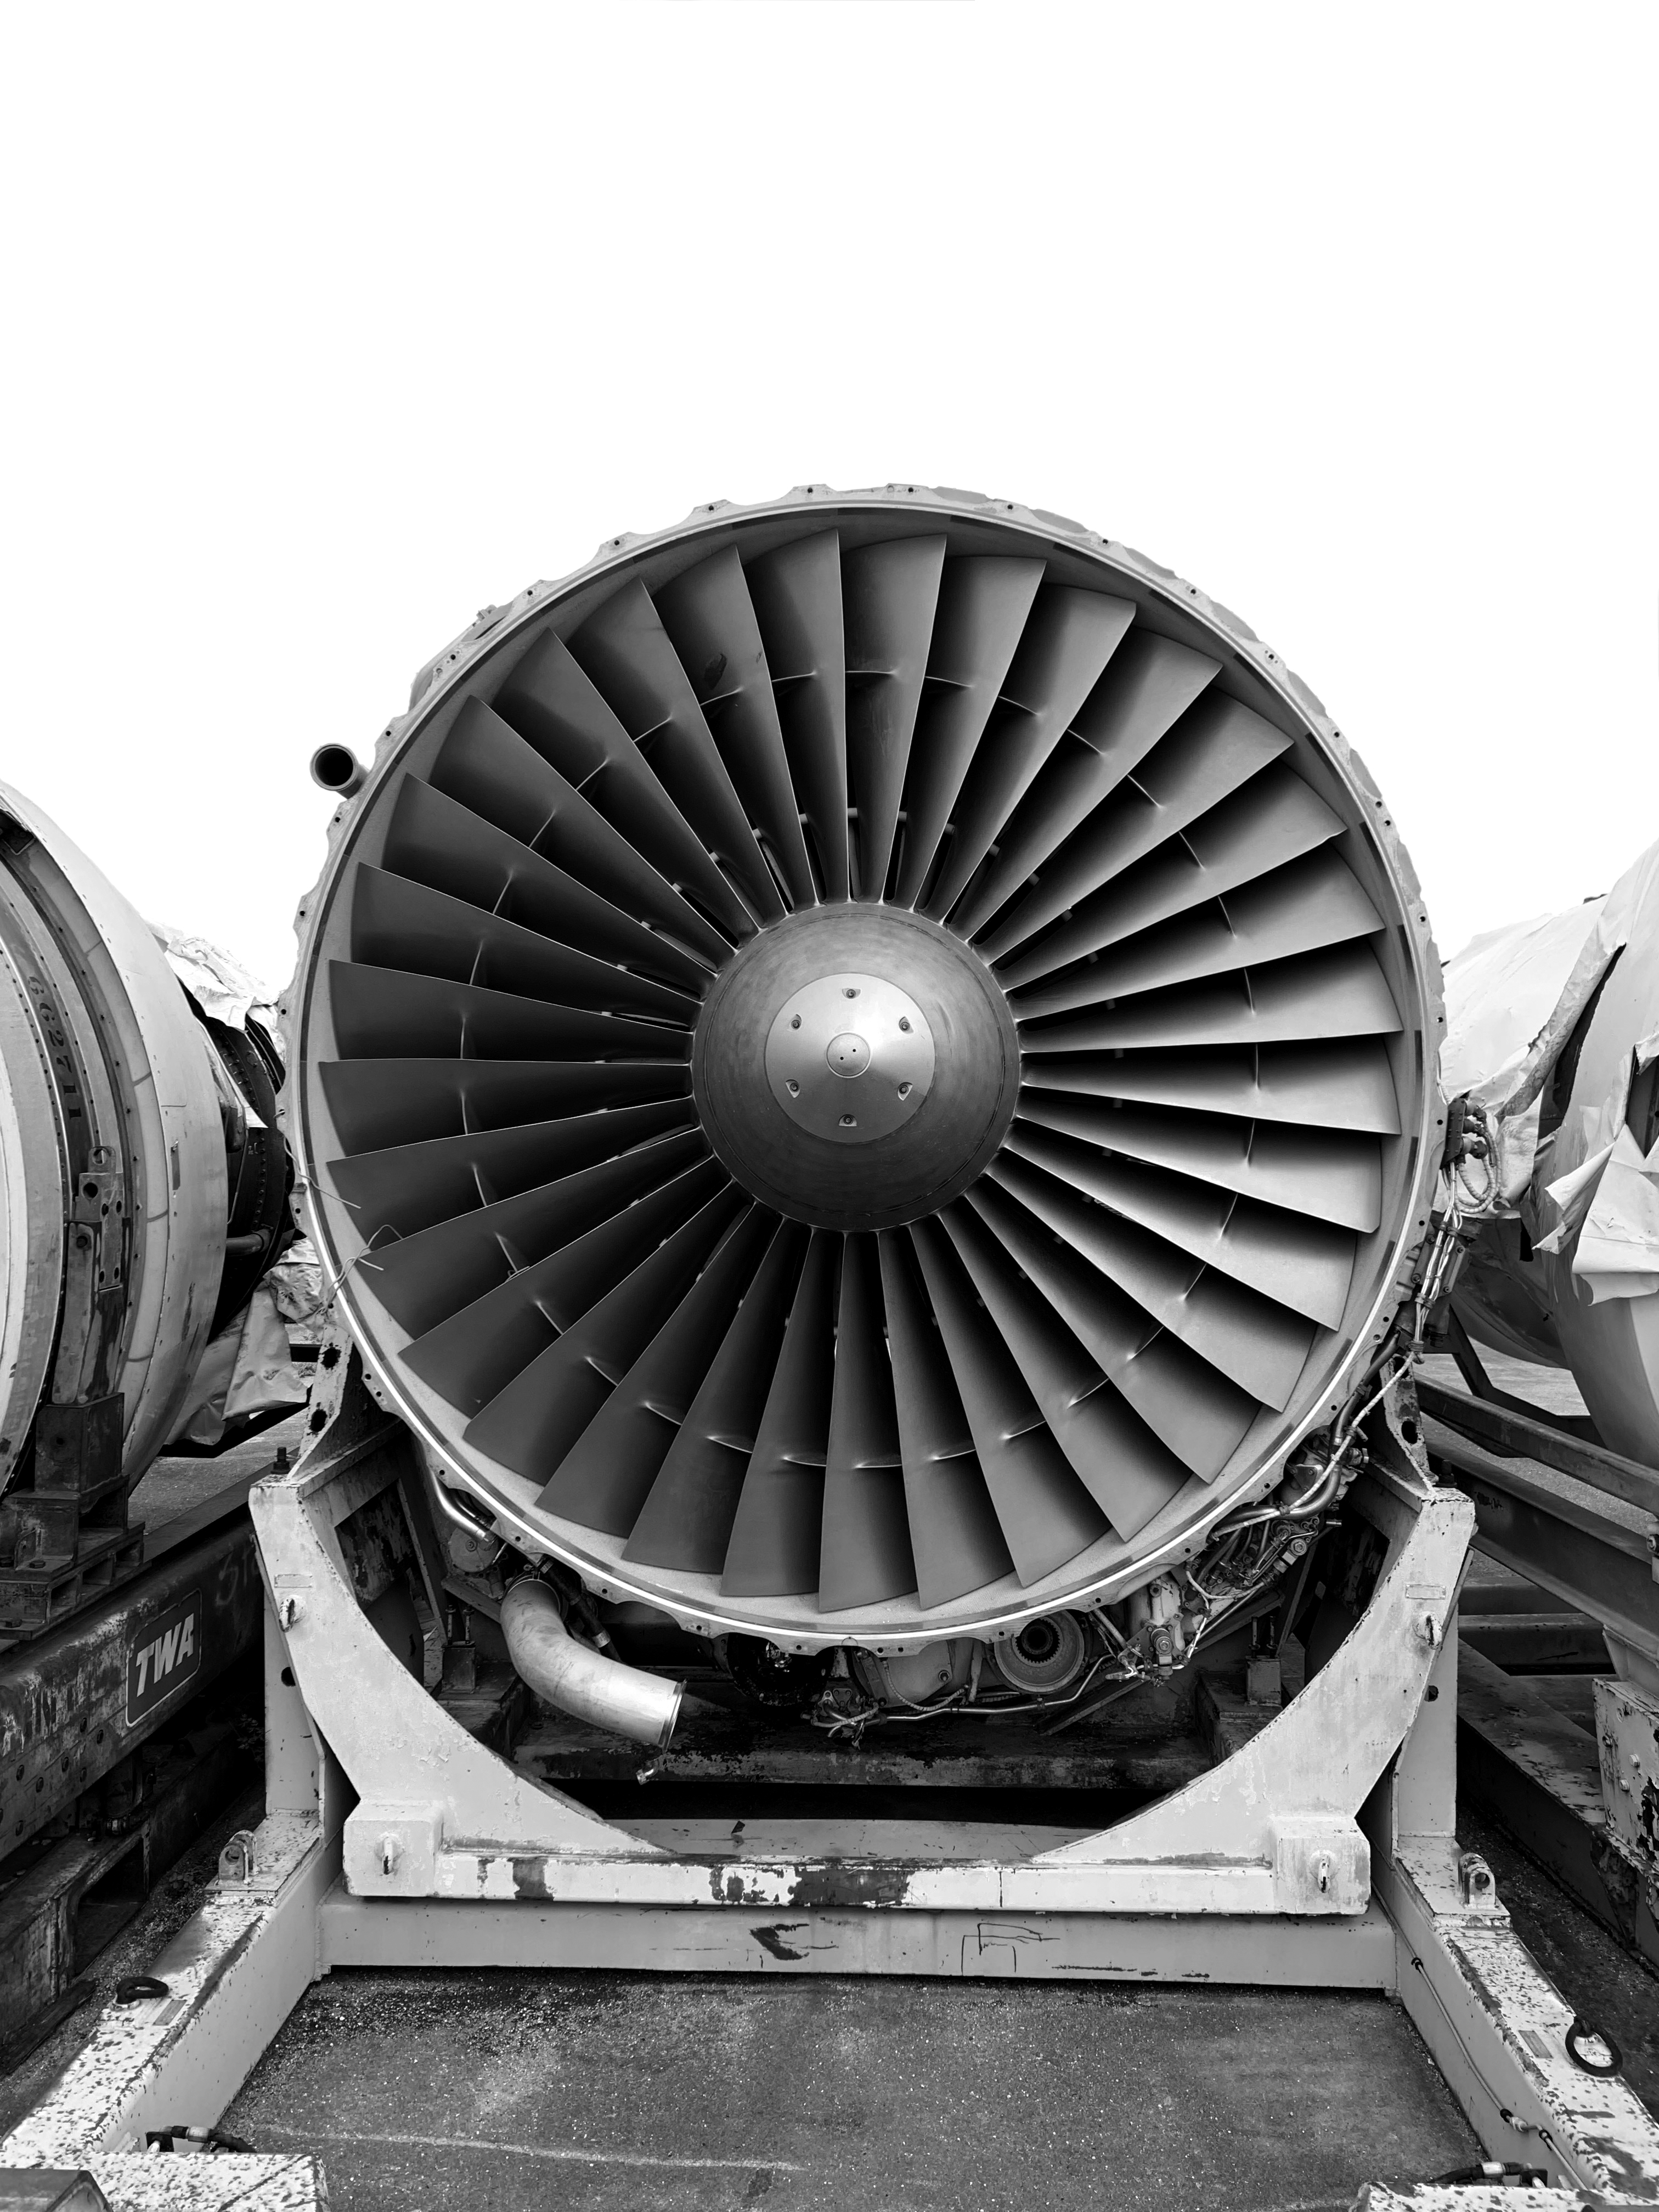
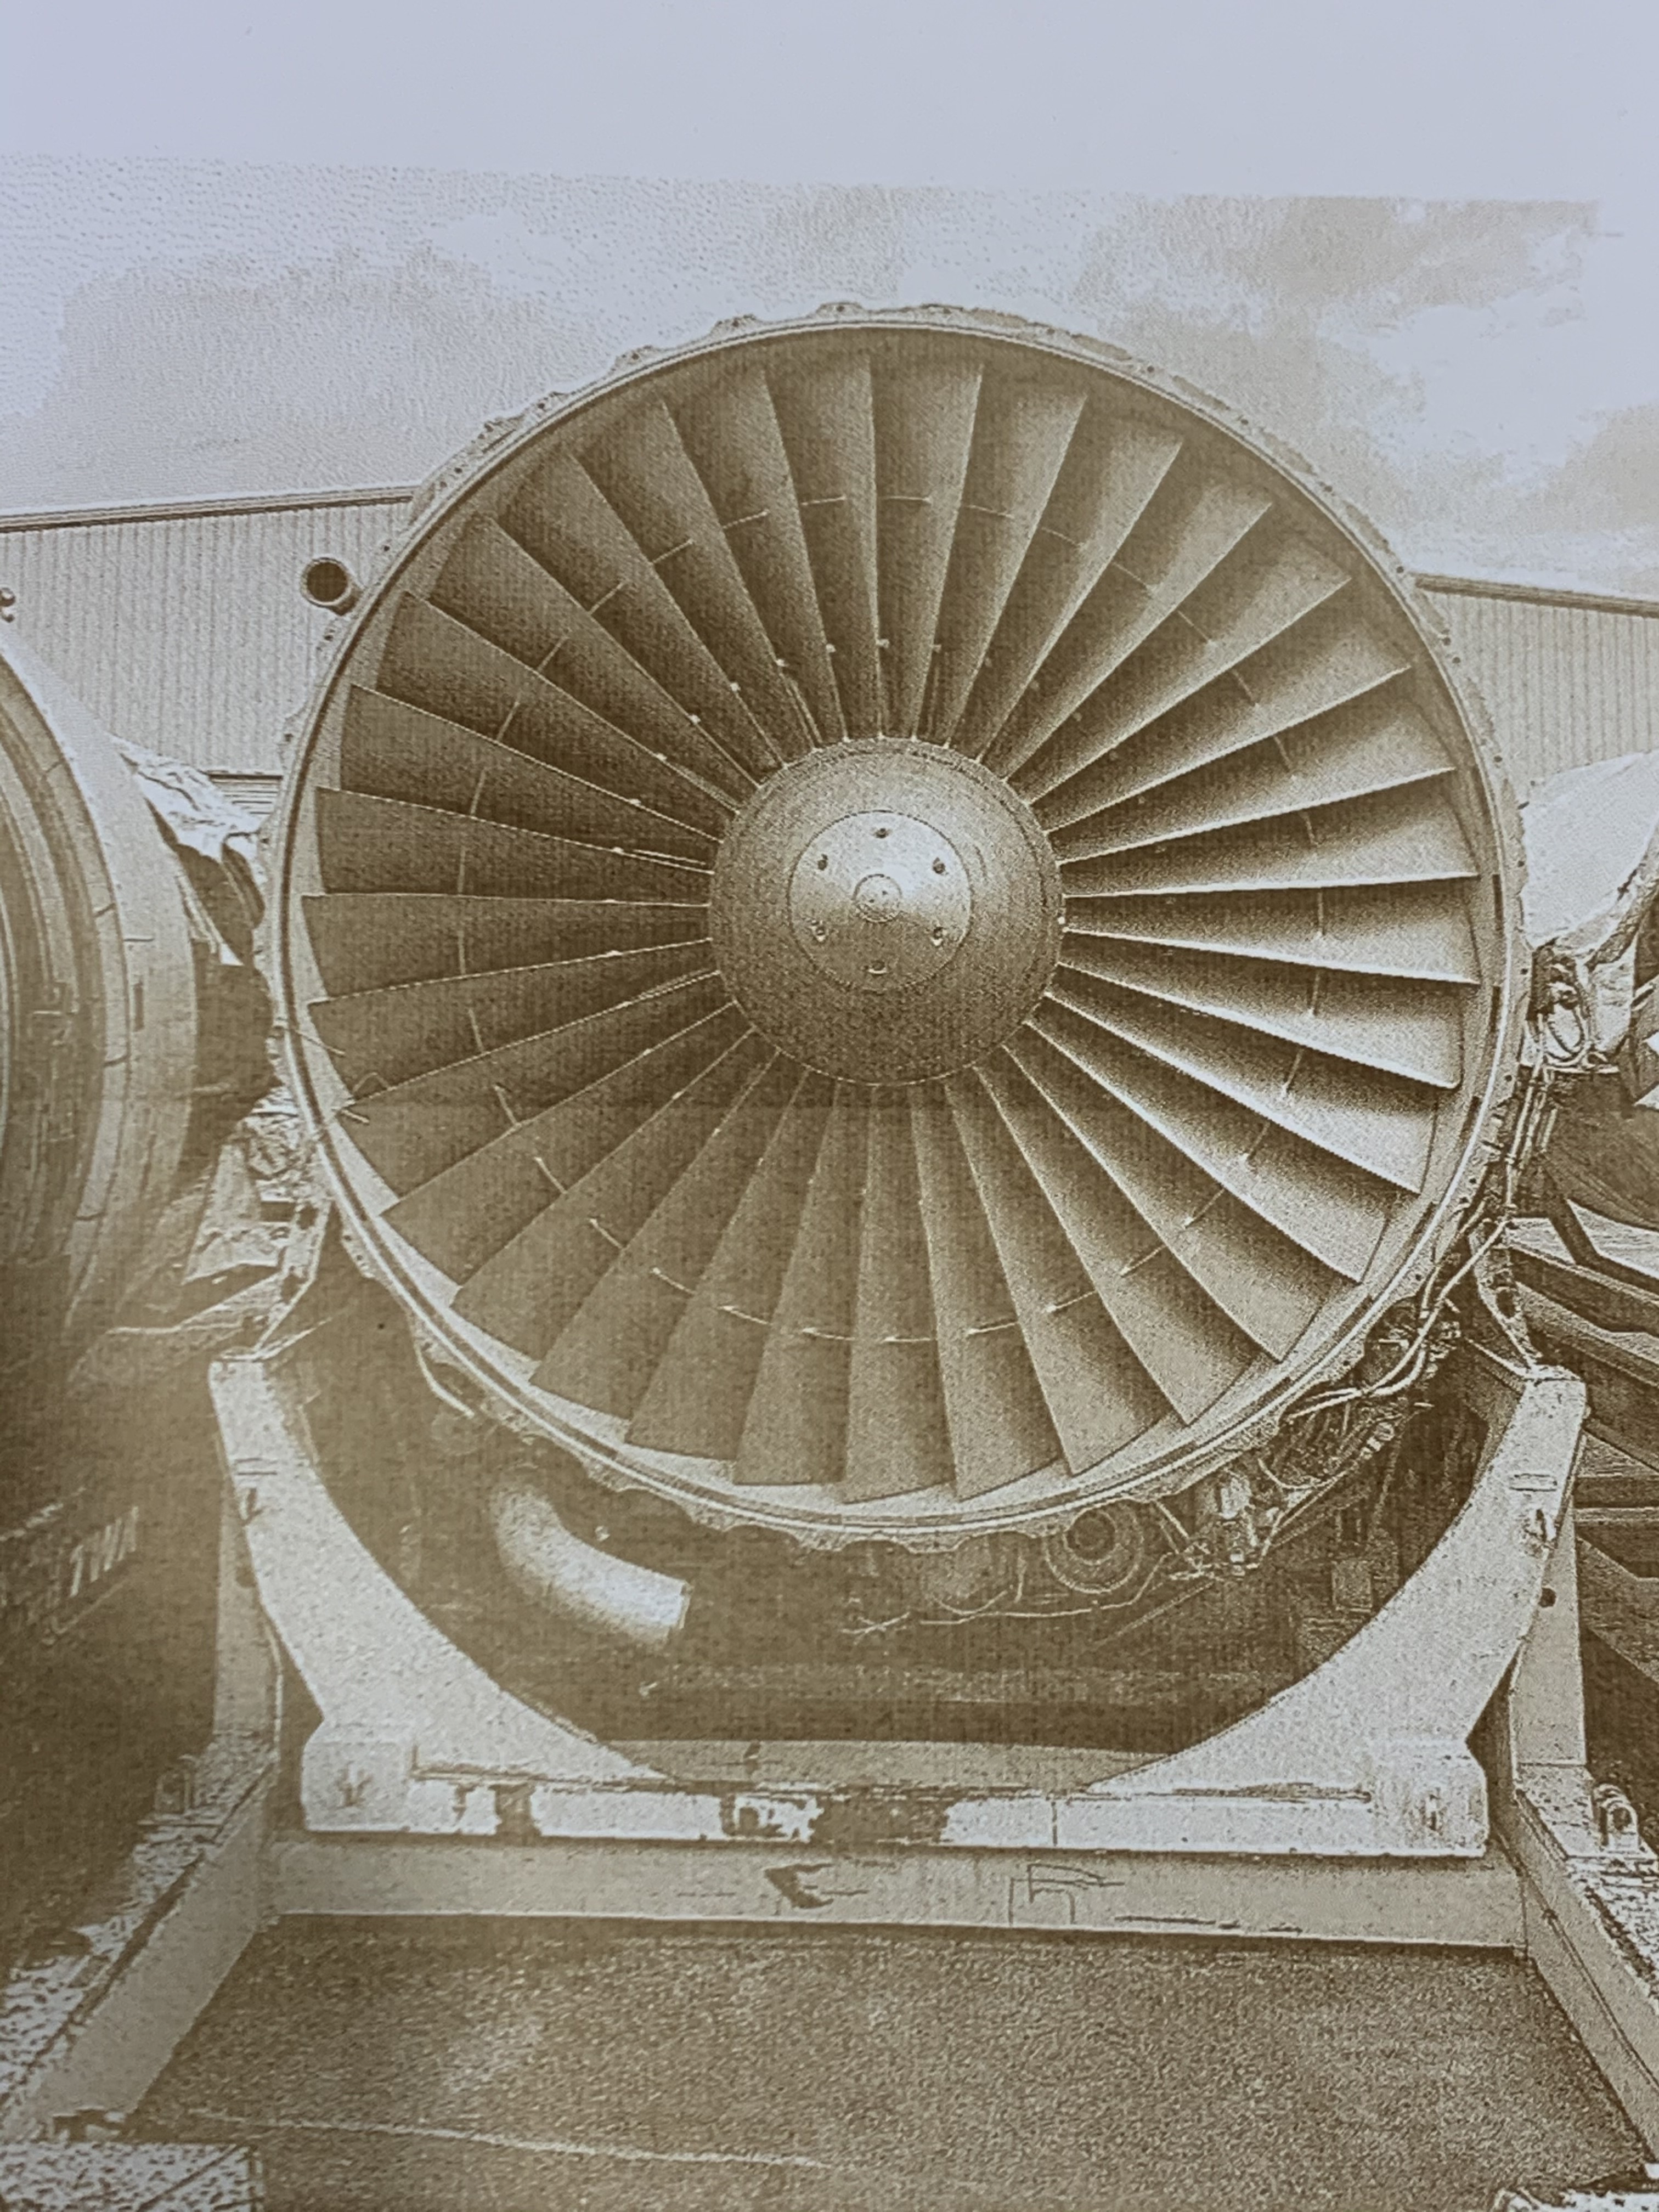
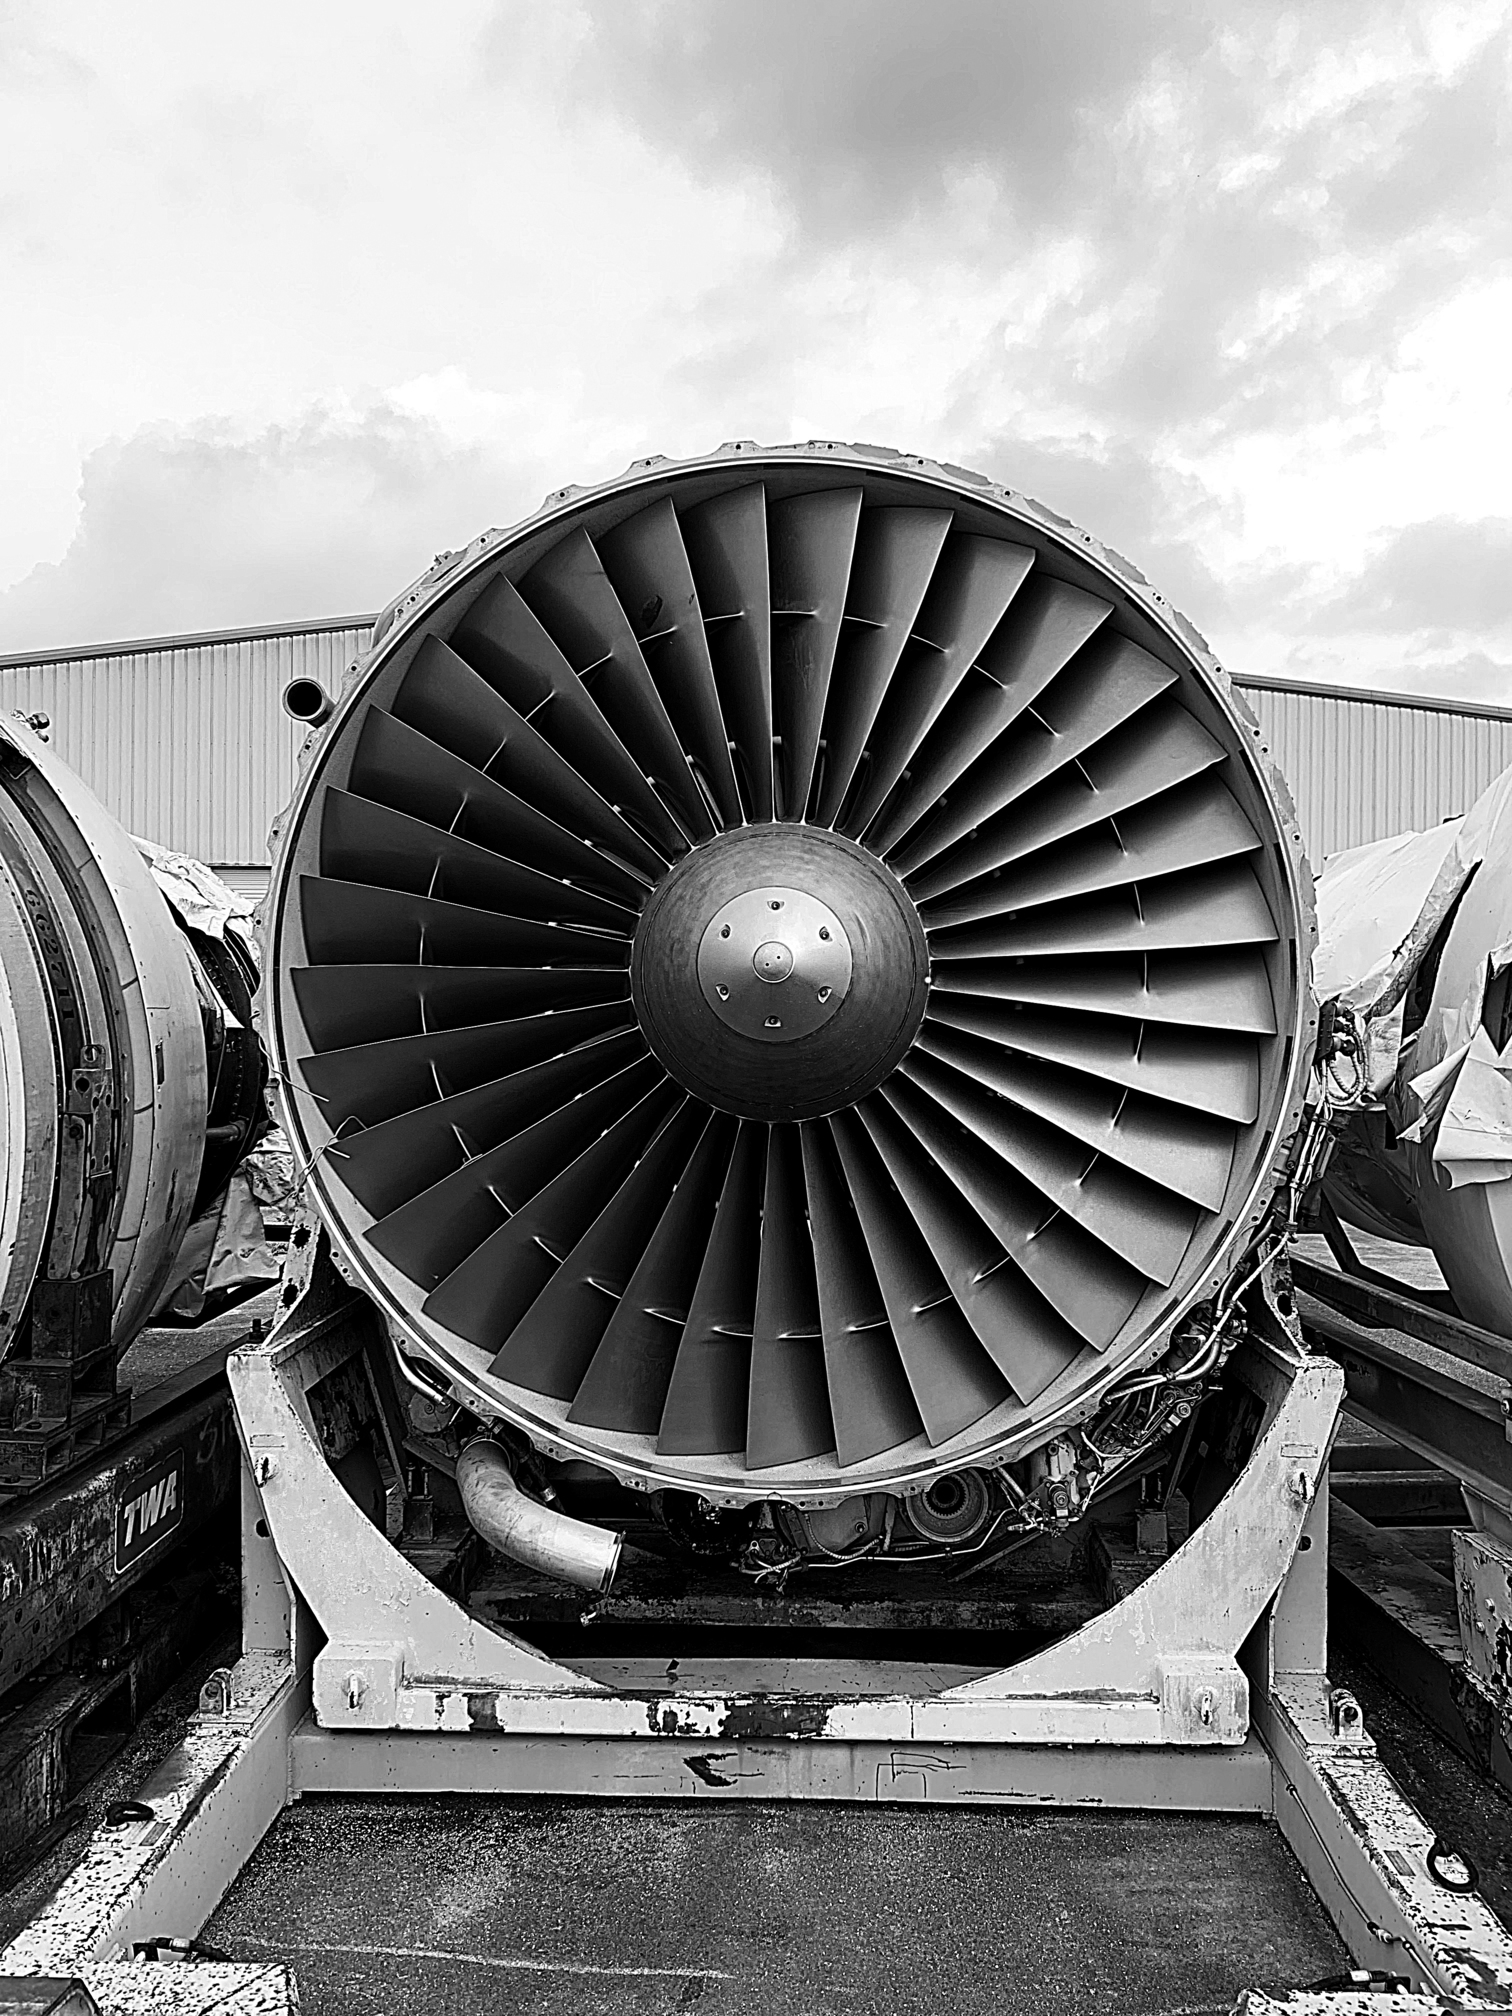
Chose this photo because it has a lot of tiny detail and some nice tonal graduation. Here’s the photo as well. Used Photoshop to remove the upper background. No adjustments in LB.
Posting the original photo for download below if anyone wants to use it. I see a lot of posts of people’s end results but not the original photo used.
@travisr100 Did you process the image with an unsnap mask? It looks a little soft.
Did you do any file prep? What DPI? My background is in professional photography. Closed my studio in Los Angeles in 2013 and moved to the Pacific Northwest to start a new life when everyone with a cell phone and Instagram filters became a professional over night…
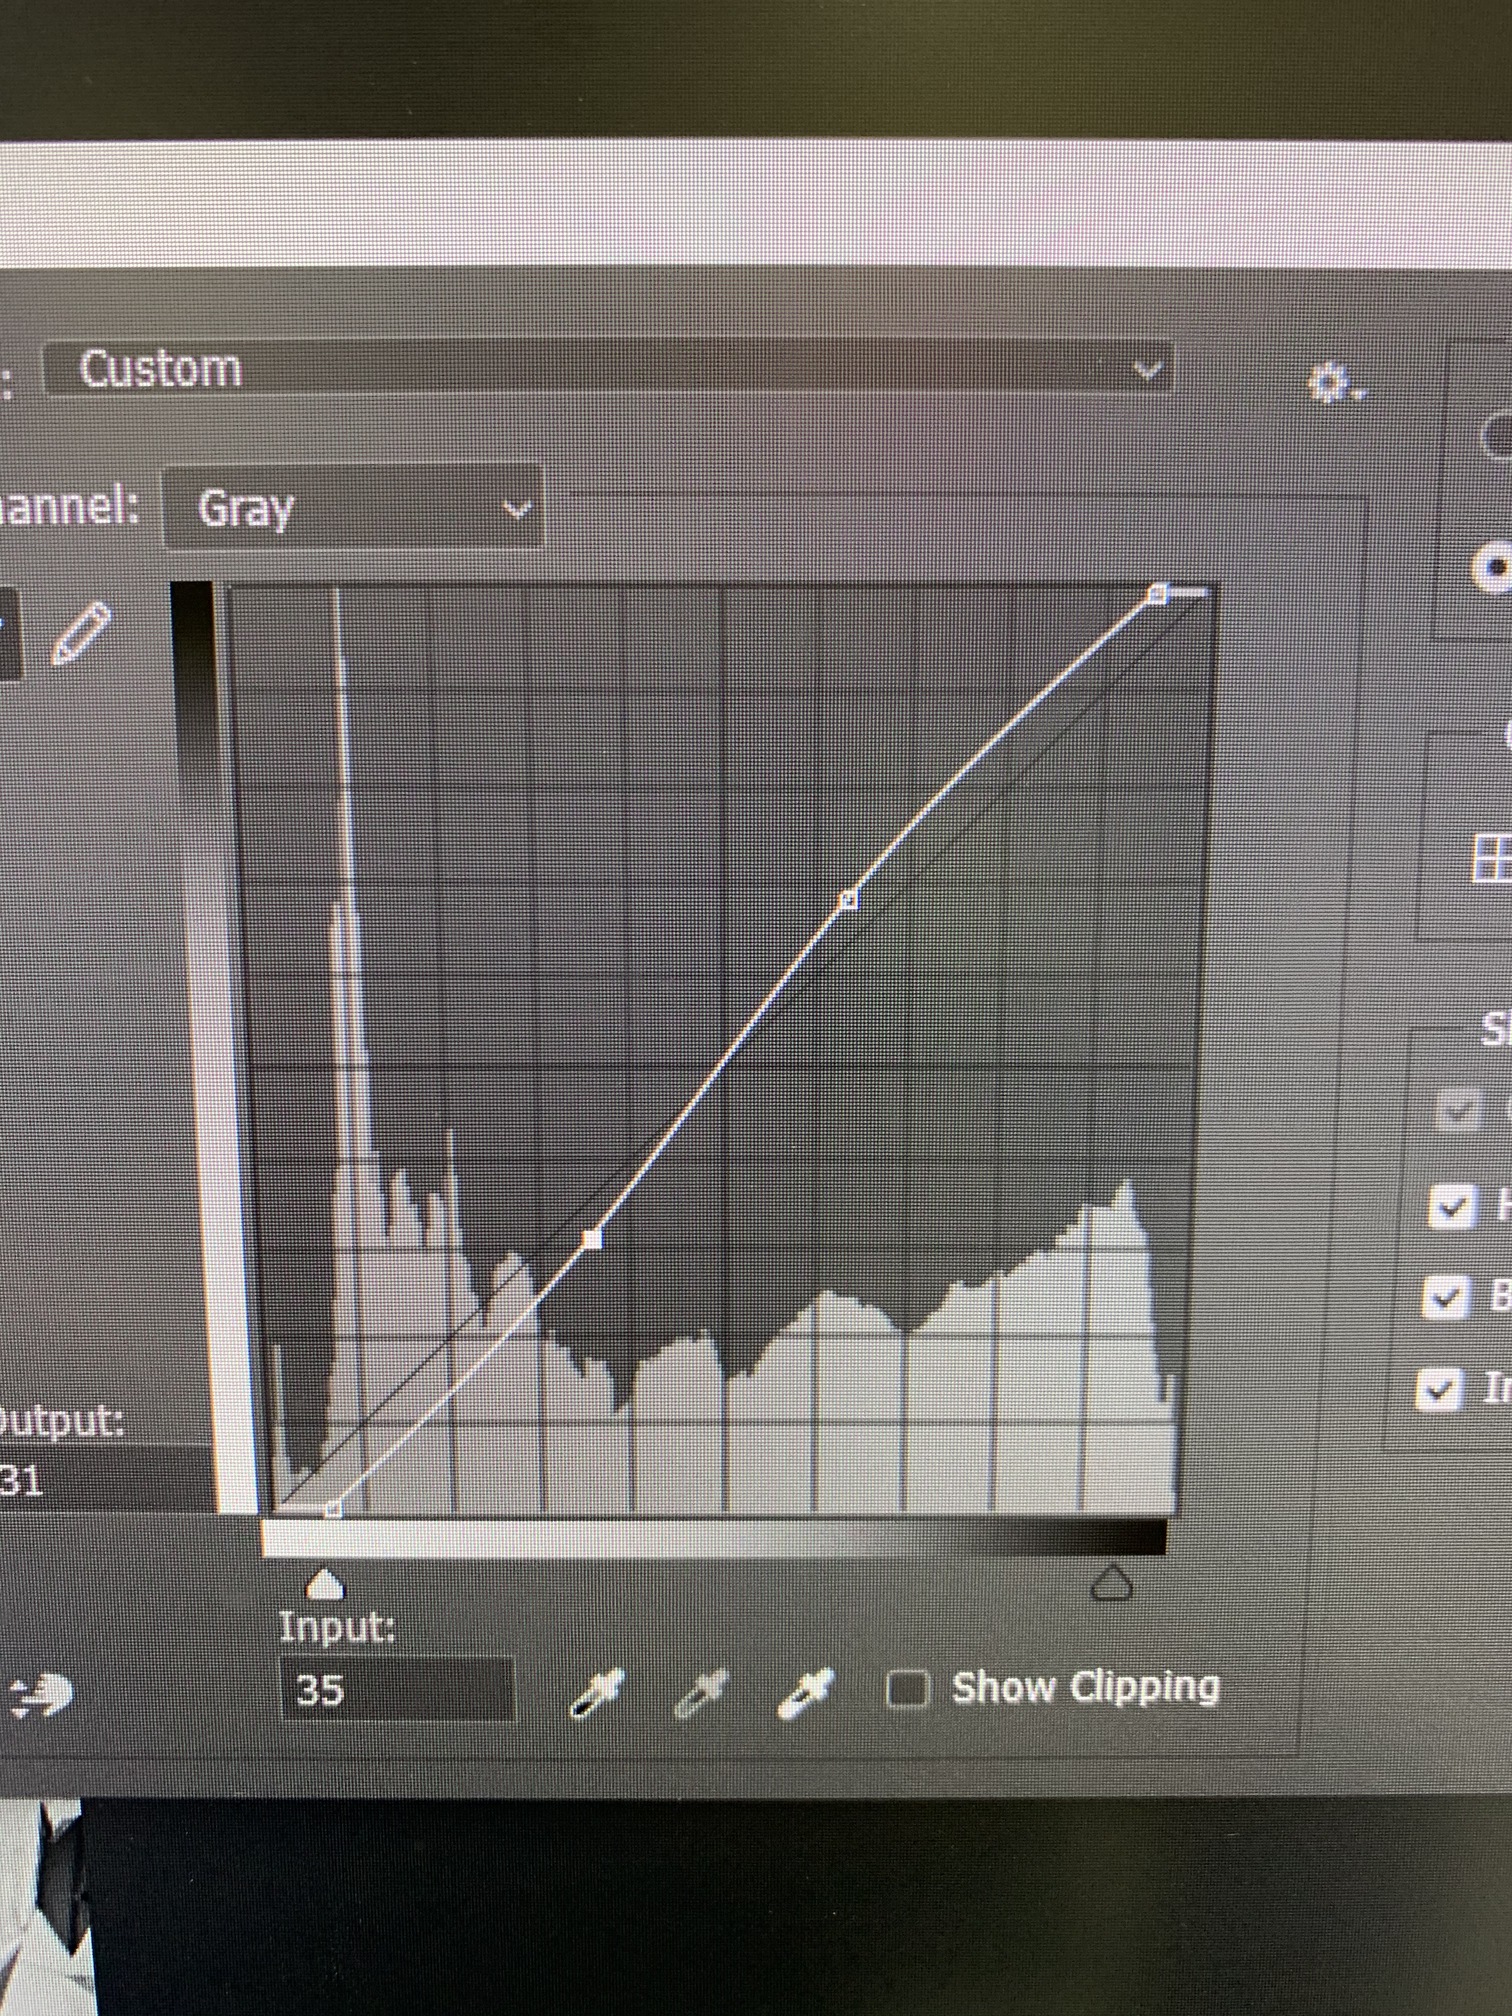
I shot this with my iPhone. Brought it into Photoshop and removed the background from the top part of the photo (was just some clouds and a hangar). Discarded color information. Saved it as a JPG. That’s all I did in Photoshop. From there imported it into LB. Scaled it to fit on the media I was engraving. Used Stucki dither, .09/282 DPI, no changes to shape layer properties. No unsharp mask.
an unsharp mask to get rid of the fuzziness from digital photo in photoshop on your image the detail that it can not reproduce. Experiment with the % of sharpness as high as 500% and radius of up to 6. ( I am taking into consideration that you are versatile in Photoshop)
I think you will be pleasantly surprised at your adjusted image final engraving. The above recipe is for wood engraving, anodized aluminum unsharp mask 200% will give you a finer detail profile due to substrates holding a sharper dots.
Now send your revised file to LightBurn and show us your awesome image.
I’ll also note that I hadn’t checked my focus or looked at a closeup of the other tries. Focus was off by 1mm, which is a lot for this lens setup. Focus is now adjusted. Trying another as I type this.
That is an awesome feature Oz and great to know info. What’s the unsharp % and radius of the LightBurn Enhance feature ? This matters for porous materials vs. metal engravings.
The current advantage of Photoshop or Corel Draw is that one can control the % of the sharpening and radius of the unsharp mask. For photogs like me that’s a big deal to “control the look”.
OK, so what a difference the focus made. There is a horizontal line where I bumped up the power by 1% during the engraving. I’m guessing the unsharp mask made a bit of difference as well. For reference the width of the engraving is about 6".
@travisr100 AWESOME, YES the focus made a huge difference but look at all of the details you were able to achieve AFTER you tweaked the file for tonal adjustments and you converted it to 8 bit BW.
@LightBurn thank you I will be investing in LightBurn just as soon as We receive our laser. It’s currently stuck in customs in Los Angeles for an extensive inspection. This COVID19 has the custom people scared with all imports from China.FDA is very interested in lasers for some reason.
We expect it in the next 10-14 days in Portland Oregon
I am trying to learn as much as I can from the forum and documentation until we get the machine. Sorry that I did not know about the shape Properties feature.
Hardly your fault - no need to apologize for that. It was mentioned in the release notes when it came out, and you might find some other goodies in there too:
The 0.9.05 release had the image enhance feature added, and it’s called out in the notes for that release.
Awesome, thank you for the link. All I can say is WOW WOW WOW I am super excited now. Maybe I can download the software and play with the design features while we wait for the machine.