Hi Mike - Can you send the LBRN project file? The PSDs are of no use to me (I don’t have PhotoShop) and the jpg doesn’t contain the settings you used, power, speed, DPI, image options, etc, and all of those affect the output.
Sorry, i thought you want the photo to see what i was starting with. i sent the LBRN to support
The specific problem you’re having here is that you’ve chosen ‘Threshold’ as the image mode, which is a simple black/white cutoff. Change that to one of the other modes (Dither, Stuki, Jarvis, Newsprint, etc) to get actual shading.
The more general problem you’re having is that the quality of the original photo is pretty terrible - No disrespect intended here, but the strong backlight and the low contrast on the faces is going to make it difficult to get a good result for this. You’ll get a recognizable image if you change the image mode as I said above, but you might need to use photo editing software to bring up the levels on the faces and foreground details to get a better quality burn, and the photo seems to be relatively low resolution as well.
I’ve replied to your email with an edited version of the image to show you what I mean.
got it thanks for you time in this matter. That picture was taken with an iphone. maybe just a bad picture or are iphones not a good source for a picture?
iPhones are fine, but not all photos are equal. The strong backlight means that it’s struggling to keep the detail in the faces. If it was taken from an older phone that could be part of it - newer ones do a better job of balancing the light.
think i might be getting some of this. so before i dump a photo into LB i want as clear and as bright of colors i can get. Even thought LB changes it to black and white brighter colors will make a big difference
LightBurn changes an image to black and white, yes, but it uses a technique called dithering that varies the spacing of the dots to give the illusion of shading, much like newspaper printing does. The more range of brightness in your original image, the better the shading results you’ll get in the engraving.
Or, a little less delicately, “garbage in, garbage out”. 
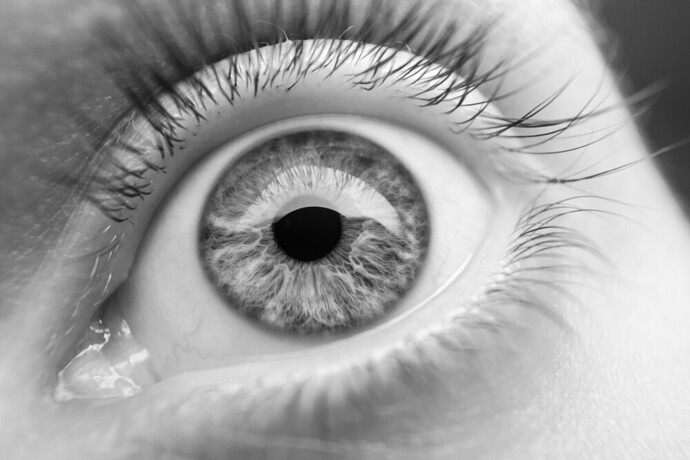
This is a continuous shaded grayscale image:
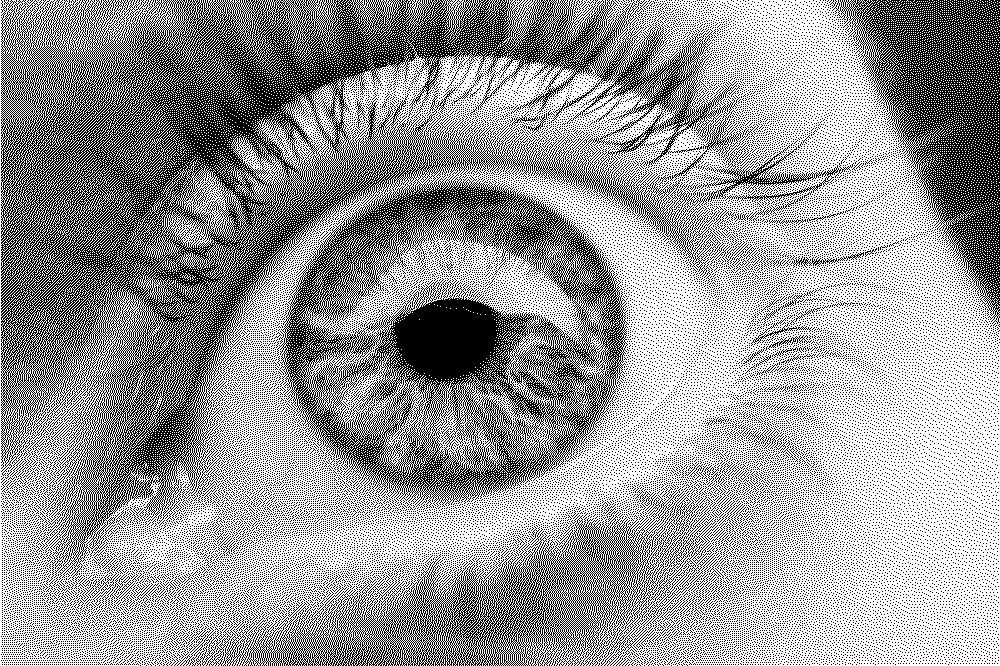
And this is it again, converted to black & white by LightBurn.
Click on this picture to see it at true scale, and notice that it’s all just dots:
If you back away from the screen a bit, you’ll be hard pressed to tell them apart (the dithered version has also been lightened a little, and has edge enhancement, so they aren’t quite the same)
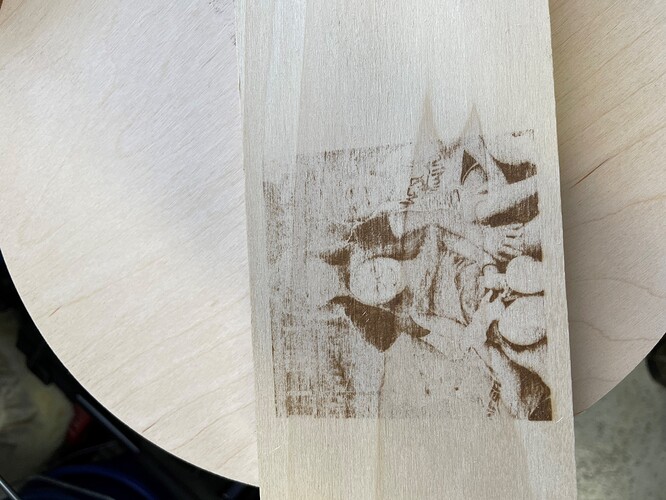
I’m starting to wonder if its not my laser. I burnt this at speed of 150 and 100% power. shouldn’t that have burnt the wood a lot?
this was 3" x 3" on a piece of popular and took 3 hrs. to complete
can someone send me a small image with speed and power with a similar laser that you know works and what type of wood so i can see if its my laser or I’m just not getting this. I’ve never given up on anything in life but this is close 
Hi, I use a ‘Ortur LM 20watt’, I believe it’s similar to yours in output.
I don’t have it with me but yesterday i did a 10’‘x8’’ at 3200 speed and 75% unhappy to say it looked a lot like yours but only took 1h 30min i don’t have light in the garage and wasn’t watching it.
May sound like a daft question but have you cleaned the lens lately?
could be smeared in gunk…
thanks ill check it. have been messing with it and wont even mark the wood now
Introduction to CNC for a Total Novice: Tuning GRBL Settings - SainSmart Resource Center
Just found this, it may help.(ignore the total novice part) just noticed it 
Think of it as learning how not to do things in the future. 
Put a teaspoon of baking soda into about 3 oz of warm water and dissolve it completely. Put that into a small spray bottle, and mist one side of the wood with it. Rub it around with your fingers to make sure it’s even, and let it dry. Engrave that - it’ll be much darker.
Go into cuts/layers, double click your project and where it says ‘scan angle’, change it to ‘90 degrees’ diode’s burn better top to bottom rather than left to right, it’s to do with the shape of the beam on diode’s.
They burn best in the direction of the beam shape, which depends entirely how it’s mounted in the machine. Yours might be vertical, but it tends to be arbitrary.
This topic was automatically closed 30 days after the last reply. New replies are no longer allowed.


