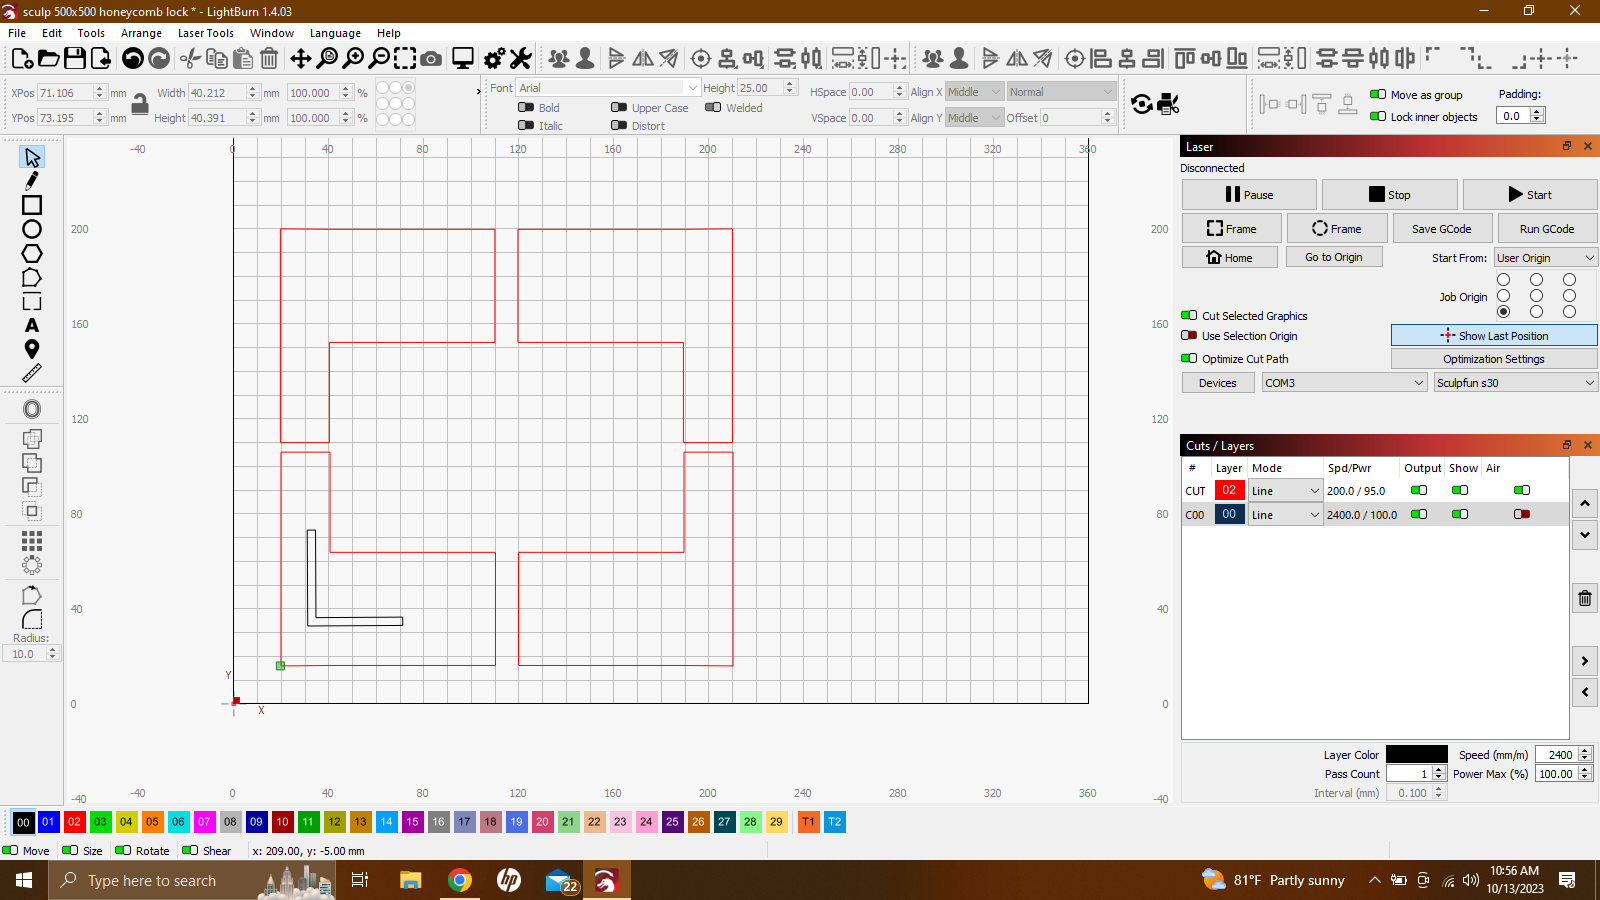
I am having trouble understanding how to place objects accurately within other objects. Specifically, I am trying to place an “L” shaped slot inside a piece that must be accurately placed within that outer perimeter. Please see screenshot.
If the interior position is measured by an offset from the enclosing shape, you can snap / dock the inner shape to a border of the outer shape, then use an expression in the Numeric Edit toolbar to move it a precise distance along either X or Y.
1 Like
What point on the inner shape is it being measured from. To further explain, in the example shown: The orientation of the inner “L” is correct but the left side needs to be placed at a specific distance from the cut line on the Y axis and the bottom part of the “L” needs to be paced at a specific distance from the cut line on X axis. I don’t know how to achieve this using the “numeric editing toolbar”. Do I simply move the shape until it reads the correct coordinates?
Also,where are the coordinates being measured from? The object to the cut line? The object to the edge of the work area?
Just for clarification, the expression would be something along the lines of “+3.6” or “-8.6” as long as the highlight is removed from the numeric edit toolbar and the cursor placed in the appropriate position in the toolbar. It’s a very handy method for exact relative movement.
Thanks Fred,
As far as I am able to tell, the object is measured to the edge of the workspace but not relative to the part I am trying to place the “L” inside of. Is that a correct assumption? And the starting point would be at the “home” position of the laser?
Oddly, it doesn’t matter, because you enter the incremental distance to move in the Numeric Edits field.
For example, consider putting the left edge of the interior L exactly 12.3 mm from the left edge of the outside shape:
- Snap / dock the left edge of the L to the left edge of the outside shape, so the two left edges are atop each other
- The
Numeric Editstoolbar now shows the coordinates of the L, but you don’t need to know which point on the L it’s referring to - Suppose the X coordinate of the L is 345.67 mm. Enter the offset in that field so it displays 345.67+12.3 (or 345.67-12.3) and whack Enter
- The L is now exactly 12.3 mm from the left edge of the outside shape
- Repeat that for the Y coordinate and you’re done
If your shapes are as symmetric as they look, you can group one of them, duplicate the group, mirror it, place it, and avoid a whole bunch of fiddling.
1 Like
@ednisley addressed the specifics but let me address generally.
You should familiarize yourself with the 9-dot control in Numeric Edits Toolbar. It determines the relative position from which the values in the Numeric Edits fields apply to your shape or group of shapes.
More information here:
Numeric Edits - LightBurn Software Documentation
1 Like
What you would want to do is move the ell shape by snapping the lower left corner to the lower left corner of the outer shape. Once there and still selected, examine the numeric edit toolbar for the current coordinates. Click inside each box in turn, deselecting the value within. Ensure the cursor is at the end of the value and add the appropriate expression. This will cause the ell shape to jump to the specified relative location based on the original snap point.
Gentlemen,
As I experimented with the numeric edit toolbar, it all started to make sense. I still have much to learn with this software, but little by little I am starting to understand the workings. With the assistance of people like you I am finding out how powerful this software is. Thank you both for your assistance
Thanks,
Doug Bell
BellDesignWorx
3 Likes
As do we all: nobody knows everything, but everybody knows something
This topic was automatically closed 30 days after the last reply. New replies are no longer allowed.