You could send me a direct message here (instead of the public forum).
Or alternatively if you can create a sample file that’s not sensitive but known to fail.
If you’d like to ask LightBurn folks to check the file you could also send to support@lightburnsoftware.com. If you do that, you may want to reference this Topic.
There is nothing wrong with the file. I tested it many times before attempting the final project in Wood. I will send you a direct message momentarily thank you
You said you’ve used Print & Cut in the past with no issues. Have you changed any of your machine settings or updated your firmware since then? My suspicion is that your XTool could be slipping a little when jogging between points or when running the cuts. Any slippage at all by the machine would result in the issues you’re describing.
Since nothing has been touched in the code for Print & Cut, and no other users are reporting issues with it, I suspect the issue is on your end, but it’s touch to say exactly where.
Try this:
Draw a simple rectangle
Set the power high enough to mark but not cut through
Run it using Absolute Coords
Jog the laser to a random spot on the bed
Run the job again
Repeat this once or twice
Do all copies of the rectangle land in exactly the same place? If not, that’s the cause of the misalignment.
I have tested this myself, and yes every single time I can reproduce the results. Give me a moment and I will do it again just to show you. The xtool D1 is very accurate and I have re-engraved and re-cut many projects using absolute coordinates with no issue whatsoever.
And there are other people who have said they have had issues with this feature after the latest lightburn update
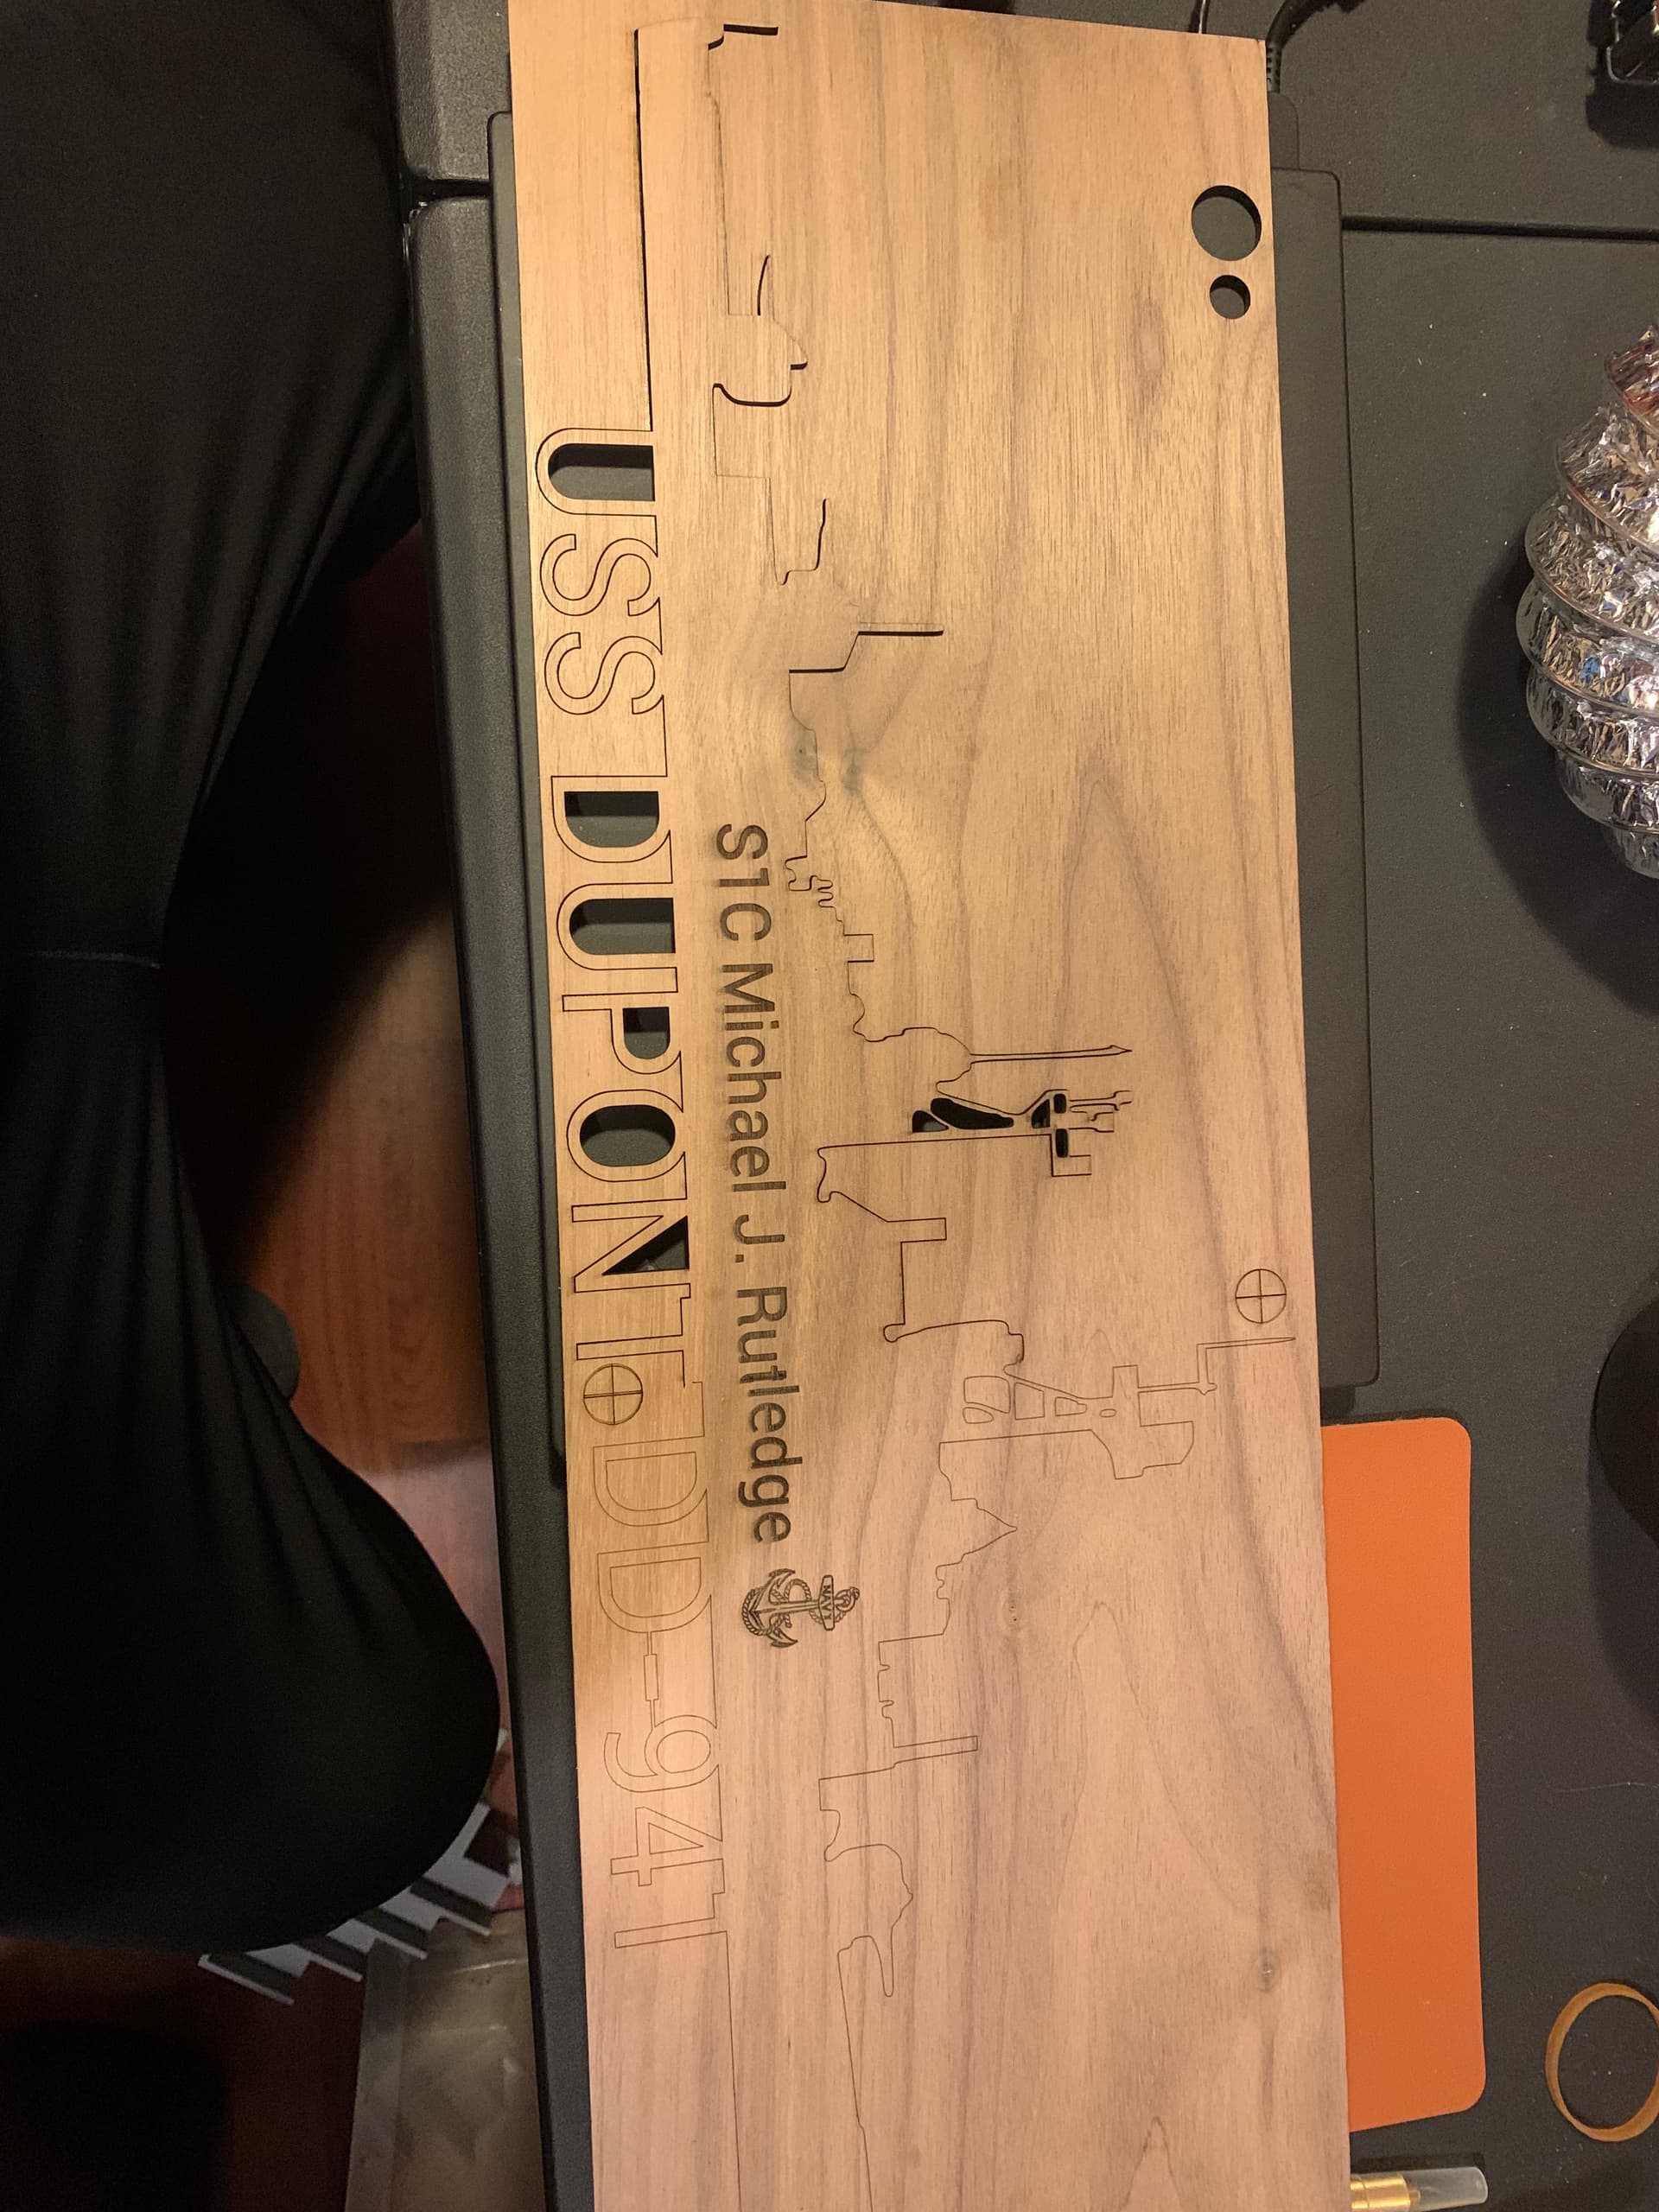
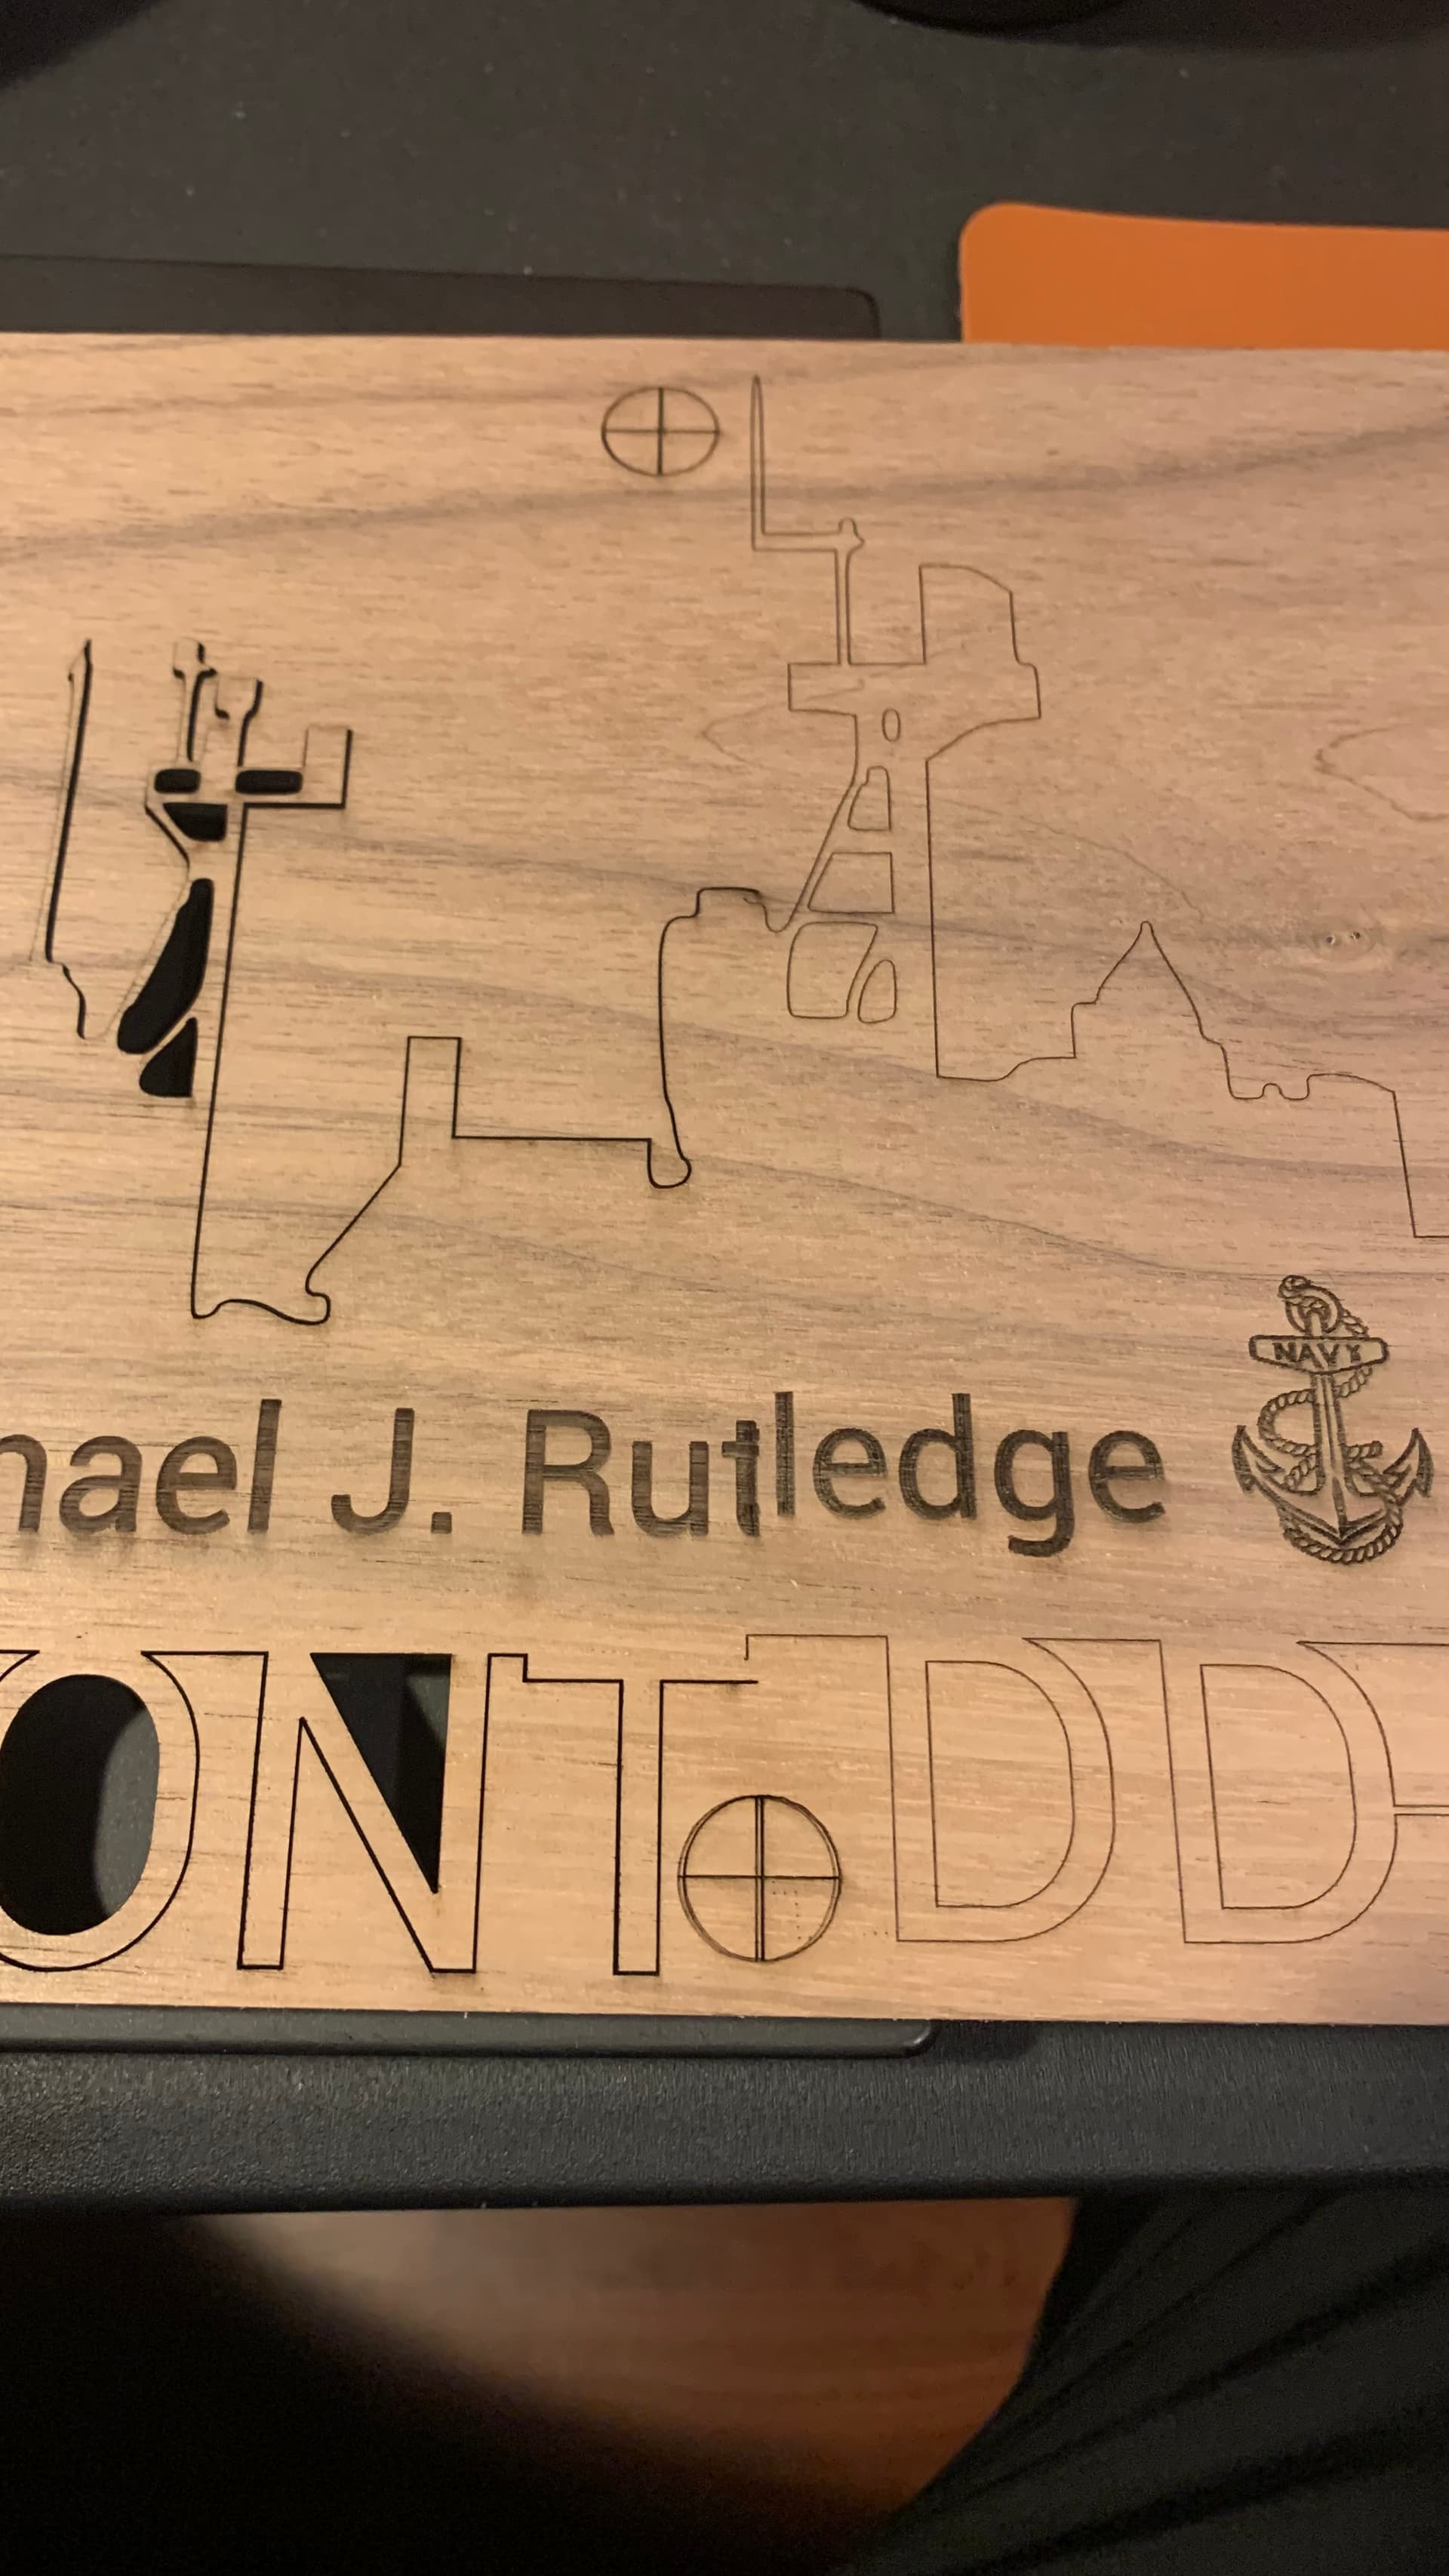
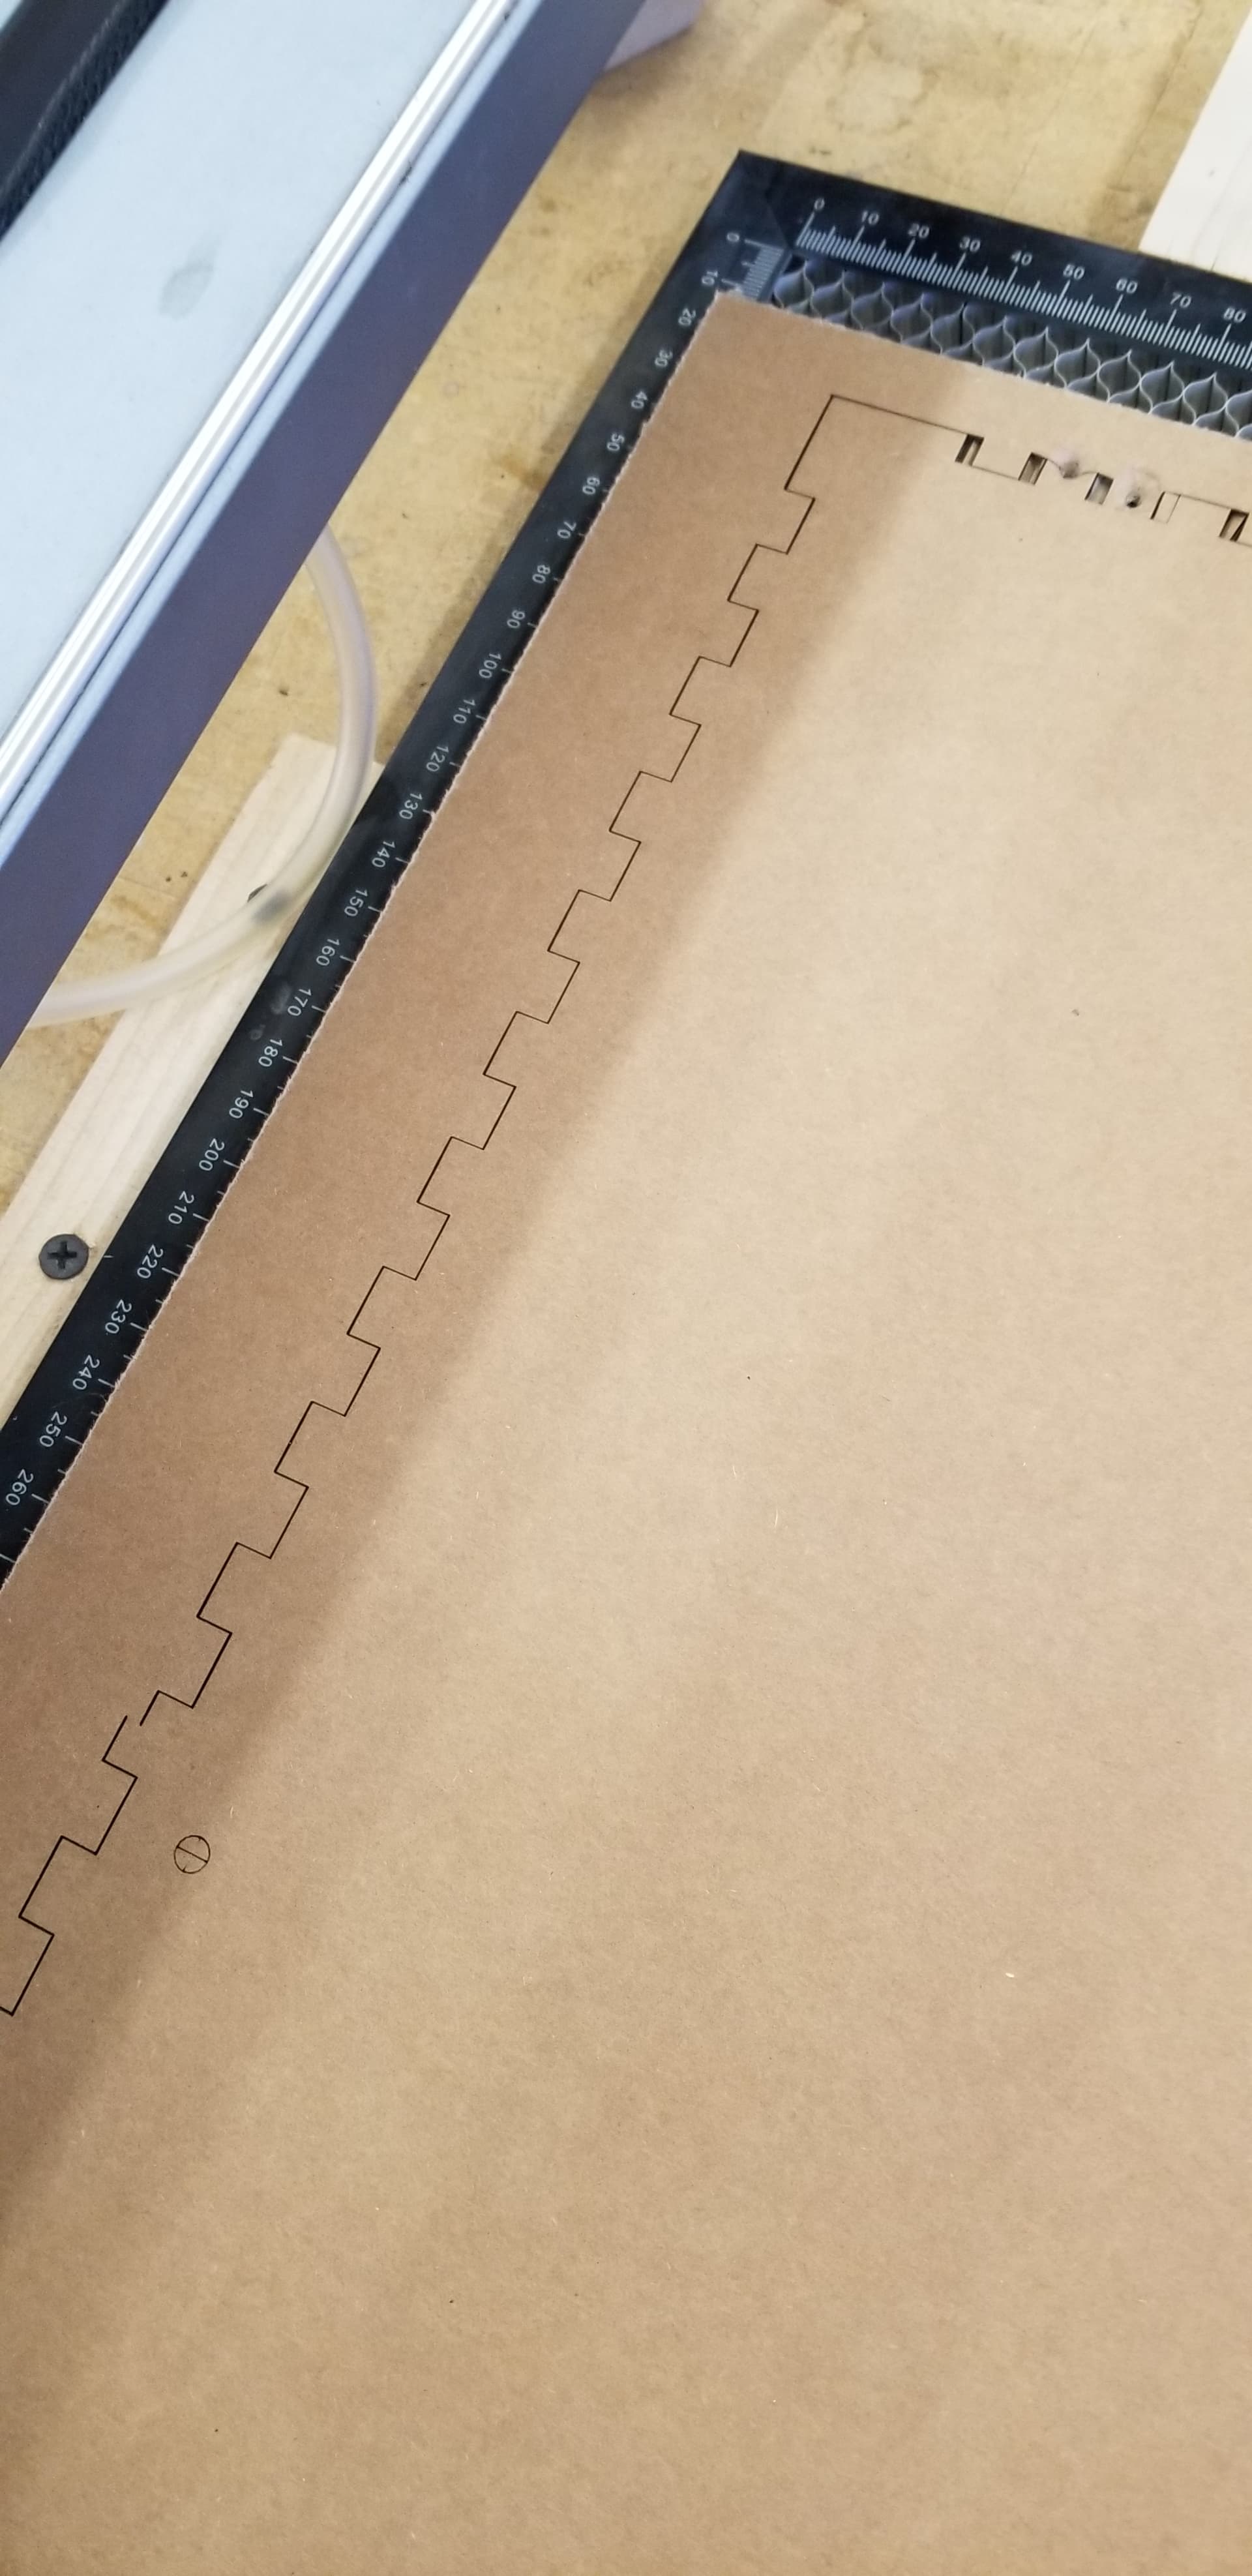
please don’t get me wrong, I love your software. This was my first attempt at using print and cut for an oversized project. My laser bed is 400 x 430 mm roughly 17 x 16“. I needed to cut a project that was 24 inches. It would be impossible for me to use registration marks outside the project as the project takes up the full board. But they were placed in areas outside of the working area of the project in areas that would be cut away after the project finish cutting. I took the entire file and then using cut shapes I cut the file into 2 pieces . I then deleted half of it and save that as page 1 with the registration marks. I then save the second page again with the exact same registration Marks and save that as page 2.
I then framed my project until I was happy with it and started the first burn and cut. The first part of it went perfectly. When the first file completed I opened part two and then open the print and cut wizard. From here I selected the registration mark at the top of the project and using the controls within light burn jogged the laser to the crosshairs until I had as perfect of alignment as I could get. I’ve been selected Mark first point and then I asked it to jog to the second point. This point was a little off so I again using the internal controls Aligned with the crosshairs. I then selected to mark the second point and I then selected to send output with scaling.
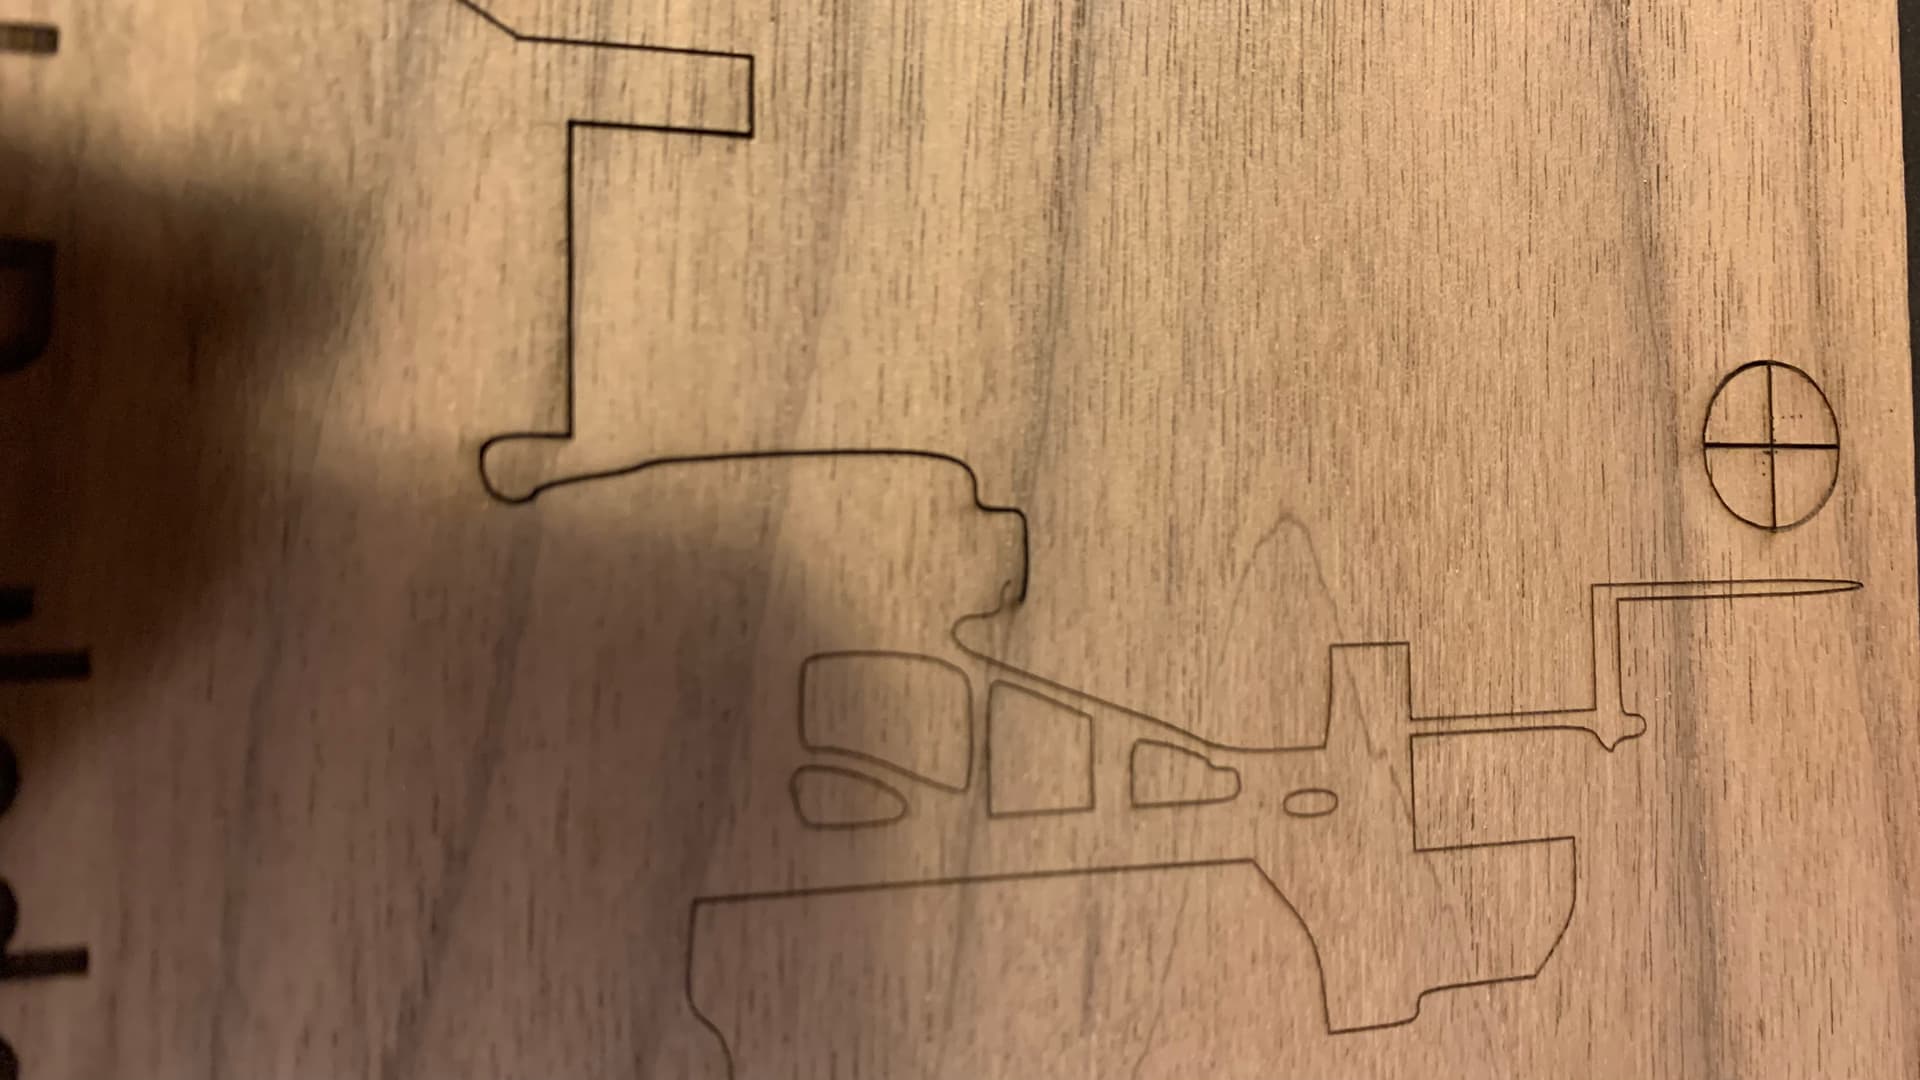
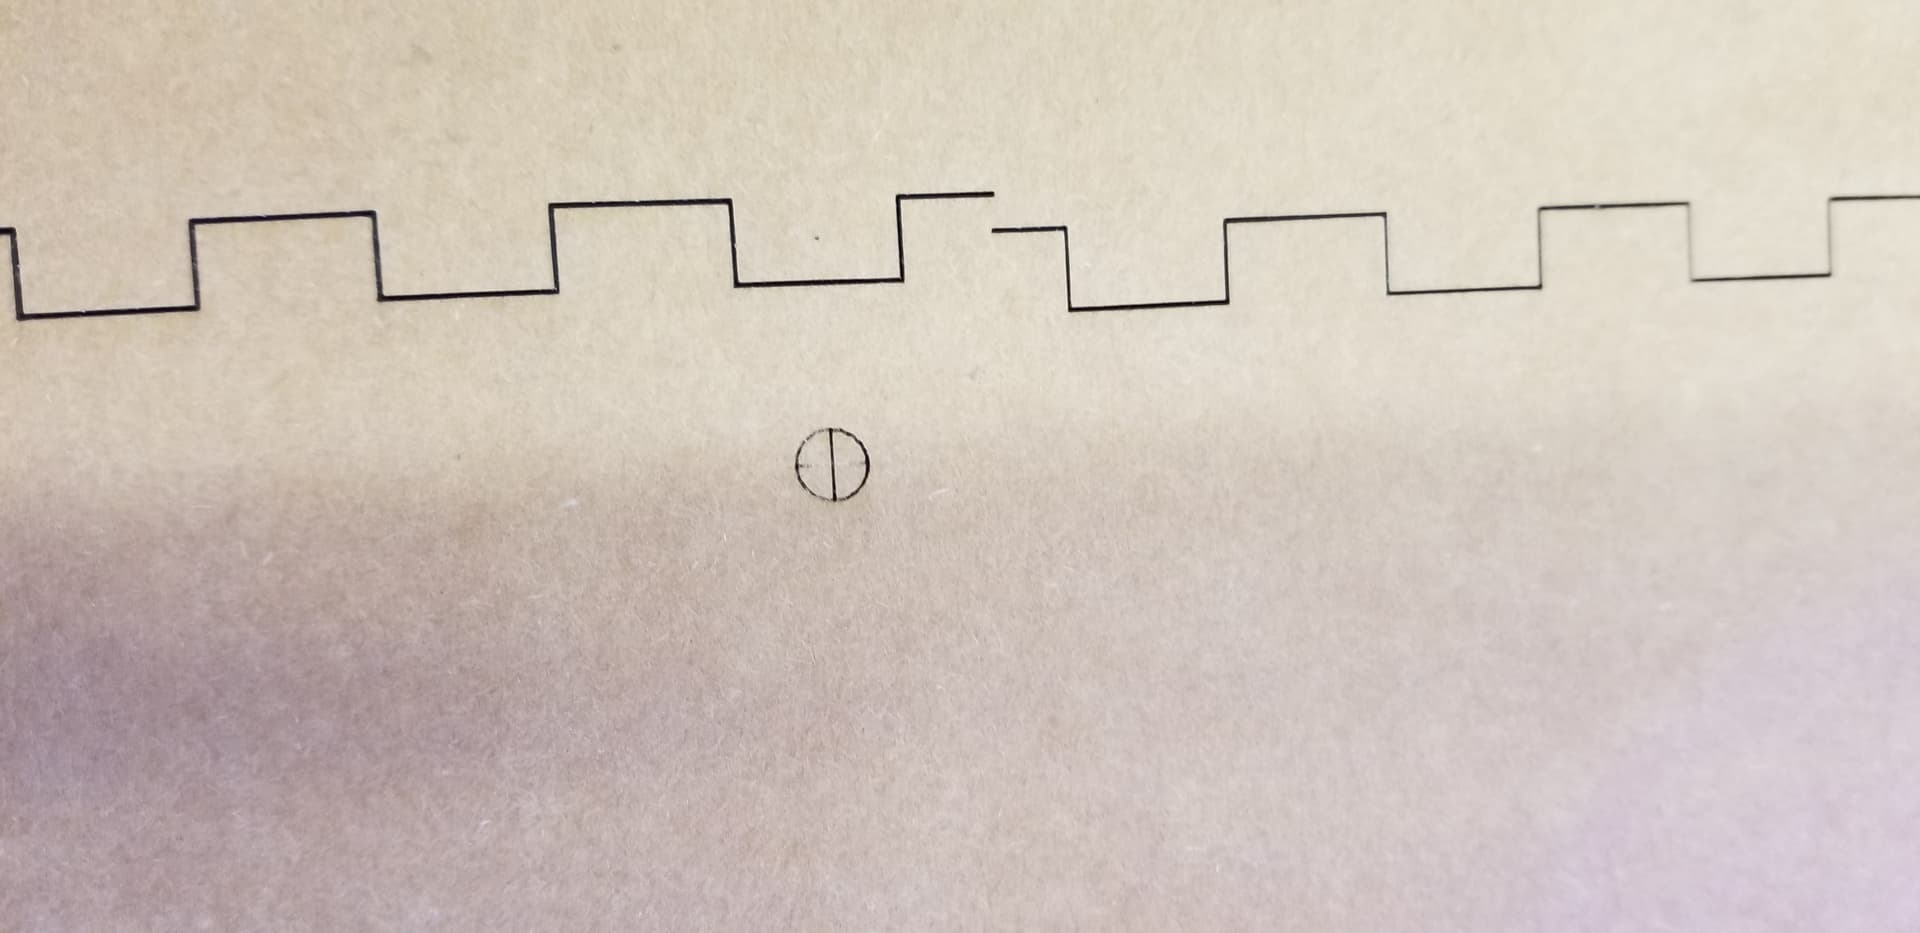
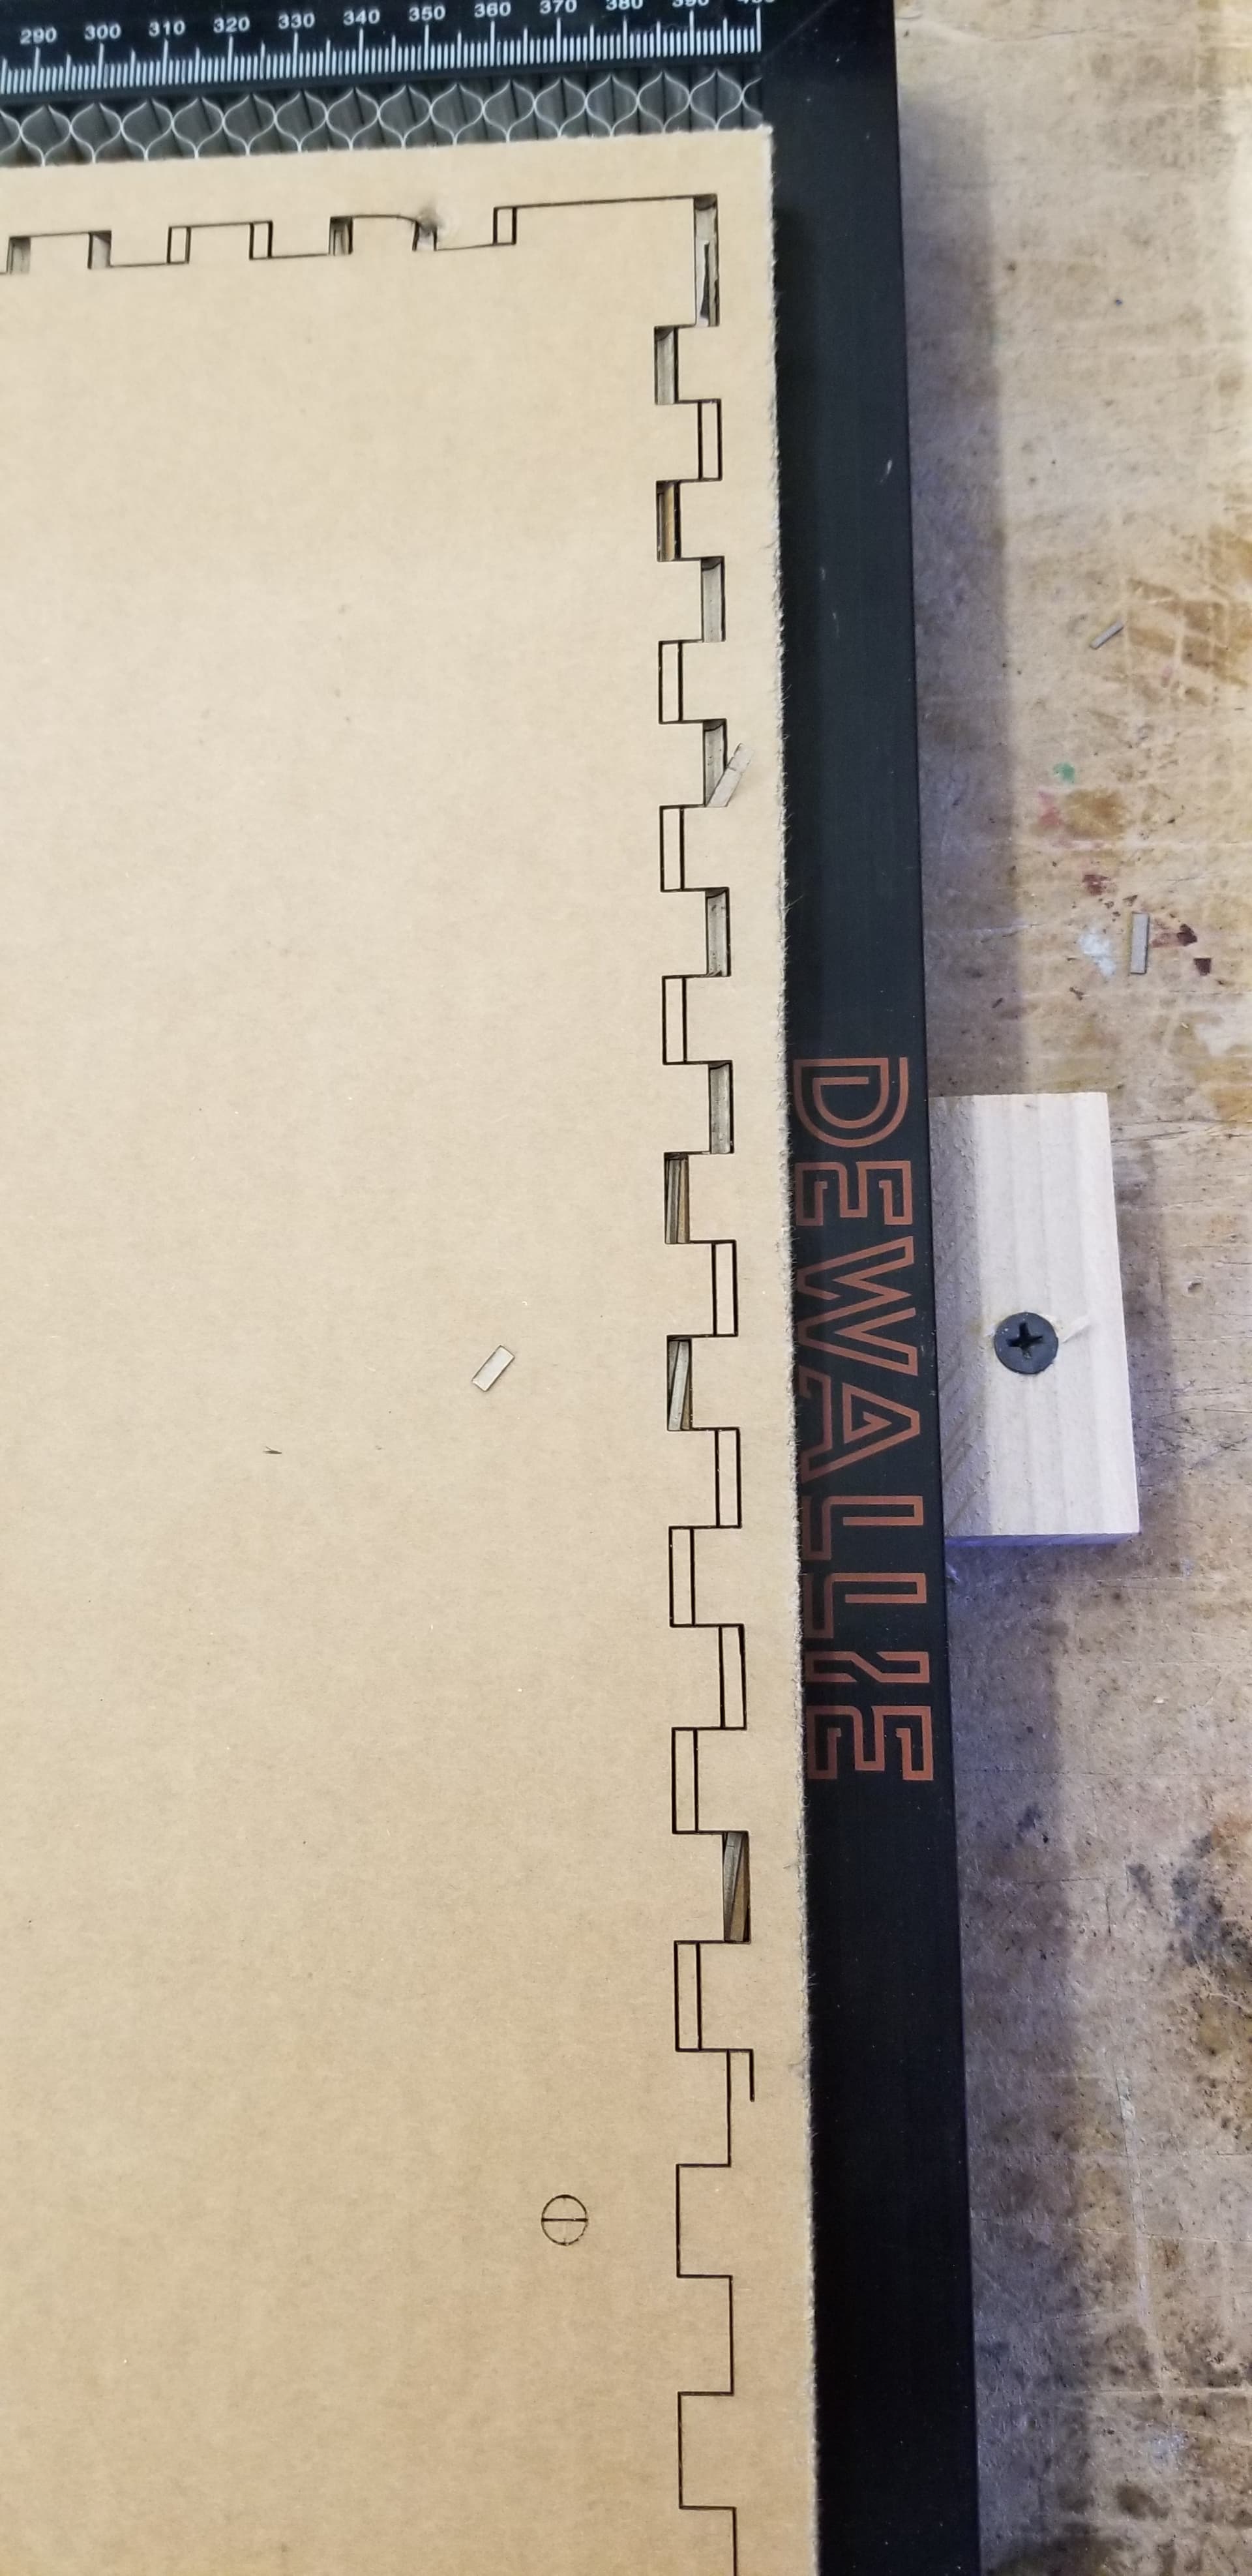
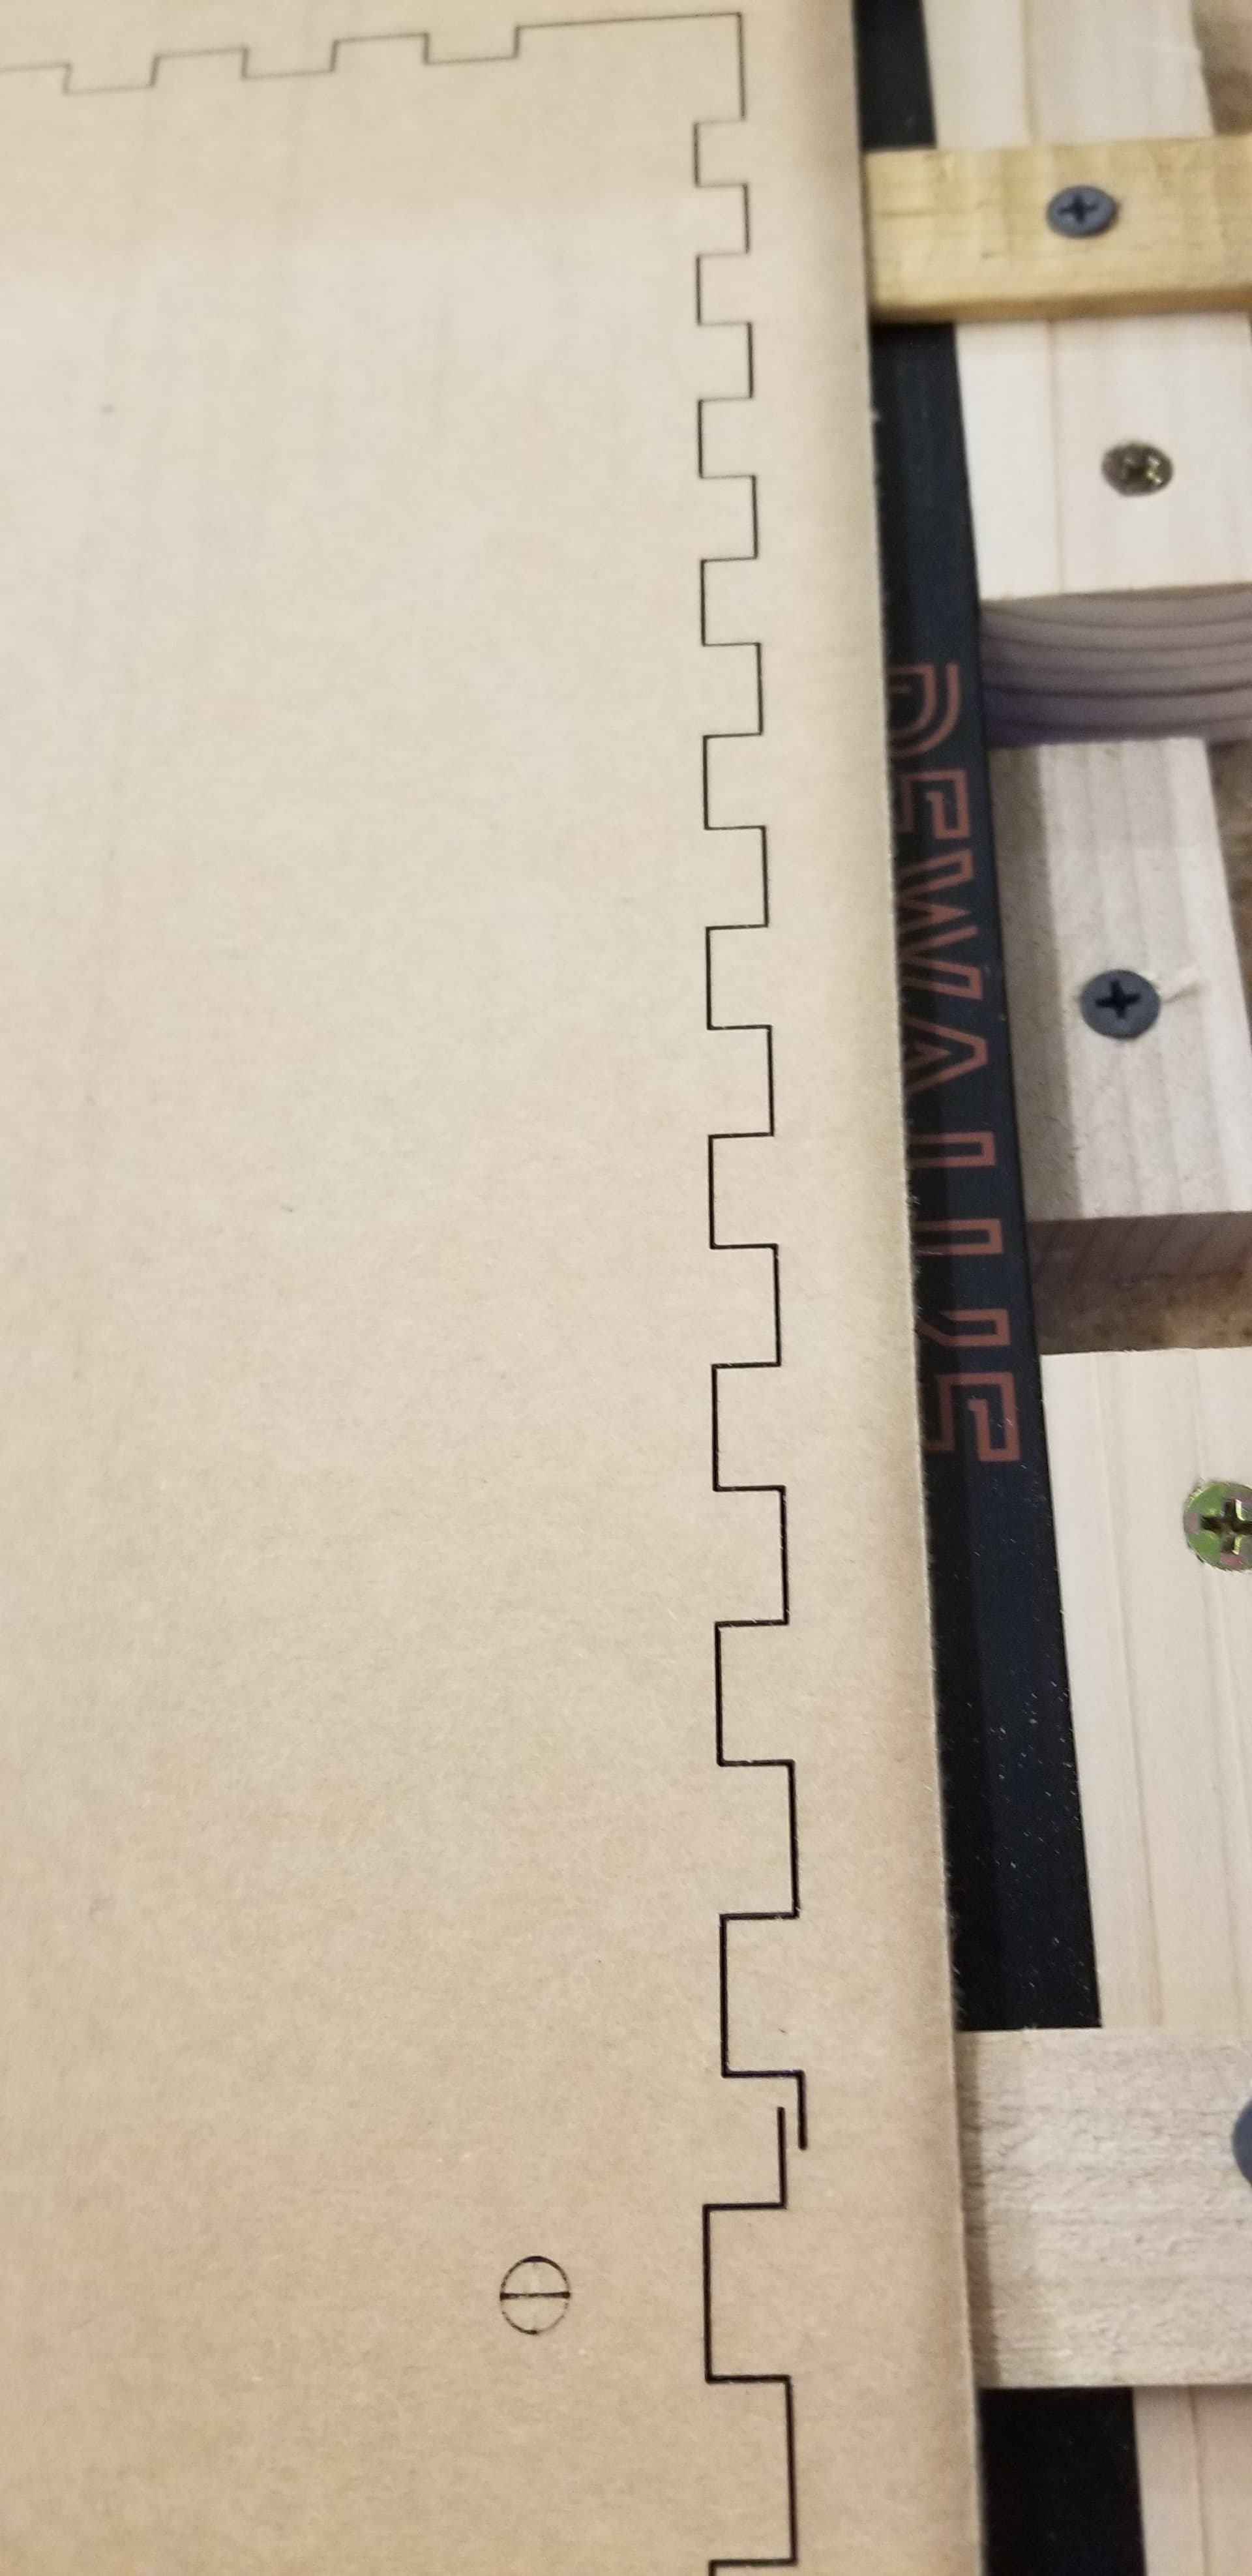
I then ran the second job confirming that it said print and cut in the laser window of light burn. The pictures I posted are the results. You can see quite a large shift in the upward direction and you can see the cut marks do not line up. Obviously this ruined my material costing me money and wasting my time. If someone can help me get this resolved it would be a great help.
There are always people who say they have “issues” after an update. While I could never claim that none of them are right, in very many cases the issues are with the machine, and the timing is a coincidence.
We have over 250,000 users at this point, so it’s extremely likely that someone will have a random machine problem shortly after updating, but correlation is not causation.
As a trivial way to test, install whatever version you were using before and try again. If that one also exhibits the problem, then it wasn’t the update.
I work in IT, and I have owned and operated lasers for almost 8 years I’m not new to this. The software works perfectly before when I used it on smaller projects. When I tried it on the larger project like I explained it failed and it wasn’t my machine
Berain ran your file without issue - I know for certain that nothing in the code to do with the Print & Cut feature has changed. If you’re willing to humor me by installing whatever version you had before you updated, and verifying that it works as you expect, that will trivially confirm or refute your claim.
You did mention that this is the first time trying to run an oversized project. The only difference with running a larger file is that any misalignment will be amplified at the extremes. If I can see how you’ve set it up, maybe I can shed some light.
If you email the file(s) you’re trying to run to support@lightburnsoftware.com, and include a link to this thread, I can try running them here on an XTool and see if I can reproduce what you’re seeing.
Note that I ran a different user’s files. I’ll run @MichaelMaysLeatherworks’s once I receive them unless he chooses to send to the support email instead.
Yes I used the Print and Cut in September was my first project and all worked fine for me. Made a 3’ long shoe storage box with many parts that needed Print and Cut. Then several weeks ago I tried another project but it gave me fits. Some were user error and not understanding that each piece has to be a separate file. Then this project which worked for two parts of the project and third part had to be recut. The problem is sporadic. I’m new to LB and lasers. Did watch the LB video several times and for this recent burn made sure I was doing the steps correctly. May be it is an xTool issue I’m just not smart enough with the laser or software to say specifically. Just know it worked fine before and now it doesn’t.
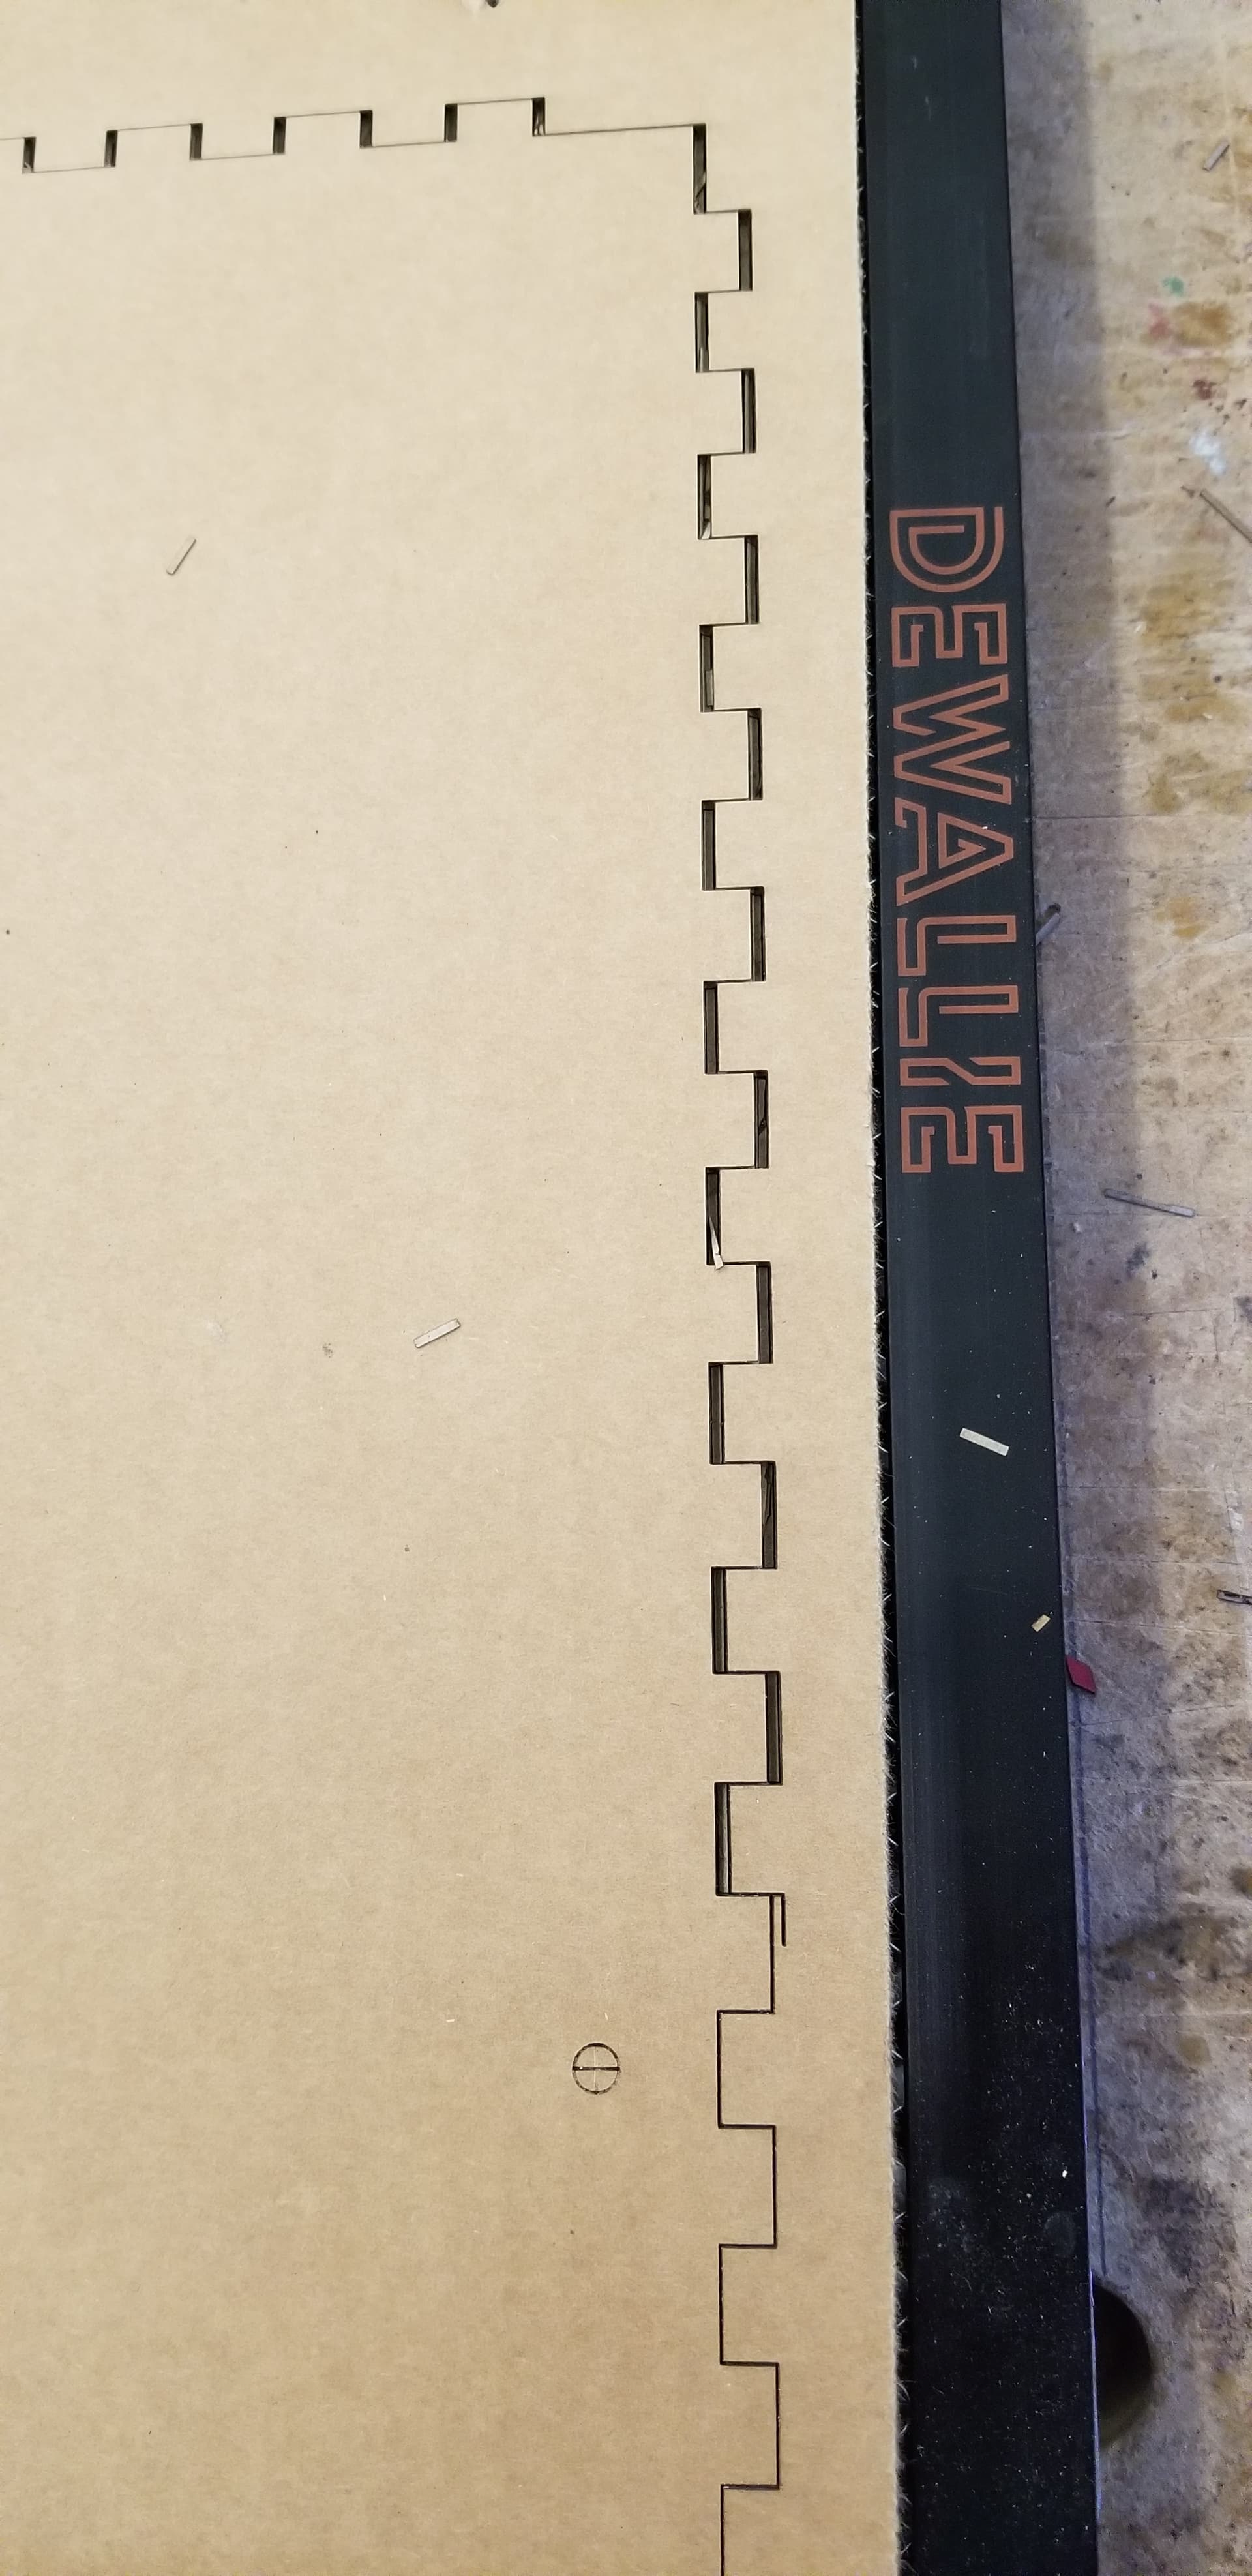
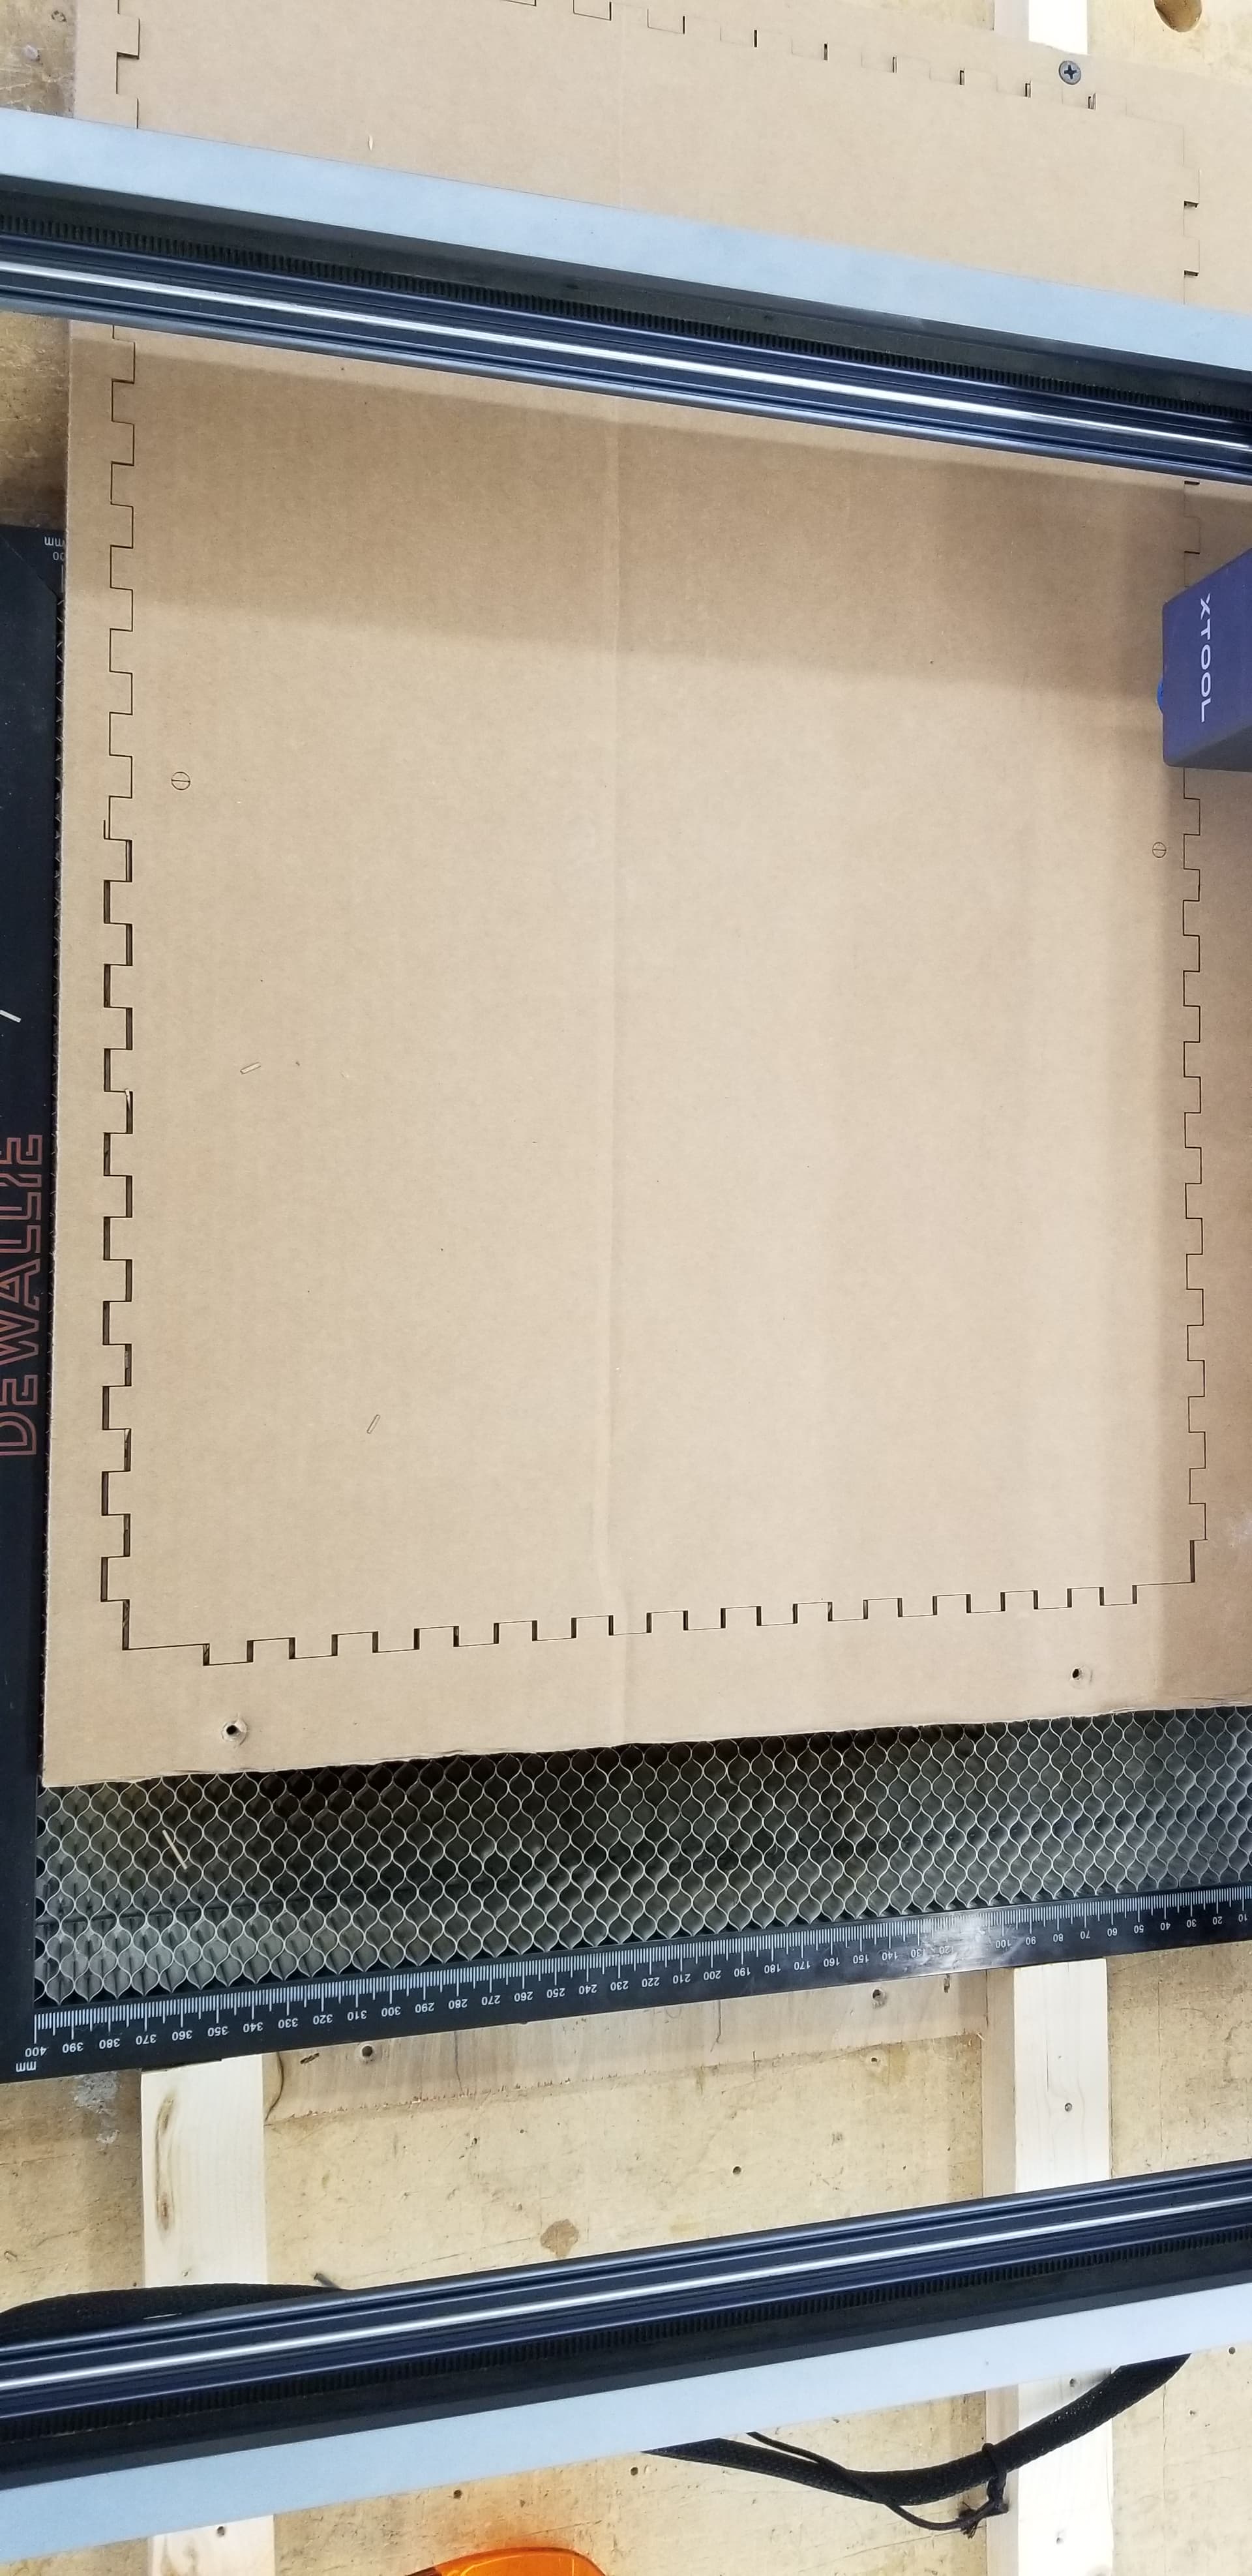
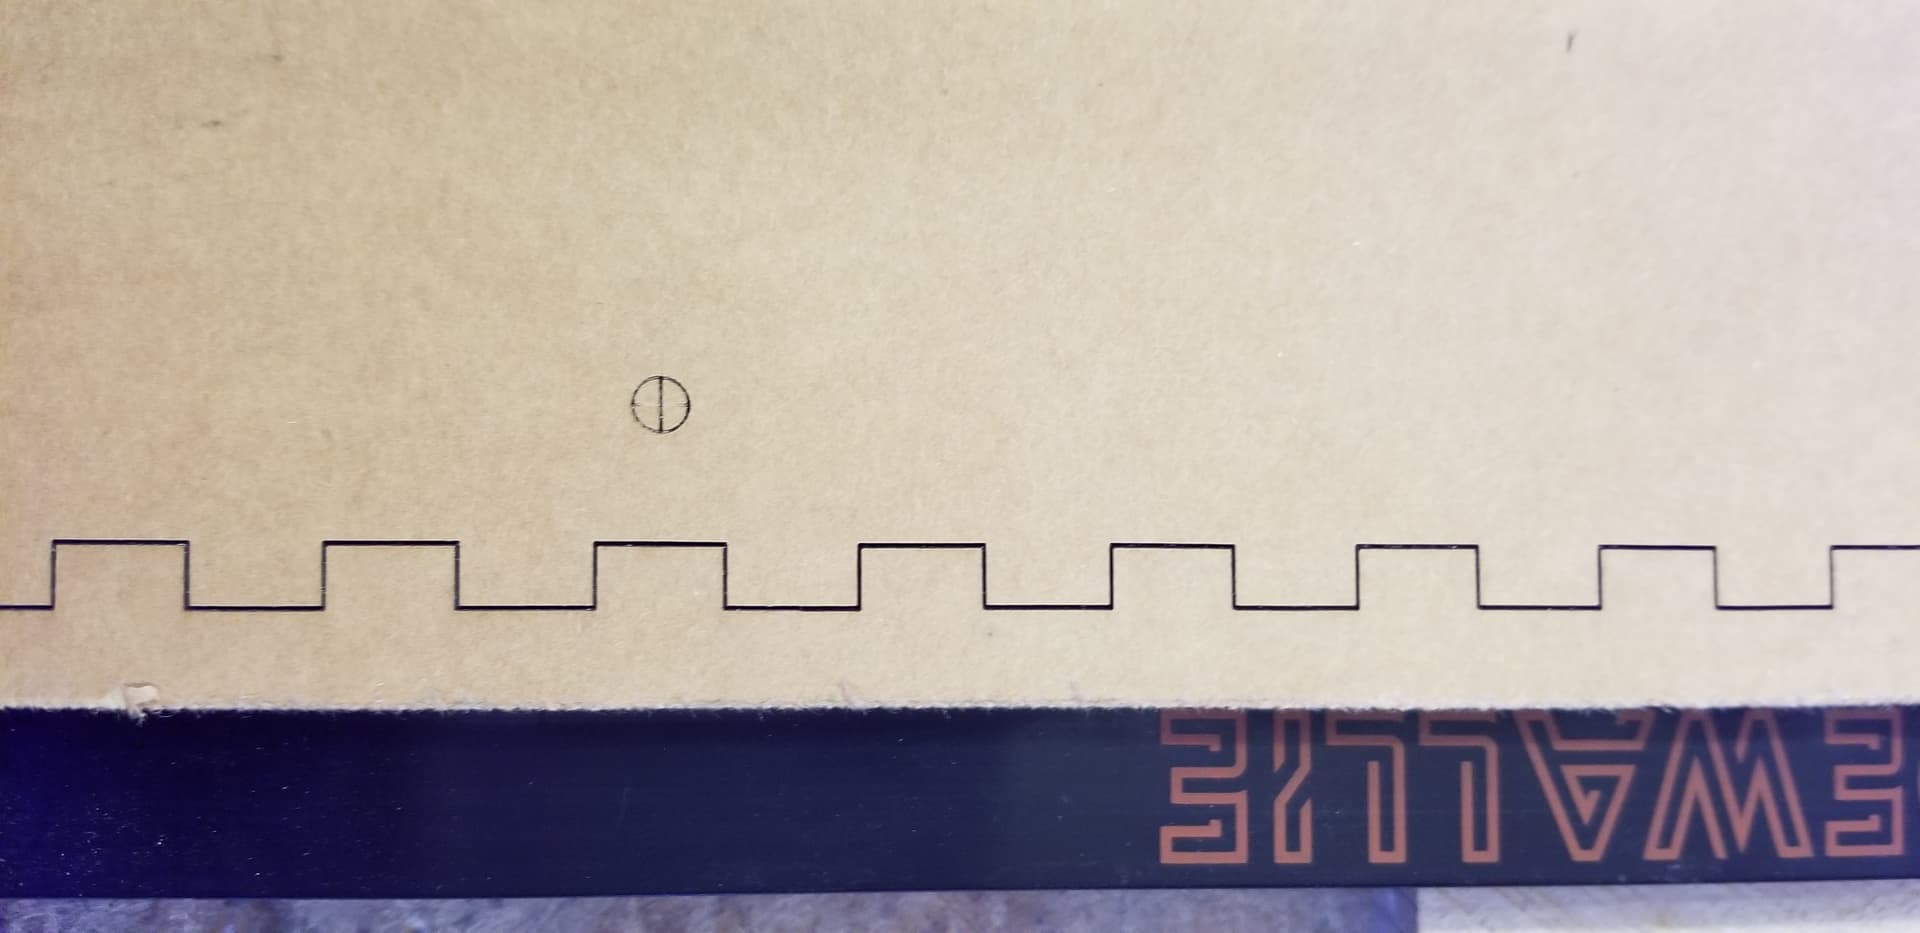
I’m back… Attempted another project today and had more failures. As in the past the first halves of the project burn just fine but the connecting portions did not. Again was cutting cardboard to make a holiday box. I cut cardboard using 1,000 mm/m @ 100% power and 3 passes.
Bottom project: Each cut was the same as the first in the first half of the project. Nice lines and no deviation from the path. The print and cut didn’t go so well. For the first object made sure the all lined up to reference points correctly. Started the cut and it started right where the first half cut ended and at end of first cut lined up nicely on the other side but the 2nd (reversed direction) cut it started to deviate some. For the final cut, again reversing direction at the starting point, it was off by 2mm.
Lid Project: Once again the first half cut perfect, 3 passes and each in the same path as the previous. However, print and cut still didn’t work out so good. Same as the bottom piece the cut started just it should, connected to
the first half cut line. But by the time it arrived on the opposite side of the piece it was bit more than 2mm off. For the 2nd cut, reverse direction, it stayed in the misaligned track and was 3mm off when arrived at starting position. The final 3rd cut followed the misaligned 2nd cut.
Test: For a test I once again ran the first half of a piece, 1,000 mm/m @ 100% power & 3 passes. All cut in the same path, no deviation. Then rather than use print and cut, moved the piece and cut the 2nd half of piece just by selecting the part to be cut. It cut like it should no deviations and cut followed the path it should.
Each piece of the project are contained in separate files. Great care is taken to ensure no changes are made to the shape of the objects. The xTool is firmly attached to my workbench. The cardboard is screwed to supports, attached to the workbench, to prevent any sort of movement. I’ve been using the xTool a lot recently and have not had any problems with projects not maintaining alignment.
I’ll attach some photos and the LB files I used.
Did you run this with scaling or without? I’m noticing an issue where the alignment targets aren’t the same distance apart on both parts so do not line up.
If I attempt to align the targets there is a rotation as well as misalignment.
If I force a scaling operation to simulate scaling it corrects some but not all of the misalignment. There’s still a small rotation still present.
Lid:
I don’t see anything wrong in the setup for Lid.
You’ve already walked through what you saw happen with this. Can you try to explain step by step your workflow to get this point? I have to think that if it’s not something in the file it’s likely to be a process thing but not clear what that might be at this point. I’ll attempt to cut the file tomorrow.
Yes I saw later that the bottom some how became misaligned. However the lid file was good and it had the most issue.
Today I spent a good deal of time revising how I have the xTool positioned/mounted on my workbench. (The workbench has an MDF top and I generously use screws to attach things to the top.) Ensuring that every component is securely fastened down and no possibility of movement. Have to report I did have success in cutting the pieces. Don’t understand how there could have been movement of the xTool or cardboard in the previous setup on the workbench but could very well have been since all went well today.
I did revise my cut process. In the past I would cut the project in two and have two files to process. Now with my new process. I use only one file. I make reference marks and cut the project in two ensuring that the 2nd part (the portion needing the Print and Cut) is on the workspace. The first portion can be outside the workspace. I select the first half of the project and two reference marks. Using “User Origin” make the first cut and mark the reference marks. Then for the second half, delete the first half that was cut using User Origin, begin the Print and Cut process setting targets and aligning output. Select the remaining part needing to be cut and then make the cut.
With this process neither side of the project is moved from original position.
Still uncertain why I’m having such difficulties with the process now. The first couple projects came out easy enough. Maybe with my revised setup it will help in the future.
Glad you’re up and running. Wish there were a smoking gun.
To close the loop on the Lid. I did test that independently here and had no trouble completing the cut. I’ve run through quite a number of scenarios now and feel confident there isn’t an obvious regression in print & cut. But I may not be using it in an unpredictable way.
At a high level I don’t see anything wrong with your process. There are some missing details where things could go sideways. Since you found the design issue on the Bottom design you’re obviously well enough familiar with the design requirements. One of the most common issues is that people will manually move the laser head to the target which you’re not doing.
If you have a eureka moment let us know. May help someone else who’s having an issue.
I haven’t heard back from @MichaelMaysLeatherworks as yet on confirming but I think we’ve sorted out the problem he was having as well.