Hi there, new to the forum. Also new with laser but familiar with CNC machines. Using a Sculpfun S30 Pro Max 20W laser that includes the X and Y extension kit that expands my work envelope to approximatly 900x900mm. Limit-switches installed and homing function on start-up activated. Lightburn licence is also payed and installed on a W11Pro.
All seems to work as intended. But the print and cut option (needed for a 1200x895mm project) is driving me insane for the last 3 days now. I can not get it to work properly. Followed the mermaid vid to the letter. All settings that I know about are set accordingly to that vid. My project is less complicated because my project only needs 1 deviding cut instead of 2.
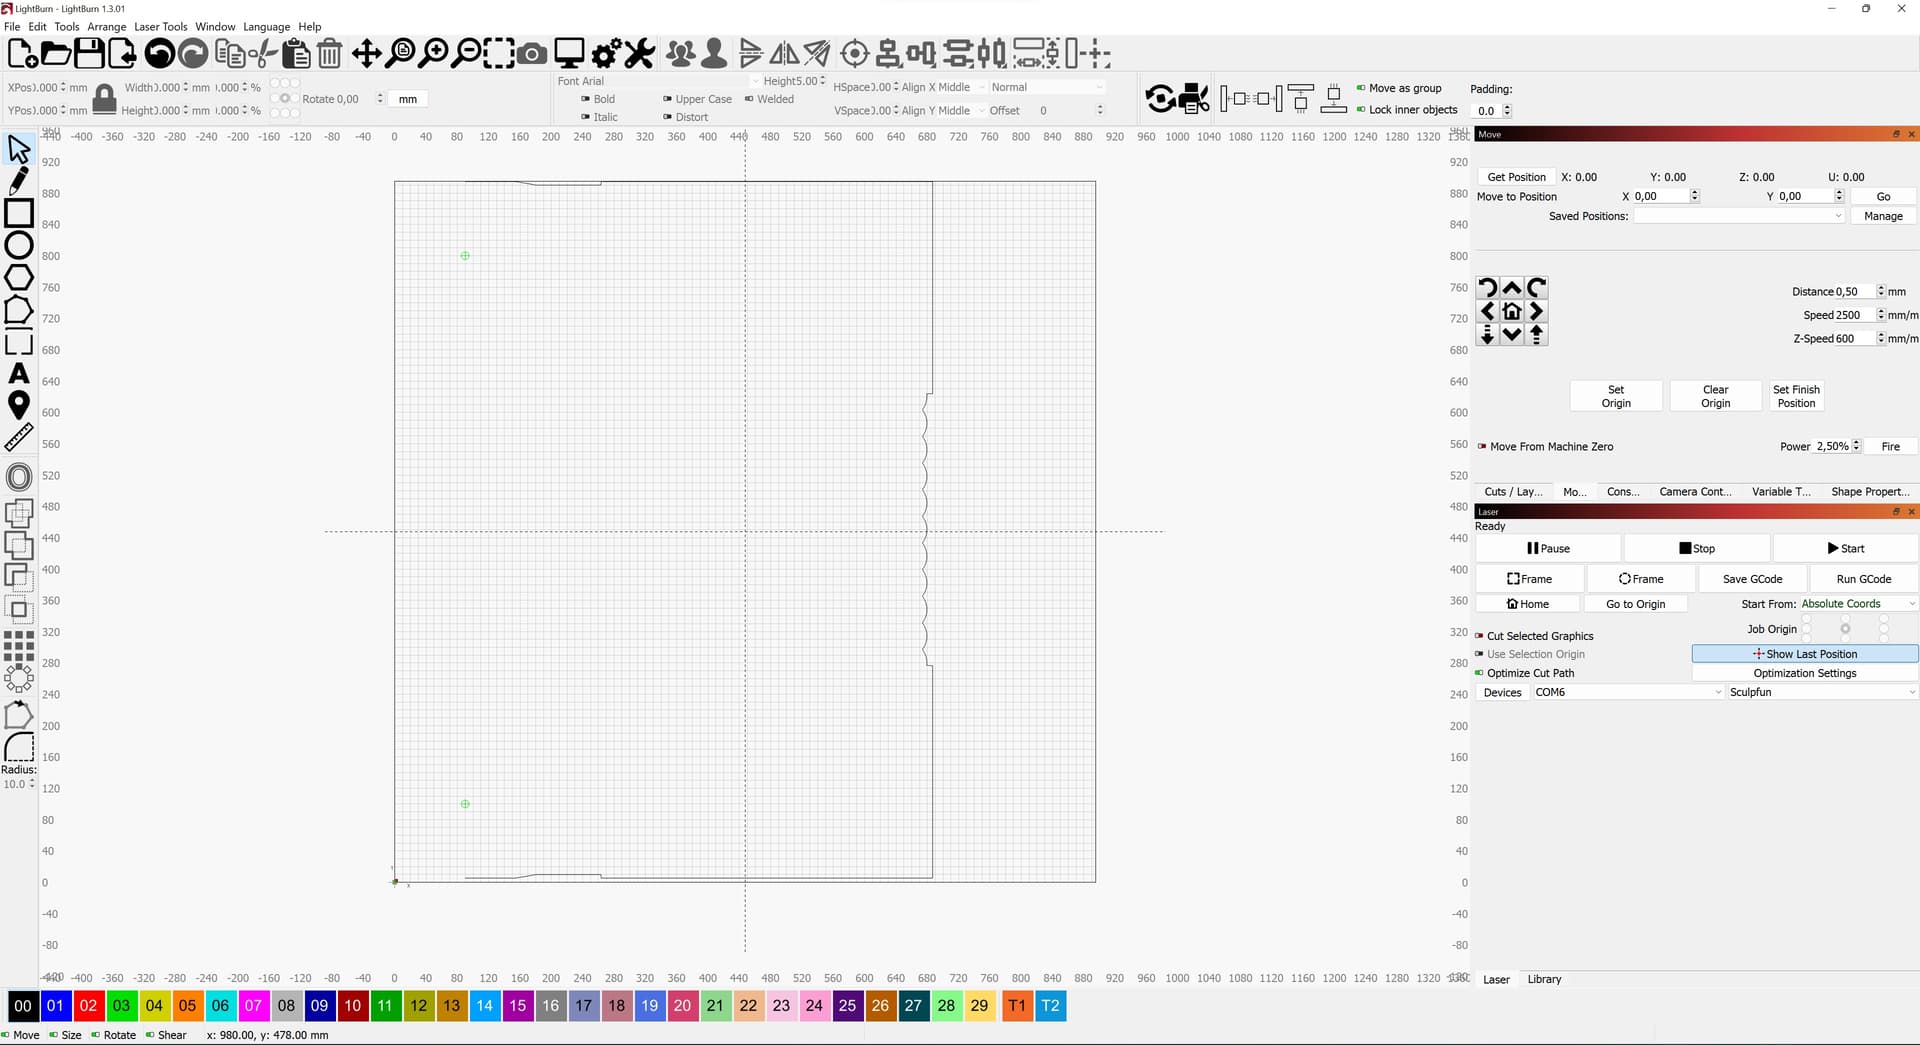
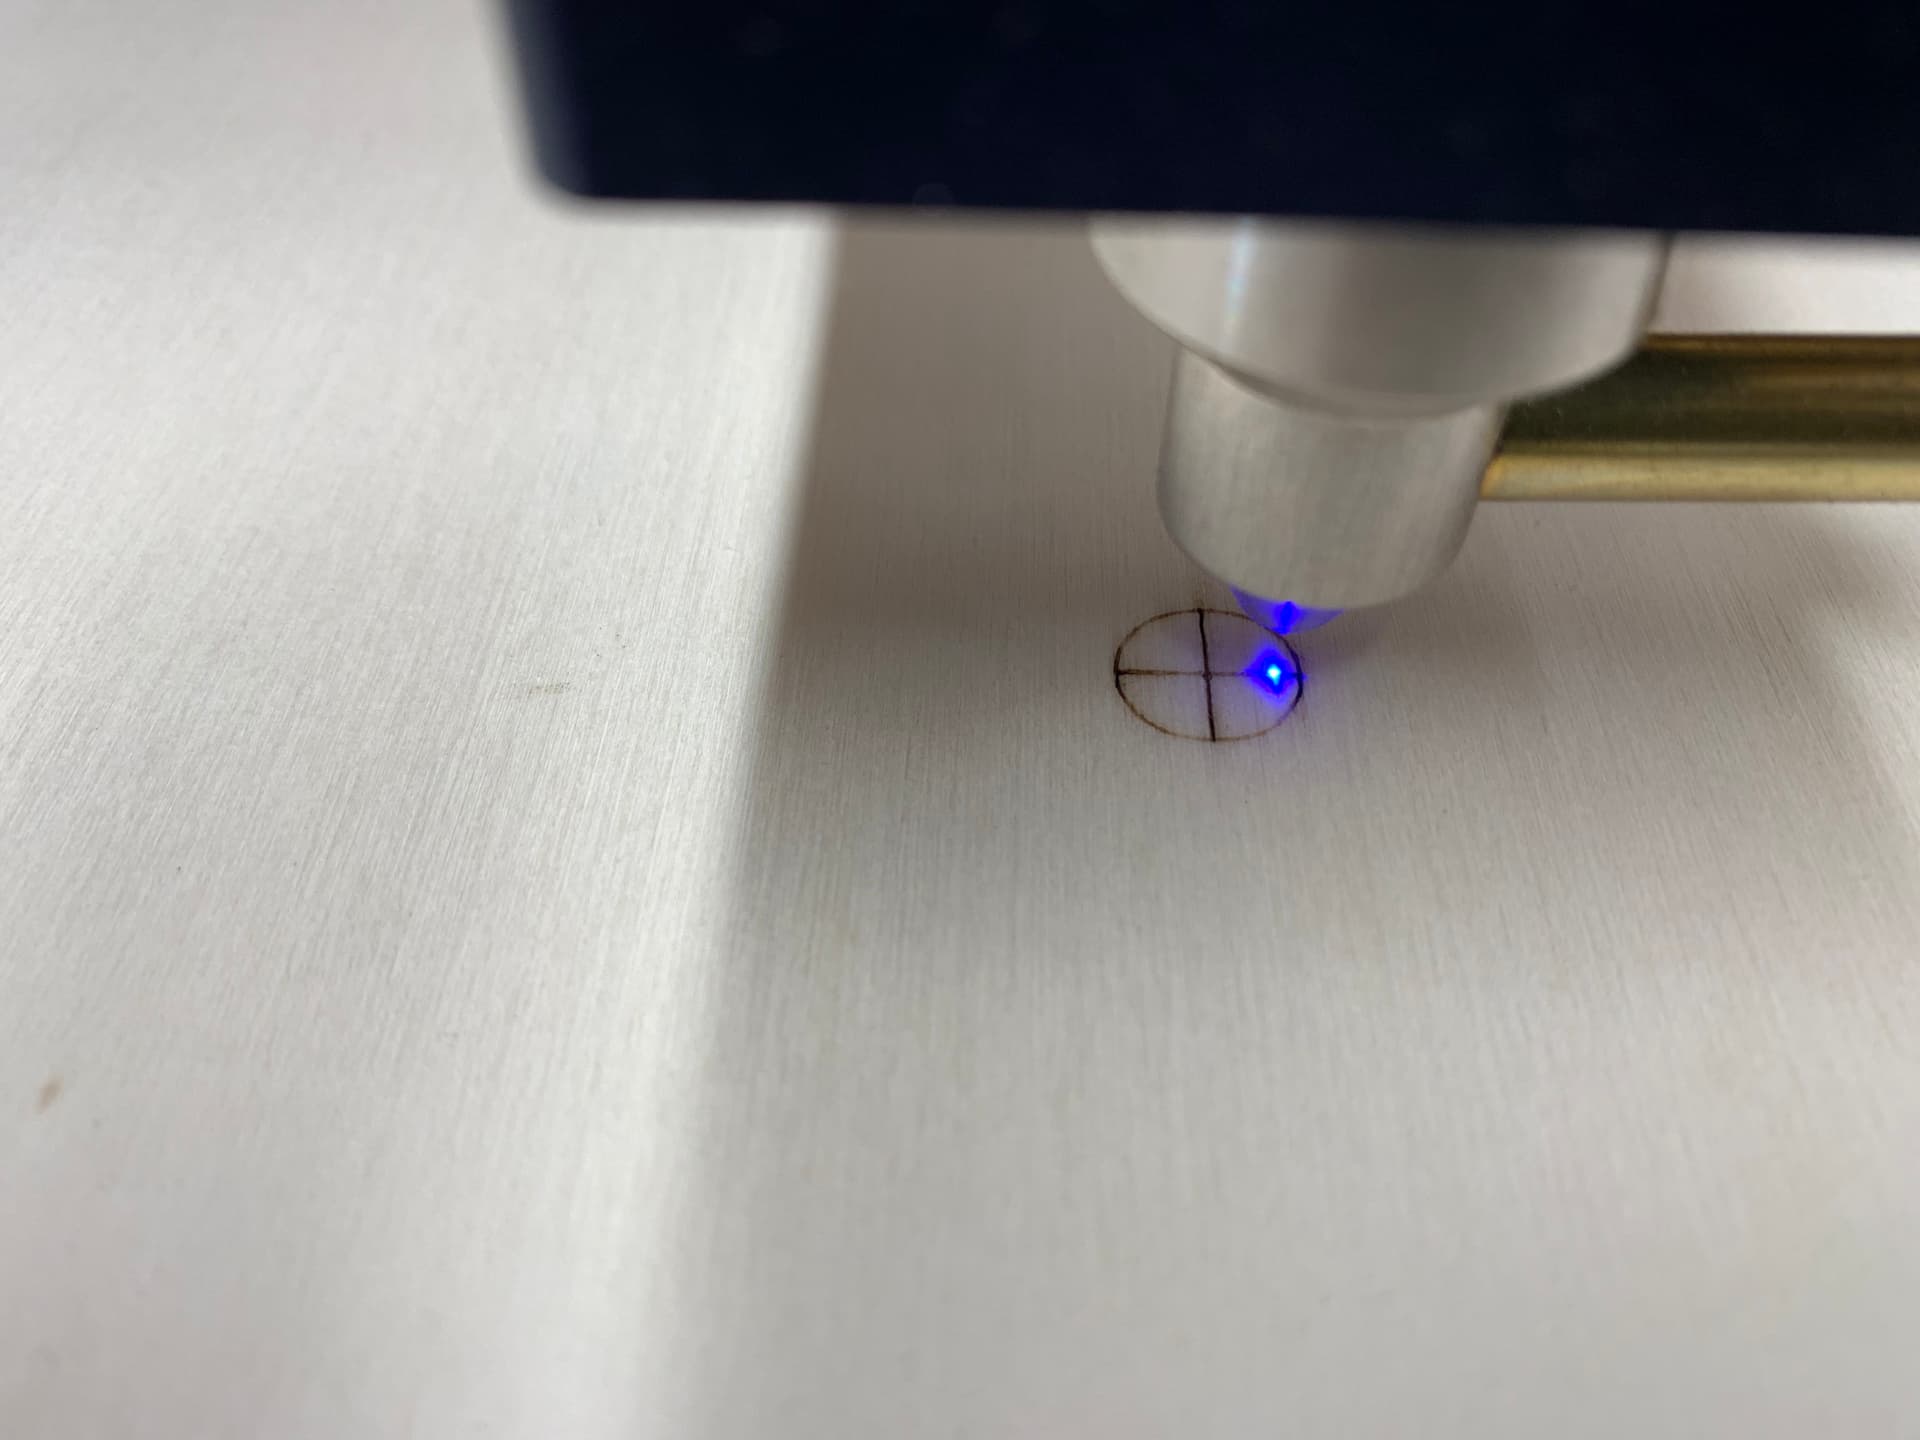
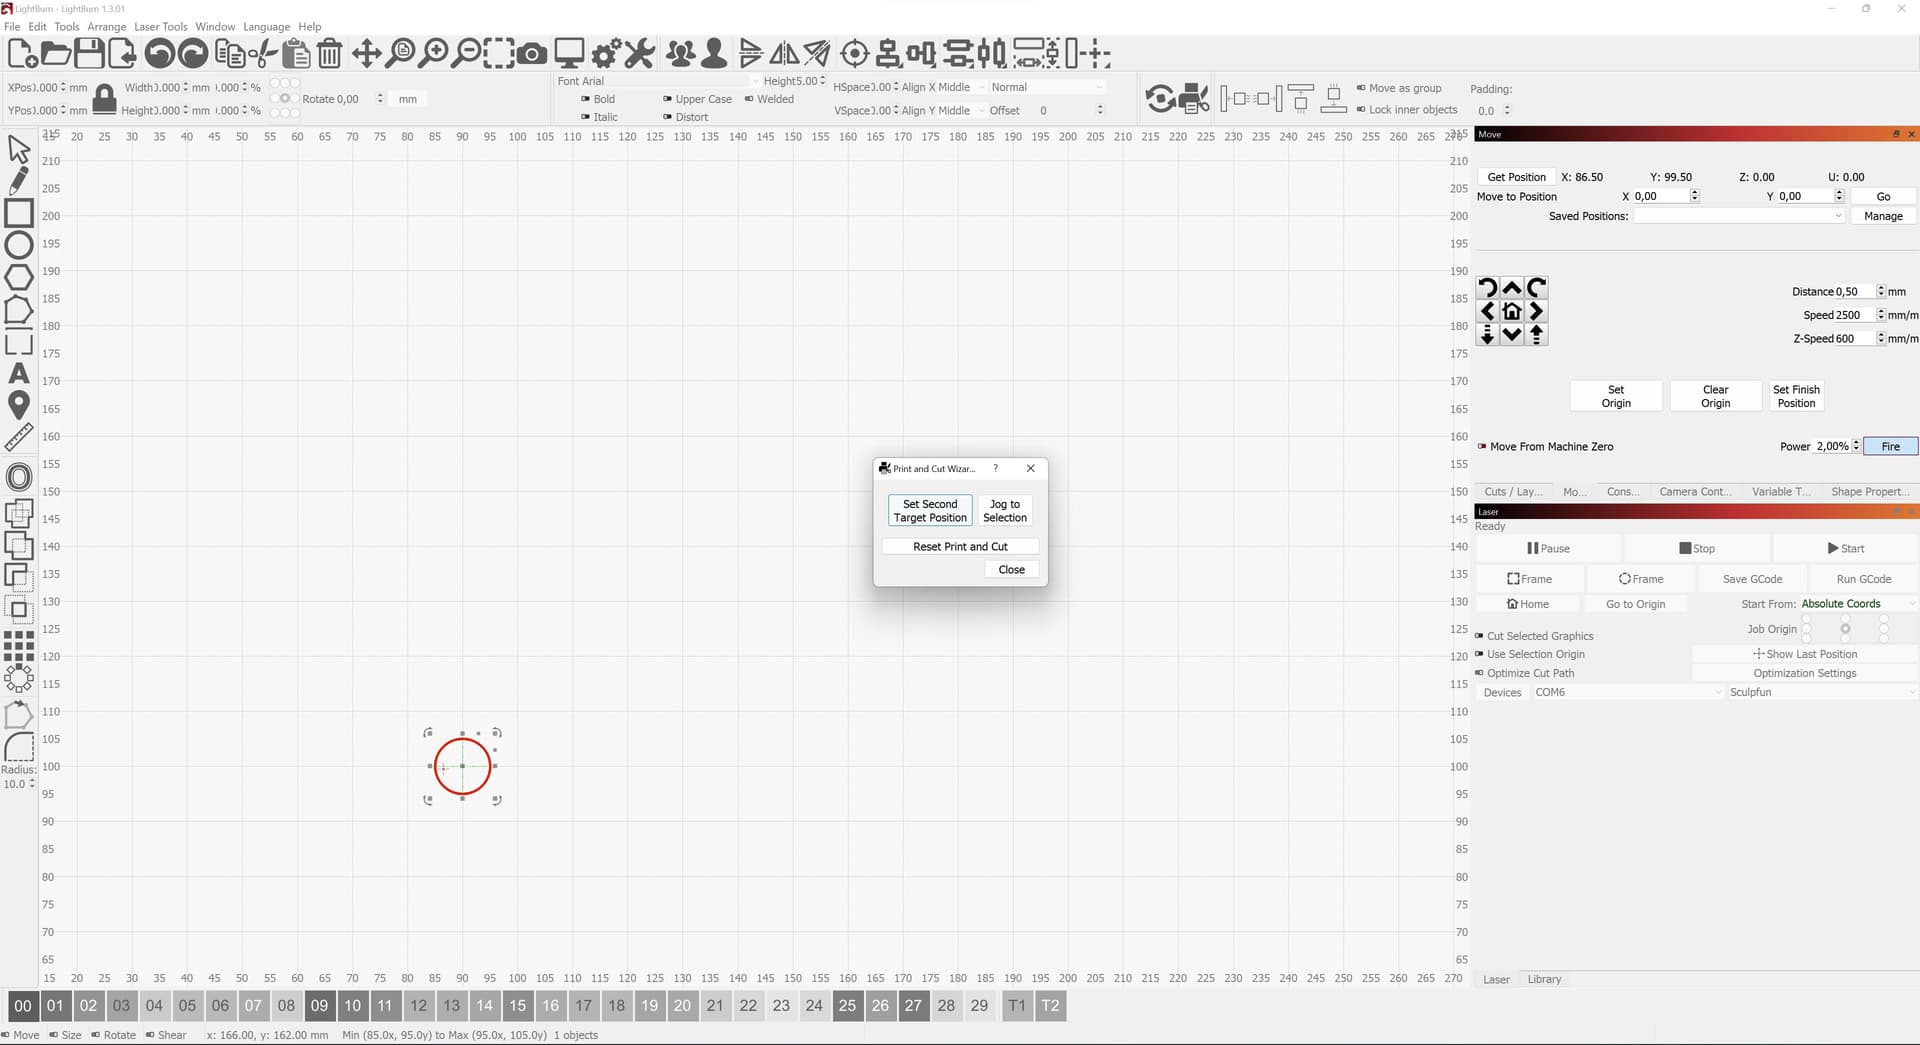
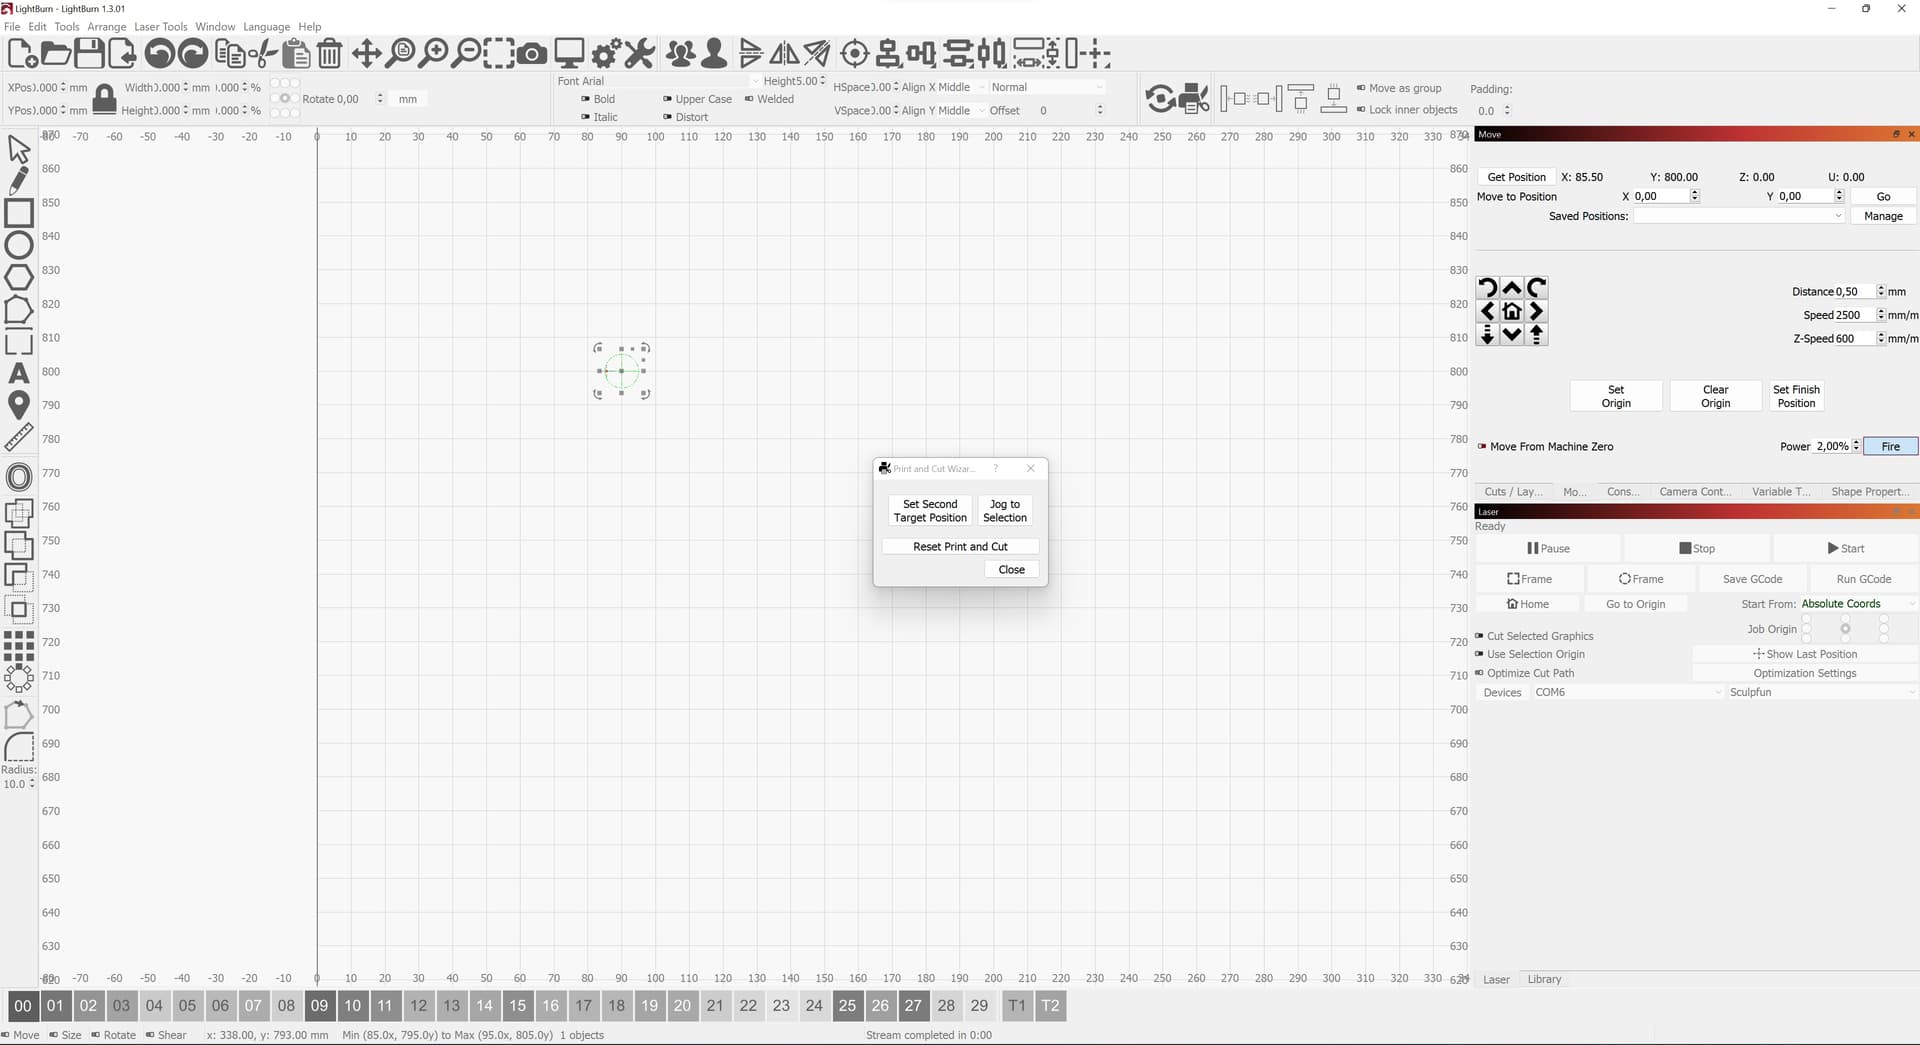
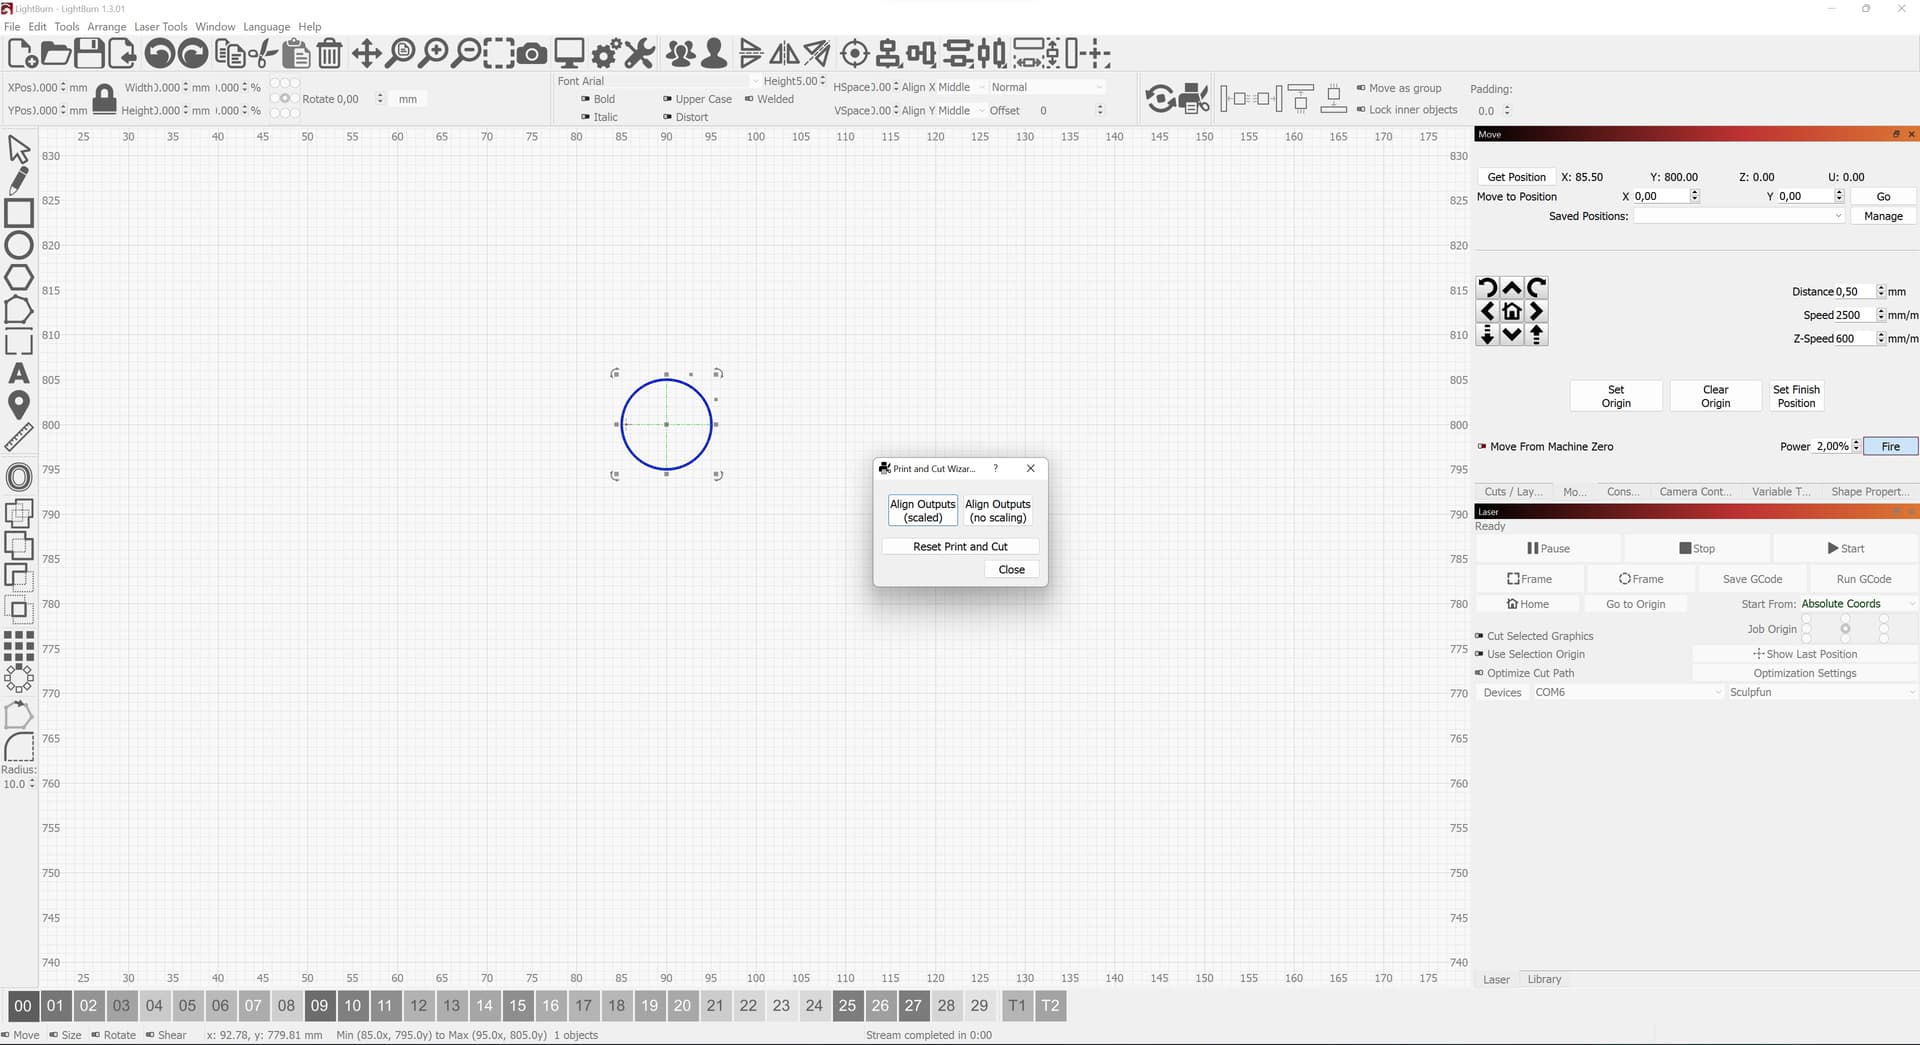
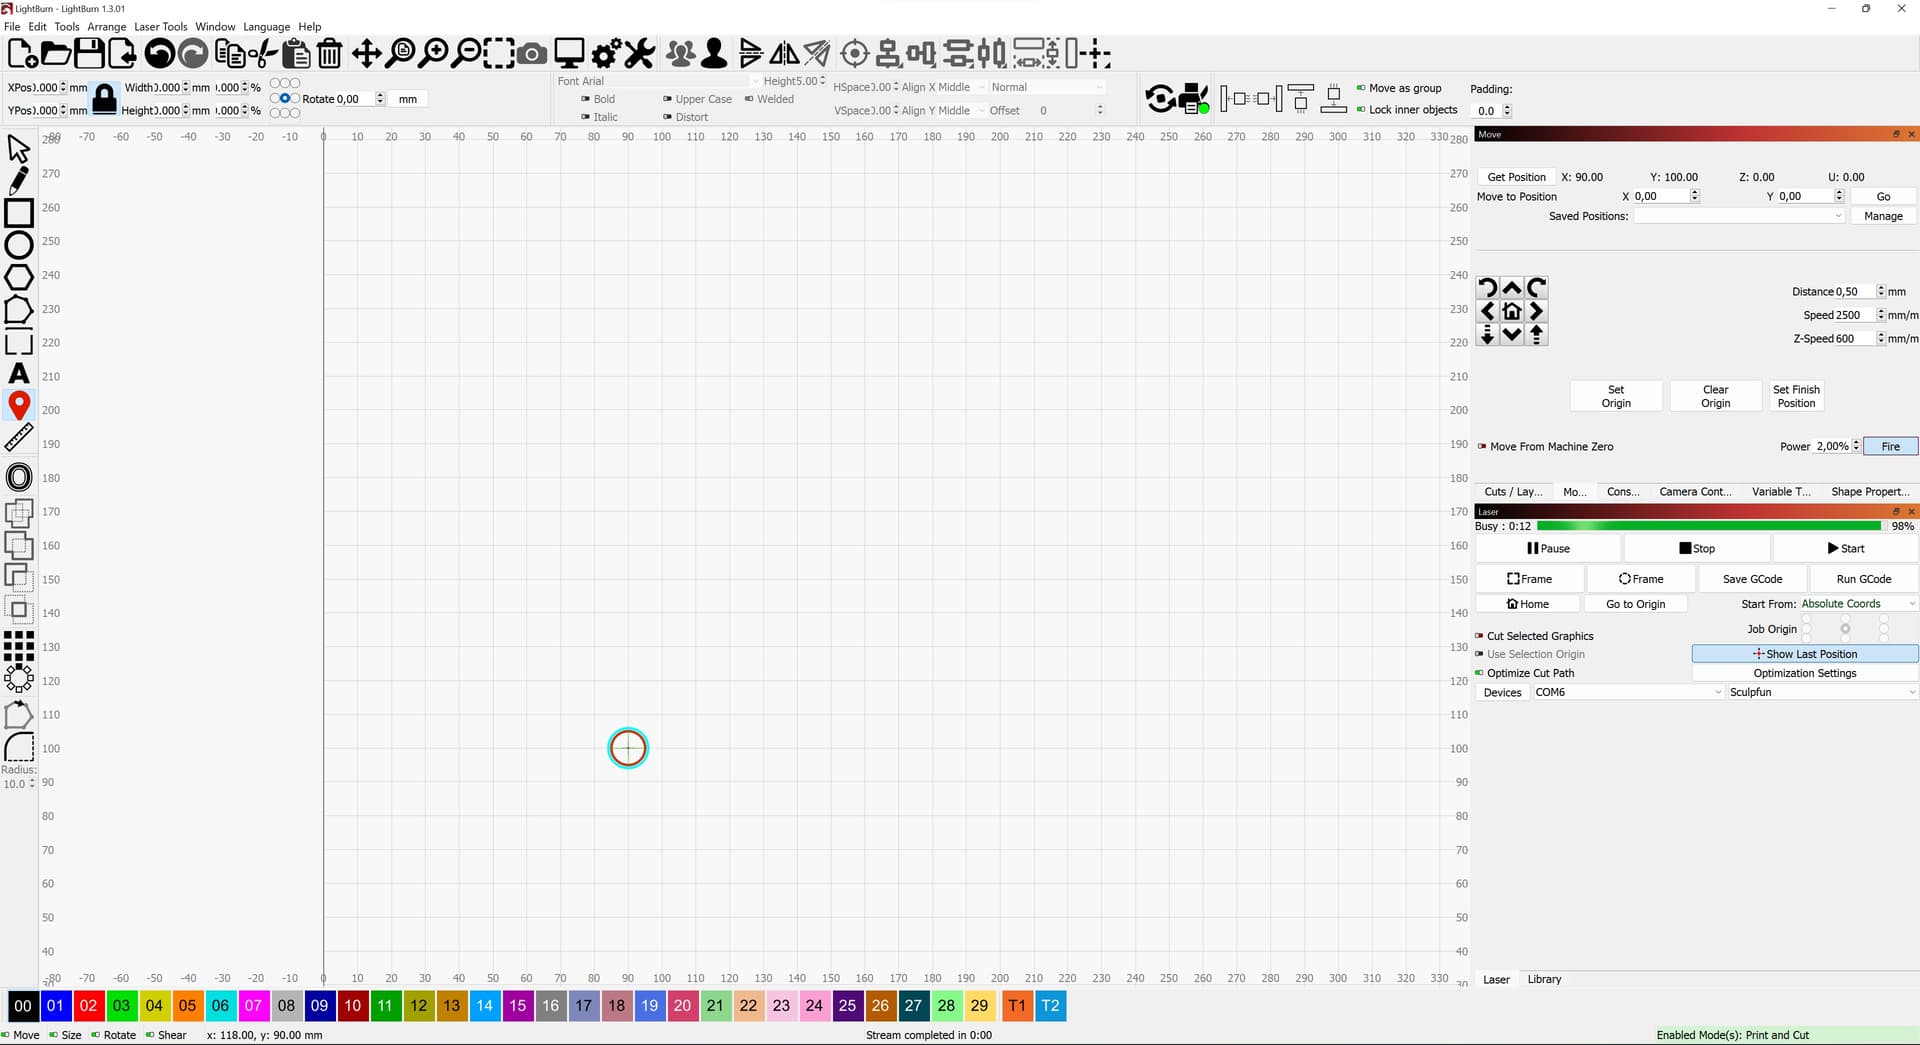
My anchor points are 700mm apart so that should be enough too. Here is what happens. When I send the laser to the first anchor point with the Click-to-Position tool I have to correct it by approximately 5mm with the Move arrows to get the laser centred in the middle of the anchor point. When done I set the first target position (red circle). Then I move over to my second anchor point and do the same thing (minor adjustments until center>set second target (blue circle). Next I select Align No Scaling. Everything should be set now to start the cut. Print and Cut menu button shows a green dot and laser window states Ready.
To double check if things are set correctly I use the Click-to-Position again to send the laser back to the first anchor point. This time expecting the laser to go dead center to the first set target. But no… the laser moves to the same point it was before I did the Print and Cut wiz. It’s off target by the same 5mm where I started. Same for the second target. Did this 10 to 15 times in a row. Every time same result. What am I missing here? Seems that the target points are not stored correctly. Already read all other topics that seem similar but no luck in finding a solution. Hoping someone can help me solve this because I’m lost.
The setup looks okay to me and your description of what you’re doing sounds okay.
If you attempt to frame the burn, does the frame match the precise location you would expect the burn to go?
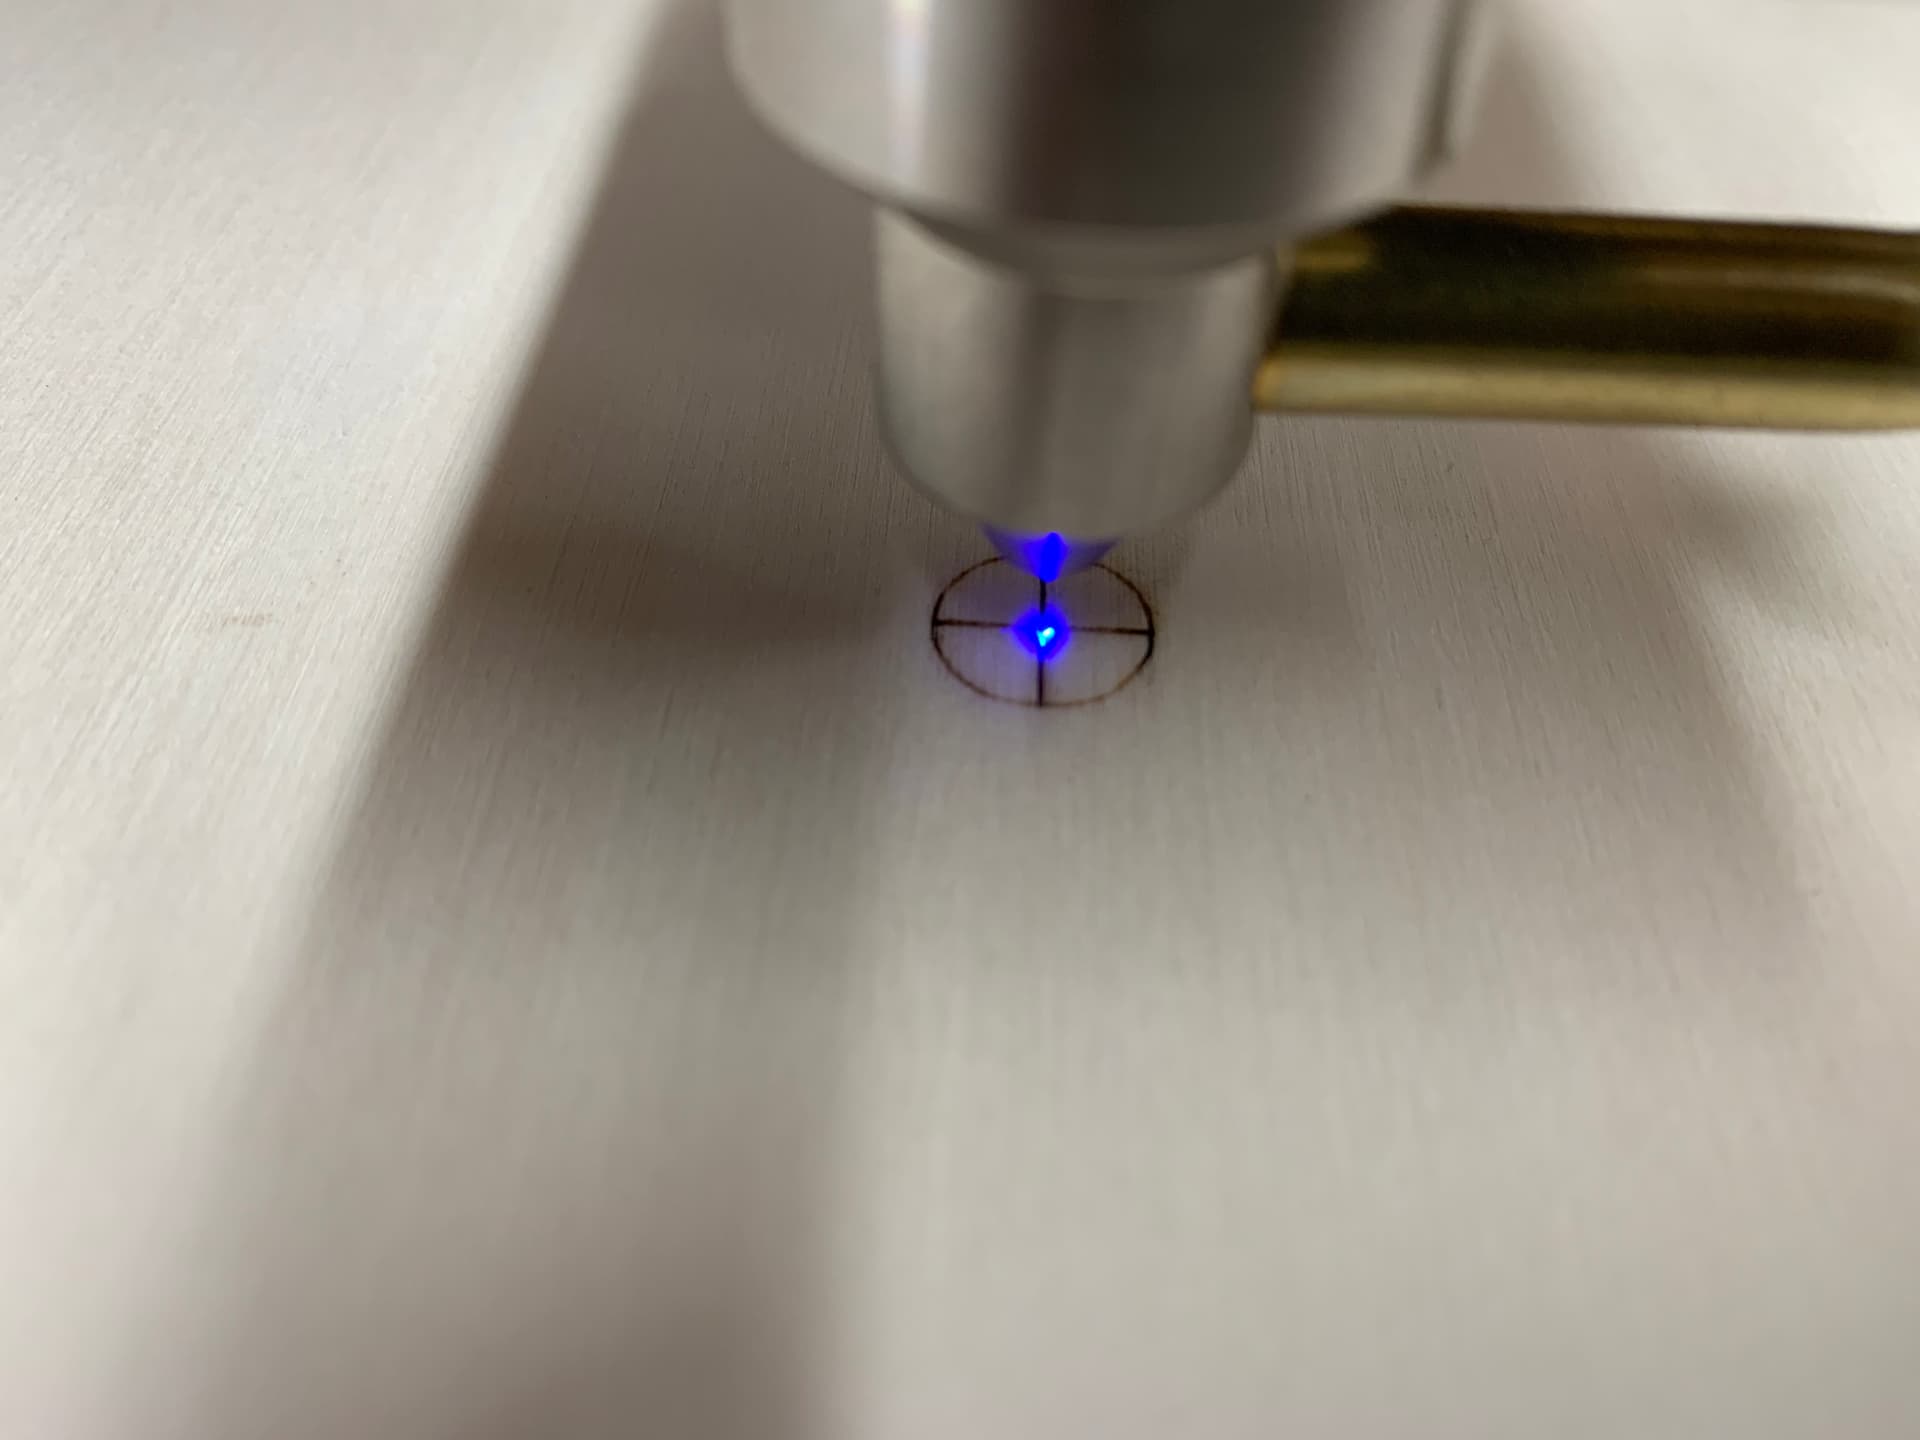
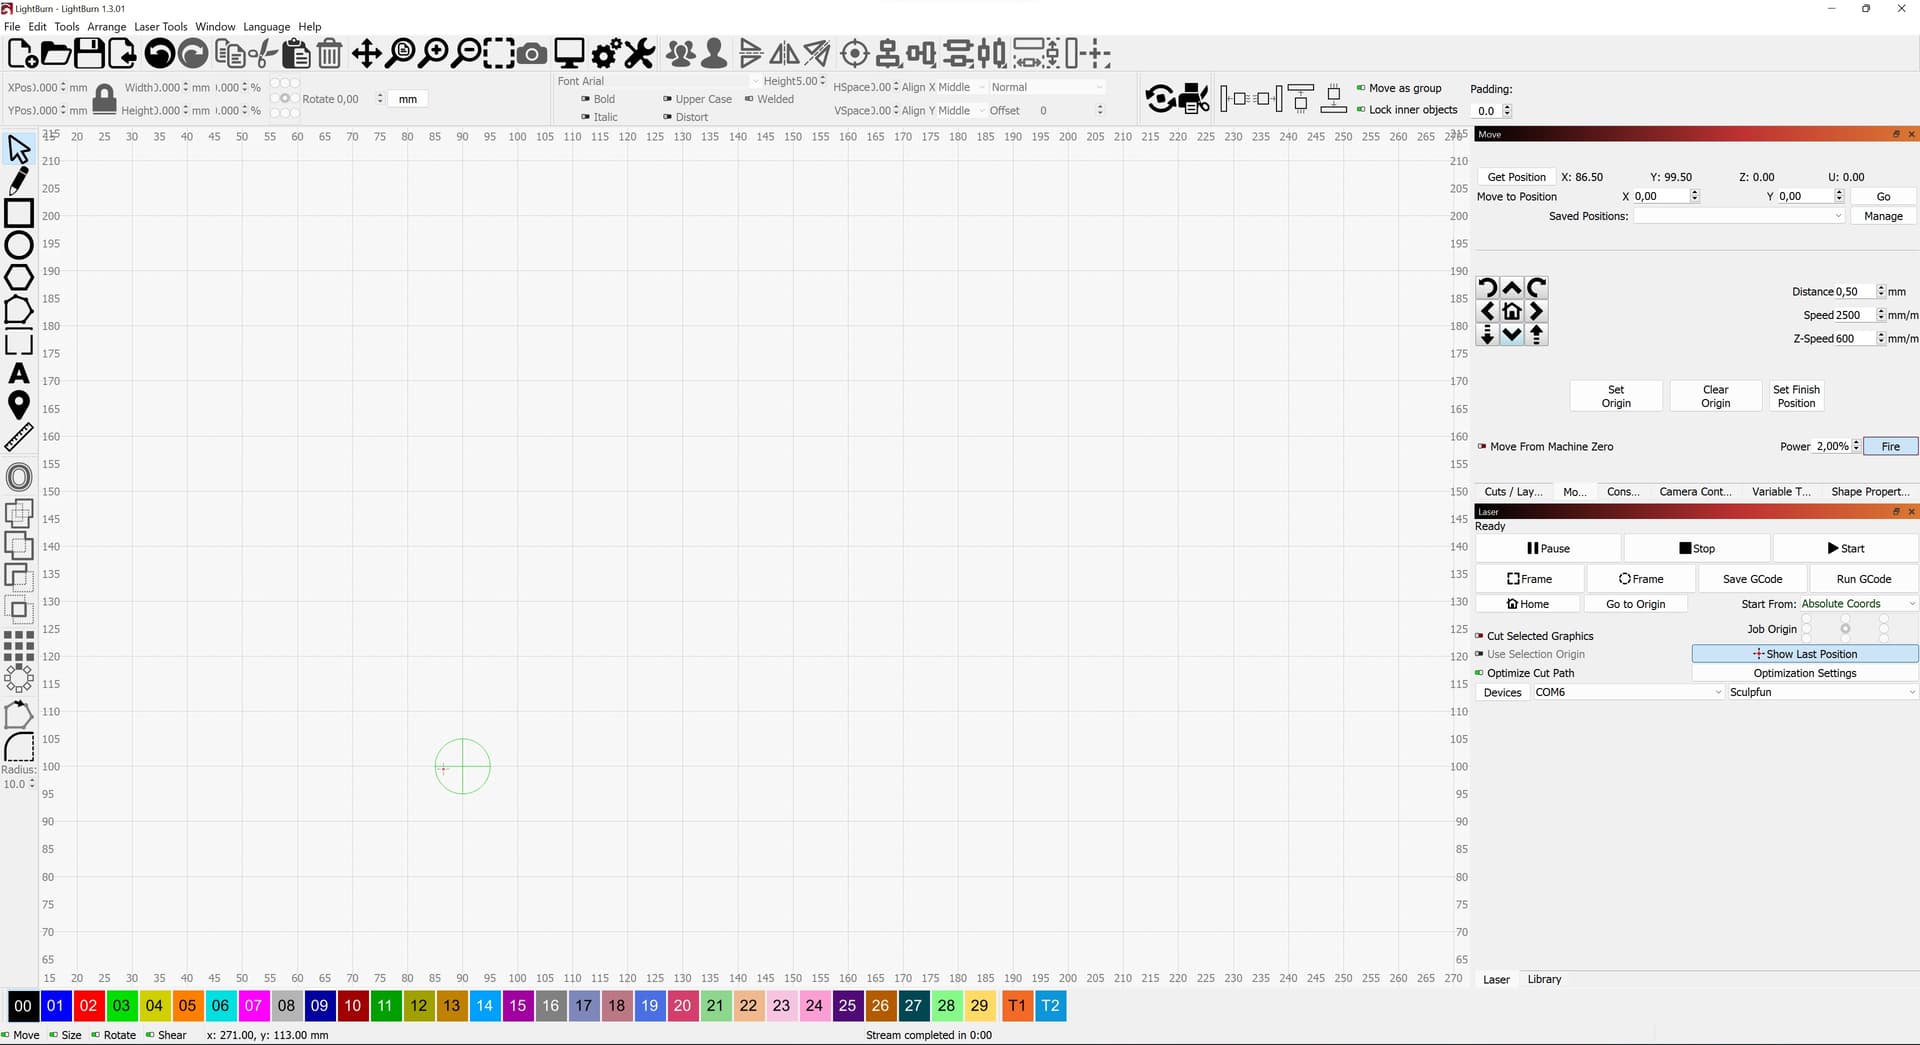
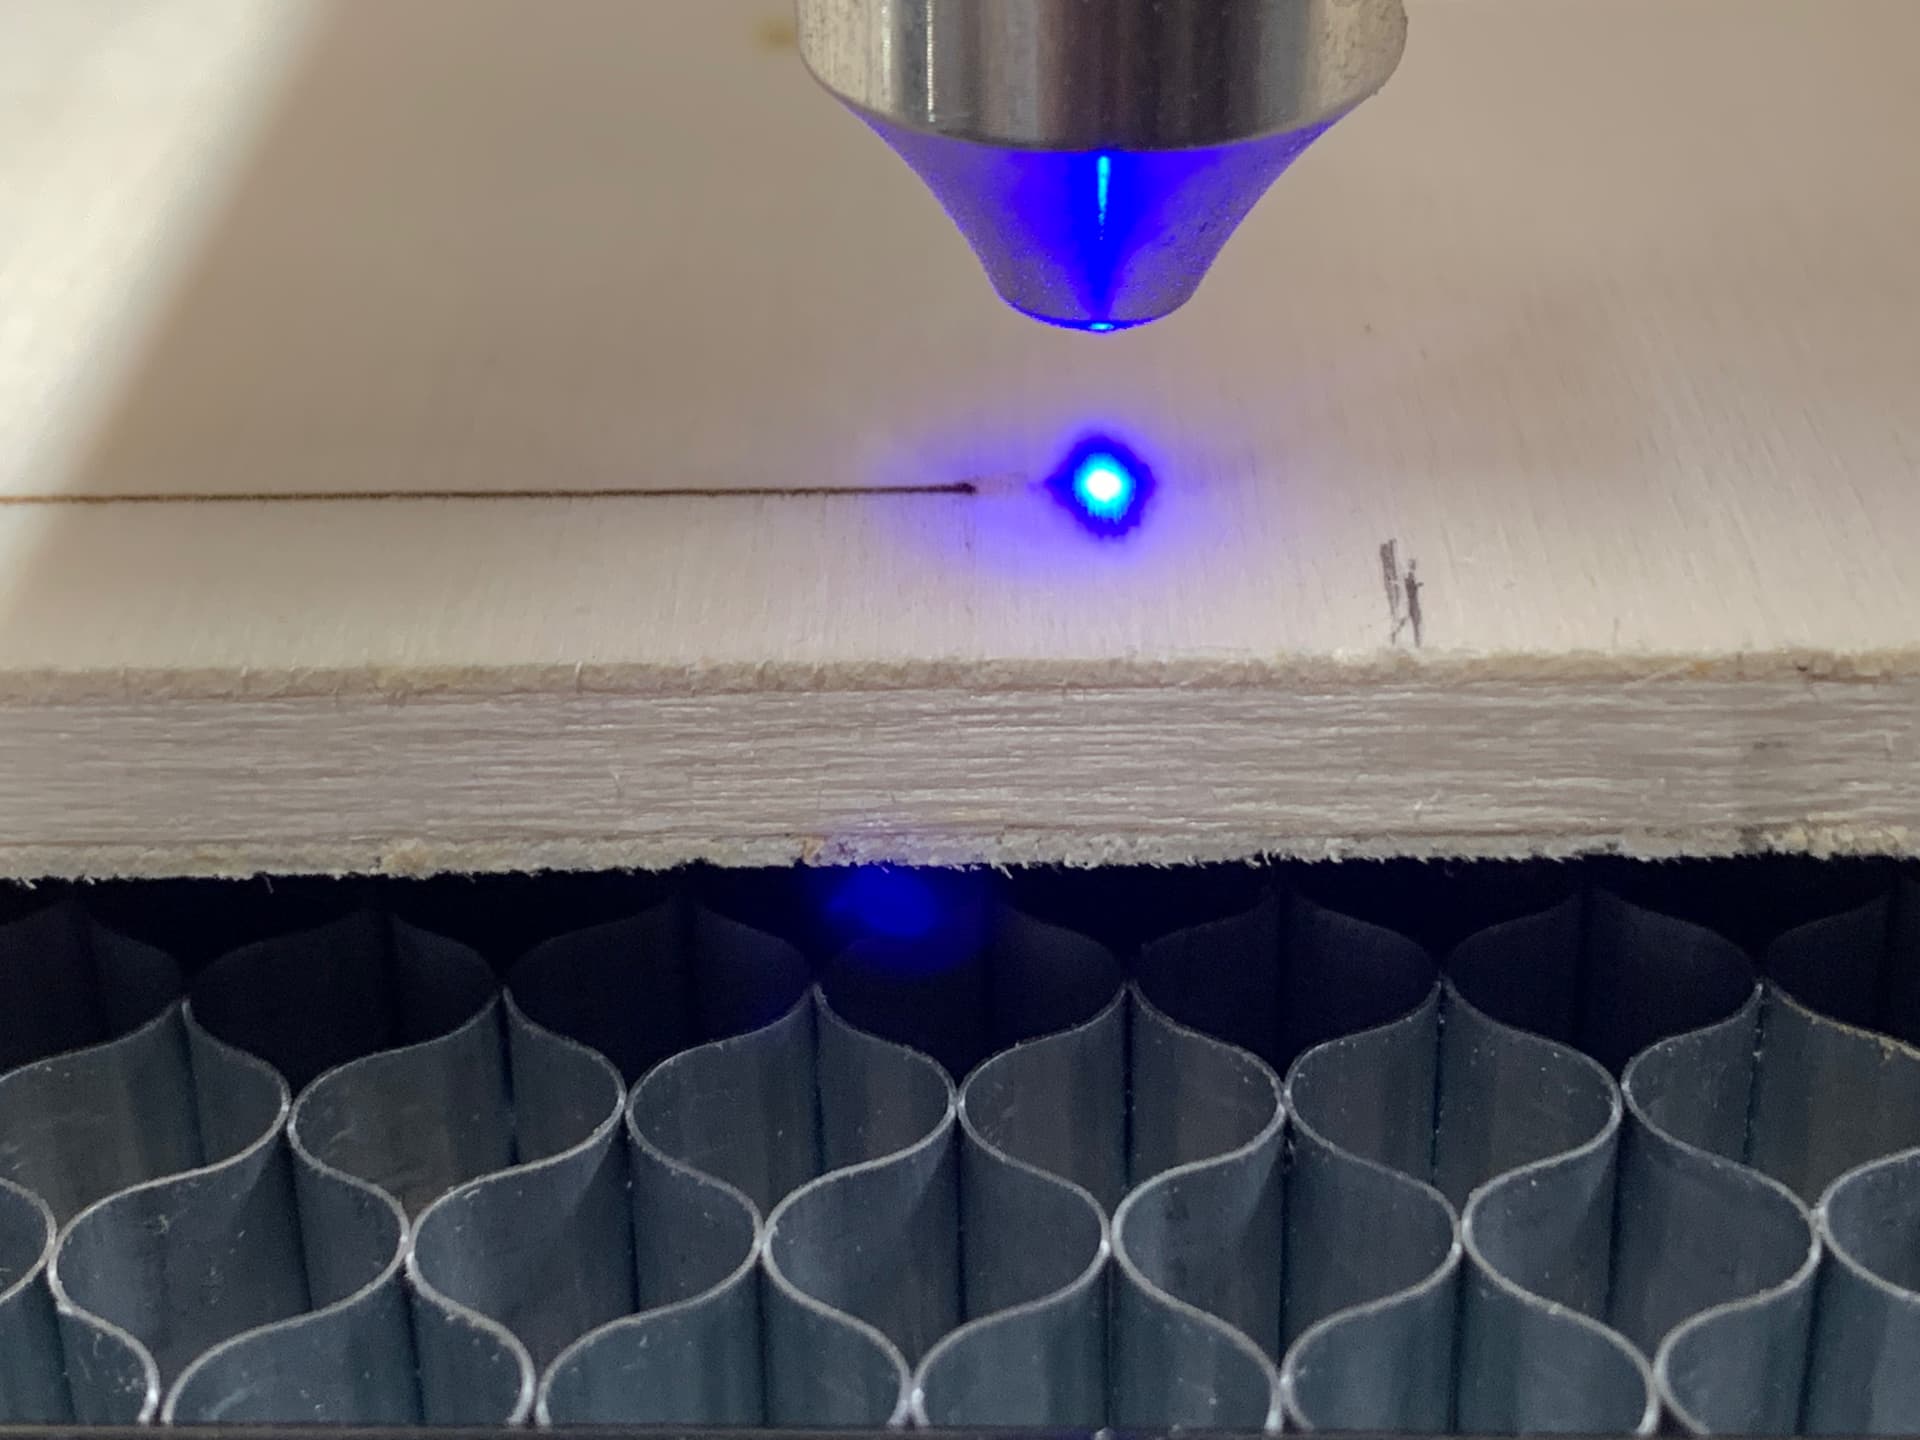
Can you take a full screenshot of LightBurn after you’ve done the alignment and ready to go? Also a photo of your material and laser again after it’s ready to go.
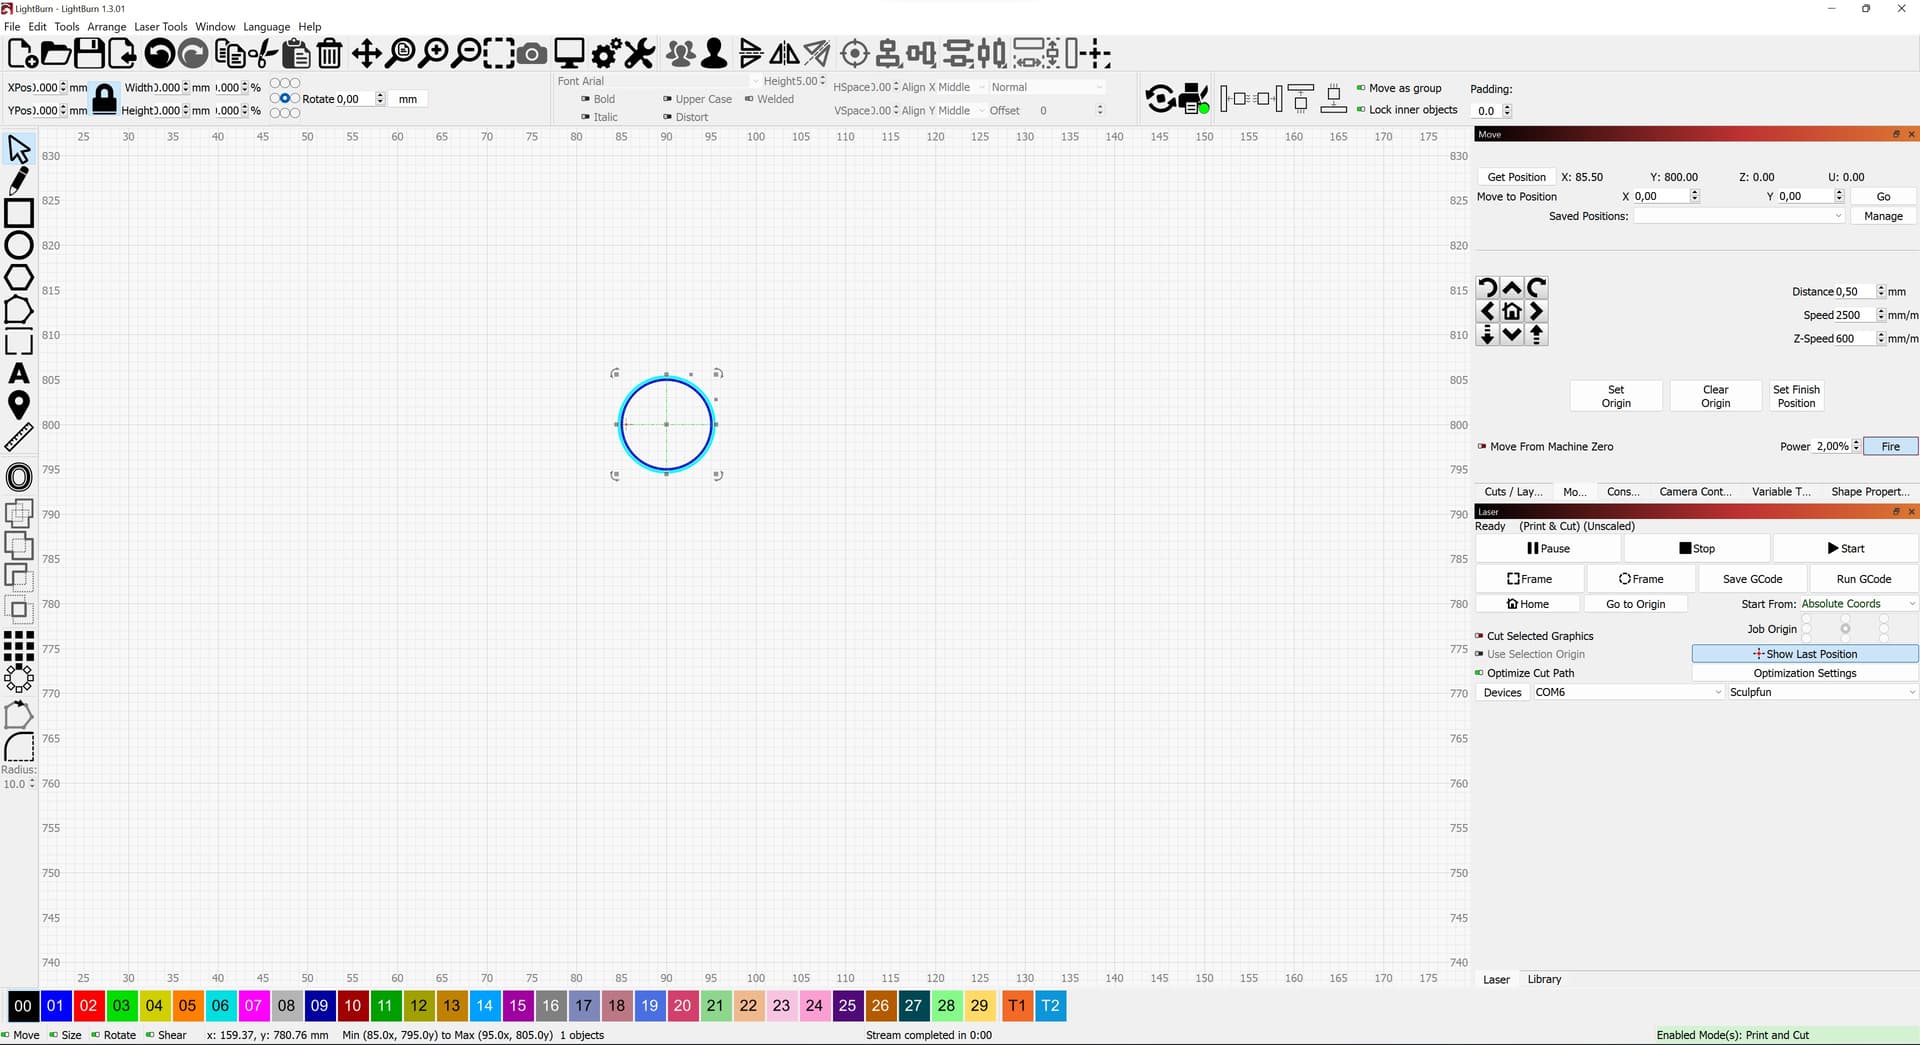
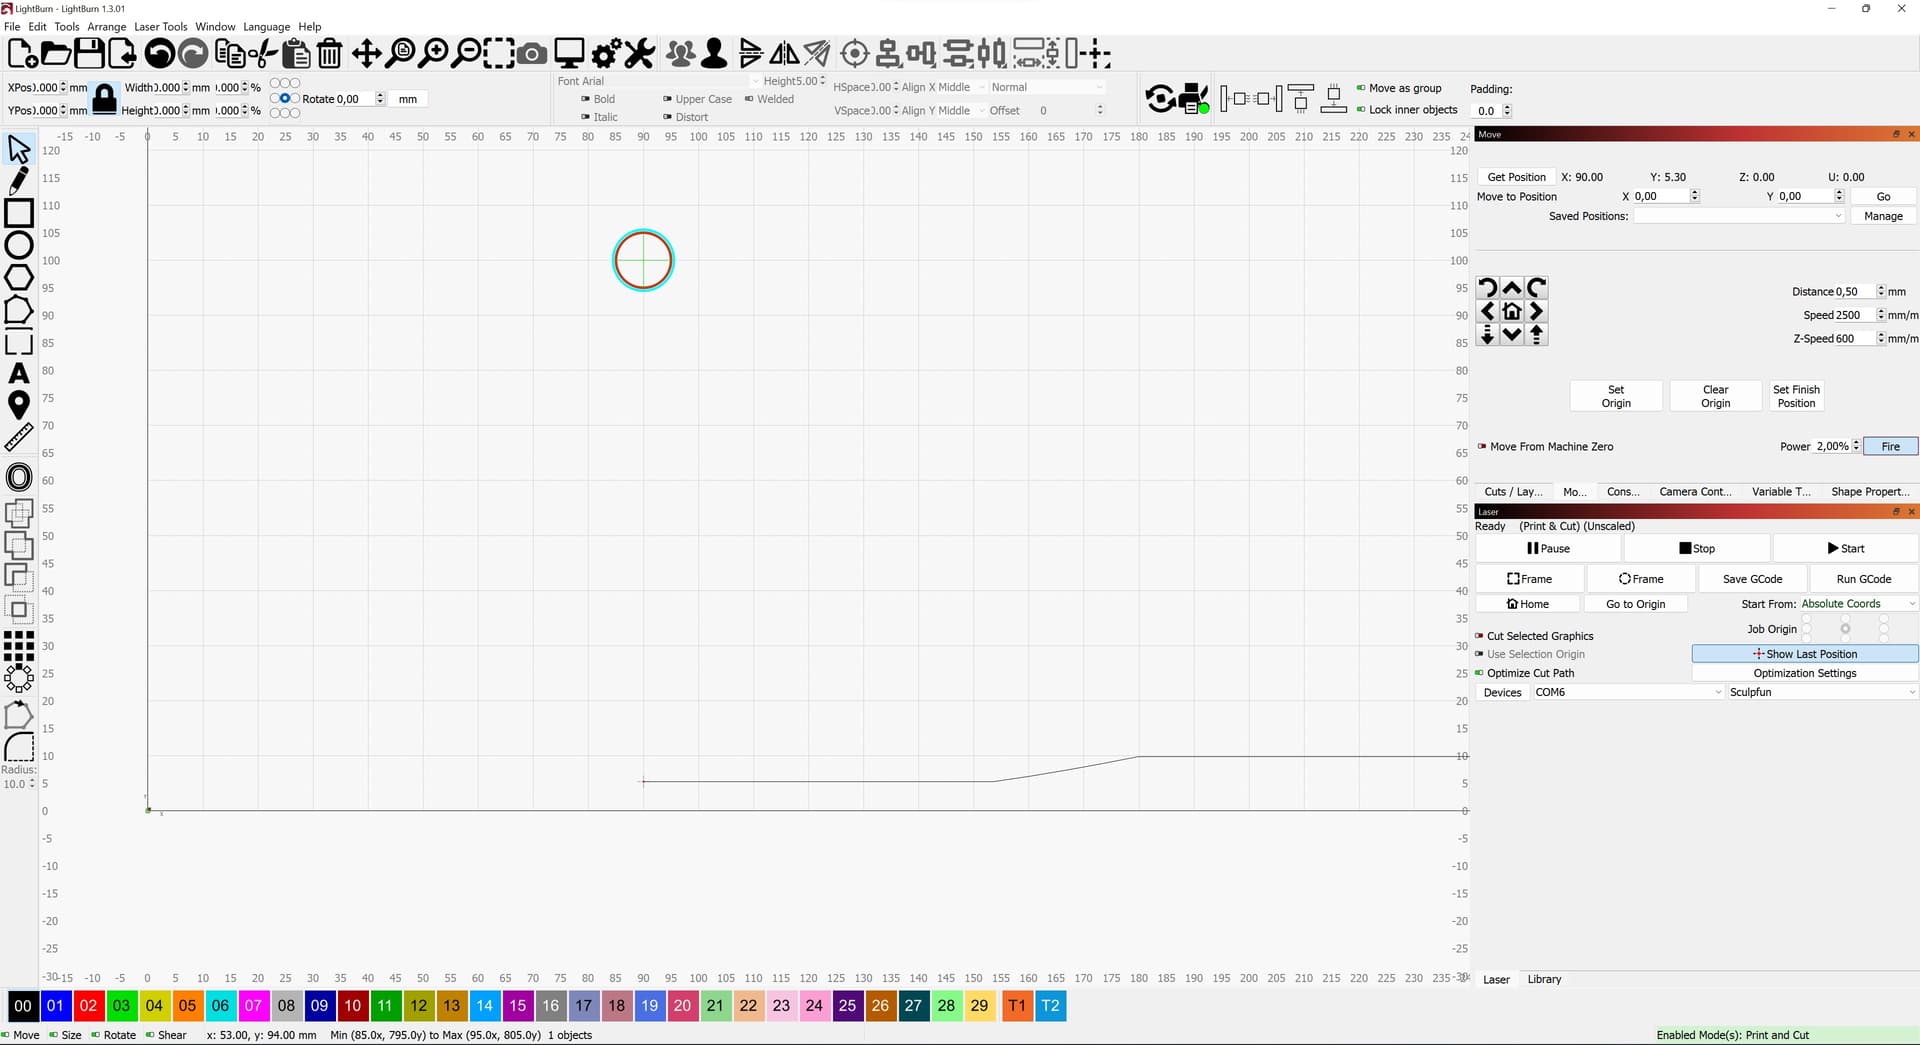
This is how Lightburn reflects my correction. Notice the Show Last Position cross has moved to the left by the amount of my correction. So far all seems logical.
It will frame the design as expected. Just not in exact location as it should. Everything is off by same amount that showing in last 2 pics. Hard to see because its just an outline cut were the laser just moves close to the edge of the wood. No further visual reference except for start/end point of the cut. That is why I use the Click to Position tool. Just to see if those start/end points line up… and they don’t. Not want to press start and ruin a $20 sheet.
edit; maybe I’m expecting things that are not valid? Will the Click to Position move according to the newly set Print and Cut coordinates or will it move to the old coordinates?
I might be missing something but I don’t see anything obviously wrong in the setup.
Can you run a test on a piece of scrap or even a sheet of paper or cardboard? You could scale down your existing design dramatically or use a different design. Just need to prove out if print & cut is working at all.
One thing to try is to actually do the second burn at an angle to make things more obvious what’s happening.
I already thought about the angled position… but the design won’t let me because it uses all the available space in both X and Y. No room to rotate. Will try smaller for testing purpose and report back ASAP.
I think you are going wrong at your first step, don’t use the Click to Position tool. Just use the jogging buttons to get your first registration mark. Again just jog to second mark. Should be no need for double check but I don’t think that is causing any issue.
Mkay, this was a clear and obvious case of PEBCAK.
All works as intended!!
As stated in my last edit I was expecting something without ‘knowing’ for sure. After 3 wasted days I now can confirm; the Click to Position refers to the original coordinates and NOT to the newly set P&C coordinates. Because the sheet was too big to rotate, I didn’t try the angled approach. Should have tested a smaller piece earlier in the process.
Berain; thank you very much for your quick replies and suggestions. Sorry for wasting your time (although someone else might encounter this ‘non existing problem’ too).
@Jimcoy I only used the Click to Position tool in first step to get close to target. I did use the jogging buttons to do final positioning before setting the first target position. It was my double check using Click to Position after setting 2 targets that caused all this confusion.
My latest ‘finding’ is using Click to Position tool to get close to first target and do the first adjustment by moving the material to the positioned laser. This way I only have to jogg to set second target. Works fine too (and is little bit faster).
Yeah… my bad on the framing being off when it wasn’t. It was just very hard to see because it only had start/end point for reference. Glad it all works… now… let the big burn (28+hrs) begin