Print & Cut not Aligning for Oversized Project

Hi,
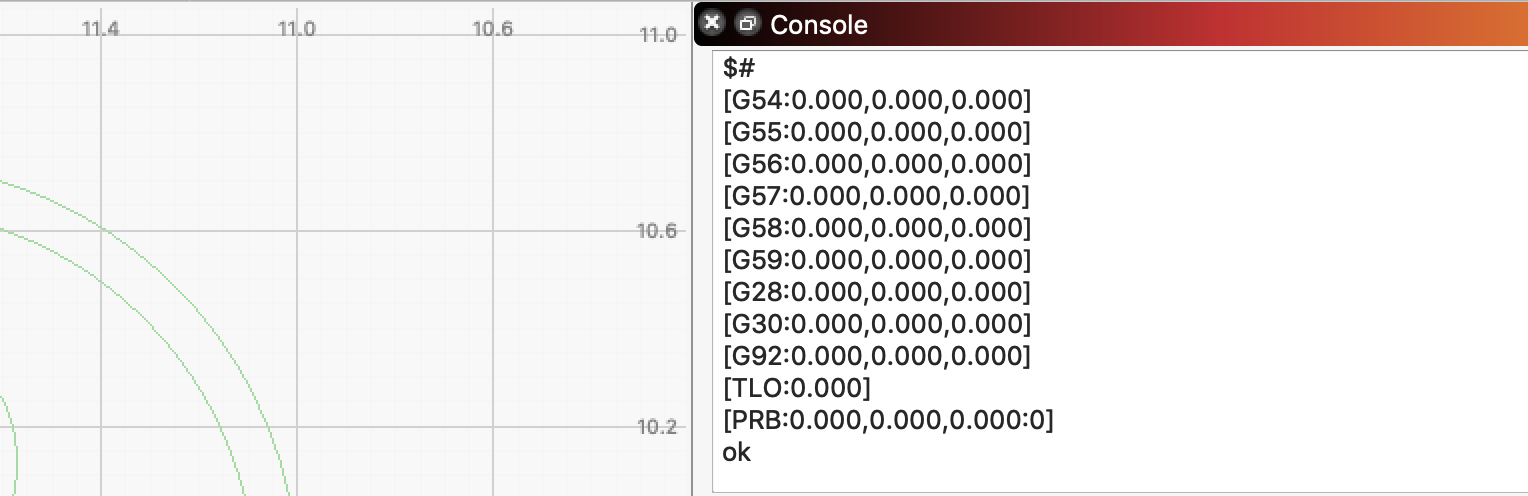
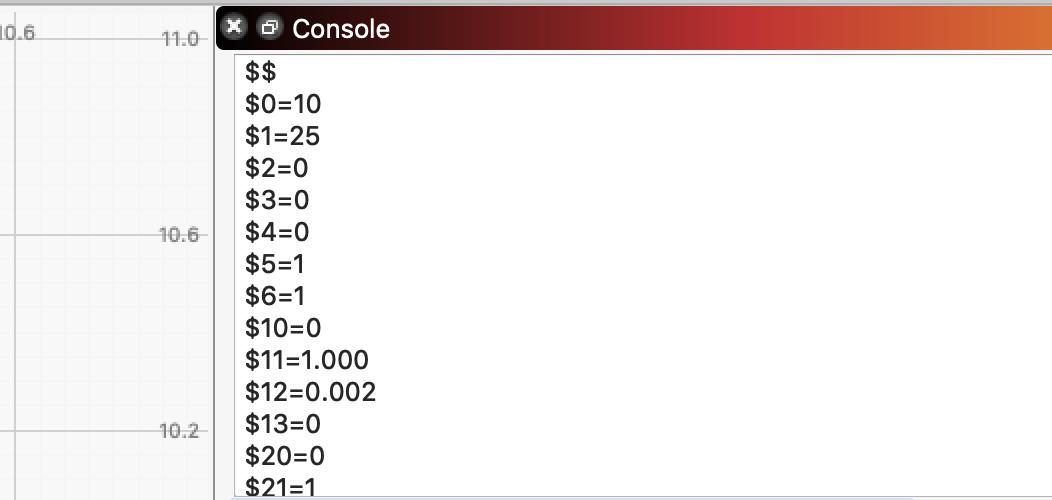
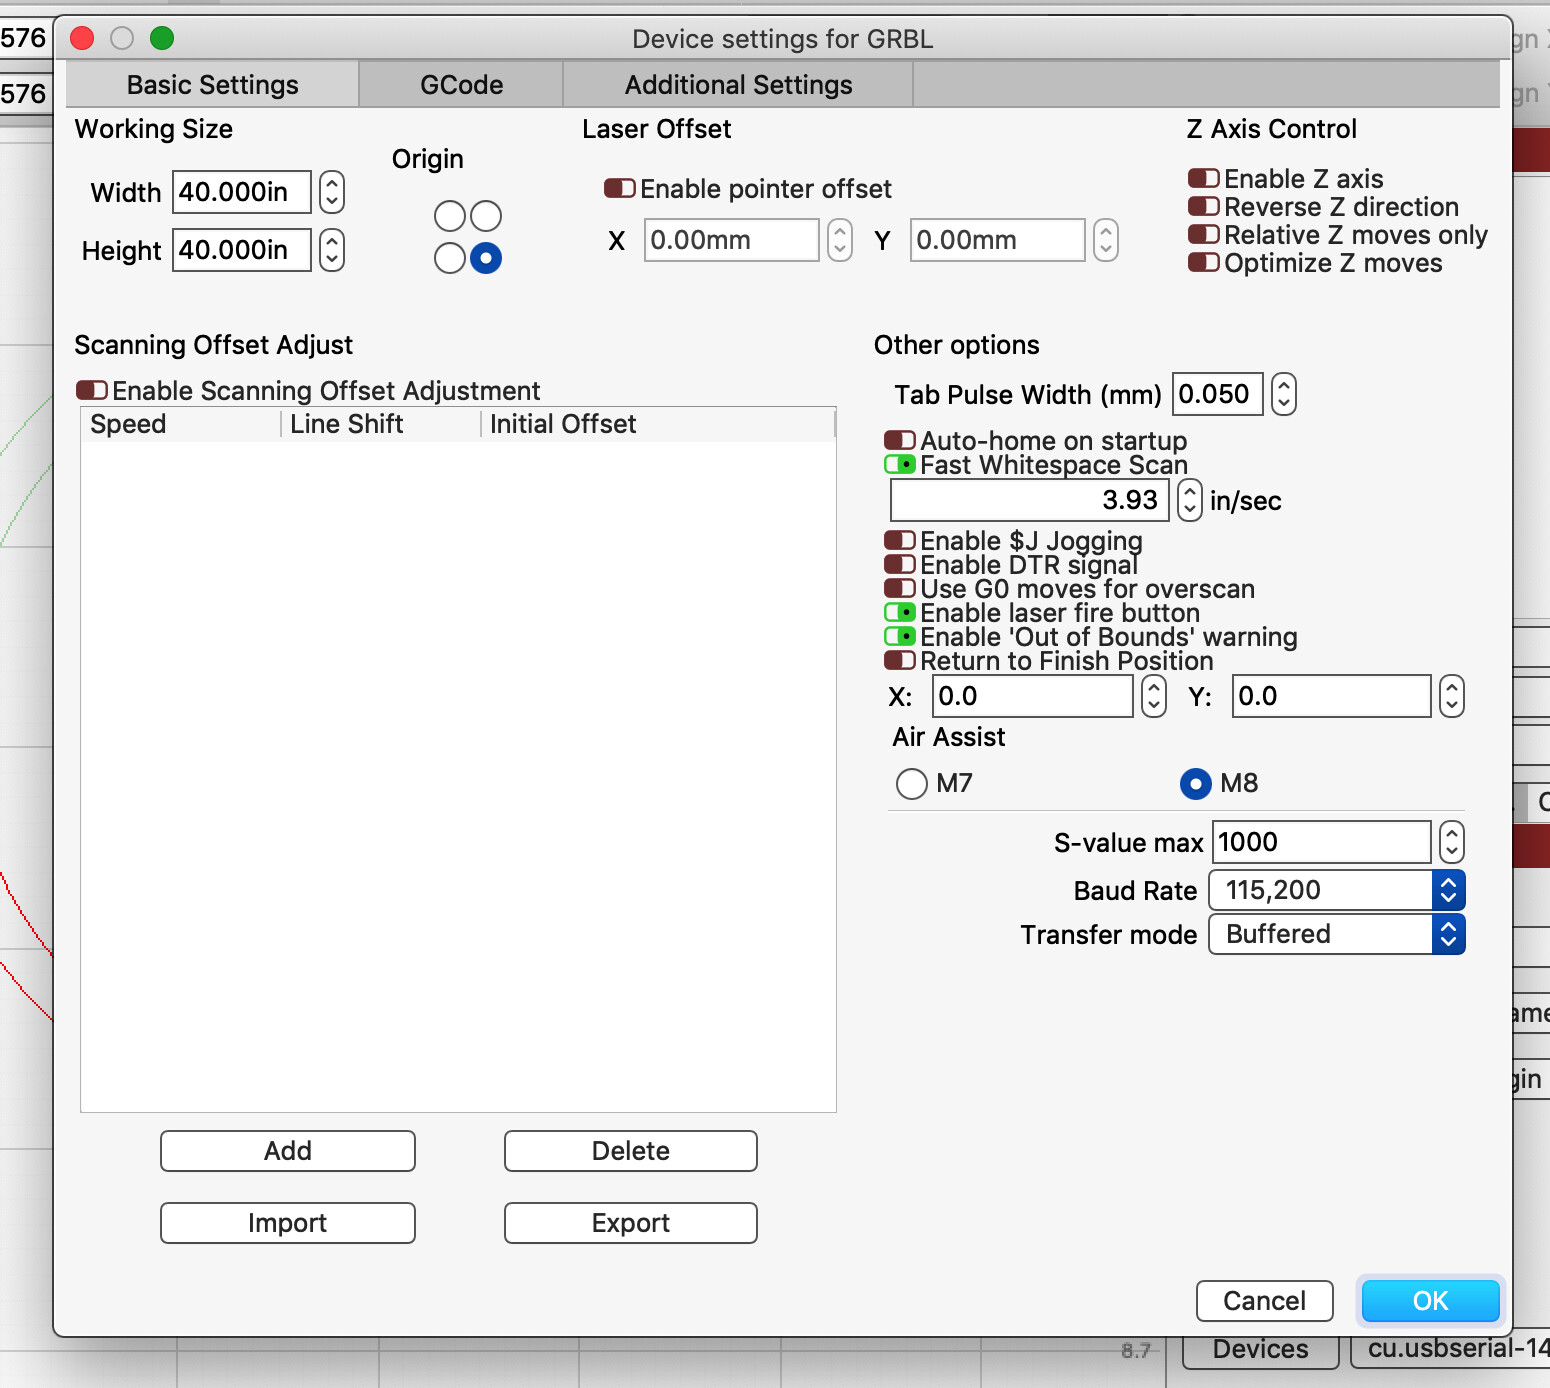
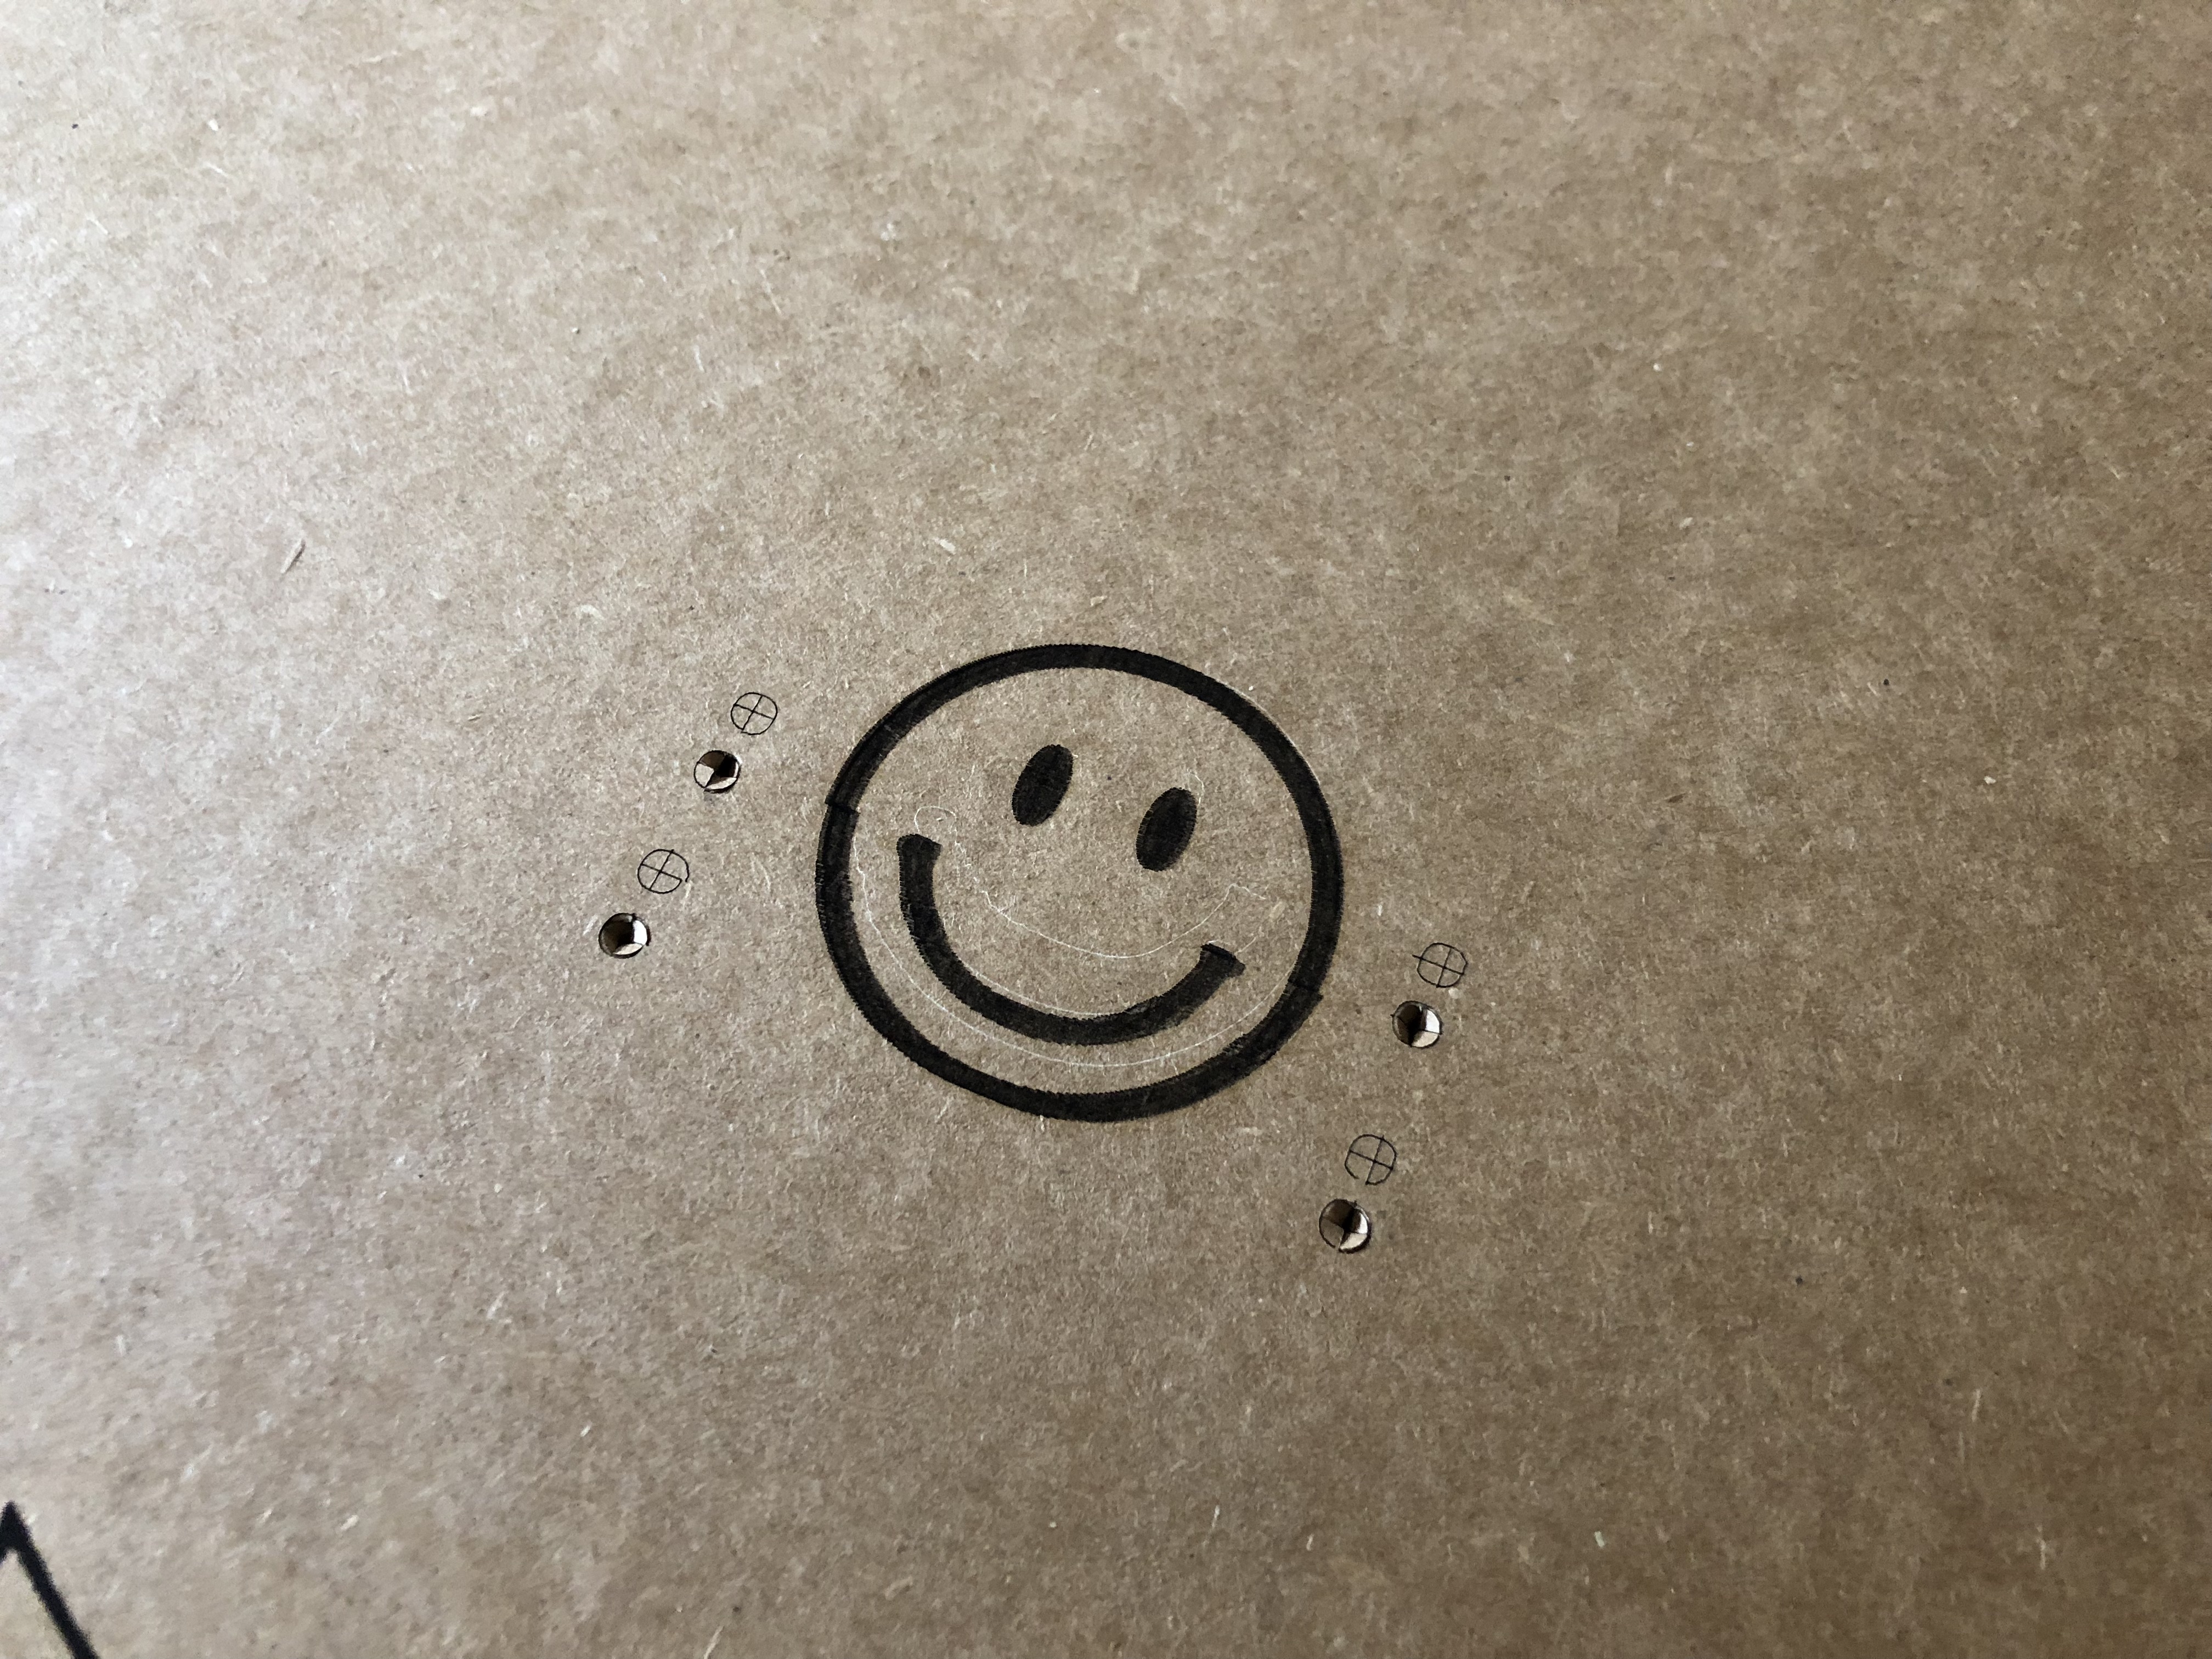
I’m new to engraving and have learned a lot through this forum! I’m working with a 3000mW Blue CNC Laser Engraving Machine - 40"X40" with GRBL and will primarily be using it for oversized projects. I found the helpful LightBurn Youtube video (Cutting a single project larger your laser pass-through version) and have tried it several times to no avail. I’ve made sure to zero my laser upon opening the software to ensure it reflects the most accurate positioning (origin). I am able to cut the object into sections using the rectangle tool (I’ve been practicing on a smaller image on cardboard). I’m able to create registration marks, jog the laser to them and set the first and second target positions but when I go to print out the other half of my image after moving the cardboard up (even after I’ve jogged the laser back to where the ‘last position’ is on the software, the laser veers off in a totally different area and begins printing the bottom half on the top left side of my cardboard. For further context, there are a few deviations I had to take when I had hiccups trying this:

  1. The error that my image contained areas that were open (those layers were no longer showing in the preview) this happened after I cut my image into sections using the rectangle tool. I tried ‘Select Open Shapes’ followed by ‘Auto Join Selected Shapes.’ I tried zooming in to the nodes and closing the shape that way but it kept altering the lines in a way that changed the overall shape of the image. So I ended up just going in and closing the openings with a line using the draw tool and grouping it with that layer.

  2. While I was able to section the image off using a rectangular box like in the video, the issue of the laser not lining up for the second half of the image made me think about possibly putting the second half of the image on another layer and just hiding it for the first part of the engraving after the cut. That way the entire image will stay as static as possible and possibly align better but that still didn’t seem to work.

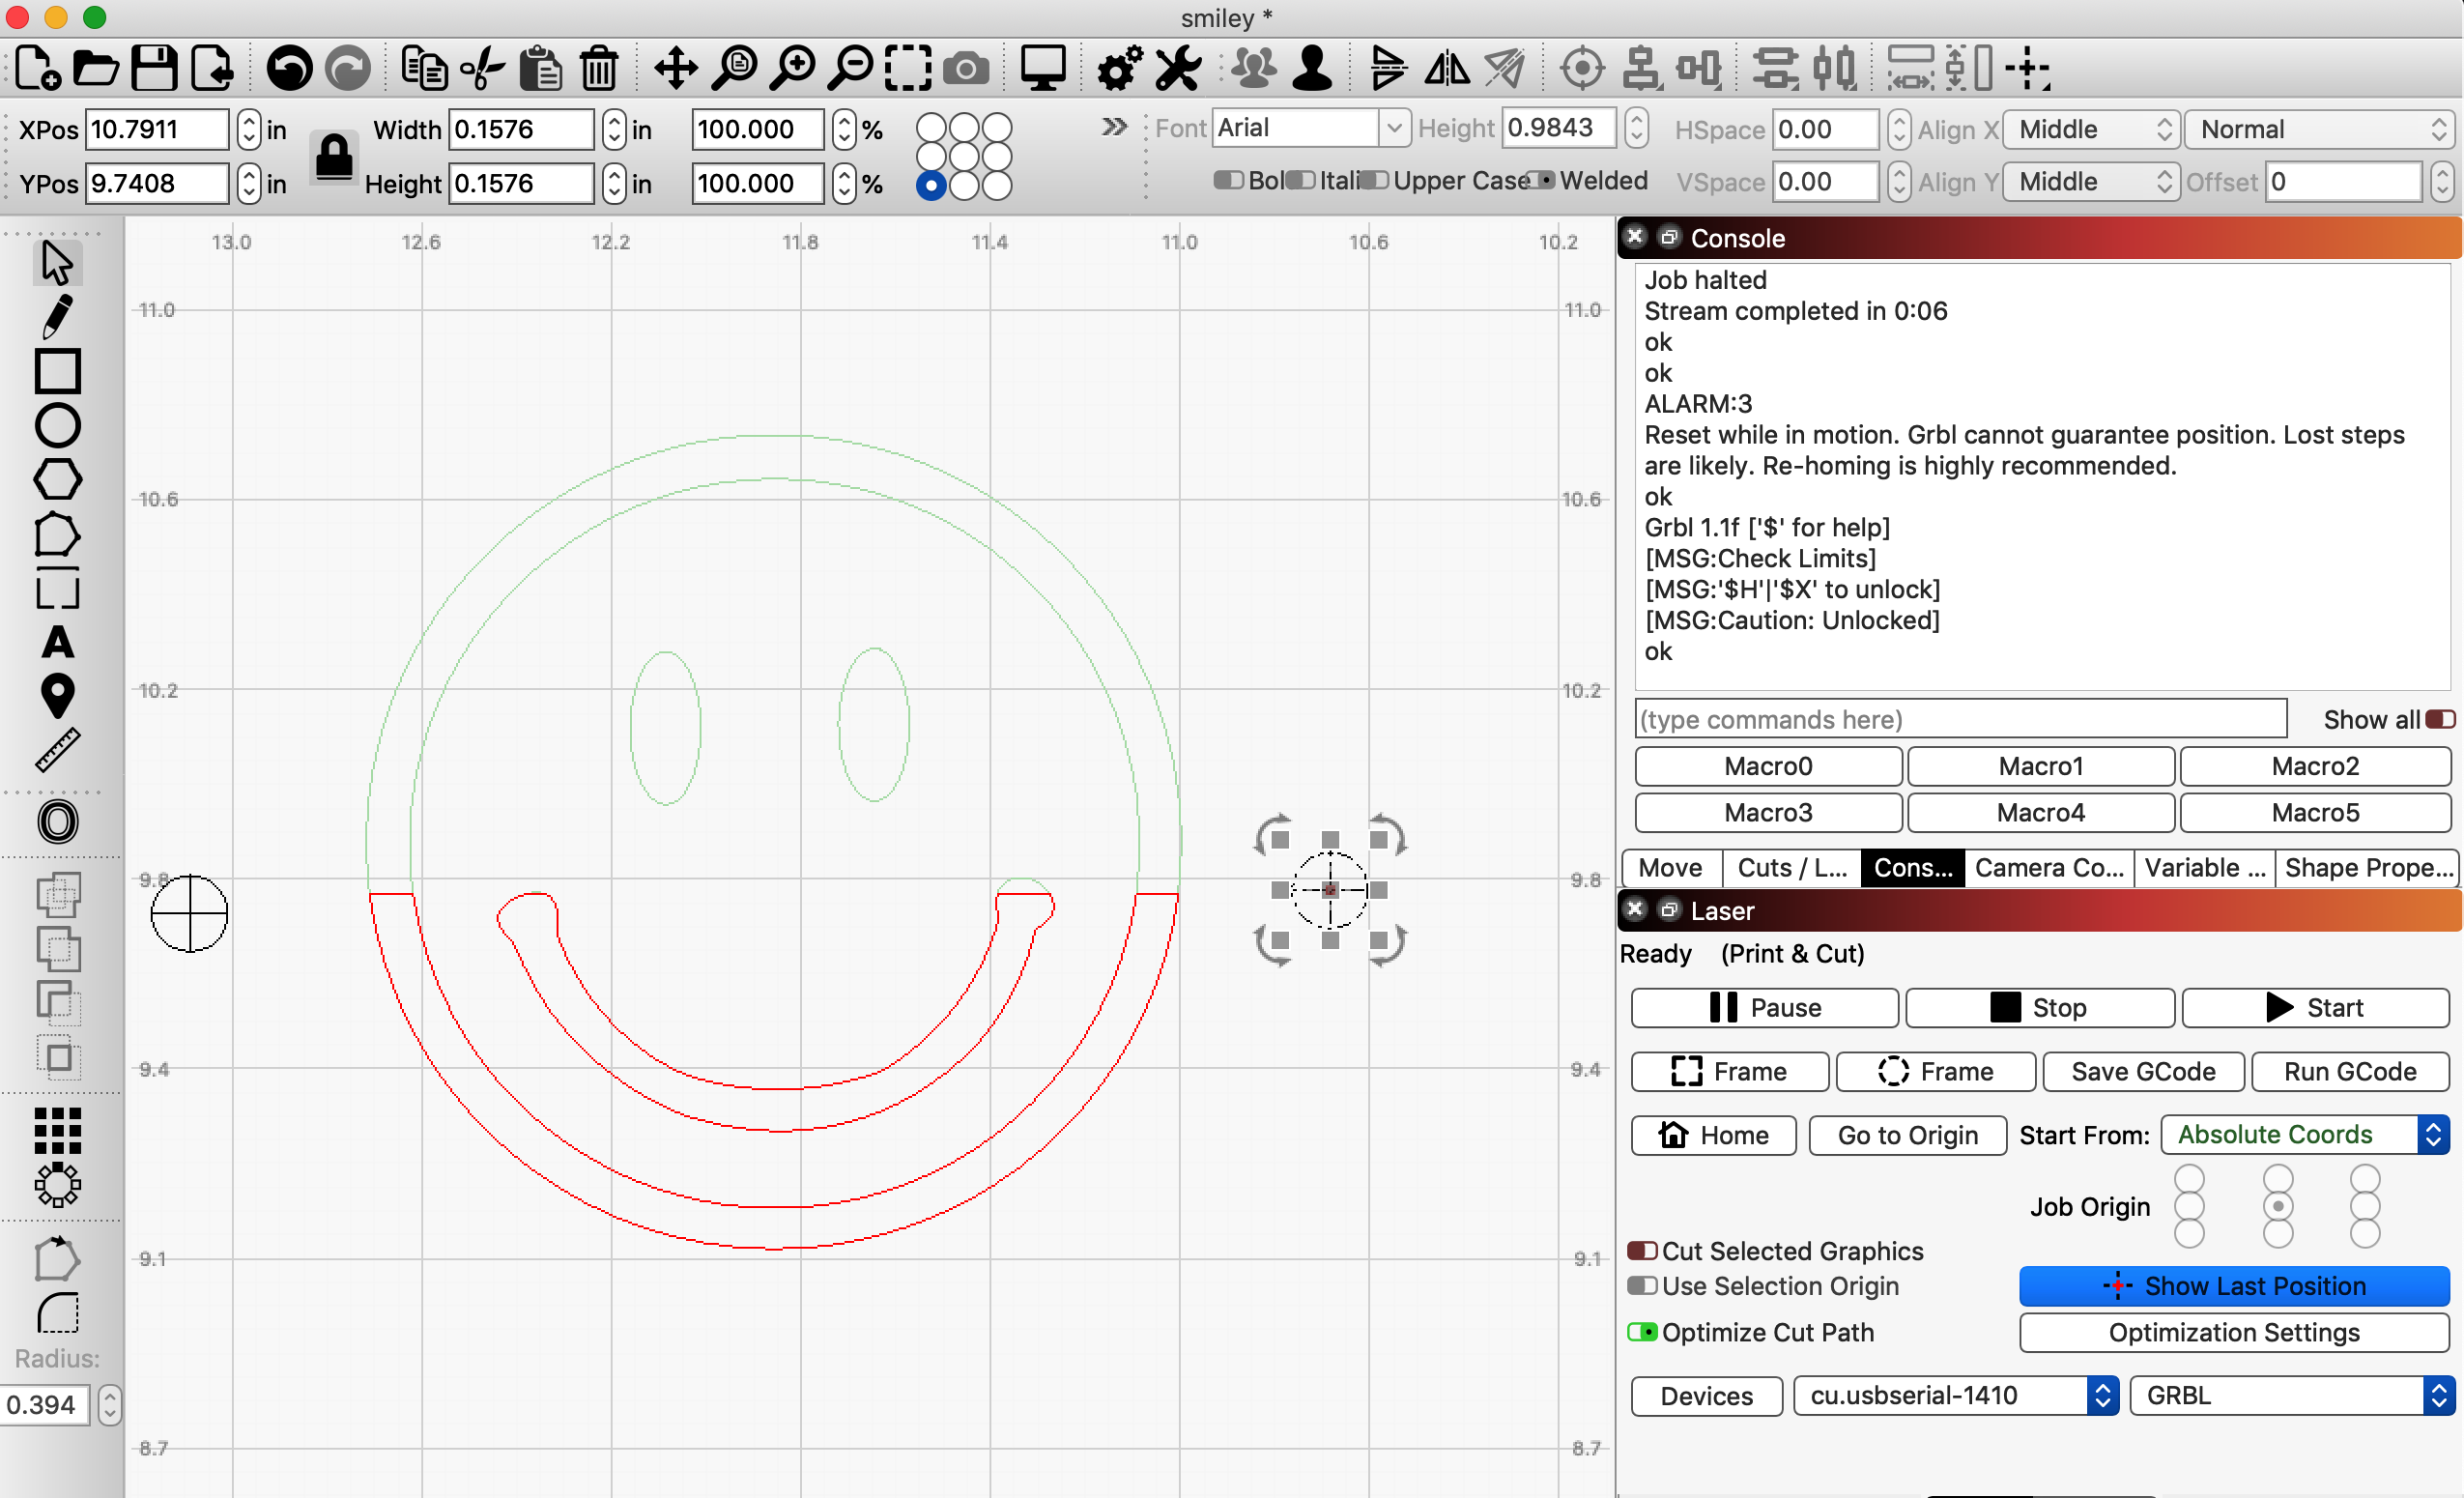
After I move the cardboard to accommodate the second cut, I’ve even tried jogging the laser to a very precise corner of the image to reestablish its position (making certain it matches the position in Lightburn) and then moving it to the start position (green block) to see if that would work but it is always a millimeter off. Any assistance would be greatly appreciated.

This is what it looks like when I send the second half to the laser:

1 Like

Does your machine have homing switches, and does it home when you first connect to LightBurn?

Technically this shouldn’t matter, because it’s just reading the position of the laser, wherever you place it, and then sending commands to position it based on that.

One thing that might be wrong: If you have a workspace offset applied, but the laser is reporting its position and not including that offset, that would do it.

If you type $# in the console and press enter, you should see a series of lines that look like this:

$#
[G54:0.000,0.000,0.000]
[G55:0.000,0.000,0.000]
[G56:0.000,0.000,0.000]
[G57:0.000,0.000,0.000]
[G58:0.000,0.000,0.000]
[G59:0.000,0.000,0.000]
[G28:0.000,0.000,0.000]
[G30:0.000,0.000,0.000]
[G92:0.000,0.000,0.000]
[TLO:0.000]
[PRB:0.000,0.000,0.000:0]
ok

If the first line (G54) has anything other than zeros in it, that’s likely the issue. You can zero the offset by typing this command:

G10 L2 P1 X0 Y0

Or you can tell the controller to report its position to LightBurn including the offset by setting this value in the firmware (you just type this line in the console and press enter):

$10=0

Let me know if that still isn’t working for you.

Hi Oz,
Thanks for your quick reply. My laser doesn’t home or have homing switches. I checked for an offset but everything came back normal:

I double checked my settings as well and they looked fine:

Here is the file I’m using in case that helps. I ran it through one more time after your suggestions (after I shut everything down, rebooted and reset the origin) but it’s still coming out the same way.

smiley.lbrn2 (39.7 KB)

Thanks for you help!

1 Like

Not sure if these will help but here are my General Settings and Device Settings:


Hey Oz,
I got it to work! I actually had a dream last night about using Lightburn lol (I guess that shows how much I’ve been researching the problem). I noticed that when I made registration points for the bottom half of the image, it moved that part up into the image kind of like an accordion effect. In my dream, I remembered goofing up and making registration marks with the top half and seeing that it moved my registration marks above where they are marked in LB. So when I woke up, I made four registration marks (two for each half of the image) and used the Print and Cut feature for both halves, resetting the registration marks from one to another. In this way, both sides of the image moved up together and aligned pretty well. As you can see, they are just a hair off now but i probably just need to refocus my laser. It also seems to duplicate the registration marks but I’ll just lower the power settings so they don’t show up. Thanks for you help!

If I’m following correctly, it might be that your belts are a bit loose, and that would certainly affect the end result.

If you just draw a 1" circle, with nothing else in the design, does the output look like a circle or is it misshaped at all?

All of my previous burns came out fine, the only displacement seems to occur when I use the Print & Cut feature for oversized projects. I did take you advice about the belts since it’s a relatively new setup and it seems to have helped a little but my registration points are still slightly off for the second half of the image. The image itself is probably less than a millimeter off now.

Now that I’ve tried it on my actual project, the gap is even larger (about an inch). I’ve tried tightening up the belts and everything but now it seems like it really is not working. I noticed that after I go to register the first point for the second half, when I jog the laser over to the second registration point, it does not line up with it which doesn’t make sense. I’ve tried leaving it and I’ve tried manually moving the laser to the center of it but neither makes a difference. What I end up with is perfectly aligned registration points on one side and unaligned points on the other and an inch gap in between the sections.

The issue was a hardware problem but I have another problem. I’m in the middle of burning the actual project. It was running long so I did half of it last night but when I came back to complete the other half, my trial expired so I was not able to save the new placement of my registration marks and now they are in completely different places after my purchase. Is there a way to recover the file I saved right before purchasing the software?

There might be a backup of the file, but probably not - if you closed the software normally, it would remove the backup. This is the first time I’ve heard of this happening - LightBurn does have some internal checks to make sure the license or trial is valid, and as soon as it expired those likely kicked in, which is unfortunate timing.

This topic was automatically closed 30 days after the last reply. New replies are no longer allowed.