Did you create a PNG heightmap image to use with grayscale mode? - what does that image look like?
I’m also not sure how fast your machine can vary the power intensity at high speed in a single sweep of the beam, perhaps the power-change-responsiveness lessens significantly once you exceed a certain speed/power threshold? Maybe try reducing your speed by 1/3 and lowering min and max power slightly as well and see if that makes any difference?
I would need to see the image and the settings you used to run it. If you can attach the LightBurn project file here that would help (or email it to support@lightburnsoftware.com and include a link to this thread).
Then I launch the 3D slicer built into ArtCam for laser engraving, with a quantity of 50 layers. With an engraving depth of 0.25 mm. and save it in separate files
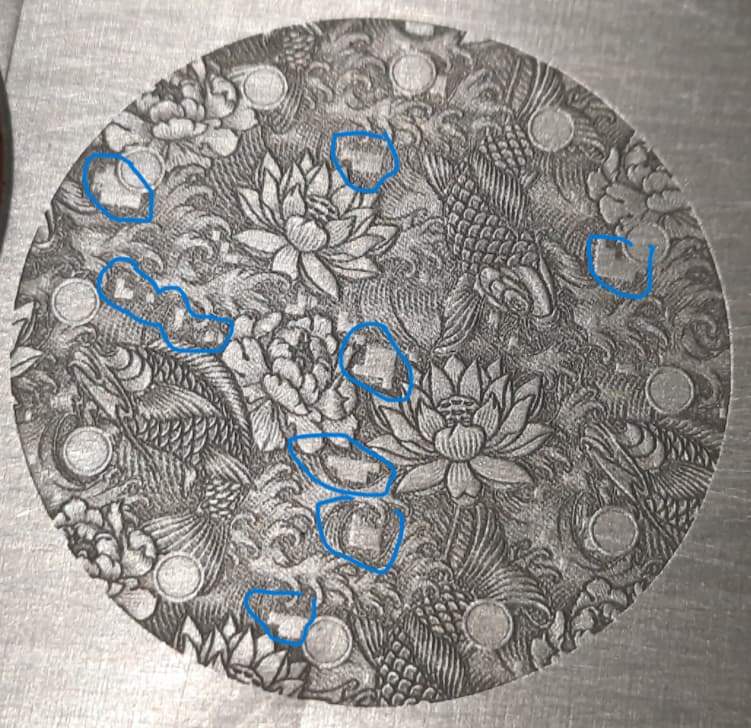
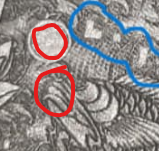
I think the problem is that LightBurn is actually engraving these as single, continuous lines, because they’re all the same brightness level, and EZCad looks to be engraving them with variation, which is weird because there is no variation there in the source image - it’s all a single color. It’s as though EZCad added some noise:
The simplest way for you to “fix” this would likely be to add some random noise to the image (+/- 2 brightness levels, probably) and then save it as a PNG, not a JPG, so it doesn’t get filtered out.
If I do it not through grayscale, but through a 3D slicer in lightburn, the problem remains, but as I showed above in artcam this is not. But if I take files, d layers from arcam, and insert them into lightburn, there is also a problem. but of a different nature. Here it is:
I’ll start from far away, lol.
Artcam has a function for laser engraving. The 3D model is divided into layers. Each layer consists of lines that are engraved. You can set the layer density parameters (analogous to fill in lightburn). You can set the angle. Everything is clear with this, I think.
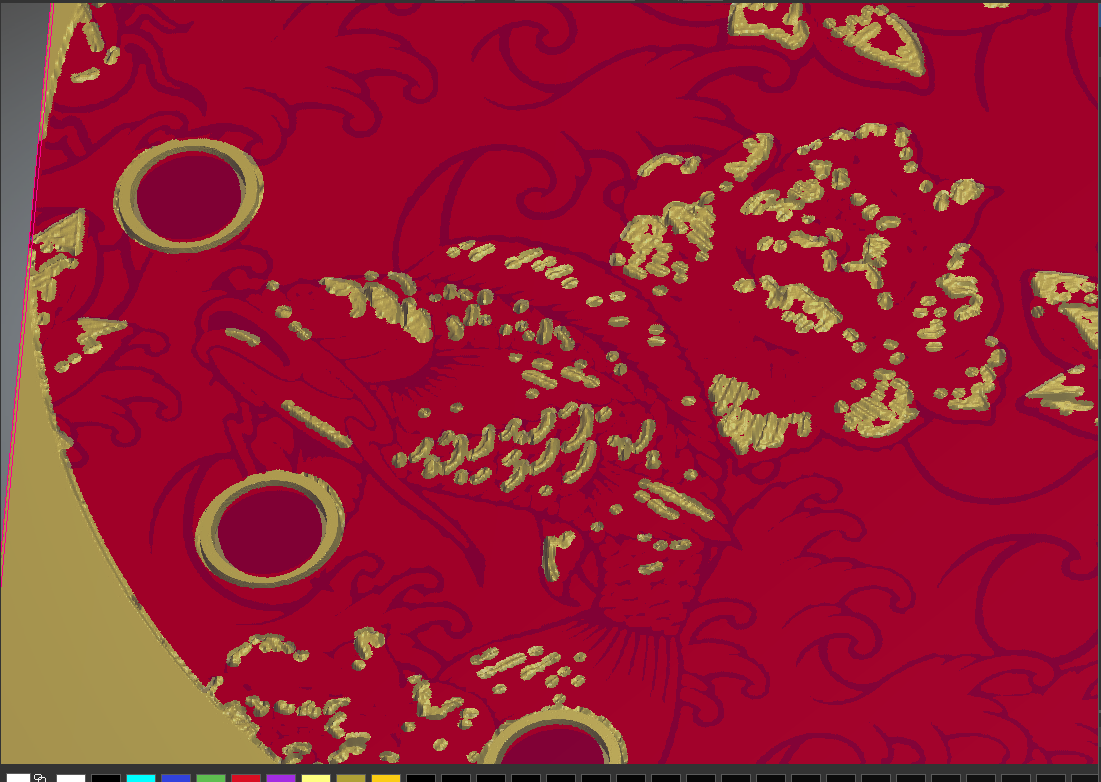
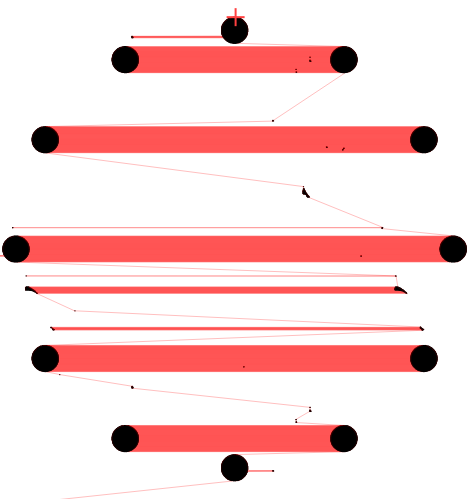
When I load this file into lightburn and run the simulation, lightburn tries to optimize it. Even in the case when optimization is disabled. This causes chaotic engraving of lines, and not consistent.
Although all lines go in strict order, This is visible if, for example, you open the file in CorelDRAW and look in the object manager.
But Lightburn does not take this order into account.
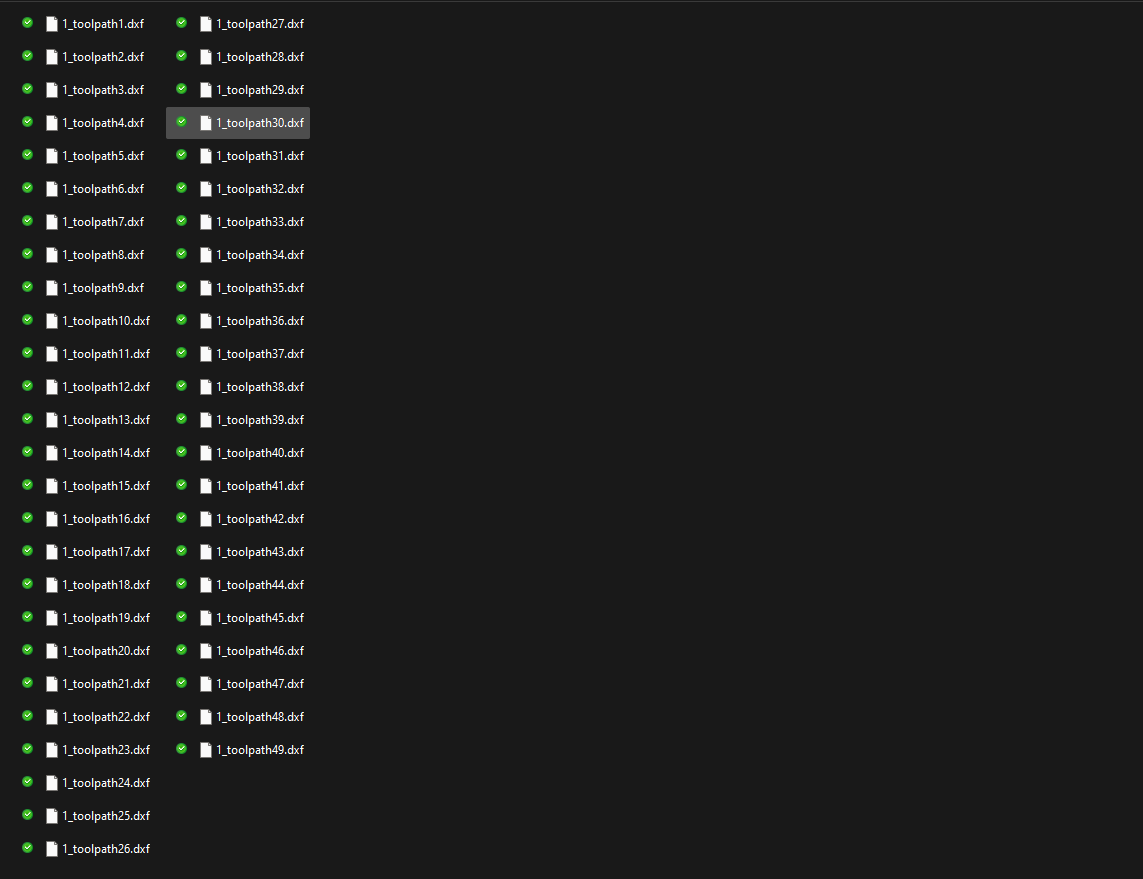
Here is a file to check it: 1_toolpath49.dxf (207,1 КБ)
Tell me if I am right or if I am doing something wrong?
For that, I suspect you have your “DXF Auto Close Tolerance” set to something other than zero in the main settings, under File Settings. When the system joins shapes together, they’ll get moved around in the order list.
If you select an object in LightBurn and then press the Tab key it will iterate through the order of the objects, so you can see what order things are in. If I turn off the Auto Join (set the value to zero) this is the order of the shapes: