Bonsoir,
Je possède un laser sculfun S30, ayant fairt l’acquisition depuis peu de la caméra de la même marque à savoir la cam500, afin d’optimiser mon travail , c’est tout l’effet inverse. Impossibilité d’installer et de faire fonctionner la caméra malgré tout les tutos mis en ligne et suivi à la lettre.
Ce jour, je viens de tout désinstaller, et reccommencer installation du laser sur lightburn puis ré installation de la caméra (alignement et mise au point ) , c’est pire !
Il y a un énorme décalage , en effet , lorsque je fais cadrer pour voir ou la gravure va être je m’apperçois qu’il y a un décalage et que la gravure ne sera pas comme mise sur lightburn…
Je desespère de faire fonctionner cette caméra correctement
En ce qui concerne la hauteur de la caméra celle-ci est à 33cm de hauteur, et au niveau de l’objectif de la caméra celui ci est au centre de mon nid d’abeille…
Aidez moi SVP
Good evening,
I have a sculfun S30 laser, having recently acquired the camera of the same brand, namely the cam500, in order to optimize my work, it’s quite the opposite effect. Impossible to install and operate the camera despite all the tutorials posted online and followed to the letter.
Today, I just uninstalled everything, and started installing the laser again on Lightburn then reinstalling the camera (alignment and focusing), it’s worse!
There is a huge lag, in fact, when I frame it to see where the engraving is going to be I realize that there is a lag and that the engraving will not be as put on lightburn…
I’m desperate to get this camera to work properly.
Regarding the height of the camera it is 33cm high, and in terms of the camera lens it is in the center of my honeycomb…
Help me please
It includes a number of hints and explanations on where you have to pay special attention to. You can translate that page to french using Google Translate.
Oui, avant de poser la question j’ai lu attentivement le document, cependant j’ai fais tout ce qu’il est noté.
Je ne comprends pas d’ou viens mon erreur, j’ai l’impression de tout faire bien
Yes, before asking the question I read the document carefully, however I did everything noted.
I don’t understand where my mistake comes from, I feel like I’m doing everything right
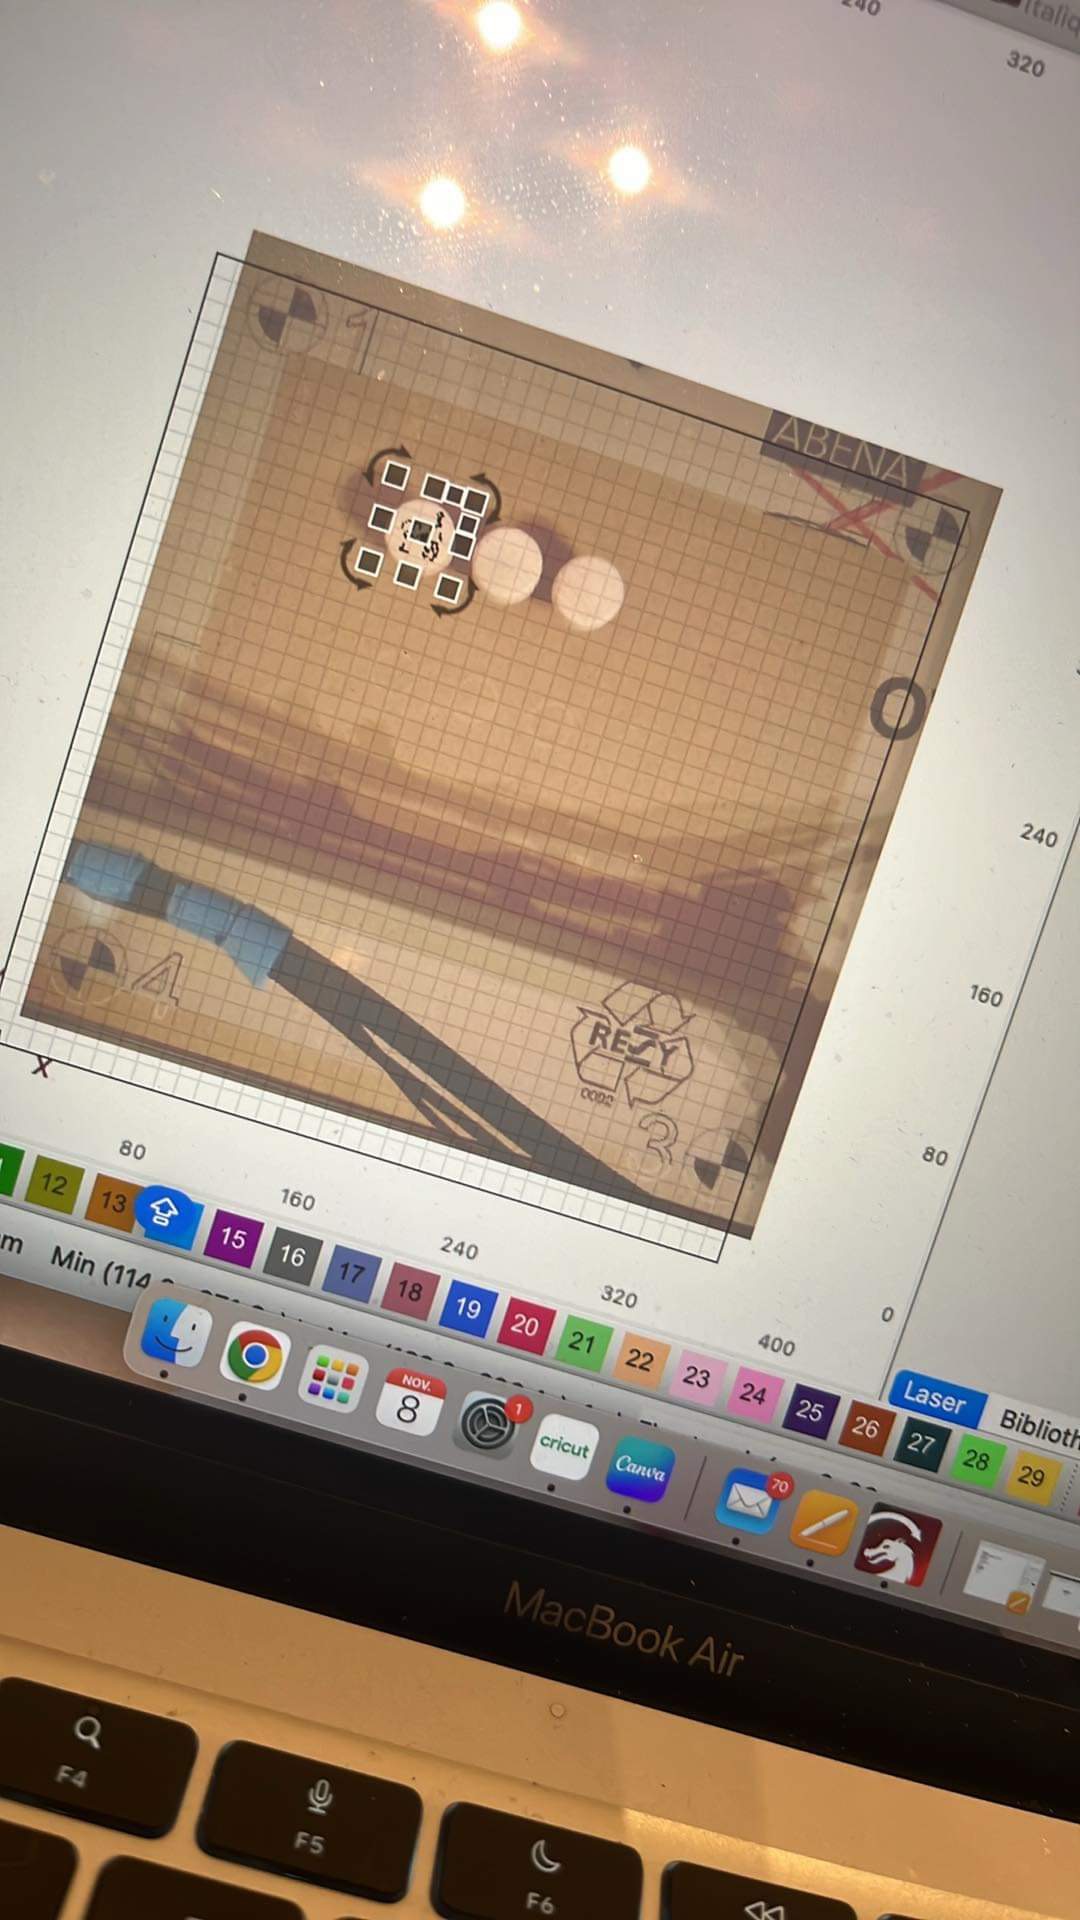
Vous pouvez apercevoir mes objets que je doit gravé , avec un dessin dessus les bouchons, et lorsque j’envoie cadrer le cadrage est décaler par rapport à l’affichage de mon objet via la caméra.
En relisant le document, il est noté qu’il est obligatoire que la caméra soit montée de manière à capturer le point zéro du laser.
Cependant, en regardant les tutoriels de la marque pour l’installation de la caméra ceux ci disent de mettre la caméra de sorte qu’elle soit au centre de la surface de travail. De ce fait ma caméra ce situe sur l’arrière de mon laser à la moitié de la surface de celle ci, et le dessus de la caméra est lui avancé de sorte que l’objectif de celle-ci se trouve au centre de ma surface de travail
You can see my objects that I have to engrave, with a drawing on the caps, and when I send to frame the framing is shifted in relation to the display of my object via the camera.
Rereading the document, it is noted that it is mandatory that the camera be mounted to capture the zero point of the laser.
However, looking at the brand’s tutorials for installing the camera they say to position the camera so that it is in the center of the work surface. As a result, my camera is located on the back of my laser at half the surface of the laser, and the top of the camera is moved forward so that the lens of the laser is in the center of my work surface.
The camera only has to be in the middle of the laser, if it can see the full workspace. If it can’t see the full workspace, you need to mount it that it can see the 0,0 position (homing position).
In your case, you might need to mount it a little higher. But let’s keep that for now.
First of all, I think, the image you show above doesn’t mean that it’s moved. Did you try to use the camera feature like this? Because the camera overlay image doesn’t have to be exactly aligned with the grid that LightBurn shows! If you aligned the image correctly, the overlay is also correct. In your case, if the camera can’t see the homing position, there won’t be any overlay image at this position. So everything is fine.
Just draw a circle around one of the small wood pieces you have there and to a circular frame operation. Does it fit? I guess, it will.
Sur l’image que je vous est capturé , on peut voir les bouchons que je souhaite gravé , je place mes objets sur ma plaque, utilise l’appareil photo, pour situer mes bouchons sur mon écran light burn , une fois ma photo sur mon écran , j’inscrit le texte que je souhaite gravée sur la dite photo et c’est à ce moment la que lorsque j’envoie ma gravure , celle-ci se grave mais absolument pas sur mon support. Je ne sais pas si je m’exprime bien afin de me faire comprendre.
J’ai l’impression qu’entre mon image transmise sur mon écran et la réalite il y a un décallage, est ce du à un mauvais alignement de la caméra ?
In the image that I captured for you, you can see the corks that I want engraved, I place my objects on my plate, use the camera, to locate my corks on my light burn screen, once my photo is on my screen, I write the text that I want engraved on the said photo and it is at this moment that when I send my engraving, it is engraved but absolutely not on my support. I don’t know if I express myself well to make myself understood.
I have the impression that between my image transmitted on my screen and reality there is a gap, is this due to poor alignment of the camera?
How tall are the objects? If you calibrated the camera on the waste board or honeycomb bed, the objects you put on it need to be the same height! Maybe up to a few millimeters it is ok, but your objects should not be higher than let’s say 5mm above the plane you calibrated the camera with.
If your objects are like 3cm high, you need to calibrate the camera at this height.
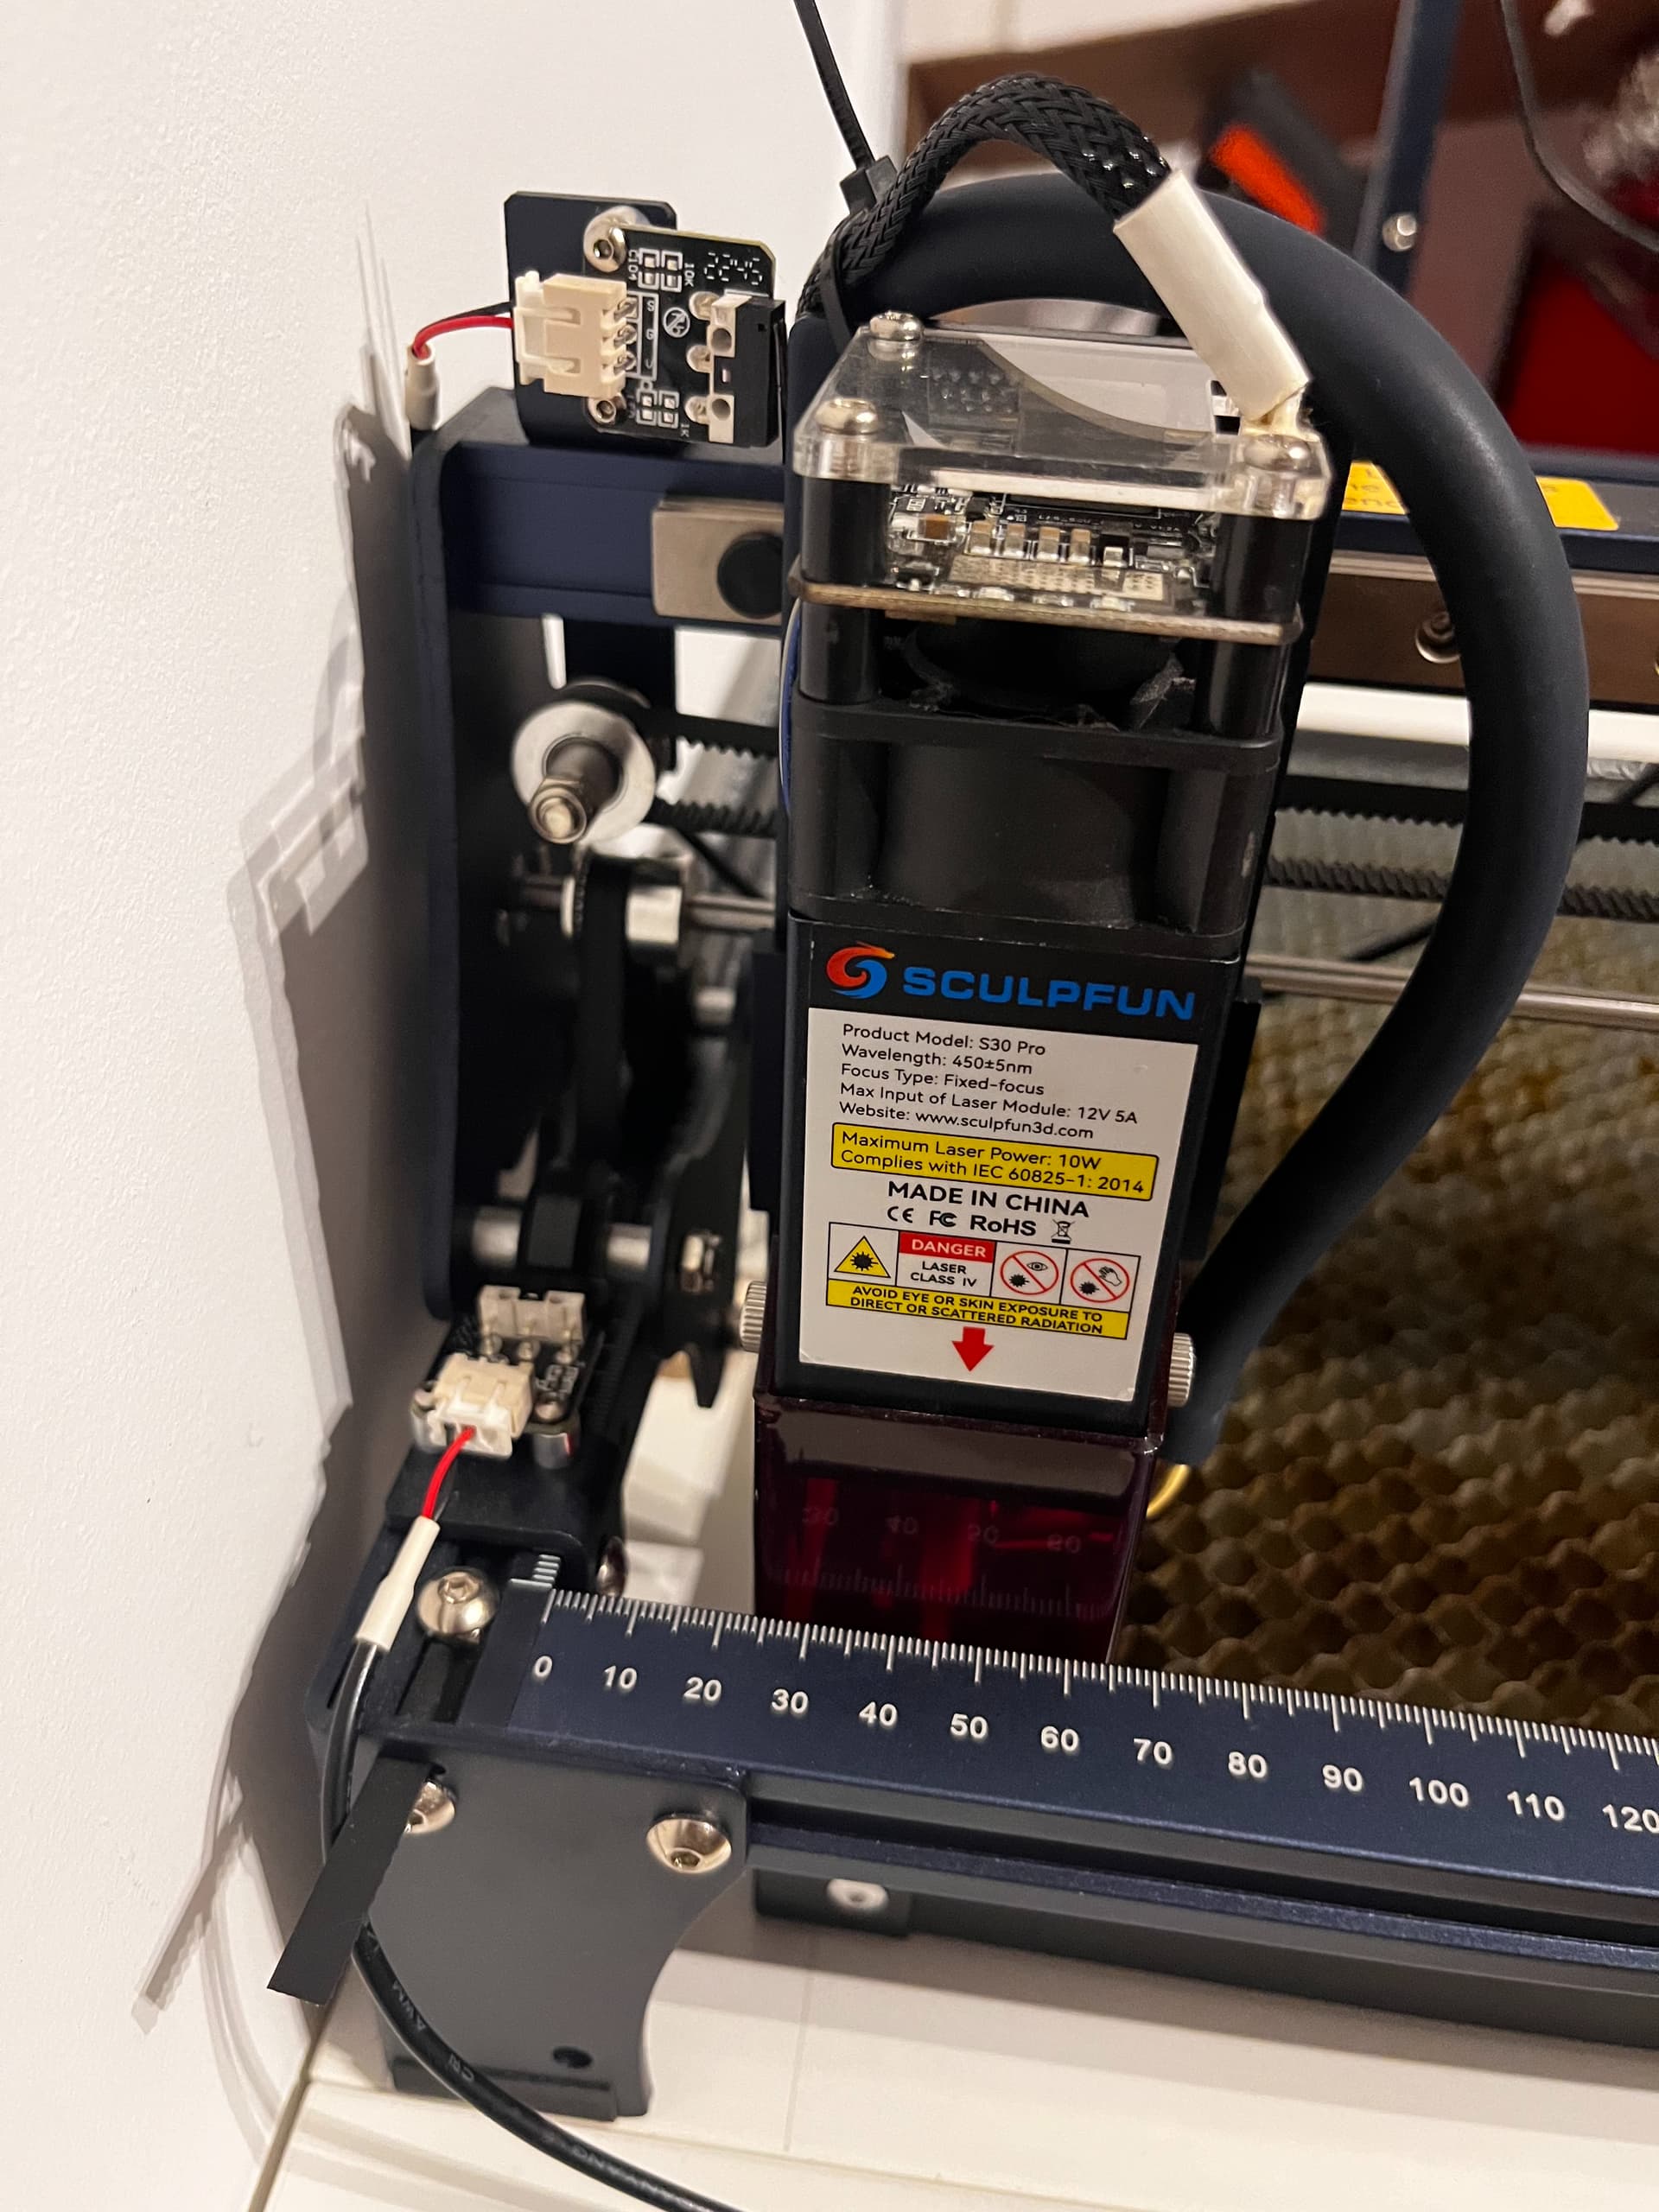
Justement , j’avais calibré la caméra avec le nid d’abeille , et je l’est retiré afin de graver cette objet , qui mesure environ 20Mm de hauteur, il se trouve uniquement sur la plaque en métal , et c’est depuis cette même plaque que j’ai fais l’alignement et la calibration de la caméra. En regardant votre site , et vos articles, je me rends peut être compte d’un autre problème. Ayant des interrupteurs de fin de courses sur mon sculfun S30 PRO, mon laser me notifie une origine en 0-0 hors avec les interupteurs de fin de courses mon laser ne se situe pas vraiment à cette origine. Est ce normal? Ou cela peut il influencer sur la mise en route de la caméra. Depuis que j’ai mon laser , j’avais fait tout les réglages parfaitement en suivant des cours, mais depuis l’installation de cette caméra je n’arrive à rien.
Precisely, I had calibrated the camera with the honeycomb, and I removed it in order to engrave this object, which measures approximately 20Mm in height, it is only on the metal plate, and it is since this same plate that I did the alignment and calibration of the camera. Looking at your site and your articles, I may realize another problem. Having limit switches on my sculfun S30 PRO, my laser notifies me of an origin in 0-0 except with the limit switches my laser is not really located at this origin. Is this normal? Or could this influence the activation of the camera? Since I got my laser, I had made all the settings perfectly by following courses, but since installing this camera I have not been able to achieve anything.
How far away from the 0,0 position is the laser after homing? What position does it provide in the move window then?
In my opinion, the camera is a nice goodie, but really not essential for working. If you have defined objects you want to engrave on, I suggest taking a look at the method I describe here: Coordinate systems & workpiece alignment - Diode Laser Wiki (“simple method”) on how to position items without using a camera or something else. Personally, I’m much faster using this as many other methods. If you have many similar items, it makes sense to create a rig to place them in, then you also don’t need a camera.
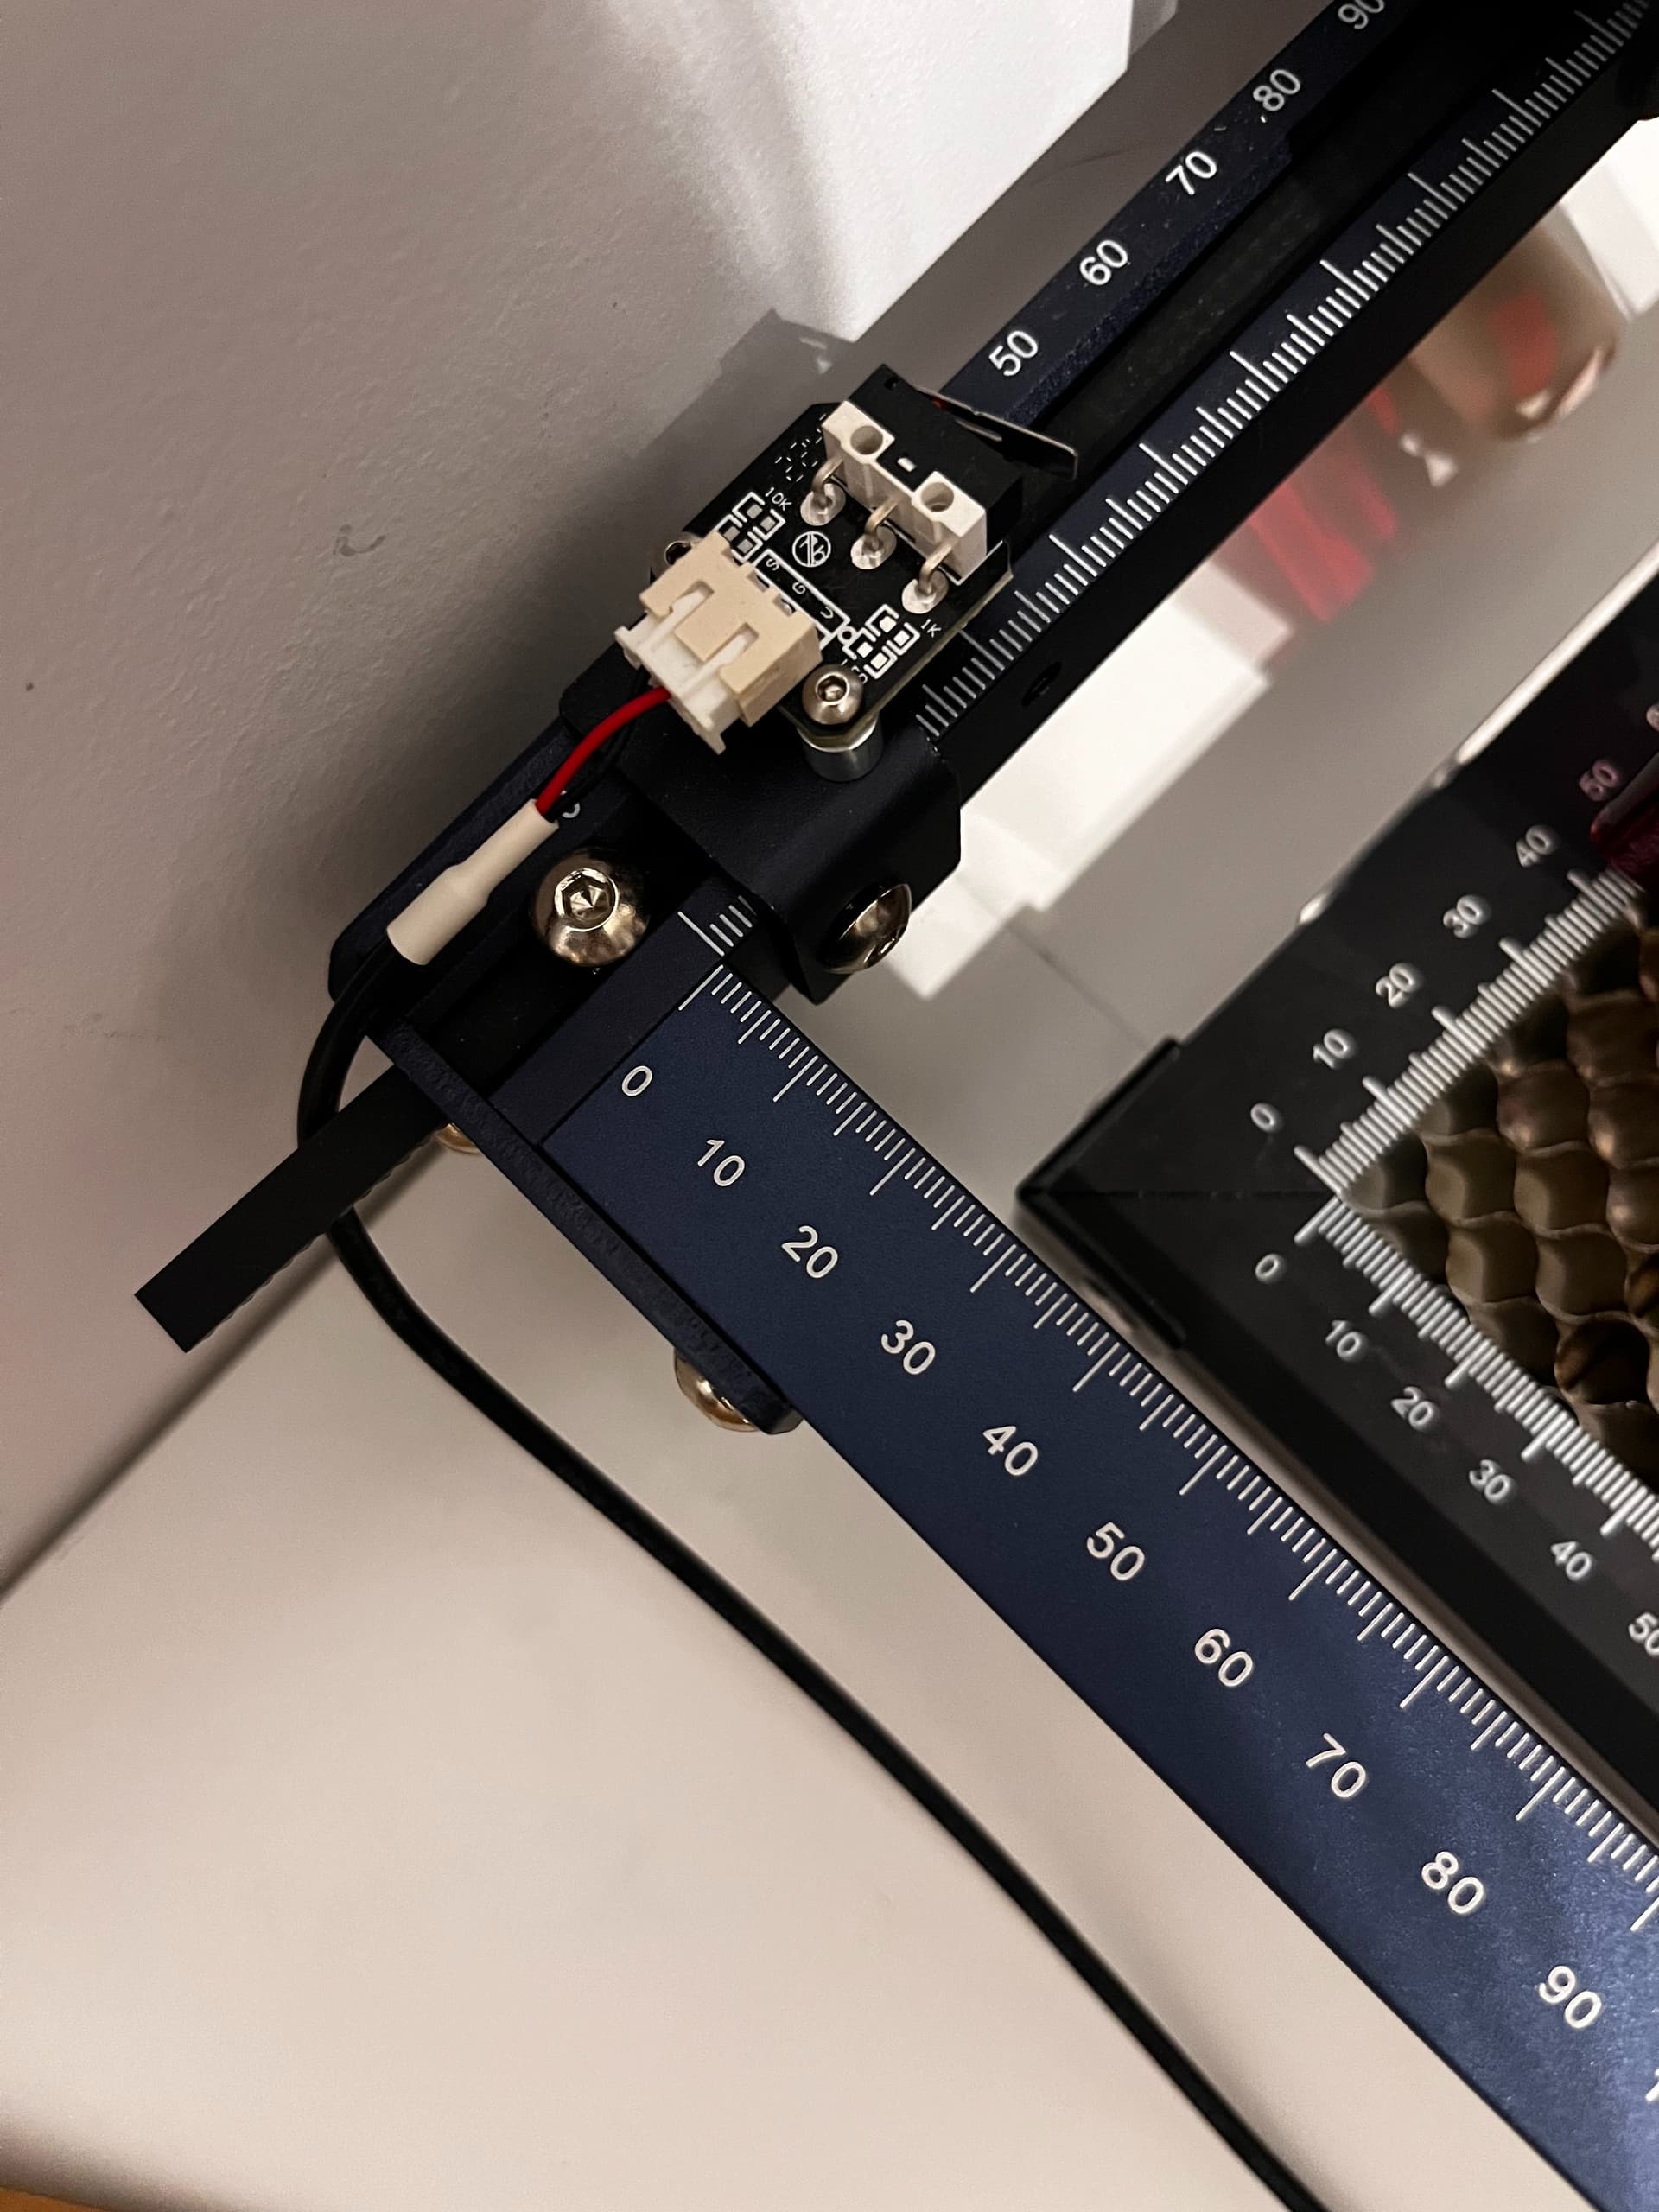
En mesurant je suis environ à 4cm du 0 en x et en y.
Mais voila en suivant , les vidéos que vous avez misent sur les interupteurs de fin de courses, dans la vidéo le décallage ce fait et aprés l’auto guidage ils optiennent sur la vidéo la position 3 en X et 3 en y et moi je n’est absolument pas ces reperès la. J’ai en origine 0 ; 0
By measuring I am approximately 4cm from 0 in x and y.
But here we go, the videos that you have focused on the end switches, in the video the offset is done and after the auto guidance they opt on the video for the position 3 in X and 3 in y and I don’t It’s absolutely not those benchmarks. I originally have 0; 0
Are you talking about the measure on the rails? You can ignore this, this has nothing to do with the zero-position of the laser. The zero-position of the laser is exactly at that point where the laser finishes after doing the homing cycle. There is no offset or whatsoever. In your picture, the laser is at 0,0. That’s absolutely fine and correct that way. If you like, you can put a piece of tape on the rail such that the scale does not puzzle you anymore.
The camera should see the point where the laser is now. It doesn’t have to see the rails or switches.