I’m cutting a lightweight fabric material and am looking for suggestions speed vs power and a question about not always burning through the material.
The laser i’m using is a 7w JTech laser running at 12.5% and 5 inches a min. I’ve also created lead-in cuts to minimize the initial burn through on the part. Overall I’m pretty happy with the results but I’d like to get it a little cleaner/less scorching and more importantly at my current settings sometimes it cuts perfectly but sometimes it doesn’t start to cut though the material.
Which usually results in less burning. Faster cuts and higher power or slower cutting and lower power?
More importantly at the current setting sometimes it cuts perfectly but other times it can take up to .10" before the laser successfully burns through the material and starts cutting the part. It only does this sometimes. Is this because I have the power dialed too far back?
Make sure your bed is the same distance from the laser head throughout its travel area, as focus changes can do this. It could also be variations in the thickness or density of the material. Usually you set power a little higher than necessary to account for this.
If you’ve not experimented with the perforation option, you may find a partial (or complete!) solution in that feature. I use Perforation on, 0.01 for both fields when cutting 3mm plywood. Without the perf, the edges are quite charred. With perf on, the edges are an amber color and no charring. I’m not sure how well it would work on thin material, but it’s an easy test.
I’ve just completed my second year of cutting fabric parts for a local company. Usually I am cutting several thousand pieces at a time. Like the OP I had issues with the material scorching, thereby leaving ‘ugly’ marks on the fabric, or not cutting all the way through the material. I use a vacuum system to pick up the parts so having incomplete cuts really slowed the process. Read what Oz wrote - it is important. Here are some other things to consider.
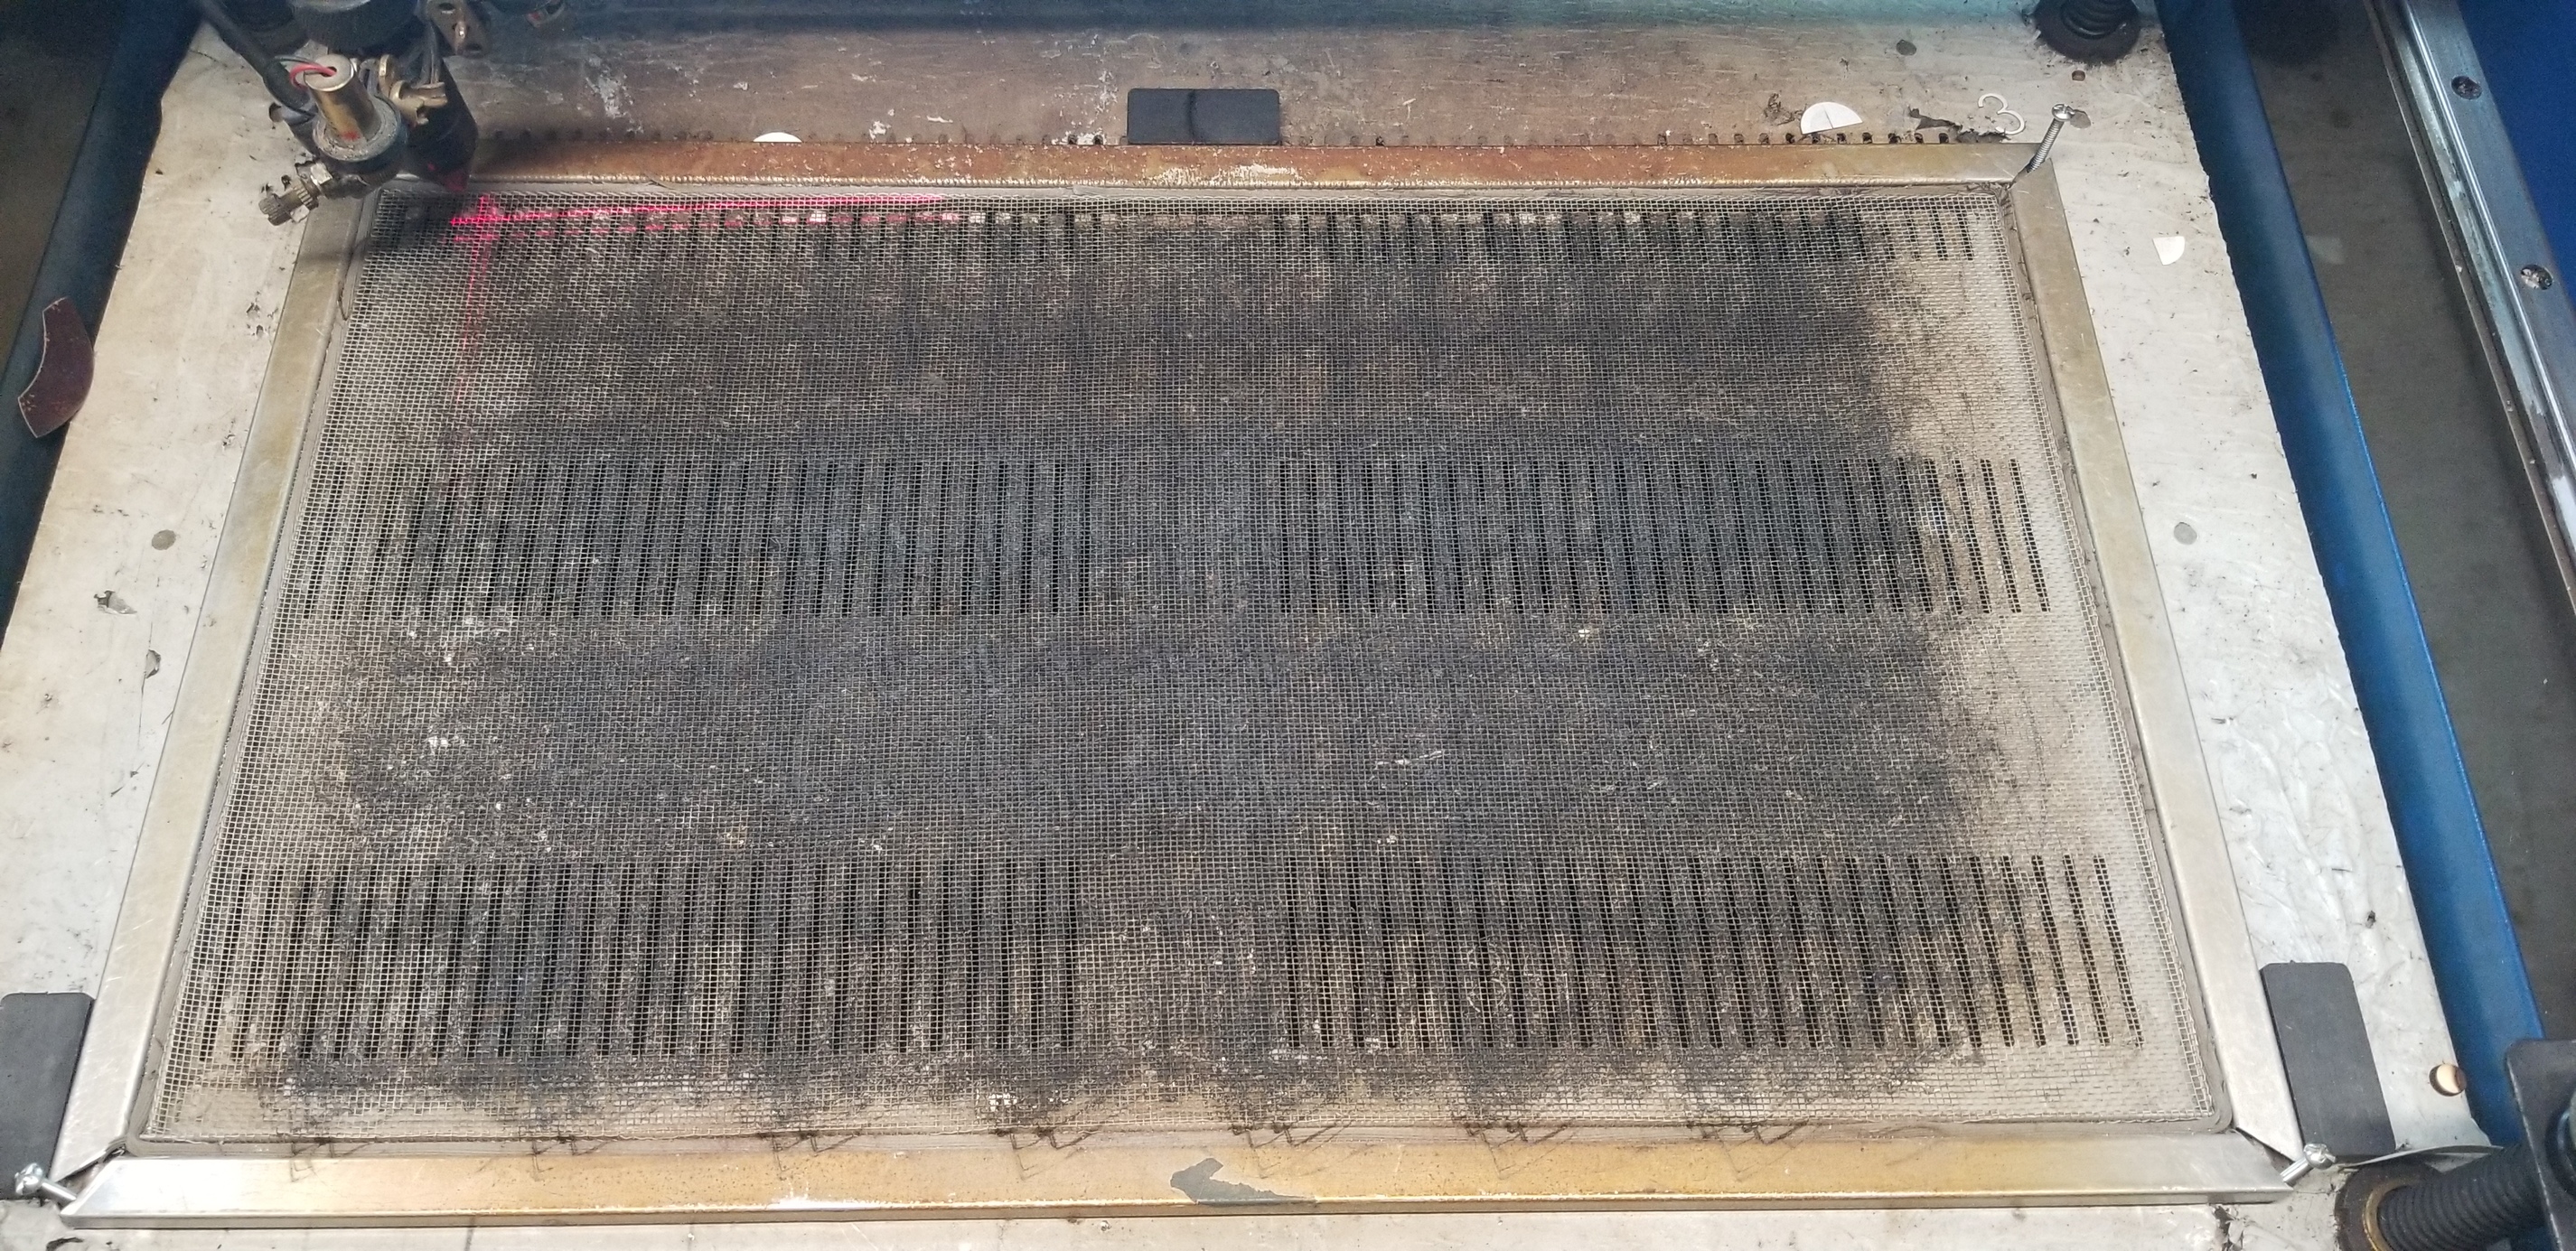
I have never been able to get ‘unscorched’ parts while the fabric is on the bed. Pins did not support the material well enough to keep the fabric flat and they reflected too much of the laser energy when under the cut line. I crafted a bed out of a window screen frame and aluminum window screen. Once the screen gets “burned in” there is no scorching on the underside of the fabric.
I found that a single pass of the laser was inefficient. In order to get a complete cut, it was necessary to overfire the laser which meant that I was getting a lot of reflection on the underside of the material. Instead, I experimented with the laser power and speed to determine what was necessary to get good cuts most of the time. I divided this power setting by 2 and multiplied the speed by 2.35 and then ran two passes. (The setting in Lightburn is under the Layer window - Number Of Passes) Wala – unless something else goes haywire I get complete cuts without scorching almost all the time.
The double cut also helps because it’s nearly impossible to ensure the fabric is perfectly flat on the screen. Any variation in the distance between the lens and the fabric is usually taken care of on the second pass of the laser.
Not all fabrics cut the same. Gold fabrics seem to take more power and less speed. Red fabrics tend to cut fast and hot. Poly fabrics do not require near the amount of power as cotton.
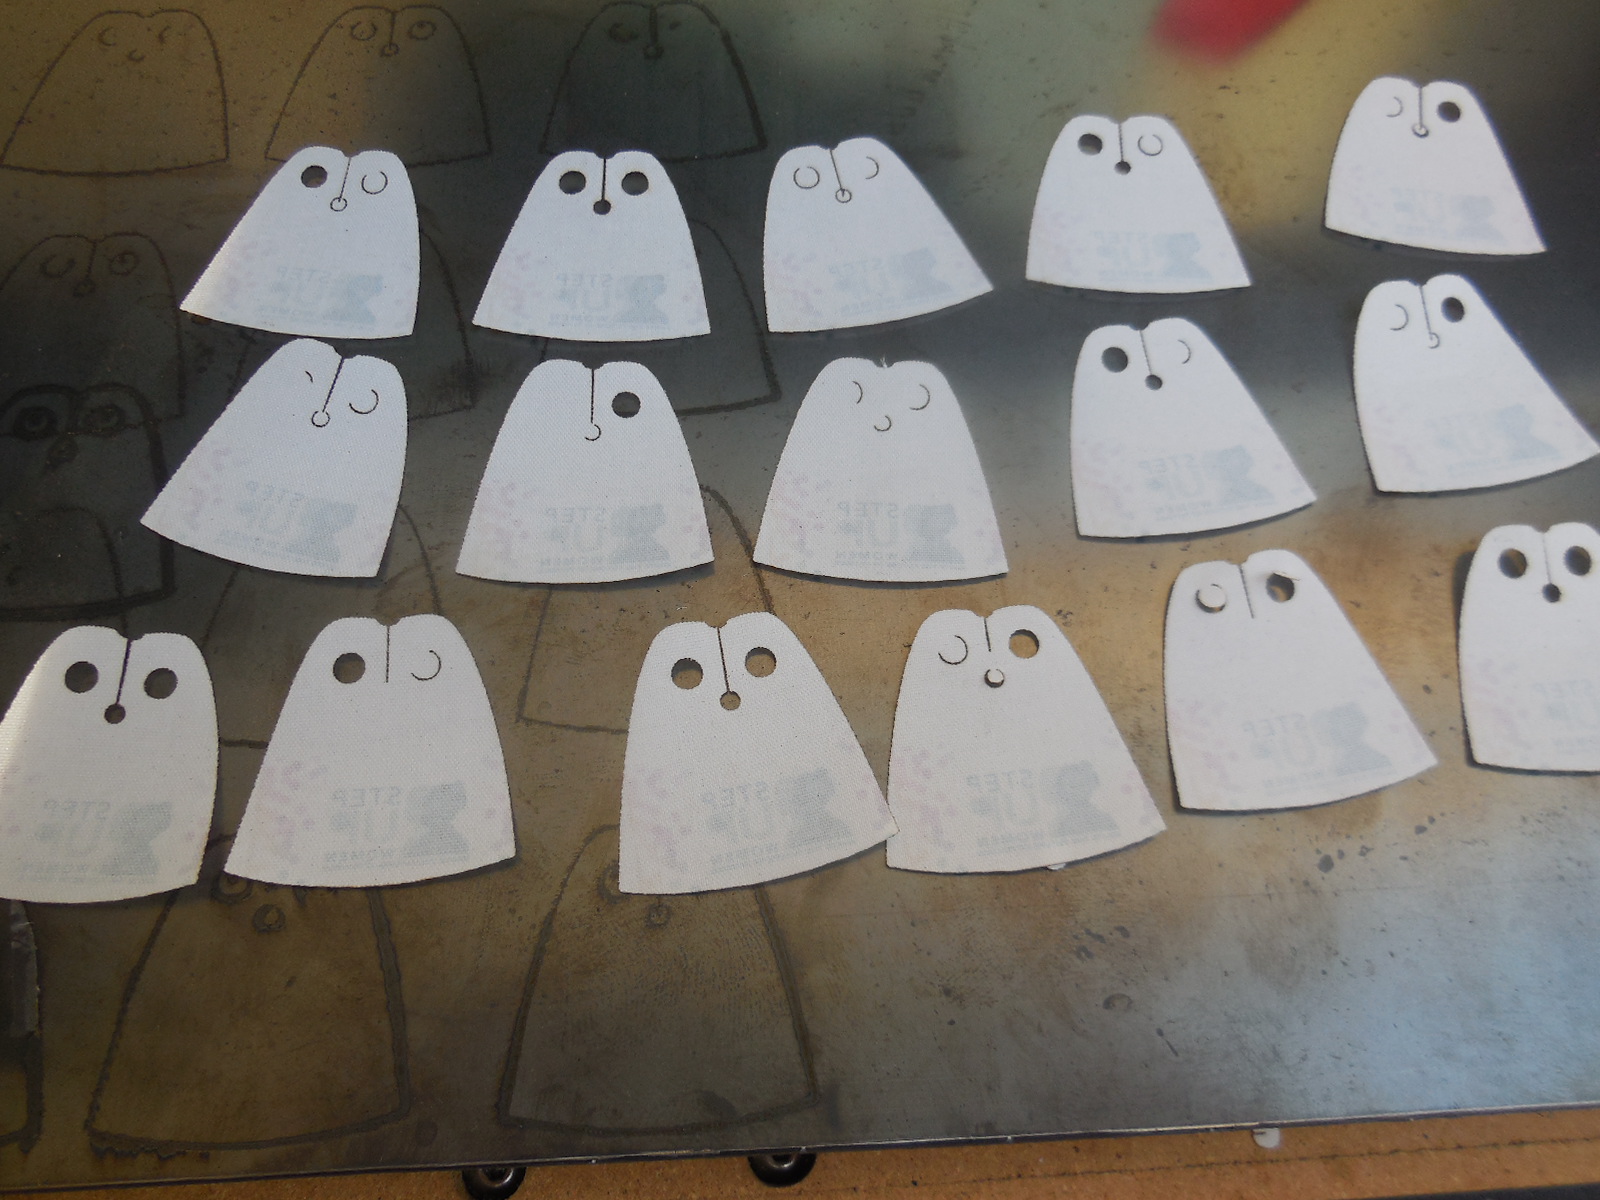
The cuts in the picture that you posted look very familiar (been there, done that!!) I cannot tell you what caused the partial cuts but I am very used to seeing the same thing happen. I would definitely advise you to get the fabric elevated above the bed of the laser. Even using a piece of sacrificial felt under your finished part will help.
Thought I might add a picture of the screen I mentioned in my earlier post.
The screws in the corners are so I can adjust the screen to keep it ‘level’ with my laser head.
I have a redsail clone 60 watts. My power supply failed some time ago, slowly, requiring that I gradually increase power to accomplish projects. At the time of my post, it was on the way out. Now that I’ve replaced the power supply, I no longer have to use perf mode. It was suggested somewhere on the world wide net that using perf mode is damaging to the power supply. With the new power supply, I get no charring on the edges of 3 mm birch ply.