I was wondering if someone could please show me how to “pocket” in acrylic.
I need to make a jig using a 3MM acrylic sheet but the material that goes into the jig is only 1MM. I have done pocketing in Fusion using the “extrude” option with a set depth, but I’m not sure how to do that in Lightburn?
Because laser beams don’t have a depth stop, you’re basically stuck with trial-and-error to find the depth corresponding to a specific power / speed / material combination.
Obviously, the depth is not linearly related to the gray level, so be prepared for plenty of testing.
The bottom of the pocket will be rougher than you (probably) want. You may be able to optimize the line interval for better results, but a glass-smooth machined surface is not gonna happen.
So, it’s possible to get a pocket, if the specs will accept what a laser can do.
I think I understand the concept. The wood example seems to have a much smoother result than the acrylic. What settings would you recommend to achieve a flatter finish in the acrylic? And is it better to use lighter power but multiple passes or single pass with stronger power?
I think more passes with less power will produce a better result, but a few Material Tests should explore the tradeoffs.
Two (or more) passes with different directions, perhaps using a cross-hatch fill, should knock down the high spots better than plowing the same field in the same direction.
However, using Offset Fill is probably a Bad Idea™, even with a subsequent raster fill cleaning the bottom, at least for odd shapes where the offset paths get compressed:
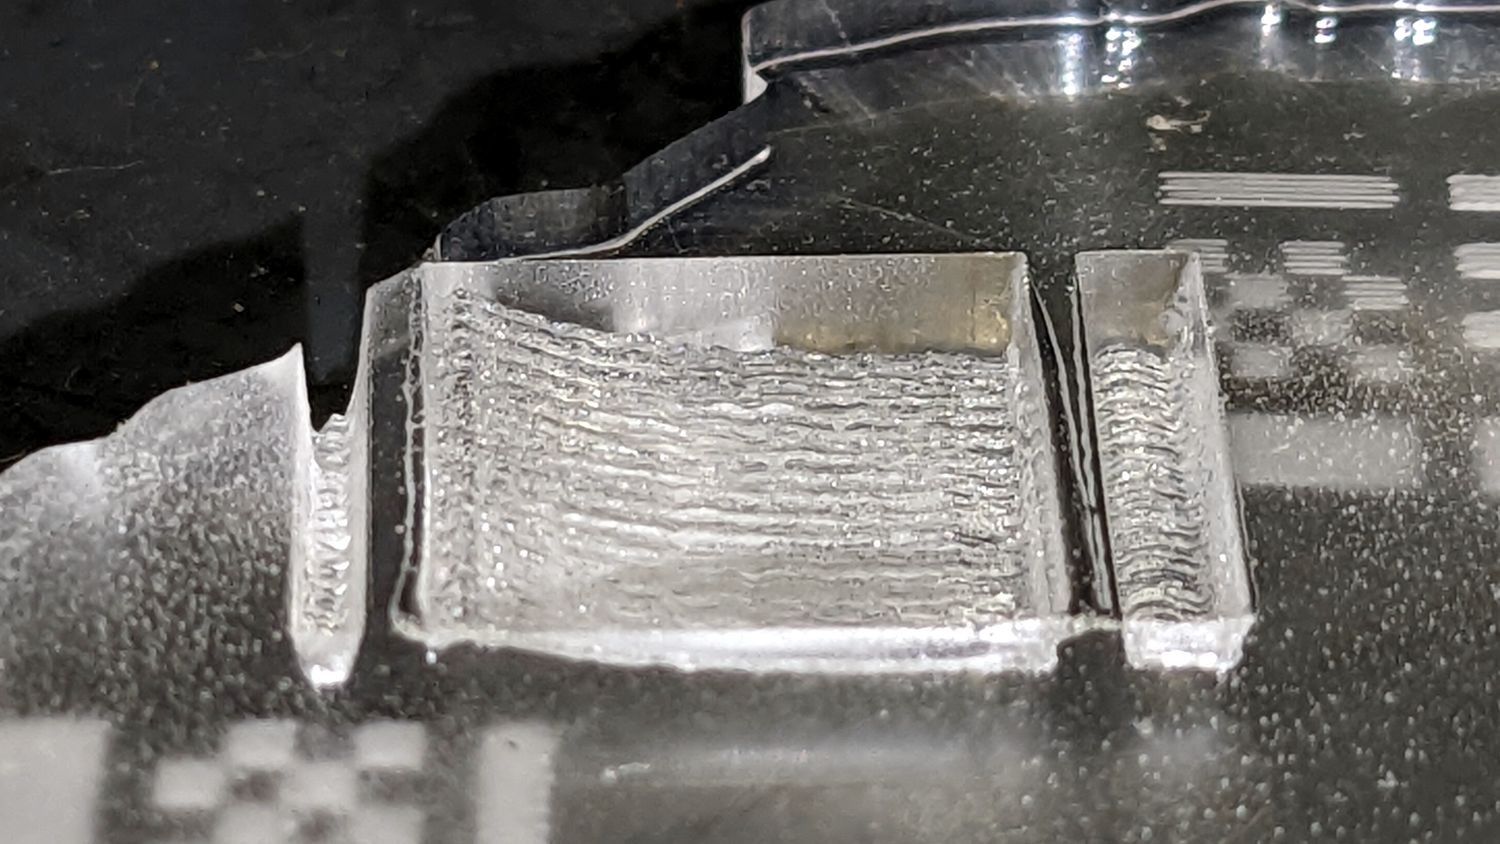
That earring has a rebate around the rim on the other side to hold a “gold tone” ring, which sports a conspicuous serration from the raster engraving:
The line interval is surely more critical than I give it credit for, but I just used the same 0.15 mm that works with everything else.