HI all
After a few weeks of torture with my totally stuck post. I am back up and running.
But straight off made a bit of a mess with a slate coaster.
Is there a way to get the surface back to a pristine blank to start again, or is it destined to the BIN?
Regards
Kevin
Perhaps a photo of the slate would help. How deep has the engraving reached? I assume you’d have to physically abrade the full surface to get back to a clean slate (not sure if this counts as a pun). But how you do that would be the question.
If you search around there was a thread on this about a month ago. The solution was to sand it, but I don’t remember the specifics. Look for ‘clean slate’ or something like that.
See:
Yes there is a way, it was my post, i used an orbital sander and in about 30 mins i had the slate back quite as in the origin, just more smooth on the surface.
If i remember correctly it was 30 grit then 100 and 120.
But I maybe wrong my memory is not the most reliable
Hi all,
Thanks for all the replies.
The best answer seems to be (in my case) 80 Grit oscillating sander followed by some320 Grit.
I was a bit worried it had turned out pale and uninteresting, but a wash in water and an hour of drying seems to have sorted it out.
I had used the messed up tile for testing power and speed so I had some different depths of cut. None of which seemed measurable. But I had to run the grit 80 twice before all traces were gone.
On the subject of depth, I tested with my nail and could find no discernable edge. Under the microscope, I could see that power at 60% looks golden but the 80% looks light grey/blue. The laser is 15W allegedly. I’ll try and get a snap if I can and post it here.
Thanks again for all the comments and suggestions.
Lookout I have another question shortly.
Regards
Kevin
Hi Kevin,
I realize that this is a little old.
However, I also run a 7w optical diode in addition to others.
When I run on slate I use a quick coat of rustoleum “chalked” clear coat matte. It allows my to run much faster with more contrasting results.
When I add a new material I go through a process of testing with different options and record my results, then I take a picture and file it. This helps me dial in the desired result when I am working on a piece which has no mistake allowed.
Merry Christmas.
Hi Projects4Missions
Thanks for the reply.
Not actually sure what rustolium is! Is it like UK’s WD40 a rust easer/lubricant?
Anything that speeds slates up will be a bonus haha… just finished one a few minutes ago, took One hour forty-seven minutes.
Also, all the run has come out in GOLD colour, anyone has any ideas on that.?
This is that recycled tile I have earlier cleaned up.
Regards
Kevin
Also Happy Christmas
Noooo.
Rustoleum is a brand of spray paint available here, you can use anything clear coat.
My prefference is a matte finish because I want it to still look like a natural stone and less like plastic with glossy finish.
Try it out on some scrappy piece and double your speed, that was about a good start for my case.
I think I did about 3 40cm tiles filled with power/speed array to compare. It was very useful in my case. The main point though is to make good notes on exactly what you use so that you can duplicate it some other time. I keep a book/file of test settings to make life easier.
I’m sure that they have something clear coat aerosol spray at the Brico or something that is cheap. Start with the cheapest stuff, then compare it to pricey.
Useless trivia: Rustoleum brand started sometime ago with a paint product which (if my memory serves correctly) had extra zinc in the finish and a chemical (name eludes me) which etches bare steel metals for a better bond and superior corrosion protection. They used in ships and structural steel. Obviously they kept the name even though almost none of the product they sell uses anything close.
-c-
Hi Projects4Mission,
Thanks for the information, I’ll add it to my increasing reading list to follow up.
So much to learn, so little time haha
I am also looking forward to trying tiles with paint on them (Norton method??) That looks like good fun getting photoes on tiles.
Regards
Kevin

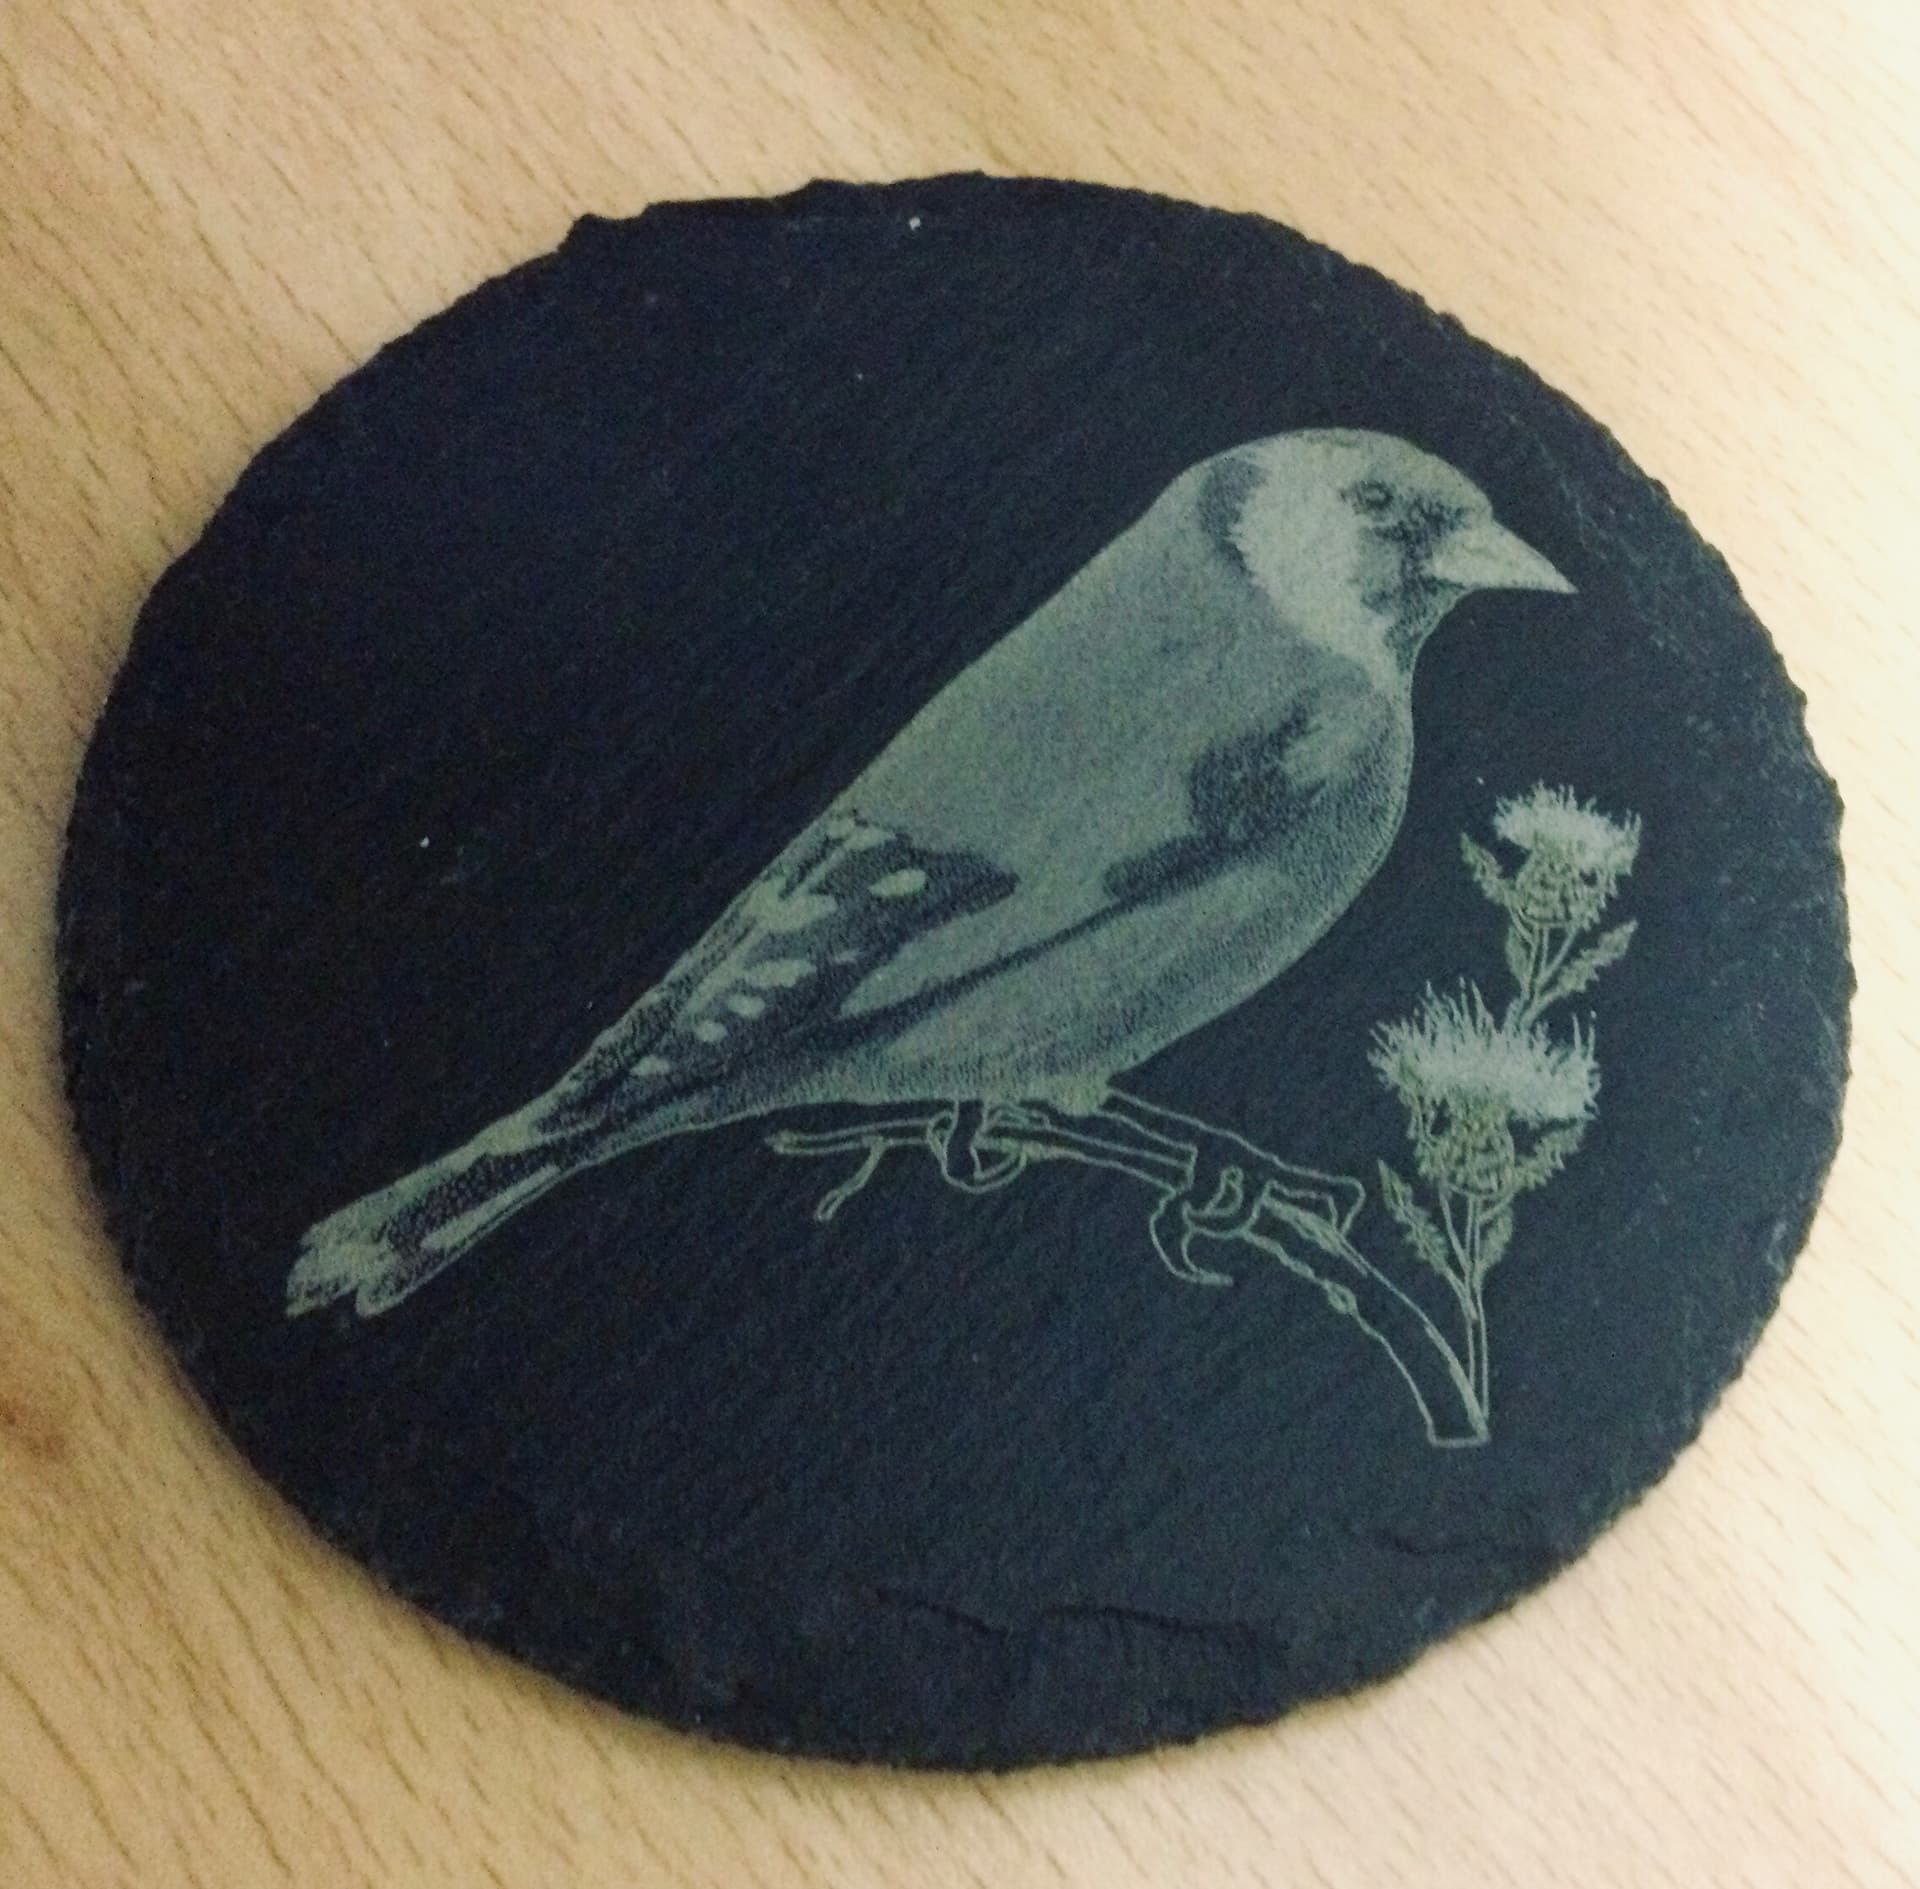
that looks just like some of the slates I have engraved, with the settings too high. If you turn down the settings you should get a white engraving. If you reduce the power still further the white becomes more and more grey. Lines will always require less power than fills to achieve the same ‘intensity’ of white - check the goldfinch’s feet and the branch compared to the fill areas on the body:
Re the original question, I have re-surfaced some slates using an orbital sander. Dust extraction is really needed, and I used 80, 120, 320 discs, followed by 600g wet and dry used by hand to get rid of the visible scratches. Of course, it leaves a smooth surface rather than the riven surface of the original slates, so it wouldn’t be any good for, say, one coaster in a set of six. But it does result in a more contrasty image.
Very nice gray scale on this! Looks like you’ve got the parameters dialed in nicely!
What are the details (Laser power, cut settings, image settings…)?
It’s a 90 watt laser. I’m not at the workshop today so can’t check the file for exact settings, but my rule of thumb for these is that the lines are usually 8-10% power at 250 to 300 mm/s, and the flat fills are 10-12% at around 150-200 mm/s. Some of the filled areas are actually bitmap images superimposed on the Lightburn drawing - I choose a high quality dither (can’t remember the name of it!) and set the power to min 7.5%, max 12%.
It sounds almost as though I know what I’m doing, but in reality all the different designs I’ve done have needed a bit of experimentation before it looks decent.
Hi Newlands,
Nicely done Finch, That’s what I hope to be able to master in time.
TomWS beat me to the question.
Thanks for the answer on settings,
Regards
Kevin
Well, you sure nailed this one. Good job. Looking forward to your specifics, but no rush. For Finches, I have until Spring ![]()
Thought I’d resurrect this thread again with a similar question.
I recently bought, at a really good price I thought, some square slate tiles.
When they arrived they all have a logo on the back. Duh Wasn’t mentioned in the sales pitch…
So the question is. What is the best way to remove this logo?
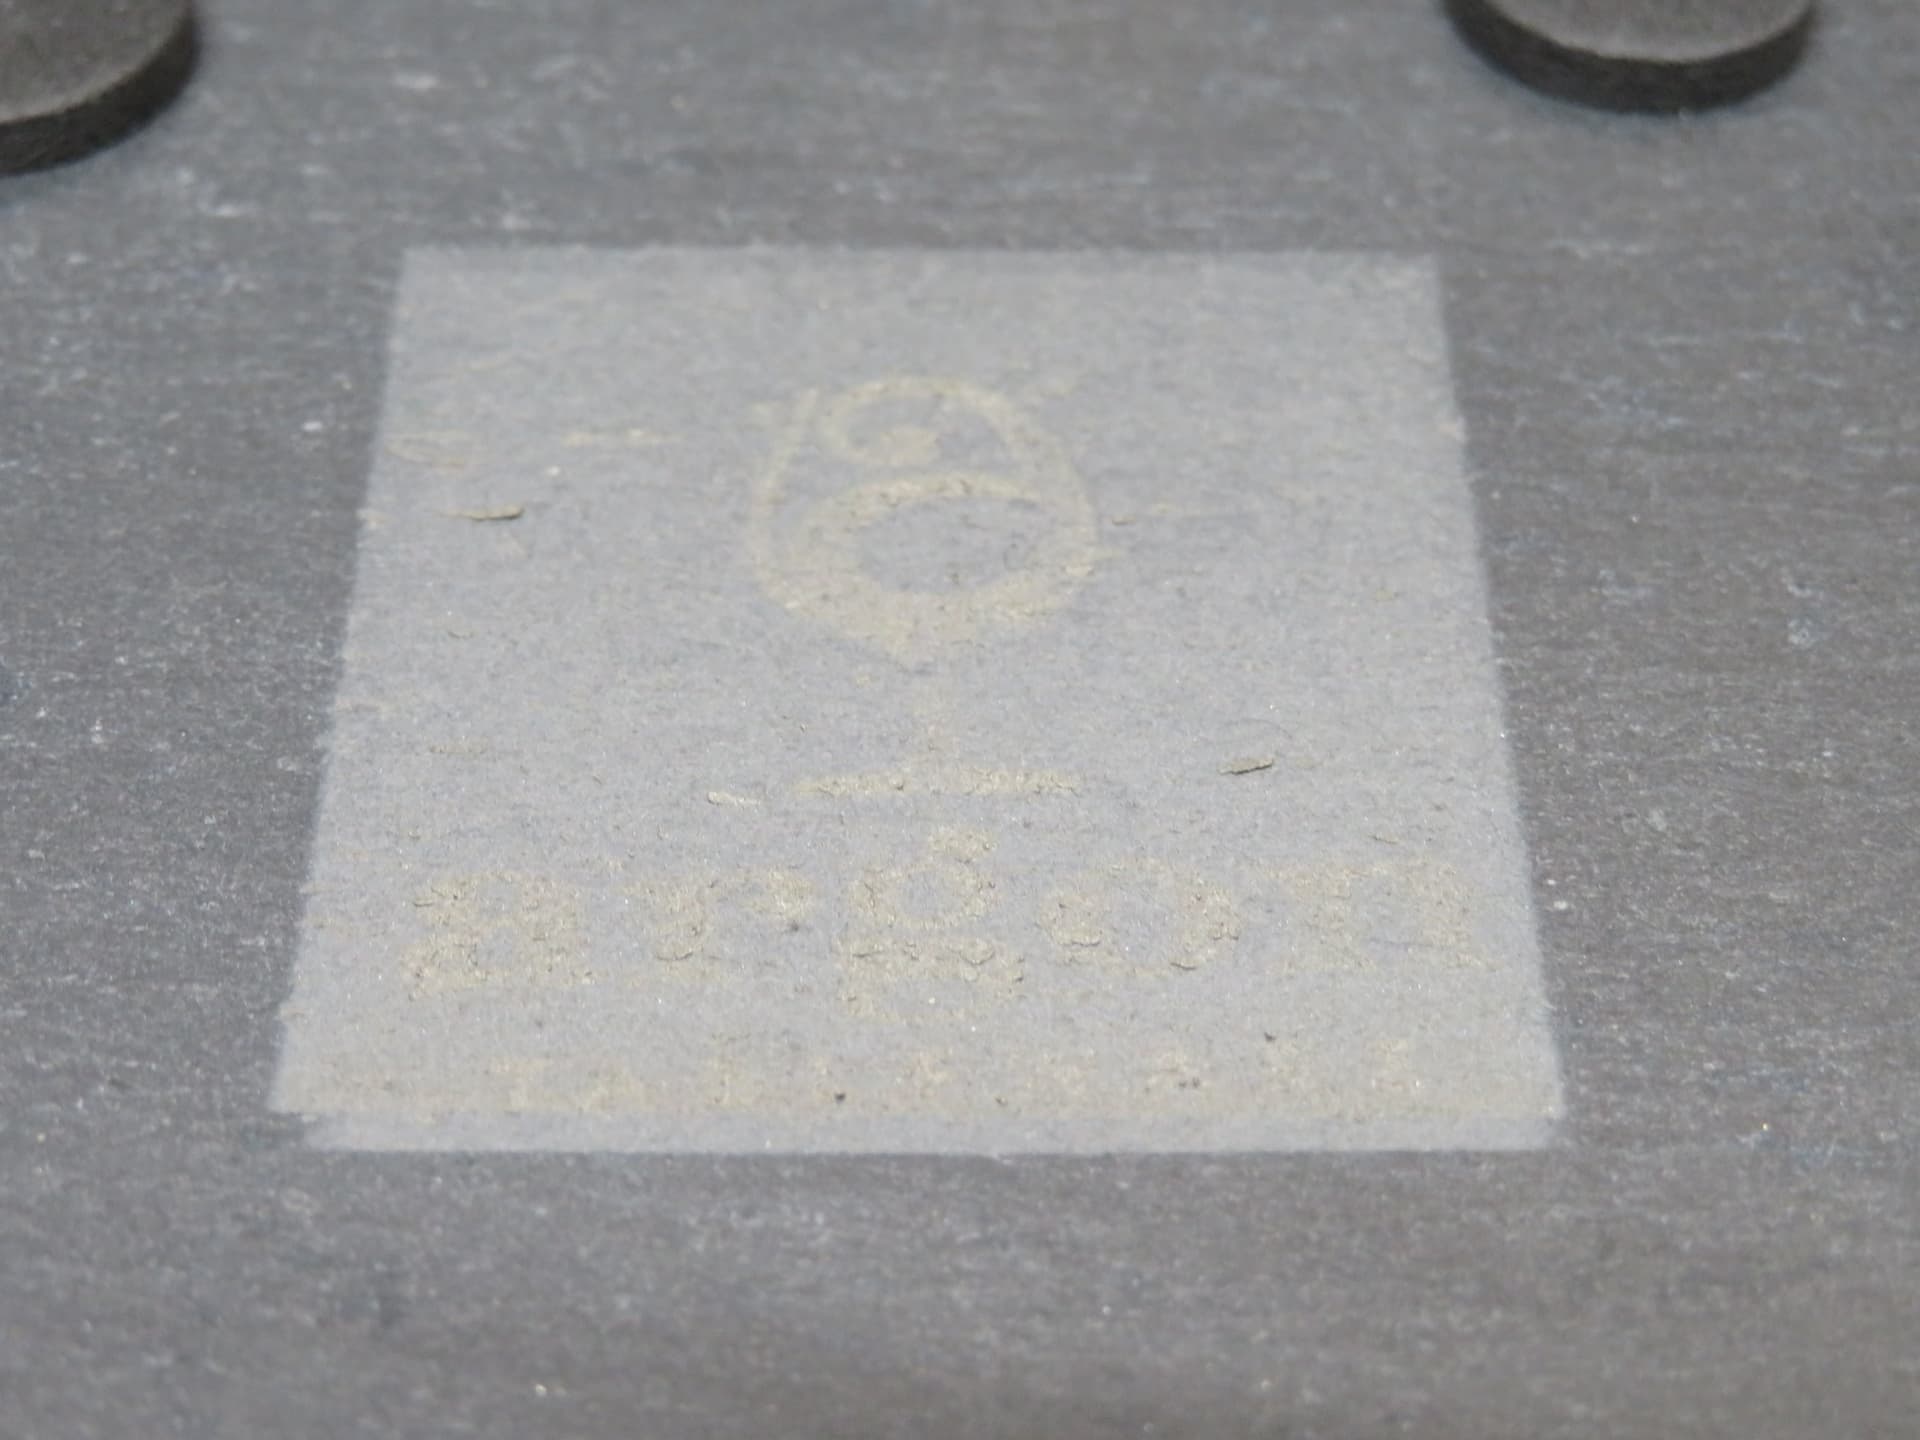
I’ve tried an overburn, but have a feeling they may have been chemically etched.
My overburn is a ‘square’ with fill. But it’s taking at least 4 runs at it and is very slow…
Do you think we are talking Dremel time with a small sanding disc?
Any ideas will help.
Regards
Kevin
Can you upload some photos of the logo and what it looks like with the overburn? Will give people more information to work from.
With a sandpaper, manual or with orbital, you can delete this