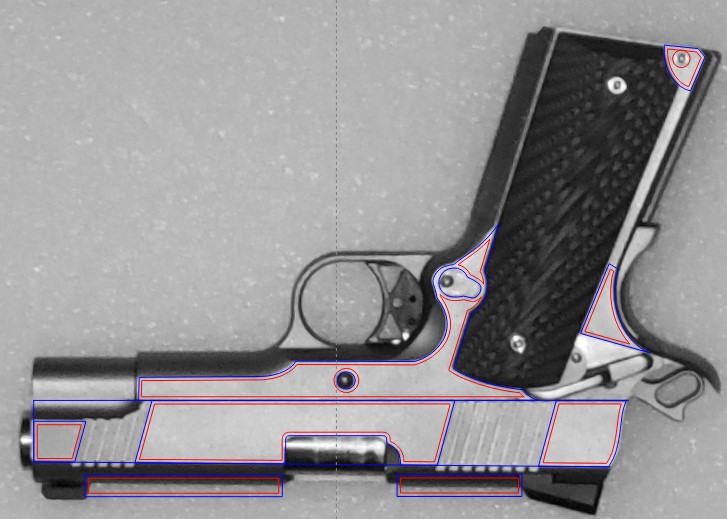
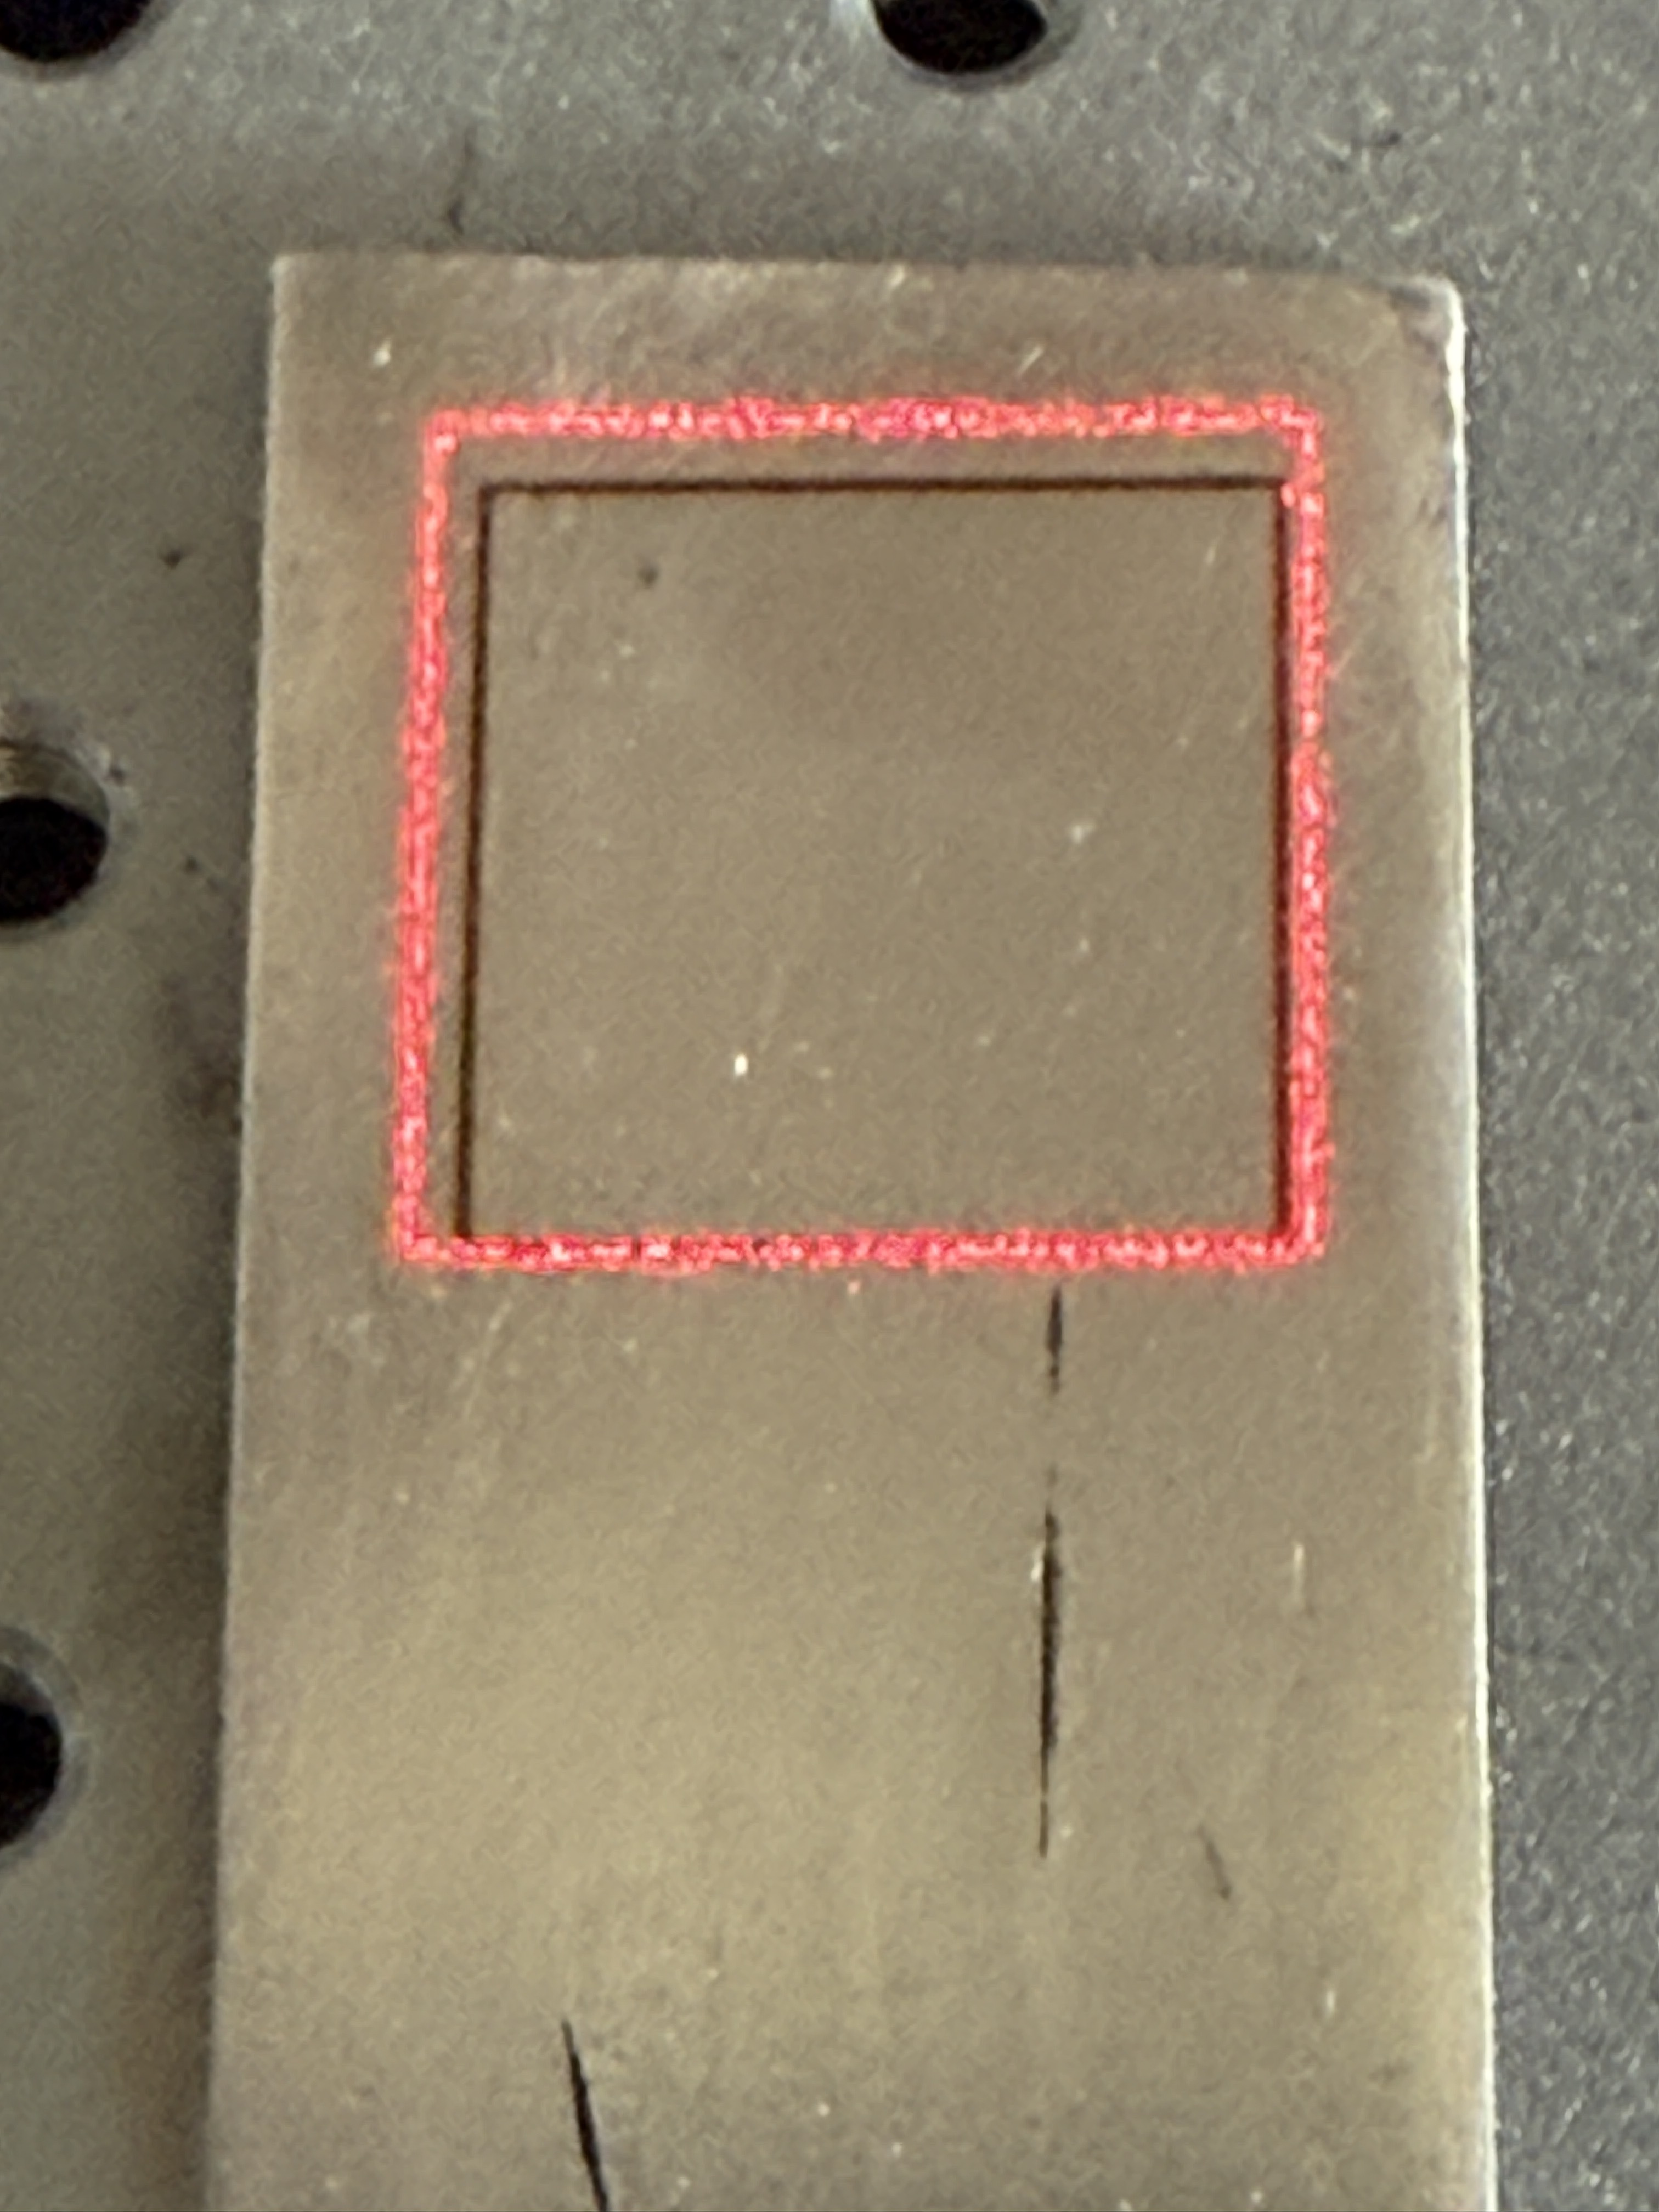
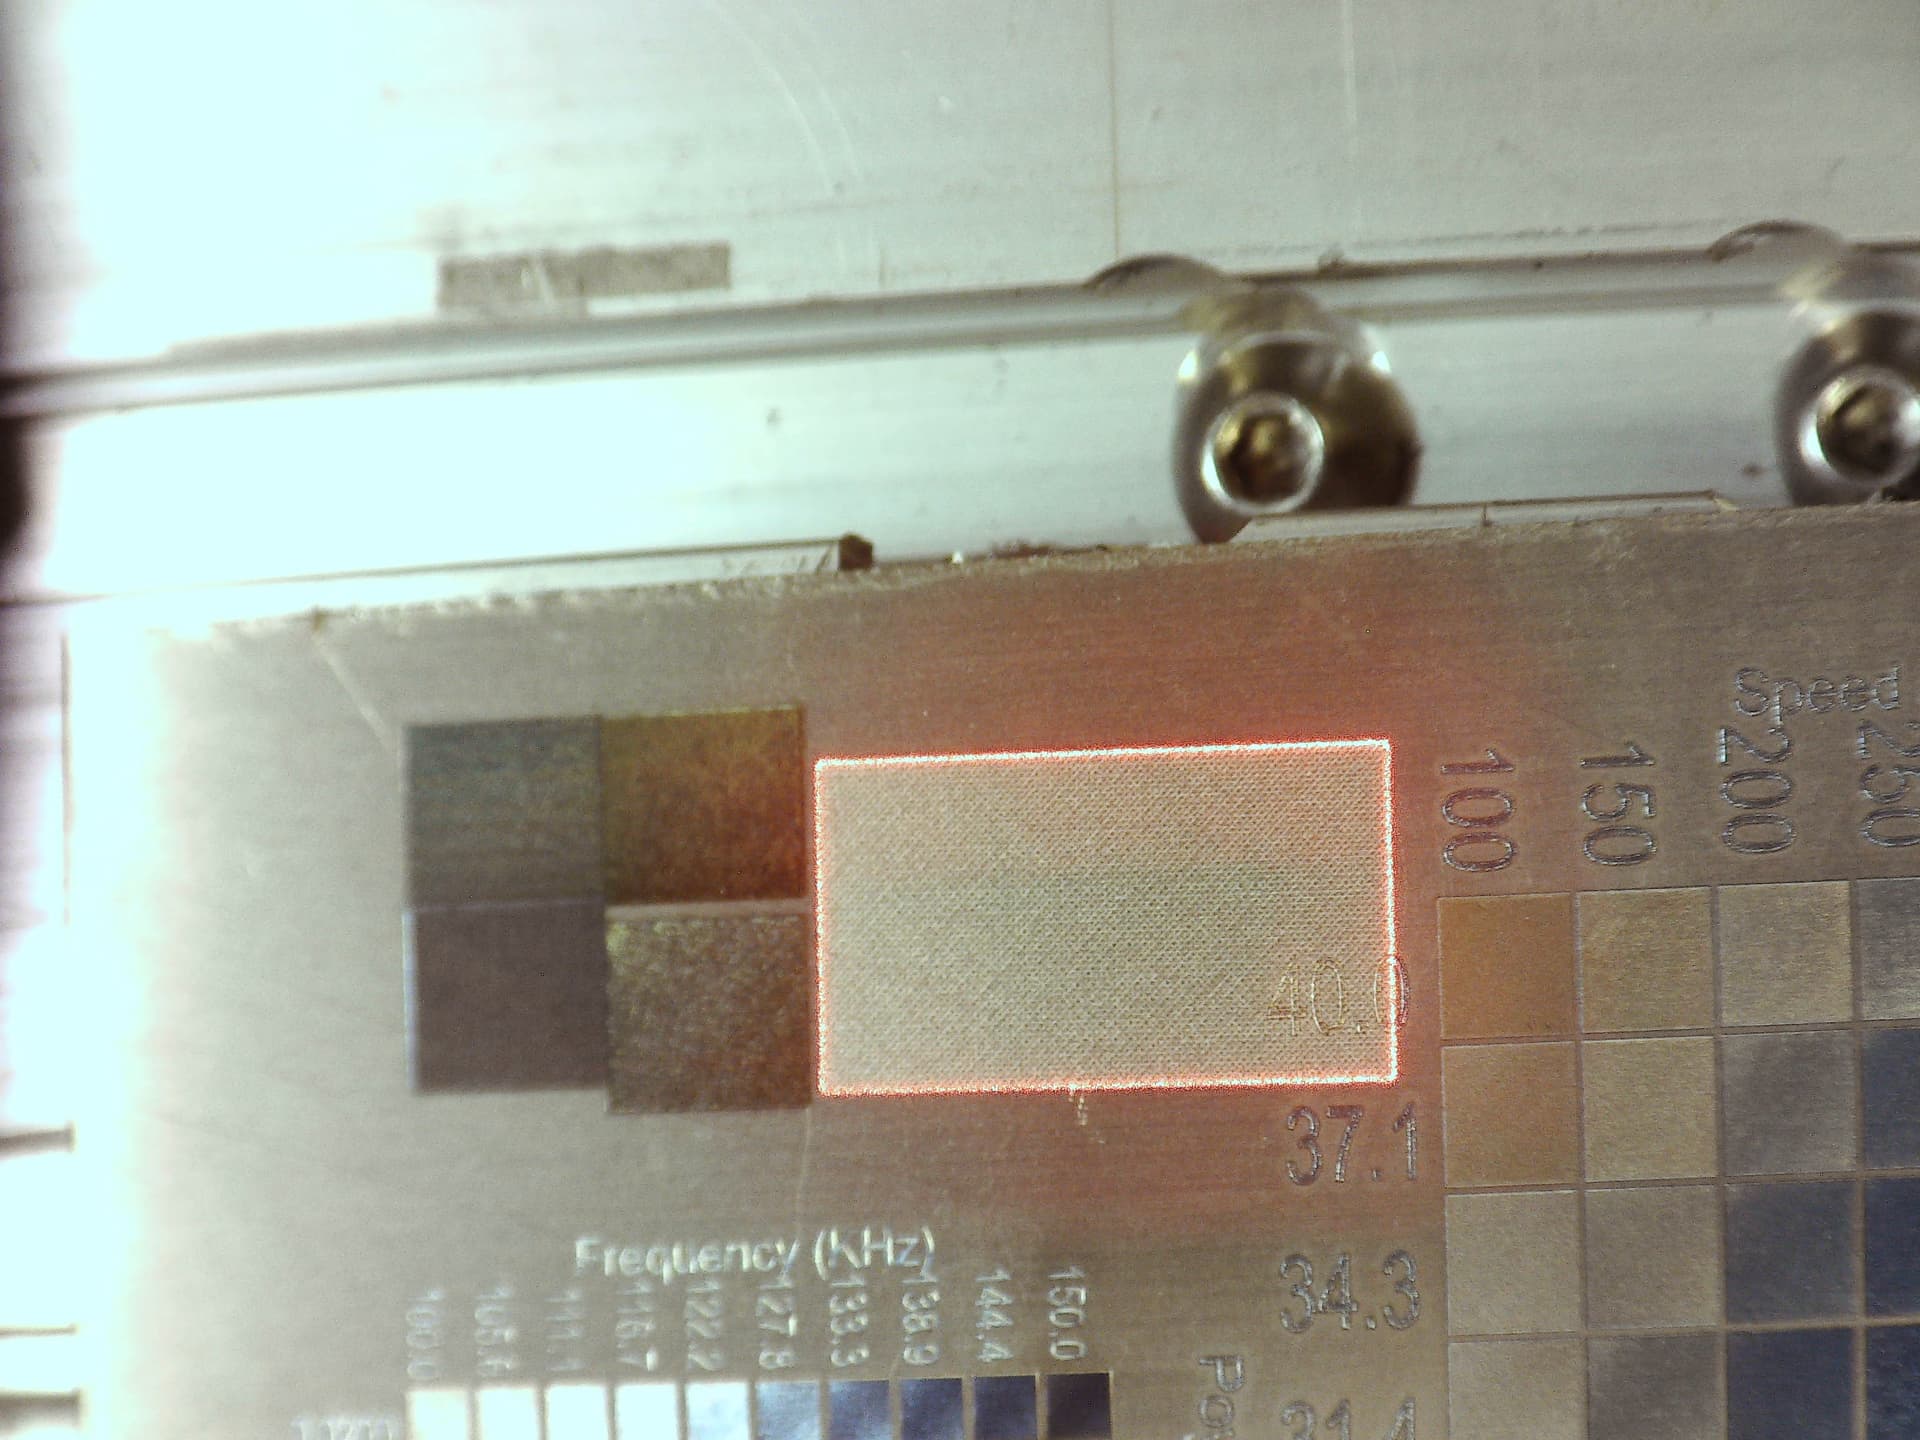
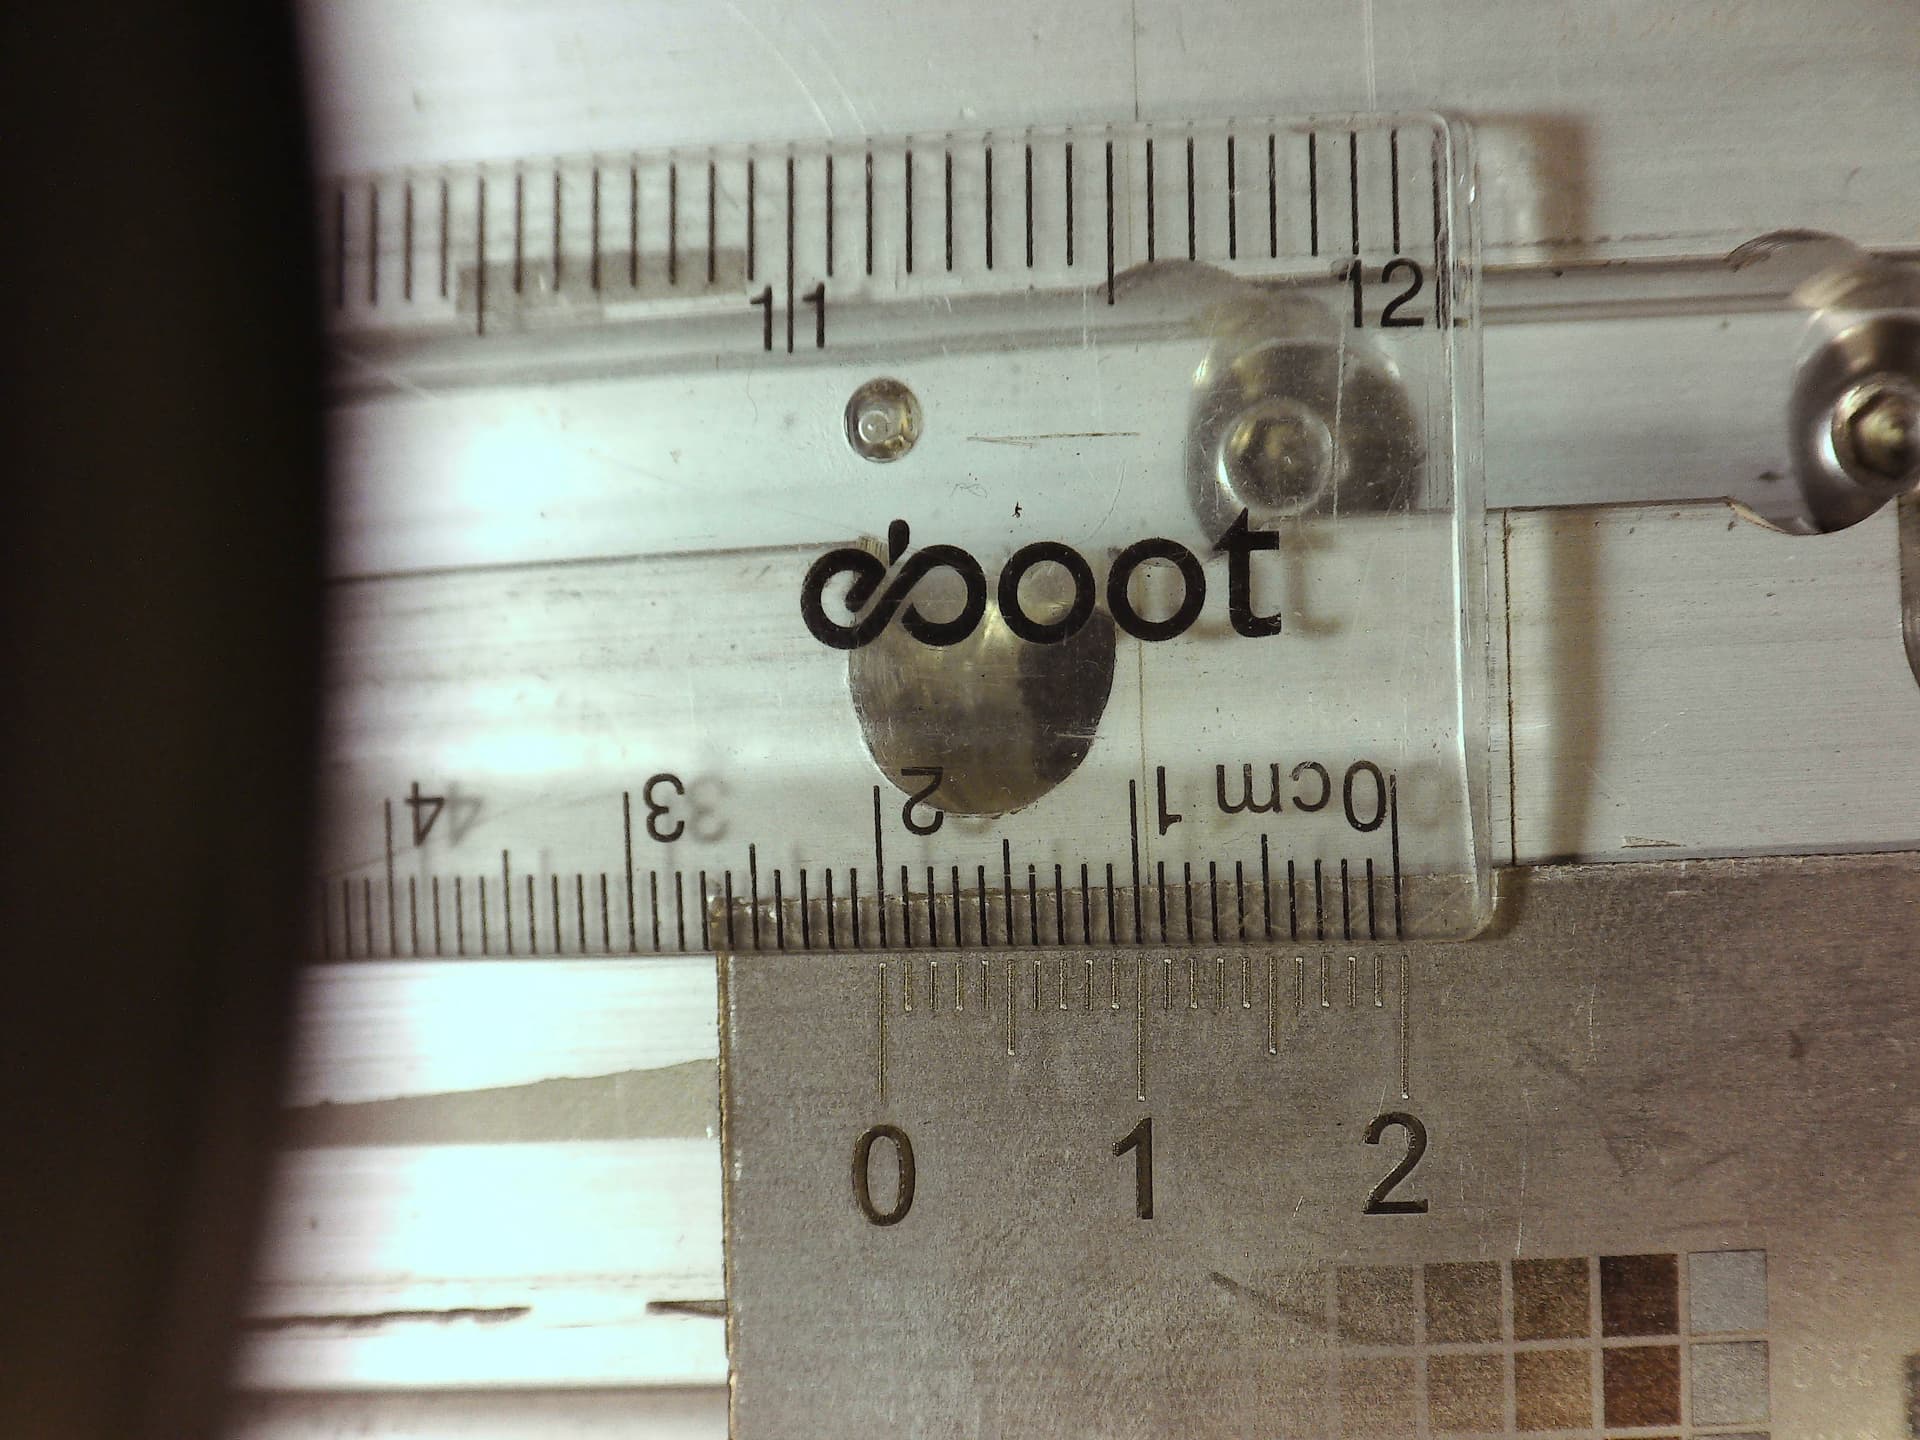
I’ve adjusted the framing several times but it keeps getting off. As you can see from the pics, it’s definitely off. I’ll have to sand blast and re-coat it.
I used a test piece for alignment before engraving.
I hope there is an answer to this because I need to trust the framing to be spot on.
Thank you.
1 Like
That’s a bummer. Galvo Framing - LightBurn Documentation
If you set your power to 1% you can run the project and see if it looks like it’s going to work.
Ahhh, very wise. Simple things you don’t think of.
If you sprnkle with baby power 1-2% will leave a removable marking iirc. When I was doing some stainless I glass bead blasted first, 2% would just make a mark that would go away with a little more bead blast.
Try to set up a reference test as a baseline with known software settings, so you can better determine if the drift is software or hardware related - here is one way to do this;
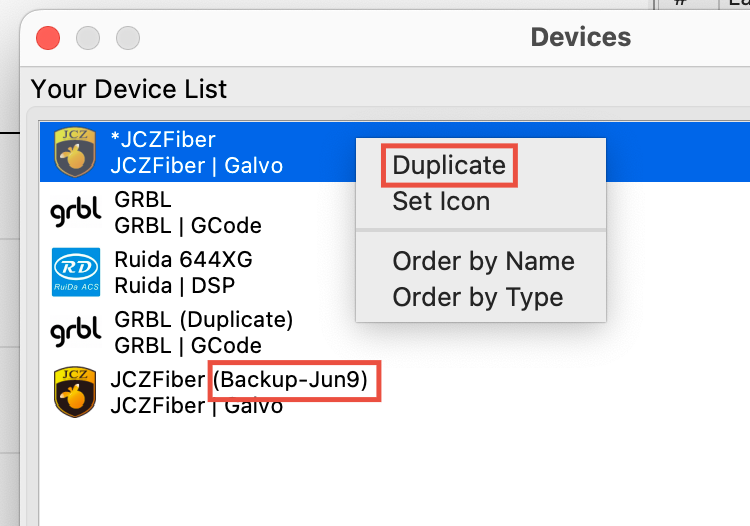
-After re-calibrating the framing, right-click and ‘Duplicate’ your device and rename it so it becomes a saved “snapshot in time” of your device settings (see pic below).
-Switch to the duplicate device and save the red light test file you used for the calibration with as similar name such as “Red light framing test-Jun9”.
-Switch back to your normal device.
Now, if you ever notice an unexpected red light drift you can easily switch to that previously duplicated device and run the associated framing test file again knowing that the same software settings will be used.
1 Like
Interesting, I’ll give it a try. Thanks.
I keep adjusting the red frame and every time I try a test, it’s back to where it was before. It won’t stay corrected.
Any help?
I just tried on a computer not connected to laser, seemed to work. Are you 100% sure you are closing out of the settings window with the “OK” button and not the “X” ?
Try changing a jump setting or one of the other settings and see if that sticks.
Yes, I used the ok button. I just can’t figure it out unless it’s a laser problem.
Did you try changing a jump or lens correction and see if those stick?
It sounds like you are successfully adjusting the offset to apply the correction - which involves setting the new (Red Dot Offset) values, and testing it to confirm the correction works.
But then later the correction is lost?
…does that mean the Red Dot Offset values are back to zero when you go back to them? Or the position of the framing has moved somewhere else?
Jump settings?
Just asking if you have tried to change any other settings that revert back. If I understand the issue, once you make the corrections and hit “OK”, the corrections work, but later after a restart or new file “Device Settings>Red Dot” reverts back to default. So I want to know if any of the other settings on the Device Settings window behave the same way, you change them, but they revert back.
I finally got it to frame a square correctly. But, when I start a new file, it’s back to being off pretty much the same as the square was.
I’m pretty sure none of the other settings change.
When you start the laser and the little red dot appears, does that position have any correlation to framing?
That red dot comes from 1 of 2 places, a combiner in the path or the laser module itself if you have a dash-R at the end of the laser’s identification and the build was set up to run that way. (A lot of -R setups use a combiner anyway just because they are use to building them that way I guess.)

When my laser is first started, seems like the dot just centers up. Corrections and Rest Position don’t start until framing, at least on my laser.
Rest Pos is where the dot jumps to when the burn or framing is over. If I am using the camera, I’ll park it off the side, if I’m using it for positioning, I’ll leave it at 0,0.
Can you make a video of the redlight marking a square, burning a square, and then back to framing to show it loosing the calibration?
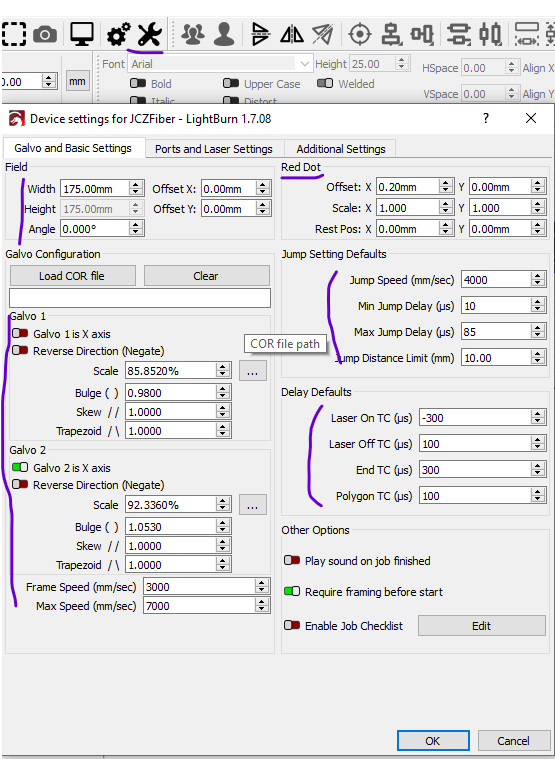
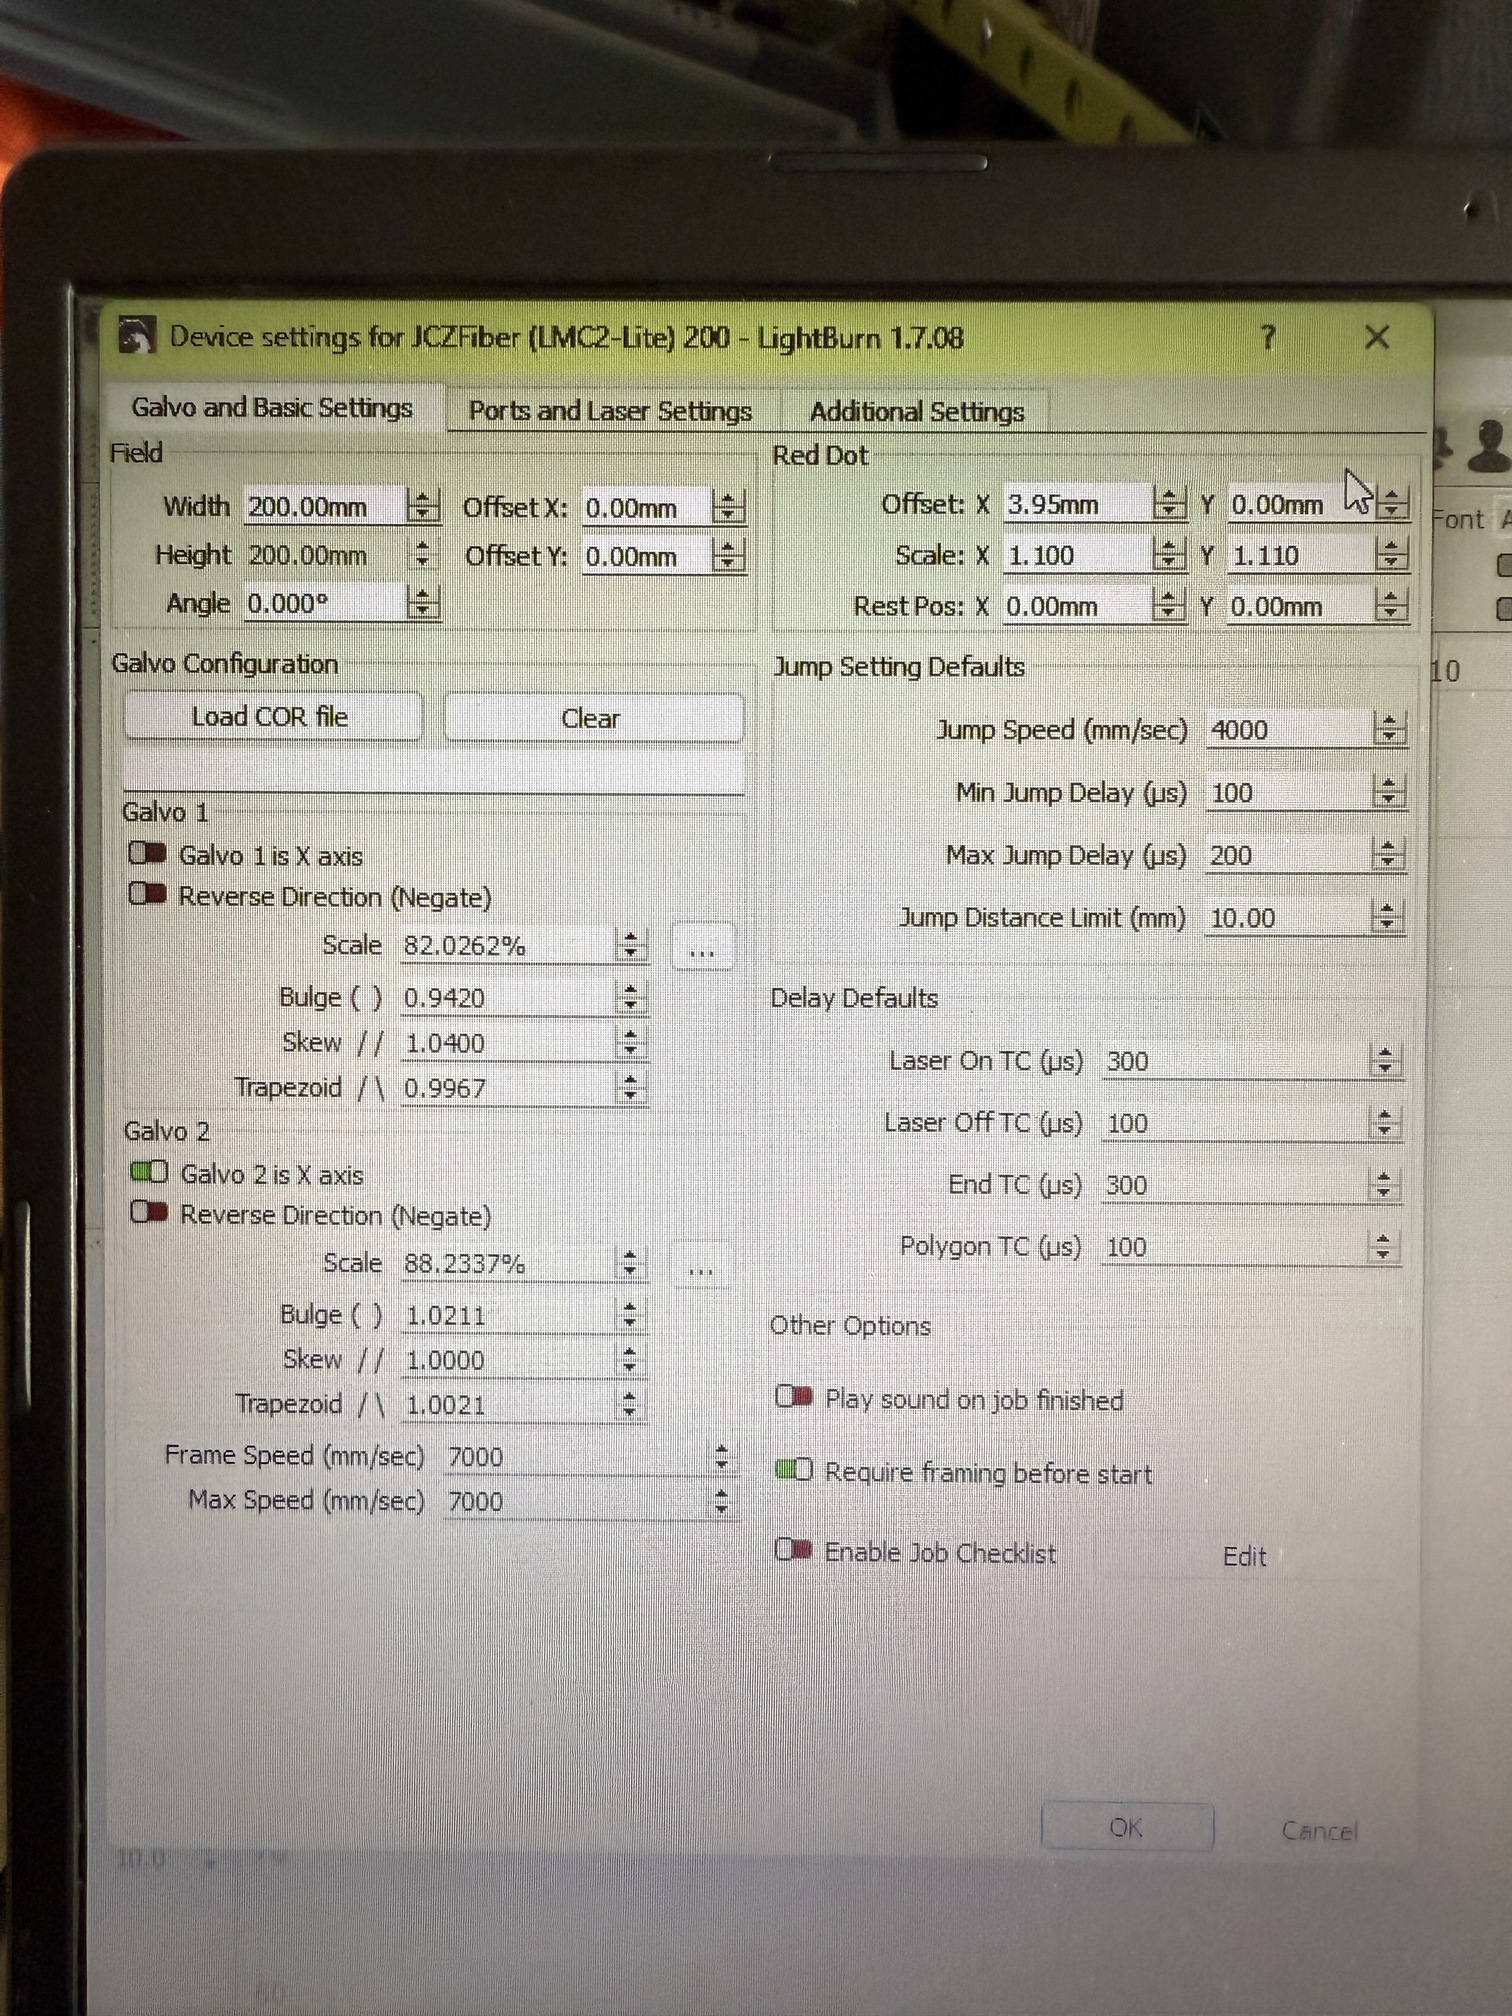
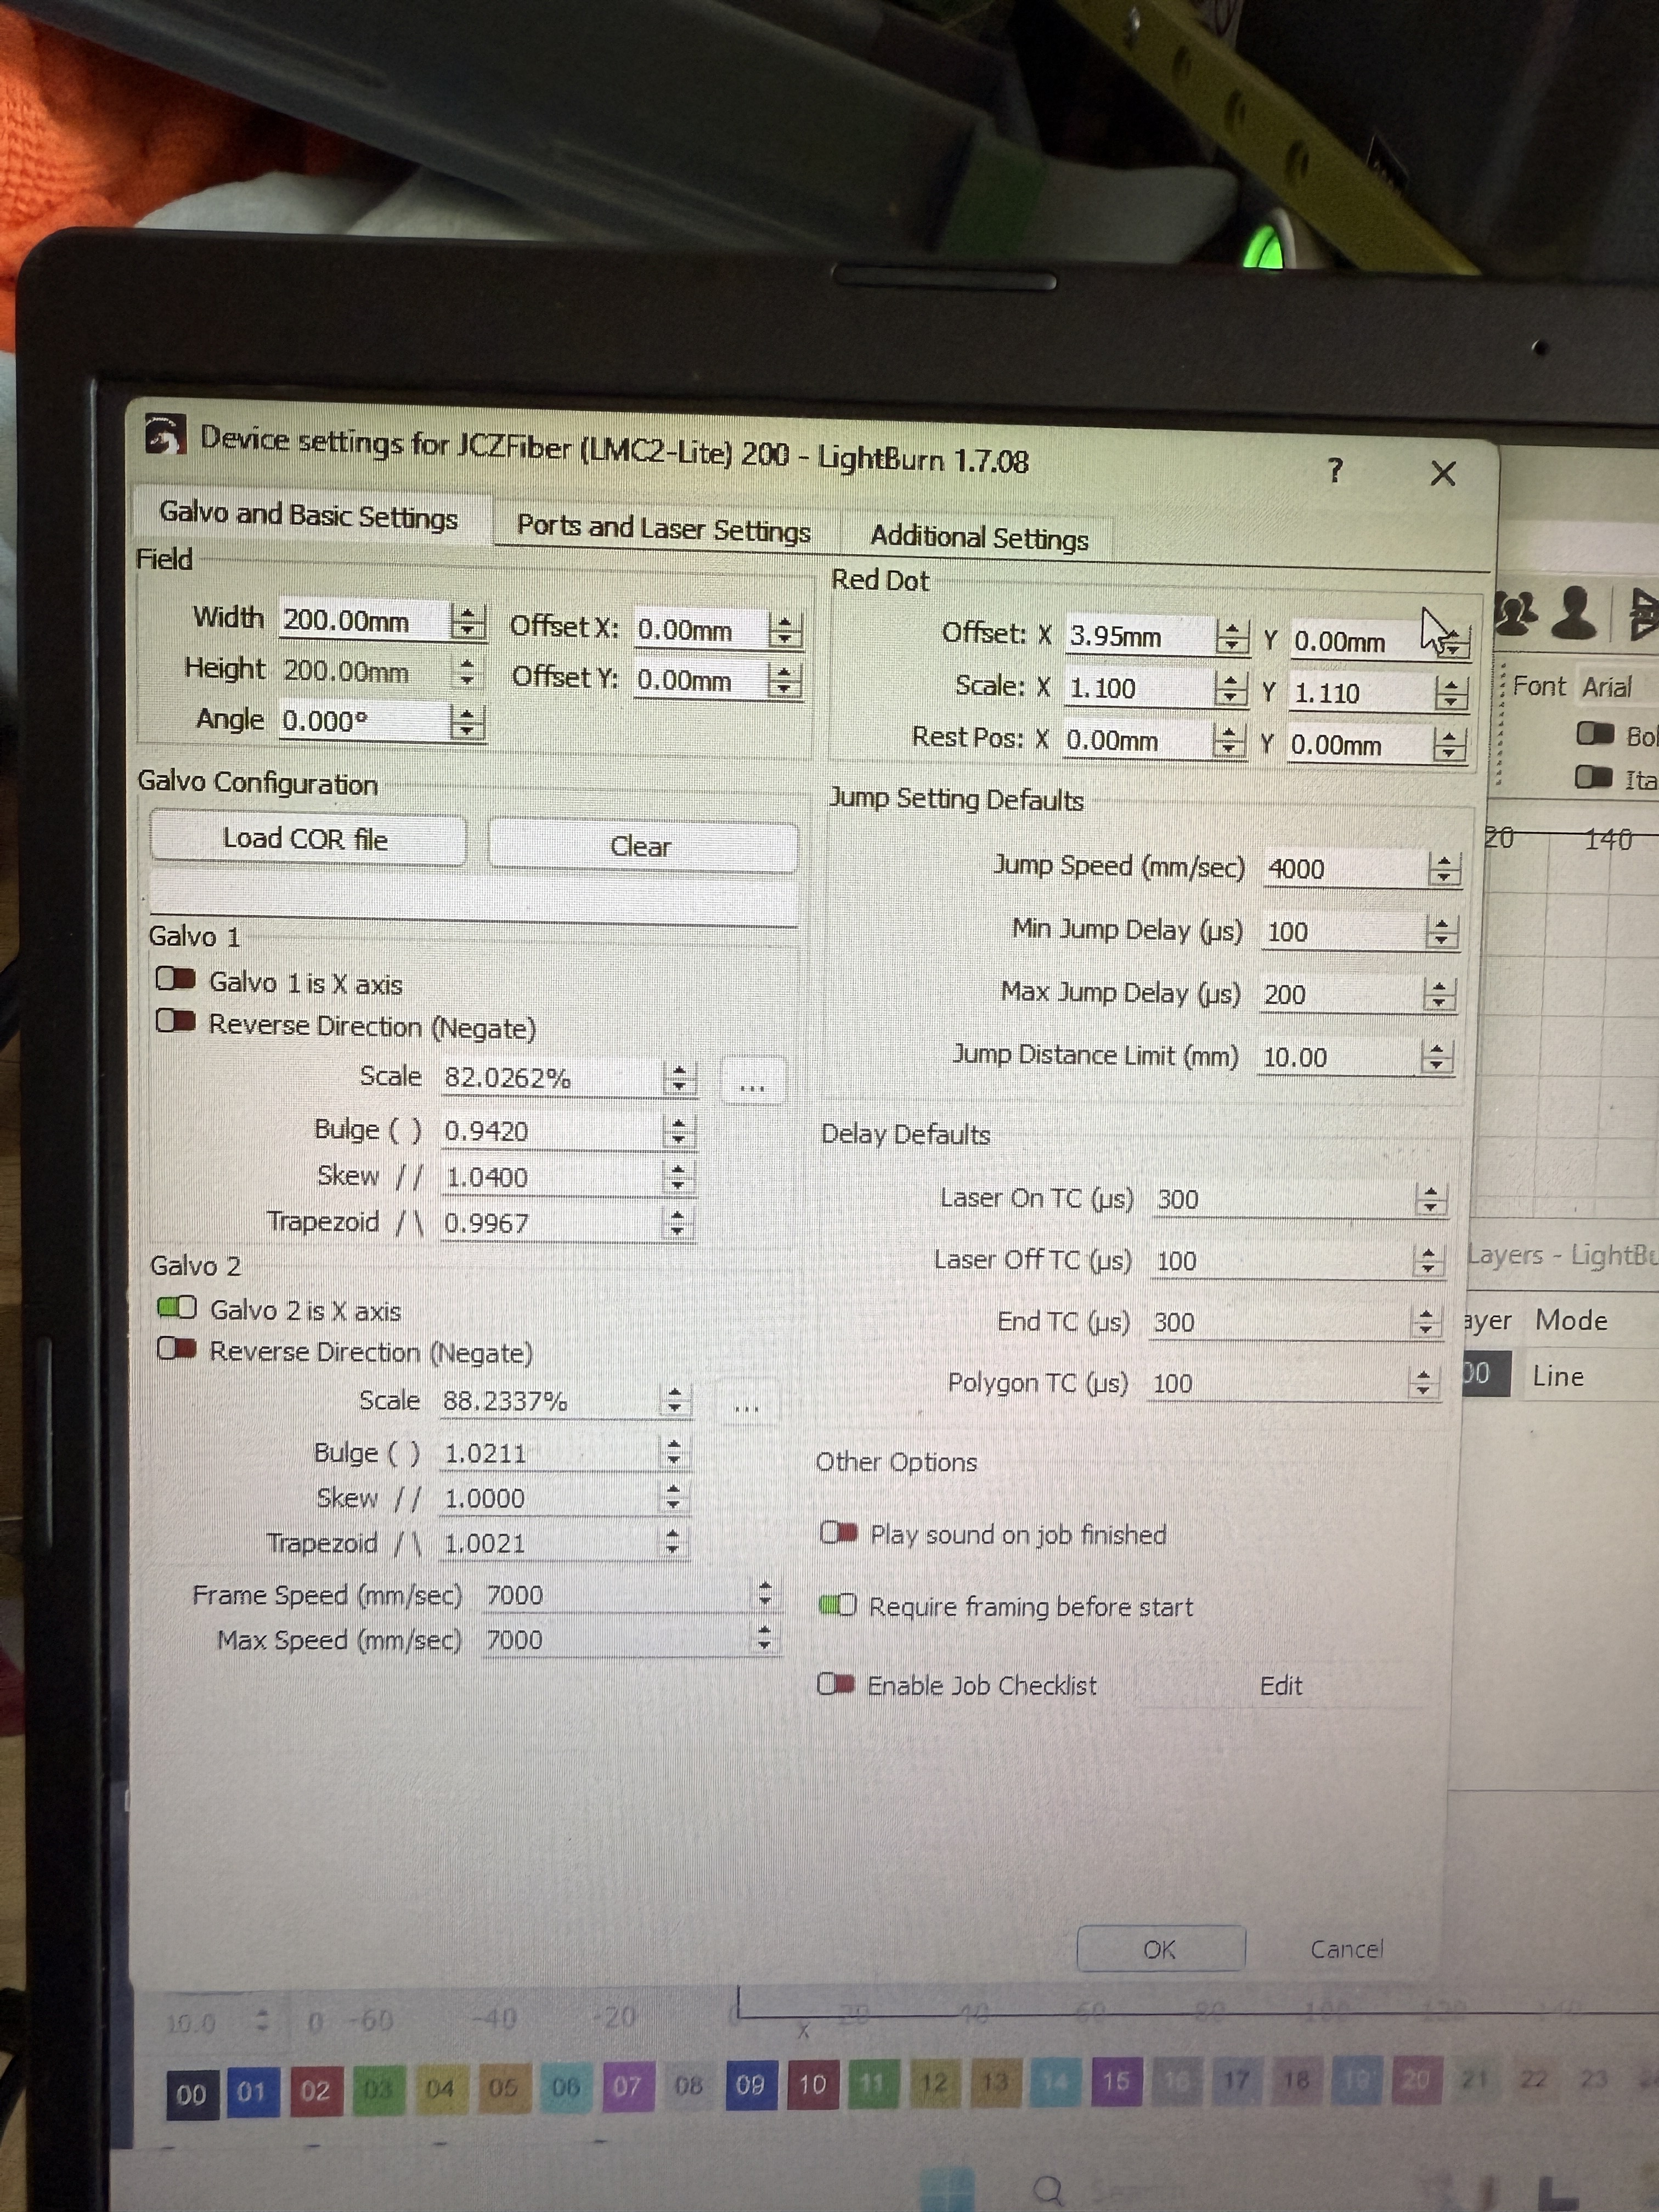
Also please a screenshot of the Device Settings > Galvo and Basic Settings like I posted above.
Big question, should have asked already, do the red dot numbers in Offset and Scale (Device Settings > Galvo and Basic Settings) change back to 0.000 and 1.000 or do they remain what you set them at when you loose calibration?
I’m pretty sure they stay corrected but I’ll check them all tomorrow.
Thanks for your continued help.


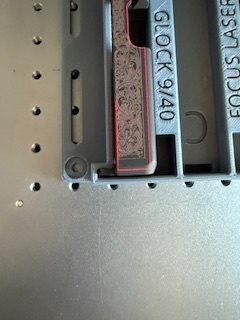
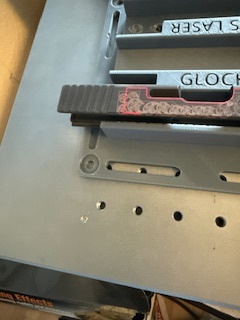
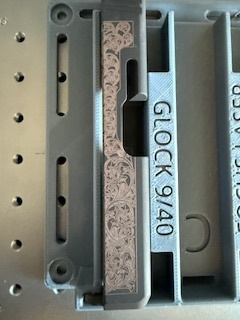
I’m hoping these are in the correct order.
First is settings from yesterday’s corrections.
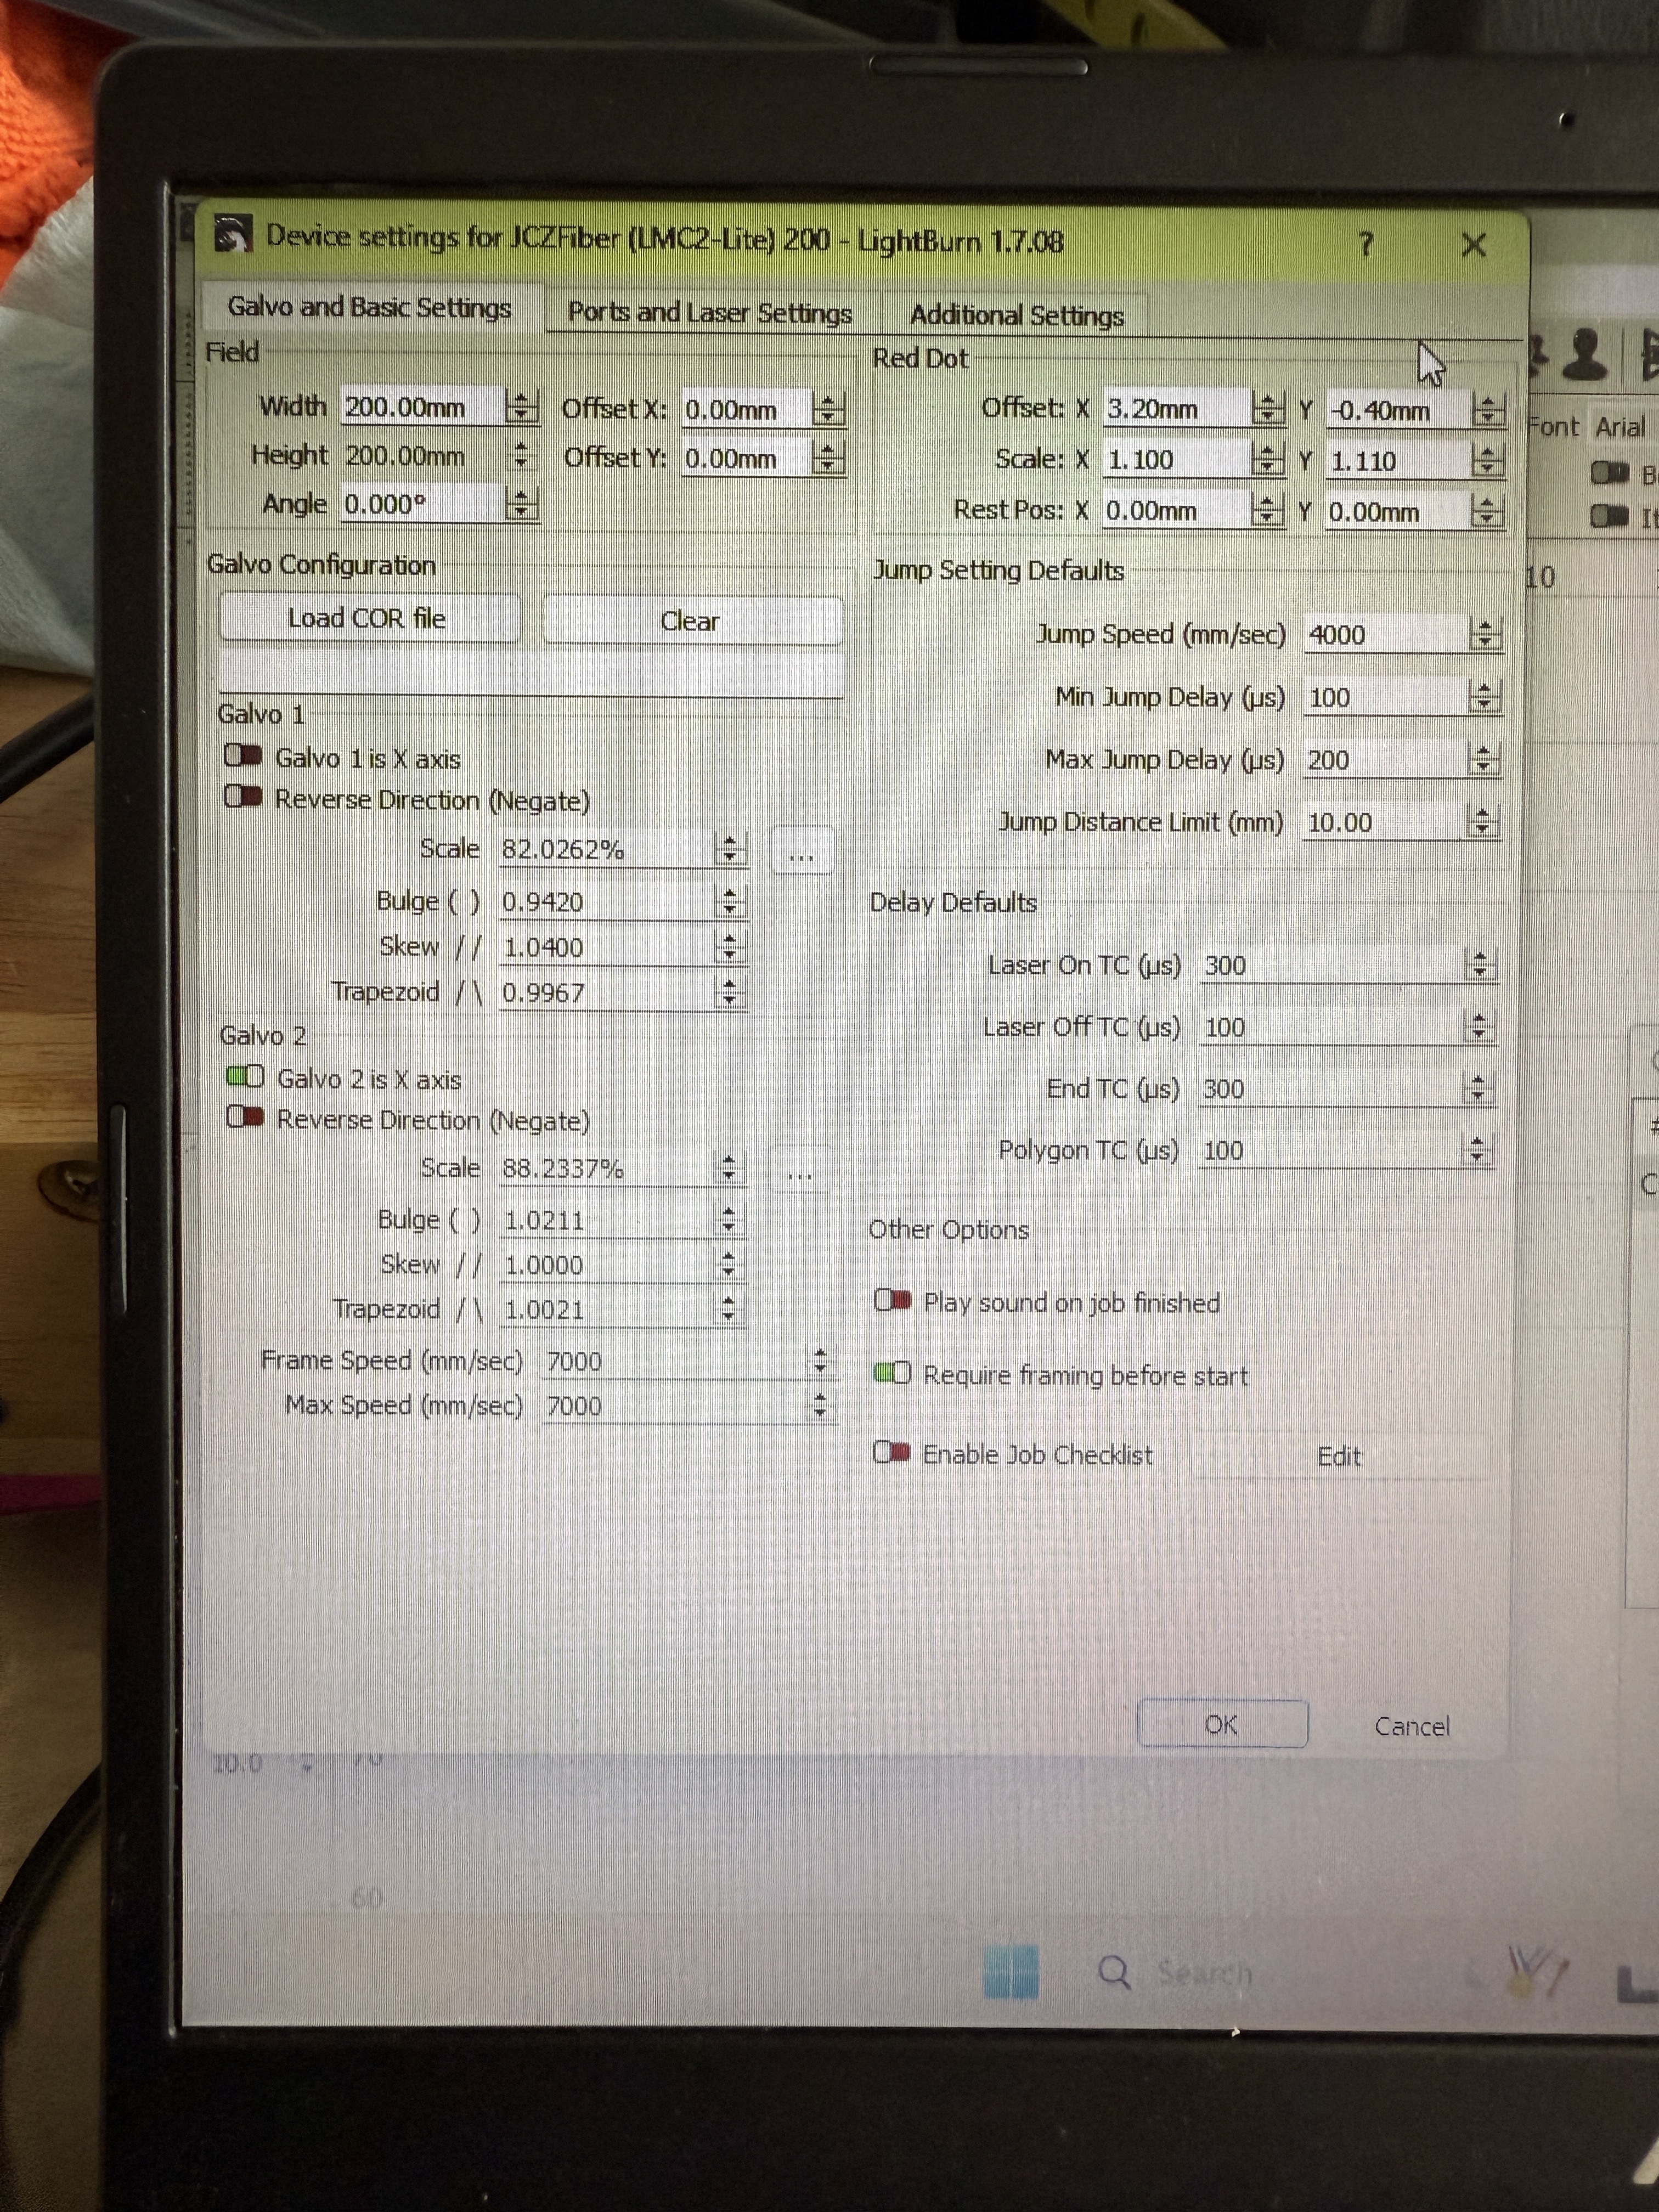
Second is incorrect framing that was correct yesterday.
Third is corrected settings.
Forth is new square that’s ok.
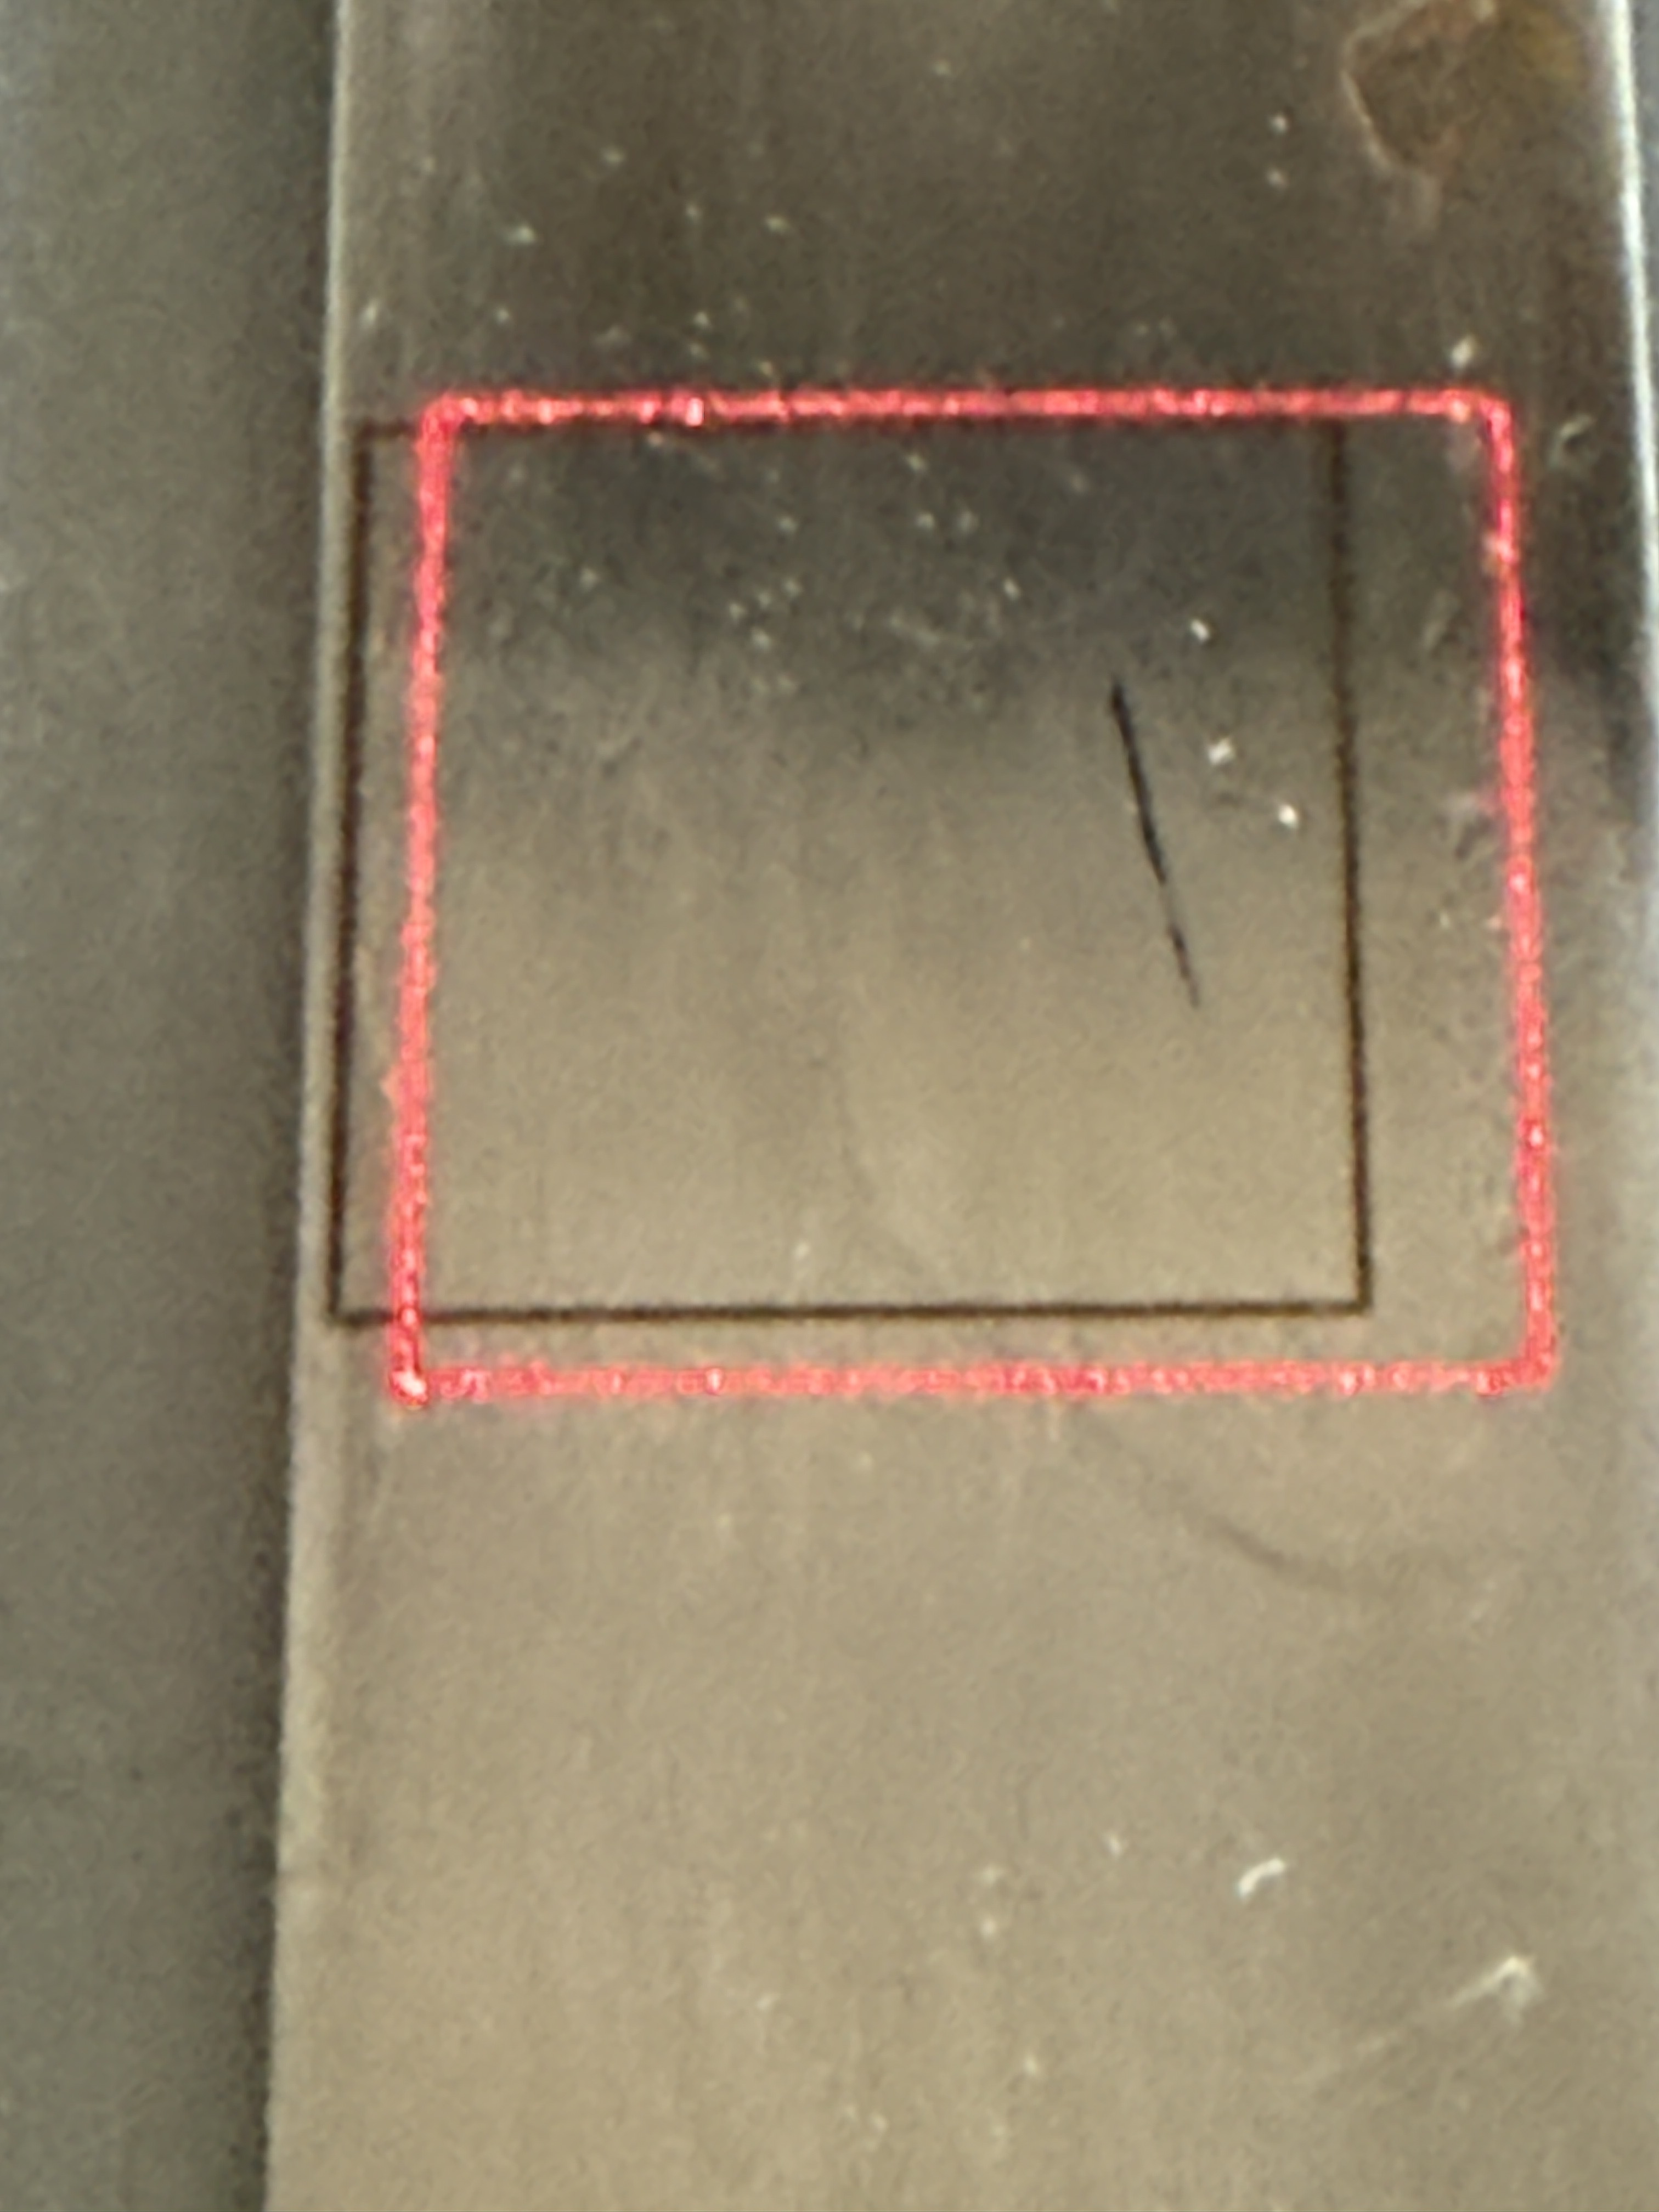
Fifth is new design that’s off.
Sixth is settings that haven’t changed.
I hope this makes sense.
I don’t see any that are acceptable to start with. You should be able to get it dead on. I think you need to go back to the beginning.


I would suggest backing up a little further. start by making sure you are perfectly in focus and marking a 50mmx50mm or 100mmx100mm square or whatever and measure it. If it is EXACTLY what you drafted in lightburn, check it corner to corner. If both of those are perfect, continue on to calibrating the redlight framing laser so it matches exactly the 50x50, 80x80, what ever you are doing your quick test with. IF the measurement or the corner to corner are not perfect, you need to go back to calibration of the lens. You need to get the nuts and bolts squared away 100% before you jump into anything sexy. I spend probably 10-20 hrs nuts and bolts for every 1 hr of sexy. Keep at it and report back.