Rotary Attachment Help - what type?

This is my machine (80 Watt):

https://www.amazon.com/dp/B07DVJ8DJP/ref=cm_sw_em_r_mt_dp_U_nkFfEb33F3W79

Can someone recommend an appropriate rotary mechanism for engraving round objects? In the Q/A on Amazon, Orion says it works with a “4-wired motor”.

I’ve seen “chuck” style and “roller” style. I’m sure there are pros and cons of each. If you’re using a rotary attachment and you like it, would you be willing to post a link - I’m pretty new to this stuff and would like to go with some recommendations from folks that have more experience.

Thanks!

You will get better replies if you are very specific about what you plan to engrave. What do you mean by round? Actual sphere shapes or maybe you really mean cylindrical shapes? What maximum and minimum diameters? Maximum and minimum lengths? These specifics will be important in determining which rotary design is best for you.

There are a number of good threads on the major laser forums discussing the pluses and minuses of the chuck, hot dog roller and wheel types of rotary designs so I won’t try to repeat them here and let you look them up. With that said, I think one thing online discussion fail to help newbies realize is the need to research is the physical profile (height, width, depth) of a rotary versus how much working height (z height) a users has in their laser. Many rotaries, especially the cheap ones, are designed poorly and are way too high/wide. They will barely fit into many machines. Also check to make sure that once the rotary is installed in your laser that it will actually be able to accommodate/hold the diameter of the items you plan to engrave

Tip: if you get a chuck type like this https://www.ebay.com/itm/Irregular-Chuck-Rotary-Axis-For-60W-100W-CO2-Laser-Engraving-Cutting-Machine-Set/293400056690?epid=19026133873&hash=item4450019372:g:EZUAAOSw3MpatckQ, it can usually be operated on its side to give more clearance.

This is a really nice system concept but unfortunately I think it would be too tall for a machine like you own:

1 Like

Thank you, @Doug for the information. To clarify, I meant cylindrical. Spherical would be really cool, though. :slight_smile: I haven’t seen anything off the shelf for doing spheres, but would be an interesting control project.

As for what I plan to use it for, I’d like it to be flexible for a variety of stuff. I use my laser to build things for custom stuff - mechanisms and parts for robotics, custom enclosures, servo mounts and chassis, and various fabricating in general. Although I wouldn’t rule out the occasional yeti cup engrave, wooden handles, and things like that. So as flexible as is reasonable would be what I’d lean toward in a first rotary accessory purchase.

I did watch a youtube from Matt’s Workshop - https://www.youtube.com/watch?v=iBHqkWK6r0Y - that covered a lot, and hit on the points you made regarding height and length limitations, slippage from rollers, laying a chuck rotary on its side for more clearance, and that kind of thing. So that was helpful.

You nailed one of my concerns exactly - your suggestion that many rotaries, especially cheap ones, are designed poorly. I’d rather spend a little more and get one that will minimize any frustration or limitations, so was looking from some recommendations, especially from folks that have direct experience with them and would feel comfortable recommending based on their experience.

I’ll check out the Boss you linked - I need to measure to be sure, but the bed lowers down quite deep, but you might be right on it leaving too limited of a diameter for me to have much room to work with wider pieces.

Thanks!

Congrats on machine, I have the 80w and you will be very happy, let me know if you need any help. Now as for the rotary attachment I purchased the one in the pic I’ve attached but the stepper motor is low amp and I smoked it first try out and replaced with a Nema 17 2.5 amp stepper. I like the roller type but apples and oranges, ill also attach a pic of the exhayst I got which is almost silent but pulls great. Good luck

1 Like

I just purchased this cooler as well and it rocks, I’ve attached a pic of the exhaust type. There are many more on market cheaper but the one they sent with laser is insanely loud. Again gimme a shout with any help ya need, I love my machine

2 Likes

Thanks very much, @LazerX. I’ll check out the rotary. I’m definitely in the market for a chiller - things are ok right now here in NC, USA in winter, my garage is about 50 F and I installed a temperature probe at the water return outlet and the water temp does get a little higher, but within accepted limits. But by summer, I’m afraid ambient temperature gets to be around 90 - 100F on a good day, so I chiller is definitely in my future as the season progresses.

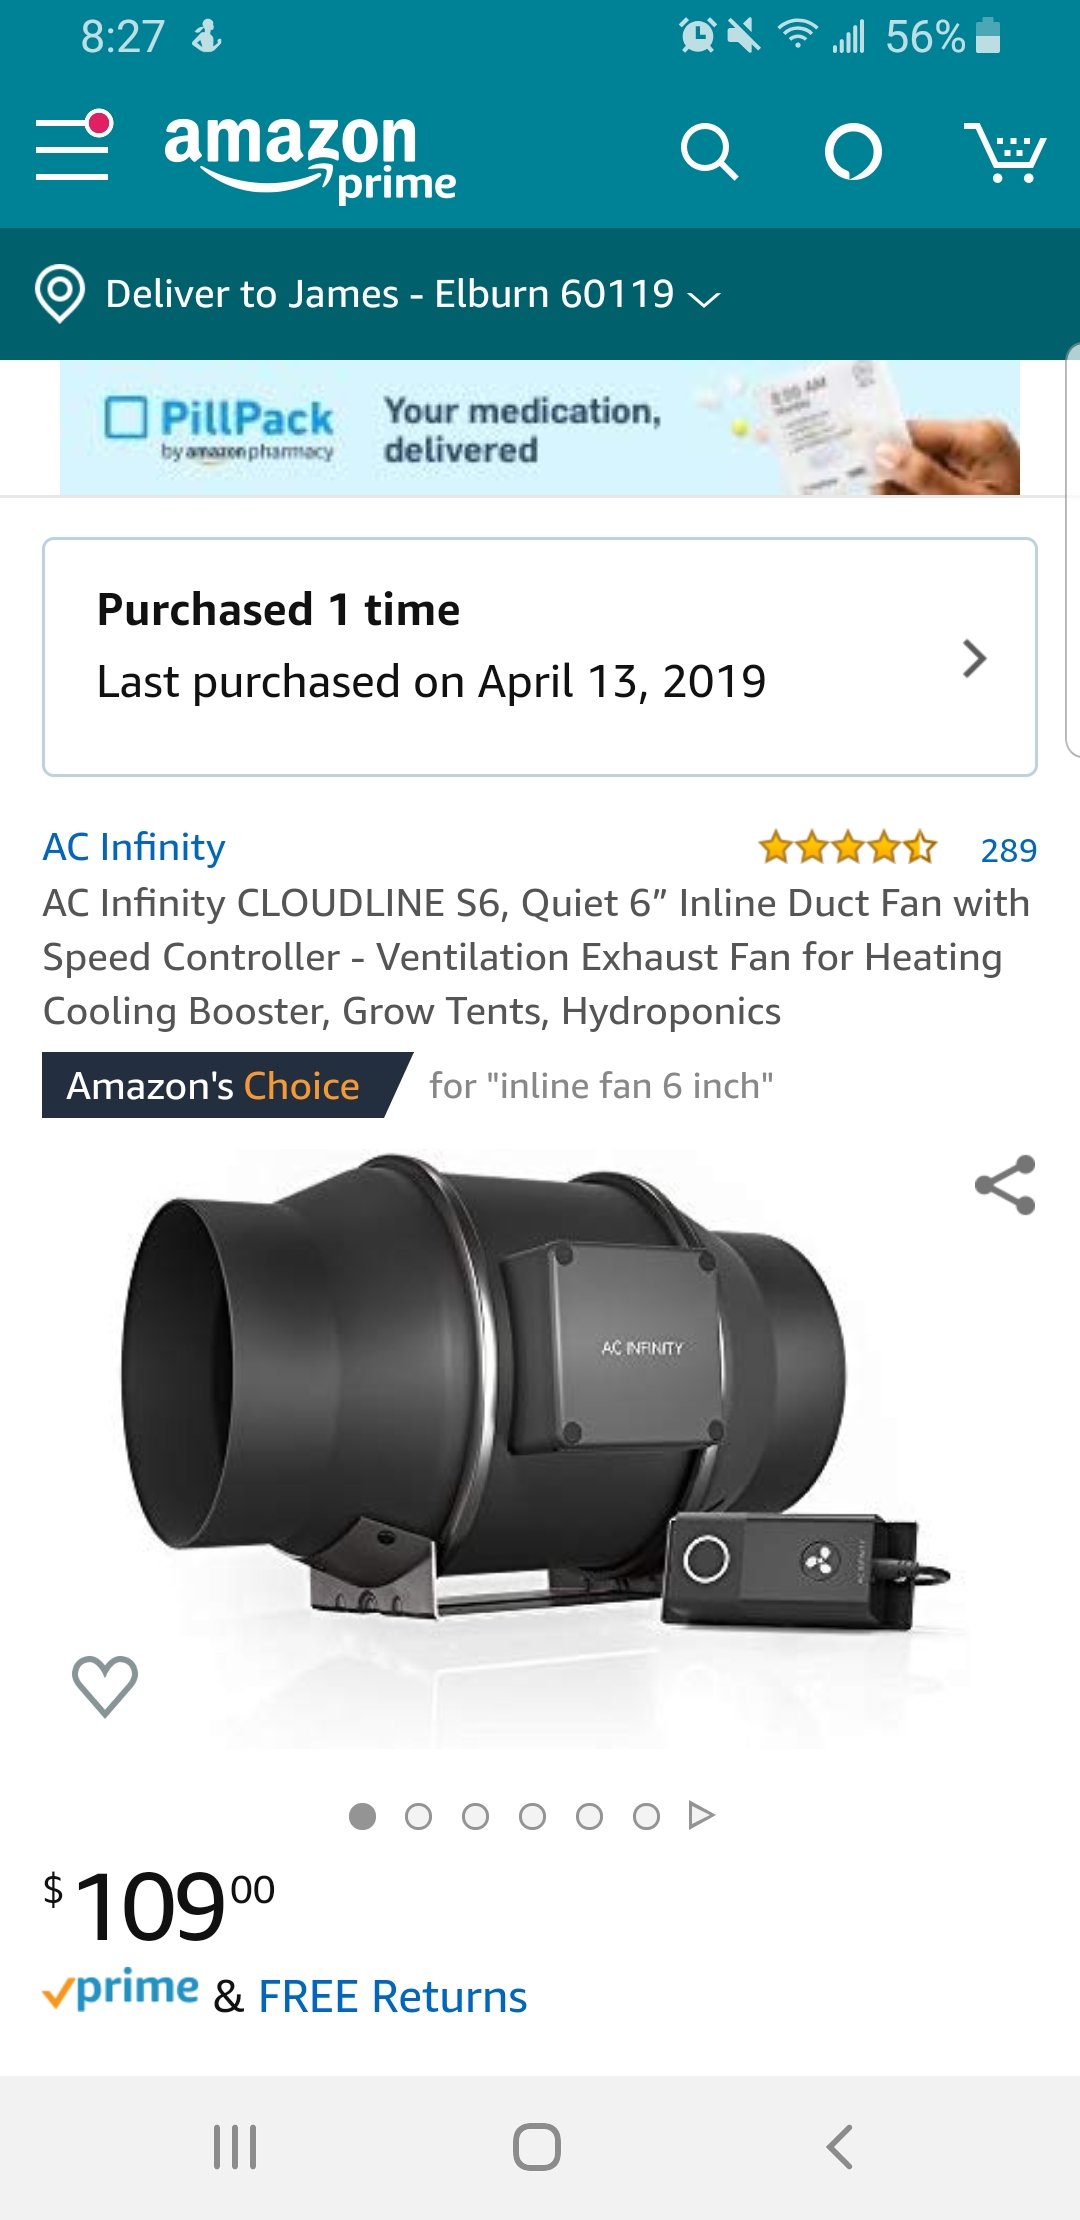
I did get an in-line fan similar to the one you have, and it worked well - nice and quiet. I decided it didn’t pull quite enough, though, so I got a Y ductwork adapter and got a second in-line and run them in parallel which dramatically improved the venting.

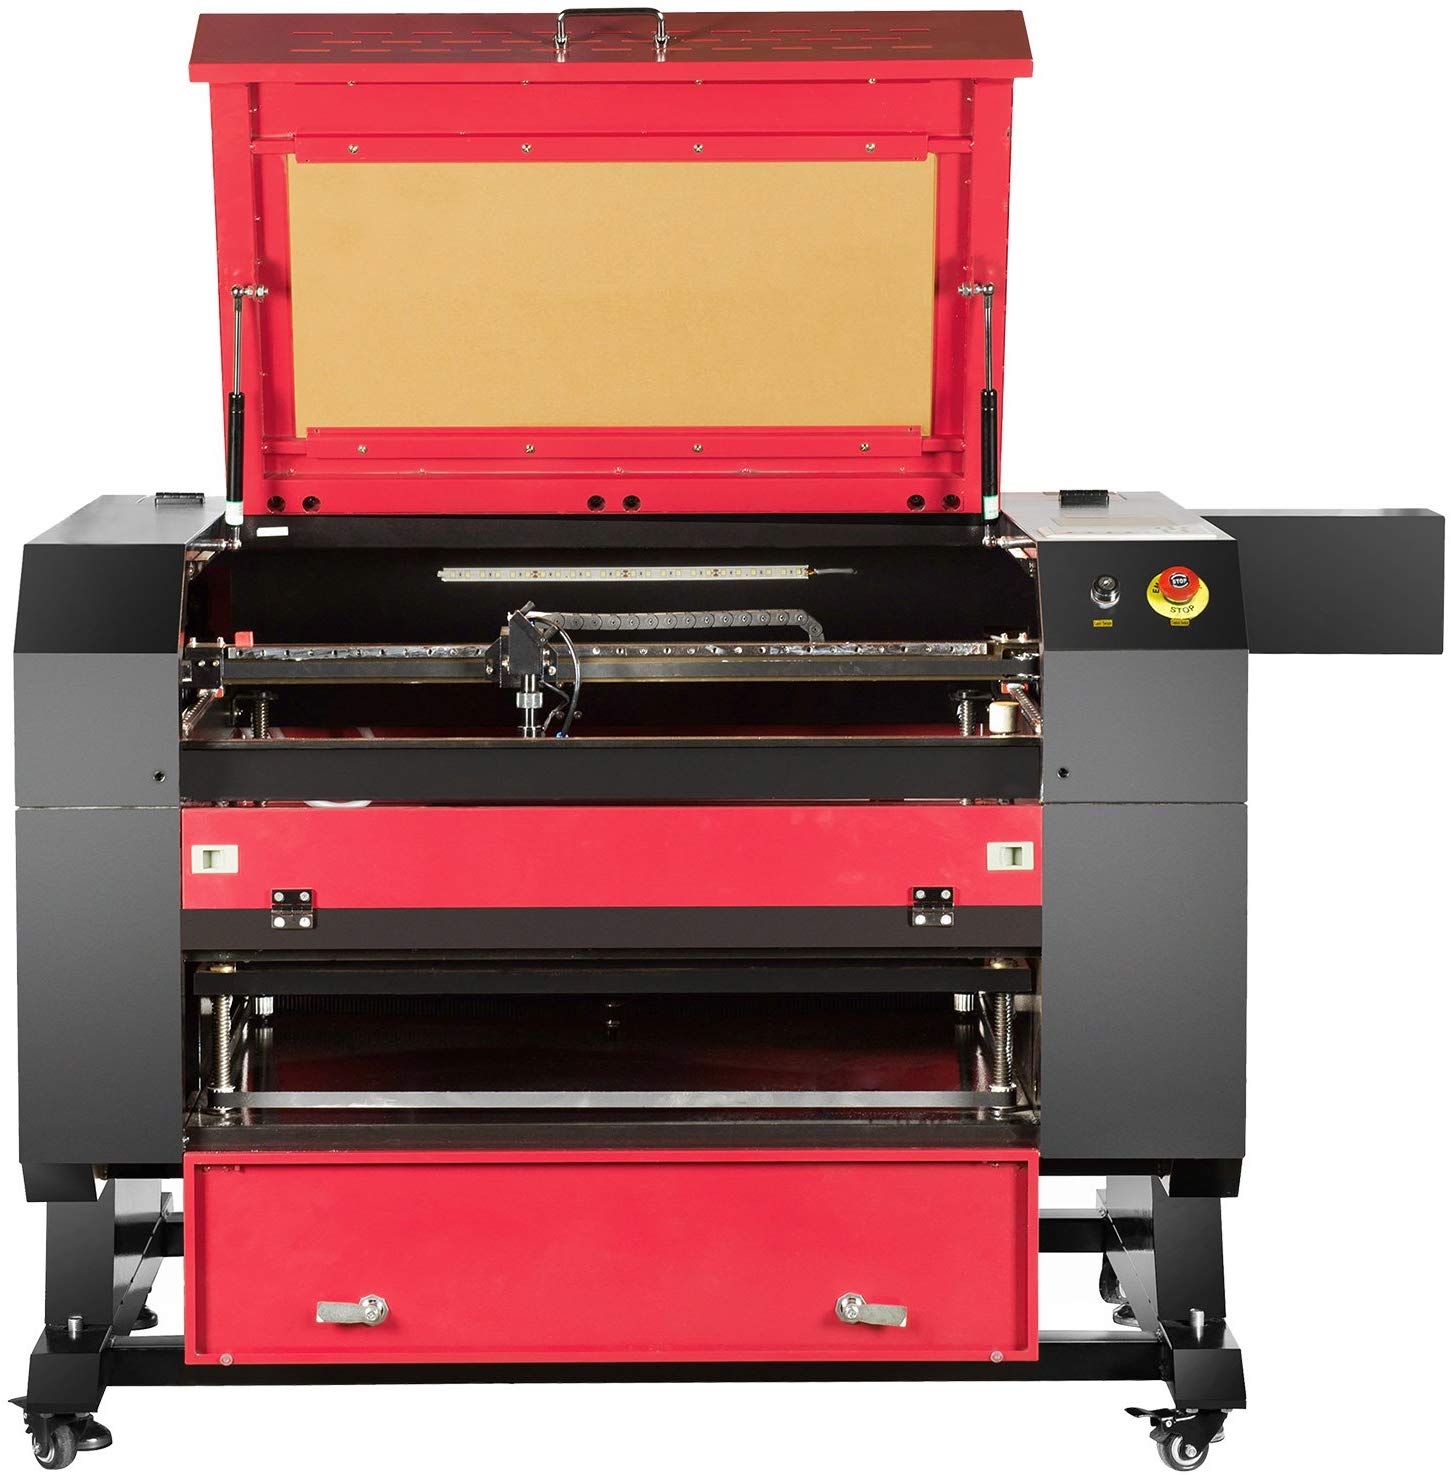
I added an ammeter the first day I got it so I don’t overdrive the tube. I have the 80W also. And got the mirrors aligned well, and replaced the honeycomb with a sheet of flat steel and just raise my work up off the steel with magnetic spacers to give a gap. The steel plate makes cleaning the surface with acetone a breeze.

I had a little trouble at first getting through 1/4" plywood at what I thought were reasonable settings, careful with watching the ammeter and current draw. I was able to get through by slowing the speed way down, but still thought it should cut better.

Now it cuts great and much faster speed, but I changed two things and I’m not 100% sure which made the most improvement. First I upgraded the supplied anemic air assist with a 3500 GPH air pump which is a great airflow improvement. And while cleaning the mirrors and lense, I noticed the lens was in upside down, so I put that right-side-up. So perhaps a combination of the greater air assist to blow away char and allow the beam less obstruction while cutting, plus a better focal point, and clean lenses, it now makes quick work of 1/4" ply and I’m ready to try some thicker material to test the limit of what I can expect.

I really do like the machine a lot - I don’t mind doing a few upgrades and improvements, and in fact I enjoy it. So it’s been great fun and expanded my tool kit in making parts - especially replicating parts vastly.

Thanks again for the offer of hints and tips - I’m sure I’ll take you up on it. :+1:

1 Like

I use different lens for cutting, 2" to 2.5" focal . Im cutting 1/2 acyrilic at 80% with the 2". Yes the meter is a must as well, but im actually gearing up to go 130w. Im thinking ill have to change out the table to as it might cut through some metal but not sure yet. All in all the only thing i really did was change settings without saving files first. I made the Russel pin table and it works great,

1 Like