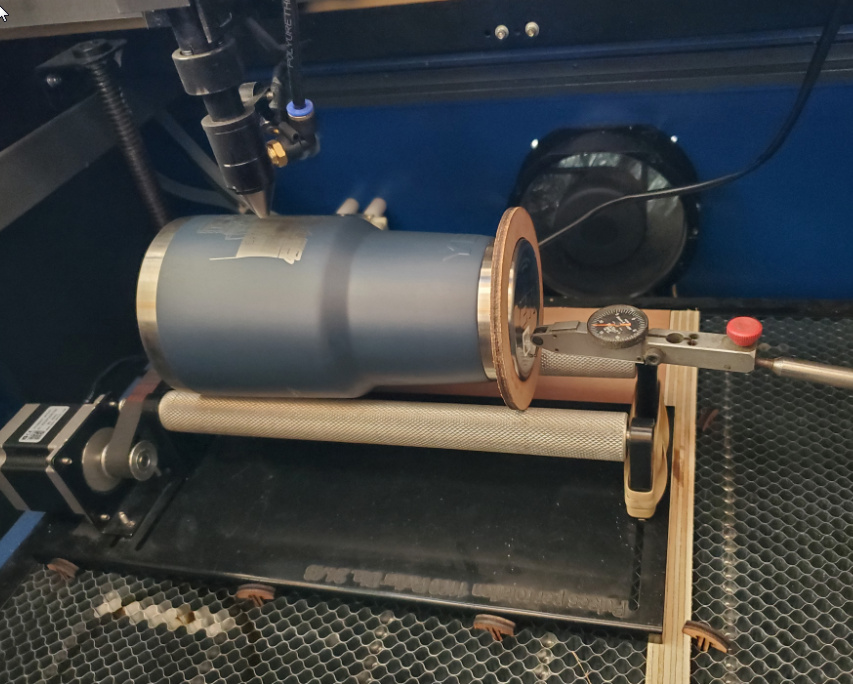
I have a Preneex 60w Blue China Laser with 2 different types of rotarys.
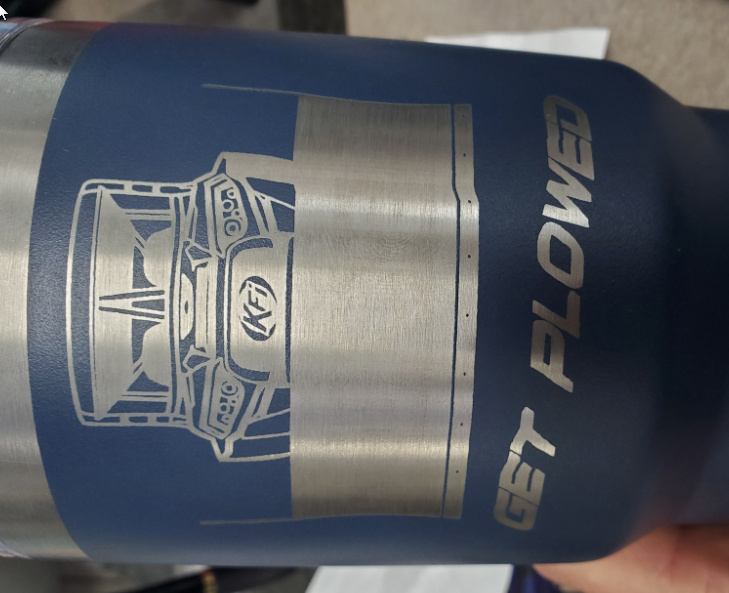
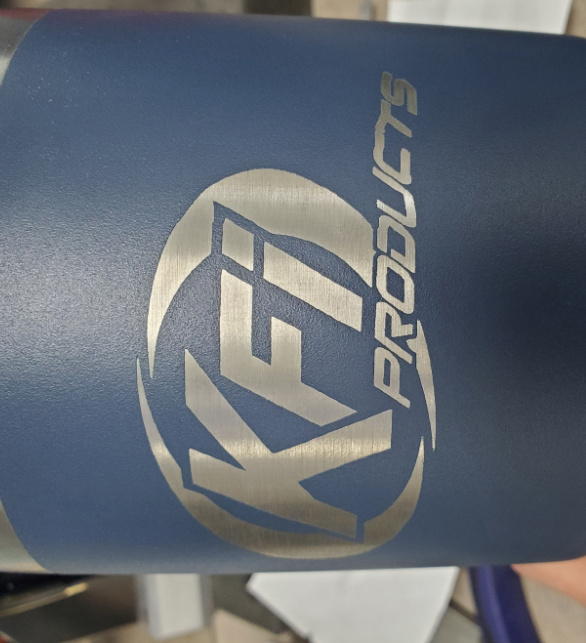
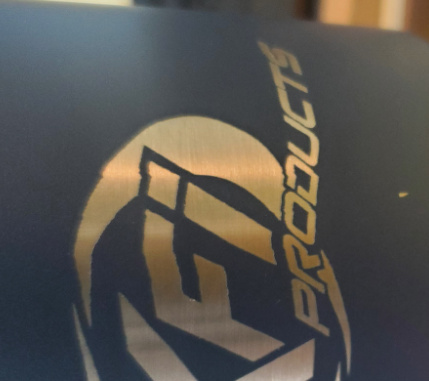
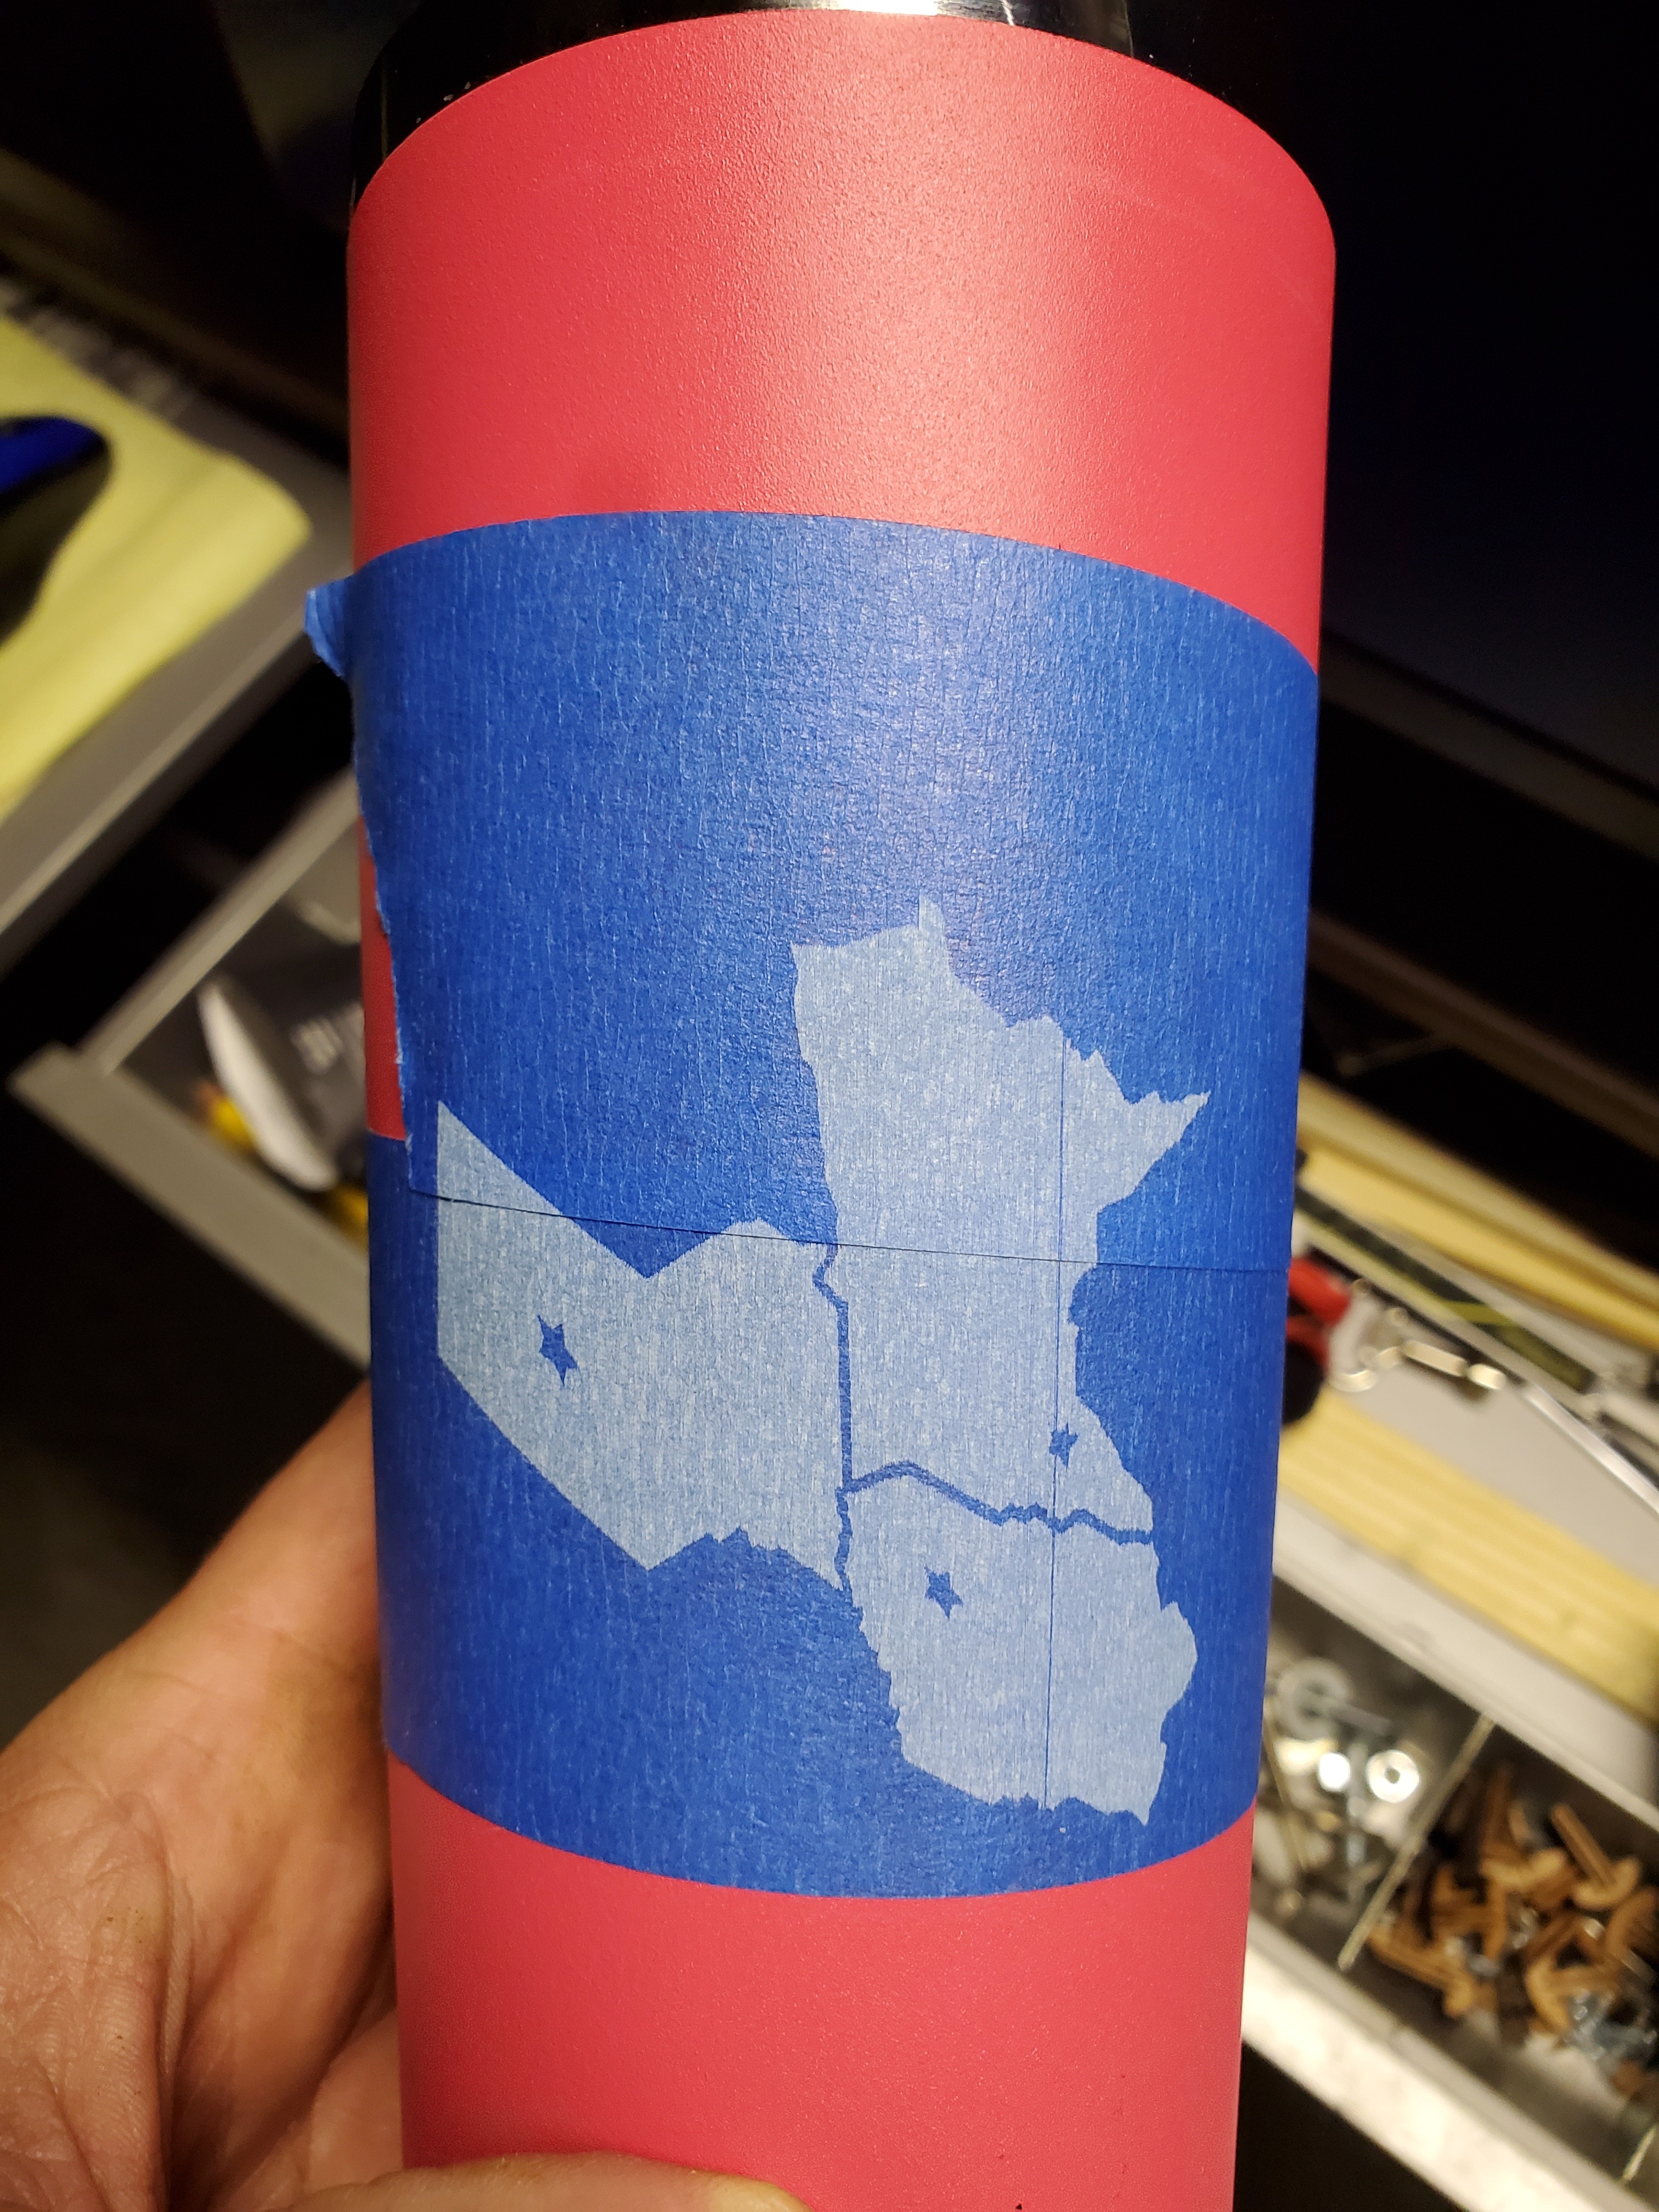
I have burned multiple images about a dozen times on 2 different rotary attachments. I also have tried importing a .ai file and a .png file into Lightburn. I have tried burn .png image, burn .ai with fill, take .png and do image trace. I keep getting the same result. I tends to skew about the same spot on all the images. It starts off great and then towards the end of the image it gets skewed. I have already used up 6 yeti cups. I have yet to get one to come out correct. I have tried a lot of different speed and power settings. Any help would be helpful.
What I am looking for in you videos I can not see and or you move the camera right before it could be seen. The pattern seems to indicate that the tumbler is walking to the right and then returning back to the left while engraving. (or vise versa) Kind of like a record where the needle follows the groves.
Back when I used to use a hot dog rotary I corrected this by adding shims under the rotary to give it a nice incline to push the tumbler against a homemade stop. This prevented it from walking back and forth.
What keeps your tumbler from moving side to side?
What does your tumbler look like when it returns to home or you do a frame?
Is it nice and true?
Does it move back and forth or wobble?
If using a red dot pointer, mark your red dot exactly on your tumbler, perform a frame operation of your image at least six times and make sure that it returns exactly on your same mark each time. If it does not, your set up is not correct.
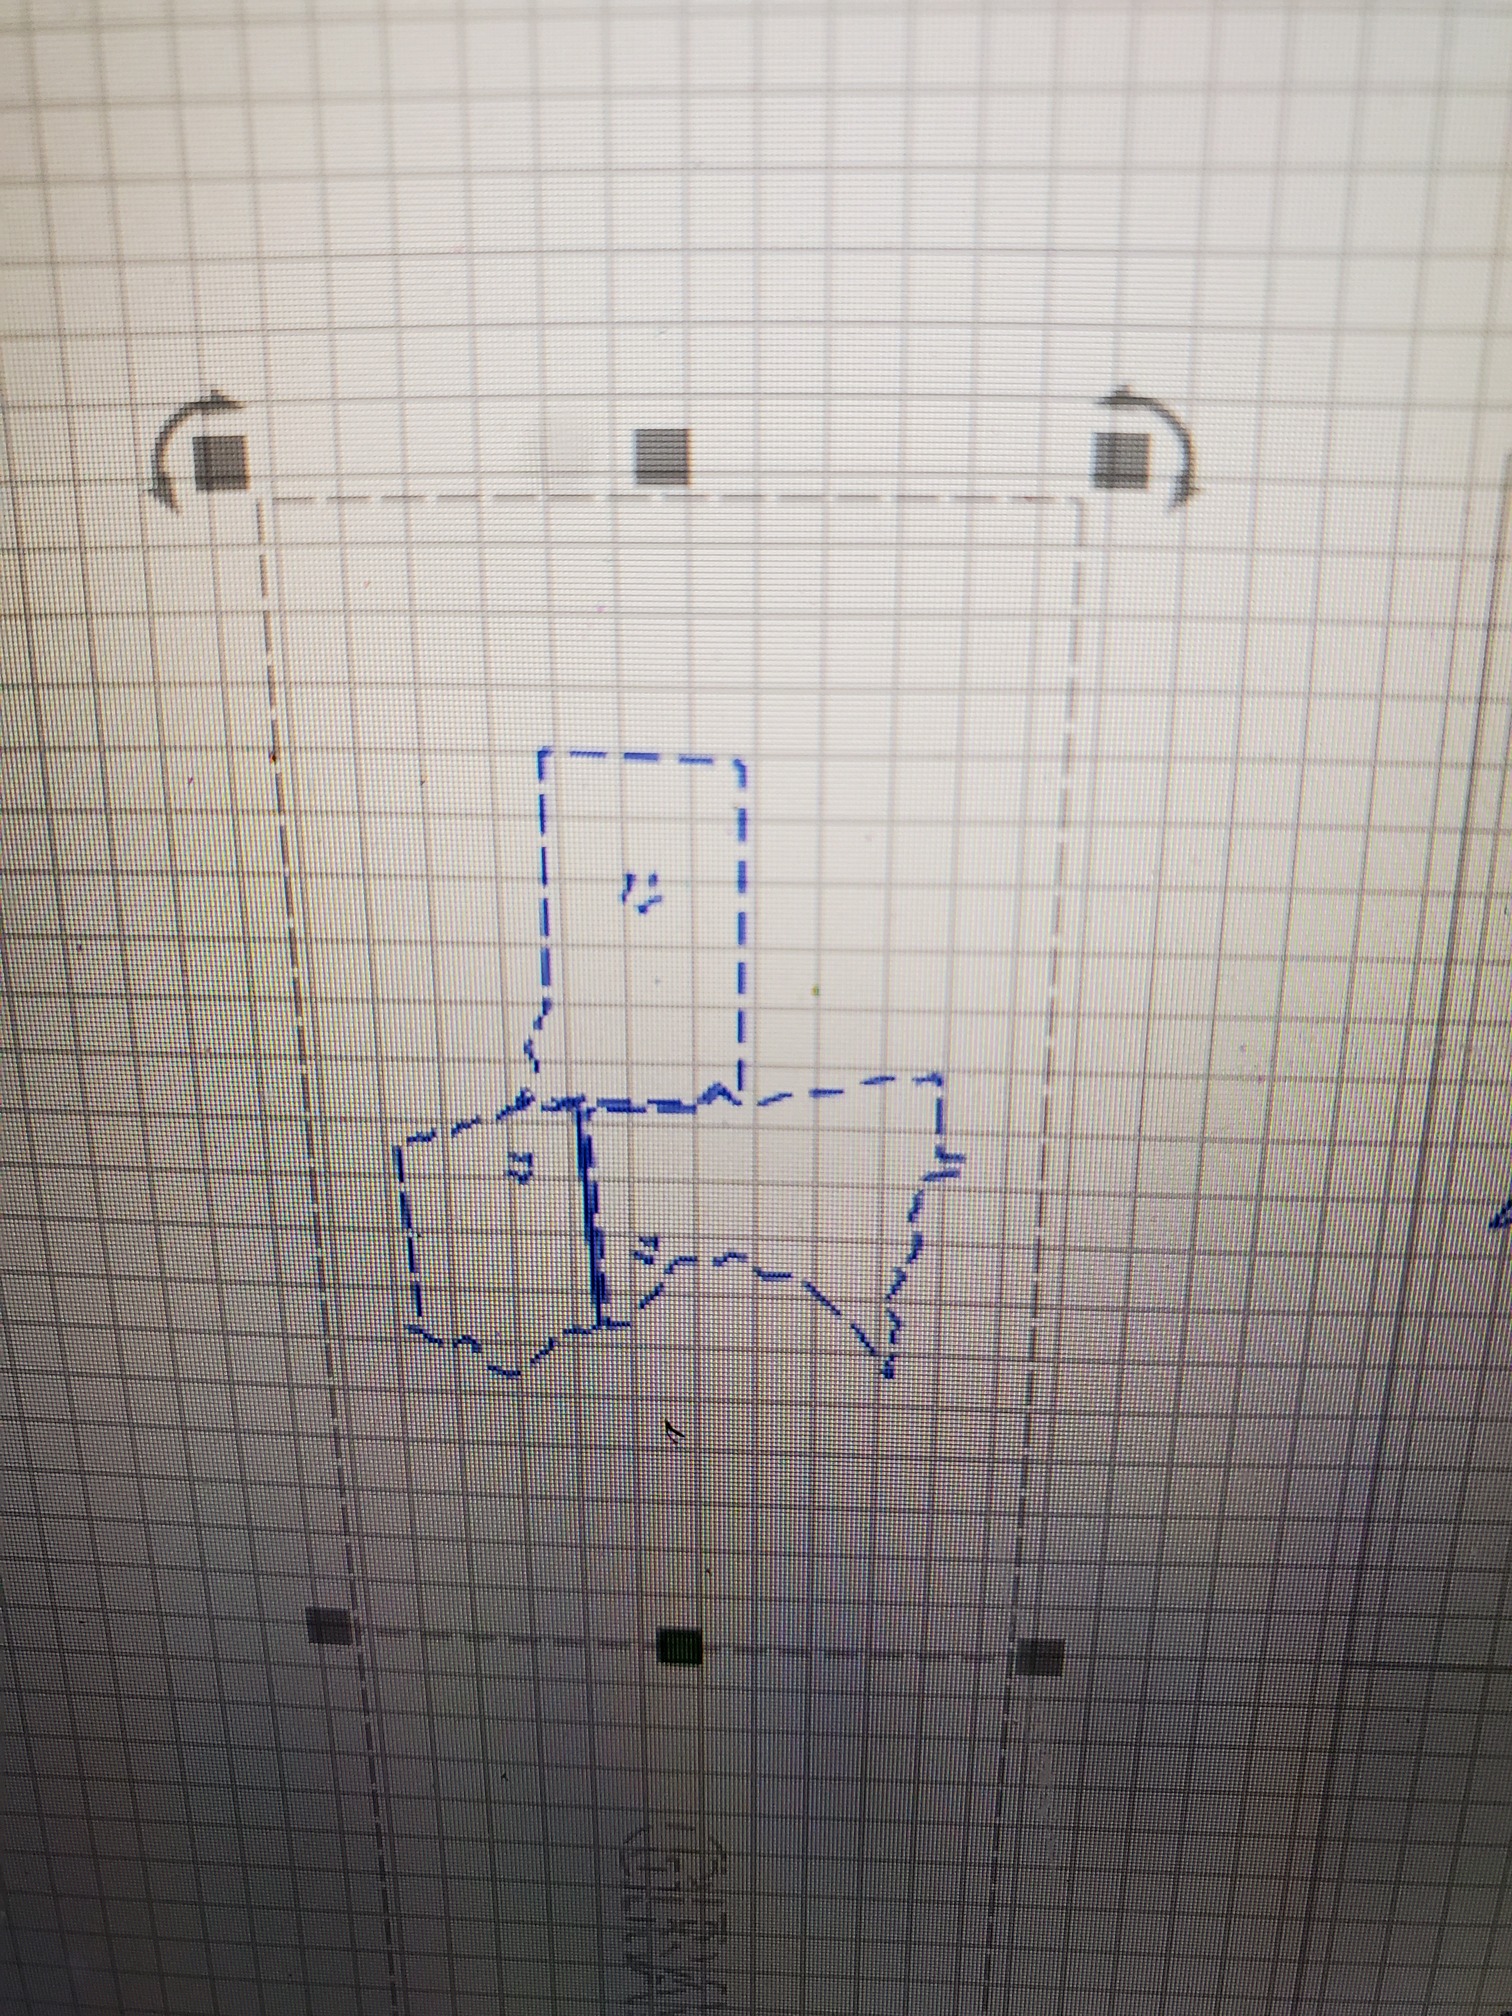
Your last video looks like you have already done a partial engrave and then came back to do another over the first one. If you can not make your tumbler return to the EXACT same place EVERY time, you can not do this. It is a one shot deal.
Keep using a mask and low power on your tumblers till you get it right.
I have a stop on one end and also a shim at the opposite end to give it a incline on the roller rotary. I have tried putting a indicator at the opposite end to hold the cup up against the stop. Still no luck.
The other rotay has a spring style wheel with o-ring clamp on the inside of the cup. Also tried this one with a indicator at the opposite end (still no luck)
The last video I did a engrave with the clamp style rotary ( skewed the engrave) so I tried the roller rotary to see if it acted the same (still skewed engrave).
I will try the dot option tonight and frame to see if it returns to the same spot every time. I have tried so many thing its hard to remember. I also did this same engrave on a flat surface
Is the skew always in the X axis? It’s hard for me to tell. Have you checked all your belts for worn or missing teeth, tension & pulley’s and set screws? Perhaps adjust your acceleration and speed. I’d assume if your getting the same behavior on 2 different rotary attachments the problem is probably in your mechanicals.
yes it has always been in the the X axis. I have check the belts and pulleys. The motor pulley is a press fit to the shaft. I am thinking about drilling a hole thru and using a roll pin. I have adjusted speed from 100 to 400 mm/s with no solution. As far as acceleration I have never adjusted that from the default LightBurn install but not really sure where to adjust that any way. Any tips? I have a ruida laser controller
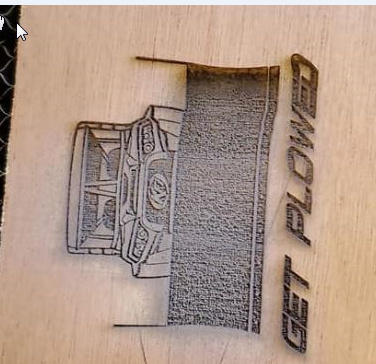
Can you verify if the laser head is going back to the exact start position on completion of the job or is it offset from where it was when the job was started? What were the results from the dot test? And also on the flat piece it looks skewed at the top above the ED in PLOWED. Was that section at the beginning or the end of the engraving? Is the X stepper getting hot and is there a way to adjust the current? I’d try to resolve the problem on flat material before trying the rotary.
I wish I could offer more suggestion but I’m unfamiliar with your controller. Perhaps place a index mark at the start position then test fire after the job completes to see if the head has shifted. It looks to me like your either missing steps on the X axis or your material is moving. I would look to see how to adjust the acceleration and I would see if it’s possible to swap parts from one axis to the other to try to get the problem to migrate to the Y axis, i.e. stepper driver, stepper motor etc…
I have done the repete test a few times and it did come back to the same spot relatively close with .02"-.05".
You are correct the skew dose not go the same direction buts tend to happen in roughly the spot on the plowed cups. The 3 state cup was just all over the place. i plan on checking the belts, pulleys and a few other things soon. I will also do some more dot test.
Thanks for the help so far. I will keep you posted.
My acceleration was at 8000 I cut that in half to 4000 and did to cup successful and then engraved a different image and it skewed again. Changed the acceleration again down to 2000 and the image engraved good. Is this something that has to change with every design I engrave.
I’m not sure what the standard is for your controller and steppers but on my systems once I have the acceleration and speeds setup I don’t have to change anything regarding that. I would doubt that’s something you’d need to change frequently once setup. I believe every system even if by same manufacturer to be slightly different depending on axis drag, how clean rails are, how tight belts are etc… and may require slight adjustments but not every engraving. Personally I like my systems to start smoother than the abrupt start / stops that higher acceleration creates so on my gcode controllers I’m usually down about 2500-3000 on acceleration.