Ok, so I have read over a previous user who was having weird issues with his engravings getting stretched. I’m having a similar but random problem.
Every time I run the rotary…it rotates seemingly at a different distance. Example:
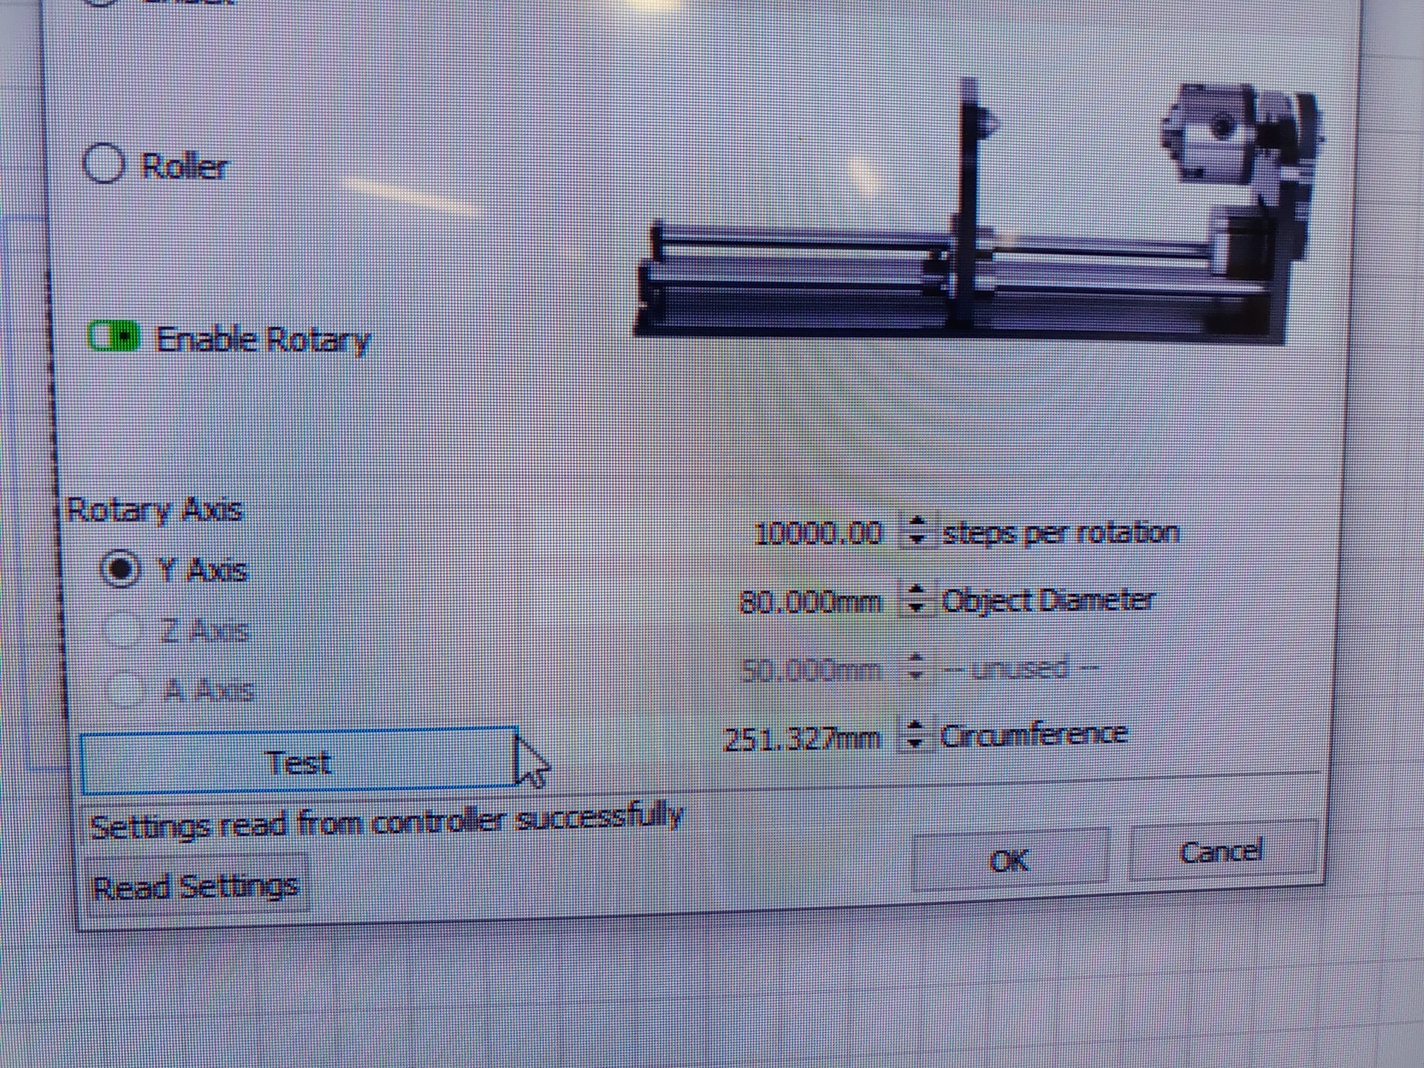
I reset the controller, settings for rotary are 10k steps & 80mm (diameter of the chuck), and the thing spins a good quarter turn too far.
So, I change the steps to about 7500…it’s perfect. Yay. Stick item in chuck, change the diameter, run program…engraving is stretched. Ugh. Ok, start over
I then put my tape back on the chuck, change diameter to 80mm, check the chuck rotation again…THIS TIME IT COMES UP SHORT! SERIOUSLY!?
Change steps to 10K…nope, it’s off.
Basically, every time I run a rotation, the value for the steps seems to change. Makes no sense. This is supposed to be the setting that doesn’t change correct!?
I’m going crazy here. I’ve run through 6 glasses, all are weird. I even had one, it was perfect for literally half the burn, then it all of a sudden stretched the last half. GAH!!!
Did I get a dud rotary with a bad motor!?
Example test I just did.
Turn off machine. Shut down Lightburn. Turn on machine, restart lightburn. Mark tape on chuck, set diameter to 80mm, steps to 10K.
Rotary blows passed 360 degrees. I had to drop the steps all the way to 6k.
So now I switch. I used a dowel rod that is straight, and uniform. Punch in the diameter. WORKS FLAWLESS.
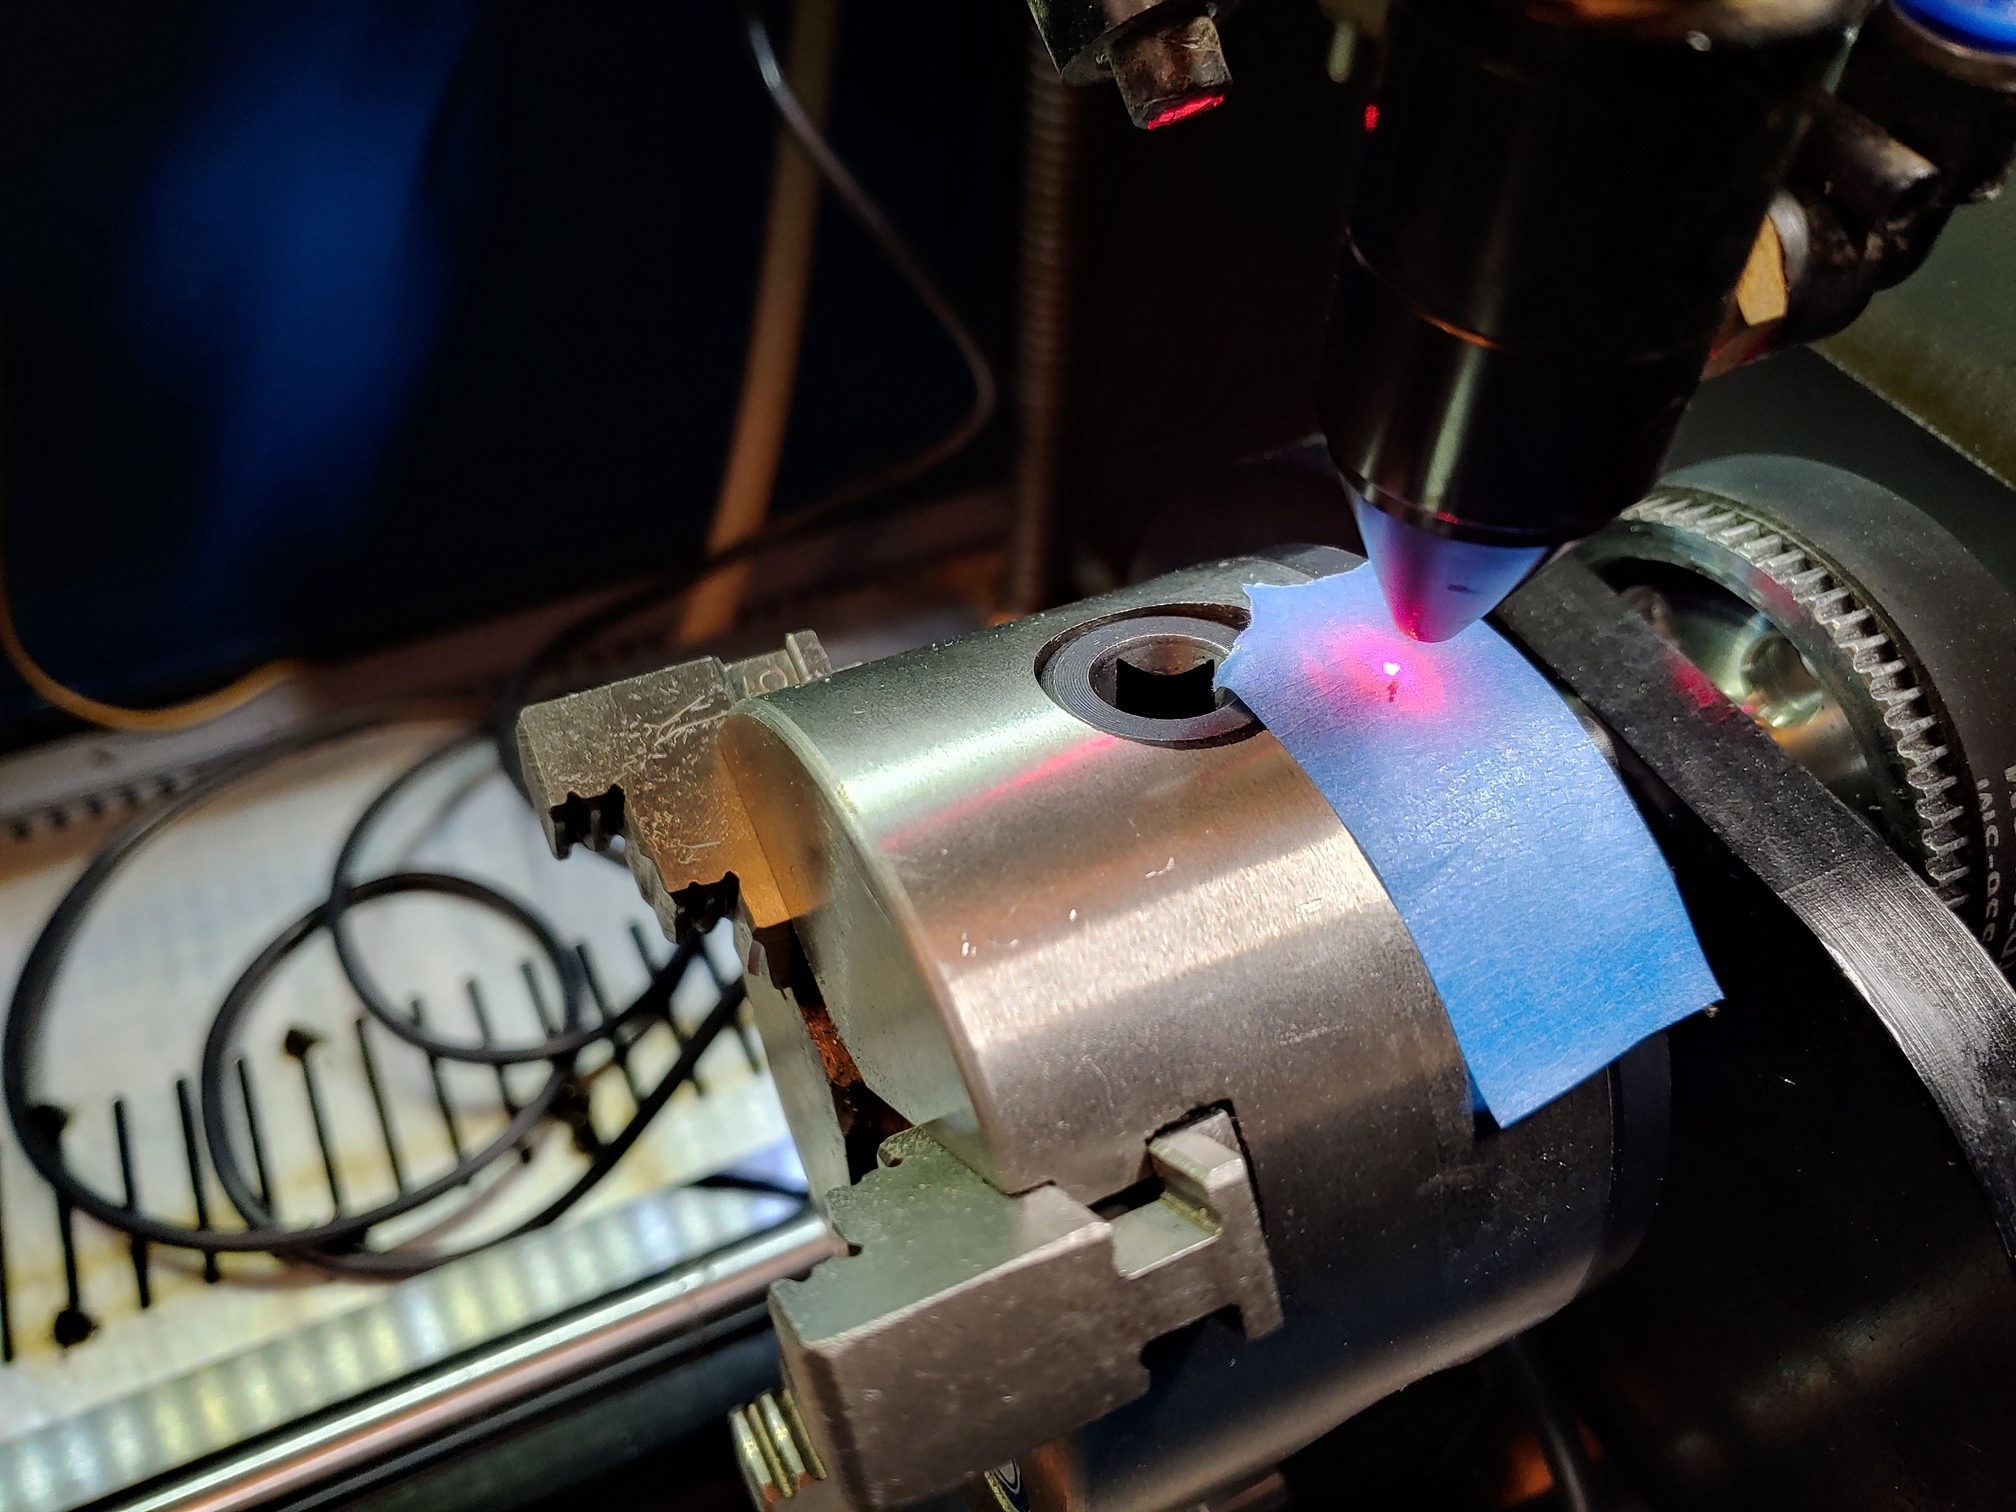
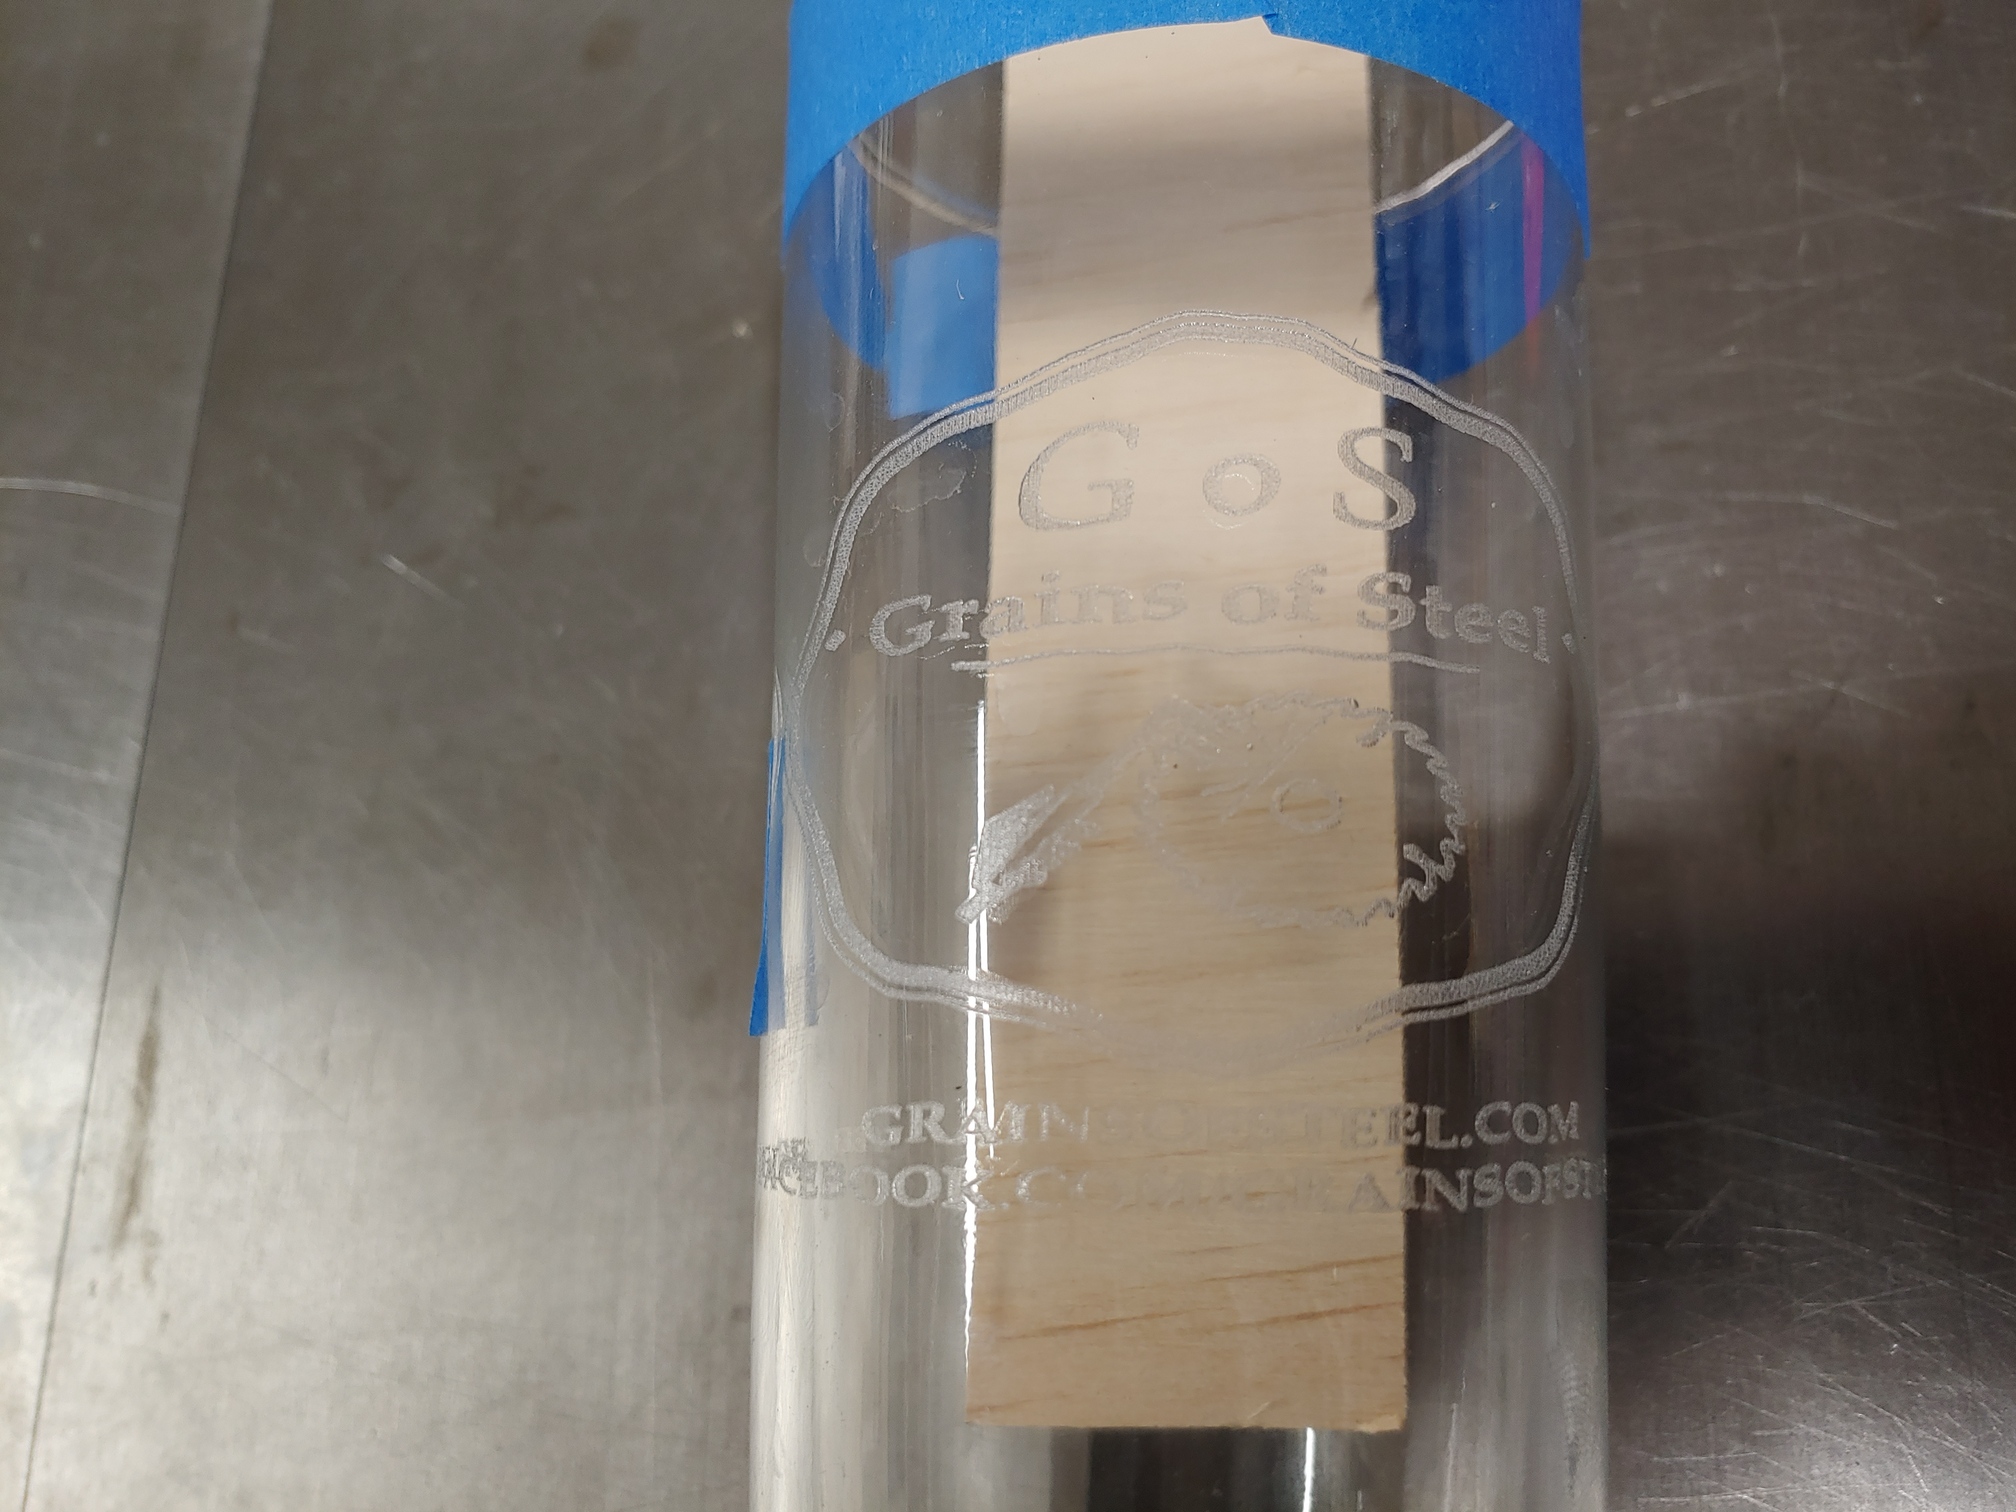
So, where am I going wrong with the glass? It is slightly tapered, but I have raised the chuck so that the focal length is even on the surface. I am using the diameter of the glass in what will be the center of the engraving. Is it maybe a slipping issue? I have the tail of the glass floating in a holder on the tail stock, and the chuck is “grabbing” the rim just tight enough to turn it. I’m only running at 100mm/sec.
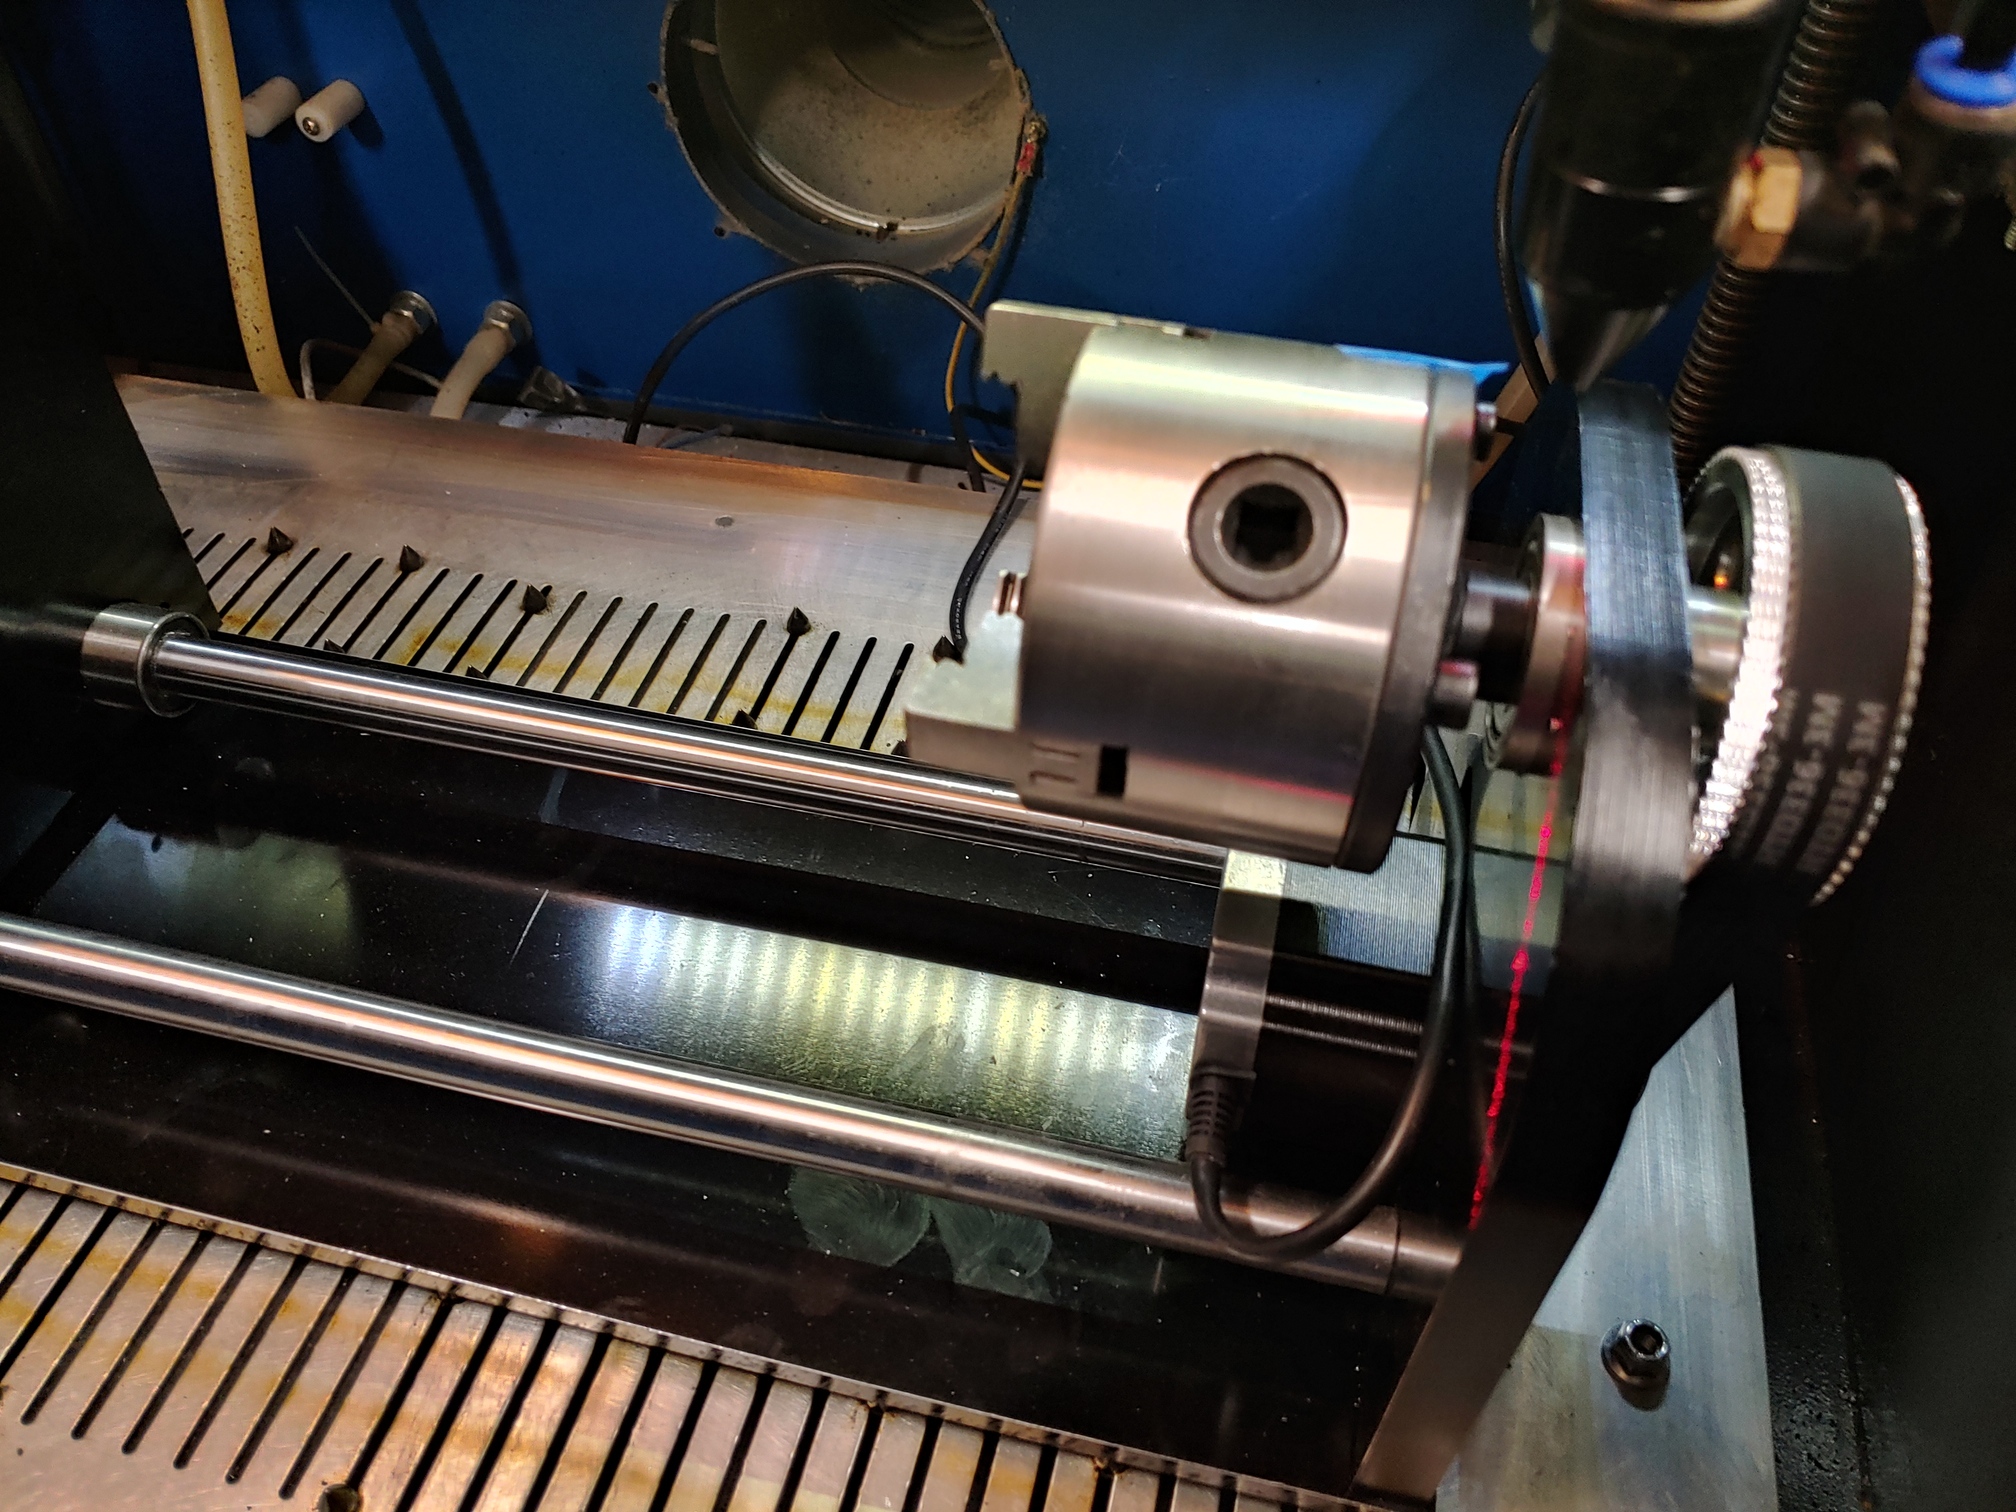
Not sure if I can be of much help here. But if the chuck never returs to the same position, I would check you rotary unit for backlash. Making sure belt is tight, the timing pullies are secured in place with the 2 grubscrews (they tend to com loose on 3D-printers…) Also in stepper motor. And is the motor is fixed in place. The Steps/rev. is a constant value and should not be changed. On your stepper-drivers you set an amount of steps pr. motor rev. (example 6400 steps/rmotor-rev.) then you need to figure the pulley ratio “No. of teeth on Large pulley”/“No. of teeth on small puley” the ratio may be 2.5. Then you multiply them: 6400 x 2.5 = 16000 steps/chuck-rev. And must remain constant.
I had the same problem. You have your steps/rot too low, so the controller is doing the math wrong and “wrapping the math” so it starts over at zero, which is why it is starting in a different place each time. Small diameter pieces don’t move far enough which is why they work. I have the same rotary attachment. My small laser is a 600x1000. It also depends what your dip switch settings are set for on the motor driver for micro-stepping. You can either do the math, or try below:
start at around 50,000 steps/rot
measure chuck diameter and enter (should be approx 80mm)
put a piece of tape on the chuck, origin laser on tape, put a mark at origin
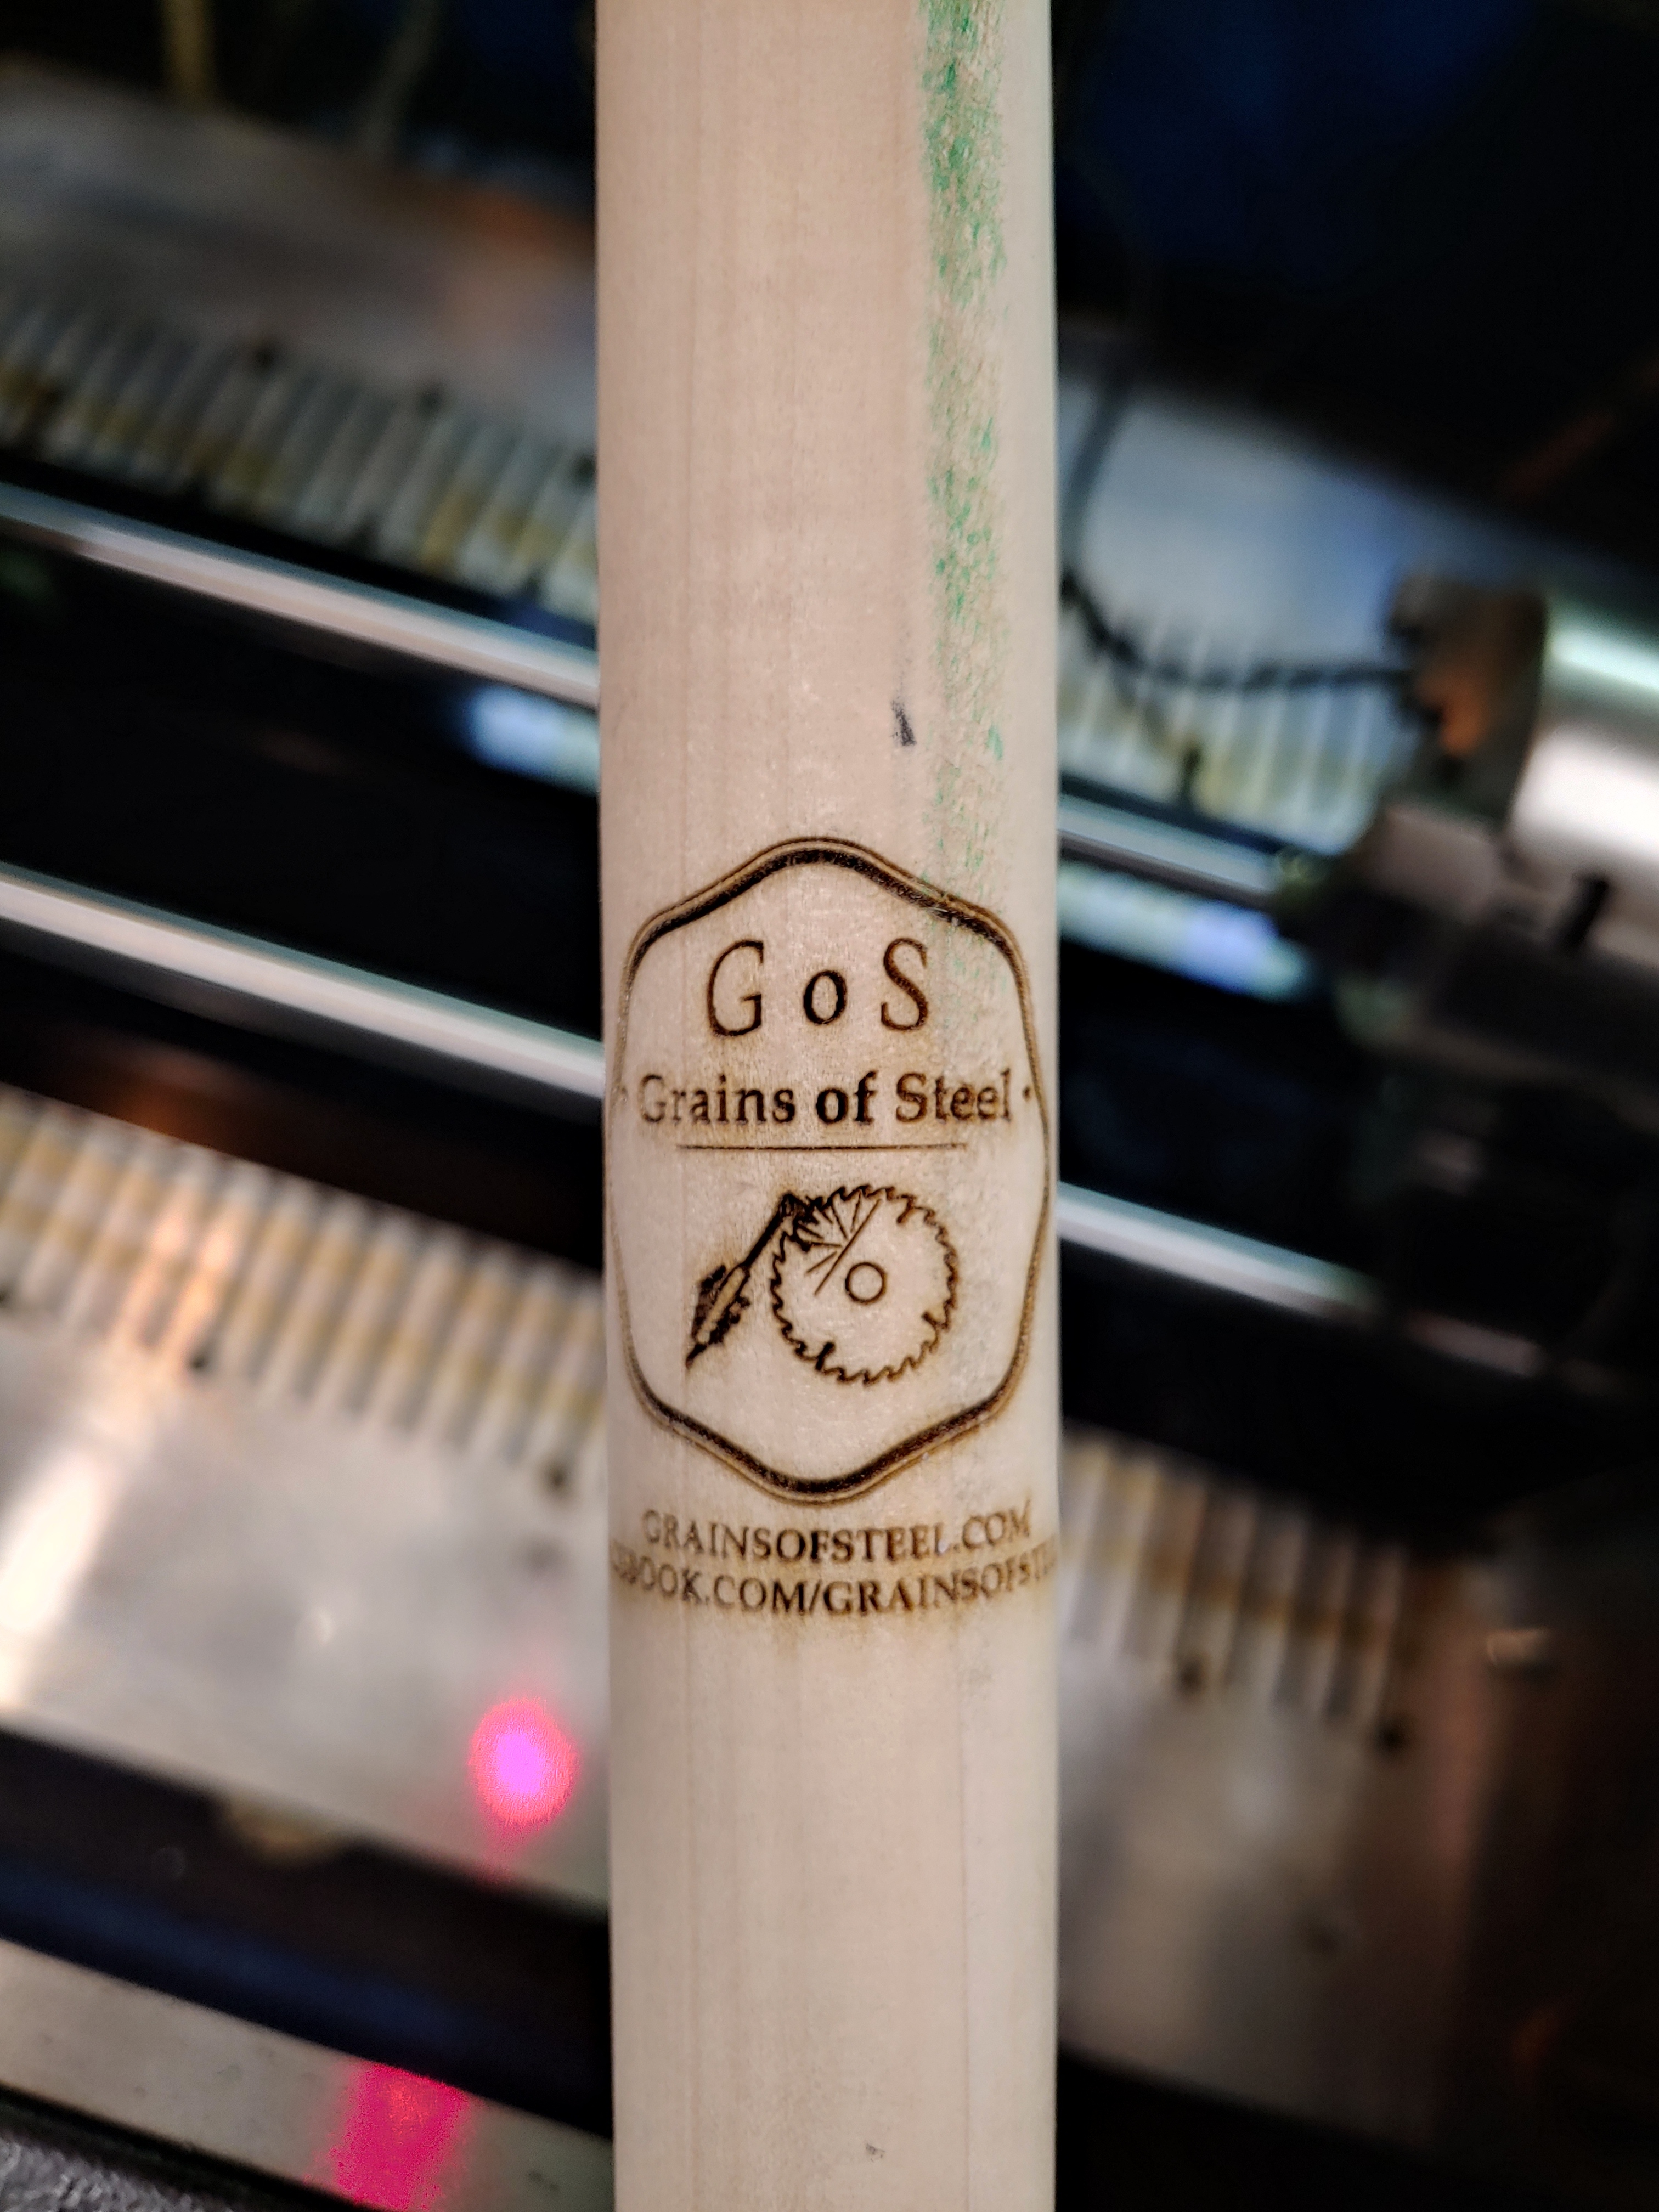
draw a 10mm wide x 100mm tall rectangle in LB, origin in bottom left (and frame it). It should frame and come back to the origin. If not, double the number and try again.
once it is consistently returning to the same spot, then turn the laser on, lightly engrave the rectangle, and measure it. It should be 10mm wide x a random height. Now start adjusting the steps/rot until you get 100mm
once you get the number, save it somewhere, as this never changes.