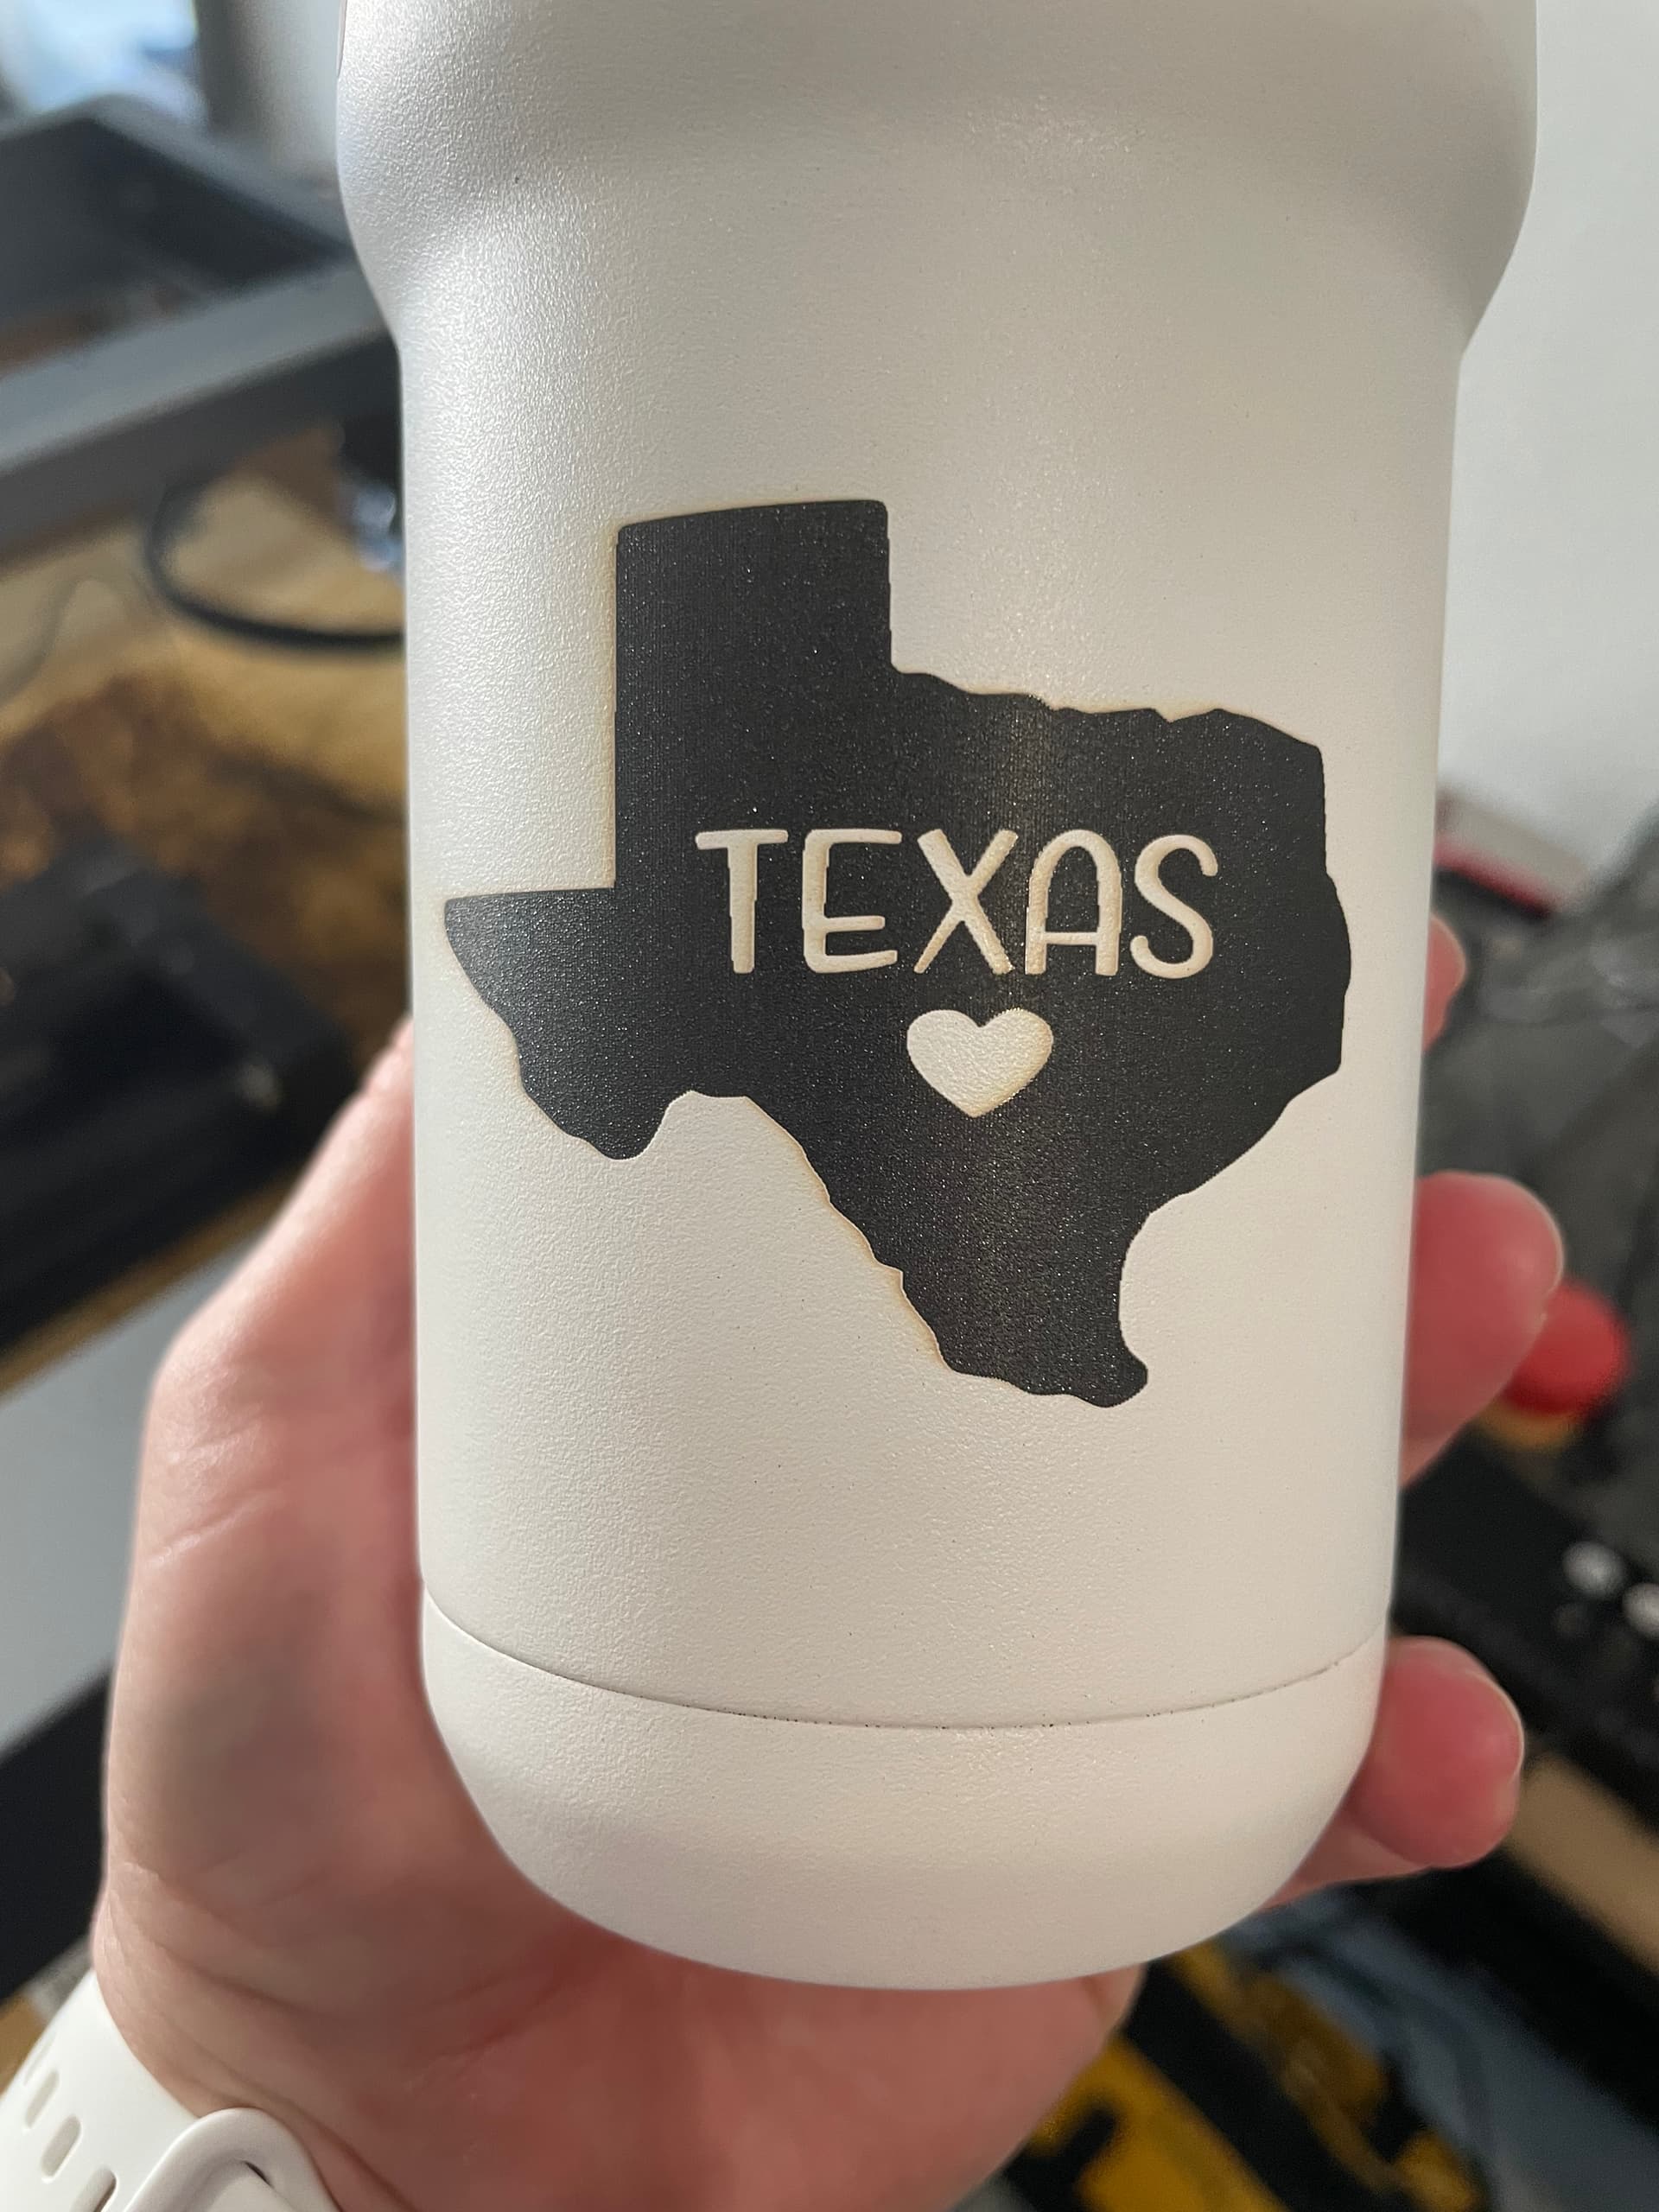
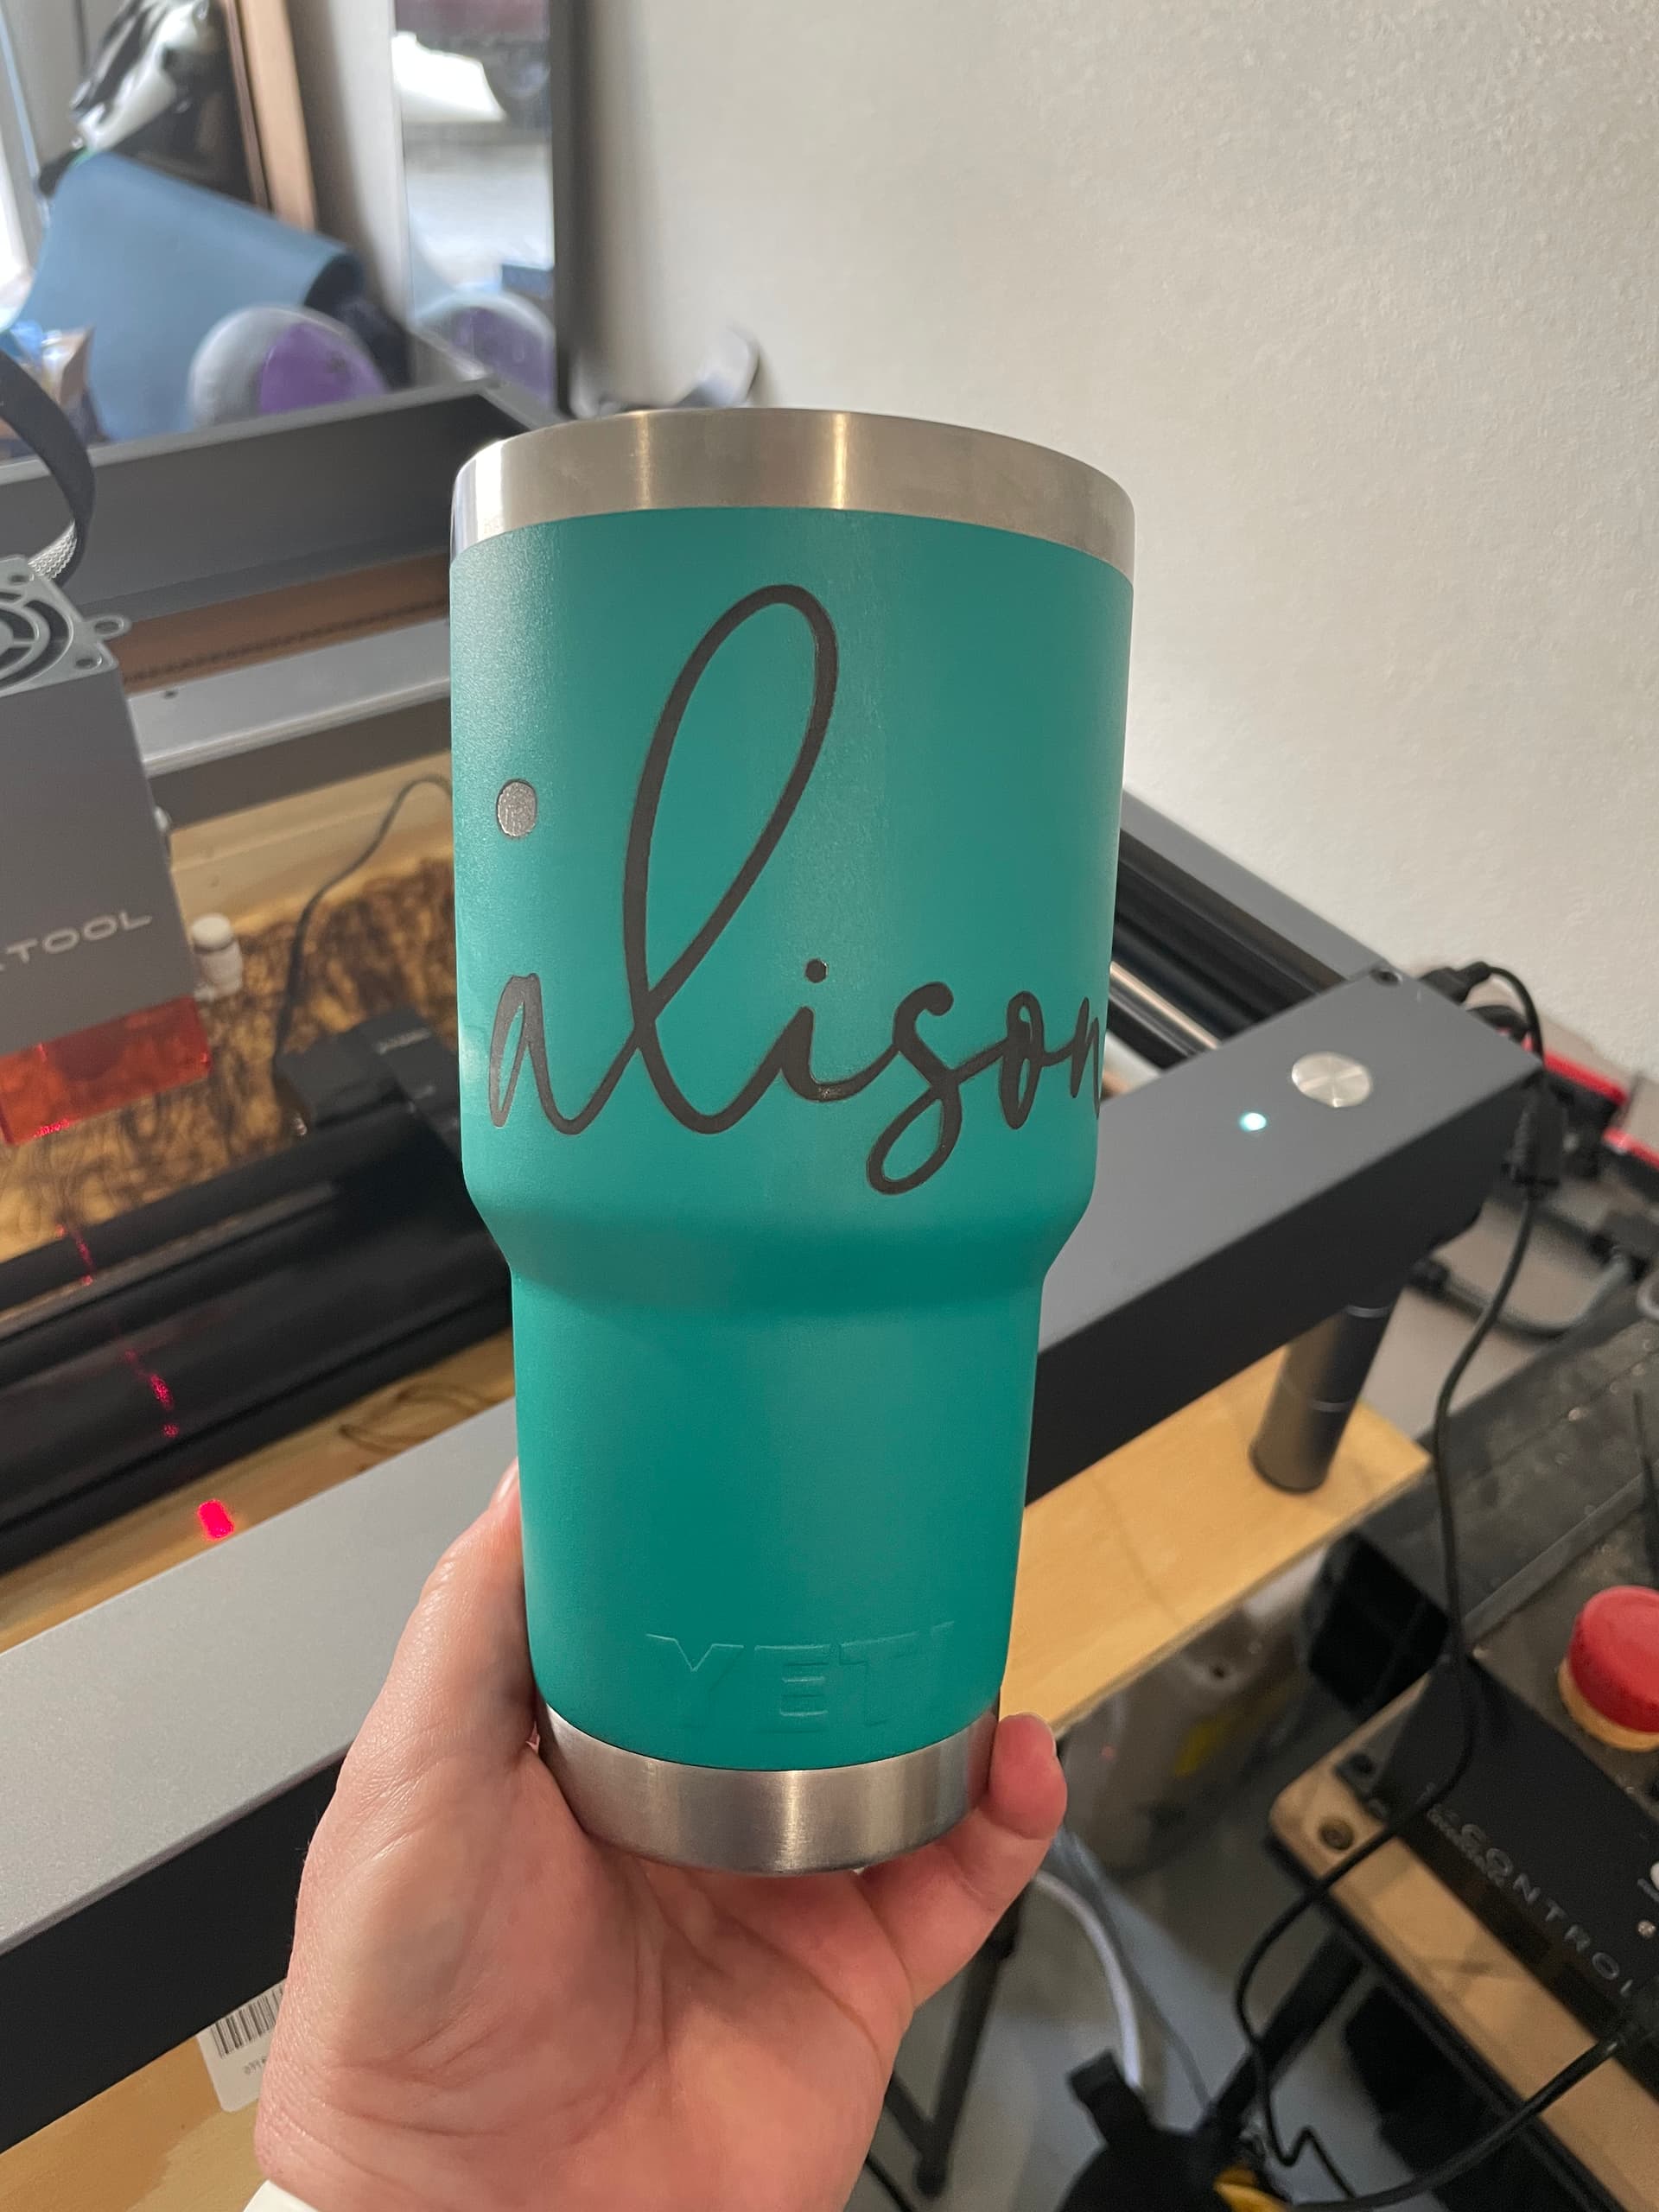
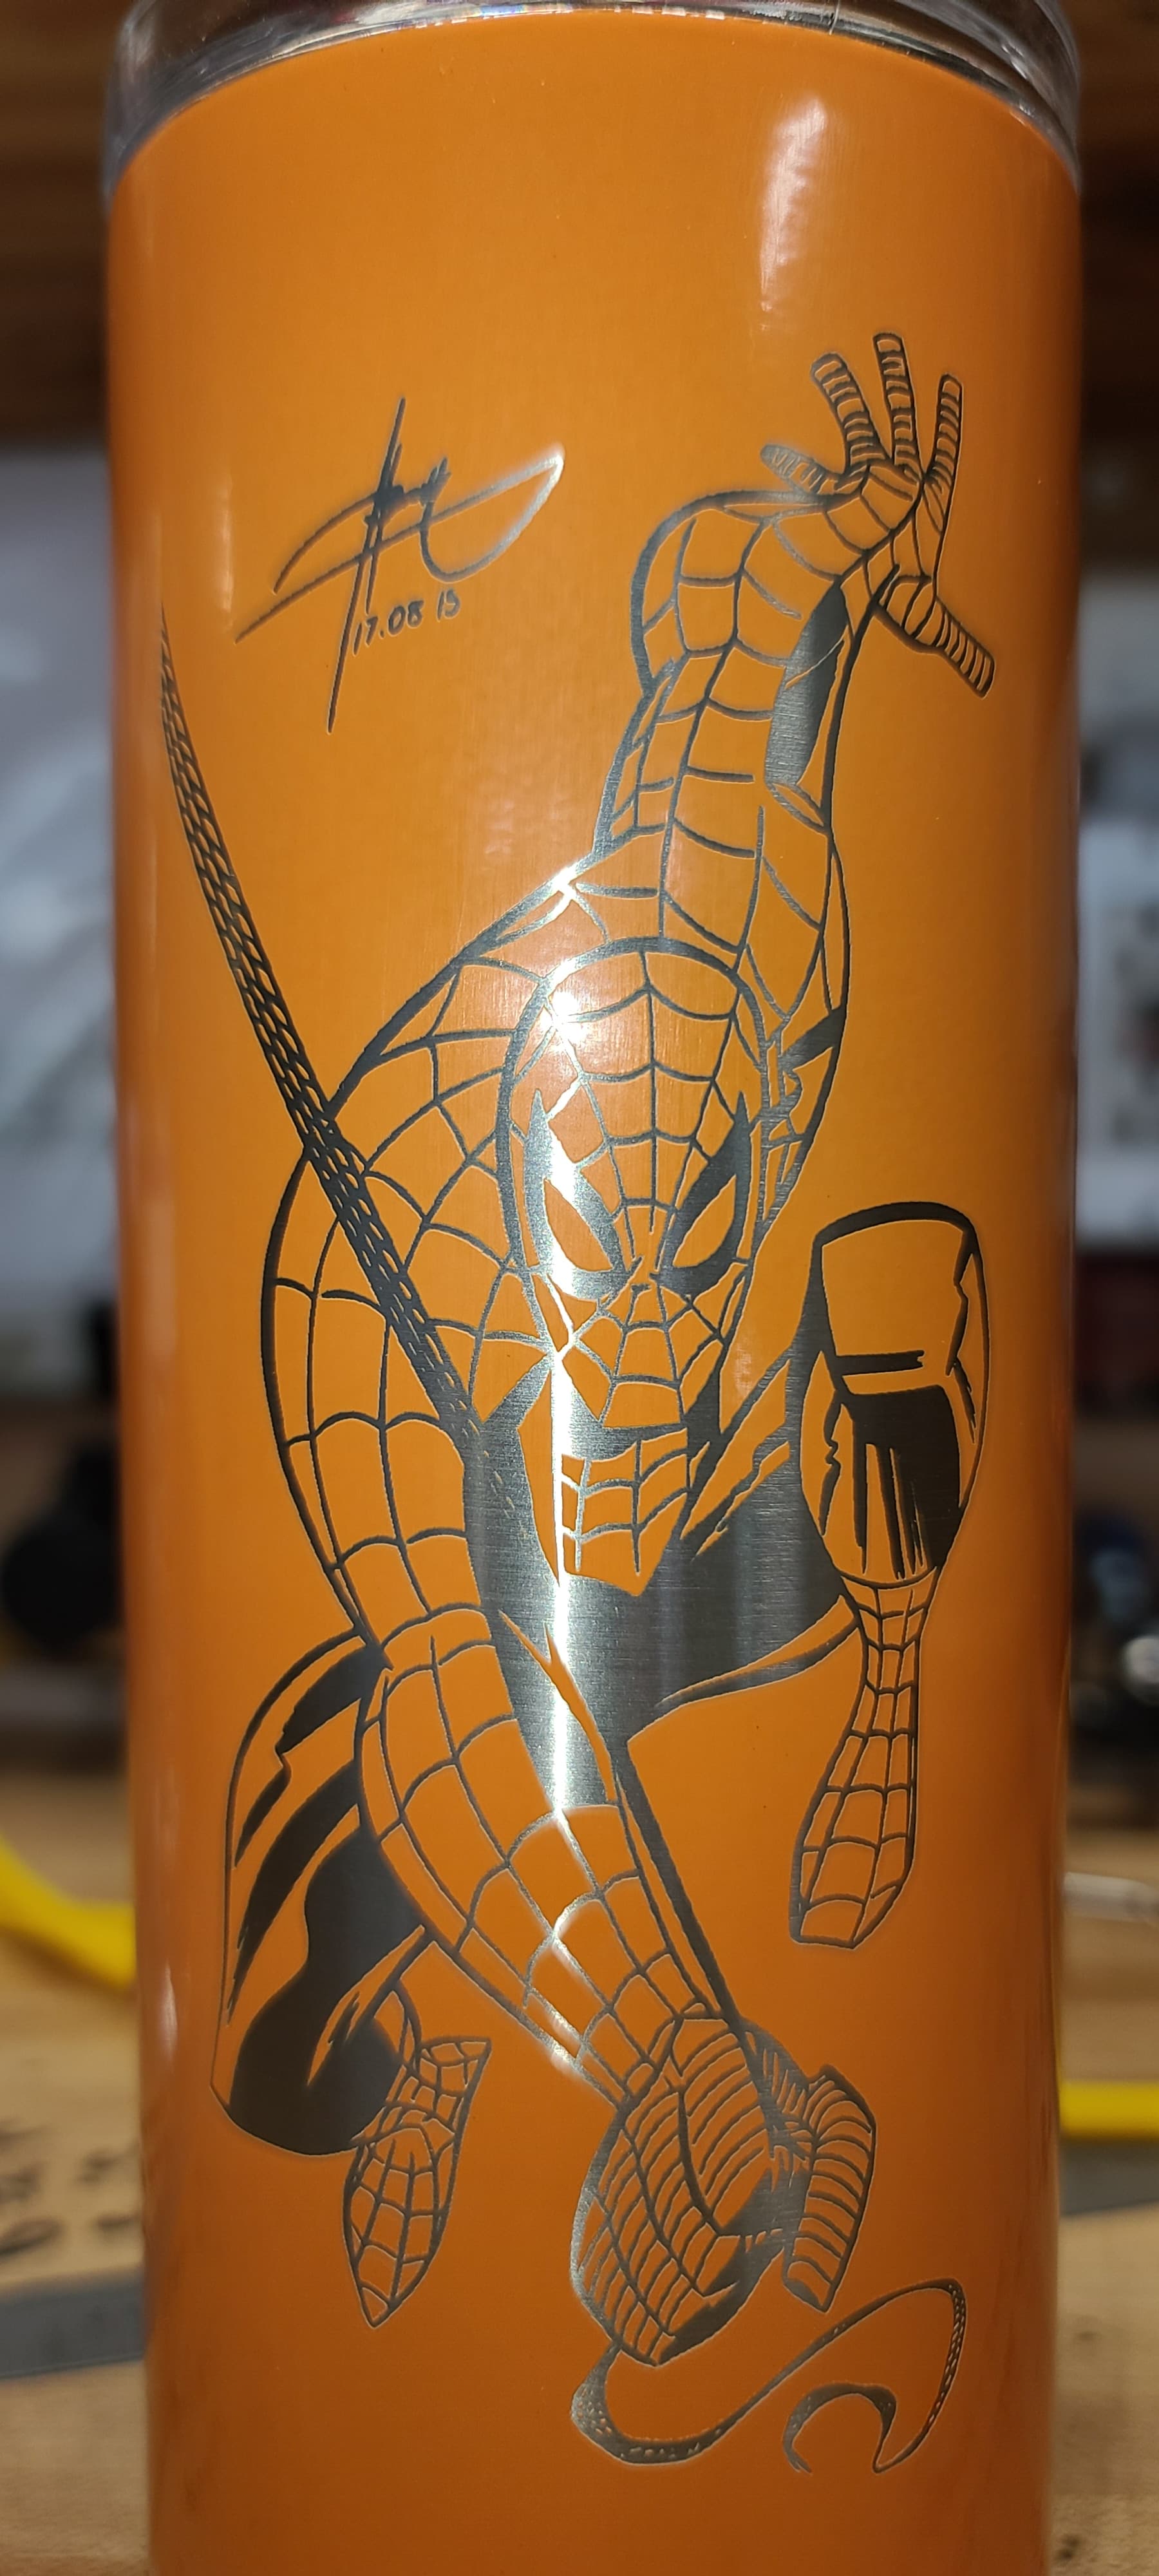
I am using the XTool D1 Pro 20W laser paired with the RA2. How do I go from this burned look to the clean reflective metal look underneath? I’ve tried changing the speed settings (I’ve been everywhere from 330mm/min down to 20mm/min and both achieve the same look). I’ve toggled Air Assist on and off and I’ve even the lowered the power slightly.
Colin’s away from his desk at the moment, So I’ll jump in here.
I hate to say it, but the only way to know what setting will work for what you’re attempting is the Material Test in Laser Tools. The burnt paint or coating may go away completely or you may be fighting the char and ash until you get the settings right.
If you have kept high power and changed the engrave speeds and not arrived at what you’re hoping for, an array of varied speeds and varied power levels will more likely get you there.
It could also be that a very low power engraving process damages the coating enough that it comes off with a scotchbrite pad or a Mr Clean Eraser. You may have to sacrifice a cup or two to develop your desired effect.
There’s nothing really confidential in the message, so i’ll attempt to move this into the public forum.