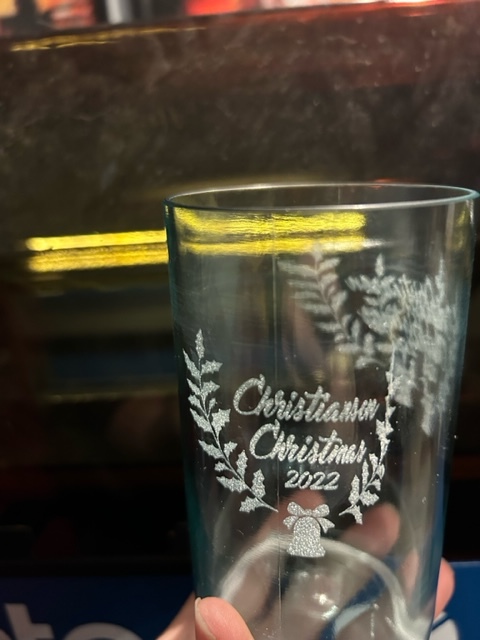
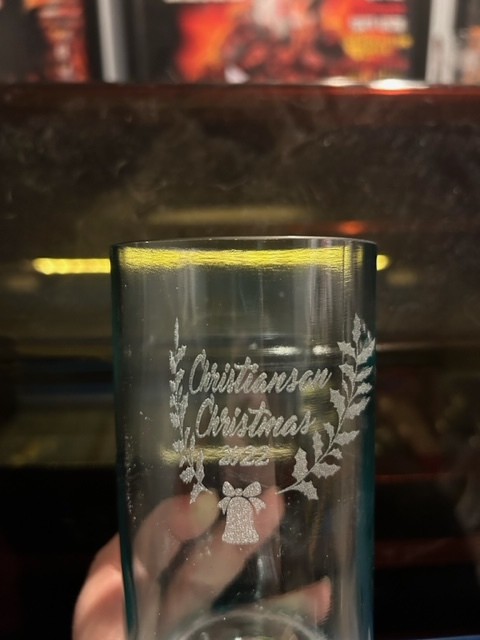
We’re trying to use the 4-wheel rotary tool to engrave pint glasses on our OMTech MF2028-60 and the design is starting out very squished and ending normal/stretched - consistently - squished starts halfway into the design it gets more and more normal.
It’s not squished as a whole - starts squished and ends correctly.
What am I missing? It’s all new to me; just got the engraver a week ago.
Hi,
I am also quite new to laser engraving machine but did you check that your glass is not drifting, maybe if the rotary wheels are going too fast at the beginning?
Depending on the wheel material, lowering the speed could help maybe. This way you would ensure that the glass is rotating exactly in sync with the wheels.
I would start with this but let’s see what experts will say.
This is a result of the ‘origin’ in the device setting. There is a job origin on the laser window with options.
When I do my mugs, I set ‘job origin’ to left center. Most of the mugs I use have a manufacturers logo dead center front. This is what I use as the origin so I can align it based on the logo.
The ‘start from’ is set to user origin. To use this, you must position the head where you want it and press ‘origin’ on the machines console. I use this and have the configuration in the Ruida set to ‘return to origin’.
Make sense?
Back to your issue.
Can you put a can with a label on it on your rotary and see if it does the same thing… Then we could probably toss out any ‘slippage’ questions.
I keep a few empty dog food cans around. When I need to test the rotary I put one on there with it’s ‘factory’ label and lase it
I think they mean slow the Y axes down along with the Y axes acceleration.
I’ve got a few hours reading this stuff, at least that’s my interpretation.
I have a few rotary configurations… Ones that use vectors are different than ones with images. Generally success is pretty good with image since you are not ‘spinning’ the object, just moving it the dpi distance every step.
Most of my rotary setups have the start speed set (I keep it here) and acceleration set in single digits… make for some agony - time wise
I take steel wool to my glass work to get rid of ‘shards’. It’s broken glass, so ensure you ‘knock’ out all the pieces that are shattered and will come off slowly. These have a tendency to end up in peoples fingers…
Please mark the thread solved… thanks for adding what fixed it…