I am sorry that it seems I only come here when I am utterly stumped. When I feel I’ve improved at this, I may feel comfortable offering some answers and feedback.
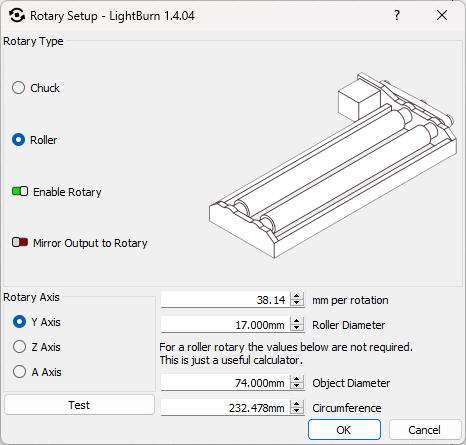
I need some help with my rotary engraving. I am using the Elegoo Phecda laser engraver with the Elegoo rotary attachment. It took me a while to get the rotary settings to what I thought was correct, verifying them against a 10 cm grid on a relatively cylindrical thermal mug. Aside from some drifting, it seemed okay.

I then wasted the other three mugs in the set trying to do an engraving for my son, who’s down at Fort Gordon in Augusta, GA. Every time, there were artifacts I couldn’t explain; I’m hoping you all can.
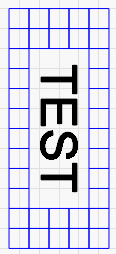
Mug Engraving Test.lbrn2 (17.0 KB)
Here’s the test I was doing.

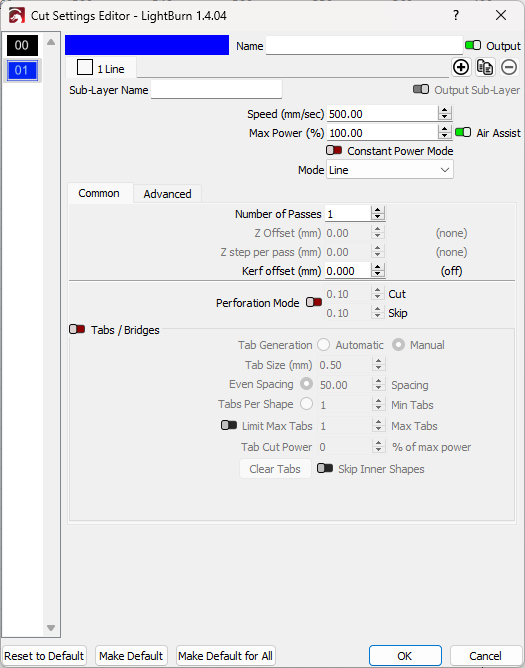
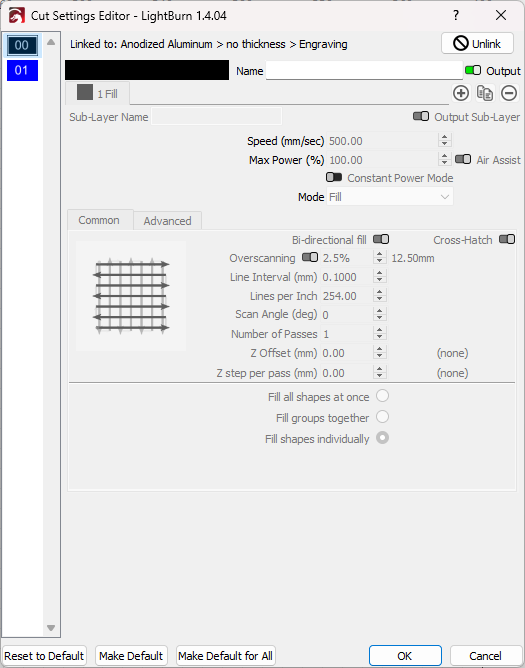
Here are the two different settings. I was testing both line engraving and bidirectional fill.
And finally, here was the result.
The boxes seemed okay, all considered. They are consistently 10cm x 10cm. The word is much wider than it should be. The “up/down” letters are the proper width and engraved okay, aside from the space between the letters. Note that the space is correct if you consider the space of the “up/down” engraving to the “horizontal” engraving of the next letter, as between the T and E above.
Is there anyone out there that can advise on how to address this? I feel the issue must be in the rotary settings, but I can’t figure out where I went wrong.
Thank you in advance.
Tim


