I am having an issue when I rotate an object, such as a rectangle, that it is not the same size as the original.
For example, I created a 12"x10" cutout and then cut out a solid backer piece of material but rotated the image 90º so that I could get a contrasting grain effect. Nothing changed expect for the rotation. I cut the backer out and it is a tad smaller in width (about 2mm) and a tad taller in height (about 1mm) than the original.
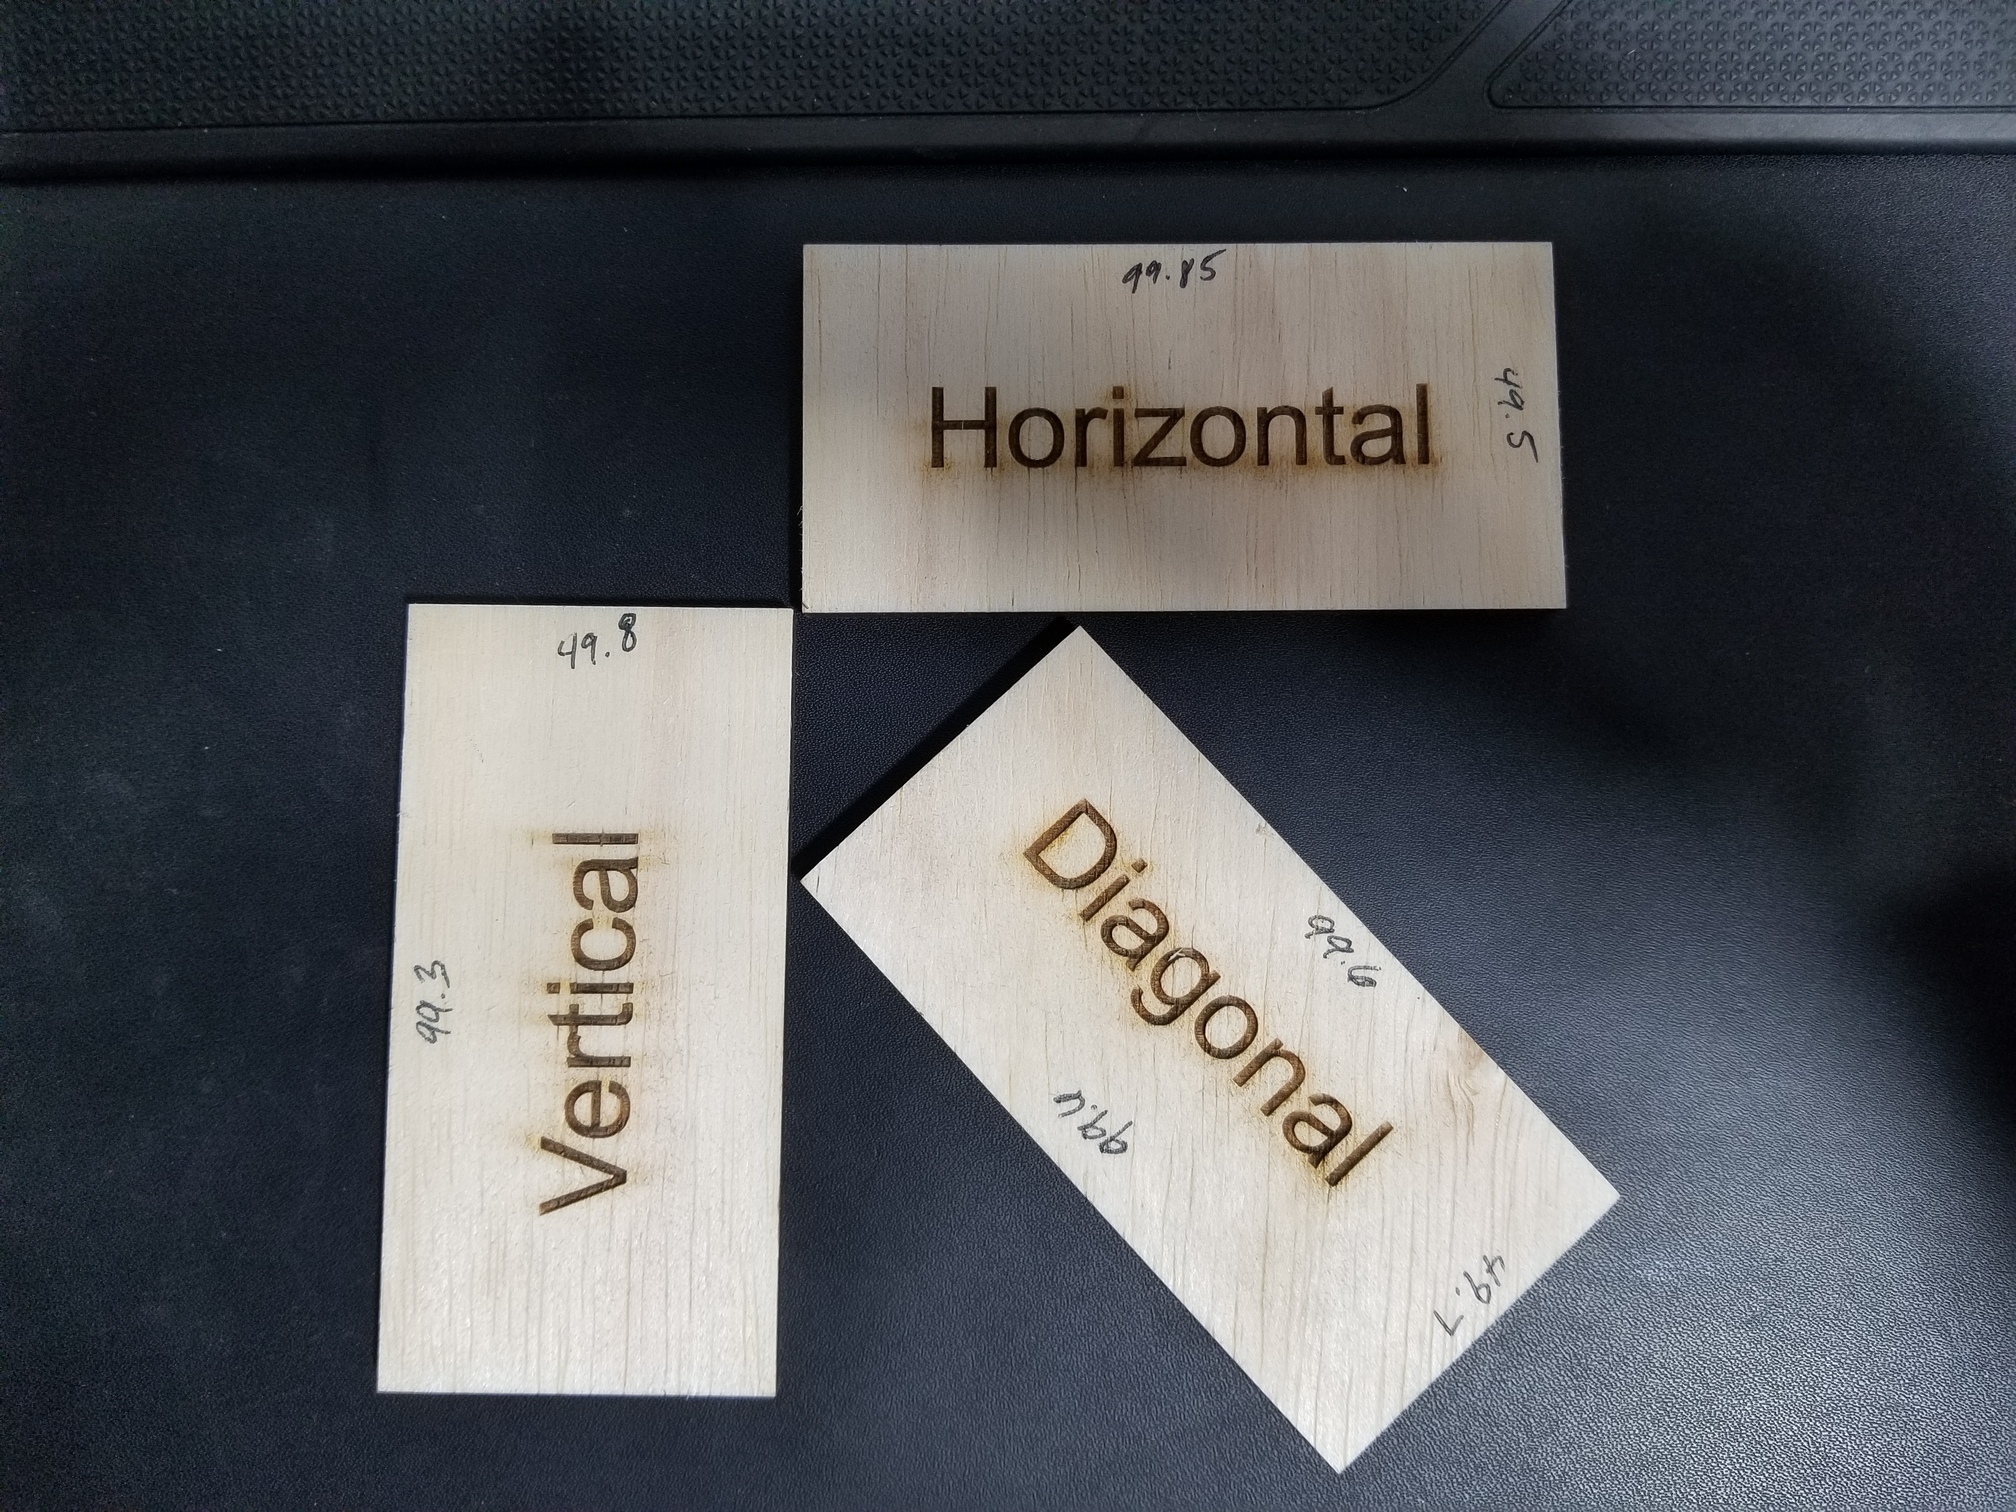
I tested this theory by creating a 100mmx50mm rectangle using the Create Rectangle tool. I copied and pasted the fist rectangle and then rotated it 45º. I pasted again and rotated 90º.
The Horizontal (original) rectangle came out 99.85mm wide while the Vertical came out at 99.3mm wide. .5mm difference in 100mm
It’s called calibrating your axis’. Make sure you use as large a rectangle as you can for accuracy, and don’t forget the dashed line down the center for a skew check while you are at it.
Make a rectangle about 30mm smaller than your max bed size and put a dashed line down the center and cut it from paper. I use old wrapping paper. Measure your X and Y dimensions and enter them into your controller against what it’s supposed to be and it will calculate the step length. If you are fairly far out, do it again to double check.
Now, that dashed line. Fold the paper on the dashed line. If the corners line up, your X is square to your Y. If they are off, that’s roughly what you need to adjust by. It’s just loosening one end of your Y shaft gears, but it can be a bit of a process. Check back if you need further info on that aspect of it.
Perfect. I also got the same answer from Brian Bell at Thunder Laser. I did a 20x20 and got it to be exact but will now do a larger one for obvious reasons
If you have a small laser, the small squares work okay. What they should say is do one almost as big as your cutting bed, and very few of them tell you about the skew check even though it’s simple to do at the same time.
You know, they make these neat things called tape measures. If you’re worried about accuracy, you start at the 100mm mark instead of the end. I did mine at 450 x 650 for my 500 x 700 bed.
hmmmm, tape measure vs. calipers… I wonder why someone even invented calipers, since there were already tape measures. I’m going for precision artwork, not chainsaw art, but thanks for the tip!
Measure from the same side of each cut, or measure the inside, then the outside, and average them. That way, you account for the kerf of the cut, and it won’t skew your measurements.