Hello all!
I am fairly new to engraving. I am trying to engrave some tags and I can not figure out how to get a smooth finish in the inside of the font or a image on plastic. I tried speeding it up, slowing it down, turning up the power, turning down the power, turning up the Lines per inch and turning down the lines per inch. No matter what I do, it does not come out smooth. And yes, my len and mirrors are clean. Any suggestions?
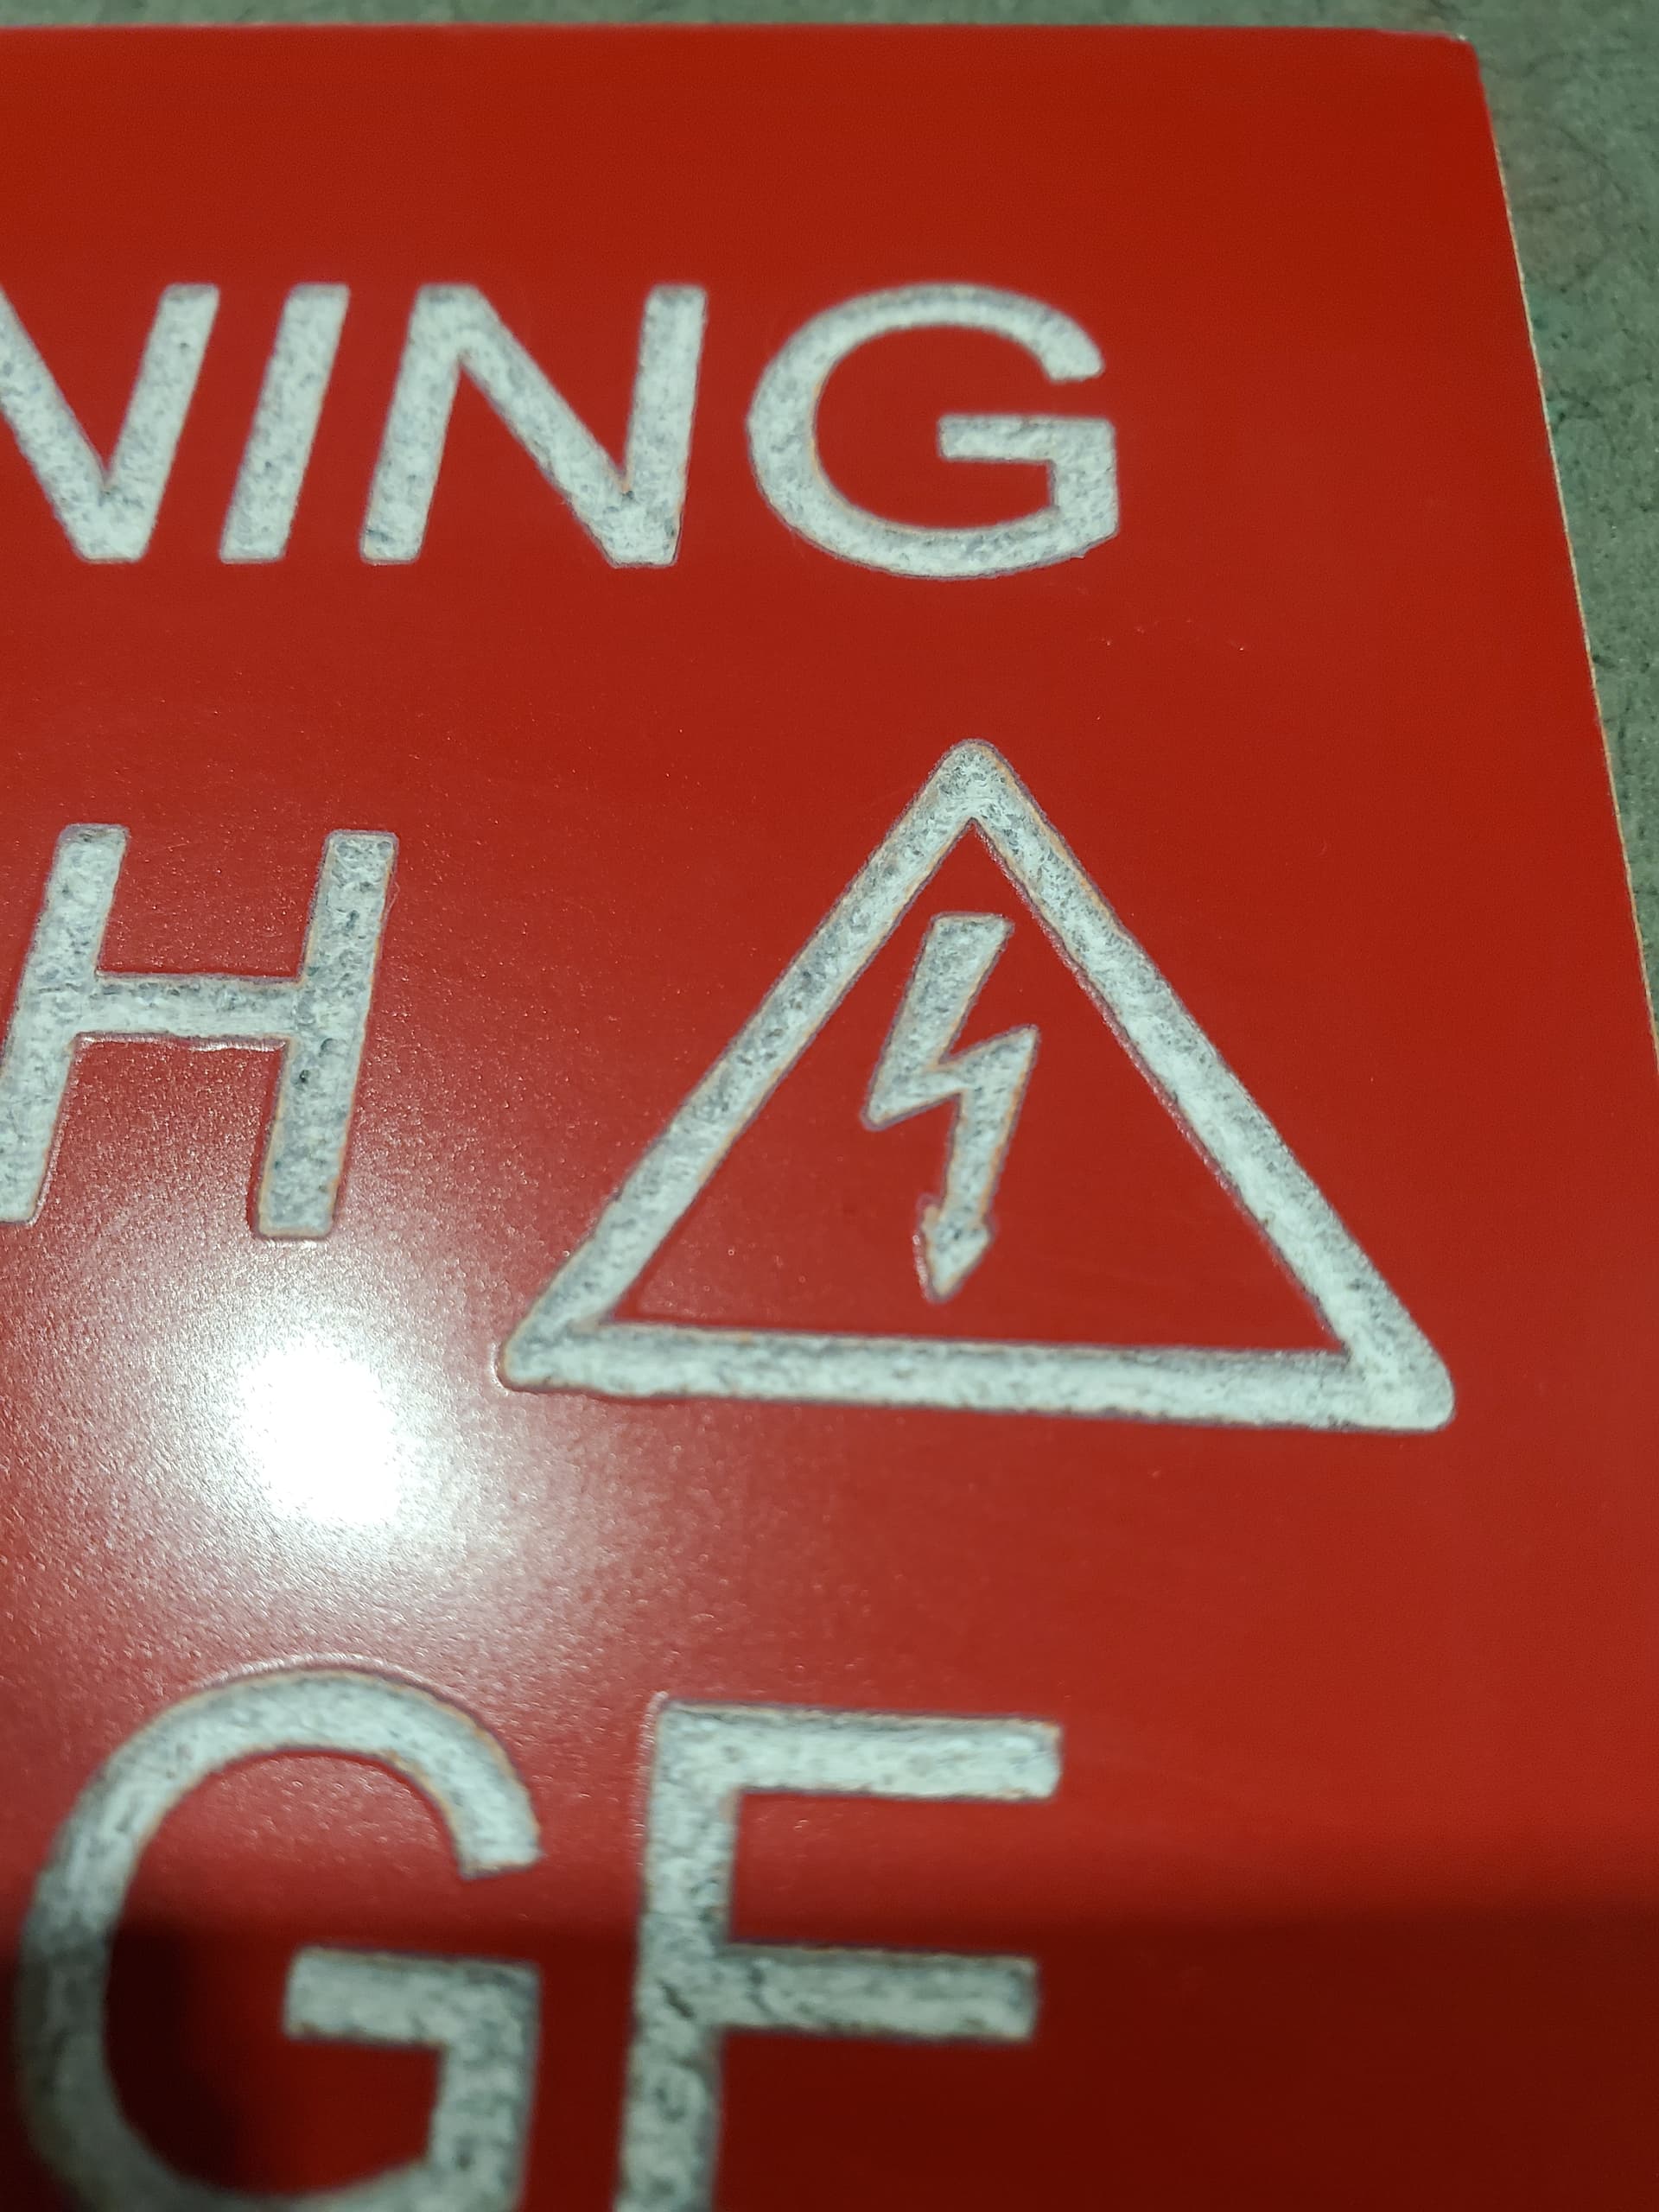
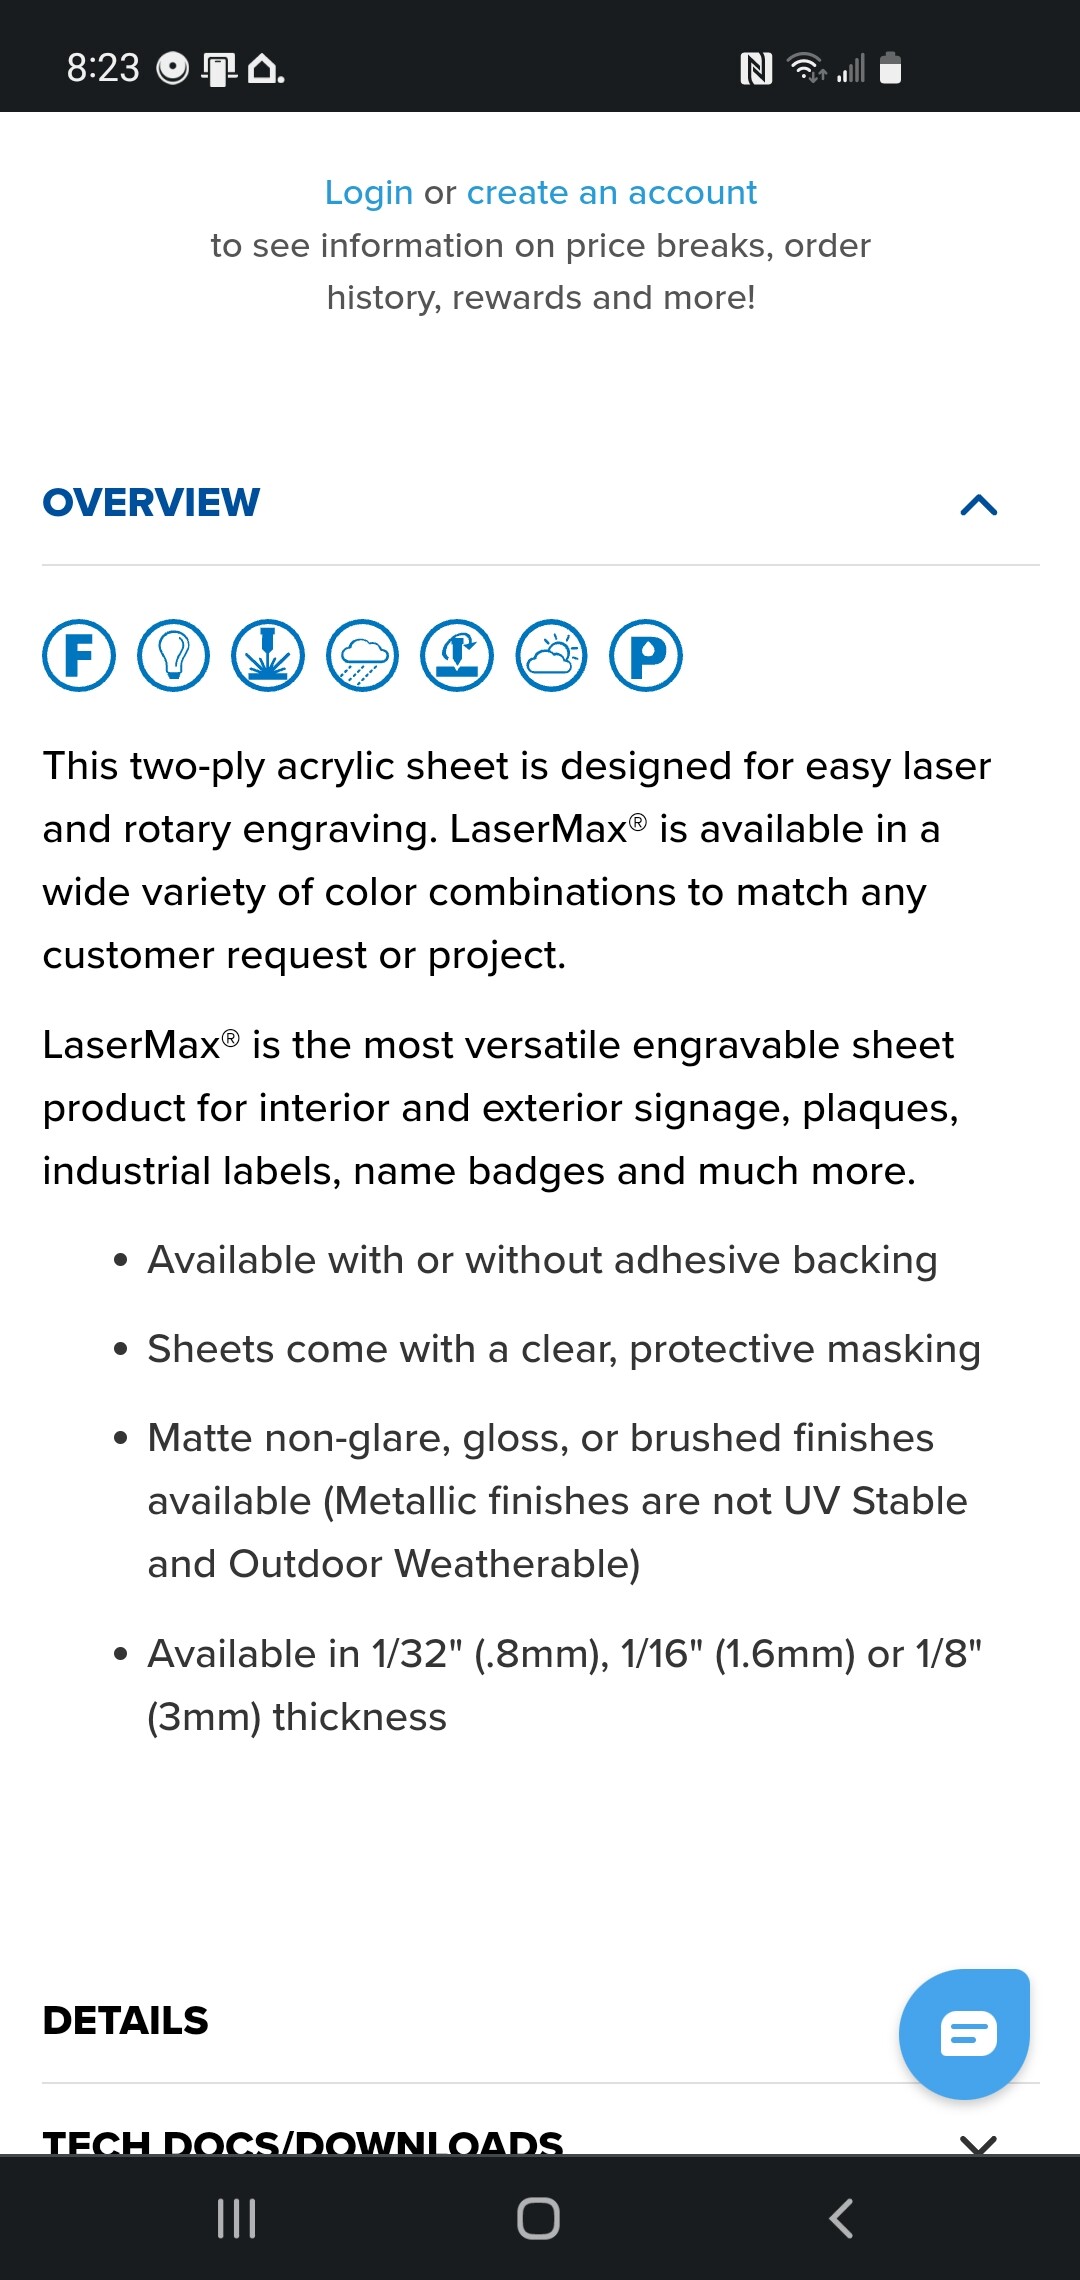
Is the material acrylic, like Trolase?
The melty edges look more like ABS, which you can engrave, but it’s definitely doing the job on Hard Mode and you need good ventilation.
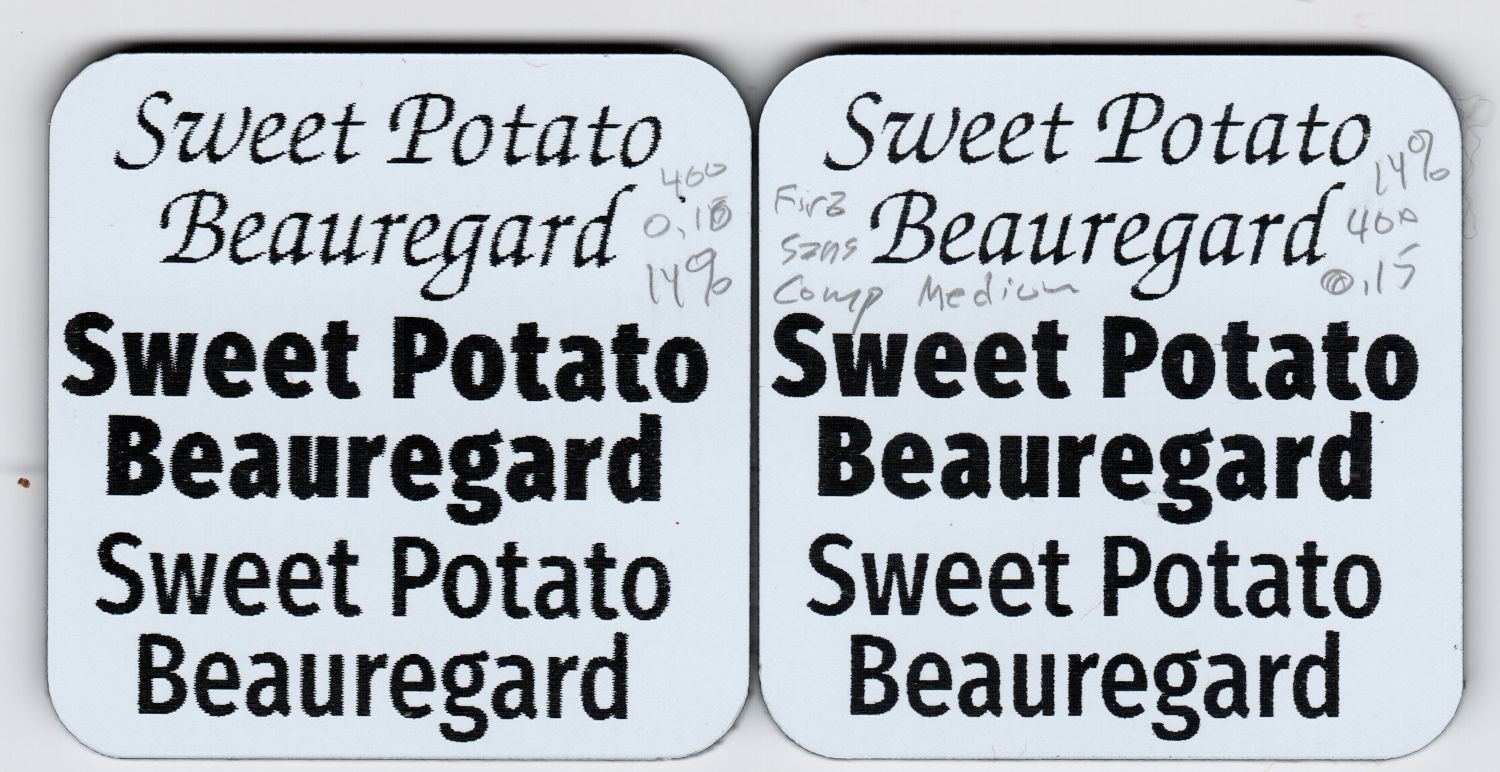
Edit: what Trolase acrylic looks like:
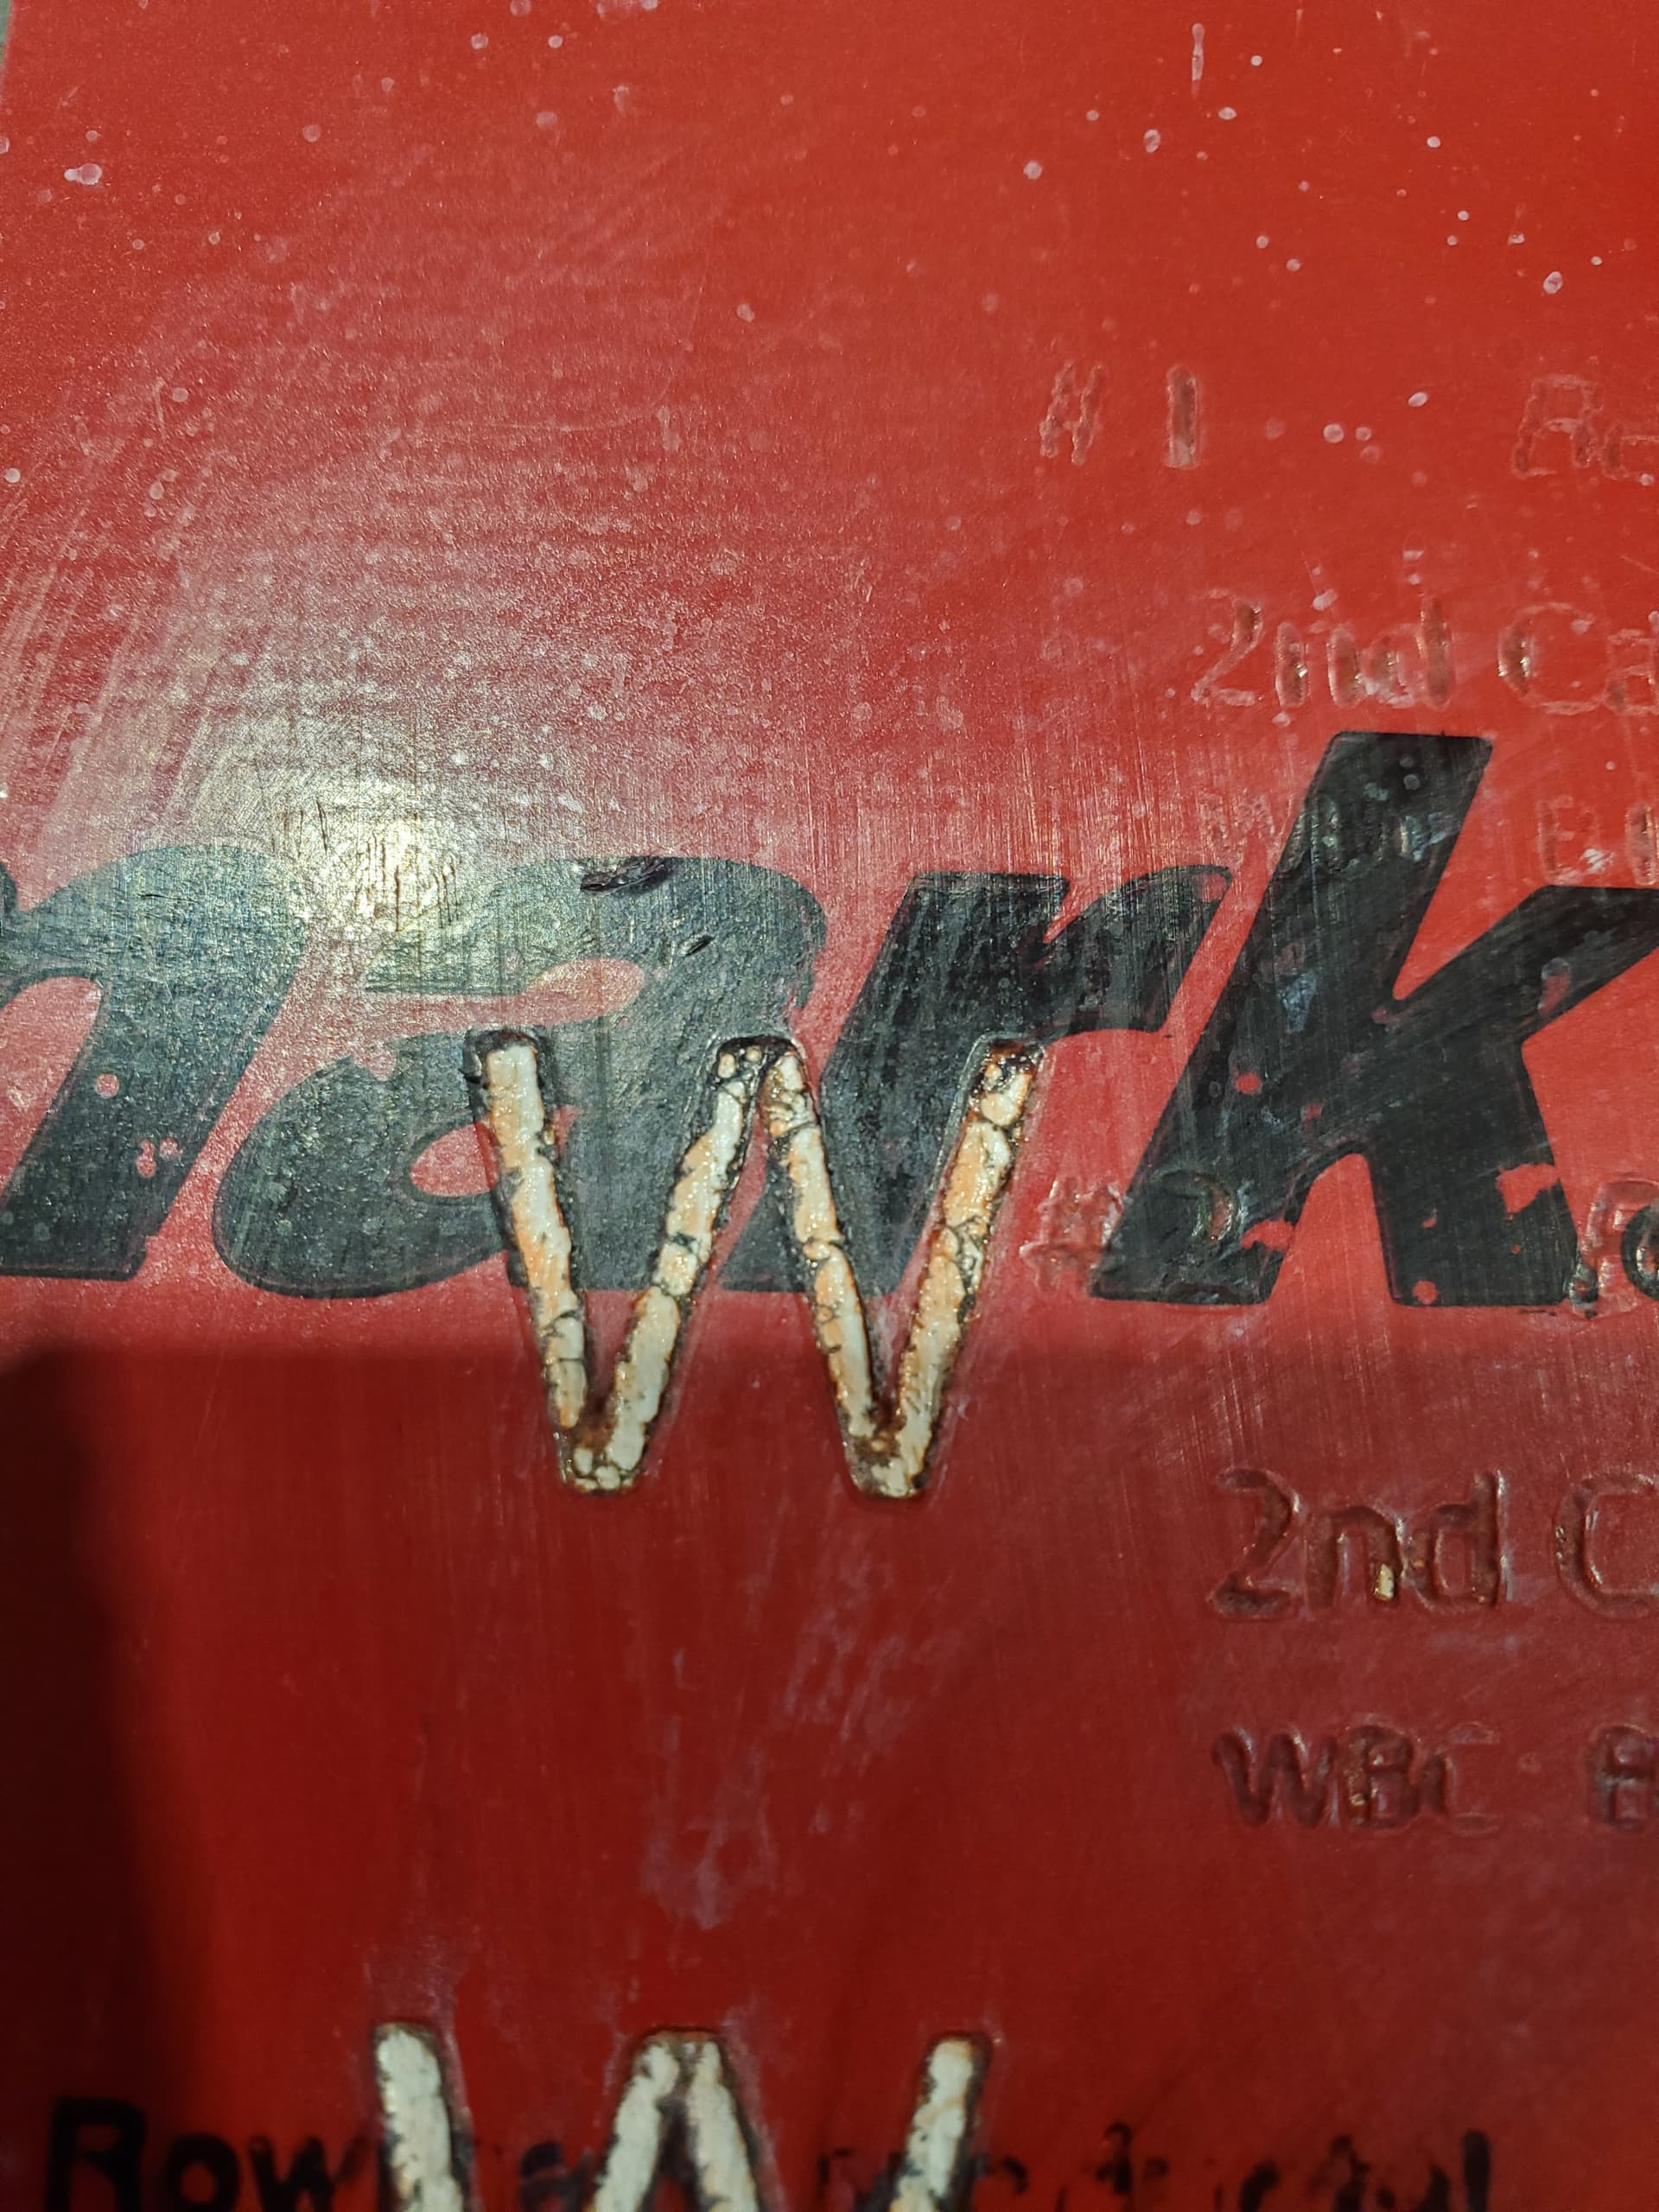
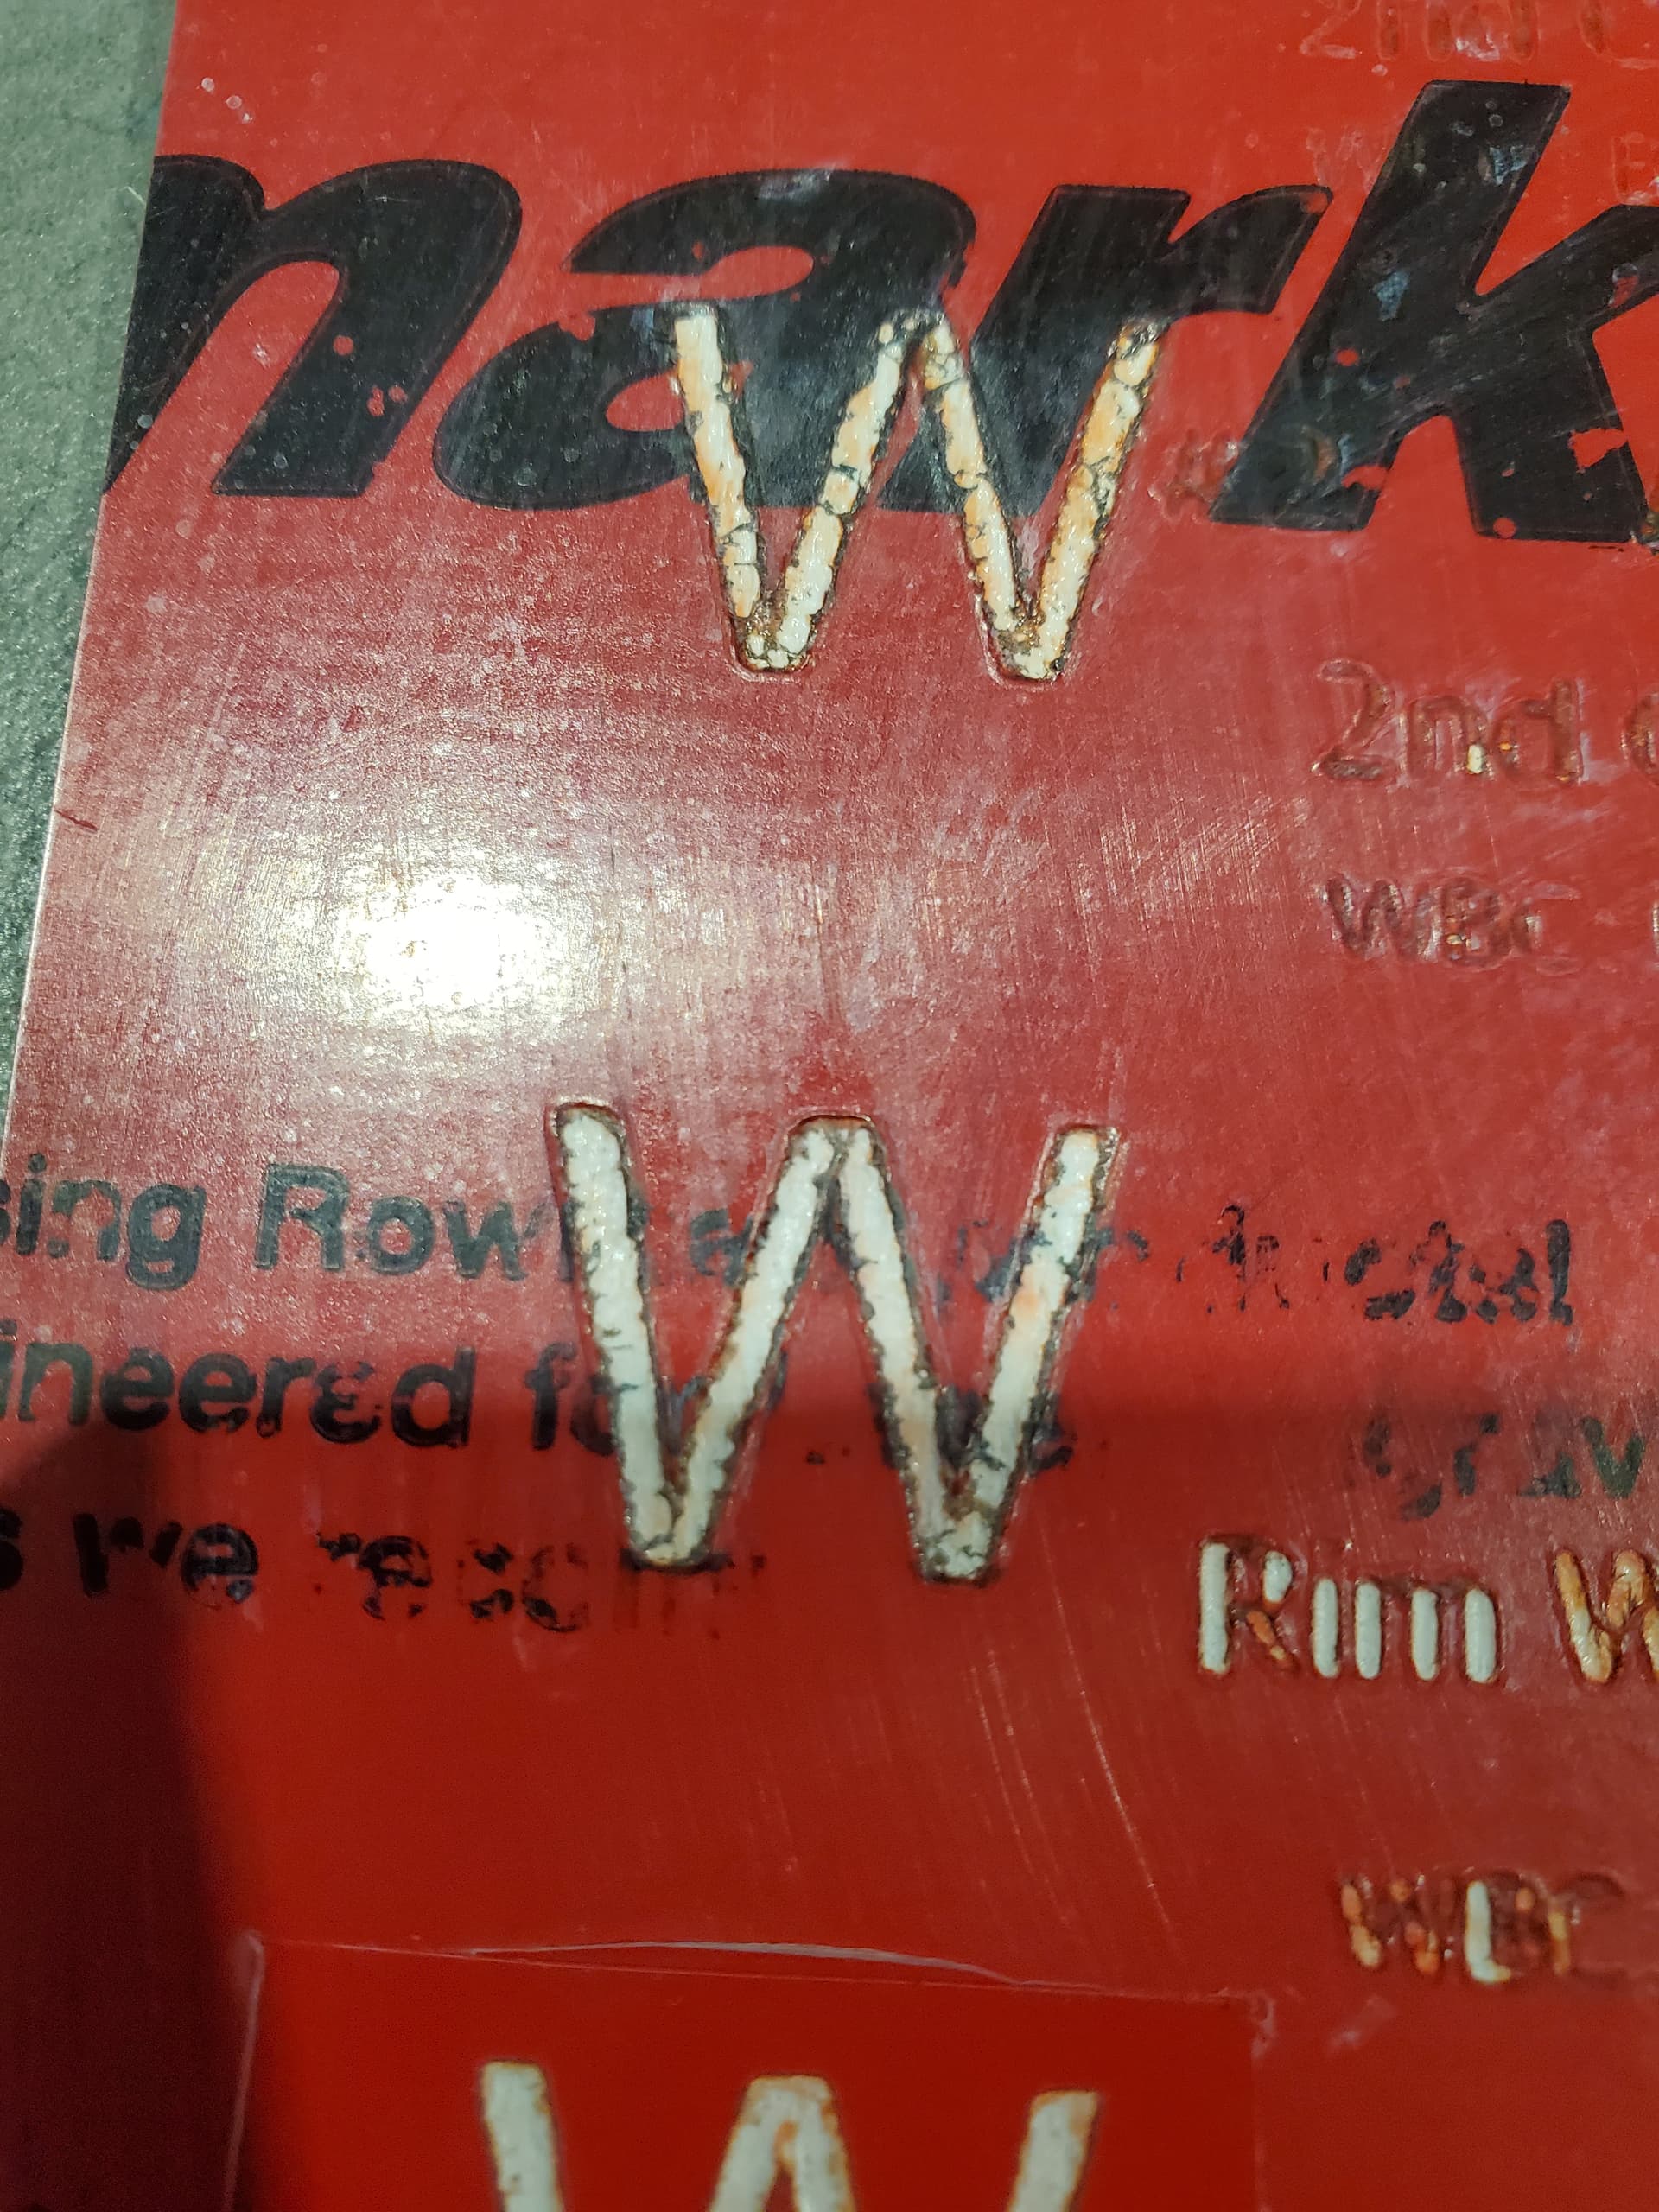
Your power is way too high. Most laser engravible laminates have a very thin top layer, typically .003". The rotary laminate top layer is around .012"
In the photo you sent, it looks like the speed is good, but I would cut the power in half and just try to engrave one or two words to see what happens. ( No need to waste all that laminate ) You can slowly increase the power as needed.
I am using these,
My best result was running at 175 mm. Power, that was at 24 mm. Then I went back and started at 10 mm and up to 18 mm. At that I am barley getting all the red out on the first pass. I have to do a second pass and I still get the same result. Is it the material?
And I do have good ventilation.
I assume you mean % rather than mm for the powers. ![]()
The material looks good, with a very thin color layer on top. The settings are definitely too slow with too much power: I used 400 mm/s and 14% for the Trolase, which seems similar.
Run a Material Test on the sheets you’re using to identify the proper range for good result, which will be much better and faster than screwing around with incremental tweaks.
Make the pattern small enough to fit several on your (ample!) scrap, run the speeds from 200 mm/s up to as fast as your laser can move, run the power from as low as it will lase up to 20%, and you’ll see good results pretty quickly.
It shouldn’t be this hard. If you need to go over on a second pass, try doing a crosshatch, I always found best results with it.
However, this is with my Led Laser. When I used my CO2 lasers, one pass was enough. They were 60Watt machines, but unfortunately I can’t remember the settings I used.

These were done on the CO2 machine
I appreciate the replies!
Yes %. Sorry, I was still half asleep, lol.
What do you normally run your Lines Per Inch at?
Those were at 0.15 mm, but you should run an Interval Test to get the proper values for your laser on your material at whatever focus seems appropriate.
That made a big difference! Thank you.
I am using a OMTech 60w.
The first pic is at 400mm / 20%
Second one is at 350mm / 20%
Third is at 300mm / 20%
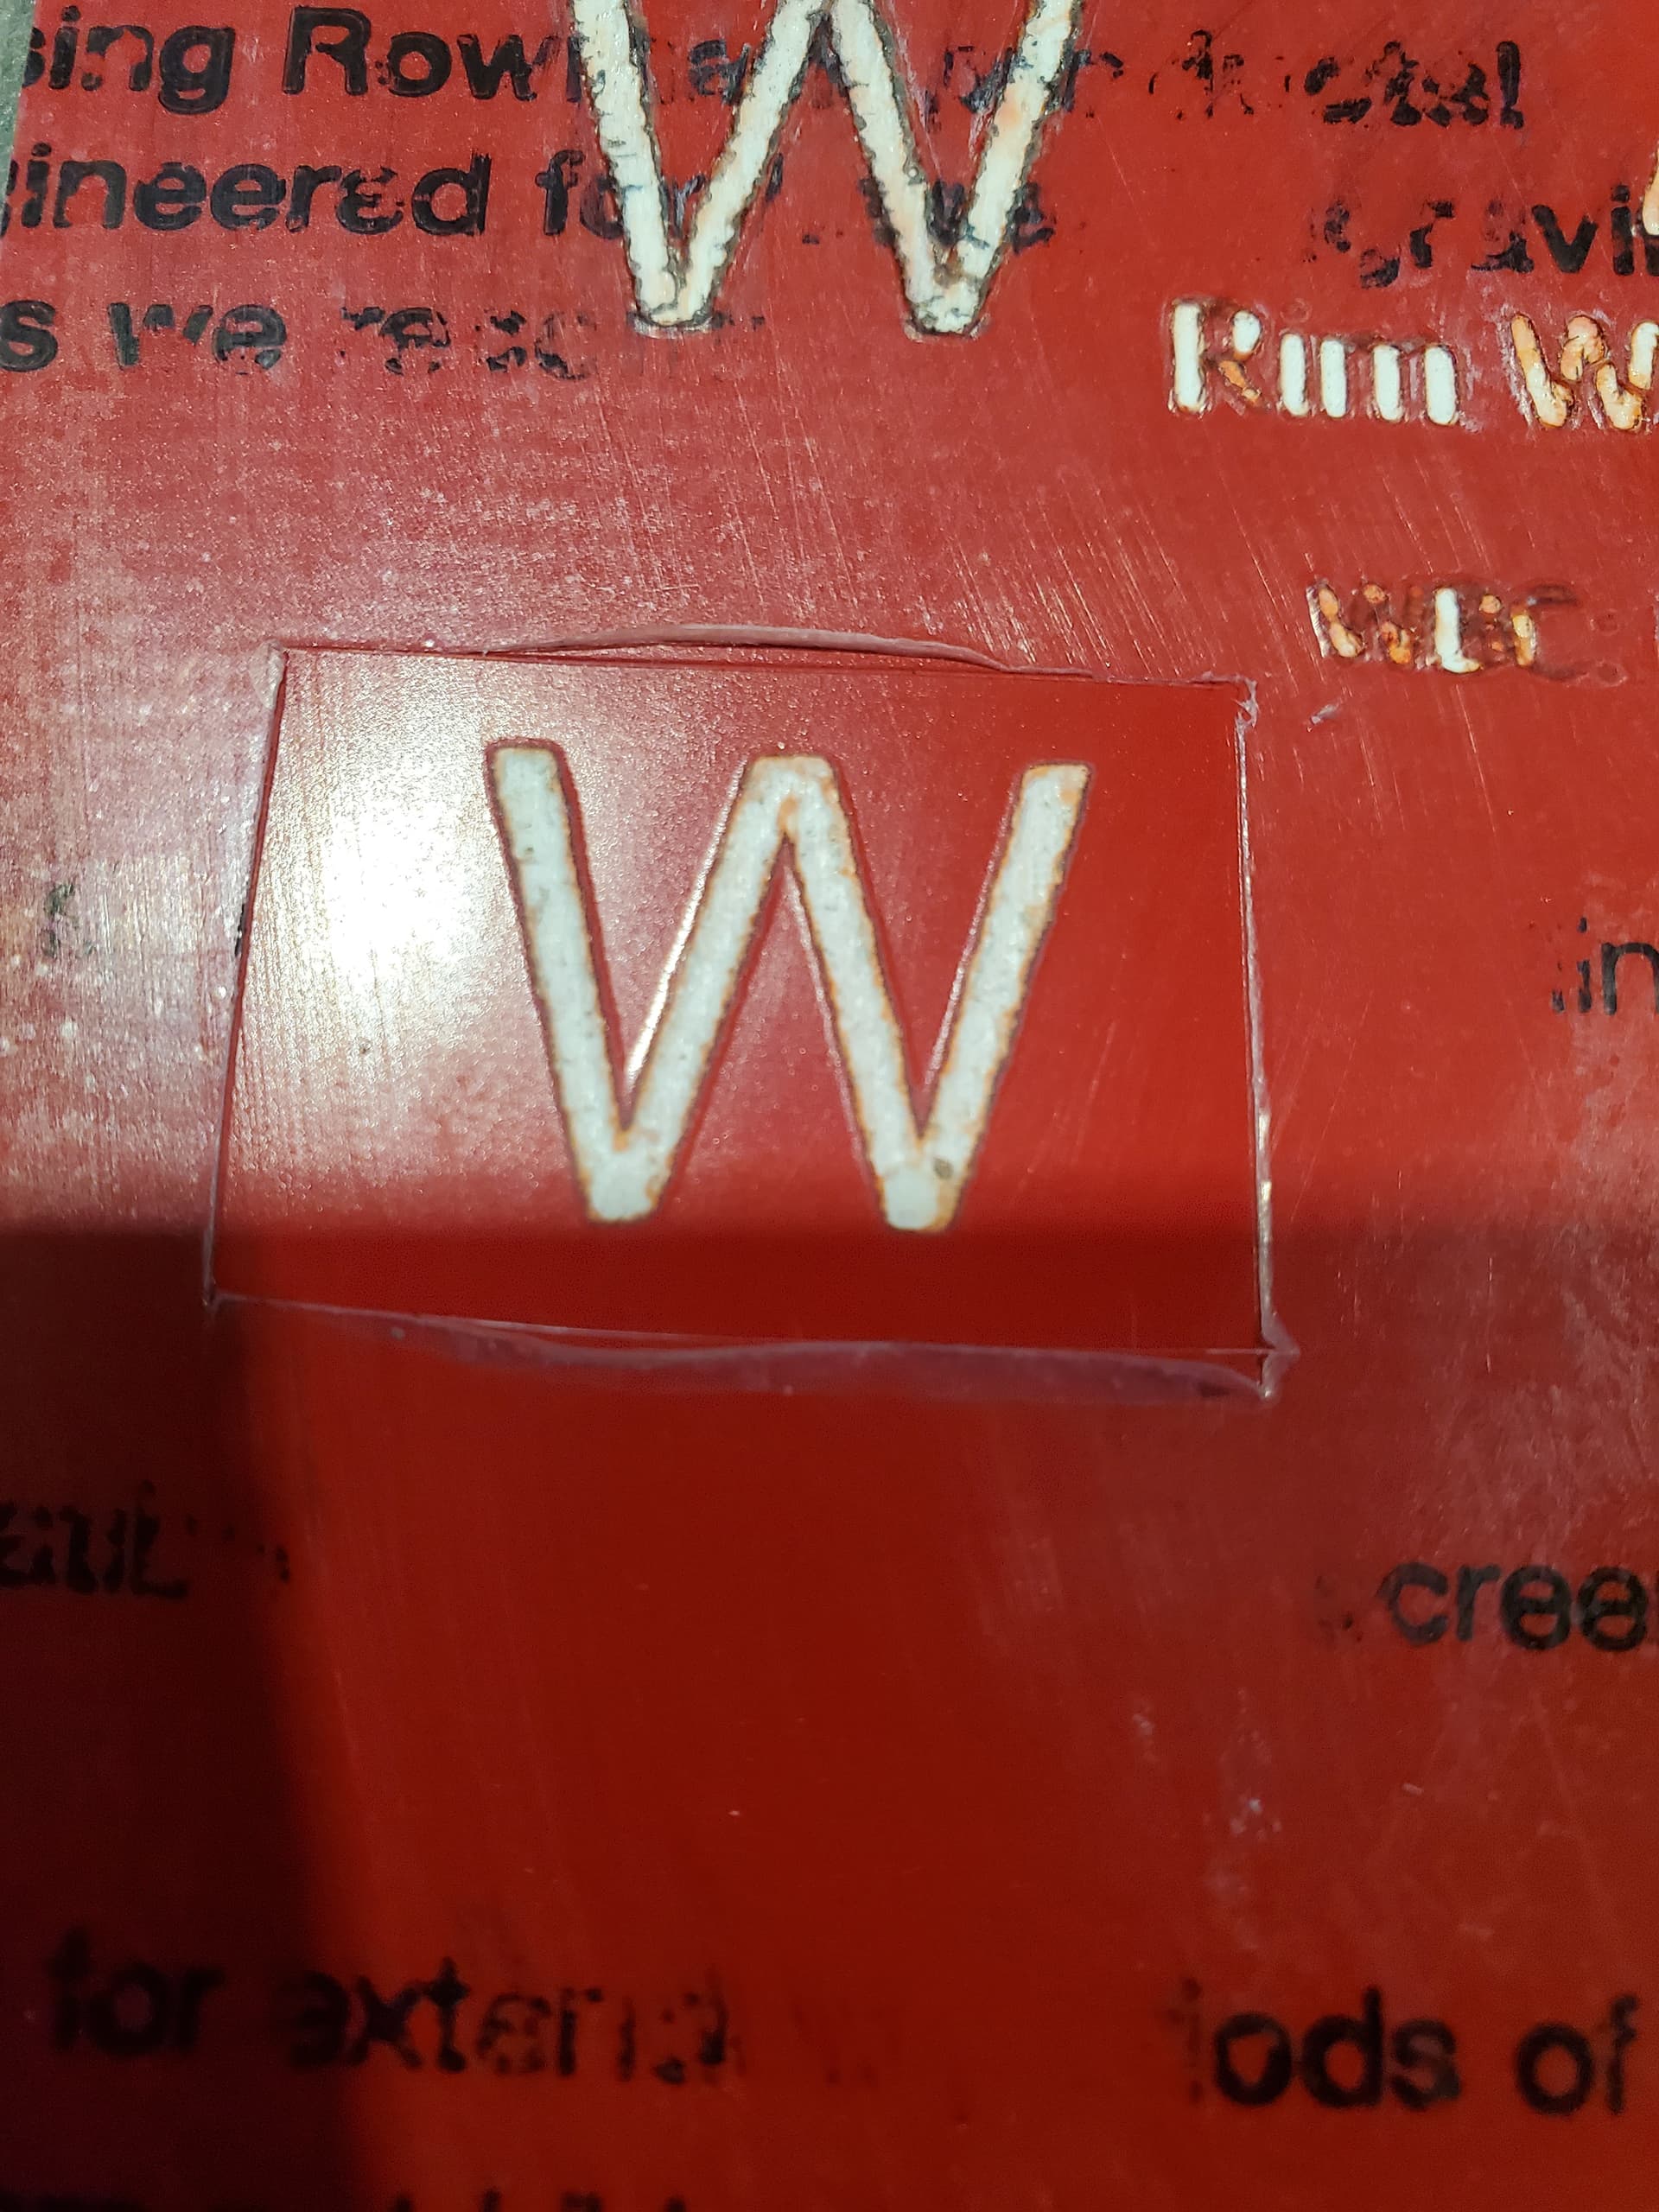
Make sure you take off the top protective plastic before you engrave.
Also, it still doesn’t look right. It looks like the plastic I ordered one time. By mistake, I ordered rotary plastic instead of laser plastic. You are getting the same results that I did. Can you check and make sure it is laserable or is it for a rotary machine(CNC).
Speaking of which, since I bought the machine. I can not get a consistent cut across the bed. I have my orgin set to the top, left hand corner. As I engrave or cut, the further away from the origin, the weaker it gets. By the time it gets to the opposite side. Lower right hand side, its bearly doing anything. All my mirrors are aligned and clean and still getting a bad result. The odd thing is. It doesn’t do it all the time. I am waiting for OMtech support to get back with me.
This can be a focus problem, where the platform isn’t quite level from corner to corner.
I mapped the surface of the honeycomb atop the knife bars on mine:

Which looked Good Enough™ given the 1 mm (-ish) depth of field.
Given that you’ve mentioned using not-flat material, you may have an occasional tolerance stackup in one corner or another that defocuses the beam enough to prevent it from cutting.
Sounds like your bed may not be level. Move your laser head at all 4 quadrants and measure to see if the focal length is still correct. I had trouble with my bed too. Also, if the material is not flat, I used to place magnets to help hold the material flat. I also had a piece of flatbar that came in handy.
Sorry. My boss bought this machine and told me to figure it out, lol. Im getting there.
I seen multiple videos of people leaving the protective film on the piece during engraving. By removing that made a huge difference in the quality! Thank you!
As far as the bed. When I unboxed this machine, I was having a lot of issues. I did discover that the bed was badly uneven. The back side was about an 1/2 higher than the front. I unscrewed the bed and found that one knives was not seated all the way down. From the factory… thats fixed. Not a fun way to learn how to use this, lol.
In the upper left hand corner, I messured from the bottom of the travel bar to the bed, I got 4 9/16. Went to the lower right hand side and I have the same measurement.
You’ll get a better measurement between the bottom of the nozzle and the top of the material, because you can use a step gauge accurate to within half a millimeter.
That’s the only problem with the Chinese machines. You also need to be a mechanic to adjust and tighten everything once it shows up. I bought 4 of those machines and spent at least a couple of days apiece fixing them up so that I could use them. The workmanship from China is really bad, but for the price, they are still worth it.
I would spend a little extra time on the bed to make sure it is perfect. It will be well worth your time.
This topic was automatically closed 30 days after the last reply. New replies are no longer allowed.