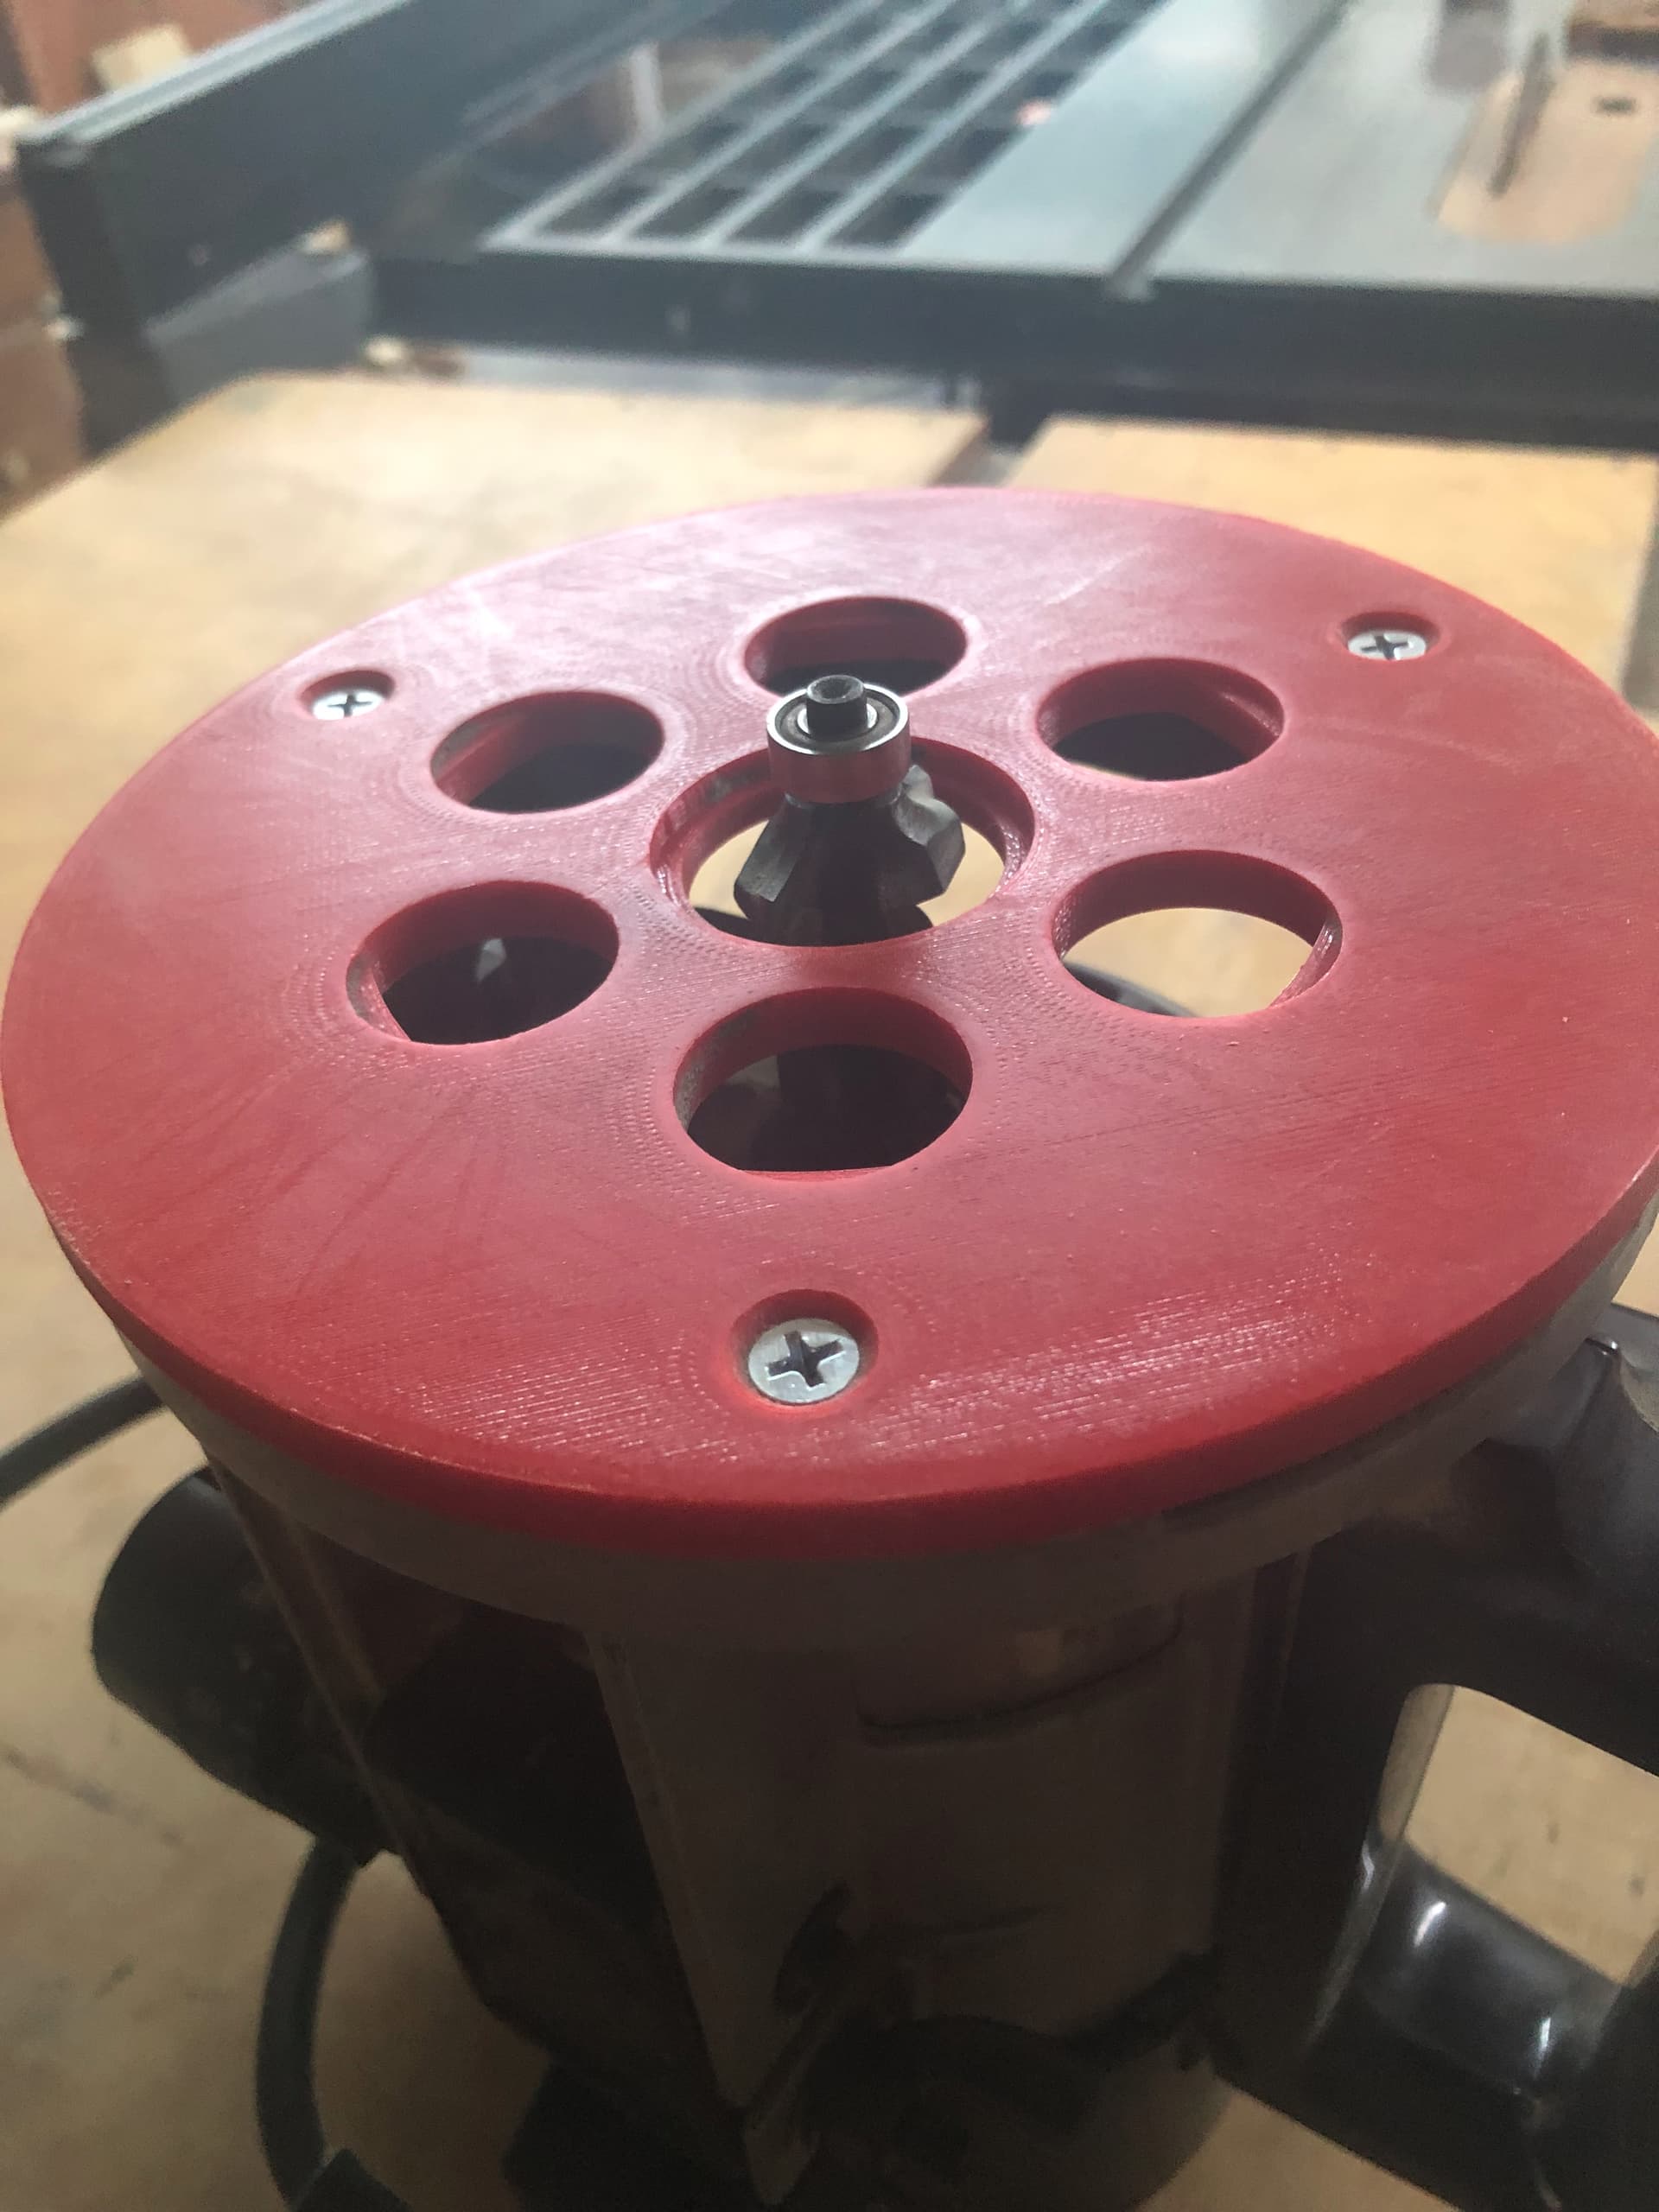
We had a router in need of a replacement base plate. After searching for some, I was inspired to draw up my own after seeing some examples of other self-created plates.
I made the first design in TinkerCAD, and off to the 3D printer to produce a PETG plate. Creating different elevations throughout the plate is relatively novice / beginner 3D drawing when building an STL for 3D printing.
So I thought I would use this as an example to demonstrate how, with a little bit of ingenuity, the same layering effect and countersink of the screw holes is accomplished on a laser machine using LightBurn.
This is just one approach. I am sure there are other ways.
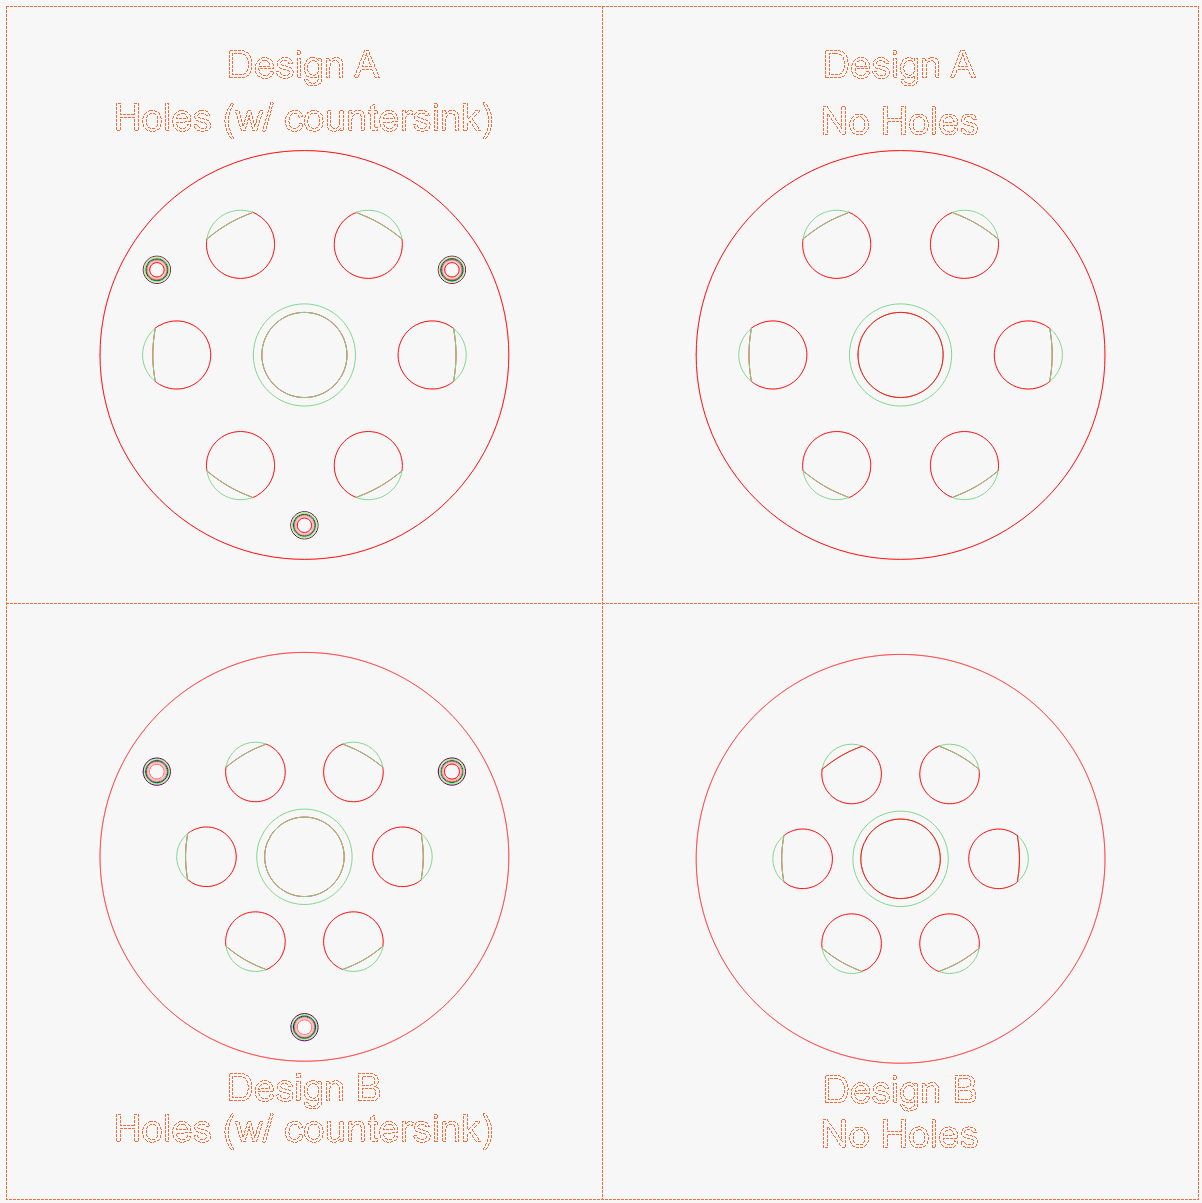
Illustrated here, is the project file in its entirety:
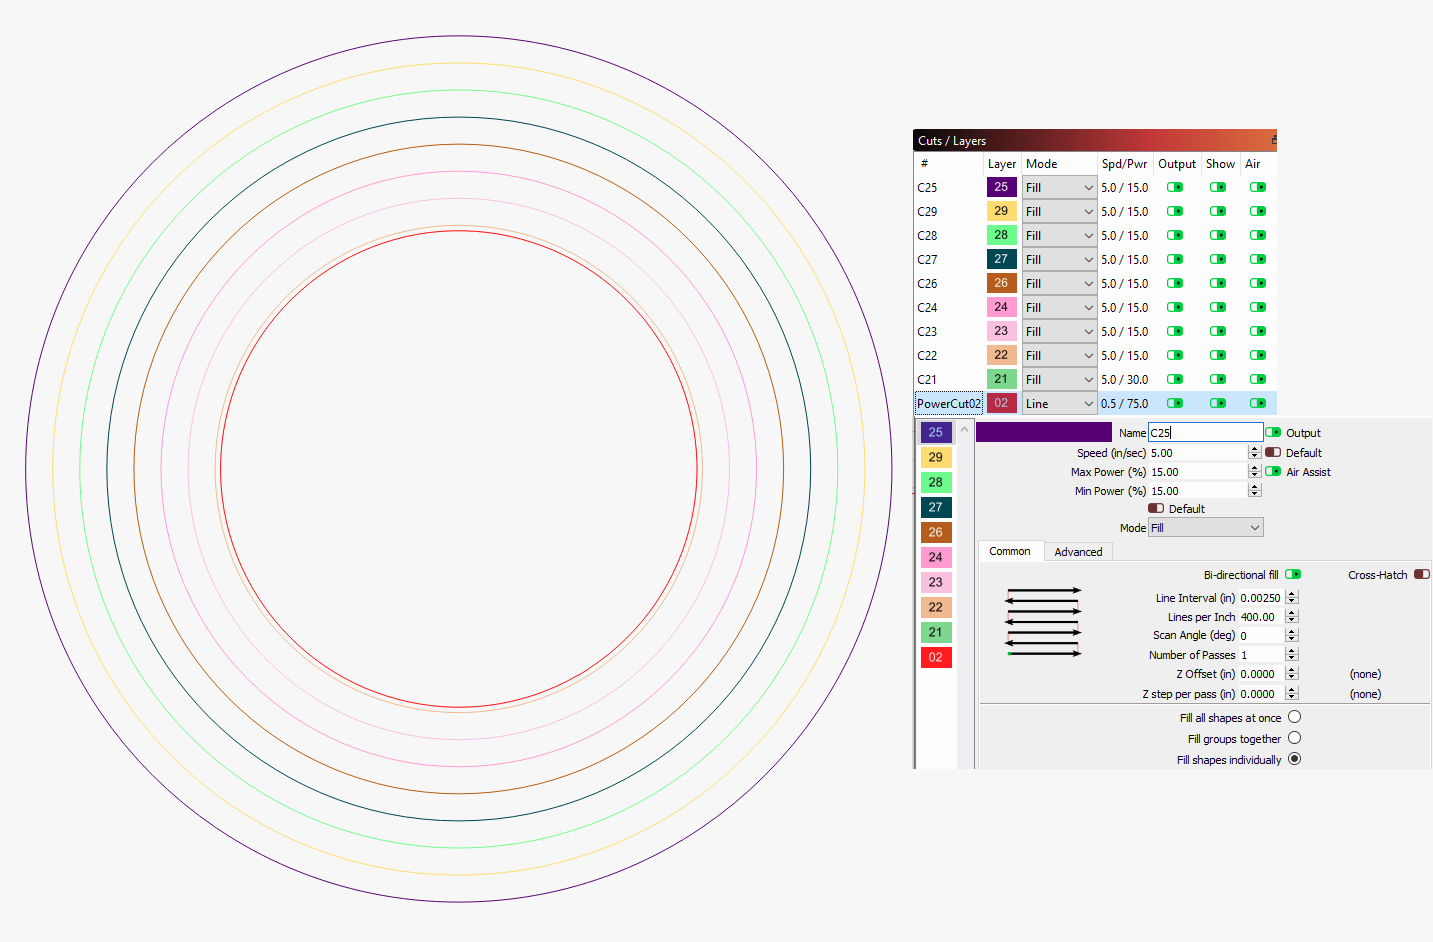
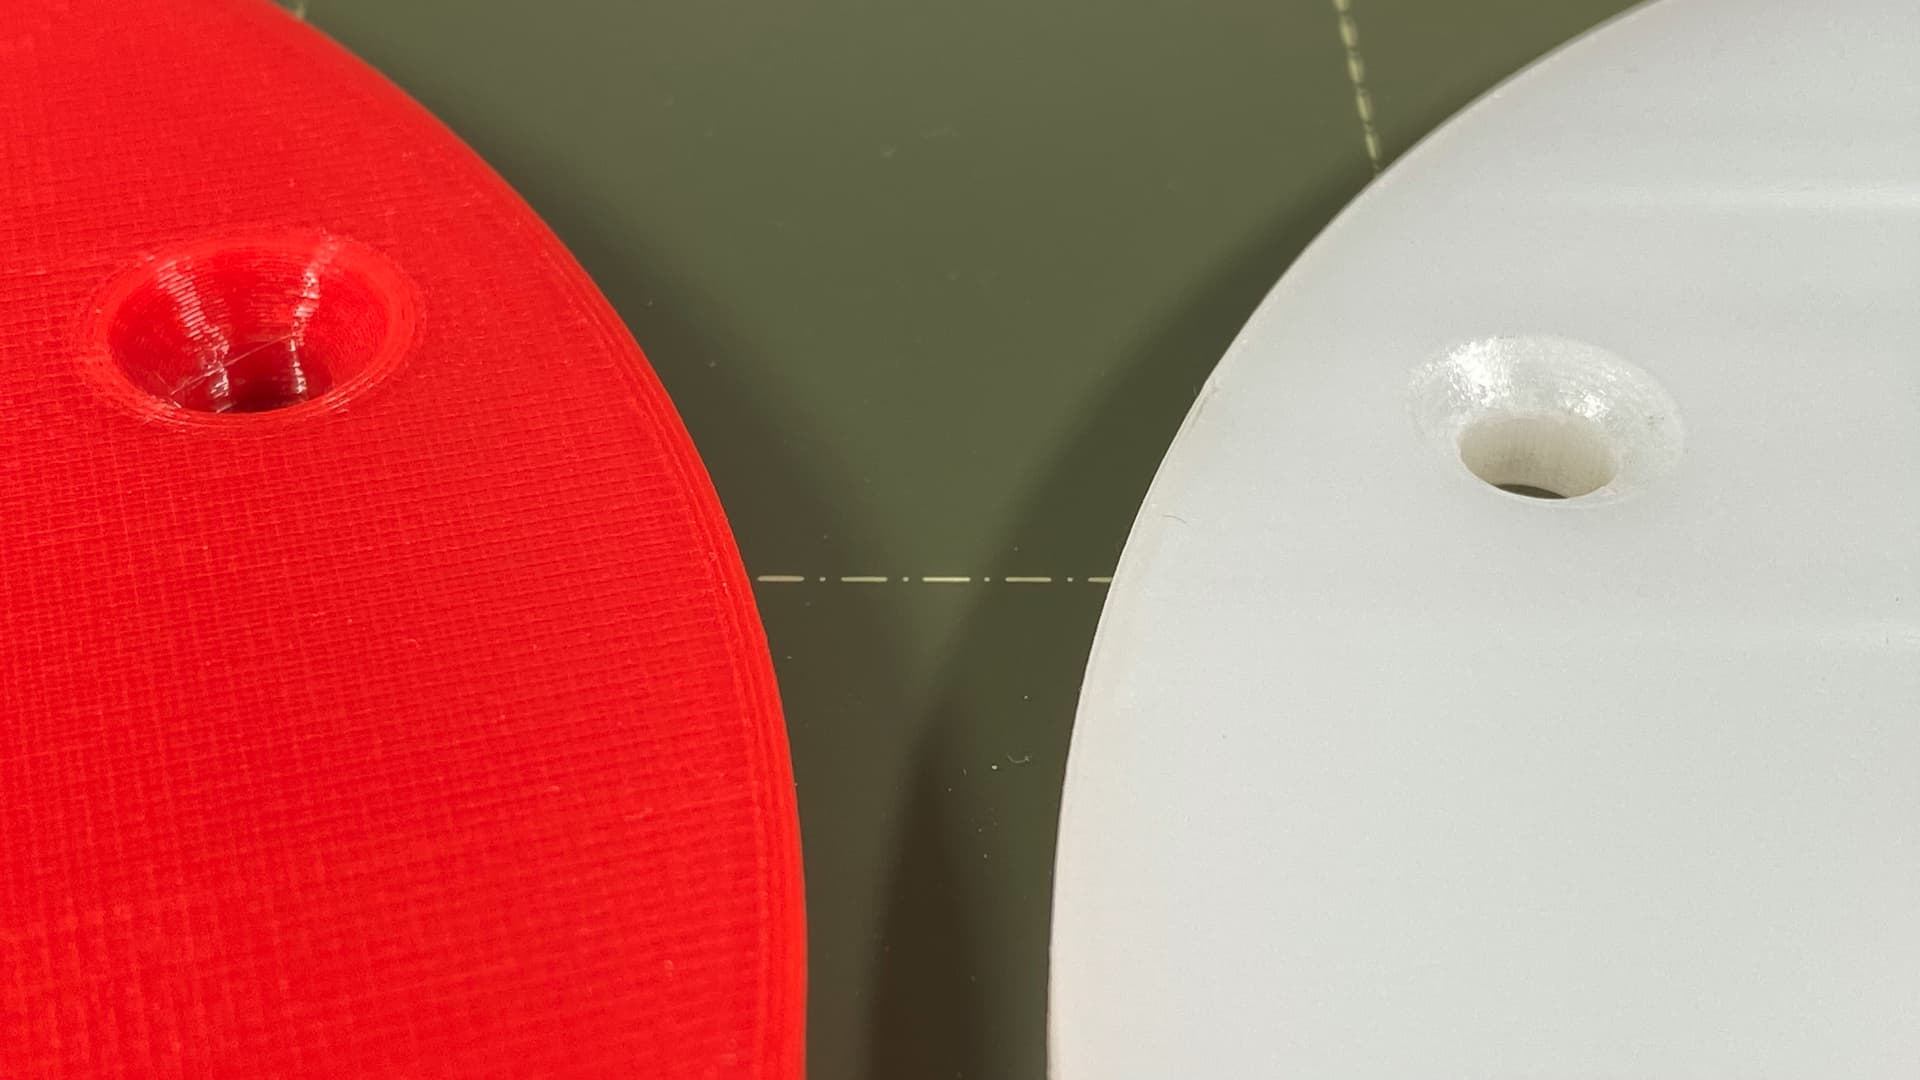
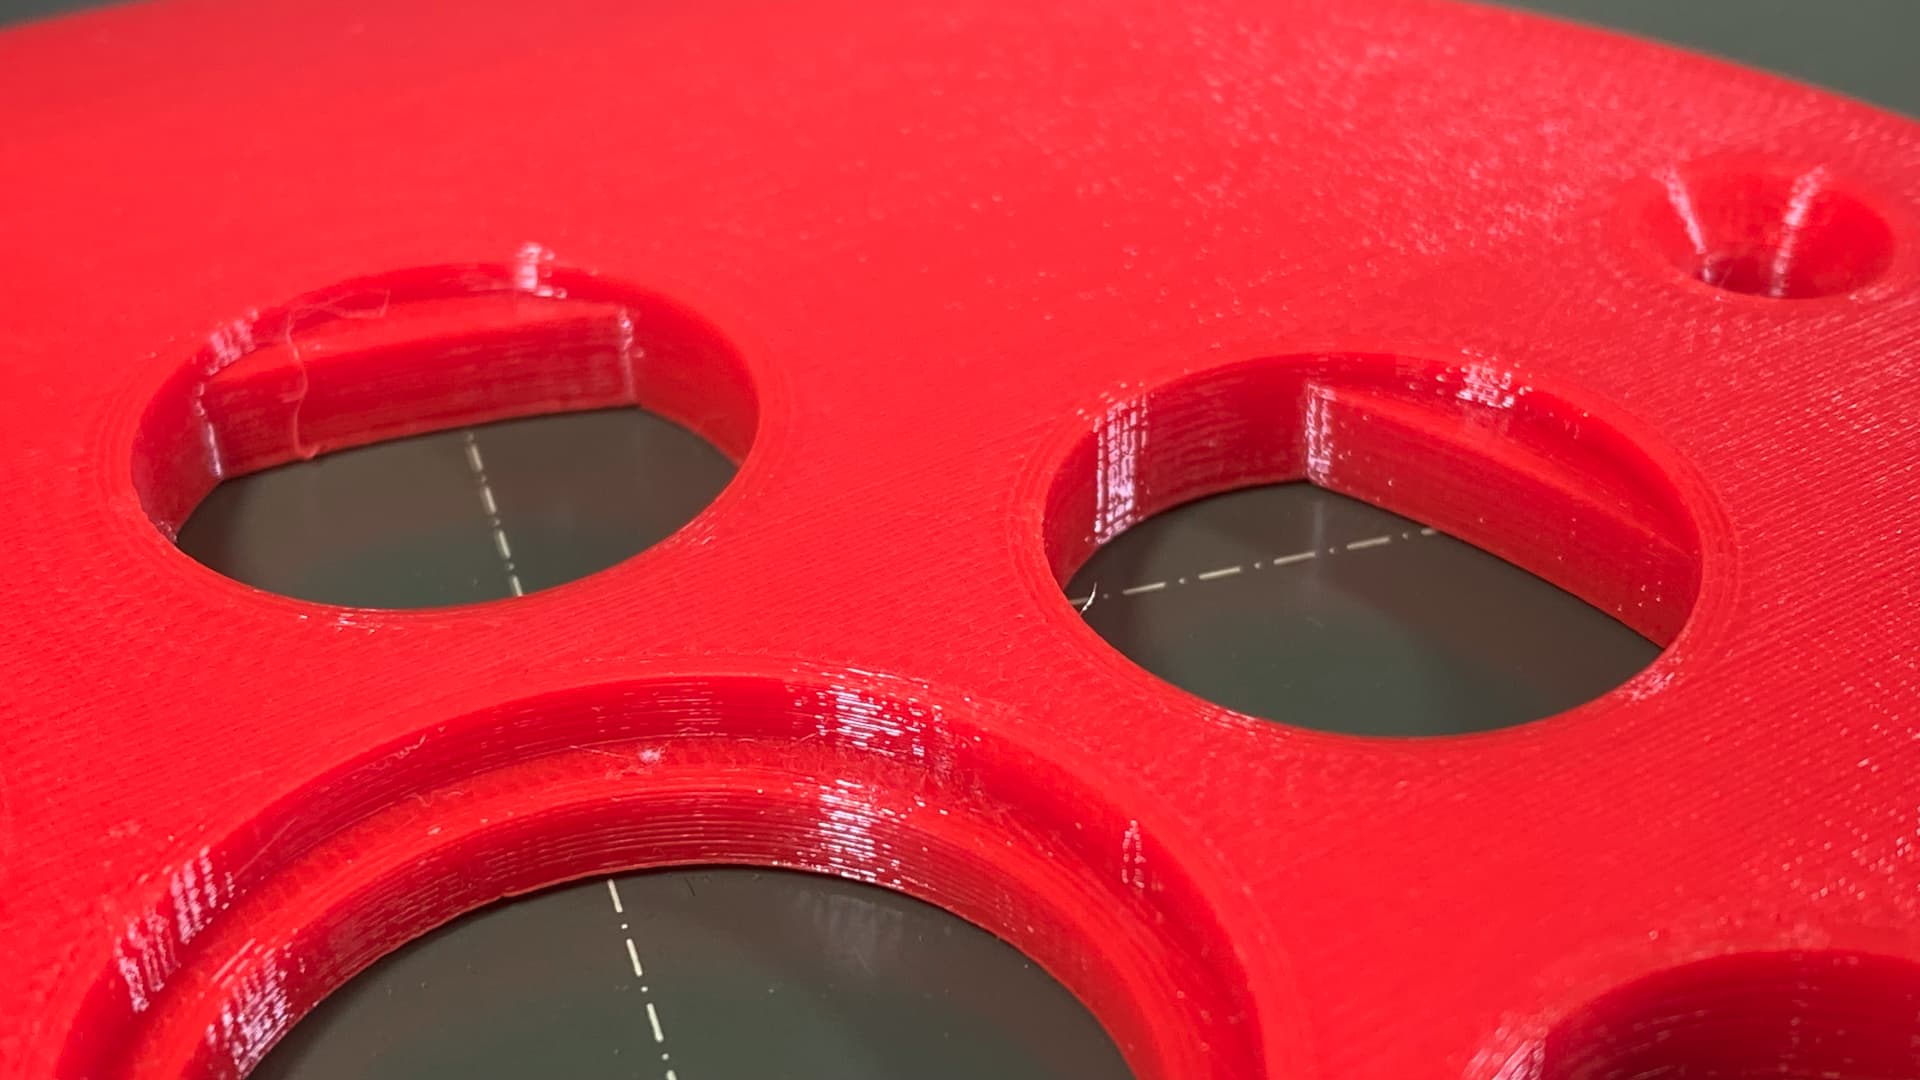
Zooming in on the mounting screw holes, the countersink is accomplished through reduced concentric fill layers:
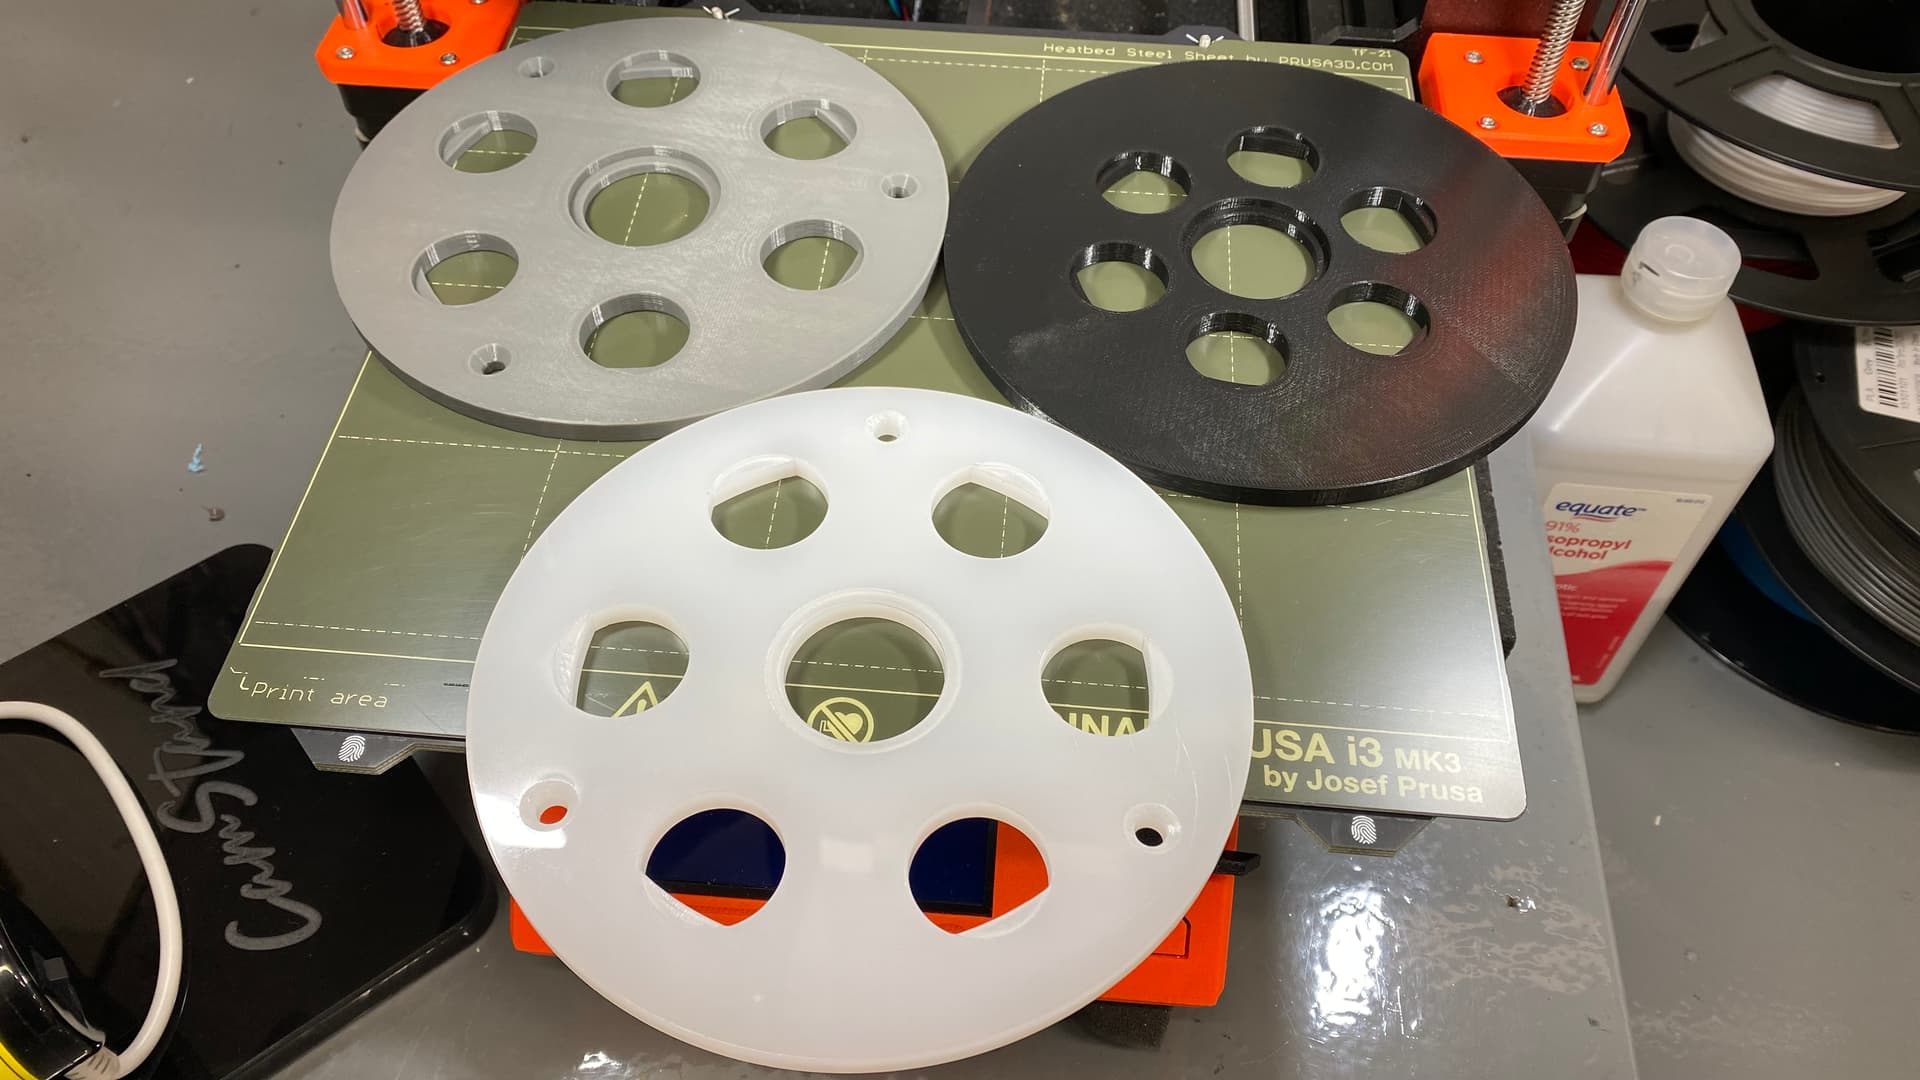
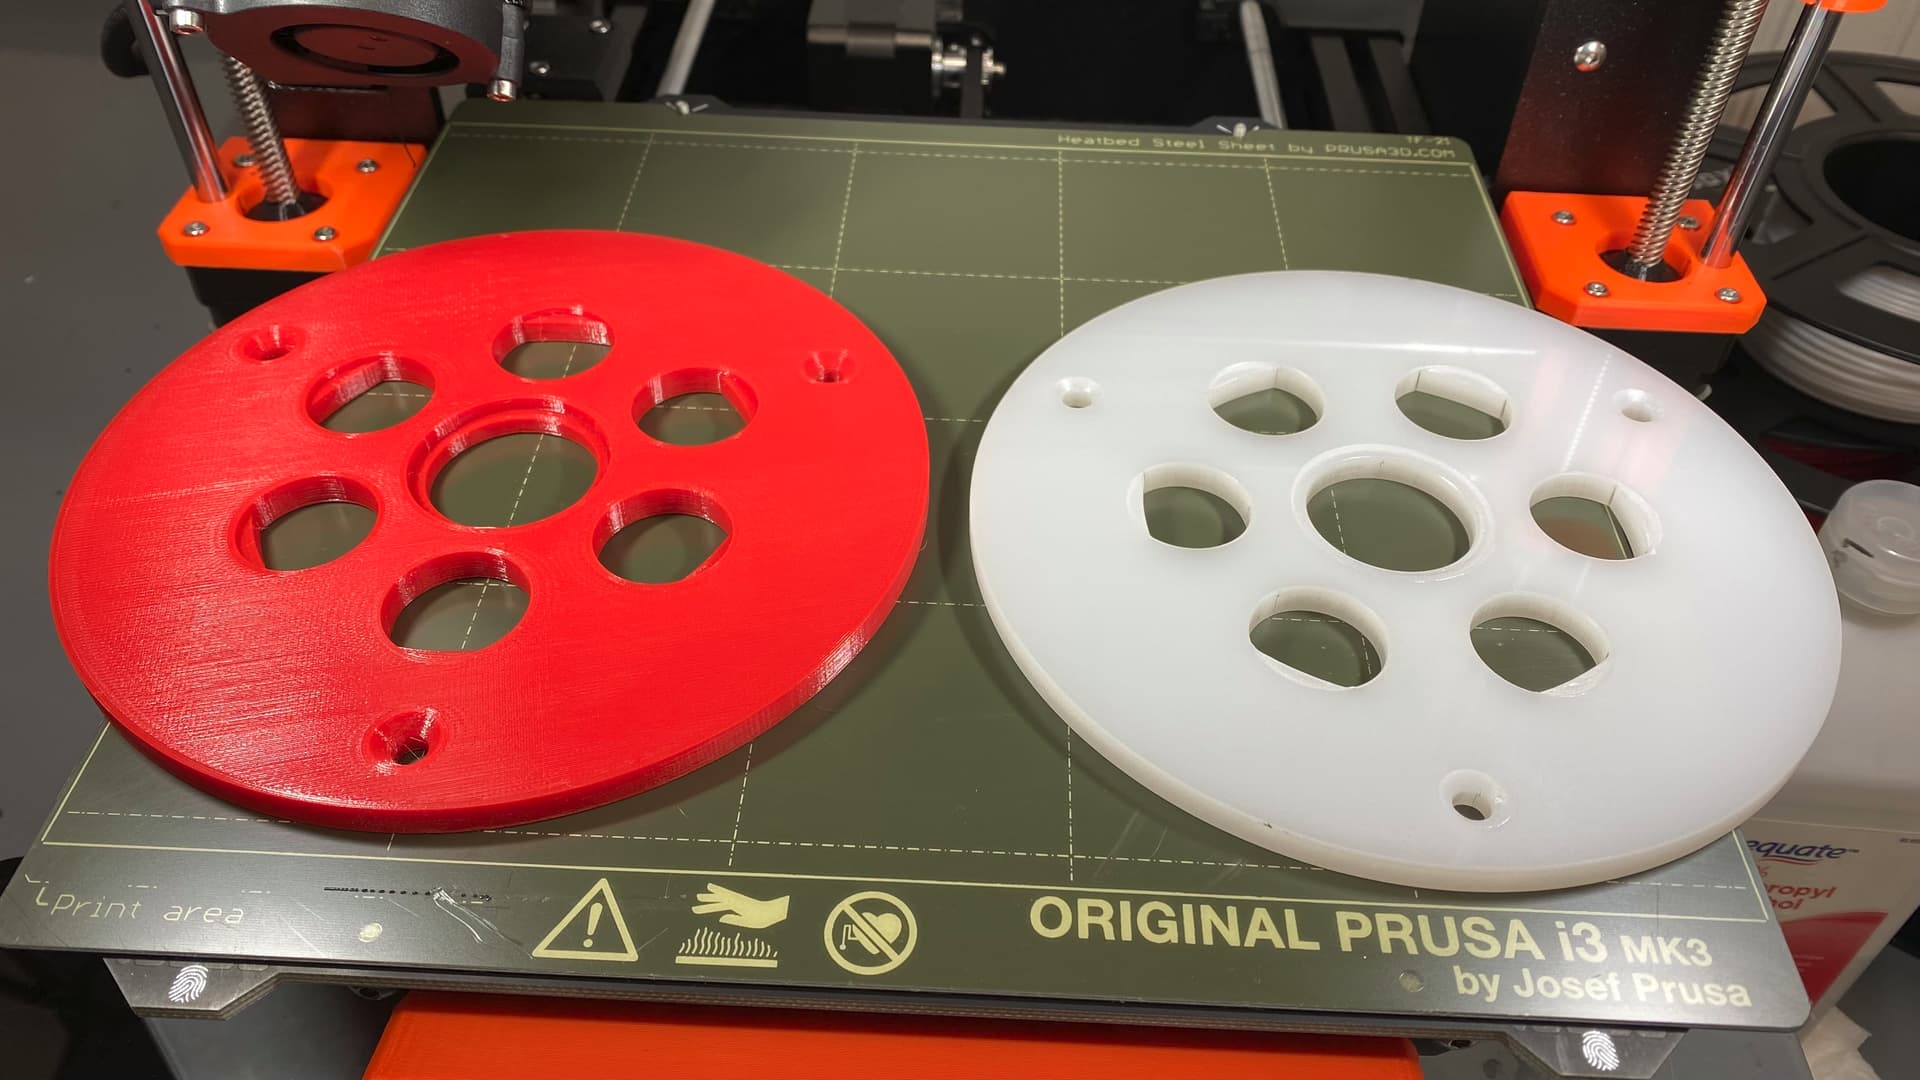
Comparing the results of these “bands of resolution” produced by my concentric rings on white 6mm acrylic to a .2mm 3D printed plate on PETG:

And a very important point I should mention:
3D print time = 5½ HOURS.
Laser time = Less than 10 minutes.
Project file attached
RouterBasePlate.lbrn2 (251.1 KB)