Hi back again, want to make some rubber stamps just plain text to start with as seen in picture attached. Using laser rubber i want to etch out around the letters and numbers and cut the square out final cut. How do i fill in the space around the lettering and numbers with a colour so the laser cuts that part. I can run it a couple of times to see how deep it will remove the unwanted rubber. I assume this process is similar to etching a photo. Can anyone advise the steps, done the logo and know how to mirror, just need to know how to add the fill to cut it out.

Can anyone help?
See attached example based on your photo.
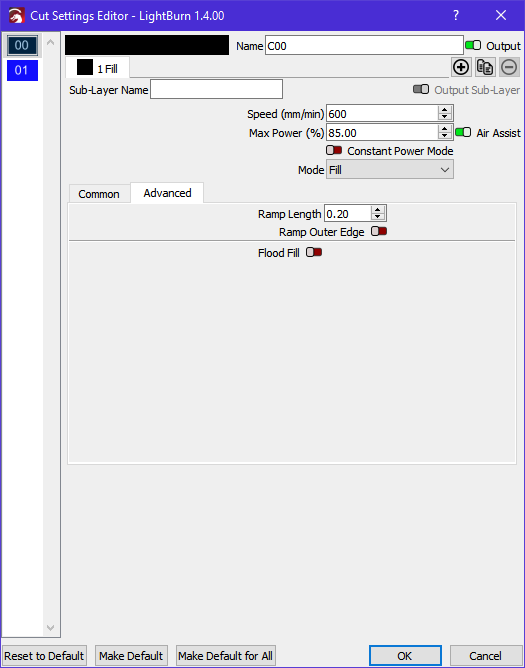
You’ll need to set the power and speed to suit your machine and material but it should help you get started. You might also want to set the ‘ramp’ length etc. in your layer settings to suit.
Rubber stamp example.lbrn2 (14.9 KB)
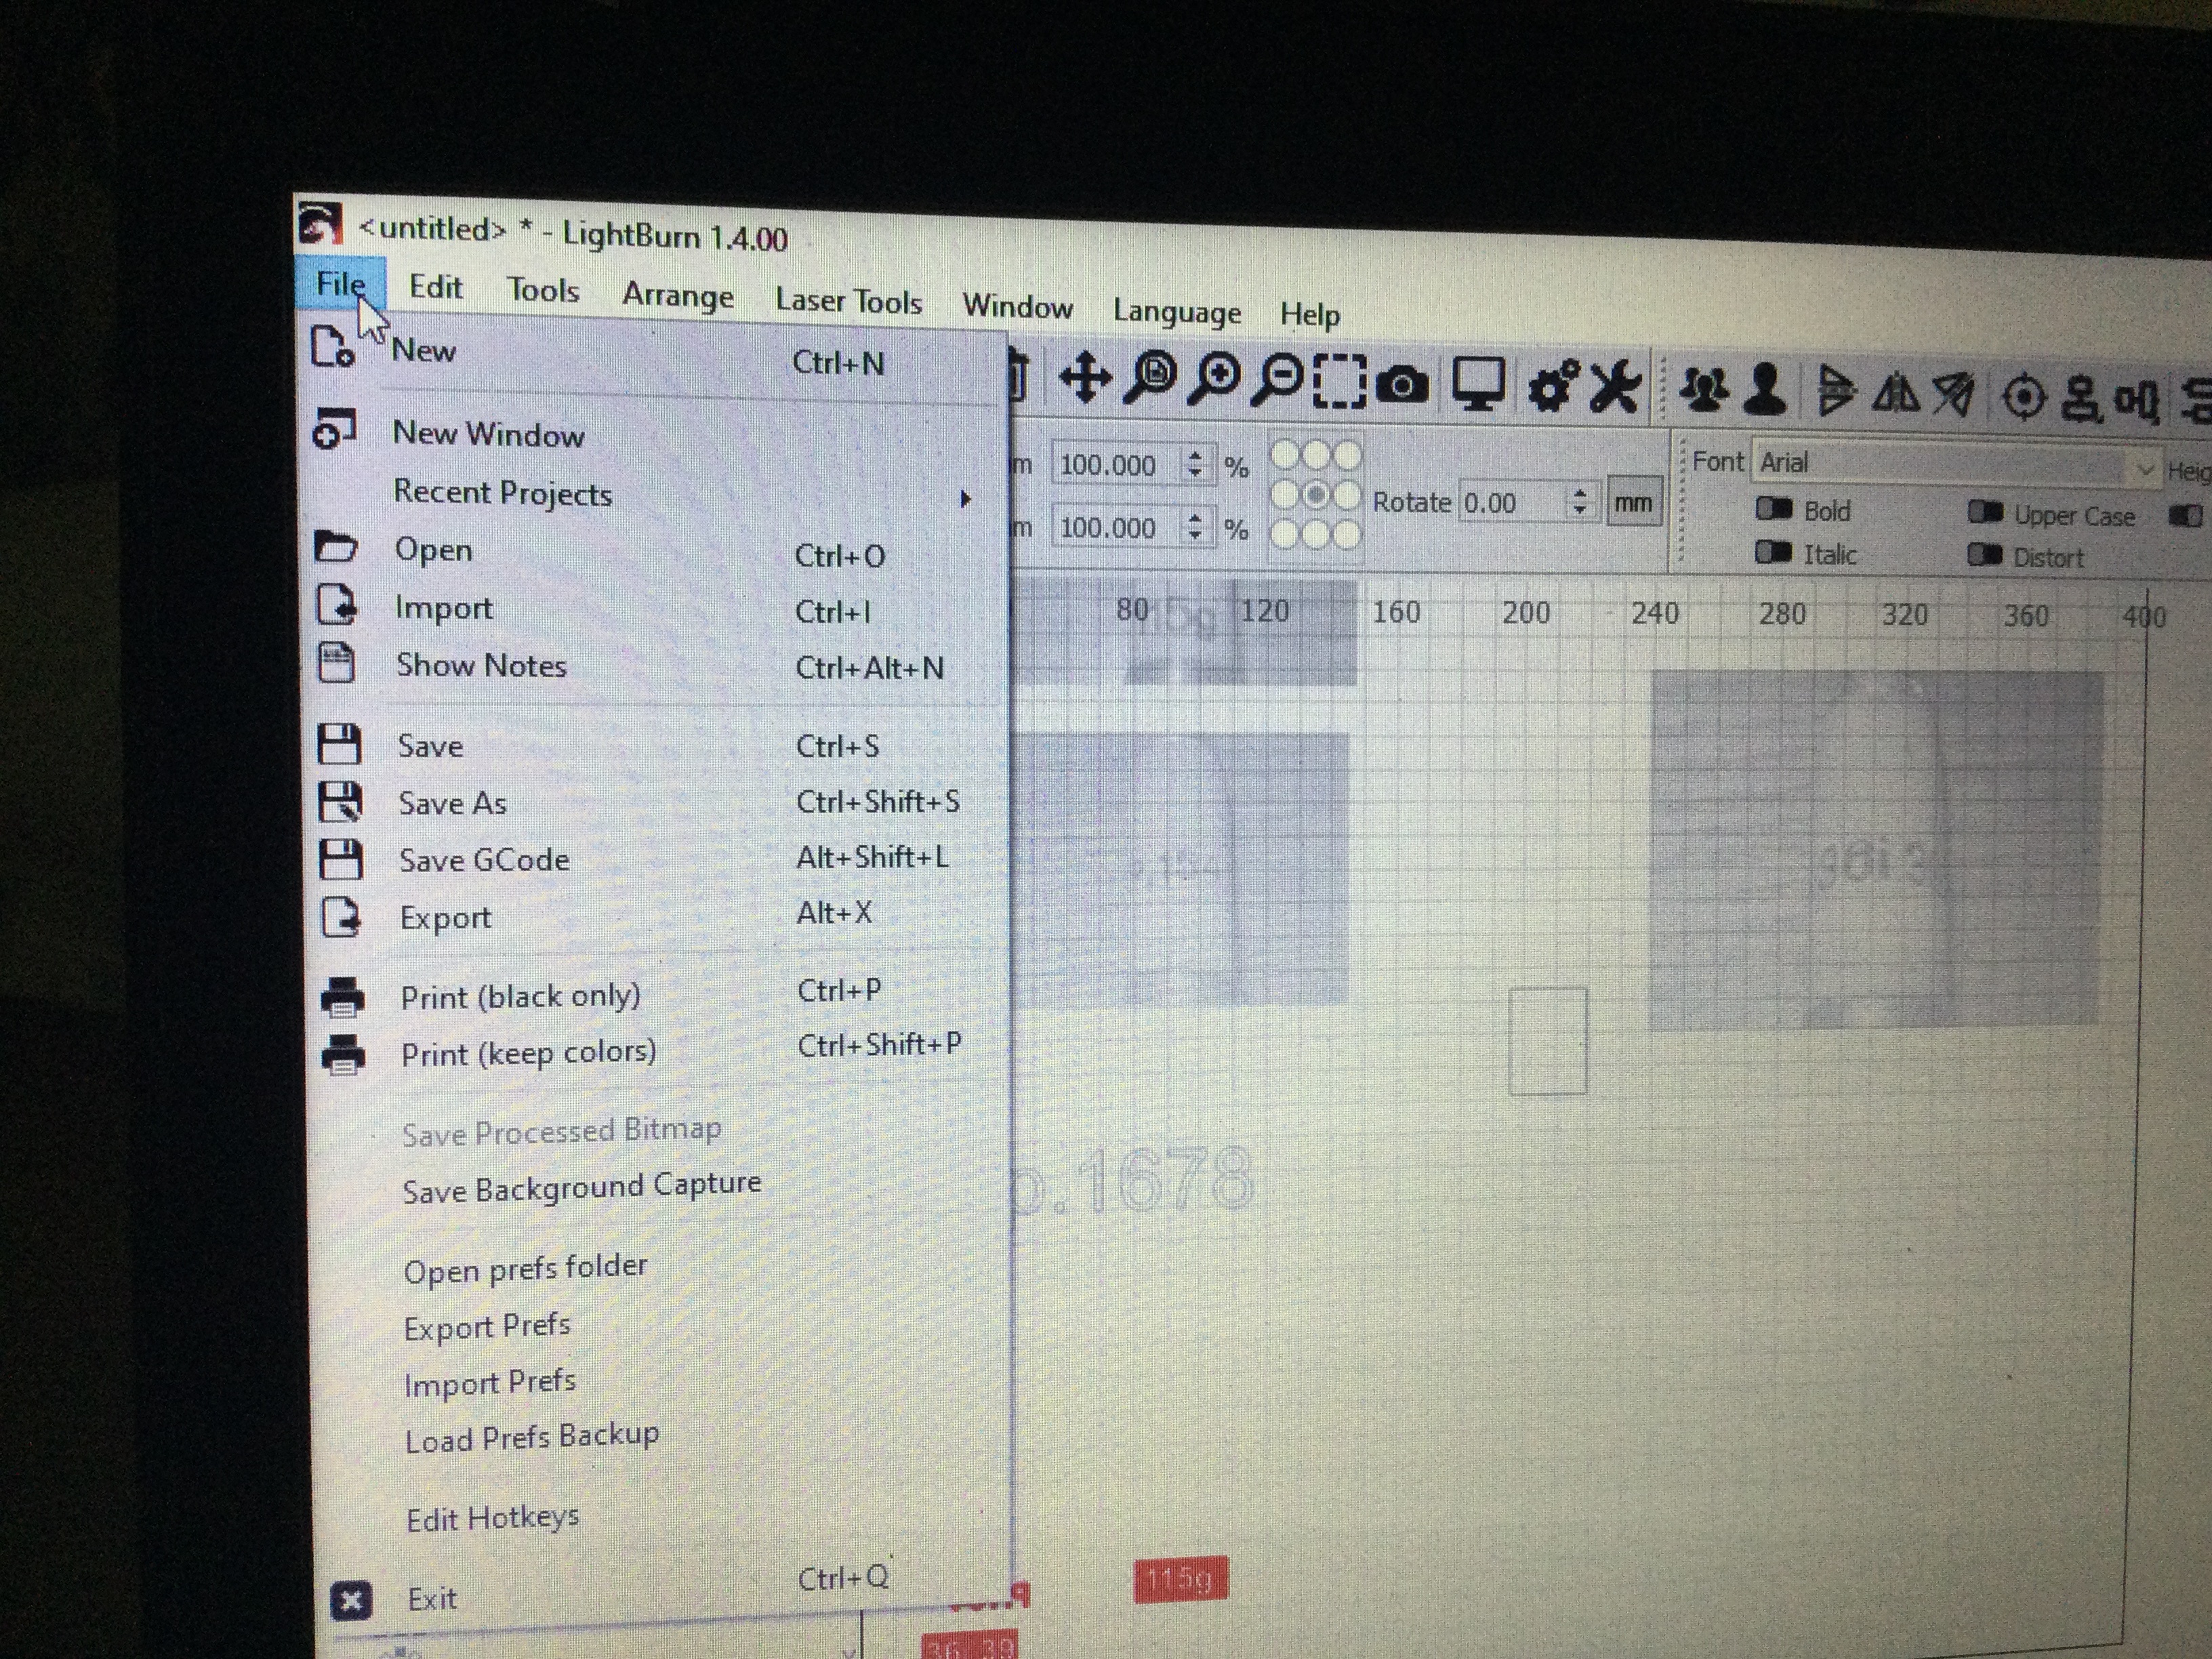
So the cutting settings editor is into tool bar at the top left hand under editor or somewhere else, just wondering what to click to bring it up.
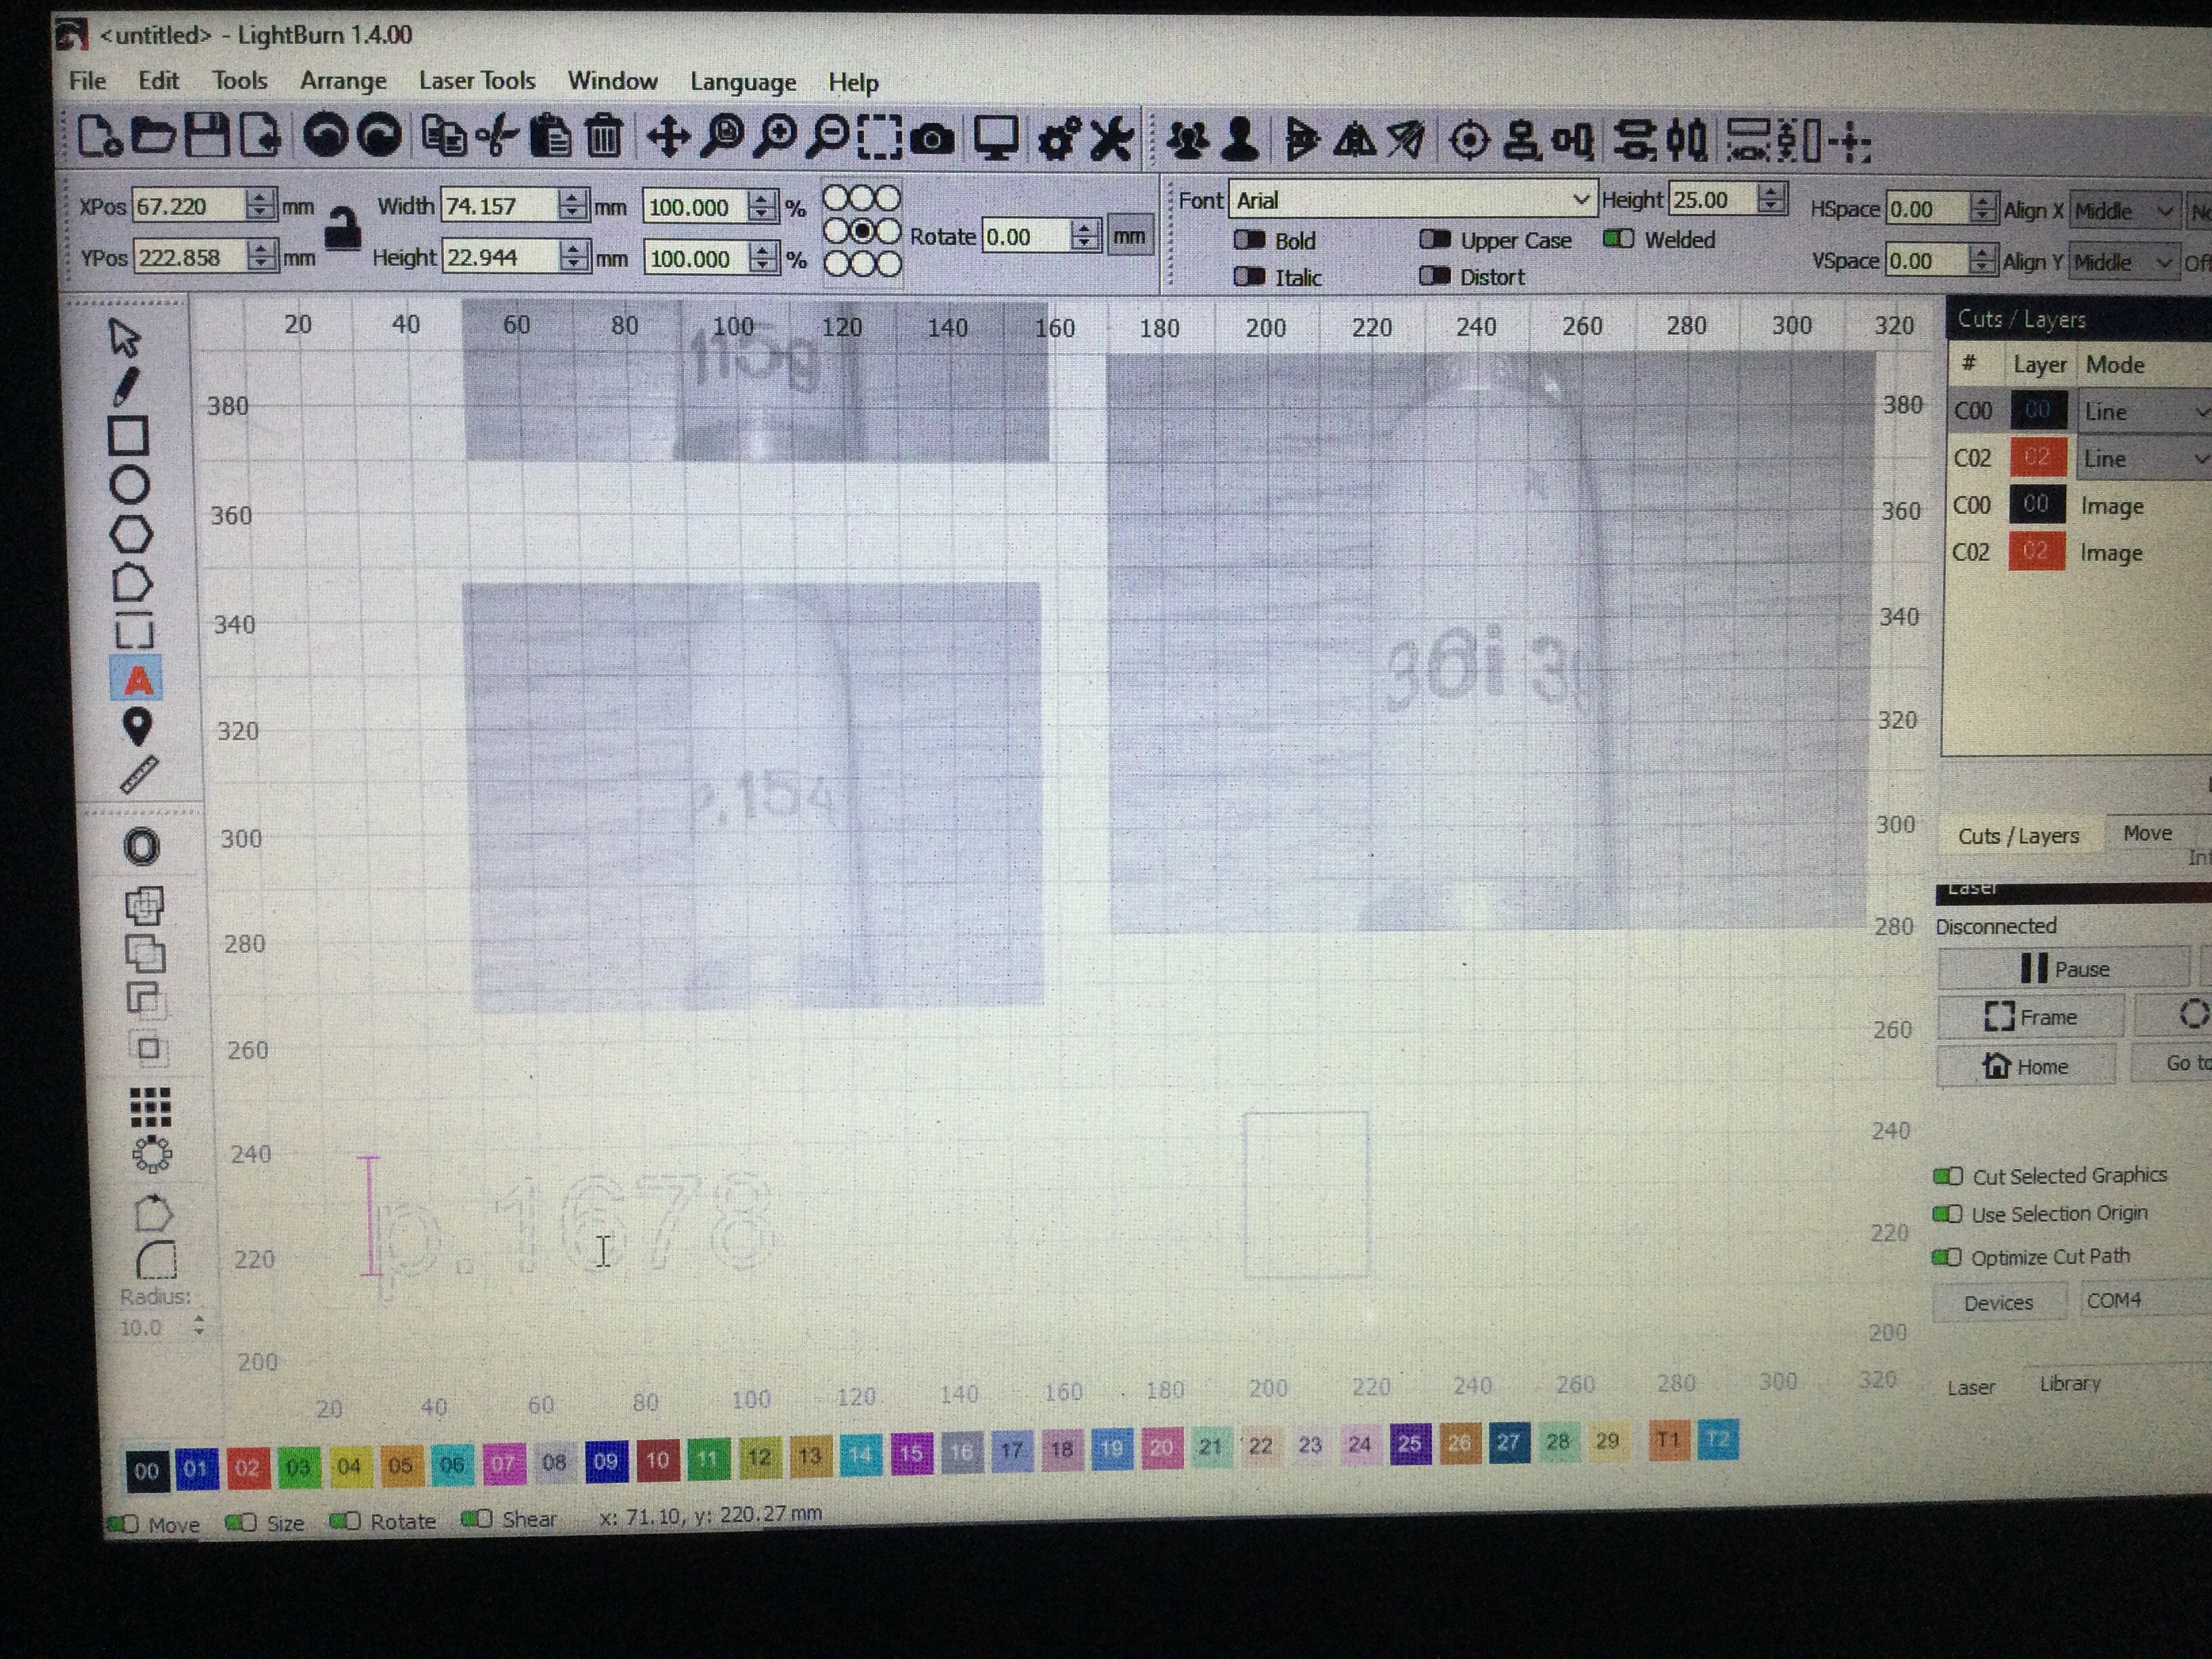
Do i need to put the settings in first with the cutting editor or after i have highlighted around the logo P154 with a fill colour which is the part of the rubber that will be removed, how would i do that?
-
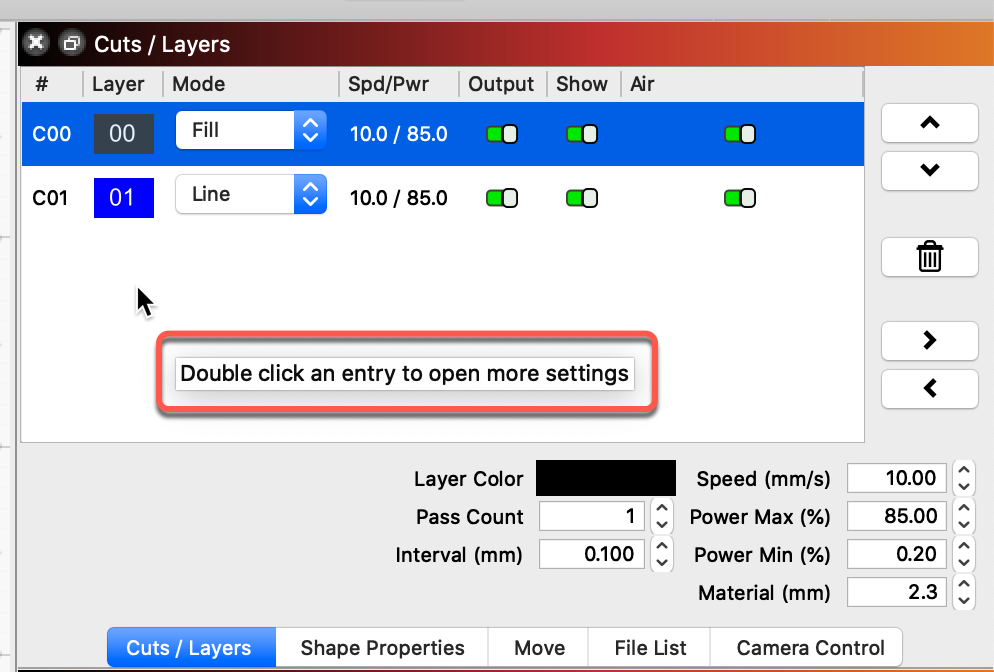
Put everything on a single layer
-
Set the layer to ‘Fill’ (see @Rick’s post above) with appropriate layer settings for speed/power/passes etc. for engraving your rubber (this will undoubtedly require some trial and error). This will engrave away the required areas.
-
Now duplicate the outer rectangle and move it to a different layer
-
Set that layer to ‘Line’ with appropriate speed/power/passes to cut through the rubber. Again, this will require some trial and error.
I’d highly recommend going through the online documentation here.
Hope this helps.
I think i have got it. I played it back on preview to see if i done anything, so fingers crossed. I would have thought the area to be removed would be shaded on the page you work from.
I will get back to you and let you know how it goes.
If I’m understanding you correctly then you just need to change your ‘View Style’ to one of the filled options like this:
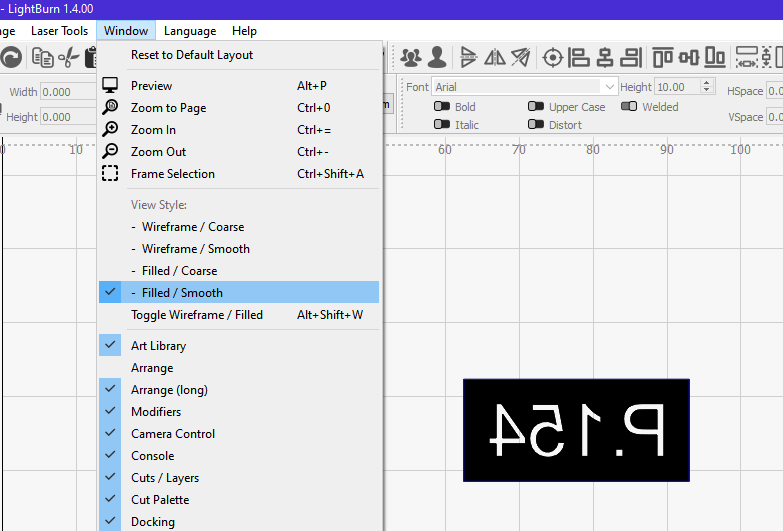
By default LightBurn displays in wireframe mode.
As I said, I’d highly recommend reading through the documentation.
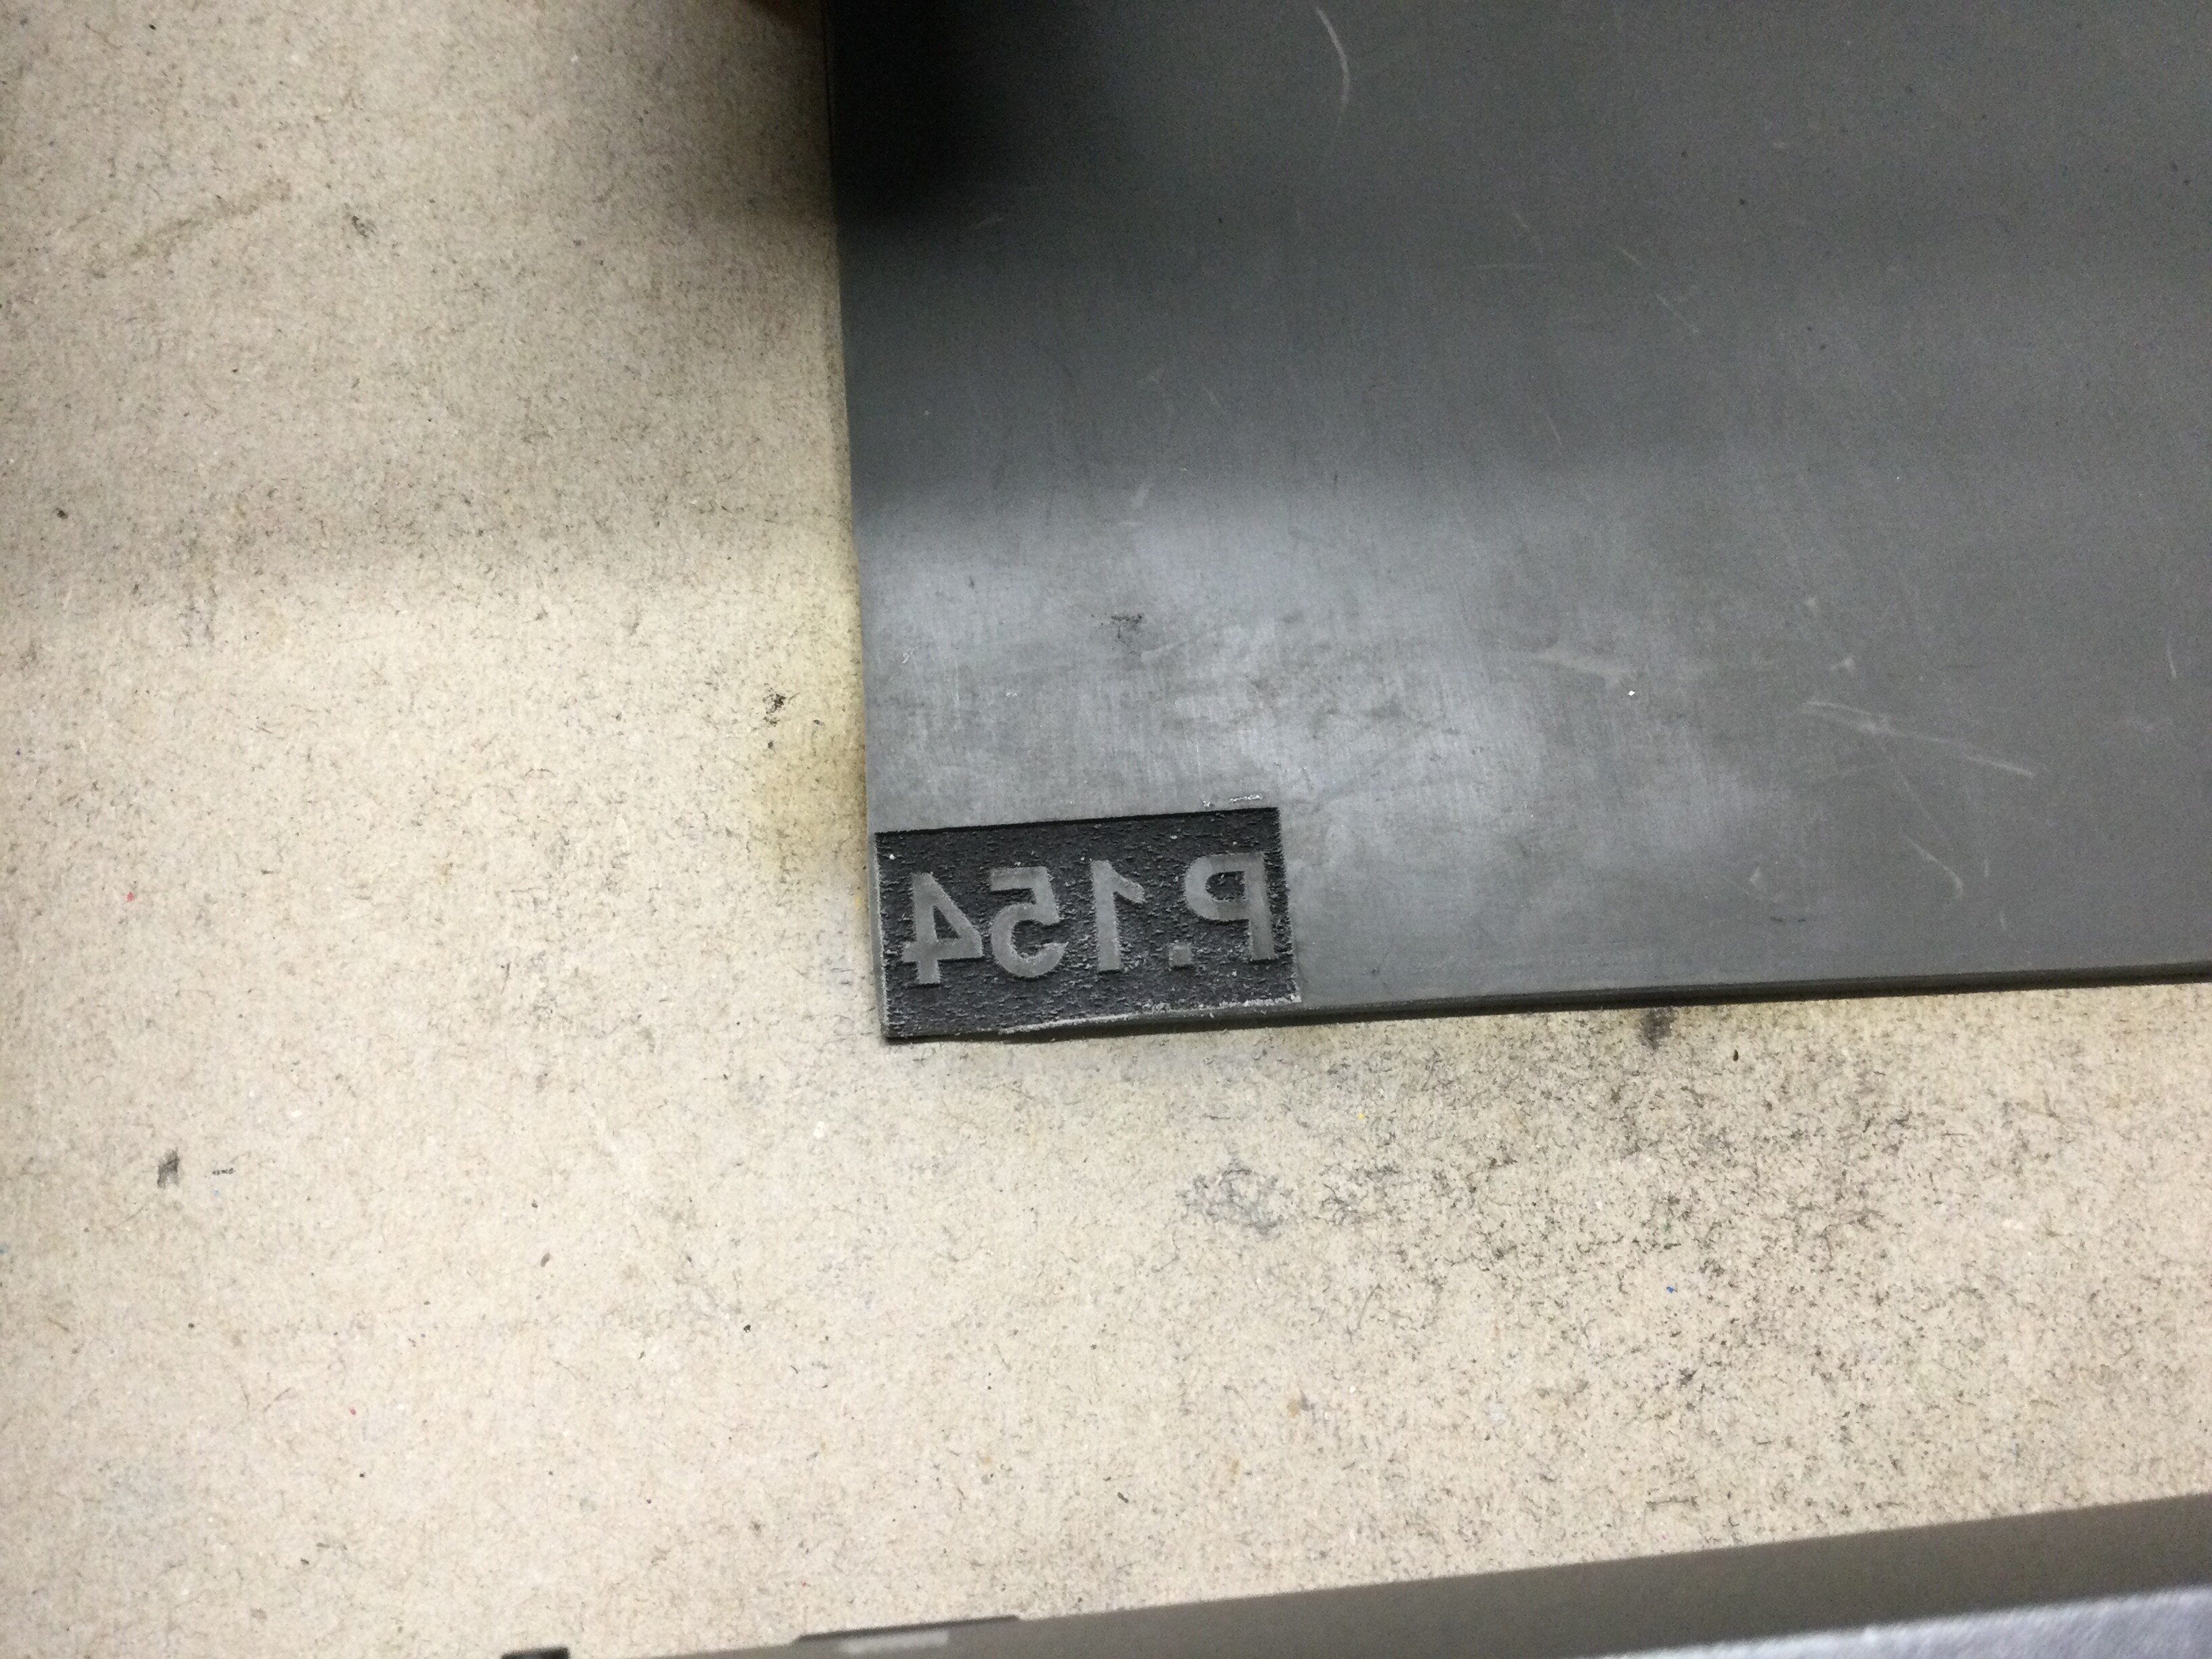
I done a trial followed your advice and done a cut, perfect, many thanks guys for your help, if it wasn’t for this forum and you guys I would be stuck with a lump of electronics pulling my hair out.
1 Like
After a successful cut i wanted to get on doing other stamps but i noticed that the pictures imported and font i write is in grey not black.
I can select any picture or created font or shape and click on any colour in the coloured layer bar below but when i click on 00 which is black its highlighted in grey, all the other colours are fine.
Anyone know what has happened and how to correct this.
Can you attach your LightBurn file here for us to take a look at?
I see from your photo that you haven’t saved this particular file yet, so you’ll need to do that first. After you’ve saved it to your file system you can then attach it to your reply. To attach, you just need to drag the file from a file explorer window onto your reply (which I’m guessing is how you attached your photo above). We can then download the file, open it in LB and see exactly what you’re working with.
Just another small tip: Screenshots are far better and usually easier than taking a photo of your screen. The exact method varies between systems so it might take a bit of trial and error to find the way(s) that work on your system. You might have a key labelled ‘prntscrn’ which might work or you could try various key combinations. Just use your favourite search engine to help you find the right one for your system.
I hope this helps.
The file is normally saved each time after i have worked on it. I am replying on a ipad but work on a lap top to do light burn work, that why i photo the screen. What do you think i have done as this has only happened while i was sorting out the fill under cutting section layer.
I will try to get the file.
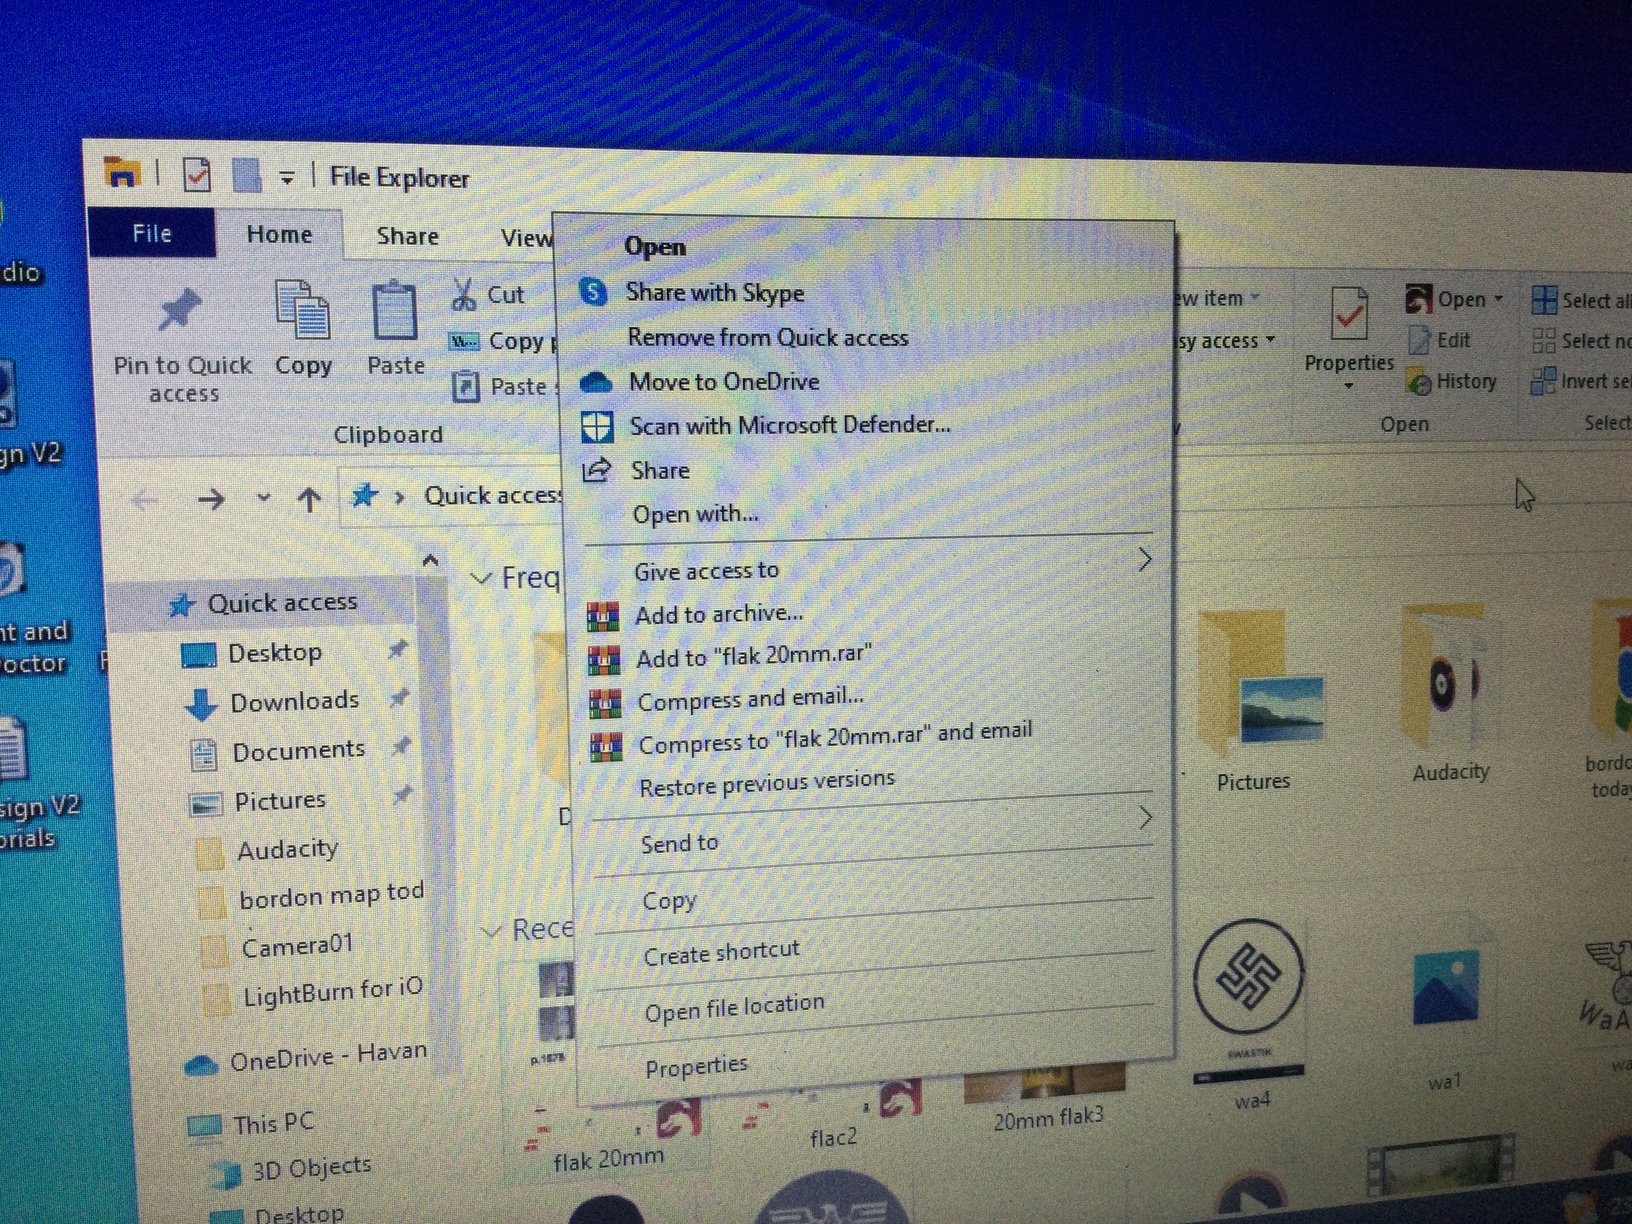
I saved file as i normally do. I have gone into file explorer, right clicked, list has appeared see picture. Not sure what you mean next. my laptop works differently to ipad
flak 20mm.lbrn2 (2.6 MB)
just had a go is this what you want.
Layer 00 is not set to ‘output’ in the Cut/Layers palette. When a layer is not set to ‘output’ any items on that layer will be shown dimmed, if that makes sense.
So i i go back to cut layered put 00 to output, give that a try.
Yep, then report back ![]()
Yes it changed back to black as normal. Thanks again everyone. just need to keep at it just as i have with other lightburn projects.