Just downloaded Light Burn. I have been using the Boss software - which stinks. I want to change the settings to scan bottom to top. When I open the cut editor window, it does not look like the one I have seen in the forum. There is no Scan Angle (that I could find). Is it because I am using a newer version? I have already turned off beginner mode. Thanks for your help.
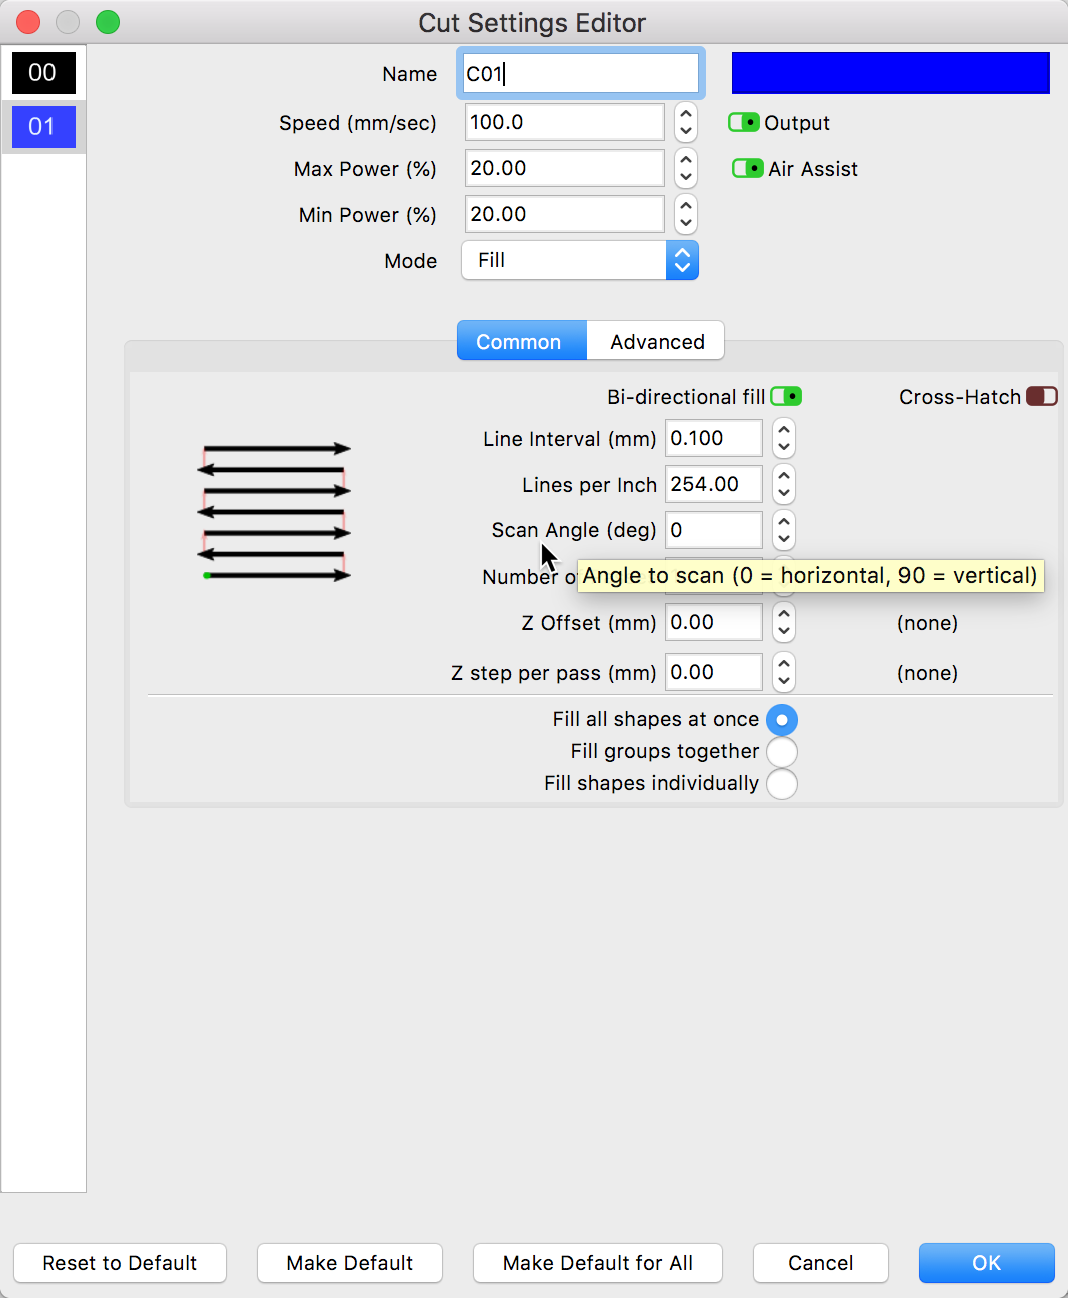
My UI will look different (i am testing a beta release) but the idea is the same. On the ‘Fill’ layer, you will find the ‘Scan Angle’ setting.
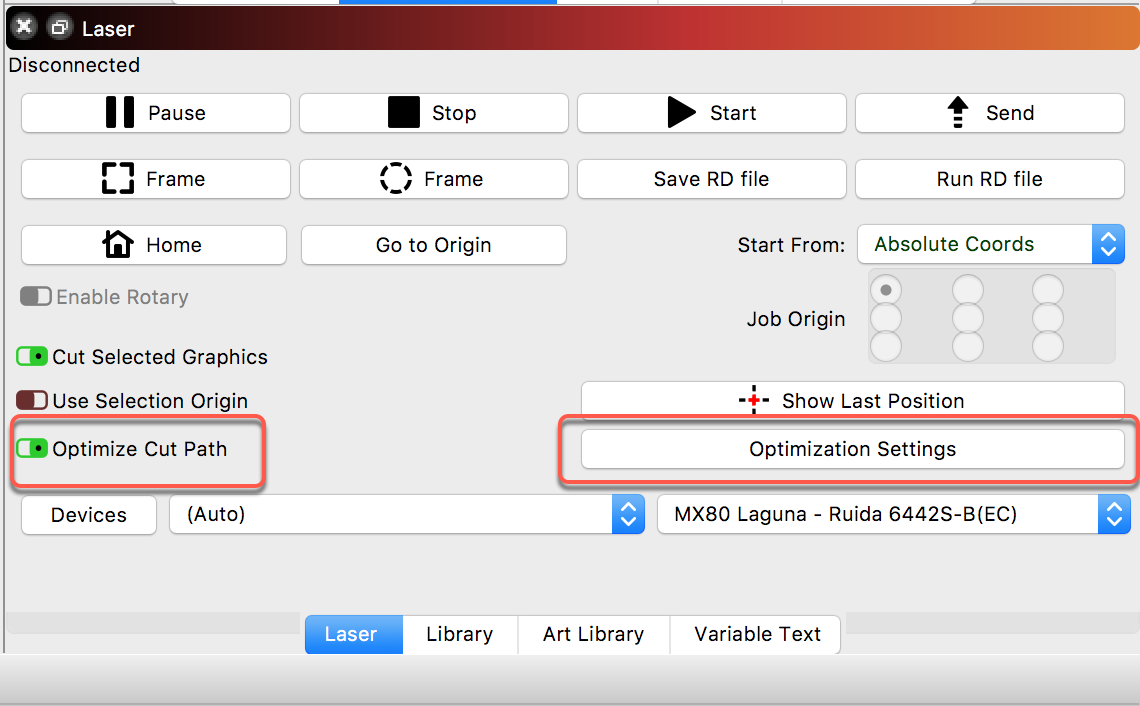
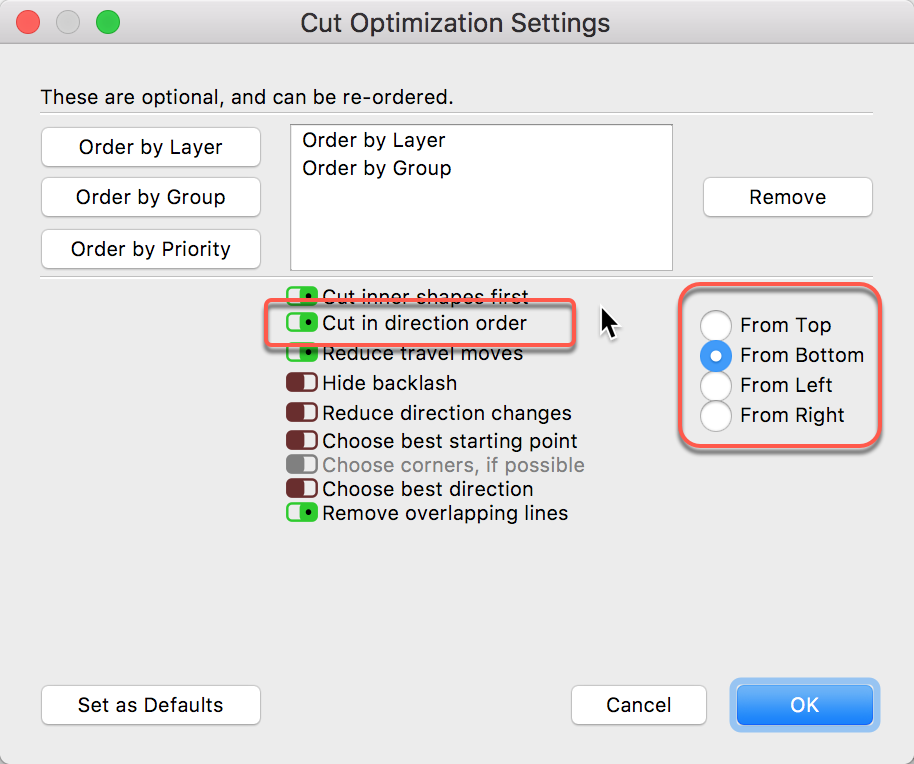
You also have control of the cut ordering.
I must be in the wrong place. How do I get to where I can change the scan angle?
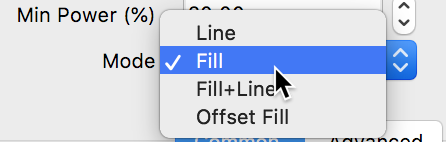
You are showing the correct edit screen, but you have that layer mode set as a ‘Line’ cut. The setting I provided is for layers set to ‘Fill’.
Maybe a bit more about the job and the cut order/direction you’d like and we can suggest some workflows. What are you trying to do? 
Aha. No wonder. Thanks for you patience.
When I engrave on Rowmark, I was advised to scan from bottom to top with very little air to minimize the color vapor from settling back on the freshly engraved image. If you have any insight about how to improve this, I would love to hear it.
Bottom-up is the default in LightBurn because most machines exhaust in the rear - you don’t need to change anything unless you want the opposite, in which case you’d change the scan angle to 180 degrees.
Oh, boy. Okay. Thank you. I guess this brings up another question. I am used to also have the project work from bottom to top. I place my material oriented in the bottom right of the bed. I then set the origin in the bottom right. When I have attempted to run some tests using LightBurn the job runs below my origin point instead of above. What is your recommendation. Is that not typical? I am self taught, so I am open to doing it different or learning how to set up the same way I have been doing it.
LightBurn provides tremendous flexibility in designing workflows that are best for your environment, but that can also bring some confusion if one does not fully understand all that can be done.
I might suggest you start by reviewing our new documentation. We are in the process (still editing so you may notice changes over time as we add and revise) of a complete re-write with a focus on “new to LightBurn” users. This will help walk you through the basics and get into the details of our more advanced features as well. Let us know as you progress and we can help direct you further.
https://lightburnsoftware.github.io/NewDocs/
You ask about the origin of starting a job so I draw your attention to this section: https://lightburnsoftware.github.io/NewDocs/CoordinatesOrigin.html
Thank you. That is exactly what I will do. So far I love LightBurn. I am also very impressed with how promptly I get answers on this forum. You guys have been great. Thanks again.
I have a couple of questions that I doubt is in the manual… I have a PC at the shop and a Mac at home.
- Once I connect my Mac to the Laser engraver, can I disconnect it and use the software at home?
- If that is possible, can I then create projects to engrave from home (I am a bit of a workaholic) and save them to the cloud to open on the PC - In other words will those LightBurn files be 100% compatible in the PC version?
Well yes, we work from different locations and computers all the time and it work a charm. You just need to take a few issues into consideration when working in mixed invironments to have things work smoothly and as you’d expect.
First, you will want to have a matching ‘Device Profile’ on the systems that will generate shared files. You need to do this once to get LightBurn configured properly, you do not need to be connected to a laser once you have confirmed your setup.
Next, you will want to have the same fonts installed on each computer to ensure you can edit and produce the job look as designed. You can also select all text and ‘Convert to Paths’ so they look exactly as intended, but they then are no longer editable as text objects as they are not paths.
LightBurn also provides additional tools you can build such as libraries of settings and artwork you might also want to share. You can locate those resources on a shared drive, providing access from all systems to help this flow as well.
Worth noting - sometimes fonts named the same on Mac & PC will render slightly different - size, spacing, etc. Not sure why, but it happens. We haven’t verified whether the same actual font file renders identically on both, though from what is know of the framework we use, it should. 
Once again, thank you.
You would never have to connect it in the first place - you can manually create a device profile, and many do, as long as you know the type of controller, size of the work area, and where the origin is. That’s really all that’s needed.
1 Like
This topic was automatically closed 30 days after the last reply. New replies are no longer allowed.