Christmas is nearly upon us, and while talking to my parents, I asked whether there was anything they might want me to make for them this year. Usually the answer is an “Oh, anything! We like whatever you come up with!” so I was quite delighted when after just a moment’s thought, they actually had a request. You see, they have a Scrabble Giant Deluxe Edition set that they very much enjoy, but they’ve lost one of the letters and are currently using a standard-size letter as a poor substitute:
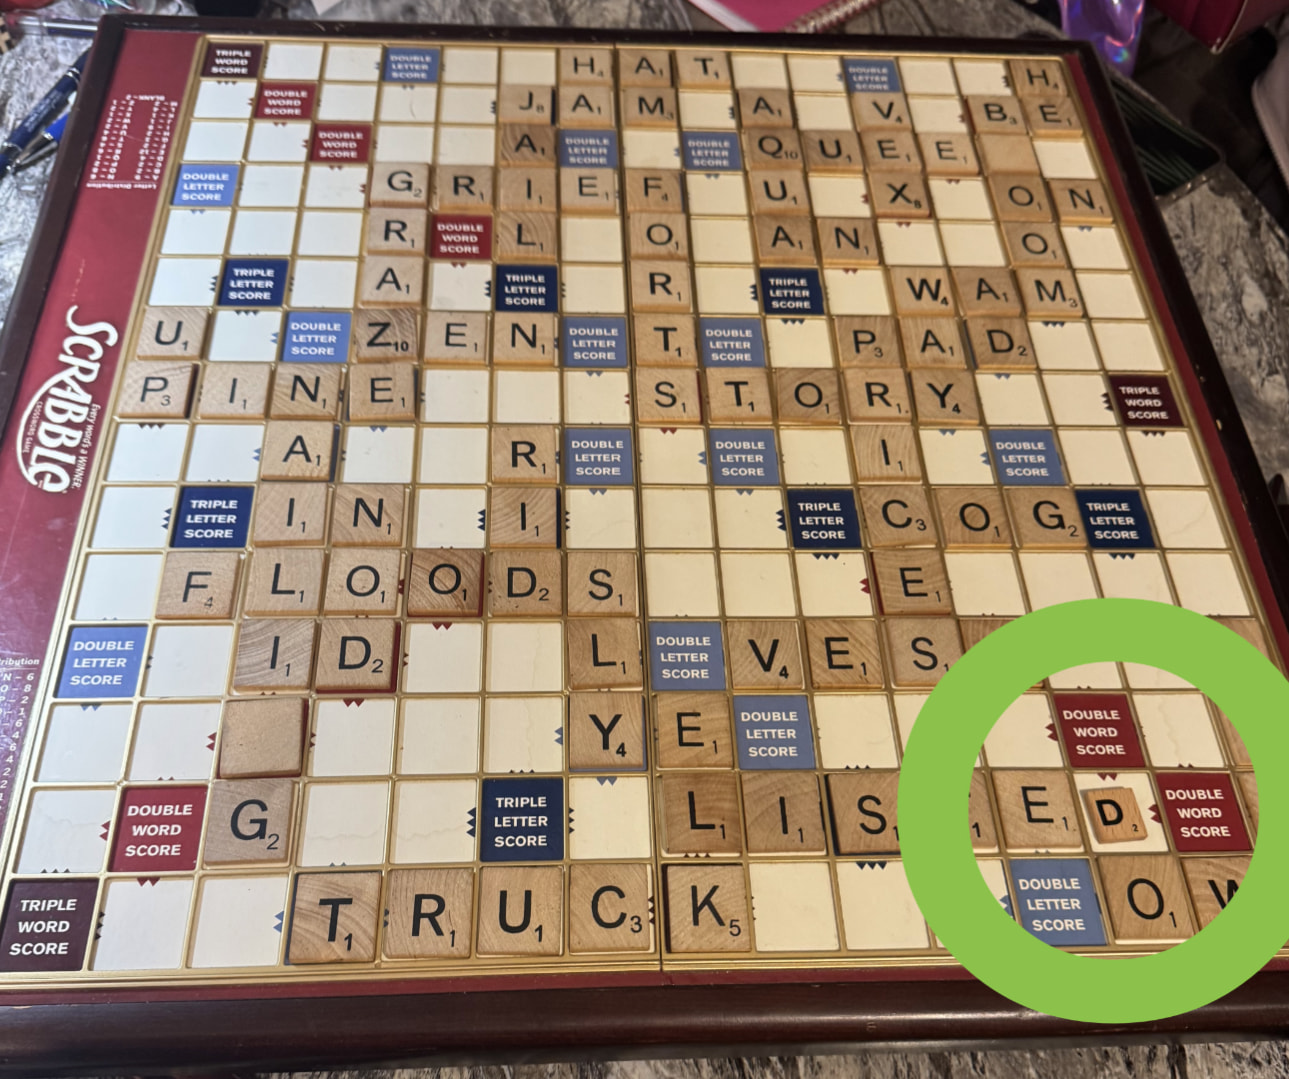
They asked if I could make a replacement letter. Well, sure, I can certainly make a replacement letter. Of course, mass-market Scrabble tiles are end grain*, and if I made a replacement, it would naturally be face grain. I also don’t have the letterforms used on the real game tiles, so barring a scan-and-trace, that would also be a mismatch. Of course, I’d naturally want to cut, engrave, and mark them with my lasers, which wouldn’t match the original printed tiles. (Competition tiles can’t be engraved, as cutthroat Scrabble players would certainly “read” them when drawing, but my parents would like the engraved look… also they’re currently using that tiny little D, so context, heh.)
So, first things first, I selected a nice 1/4" poplar board, as I can get that locally and it seemed an appropriate wood. (I also have hard maple, cherry, mahogany, and walnut heading my direction, but knowing my parents, they’d end up with poplar for the look and feel anyway, so poplar it is.) I drew up an array of tiles in Inkscape (31mm tall, 29.5mm wide, 3mm corner radius) and brought it into LightBurn. Two passes at 20mm/s and 60% power on my 100W CO2 laser (with a 4" focal-length lens) made quick work of turning the board into tile blanks. (One pass at those settings was almost enough, but two passes made a nice, clean medium-brown edge with no excessive charring.)
The 100W CO2 gantry laser is my usual selection for cutting, but my 30W CO2 galvo laser is wonderful for engraving, so my next step was to throw a thin piece of scrap plywood on the 100W CO2 and cut a tile-holder jig to use for repeatable placement on the galvo. I cut the tile hole to the same dimensions as the tile blanks, figuring I could rely on the kerf to give me the necessary clearance. I mounted it to the little X/Y table I use for precision placement on the galvo, and I was in business.

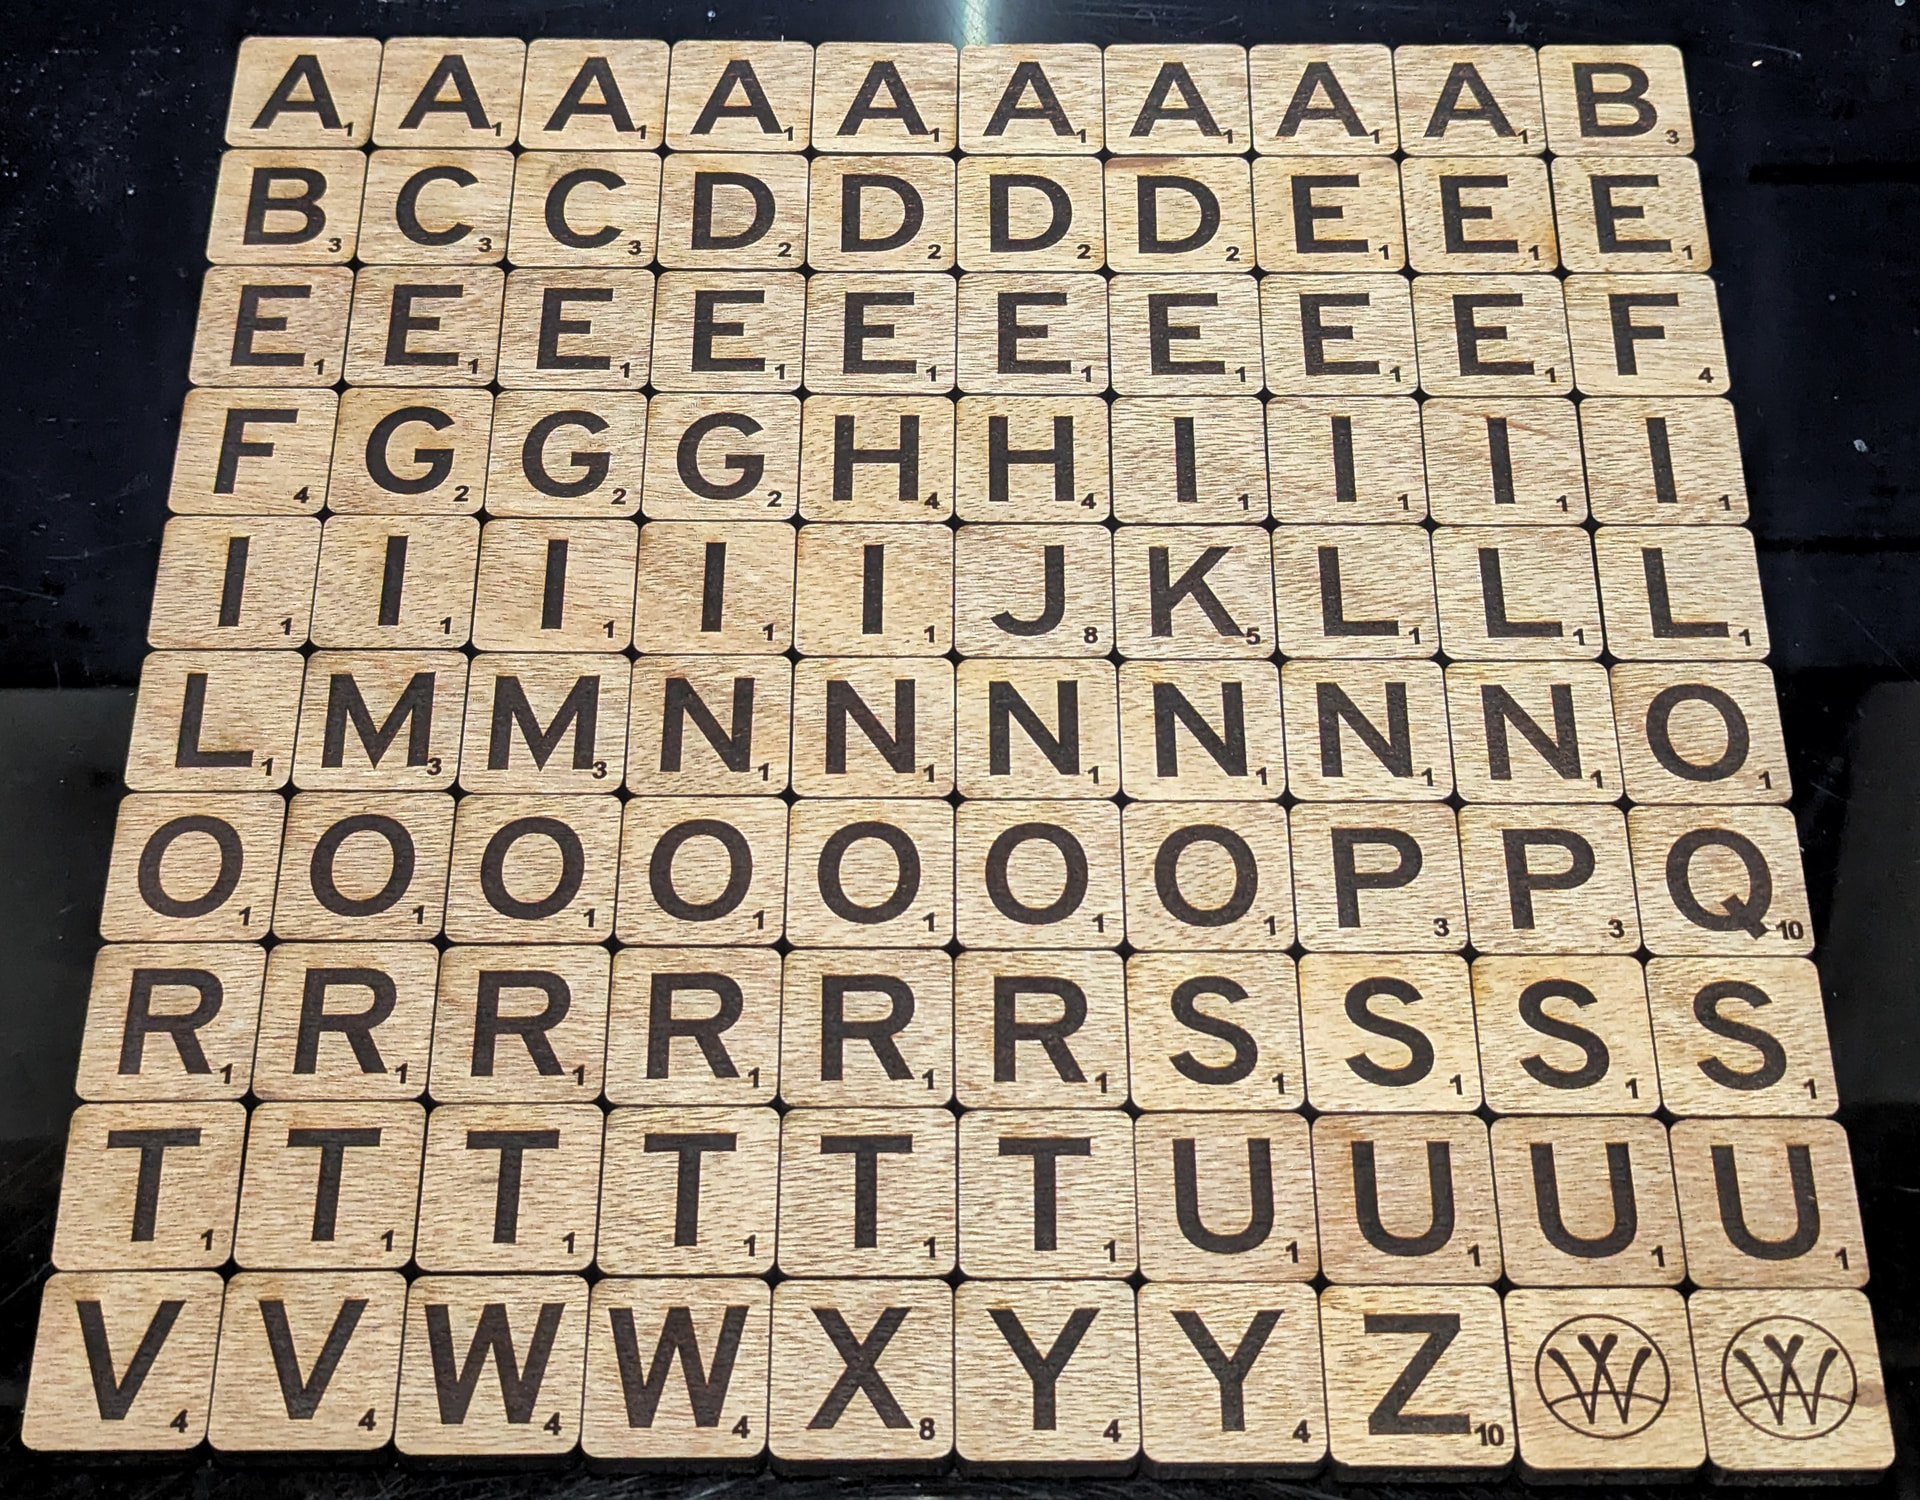
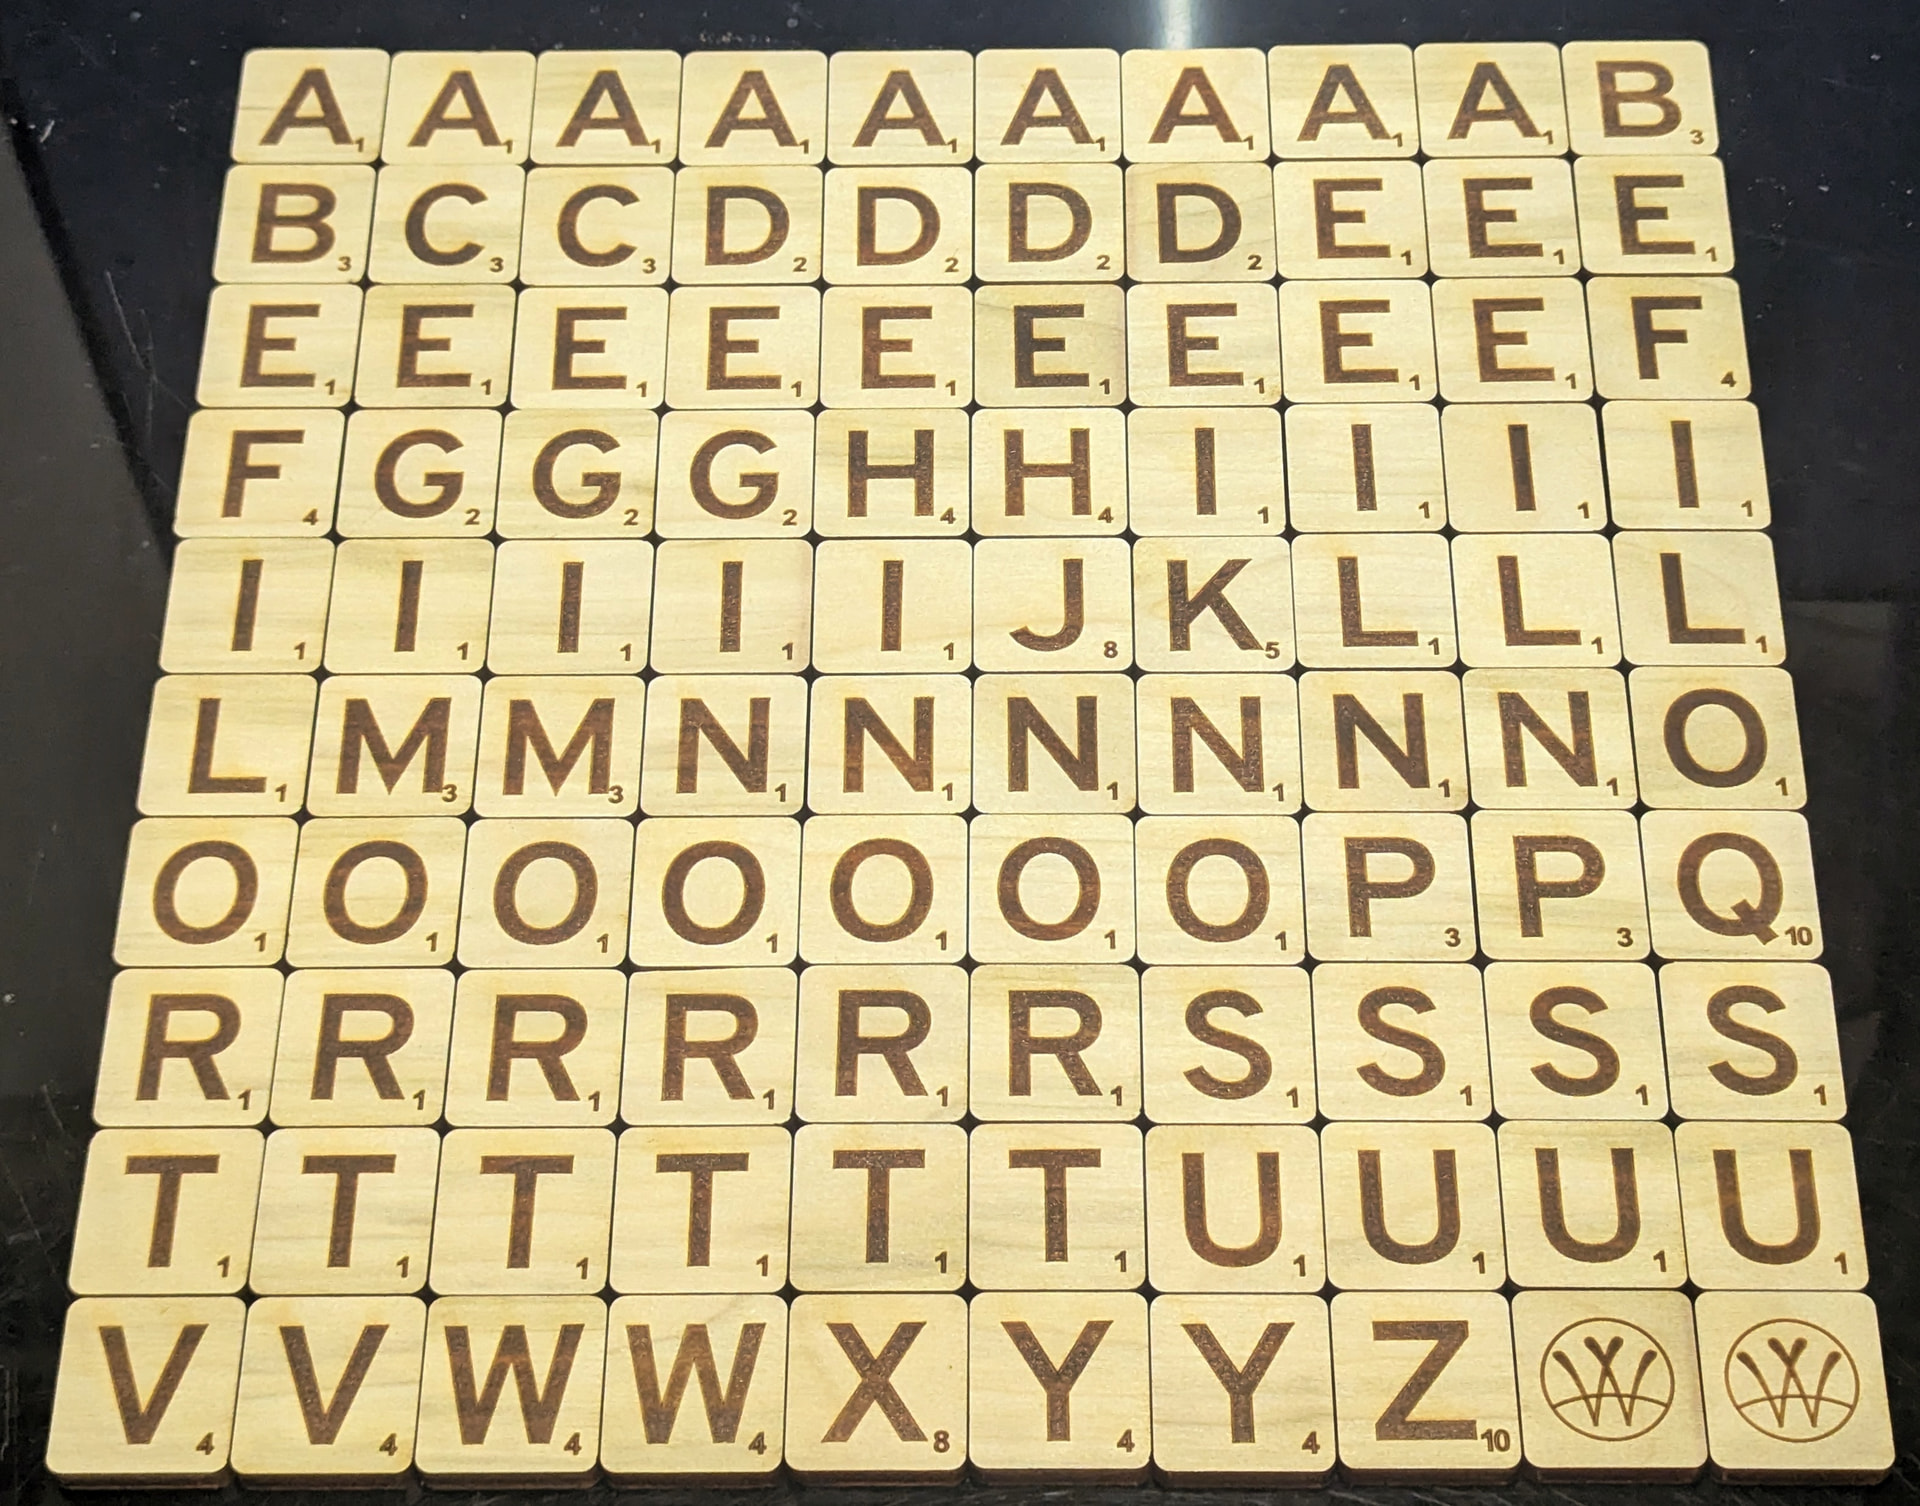
I used a two-step engrave-then-darken process on the tiles. For the finest detail, I threw my 110mm field lens on the CO2 galvo and got to work. The first sublayer is 5000mm/s, 100% of my 30W, frequency 100kHz, line interval 0.15mm, and 5 bidirectional passes rotating with an angle increment of 120°. That gives just a little depth, but it leaves the surface a bit light. The second sublayer follows with 2000mm/s, 10% of my 30W, frequency 20kHz, line interval 0.025mm, and 3 bidirectional passes rotating with an angle increment of 120°. That significantly darkens the engraving.
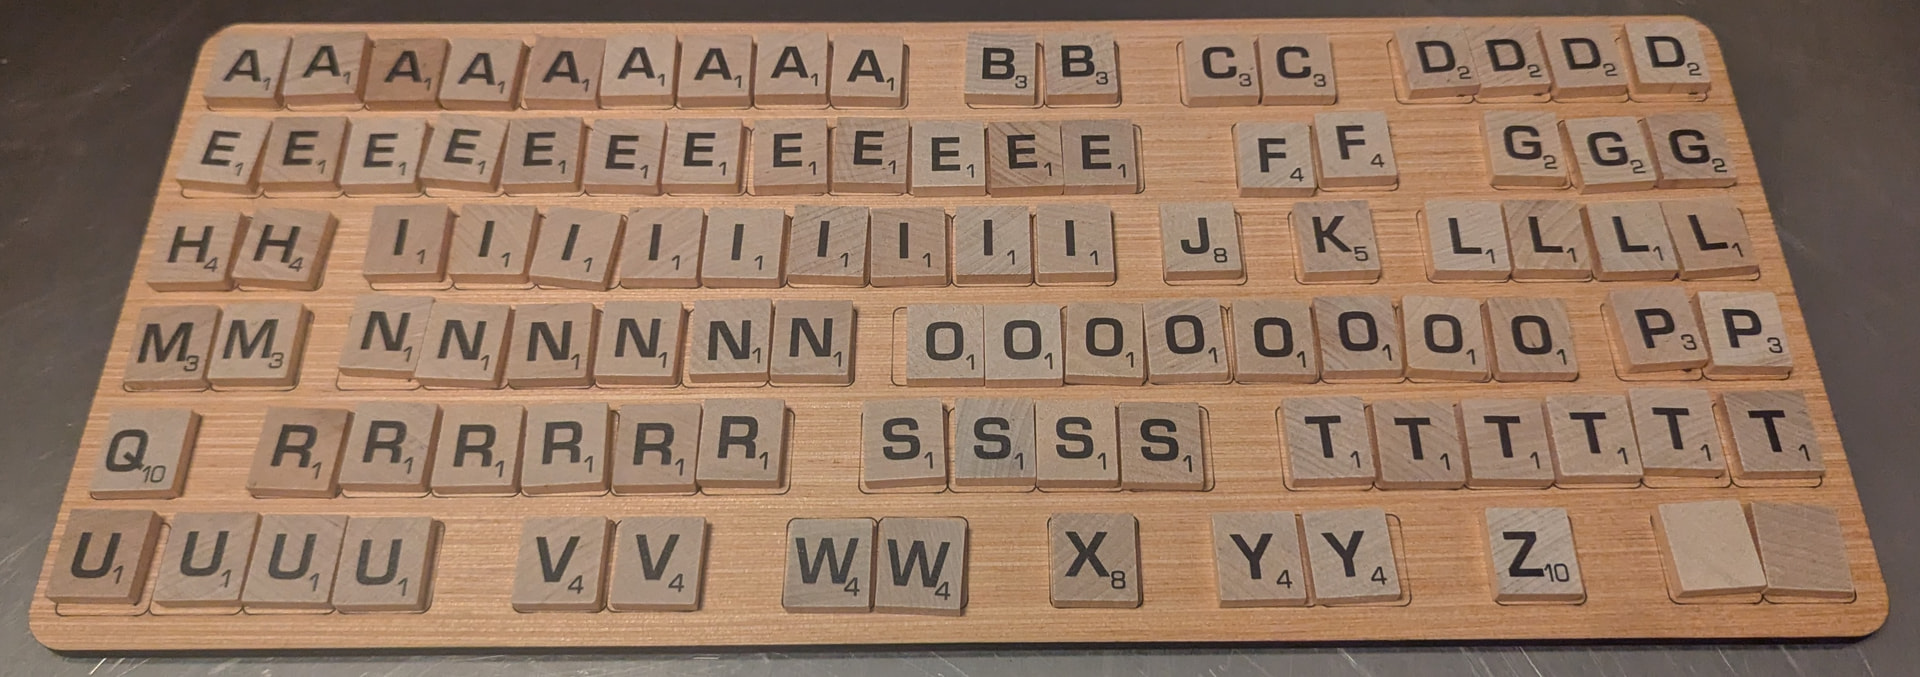
I had my tiles all sitting off the side of the workspace in one LightBurn file. I’d select the next one, move it to workspace center (to which I had my jig aligned), and run that tile the appropriate number of times. Lather, rinse, repeat until all 100 tiles were done. (For the two “blanks”, I added my maker’s mark. The reverse of all the tiles is blank.) I’m also including four completely blank tiles so they can sharpie a temporary tile if they lose one – wouldn’t want them having to use an unmatched tile while they wait for me to make and mail a replacement, after all.
Naturally, now that I had a full set of tiles, my mind immediately alerted me to the absolute necessity of sending them in a nice custom box. I mean, they’re a gift… and having a bespoke perfectly-sized storage box might help prevent future tile misplacements. I had the remnants of some 5mm plywood, so a quick trip to Boxes.py, followed by some tweaks of the inside wall connections in Inkscape, and I was in business. The 100W CO2 laser made quick work of the cutting, and my 23ga pin nailer was delightful as always in making the assembly permanent.
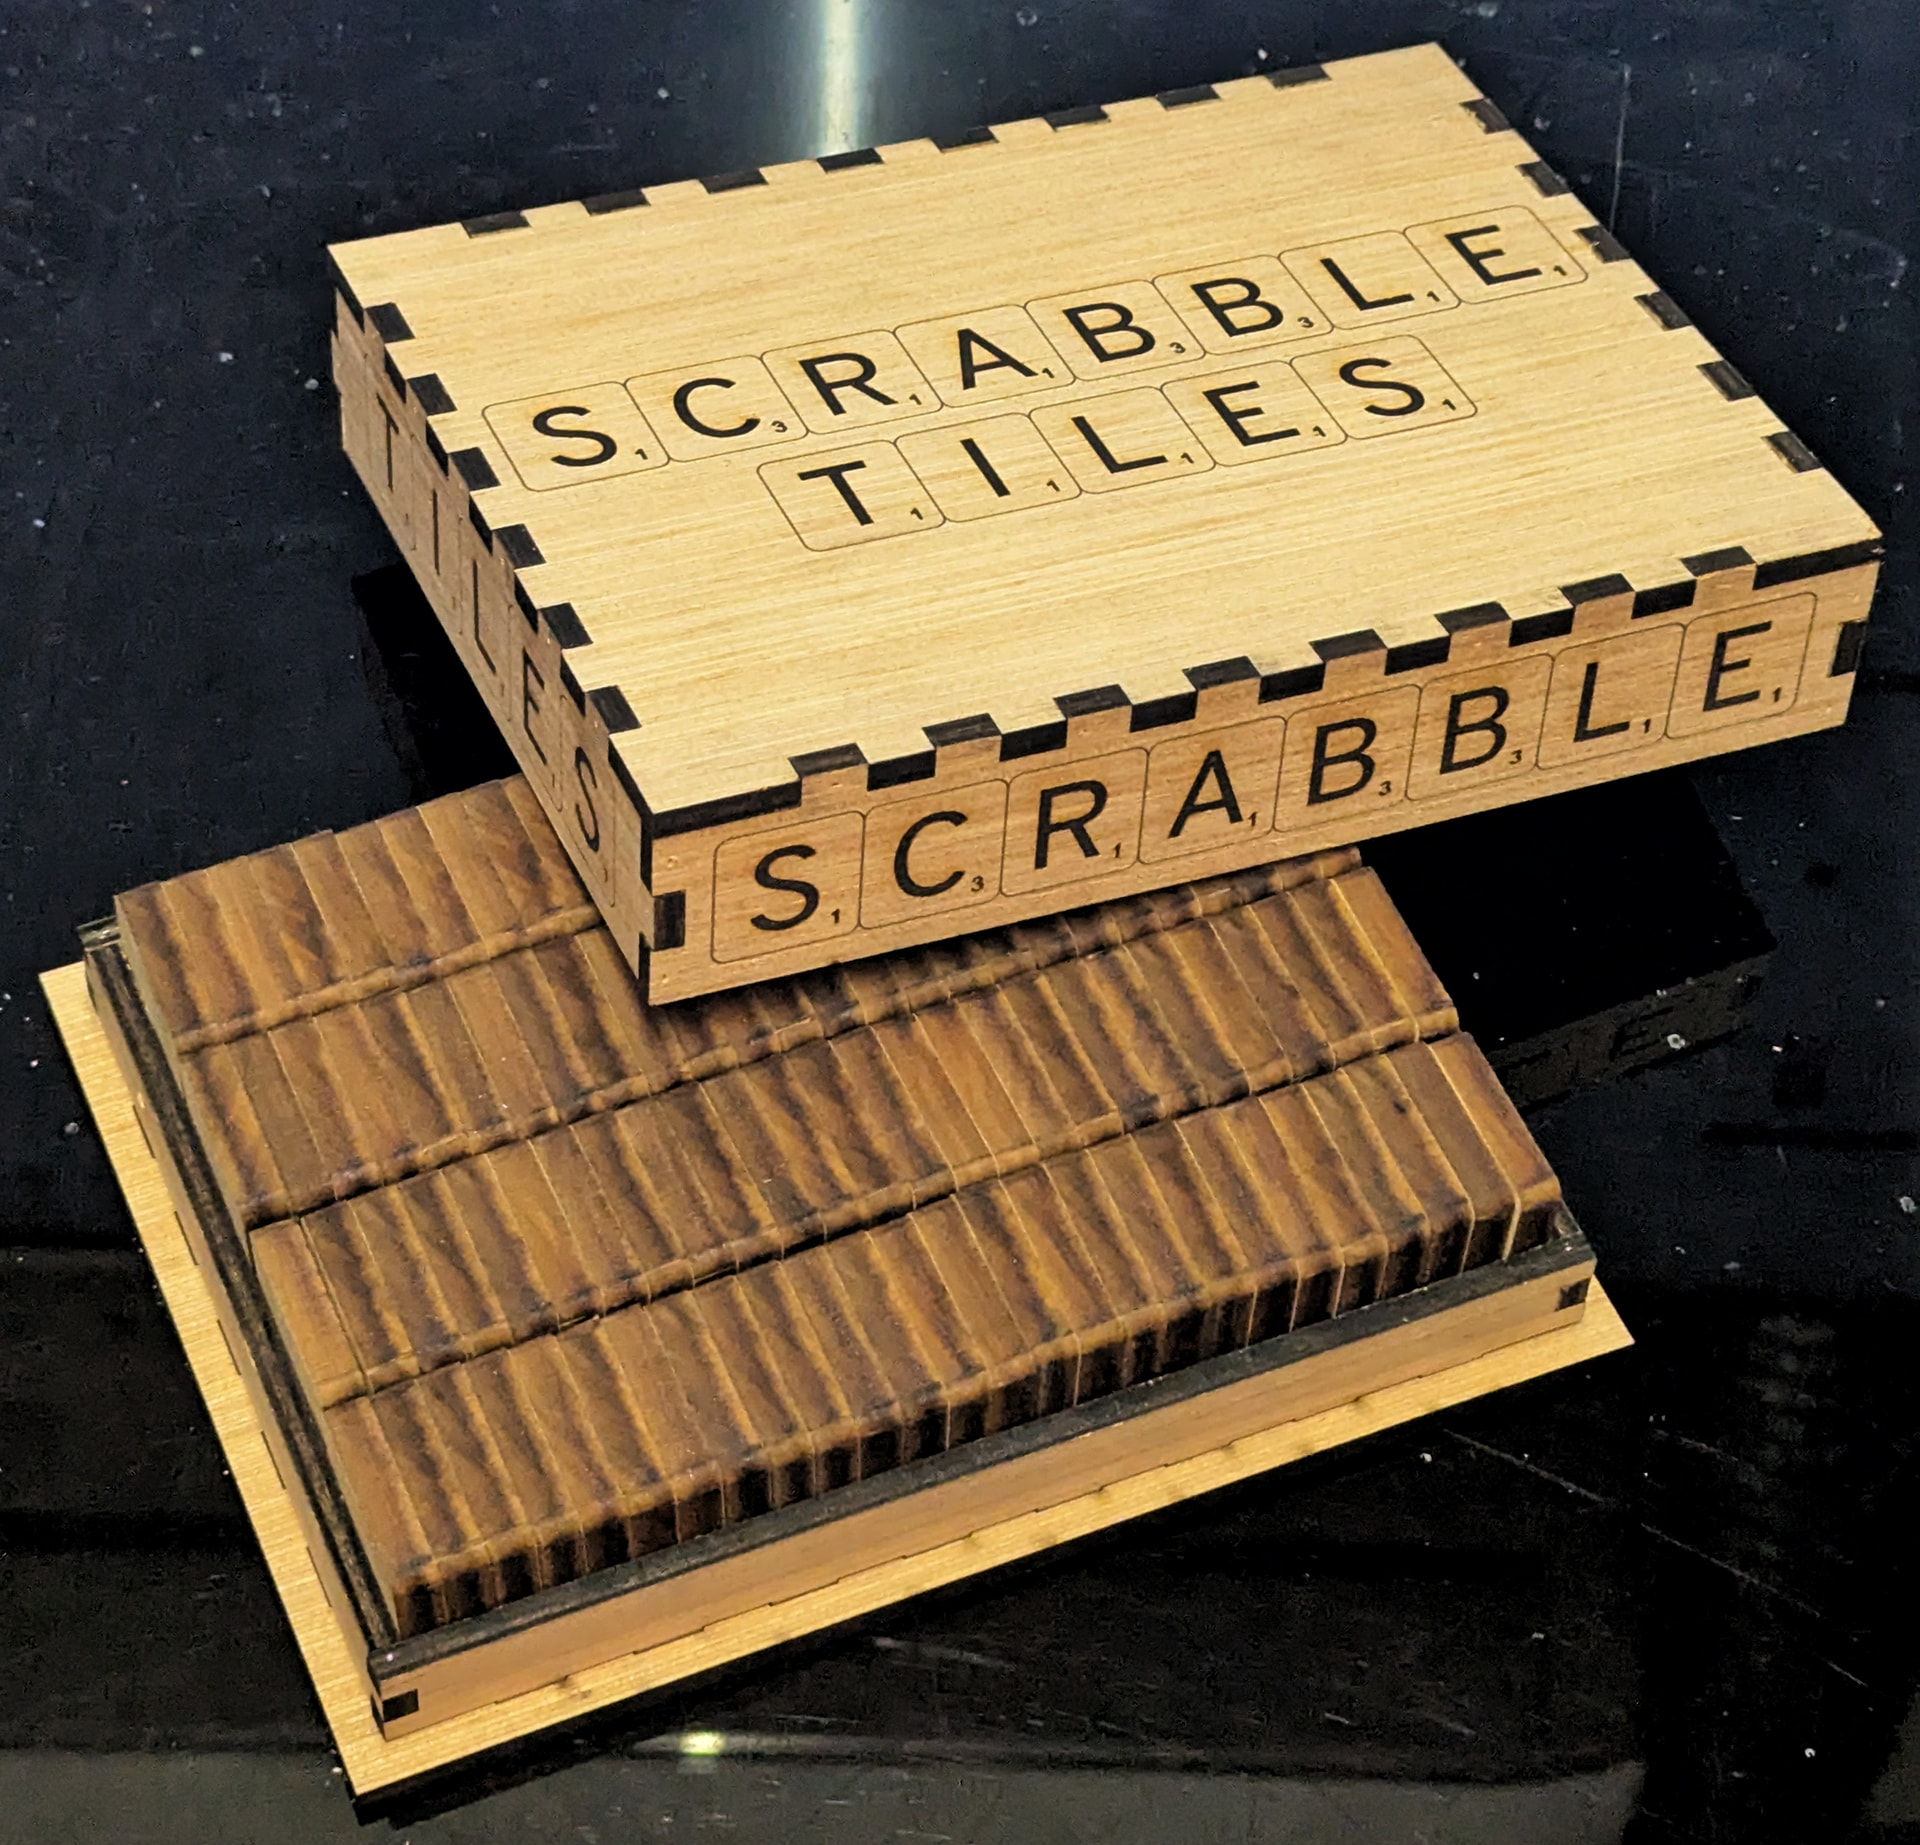
I then went back to the 30W CO2 galvo to throw some decoration on the box. I used my 210mm field lens so the workspace was large enough for the cover. Other than that, I used the exact same settings to do the two-step engrave-then-darken process as I used for the tiles. The tile outlines are one pass at 100mm/s, 20% of my 30W, and frequency 20kHz.
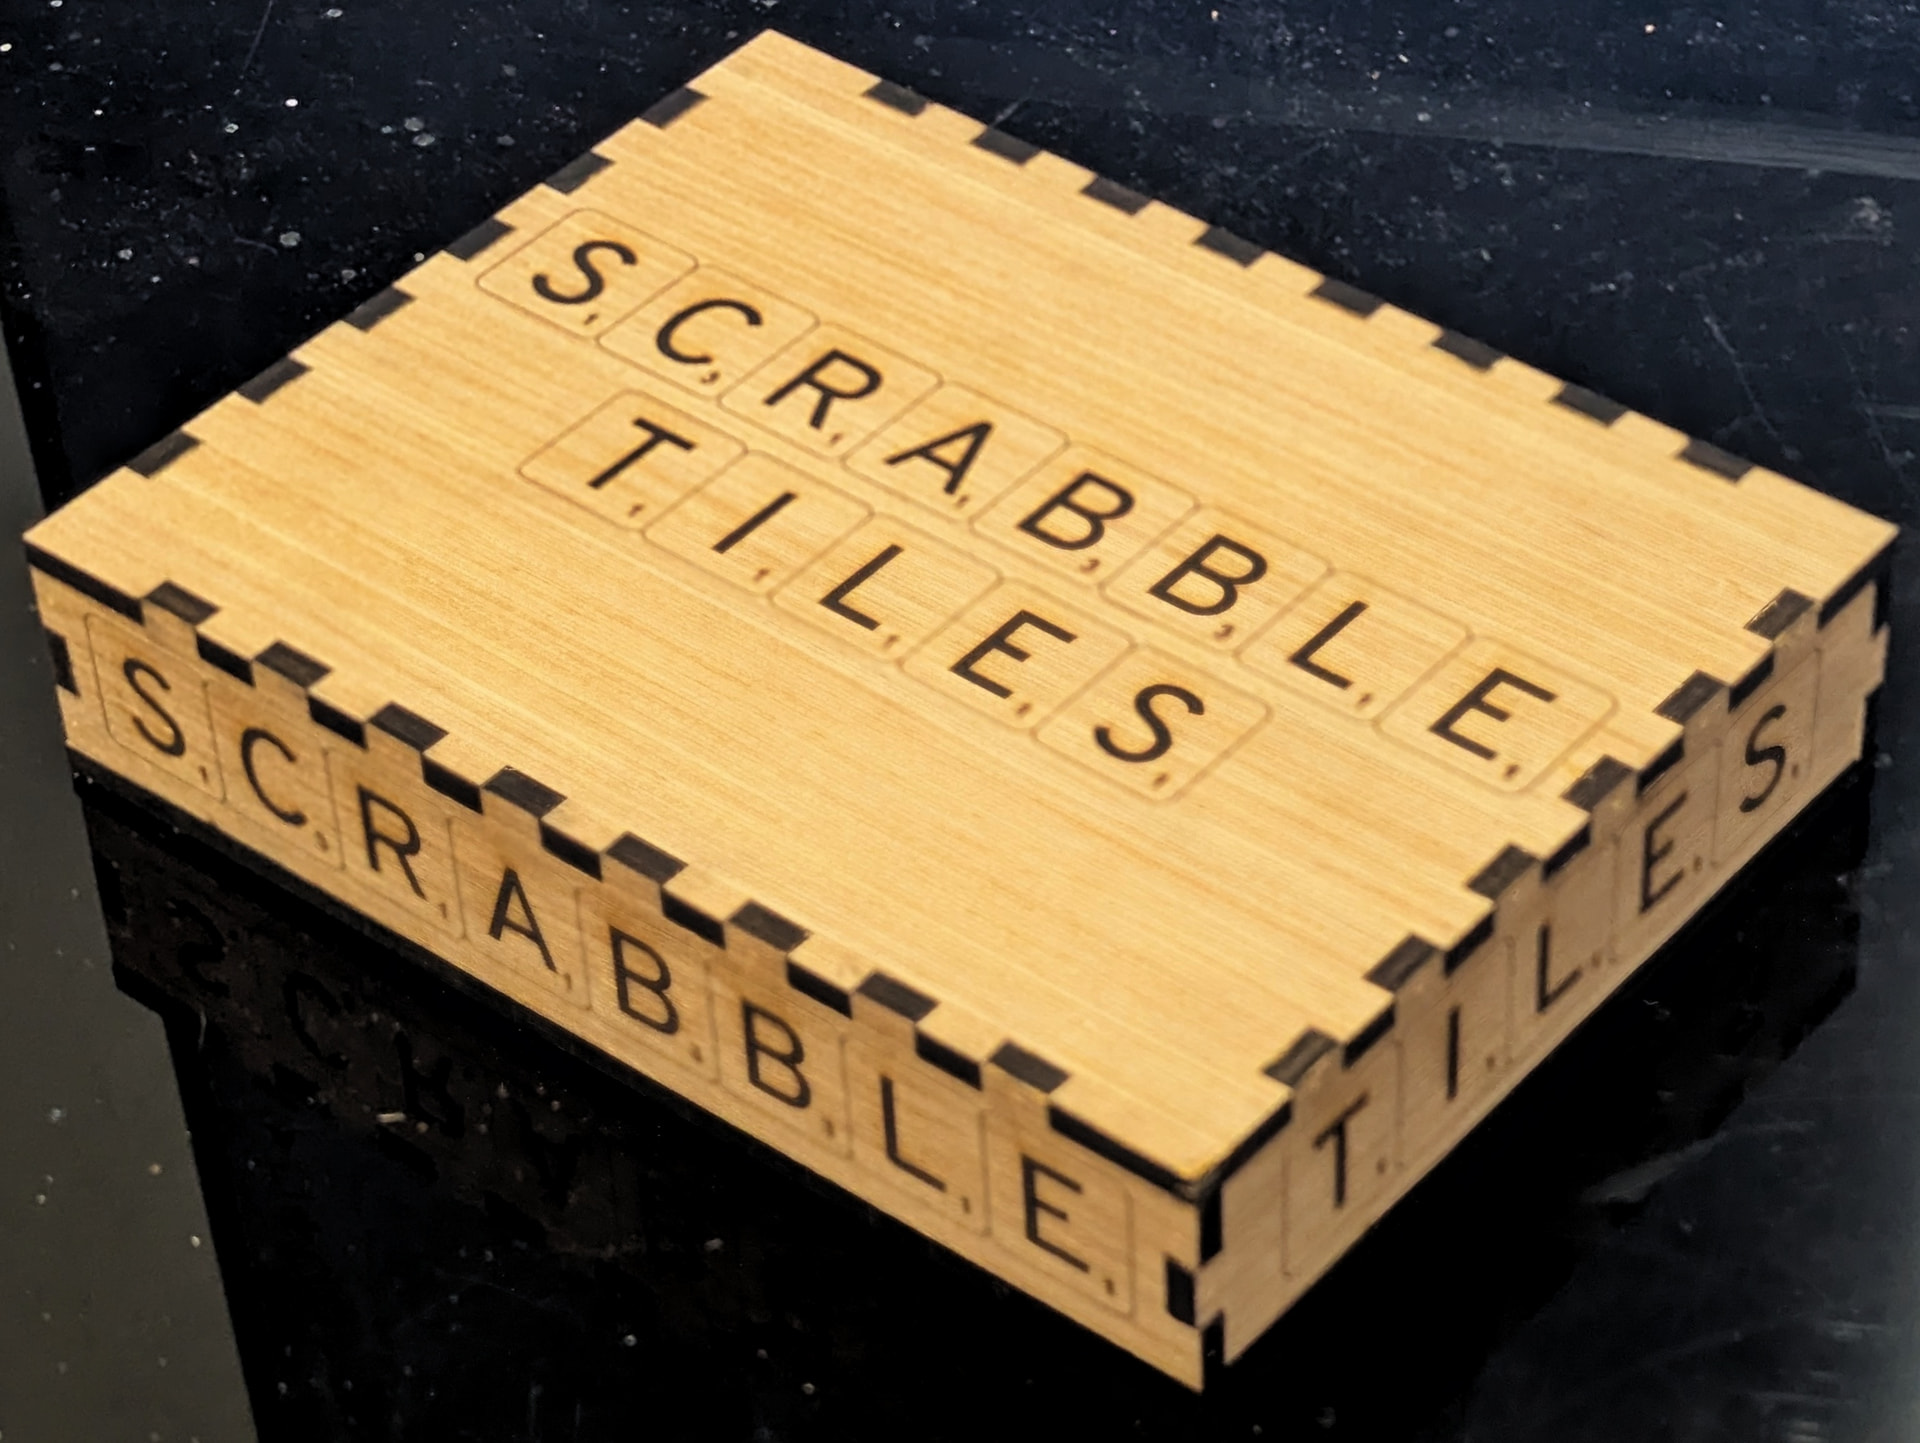
I engraved labels on all six faces of the box, adjusting the sizing as appropriate. Finally, I engraved my makers mark at 50mm diameter on the inside faces of the box top and bottom. And that’s about it for this one. It’s now all packed up and ready to send up to Wisconsin, where hopefully it will be a delightful upgrade.
*Trivia note: I believe the reason mass-market Scrabble tiles are end grain is simply production. It allows them to make “dowels” with the appropriate cross section and then slice them into vast numbers of tiles (like making branch cookies). This means the machinery only has to profile one dowel instead of many tiles, and since lumber is virtually unbounded in the tree’s vertical axis, it’s a very efficient way of producing vast numbers of tiles. Still, for a small-market custom set, I’m of the opinion that the aesthetics of face-grain tiles wins out.