Thanks for the quick response.
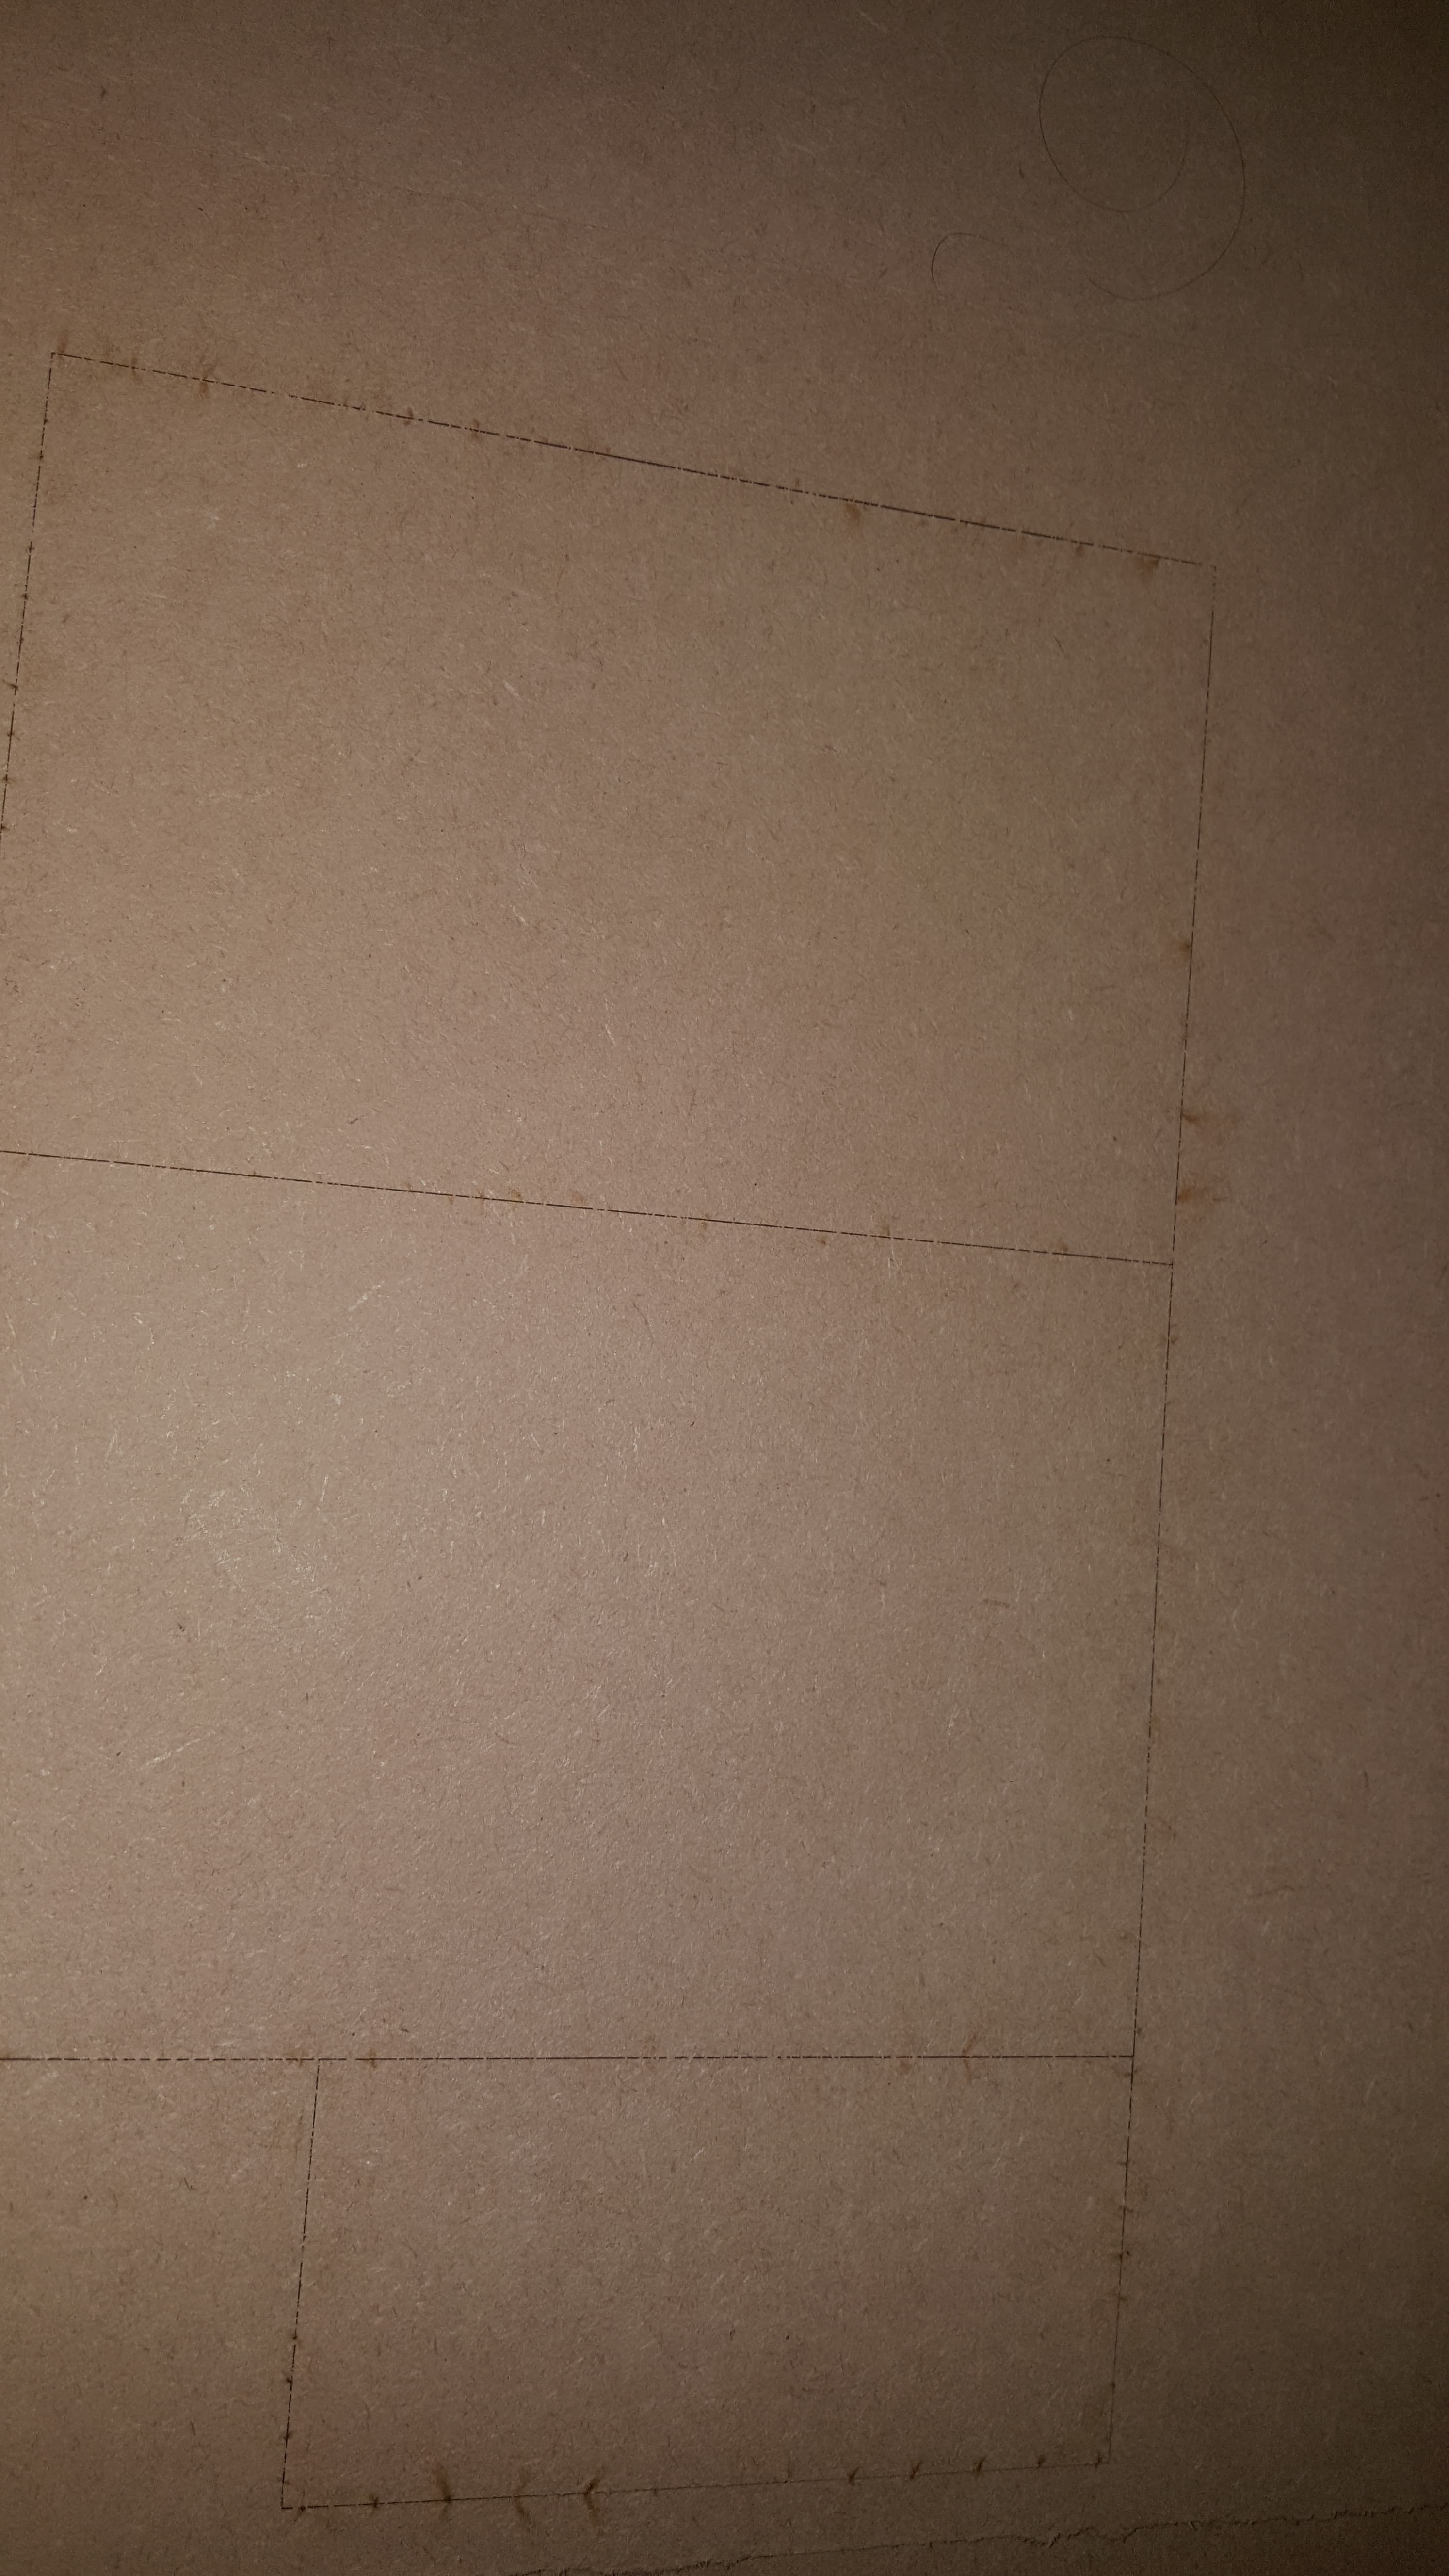
I actually followed this video and have done it all as shown. Still, the lens inside comes unscrewed by the end of a cut and by the stuttering I did mean the cuts. So at the beginning of the cutting, the shapes will cut normally, or as normal as my shapes have been previously cutting and then toward the end, as the lens becomes loose, the cuts look like this (on the back).
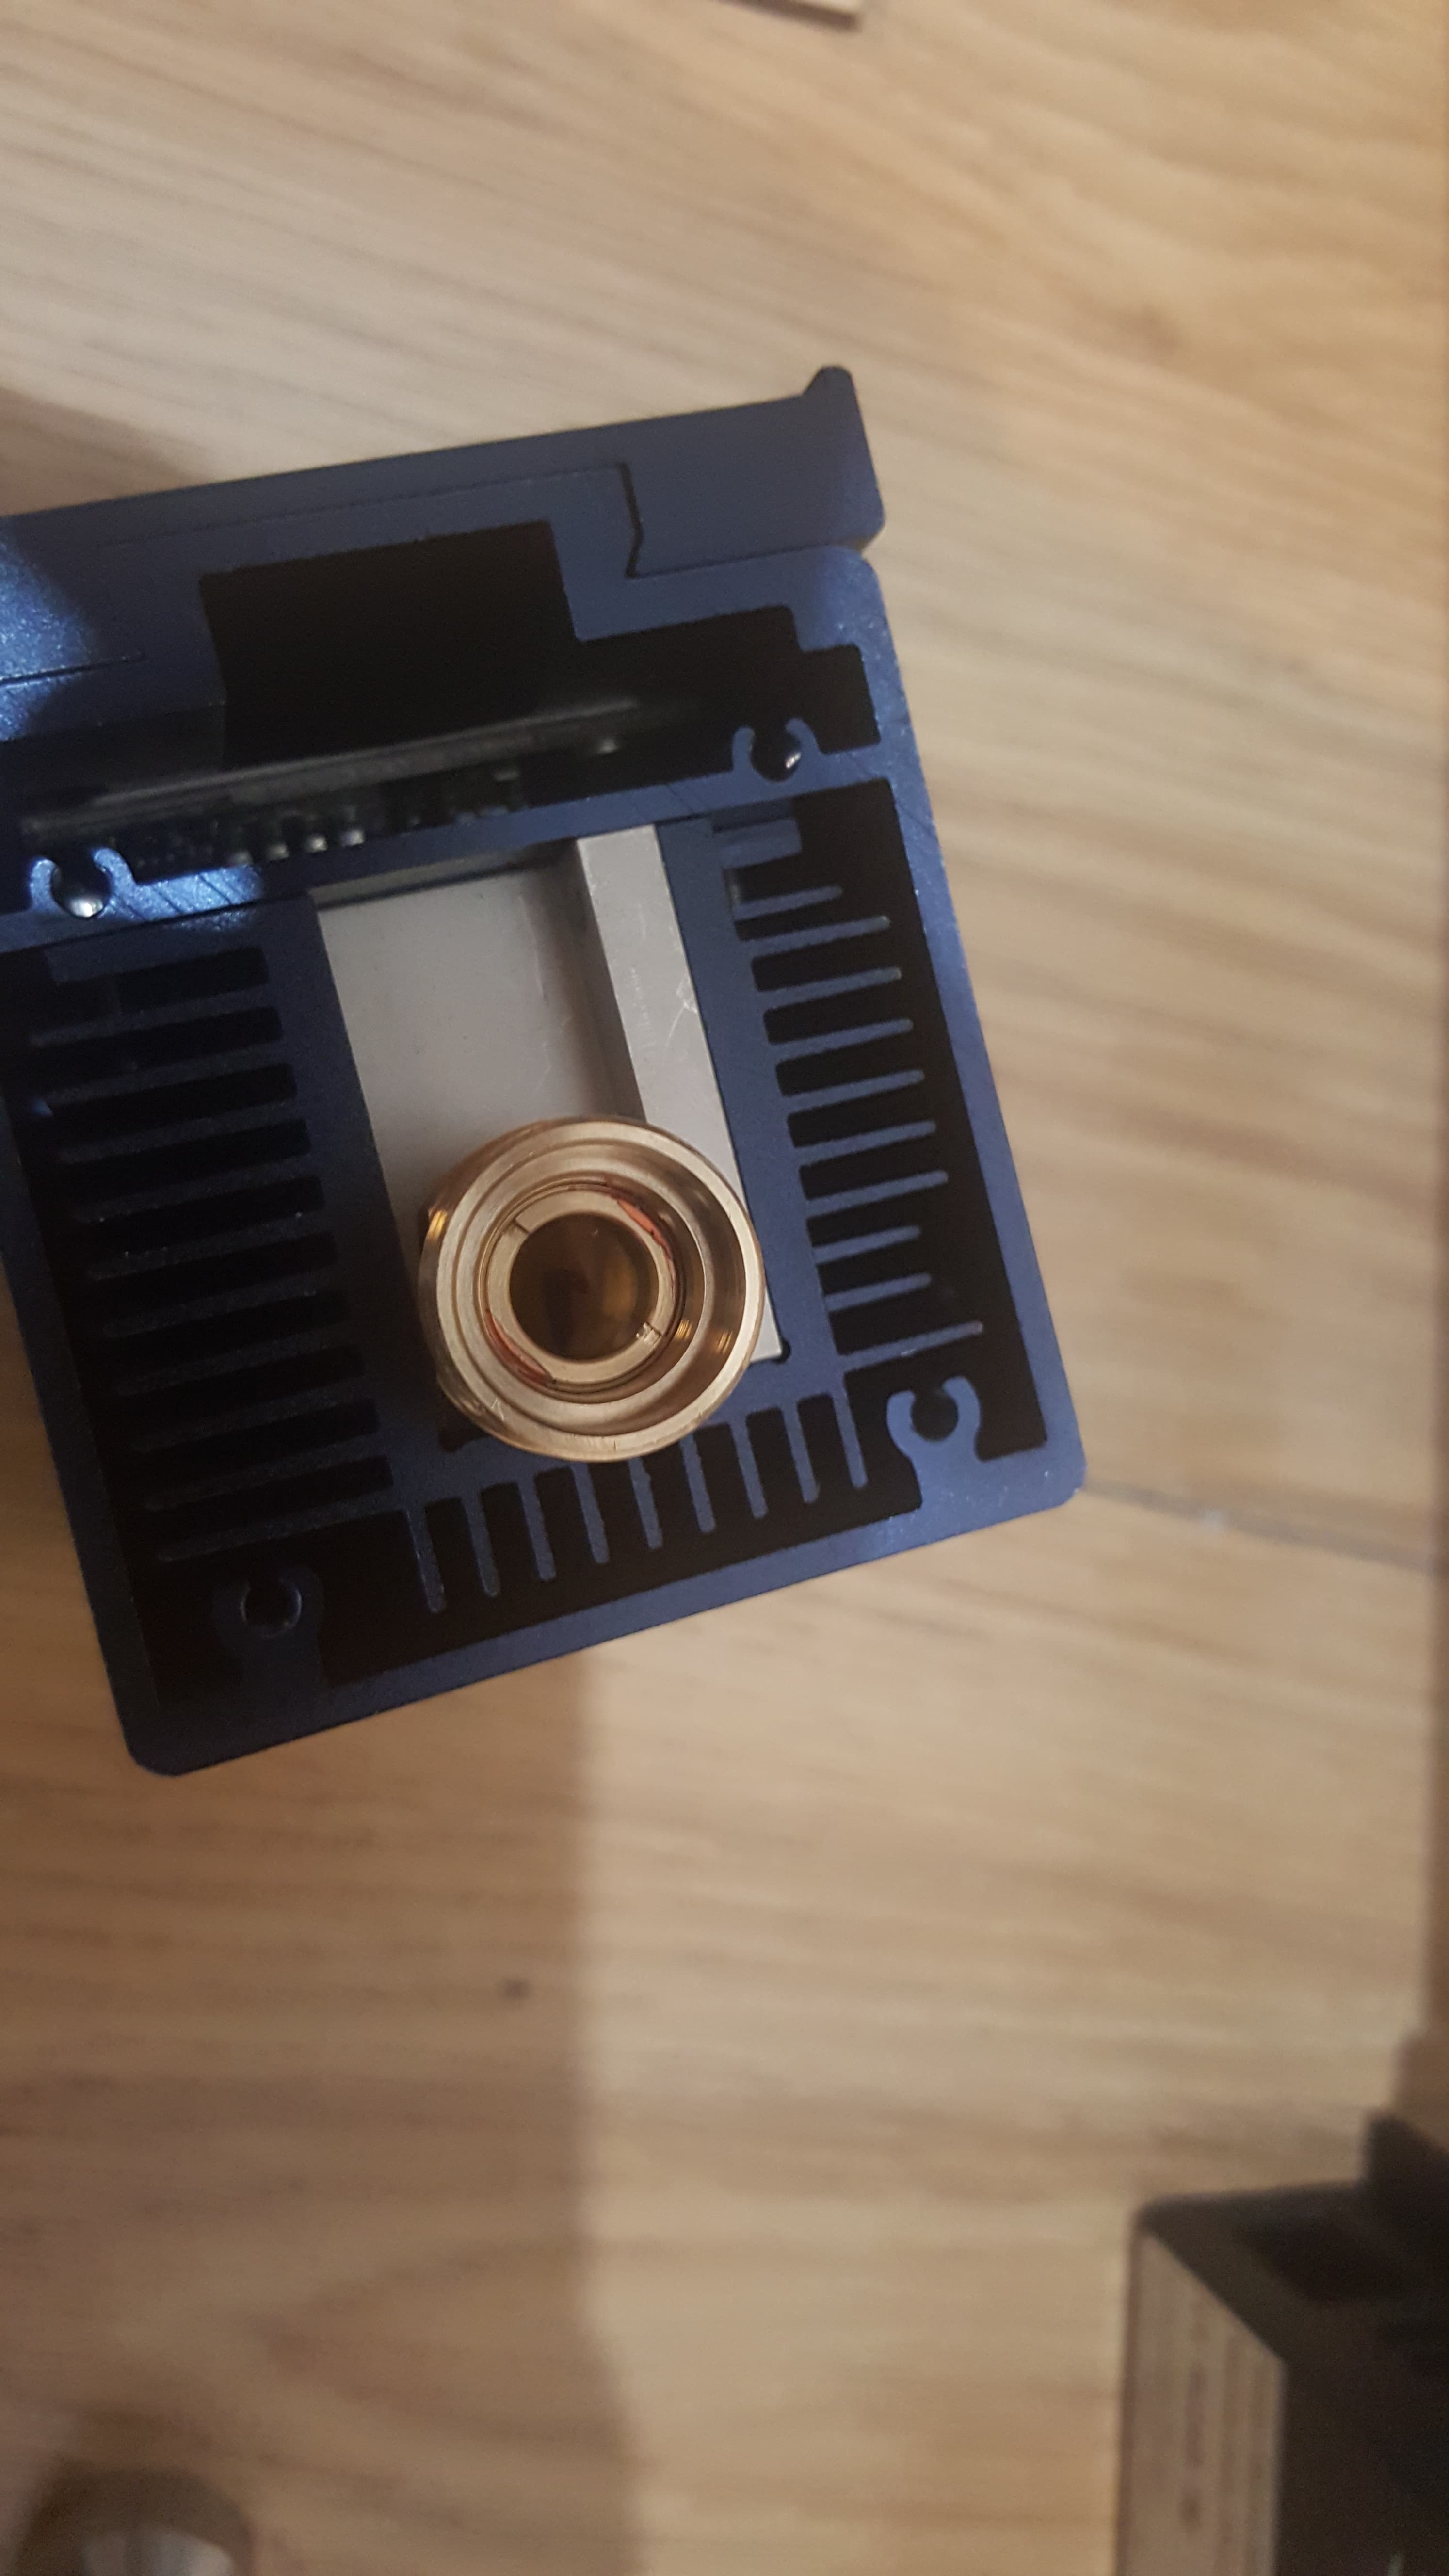
If you can tell, it isn’t screwed tight and has come loose.
Do you think it could be a faulty lens? I mean it does tighten and has no movement until after a cut job so I’m so confused.
I can tell the laser cutter will cut brilliantly, I have just been unfortunate with this one, sadly.
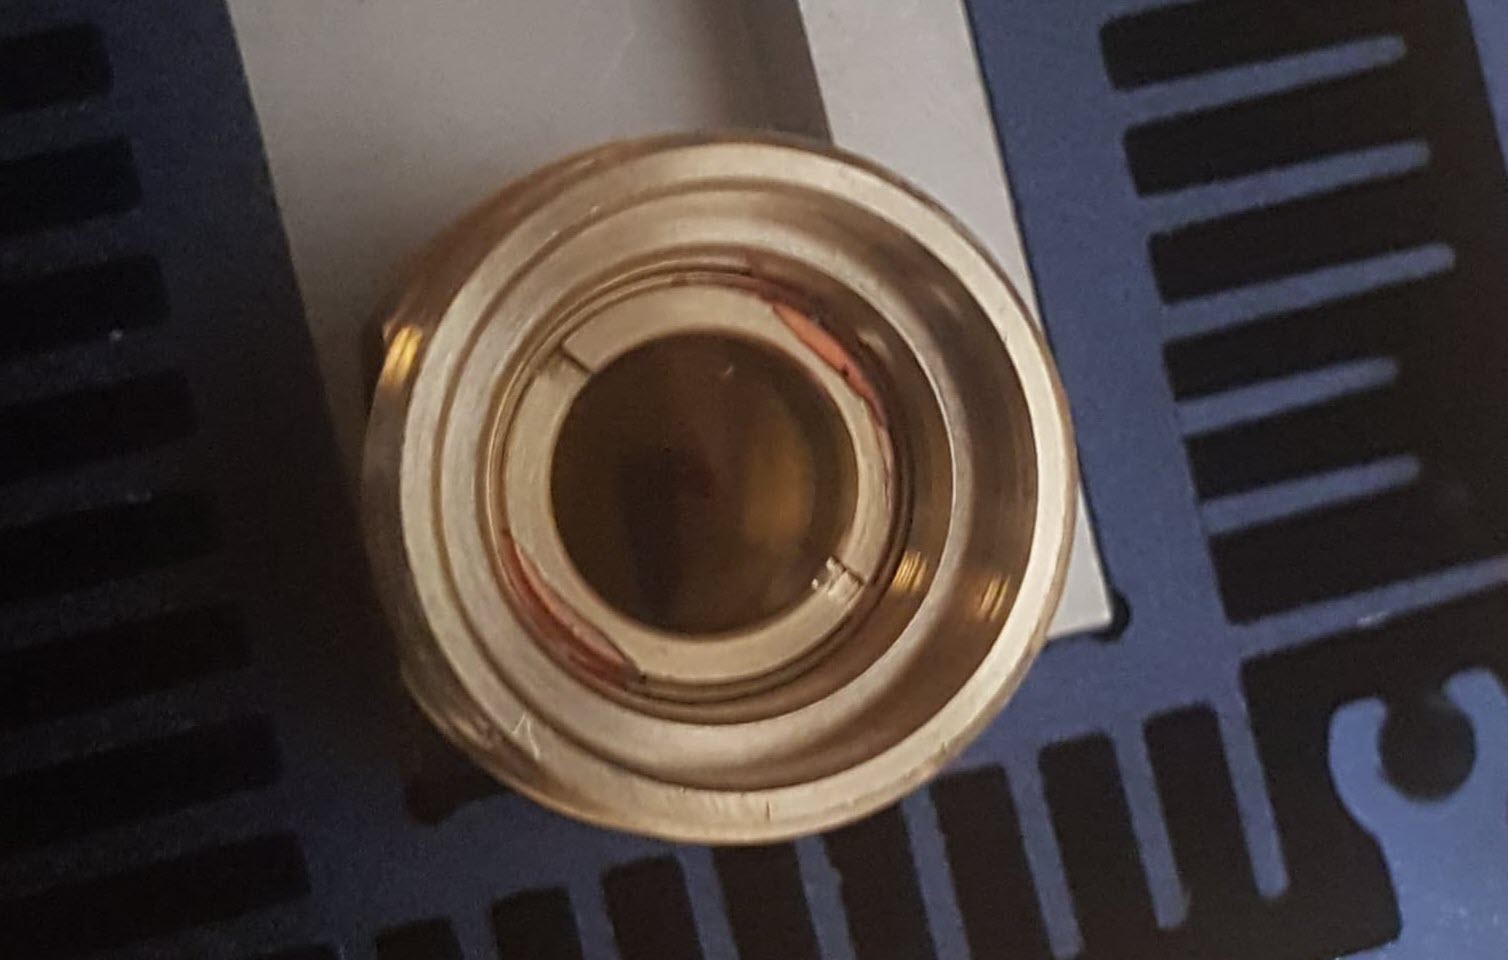
This looks like thread-locker like Lock-tite or Permatex thread locker. It’s like crazy glue for bolts. Red is one of the more serious versions. Blue Should have been fine and Purple is a must for small fiddly stuff.
I read something about using a small amount of teflon pipe tape in the threads of the lens to keep it from shaking loose while you’re engraving.
Roll the threads of the lens as if you were tightening it, to wrap the threads about 1-1/2 turns. This is very close to the minimum for that material. The tape isn’t sticky. It acts as a sealant in plumbing but it’ll take up the space and hold the lens well.
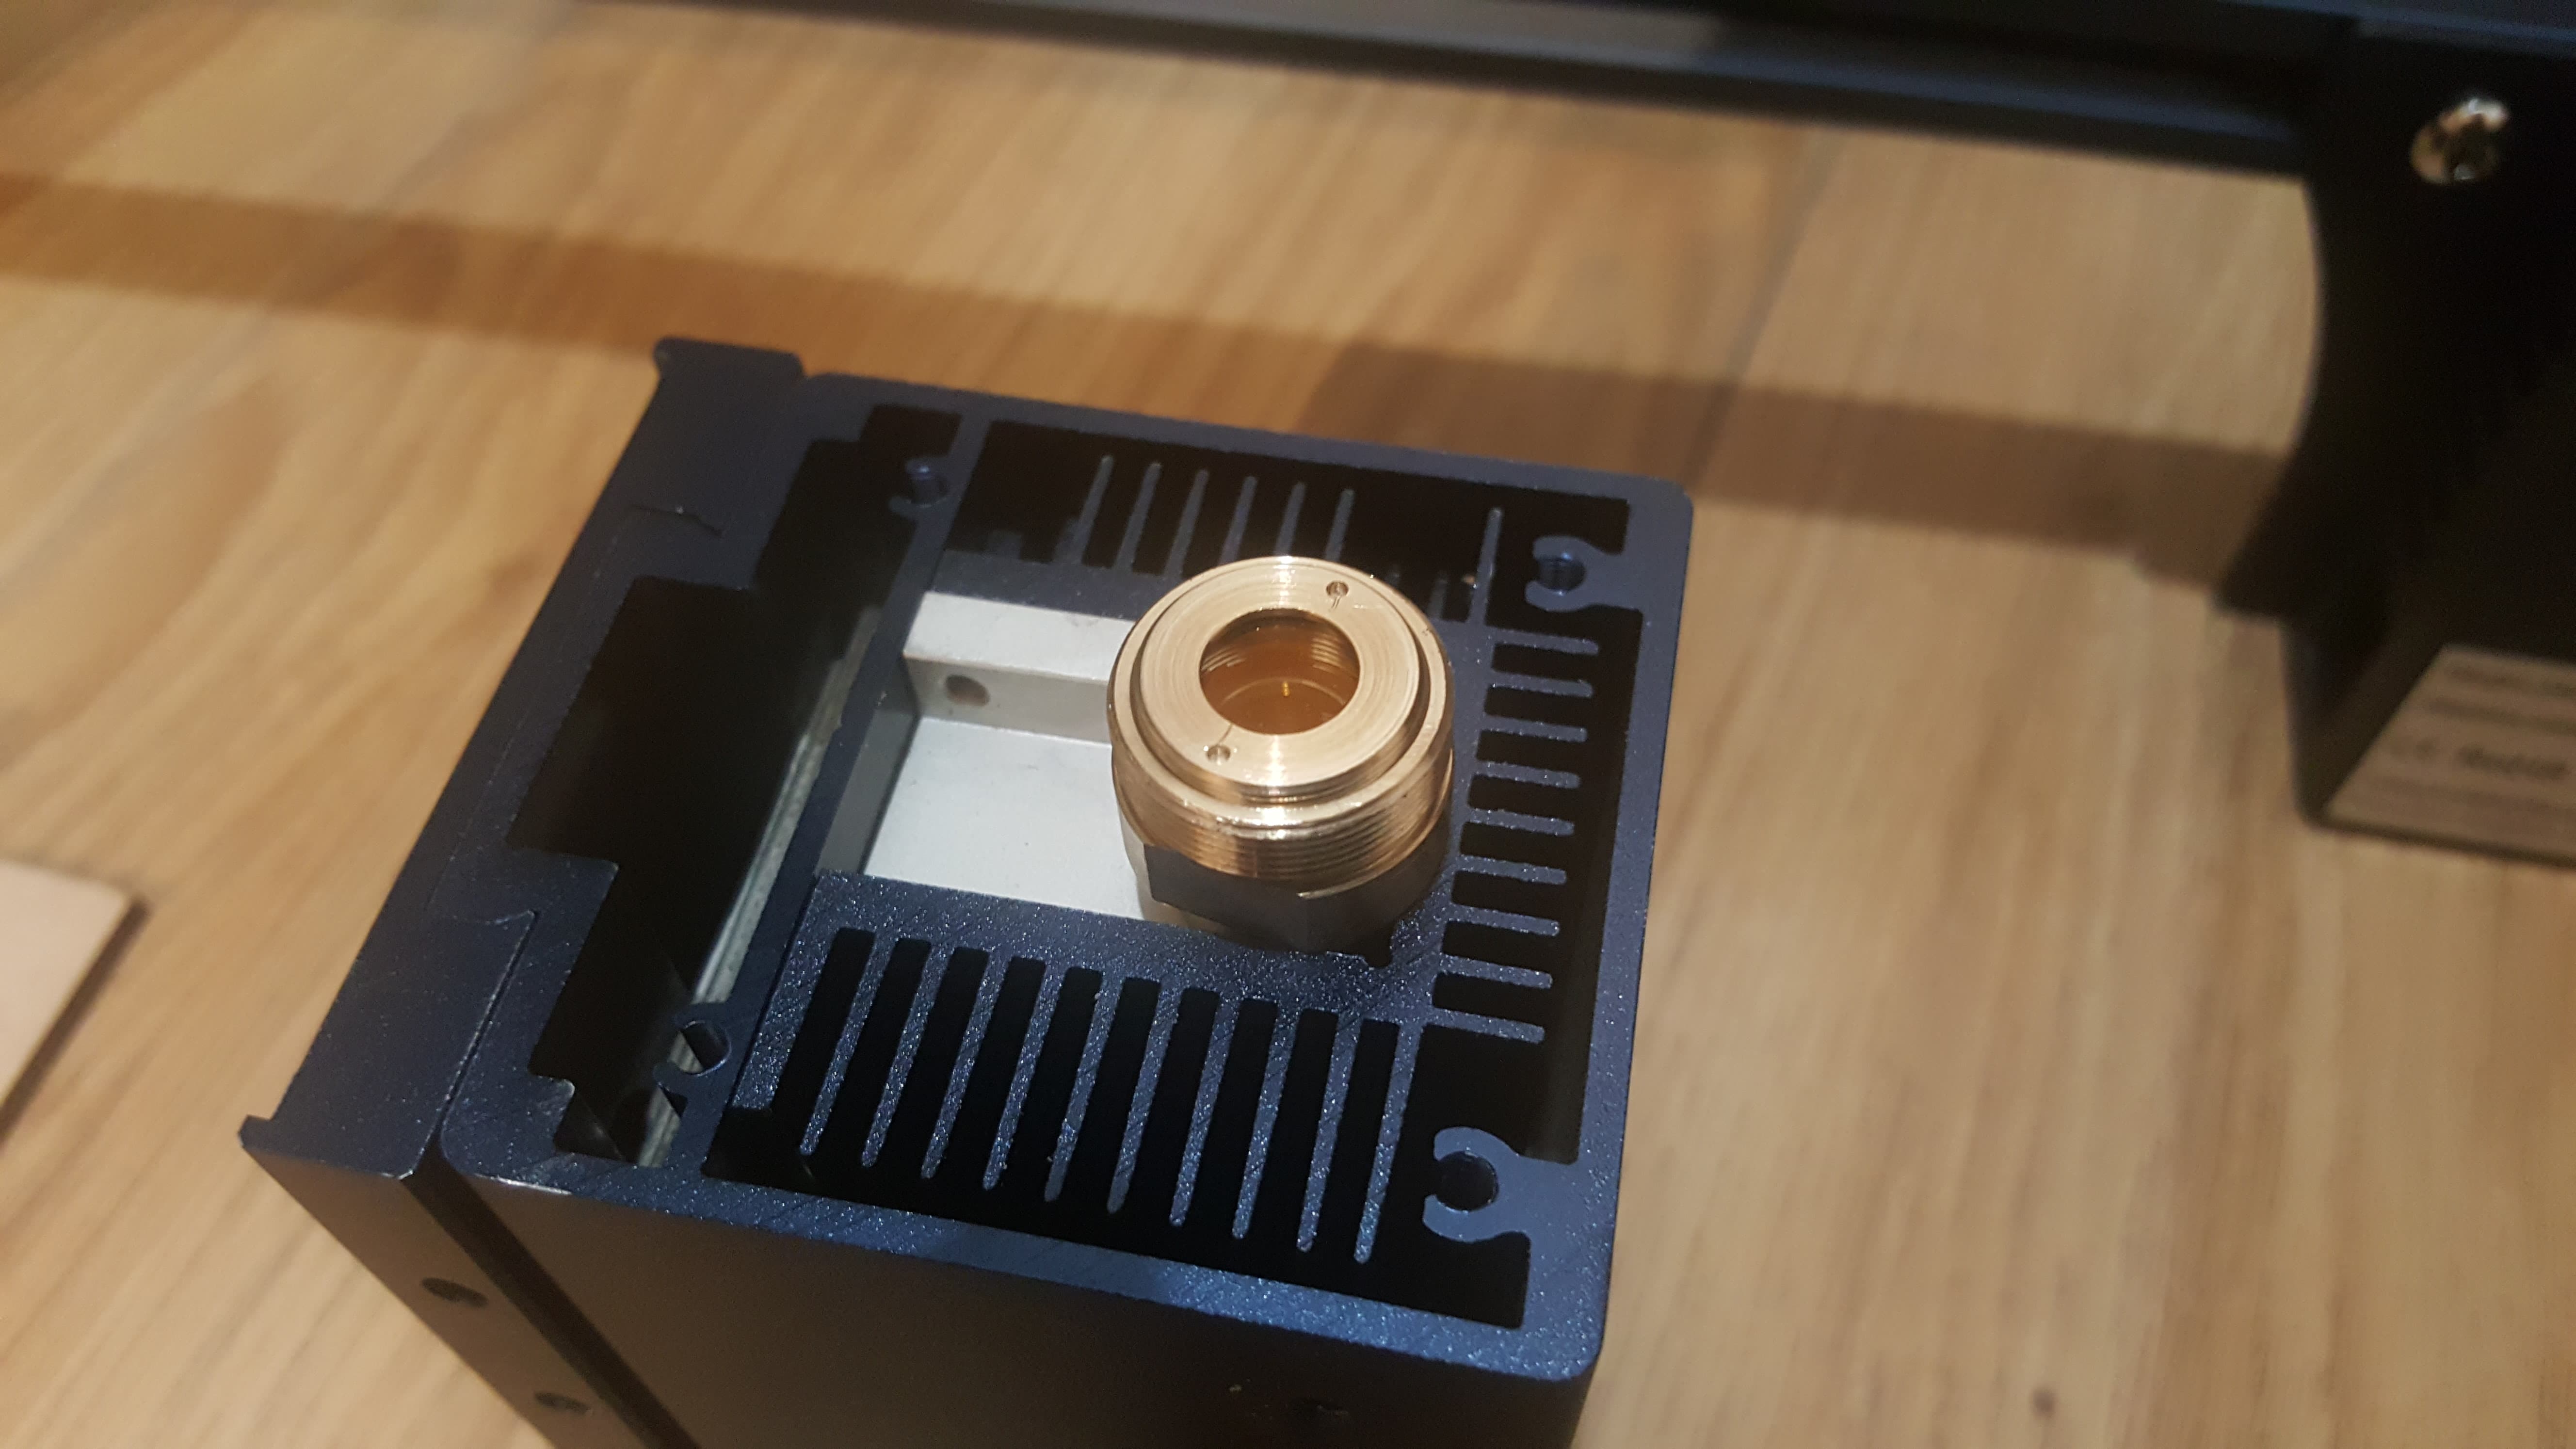
As John explained, these are normal. And NEVER REMOVE THAT LENS. If you do, the laser head is most likely broken. This is the lens protecting the inside optics and not meant to be removed.
The top lens is ok to be removed. But if that one comes loose, you are not putting the air assist nozzle to it as it should. The o-ring sits on top of this lens and keeps the lens from moving/turning. Screw the air assist nozzle all the way down and the lens is fixed. No need to use Locktight or something like this. This will also make cleaning the lens a lot more difficult.
Thanks everyone for the input.
But hobestly, you’re right, as a newb, I really don’t want to be messing around with glue and risk damaging the inner lens, which I sure know not to remove. I have sent a video to sculpfun as they asked.
I was hoping someone would tell me it was just a faulty lens, but apparently not.
Also, I am screwing the nozzle on tight and tightening the tiny screw as tight as can go.
Same results.
I usually don’t tighten that at all. Maybe exchange the o-ring? Or show a picture of it? Mine is very thick and once I feel the ring touching the nozzle, I can still do one or 1.5 turns until the nozzle is fixed. Additionally, I don’t do it like in the video, I put the module upside down, place the o-ring on top of the lens and then screw the nozzle in.
I am using the rings provided with the machine and I did try changing it to a spare one in the kit but no difference.
I will try using the method you said and apply the ring to the lens first and then screw on the nozzle. See if that helps.