Hello all… I was burning a file onto a tile 400 x 250mm, and the file comprised letters (all burned without issue) and a greyscale image. After about 1/5th of the raster image had burned, the software stopped because the machine claimed it had been tilted (alarm 6). I was unable to get the software to note the point it had stopped and then restart. It seemed to want the head to be repositioned at the start of the file again.
Has anyone else experienced this hypersensitivity to the tilt sensor in a Sculfun SF-A9 40W?
Is there any way to record the line number of the stop point and restart from that point?
I cannot find the log file (Win 11 Pro) and would like to submit it for analysis.
What can be done to prevent the sensor from thinking the machine is tilted when it has not been?
Some images to help:
Tile coated with Rust-Oleum Painters touch Matt White.
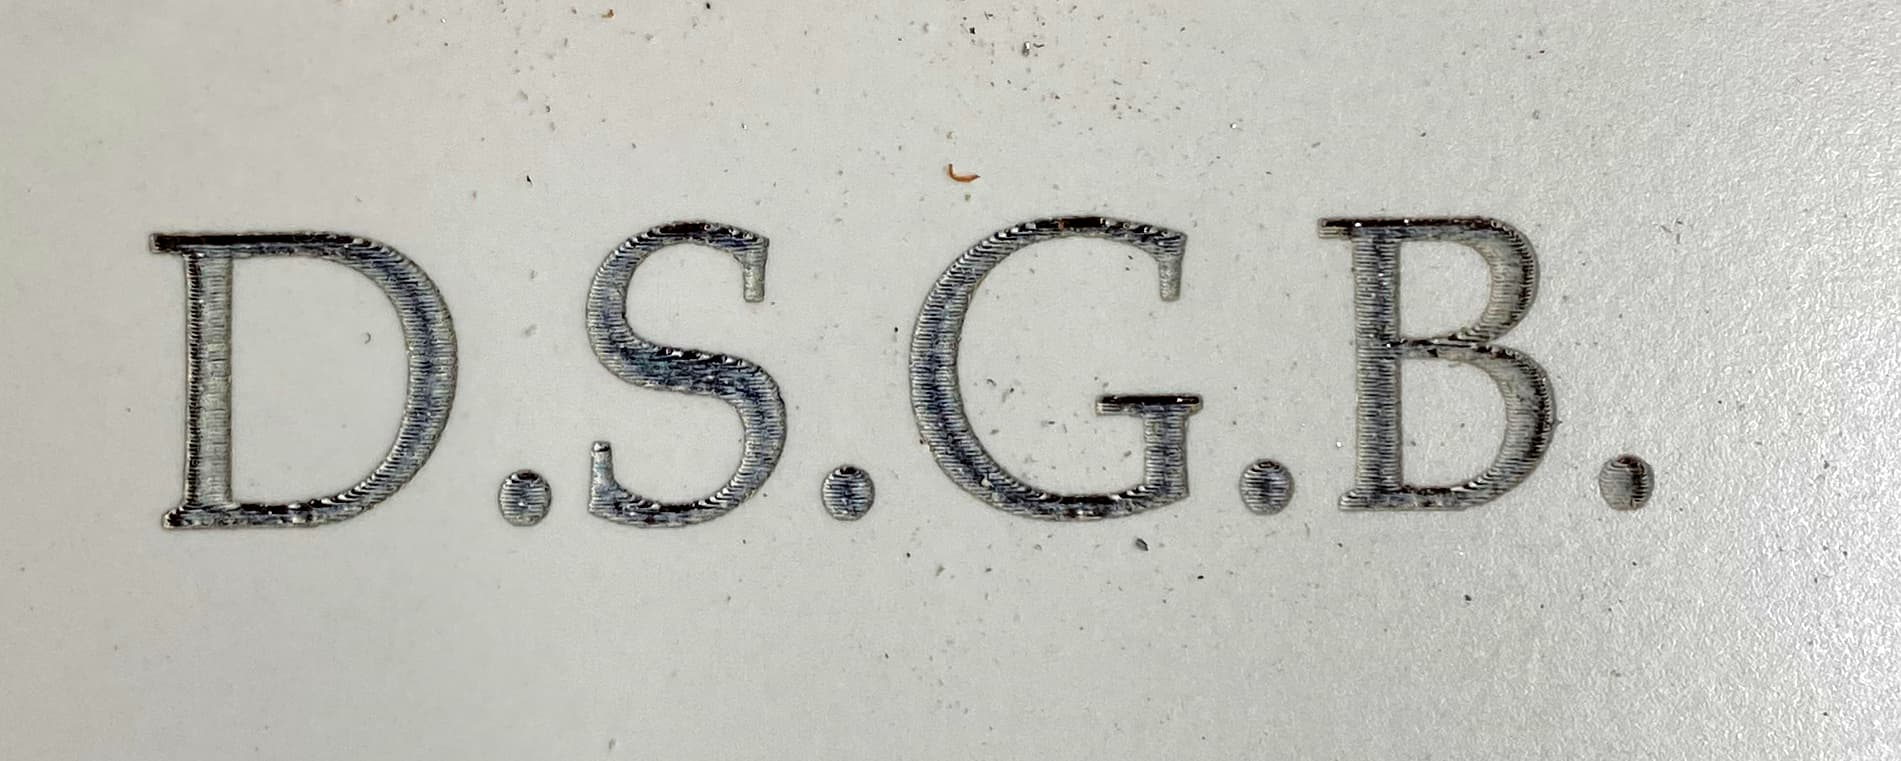
The first image shows it was lettering “D.S.G.B.” which was engraved at 50% of the 40Watt setting and the traversal speed was 1800mm/min. it appears to have given an acceptable depth of engraving, but could have been blacker.
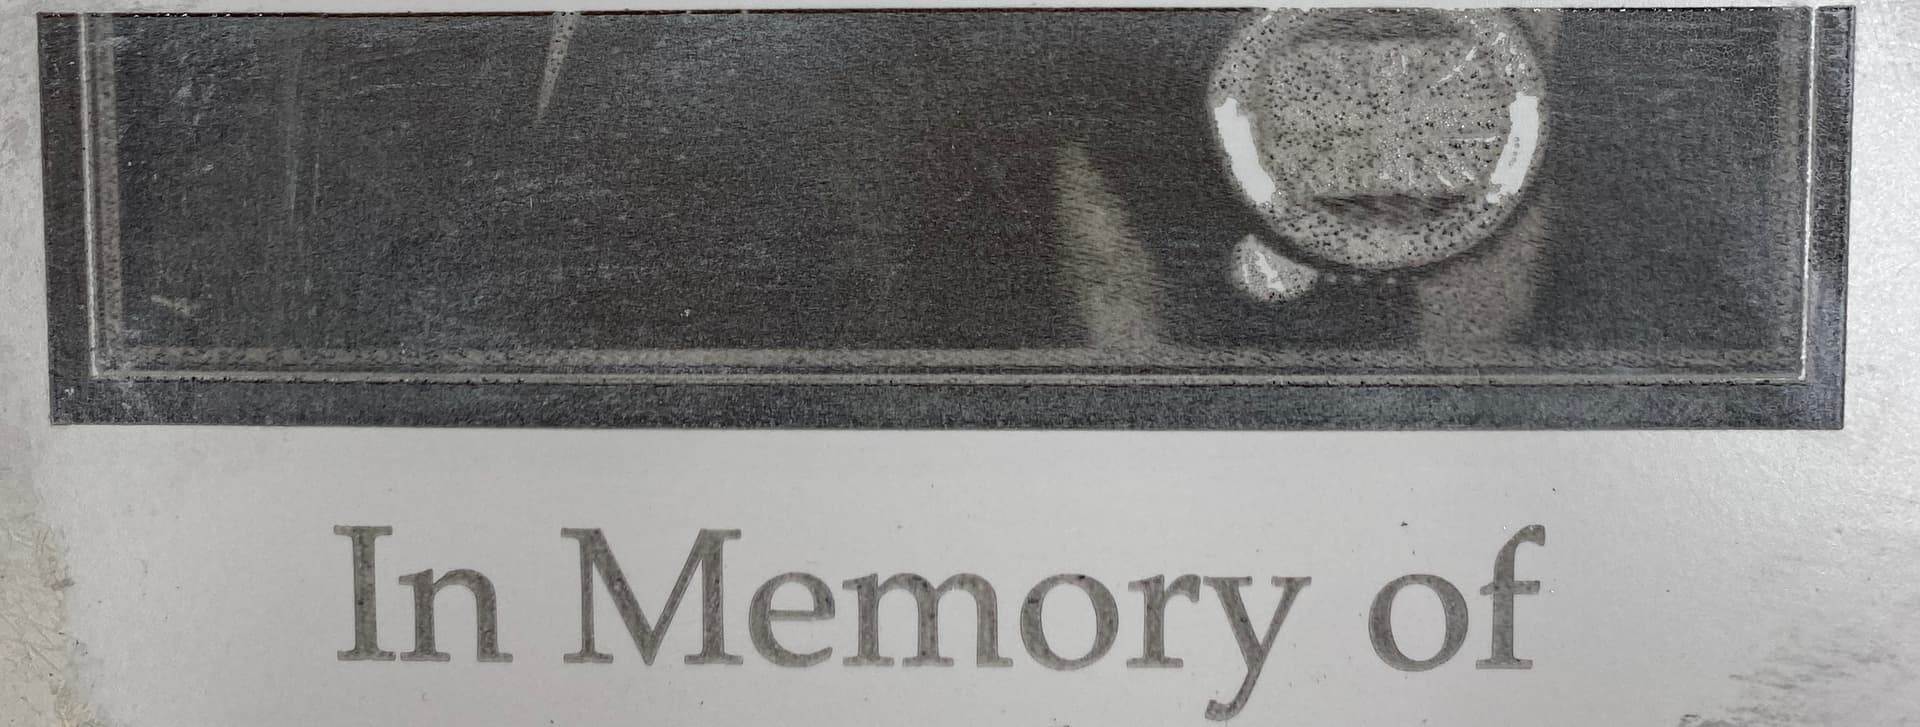
The second image shows The partially completed image and the legend “In Memory of”. The letter engraving is similar to the first image. The image looks and feels ok and you can compare it with the supplied grayscale image. Jarvis and 304 ppi. there was a lot of ‘snow’ after the burn and I had not seen that before. I only used a little acetone to roughly clean the engraved areas of interest.
Would it advisable to not use paint and just change to the 2Watt infrared head?
Is it possible in LightBurn to split a large image file and concatenate it by way of reassembly at a convenient time?
It won’t help anyway. The error was handled in the firmware, LightBurn only gets the error message. There is nothing you can debug here.
Not really. You can enable full console output and can try searching the correct gcode line afterward. But the controller creates a buffer and you still can’t judge the exact spot where it stopped.
You can also use the preview window to jump to the correct position and hit „start from here“. But it’s close to impossible to exactly hit the spot. Depends on the project if it’s more visible or less.
There is nothing you can do about it. If it stopped, it’s done. It will take longer getting the correct starting point than starting all over.
There is one other option, but you have to do it before you move the tile.
In the Cuts window for the image, set the scan rotation for 180° and restart the image layer only. It will burn from top to bottom instead from bottom up. It is up to you to stop when the new burn meets the old.
Thank you very much, both of you. I am very much obliged to you for the help.
It looks like I should be turning off the tilt sensor because (in theory) I am not going to move the machine whilst it is running. Thanks for the Wiki hyperlink. The tip about reversing the scan rotation is useful.
I had wondered about breaking the image file into slices to put on different layers. That way, one should always be able to find a way back to a segment, although it does not directly answer the question of how to determine where the burn stopped.
I wonder if OZ would consider adding such a facility. The software must ‘know’ what line it is burning. In some senses, it would be trivial to display the line being burned. Adding a facility to start from line # ought to be possible.
Do you have any thoughts on whether ceramic is better engraved using infrared or a diode?
Jeff
I came across a mention of IR1064 on tile with no paint used, but could not find in search…it was no more than the past week that I saw it but was preoccupied with an issue so didnt make mental notes of who or what was said
.
There is one that I found and the primary advice was concerning safety while experimenting with organic and non-organic paints and binders on tile…due to heavy-metals.
I web searched IR1064 on tile with no paint and it seems the type and texture of tile is very important to the no paint method. The type Dahl was mentioned but finding the correct one could be pot-luck.
Perhaps a search on laser oxidising glazed surface etc might turn up some research.
I am looking forward to trying this method on tile with IR (2w) and only recently gave my first attempt on stone and metal and found a light grey marking of reasonable quality was much enhanced by using Cross-Hatch which made it a very visible brown’ish colour on mild steel, and am wondering if the average Poor’ish result on white tile would be enhanced by Cross-hatch which might change the Oxidisation pattern and create more visible light reflection.
Hi Pete. Thank you for the suggestion. I have a sample of the matt white tile which I wish to engrave, and I will experiment with a slow infrared burn. My hope is that it should provide me with a deep enough line to fill with paint. If the engraving was clean and deep enough, I was considering using black electrostatic powder paint to fill it in and sand it level for a nice sharp edge.
I was considering the same..to fill in with paint. I had notthought about the powder-paint, but what a good idea! I have some grey poweder paint that I got from a local business…just the dust left in a big box of powder but enough for me to experiment with.
I found a light dusting works well in a fingernail deep engraving and heavier applications look good but could also pop out where the heat did not penetrate deeply enough…settings issue I suppose.
The available color range in powder coat is extensive with vibrant metalics and I also tried one test using green metalic Mica dust which worked pretty good but those tests were all on plywood and varnished after.
Now my machine is functioning well again I might put the IR back on and start testing during the week.
Actually, it does not. The program is streamed to the controller board, which will buffer 50-100 lines (or more). So the program sent from Lightburn is way ahead of the actual current burn position. You can see this when the progress bar stops and appears to hang at the end while the laser is still running. This is Lightburn waiting for the actual completion of the program so it can show it has finished.
I have access to several suppliers producing powder coating paint at reasonable costs. for example:
I am also researching low-temperature curing resins that would probably suit wooden surfaces.
I will post some results of the experimental stuff with powder-coated paint soon.
Jeff,
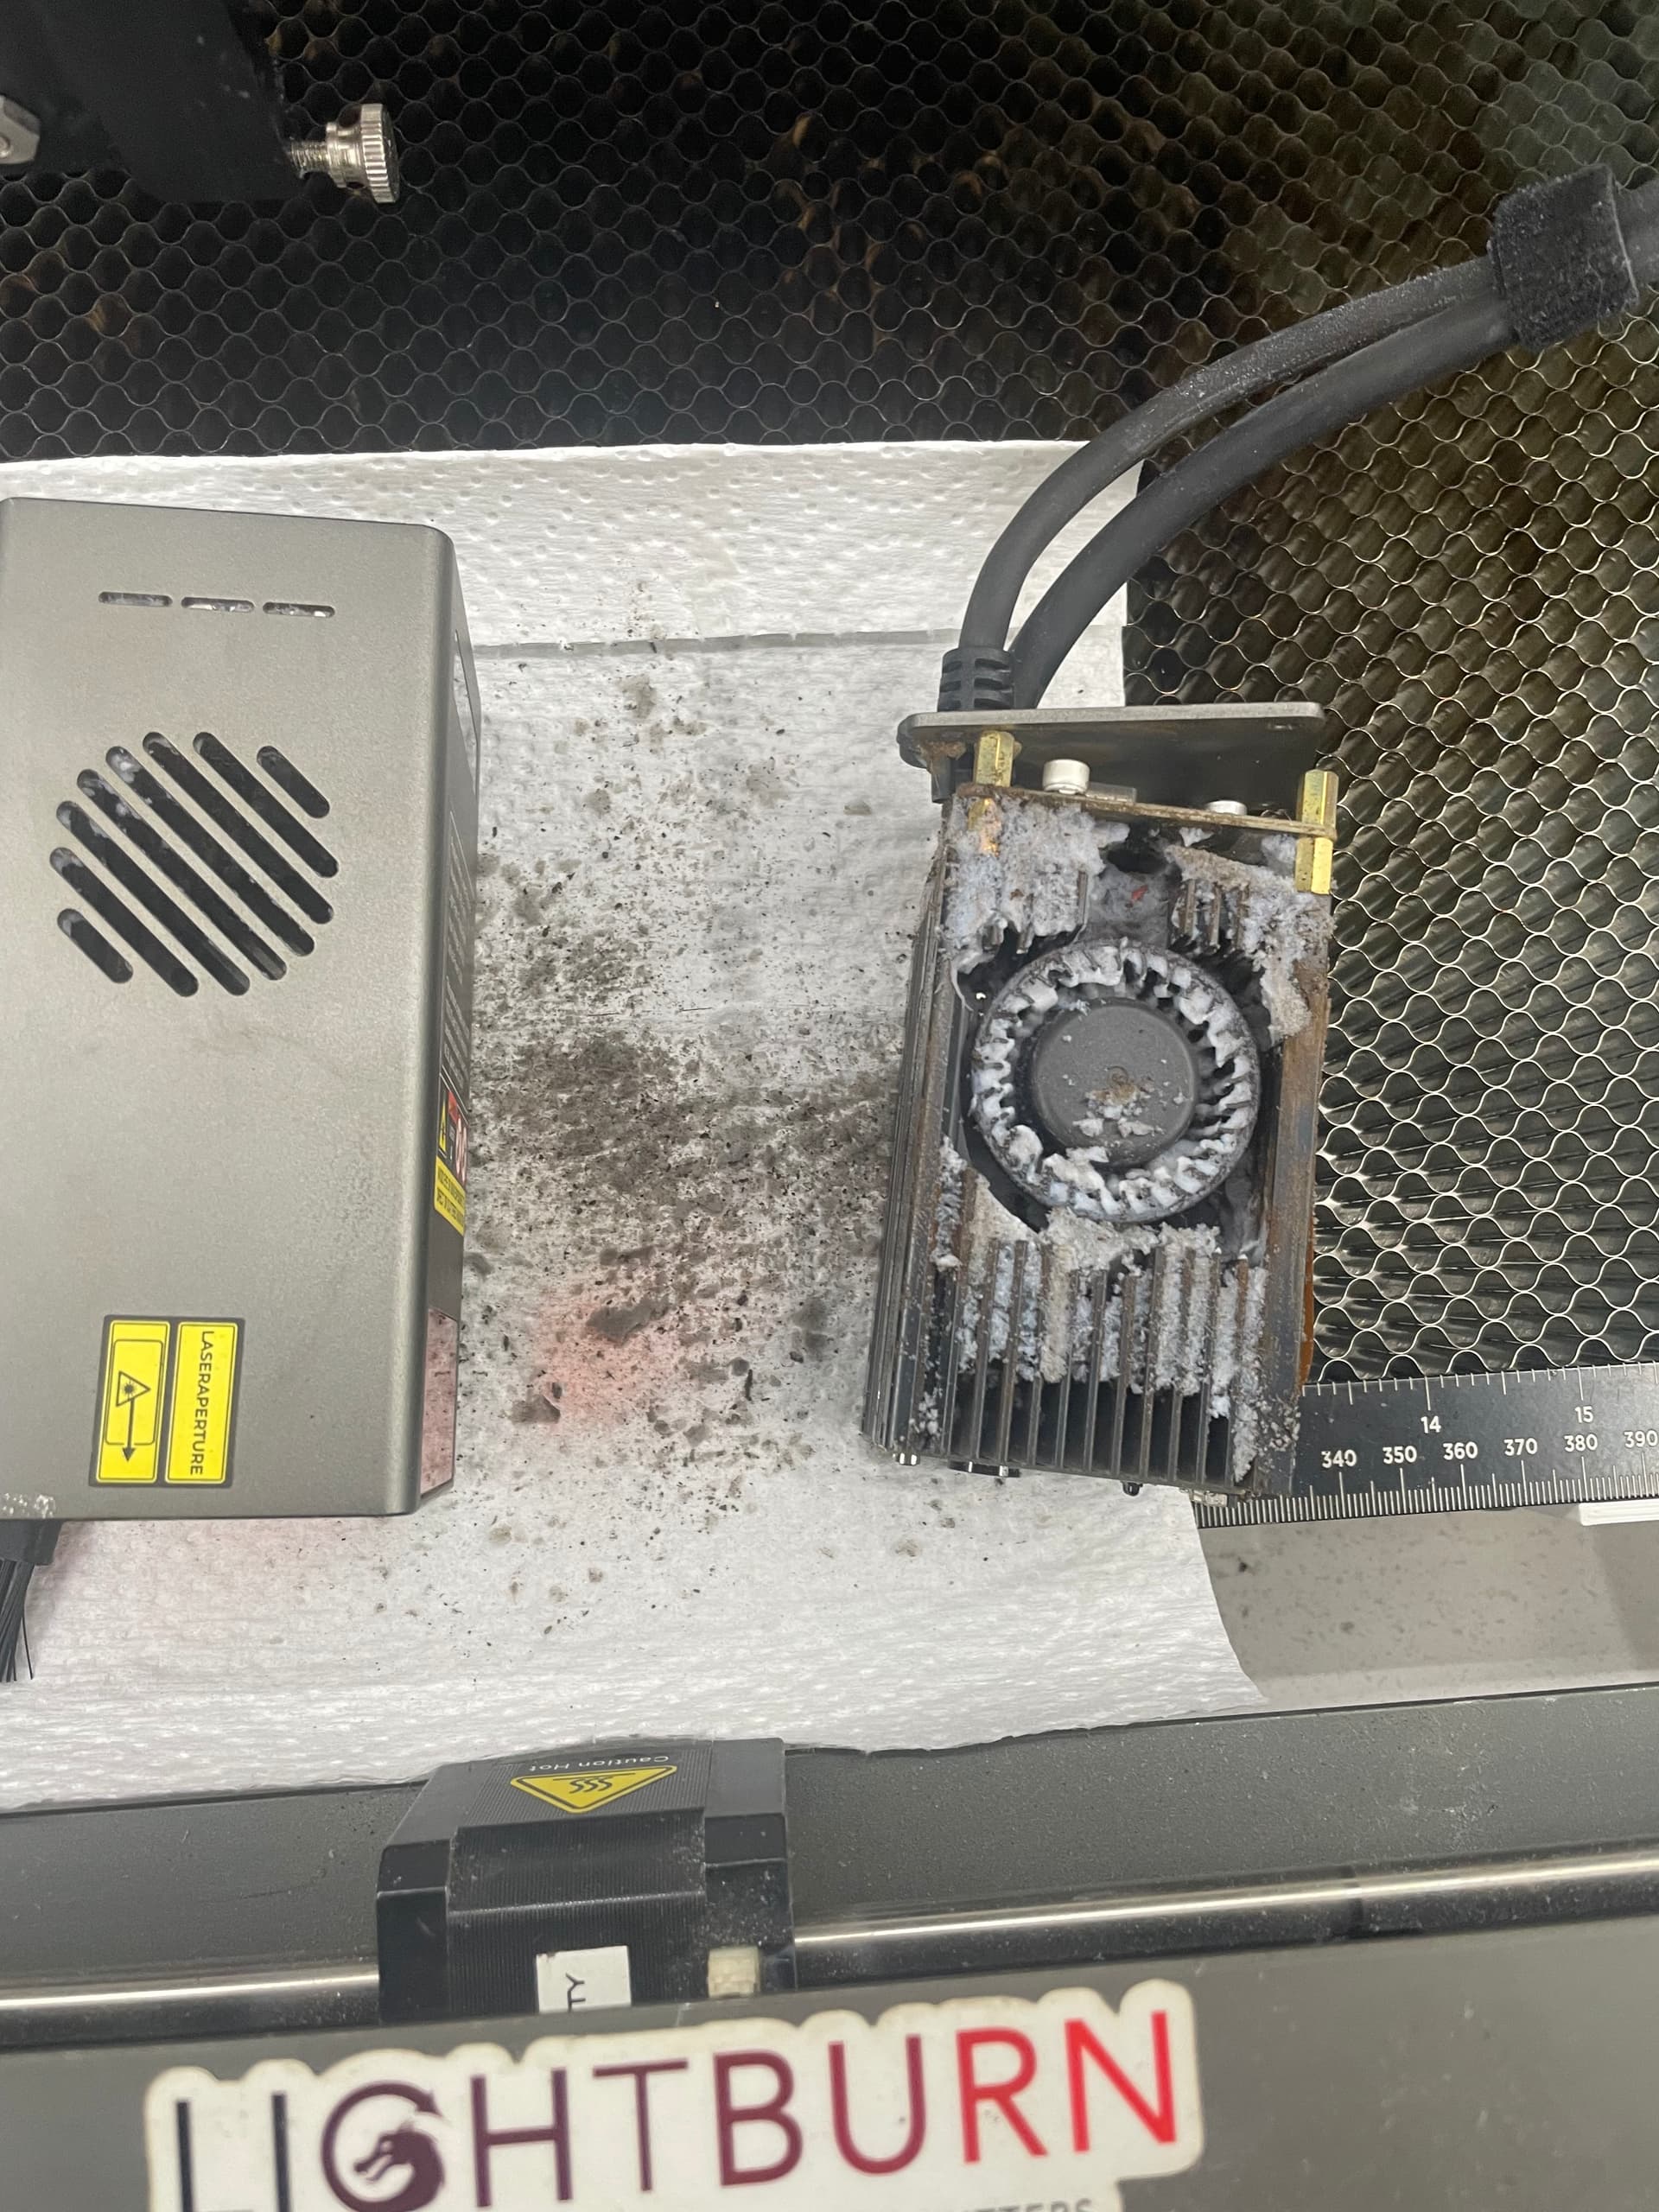
Bee careful engraving ceramic tiles and mugs. They put out a lot of ceramic dust that gets sucked into the laser. I engraved 8 ceramic mugs a while back and was getting ready to do 24 more. I happened to look at the fan on my Falcon 2 diode laser and saw it was solid white with dust. I had to remove the cover to clean it and I found the entire inside was packed solid with ceramic dust. I luckily was using low wattage on this job. If I had done another job on high power I would have burned up the laser.