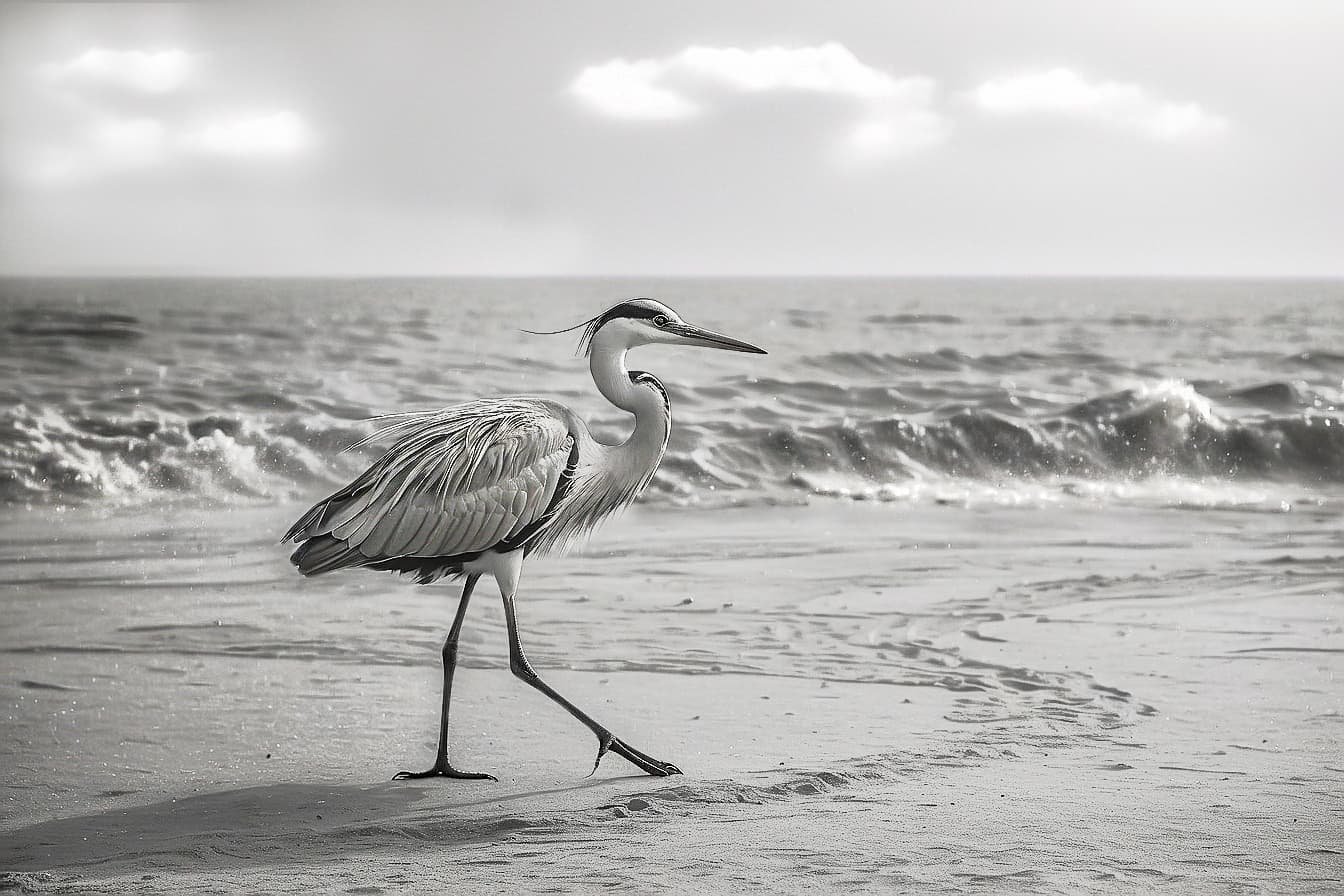
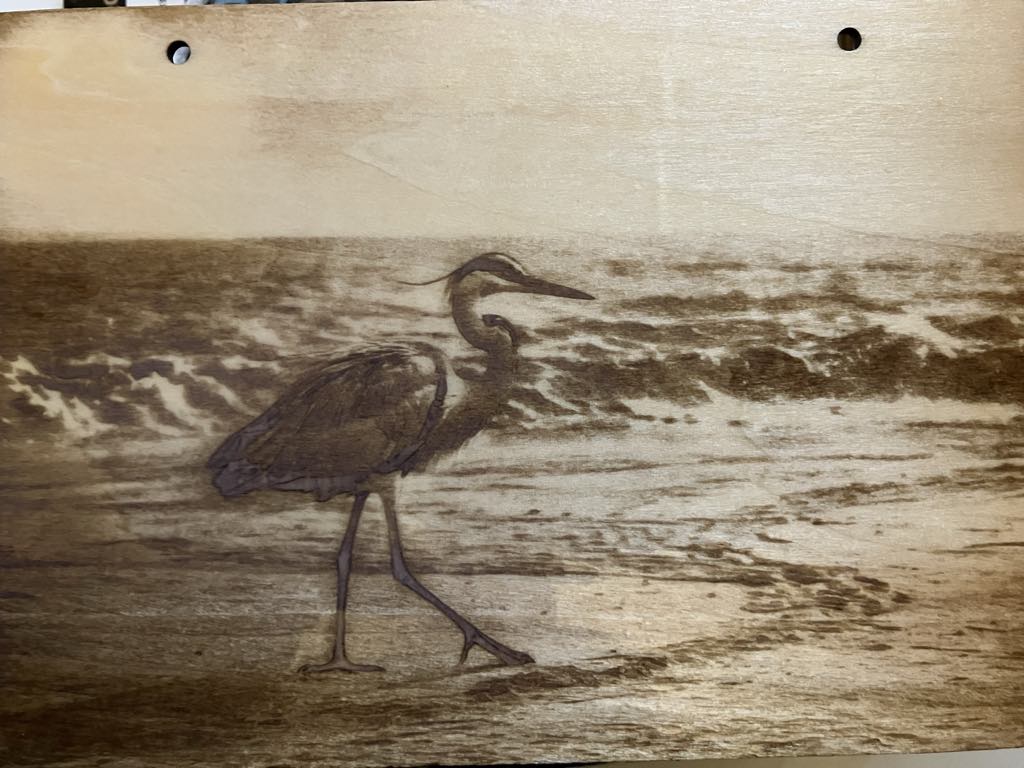
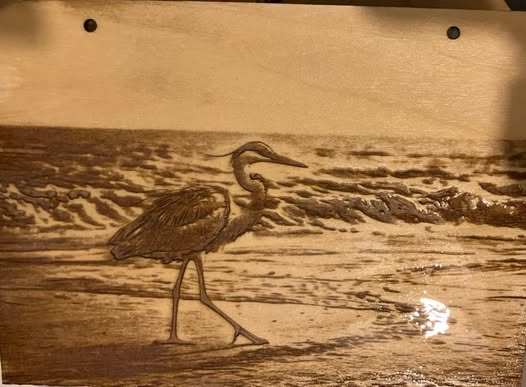
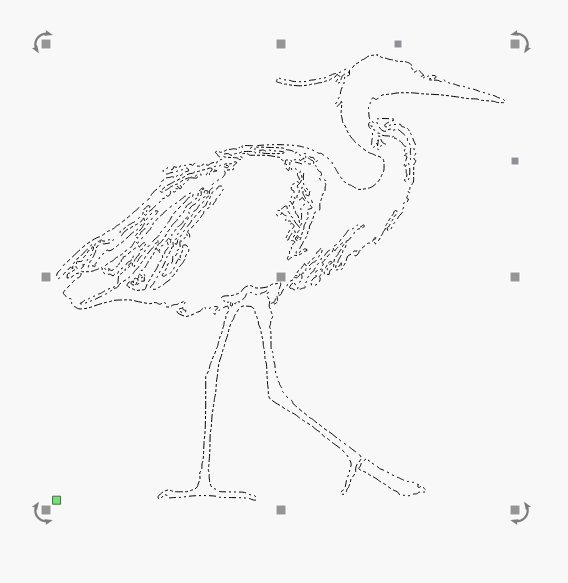
I’m engraving a photo on 3mm basswood. (original photo below and engraved photo below). I’ve done several tries adjust contrast, brightness, etc., but the heron (bird) isn’t really standing out from the background. What do I need to do differently? Is it possible to do a second pass over just the bird, if that would make any difference?
If you’re able to separate the bird from the background, or mask it, you could do a second pass. That is as long as nothing has moved. I don’t know if that would make things any better or make it worse.
I’d just start with a new one. I’ve put a coat of resin on it now to see if it helped any. Is there a way to put the bird on a separate layer in Lightburn or adjust just the bird without adjusting the whole photo? Would maybe be helpful if I could adjust just the birdSorry if that’s a dumb question. I’ve got photoshop on the brain.
Thanks for the suggestion to move the enhance sliders. That really made a big difference. Still couldn’t get the clouds in the sky to engrave at all. Maybe something I’ll have to fix in photoshop. Looks better in person than in this photo. Not as dark.
One more question: It took a bit of doing to get the hanger holes just the right size and placement for 5x7. Is there a way for me to save the “holes” layer so that I can just insert it in any 5x7 that I engrave? Thanks for all your help.
Put the holes on a different layer. Make a frame around the photo. Select the critical parts that you want to keep in relative places. Group them together. The right click and select LOCK OBJECTS.
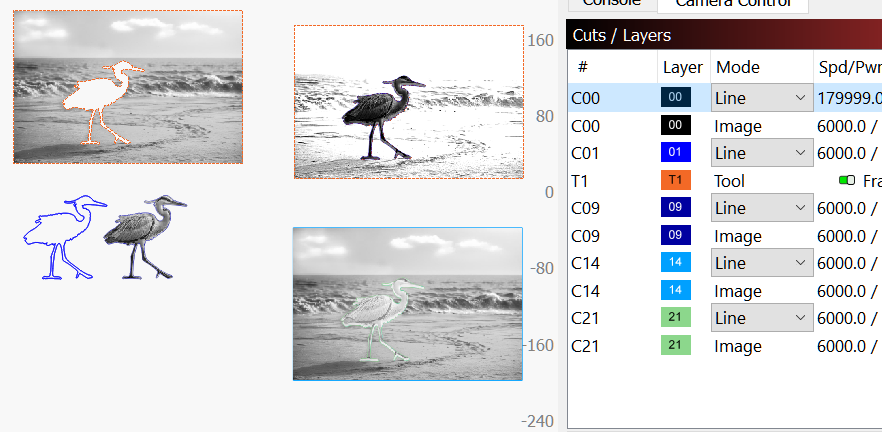
I have 3 layers in the photo - 1 is the photo, 2 is the cut around the photo, and 3 are the 2 holes for hanging twine. I’d like to be able to save the holes layer so that I can paste it to use with other photos. Is that possible?
There is no “Library” listed on the right side pane, so I looked under Windows. I don’t have a “Library” option to check (as several LB videos showed), only a “Material Library” option to check. Does that matter if it’s in a “Library” or a “Material Library”?
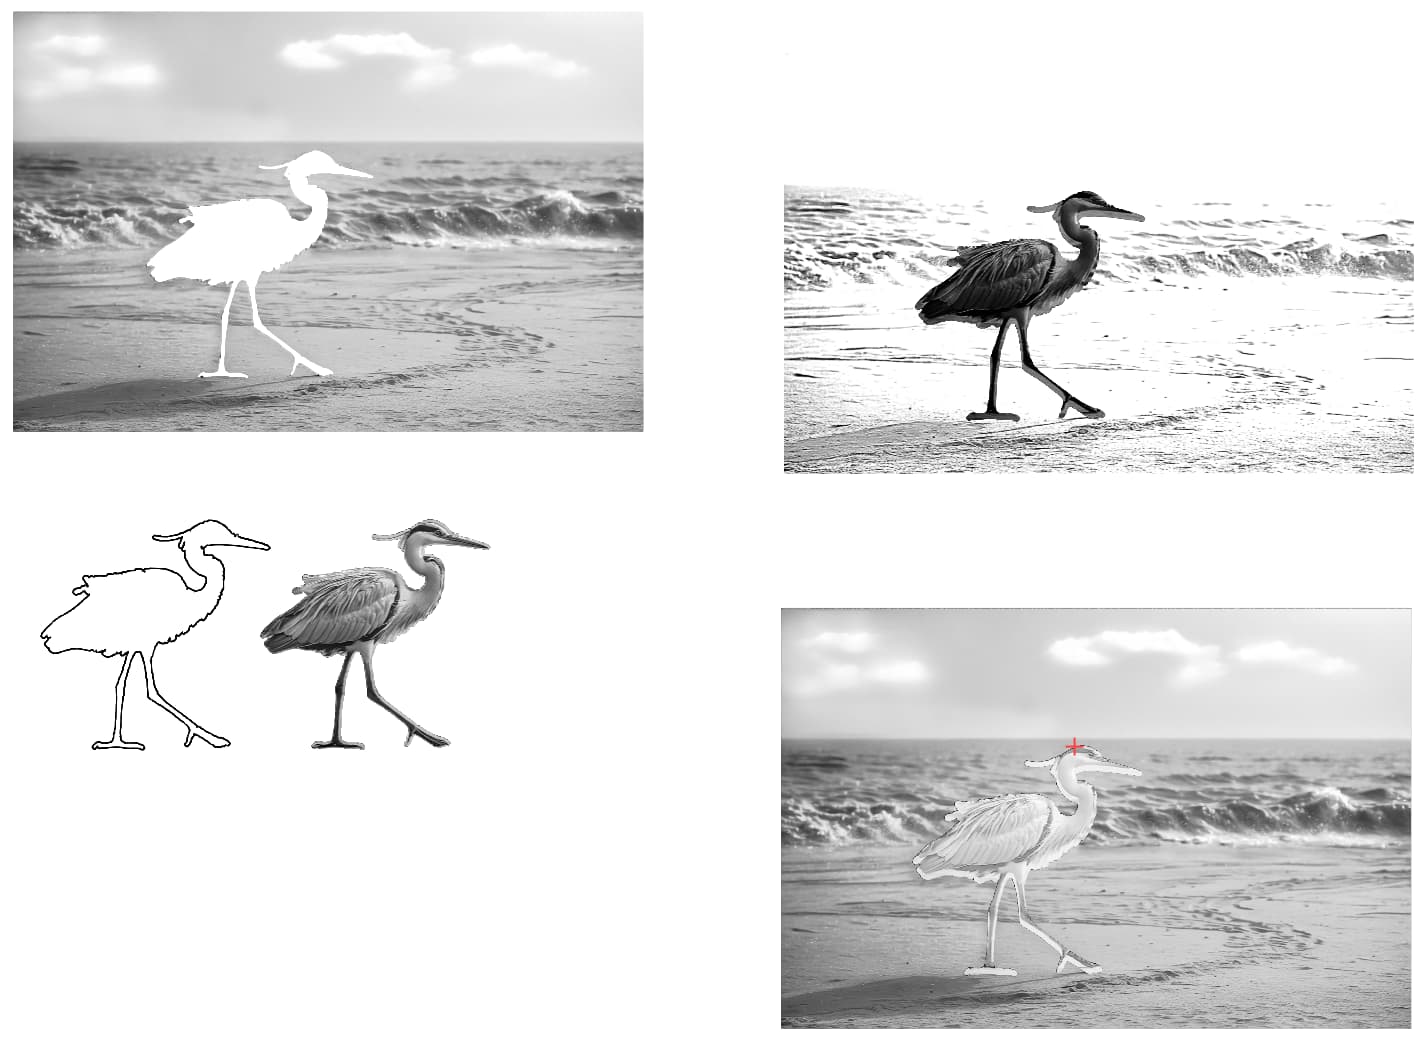
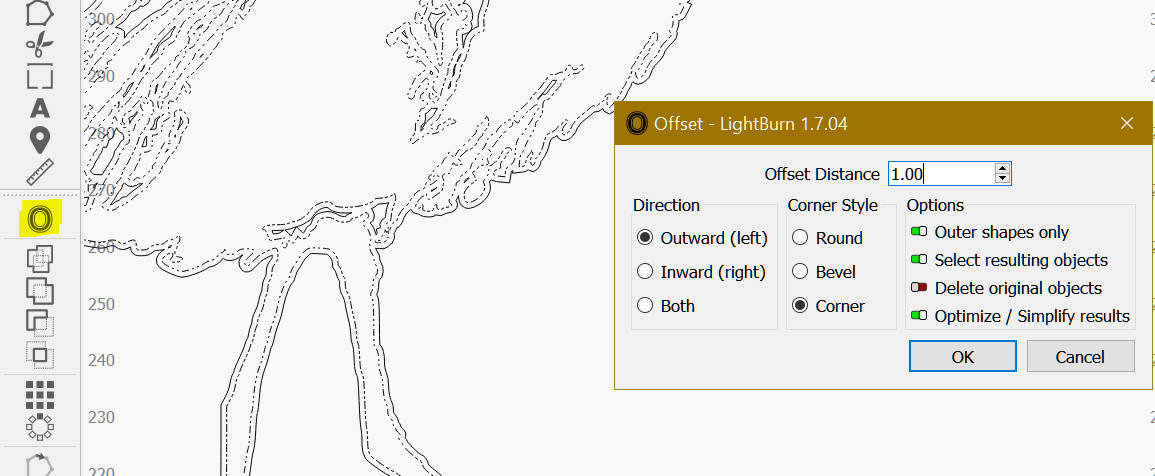
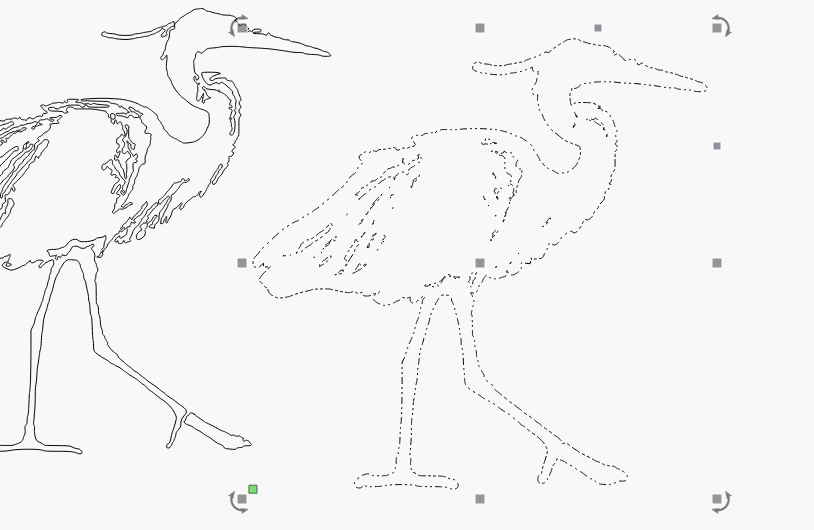
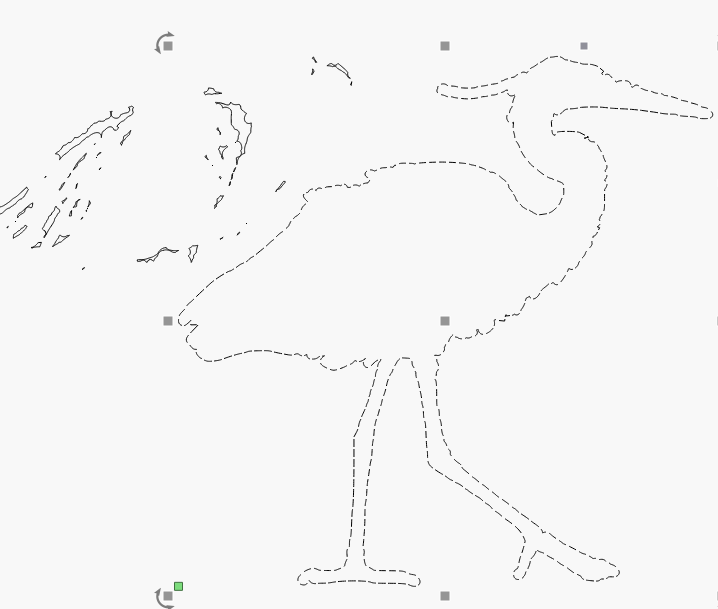
Select and Ungroup then select the shape that best outline the bird, after move that shape away from the remaining inside “trash” shapes.
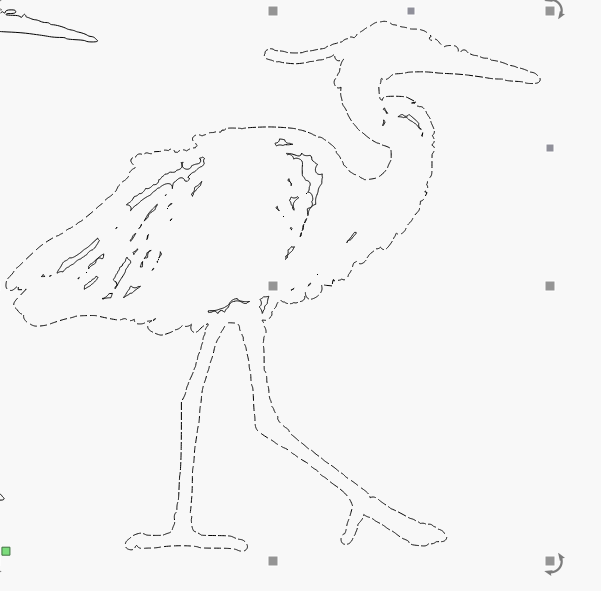
Correct the green area with a line and the Trim Shapes tool.
Put the original image in the project and do 2 or 3 duplicates as a backup.
Align the above outline shape with the bird.
Use the Cut Shapes tool and move aside. Now you have an image with a hole in place of the bird and the bird. (do 2 or 3 copies as a backup of both objects)
Ungroup the object with the bird image, select the bird image set to another Cut/Layer and adjust bird image, group again. Now you have 2 independent images each one with their own Layer.
Place the bird in the hole and zoom in for precision placement.
You have picked the most demanding thing to do with a laser…
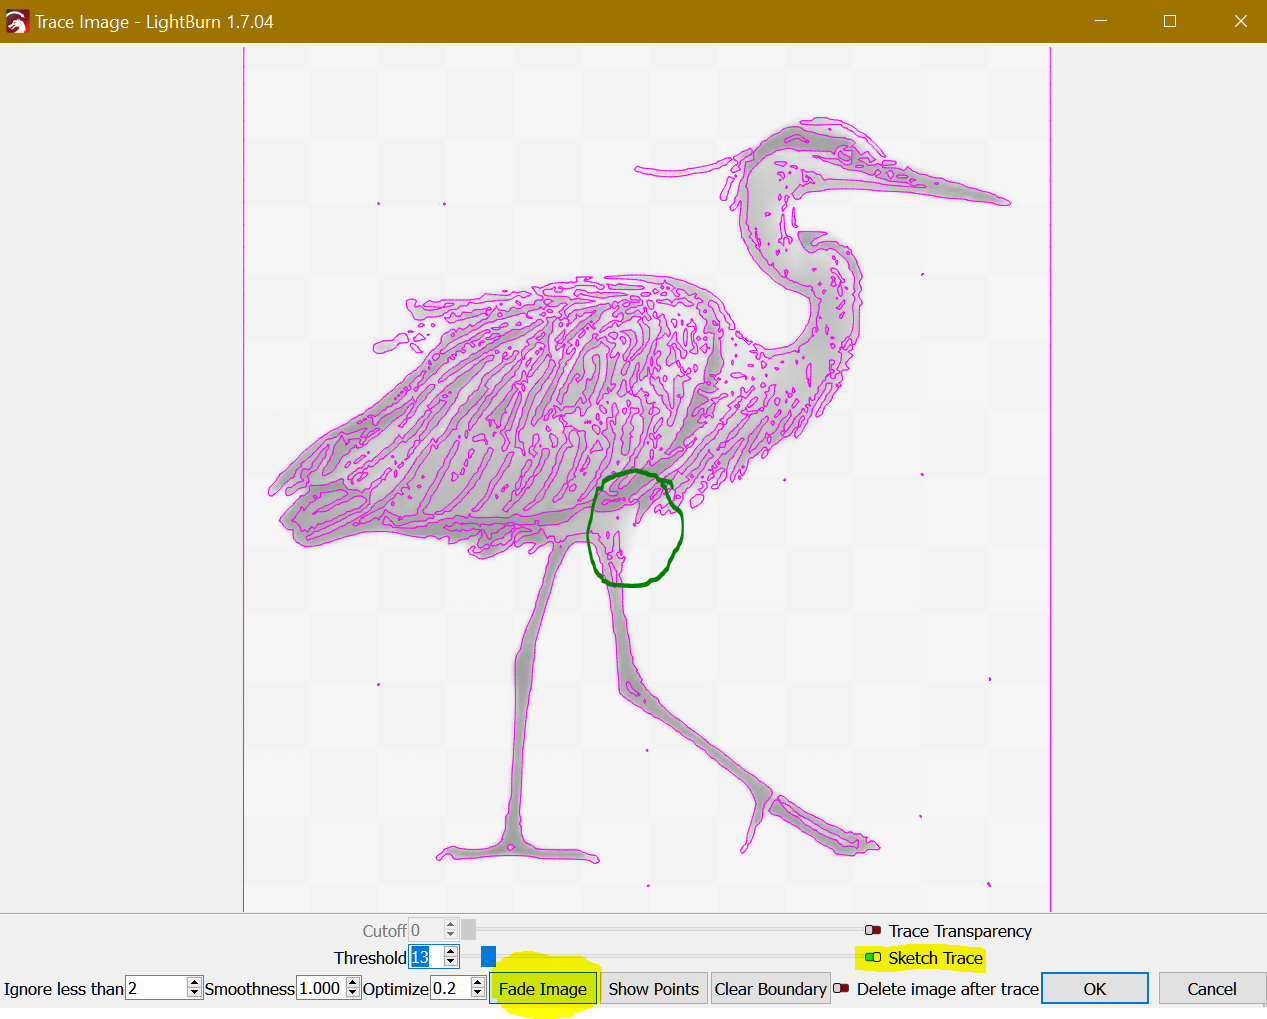
The simple problem here is that the photo goes from very black to white. Most materials won’t allow much of a range of grayscale.
This is also why we use a dither, much like a newspaper, we use these dithers to allow us to do away with a grayscale and replace it with very similar gray by fooling the eye with burned areas.
What interval you choose can greatly affect your results, so pick it carefully. I suggest you take the time to watch the Laser Everything photo engraving… well worth your time. Even though it’s done on a fiber laser, the same process works for any laser on any material.