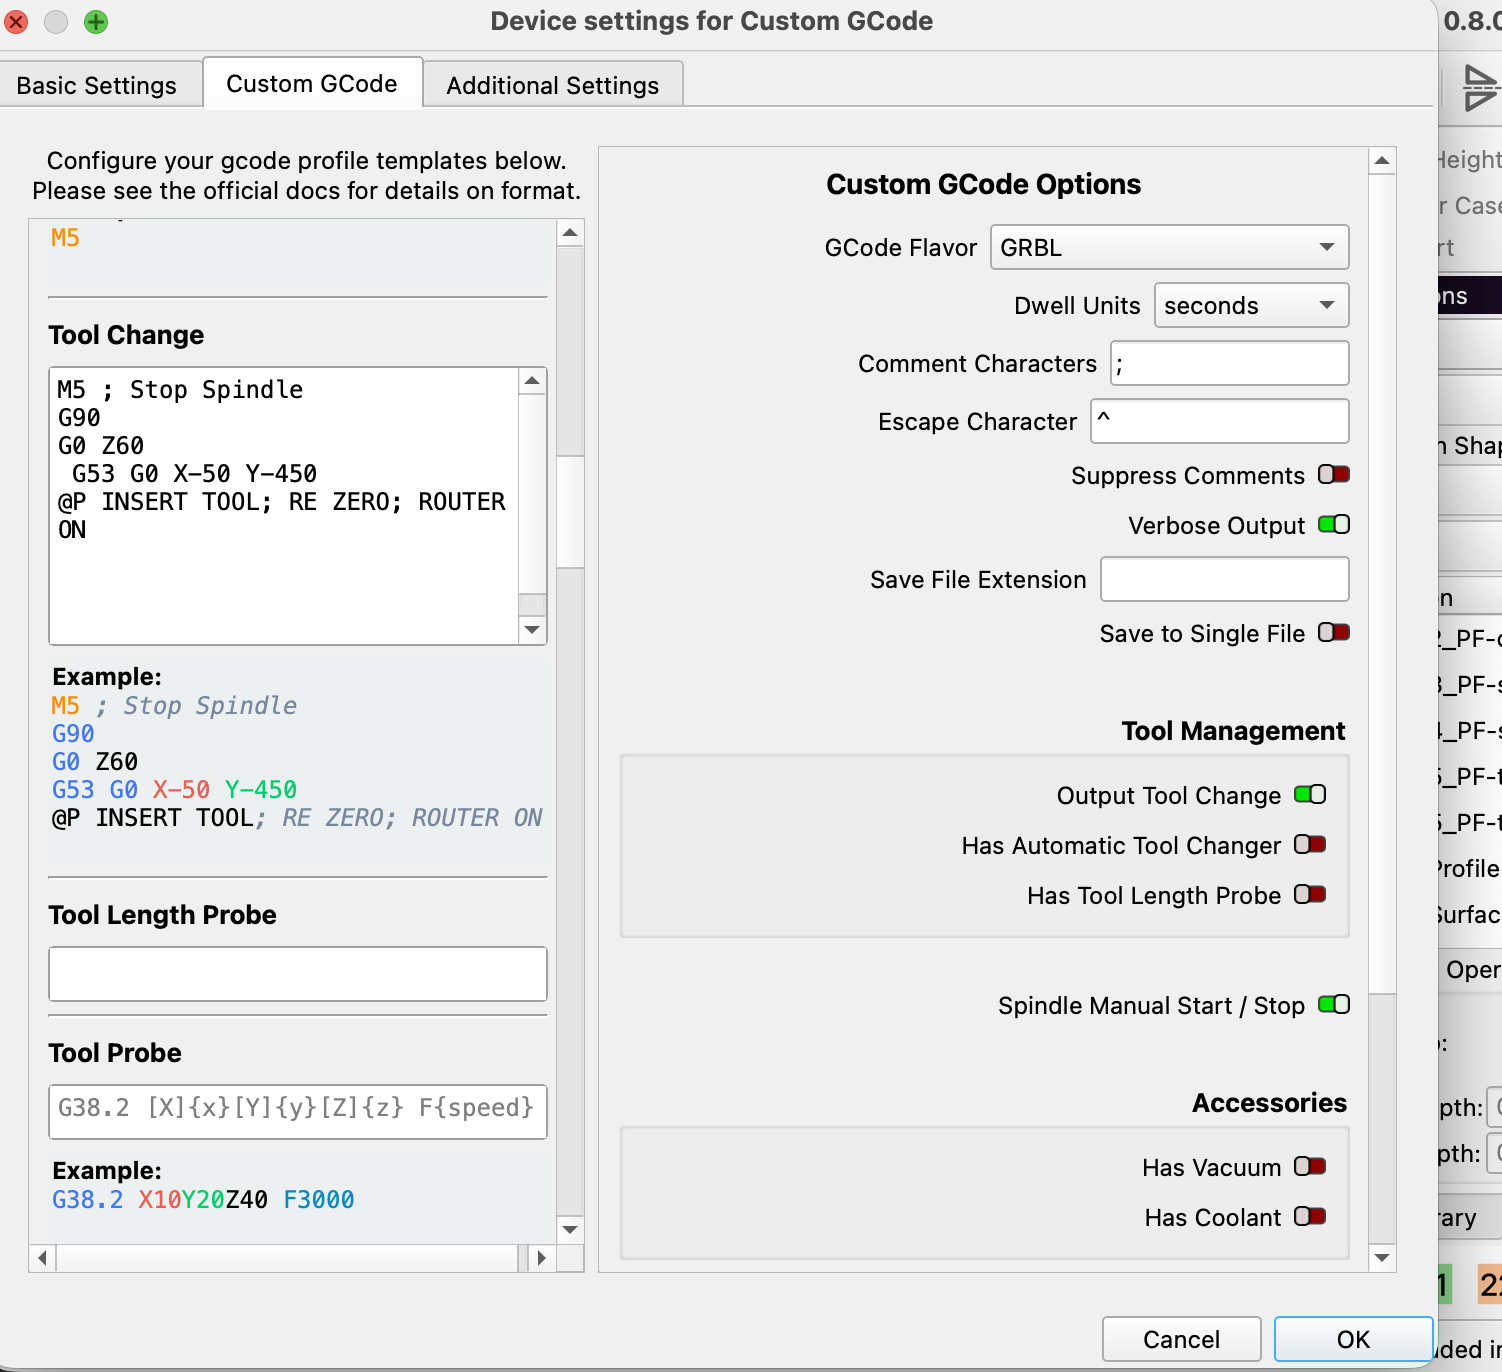
trying to have a semi auto ,manual tool change myself with the help of chat gpt! it now goes to a speacial spot promps me to change tool but when i go to hit the probe button as i normaly do for z -zero, only it says to configure then after that, when i press start it just keeps going round and round incuded is what im running …genmitsu 6050 xl plus .
and help appreciated
Maybe this thread will help:
thanks ,but doesnt explain why the probe wont work ??? it goes to the position it stops shows promps but cant use the probe??
thanks parsec at least you tried!
just to reinterate …the problem is @p it wont alow me to use the probe? dont even think i can manualy drop zero to zero bit with the paper method???
anyone see why this is? is it code or is it MM type of safe guard?
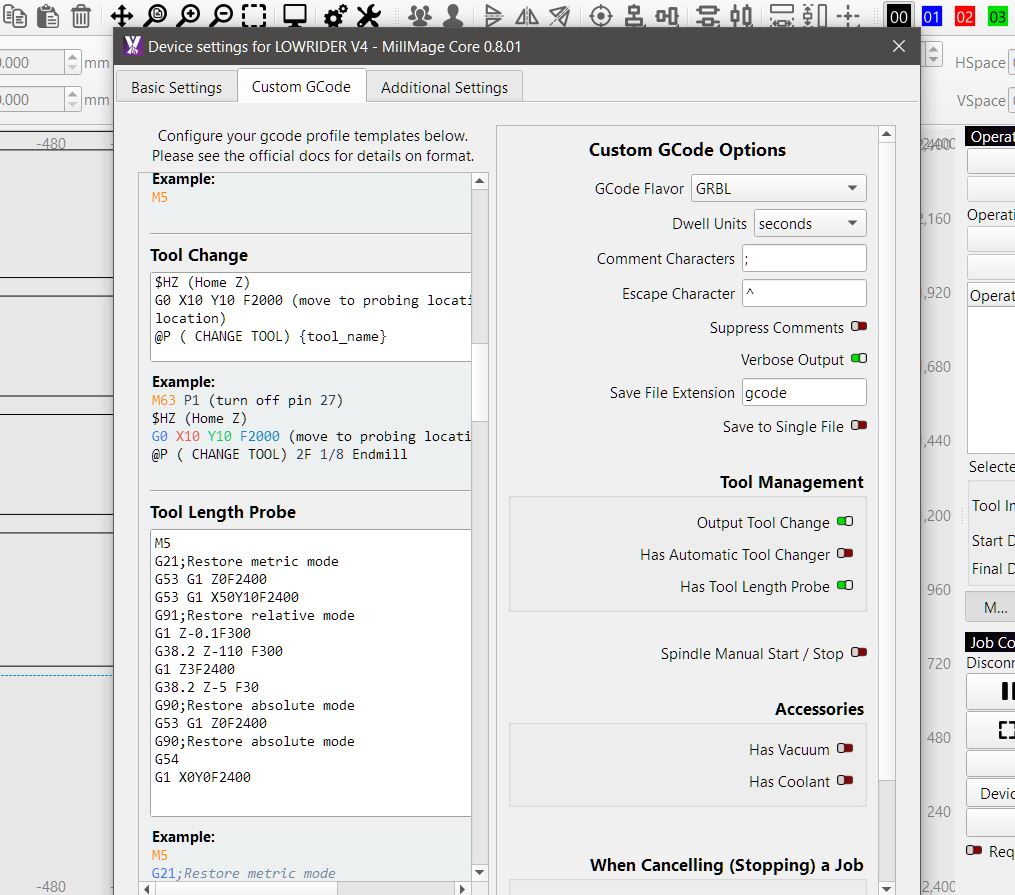
just a z puck, all configured and works fine any other time but nothing after it sucessfuly park and promps to turn router off !!! just locks there unless i press skip and that missis the z probe , so no tool sencer just your every day puck, cant even do it with the paper method iether as no z up of z down ,…thanks, may have a back door way to set it up at the end of a tool or operation , here’s hoping… thanks for trying!
pat
have you been able to probe before with other software but not MM ? is this a new machine set up
in tool change you have @P INSERT TOOL; re zero ; router on
the re zero and router on are theses for your reference ? or is that what stupid chat G P T said to do
it has lead you down the wrong path
lets see if im reading /understanding this right, you want to probe before you start job , once 1st tool has run its path you want it to return home so you can change tool and it will probe 2nd tool and start cutting again
this is MM telling you dont have any probe commands set up and you need to configure using the wizard or enter your own custom codes as i explain in last comment , MM wont probe without codes in tool length probe box
have reread of the docs , they are well written docs but for me they are also confusing at times i have to read them few times before they all makes sense in my head
what do you mean any other time ?
successfully parks ? when is that after 1st tool has run .
you say skip ? can you take screen shot of what is on your screen when this happens
im picking it says skip because MM has followed the tool change command and as it has no other commands to follow it only gives you a skip option , once you set up probe wizard the pop up should give you probe and skip options
dependant on your mother board you may need to also add a @P in ,think its operation start box so you have time to remove probe , not at my machine so cant check which box
i just did a quick google search on you machine and searched for probing and found this
this link below tells you you need thesses codes to be able to probe with your machine
(The code below is pre-set for a for Z-Probe base that measured 14.19mm high. Your own probe height may vary from this, so it’s important to measure)
G91 G21
G38.2 Z-50 F100
G92 Z14.09
G0 Z15
G90
M30
is this what you were using prior to starting with MM, put those codes in tool length probe box and try it
remove theses: re zero ; router on , why do you have G0 Z60, from what ive learnt you should home Z always when doing tool change try changing it to $HZ
tool length probe button you may have to toggle this on
from my experience using your machines probe code can become an issue, best to use MM probe wizard set up. once you set up wizard you will need to manually enter you probe block thickness
Hi Pat,
I hope you don’t mind me jumping in here. I’m from Germany and I think I might have been in the exact same boat as you are right now. Dealing with the MillMage settings for the ProVerXL can be a real headache.
I’m running a 1.5kW Vevor spindle, and just like you, I have to handle all the spindle controls (start/stop and RPM) manually via the VFD and potentiometer. Because of that, the biggest challenge for me was getting the CNC to perform a ‘clean’ stop for the tool change and sensor probe without getting locked by the software logic.
I’ve finally got it running flawlessly now. I’ve attached a screenshot of my current configuration for the tool change and the tool length probe. The key for me was to fully define the routine in the ‘Tool Length Probe’ box—once I had the right sequence there, the software stopped locking up and the probe button finally worked as expected.
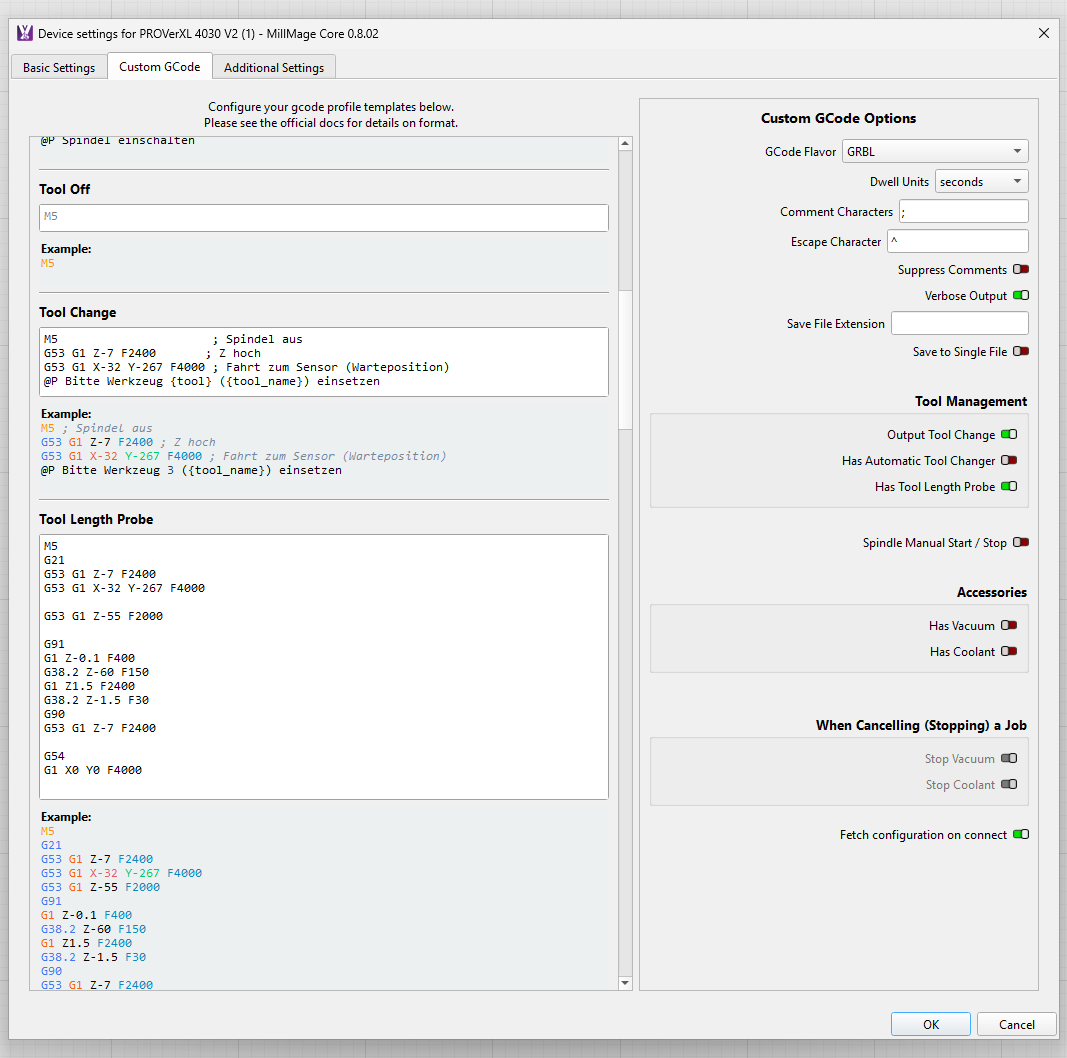
A quick heads-up: Please make sure to adjust the coordinates (G53 G1 X... Y...) in the code to match your specific machine’s setup. My values are calibrated for my ProVerXL 4030 V2, and they might differ from your machine’s layout. You definitely don’t want the machine trying to hit a position that doesn’t exist on your frame!
I hope this helps you get back to cutting! Feel free to compare these with your settings.
Best regards from Germany!
did the probe wizard not work for you either
I’ve tried the Probe Wizard as well, but for my specific machine setup and with my manual VFD control, it just didn’t provide the reliability I needed.
I’m simply sharing what works perfectly for me so Pat can get his machine running. Of course, Pat is welcome to try out the Wizard or any other methods he (or you) prefers – I just wanted to provide a proven alternative in case he’s stuck.
totally get that, I had similar problems with setting up my machine when i started back in the early RC, what resolved most of it was firmware up date on my board.
was more asking for an insight point of view , if support doesn’t know it wont work for a specific machine they cant look into it
OK, there seems to be a lot of confusion, so I’ll try to make it clearer. I’m not the best at explaining
things online—I’m more old school and prefer to talk things through—but I’ve got to evolve! I’m 71,
so a little leeway please.
Originally, under Tool Wrench > Tool Change > Custom Code, I had something like this:
• Raise Z
• Move to X?? Y??
• @P Change Bit and Zero
The @P was simply there as a reminder.
Everything worked exactly as I wanted. After Tool 1 finished, the machine moved to the designated
tool-change position and paused. I have a Makita-style router, so I switched the router off ready to
change the cutter.
The problem starts after the @P prompt.
It tells me to change the bit and re-zero, but I can’t. Everything appears to lock up. I can’t manually
re-zero using Peter’s method, and I can’t use the zero puck either. Before I added this code, the
puck worked perfectly every time. (I don’t have a tool length sensor, just the standard zero puck.)
So I’m wondering if the @P command is somehow locking out all zeroing functions. If I simply press
Skip, the job continues, but that’s no good because the new tool hasn’t been re-zeroed.
I’ve now abandoned the automatic tool-change routine. Instead, I’ve put the parking move in the
custom end-of-job code and also saved it as a macro.
Now my workflow is:
• Run the first tool.
• When it’s finished, the machine parks at my chosen position at the back of the machine.
• I change the cutter.
• Probe the new tool with the puck.
• Load the next operation.
• Press Start.
It works great for my setup, even if it means a couple of extra steps.
Again, thanks to everyone for trying to help. I know I can be… challenging at times!
And as for ChatGPT… it might be a stupid AI sometimes, but it’s helped this old bloke out of a few holes.
It’s not as good as the MillMage experts, but between everyone, we usually get there.
im the same trying to put in whats in ur mind . on paper is harder than saying it
you say
did you by chance ever save your prefences and bundles ?
are you using core 8 or the just released RC 9 version .
support mentioned once that when installing new release always re-enter a new device as previous device may cause error
have you used the probe wizard
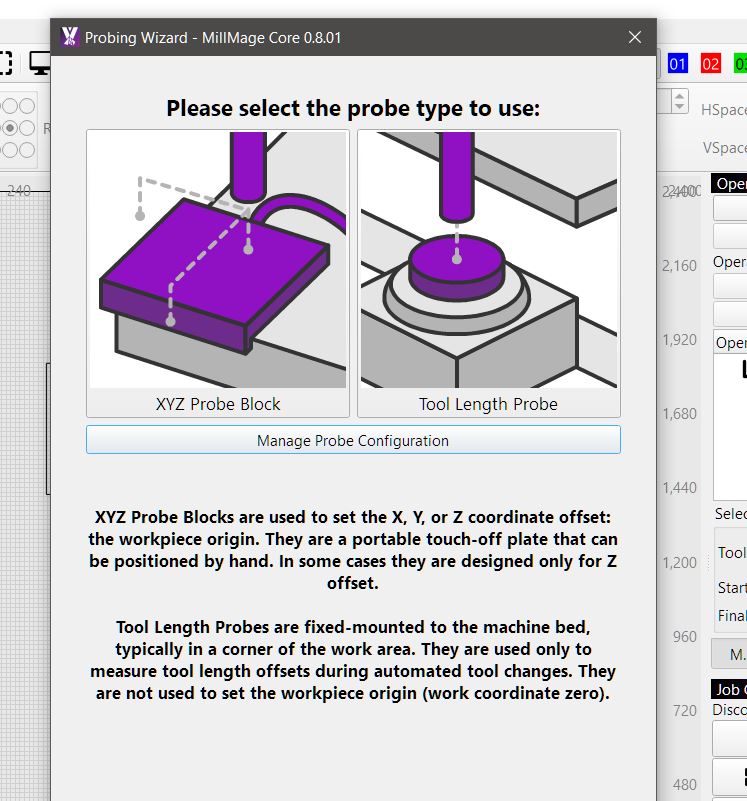
can you put up a screen shot of you custom codes
have a look at you device configuration , with my machine flow control needs to be on or all weird things ocur sometimes on updates it auto offs , that could be some of the issue also
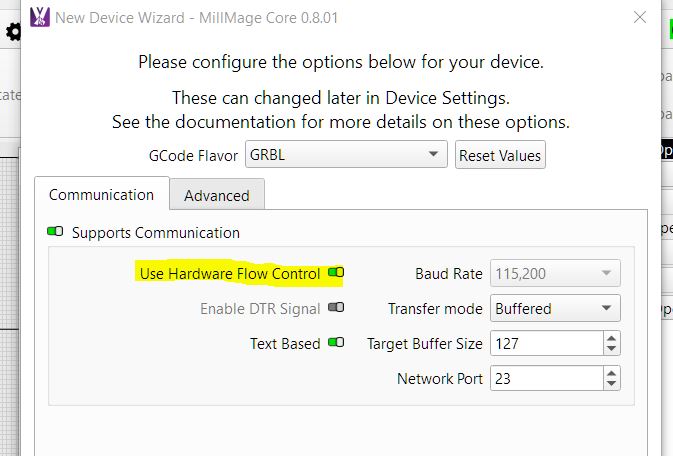
have you tried heelimanni settings, did they work or not ?
I totally get how frustrating it is , i have spend hrs some days trying to figure out why it now wont work
my method of madness is copy paste all gcodes in to a txt or word doc , screen shoot of all custom gcode and device settings , save in a folder name: test 1
than play with codes retest saving data as you go in new folders, in the end it can be as simple as an extra space or a ; or something is toggled of or on that is causing the issue
current 8.0.2 core ! and I will change those settings , but the hoarse has bolted at this stage ! so working the backdoor method as described now , may visit again …thing is when I remove the toll change code, it worked well (probe ) etc so im pretty sure its to do with machine softwares or firmware ,never sure what’s what there . ALSO HEHE, ITS THE PAPER METHOD ,NOT PETER METHOD bloody auto correct and old uneducated operator
thanks
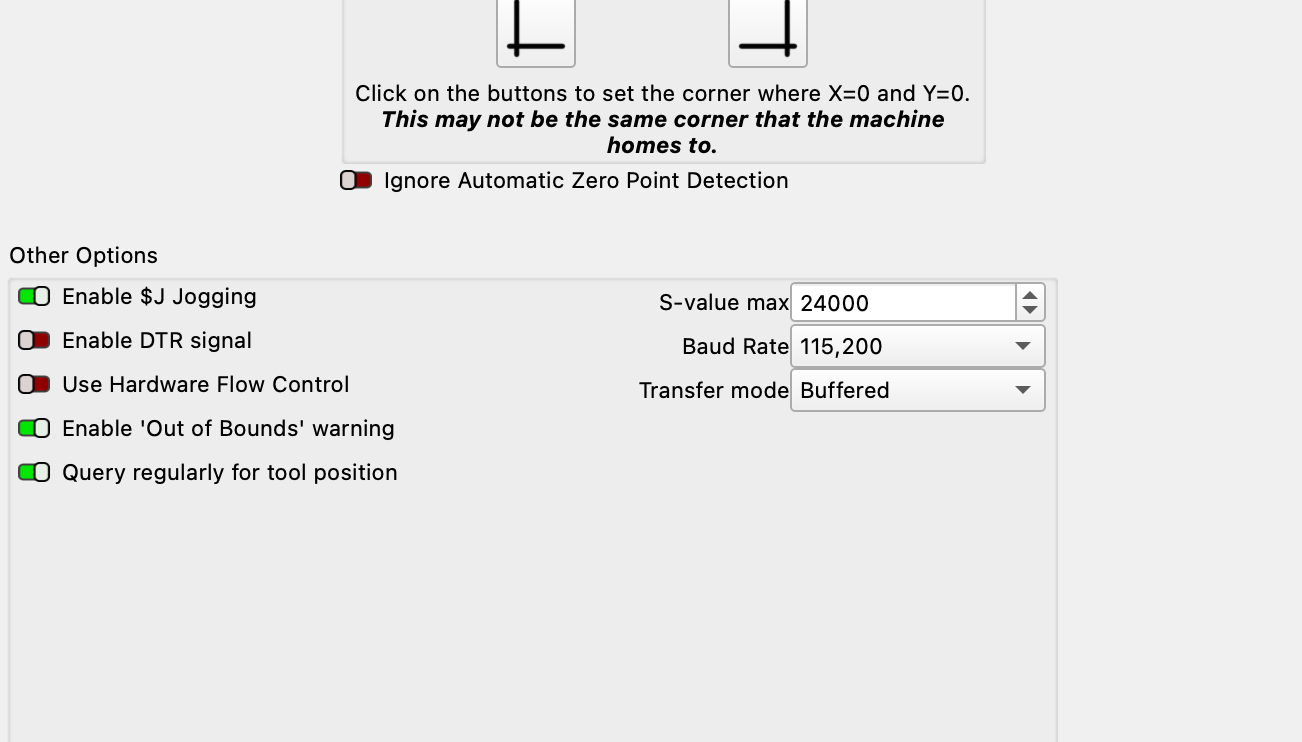
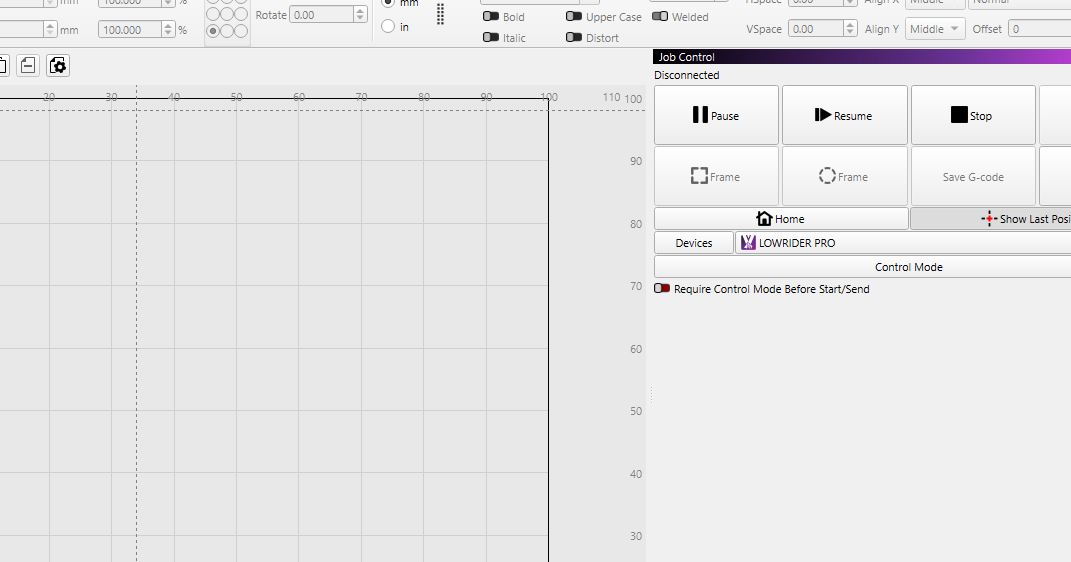
ok , thats way out of my league now, mine has a sulk if nothing in there, could be machine and MM not communicating each other
have read of that dtr and hardware flow control
mine are both enabled
@pat1955 did you get this sorted