Today I installed a LightBurn camera on my system and I would like to share my experiences.
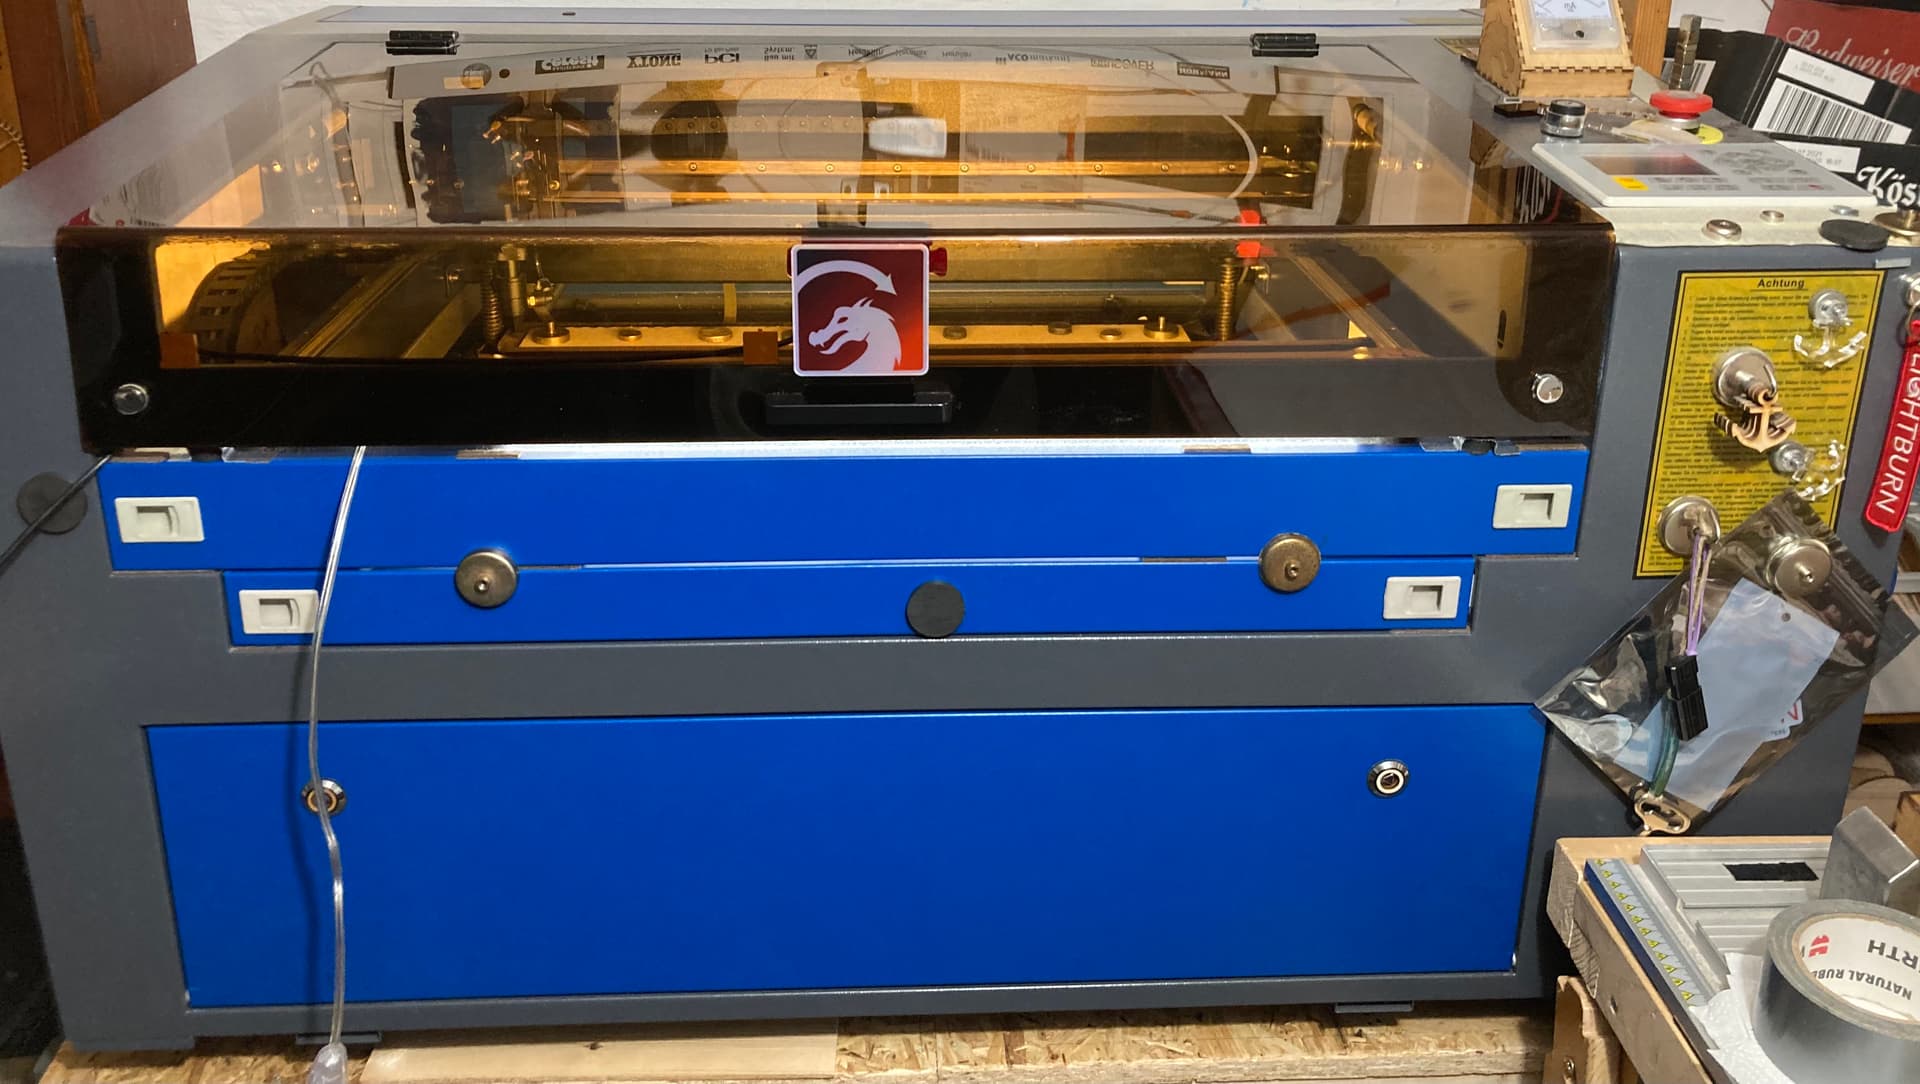
My laser is a standard OMT 60Watt with 600x400mm, as control system on an old Dell computer I use Linux Manjaro (latest LT version). There is a long and interesting thread here in the forum, which deals with my problems and their solution, regarding Linux and camera on LightBurn. I have received very good and constructive help from the forum in this context, it was great.
As LightBurn version I use version 1.3.01
Because it is relatively cumbersome and expensive to get goods delivered from the USA, I have experimented quite a bit with various other camera types that were easier to get hold of and also in a different economic league. But either they won’t play with Linux/LightBurn or they were of poor quality. I have only been fairly satisfied with a small camera that looked like the one from LightBurn but was a clone. (couldn’t run with Linux either)
For approx. a week ago I got a 90 degree original LightBurn camera as a gift and they are this camera I installed today.
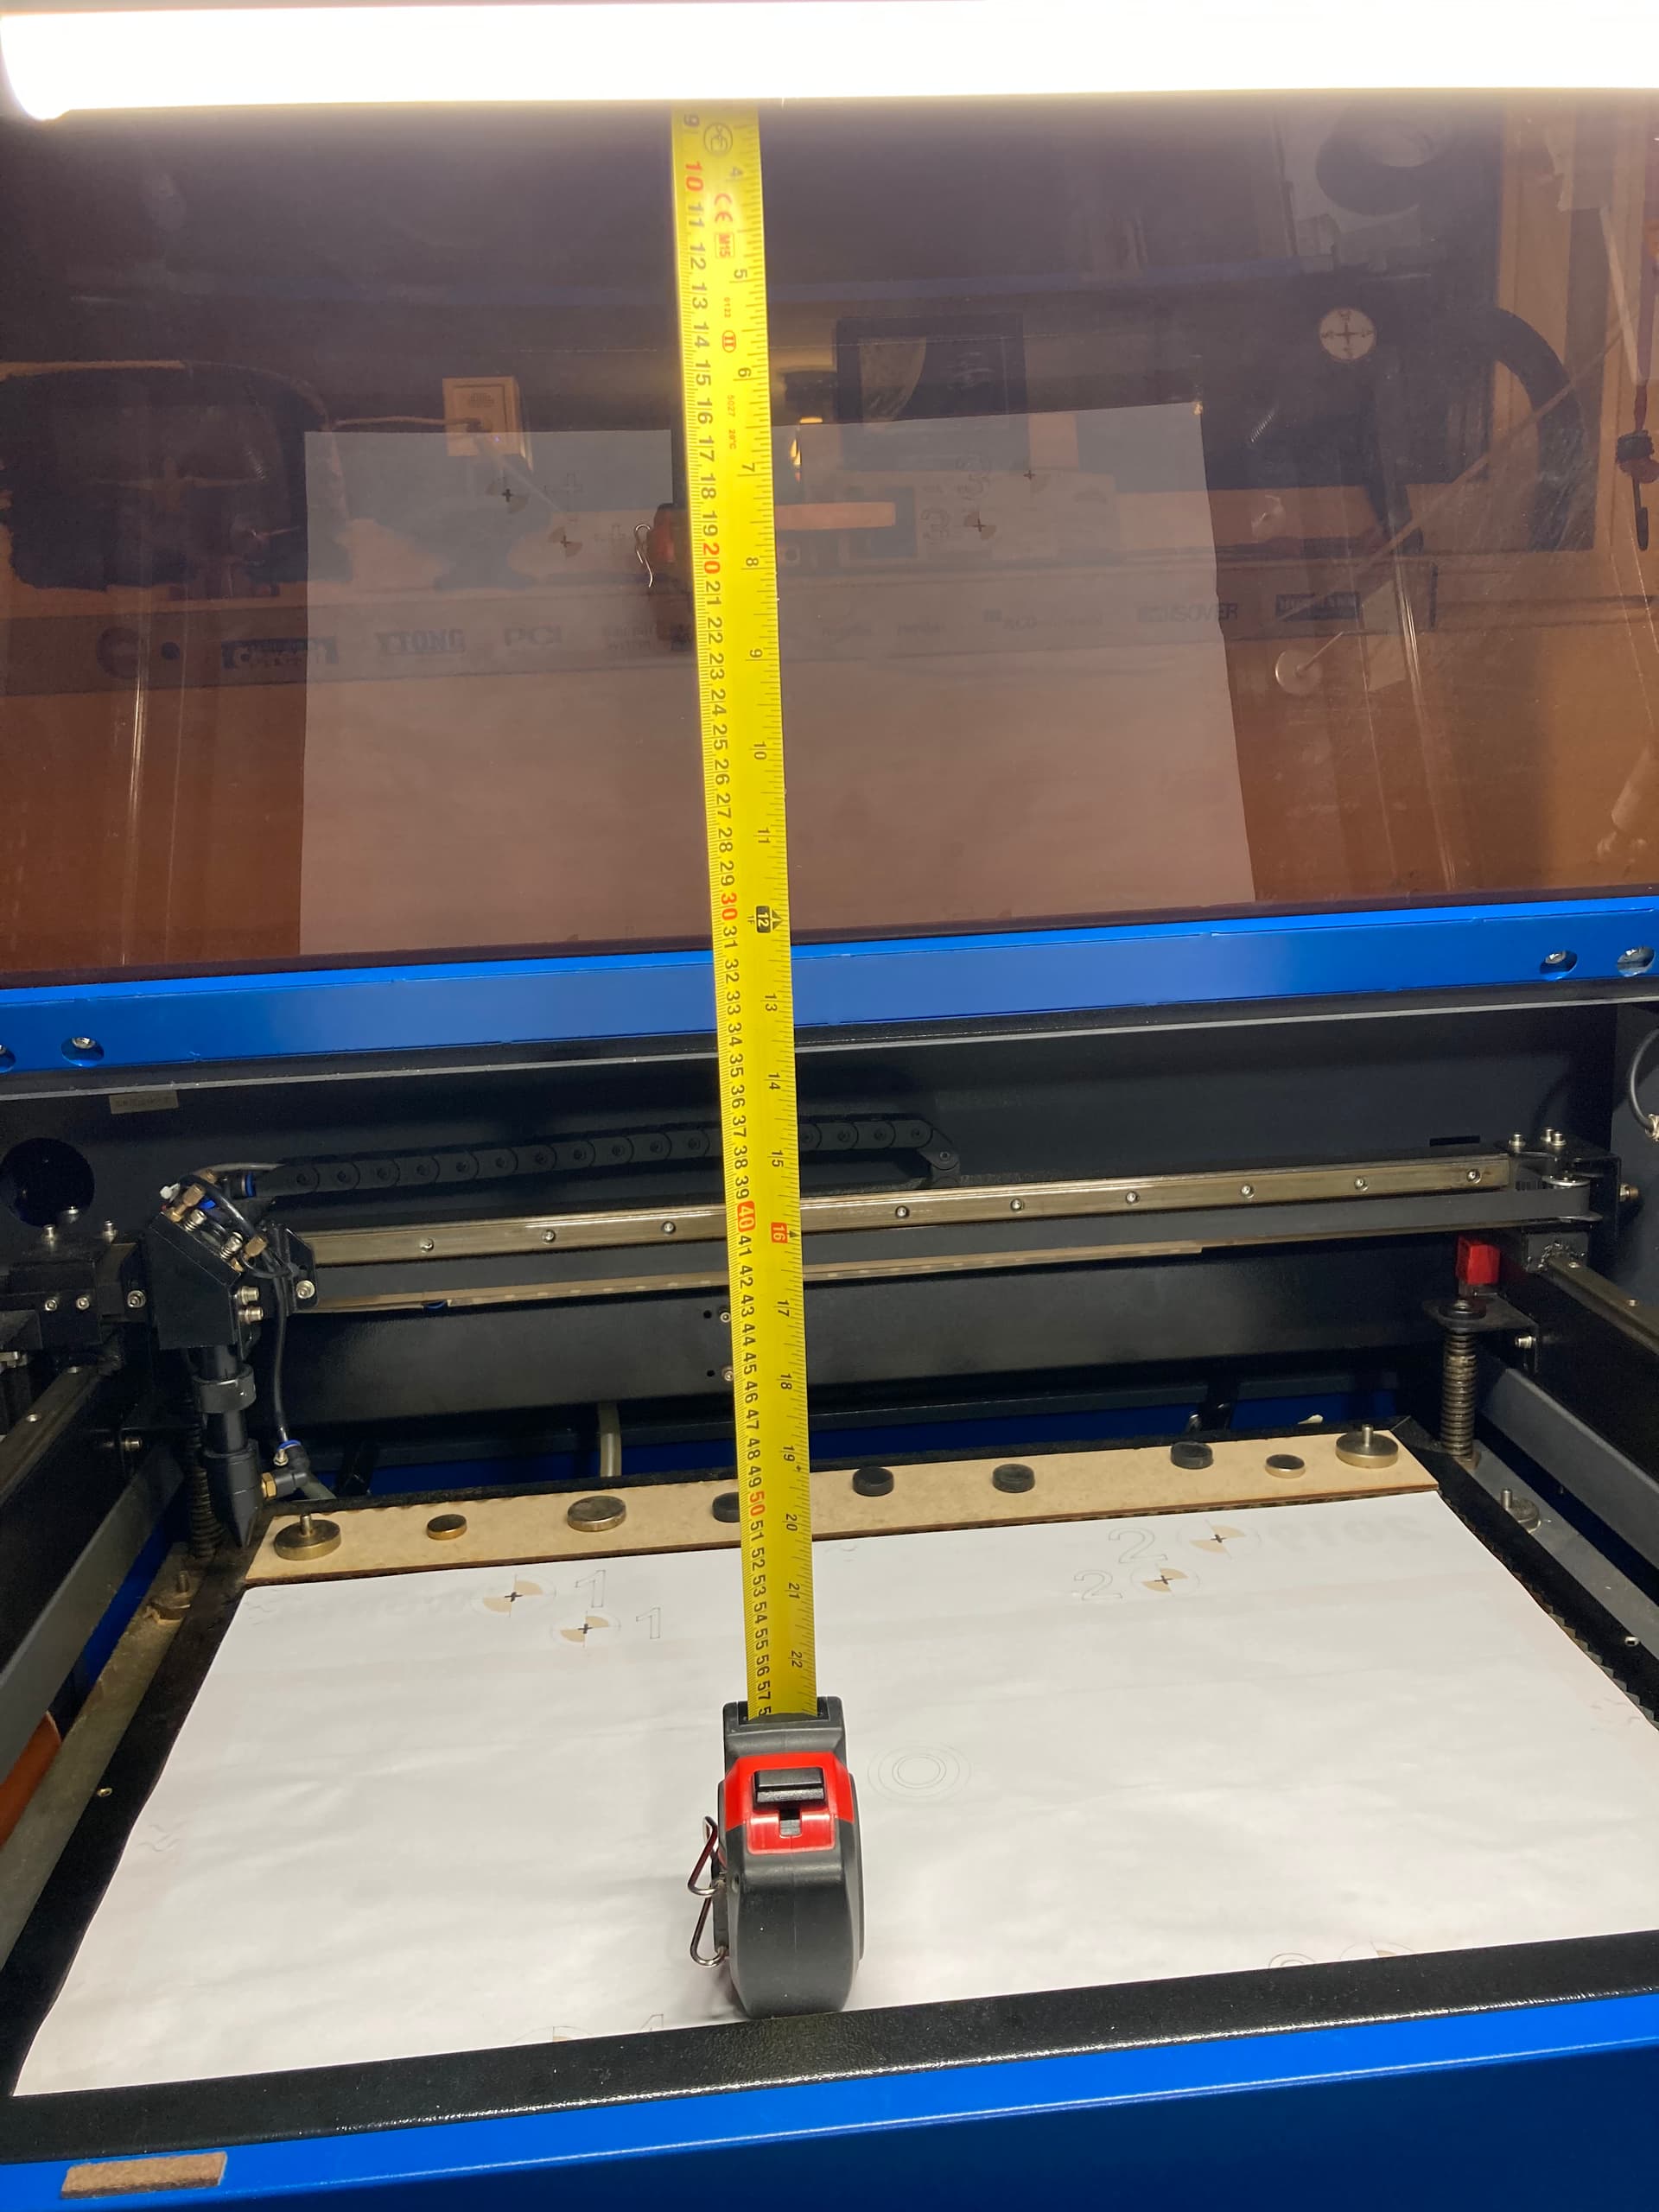
The picture shows the height from the machine bed to the mounting point on the lid.
(660mm to the inner edge of the arch in the lid, approx. 25mm must be subtracted for the camera housing/bracket)
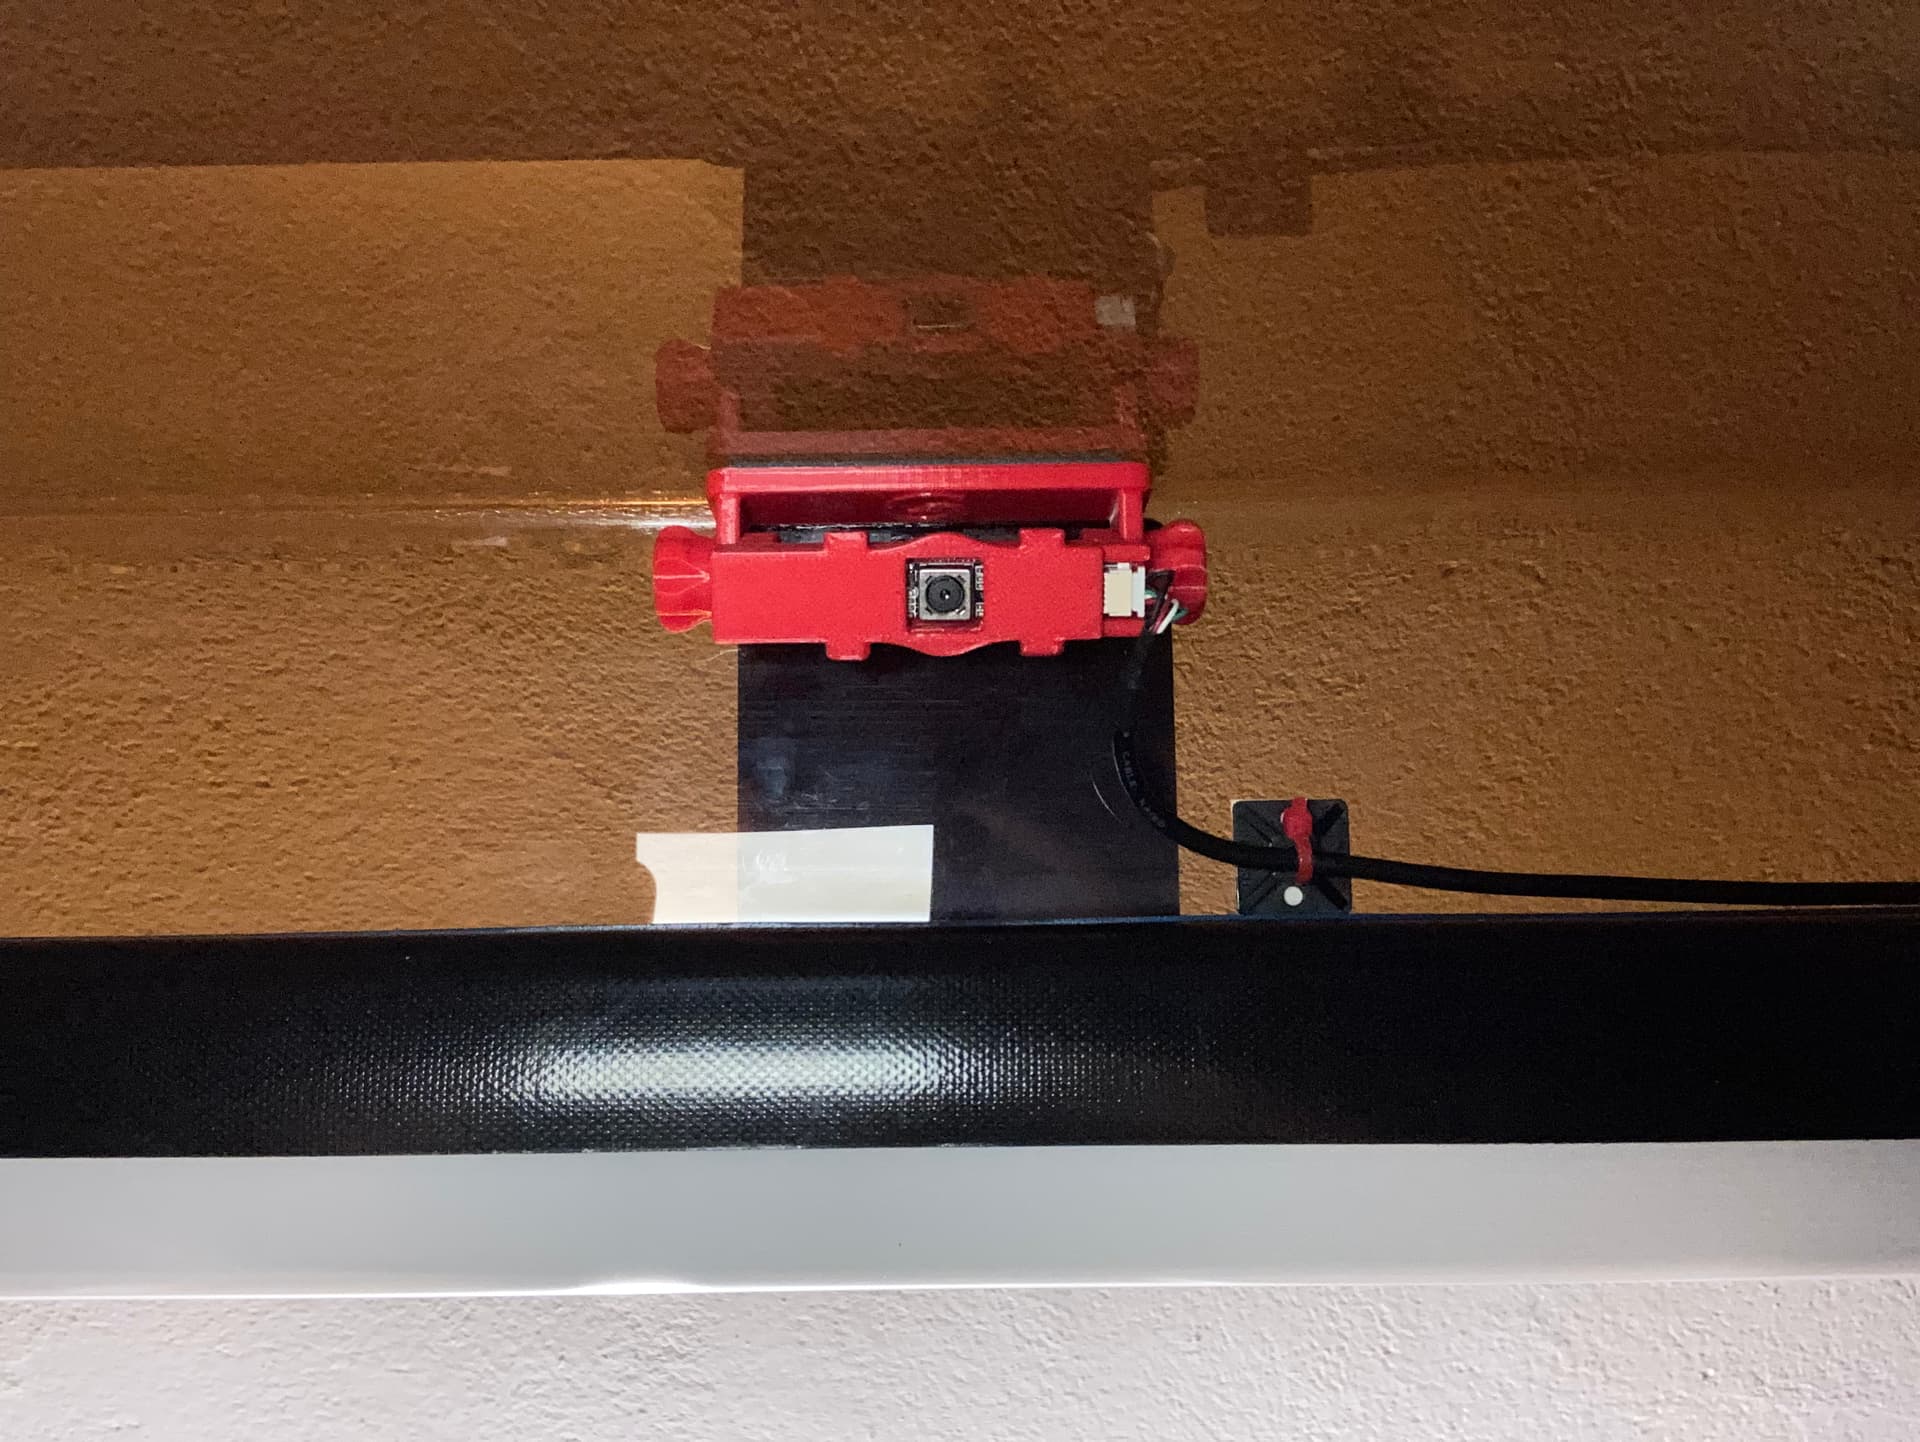
The original mounting bracket and double-sided tape make it easy to set up the camera. I have laid the cable provisionally, it will come later when I have found a quality extension cable for usb.
On the front edge, above the camera, I have mounted a led lamp with Velcro, it provides very good light. When the lid is closed, there is only a few millimeters of space between the lamp, camera and laser head, but it can be there.
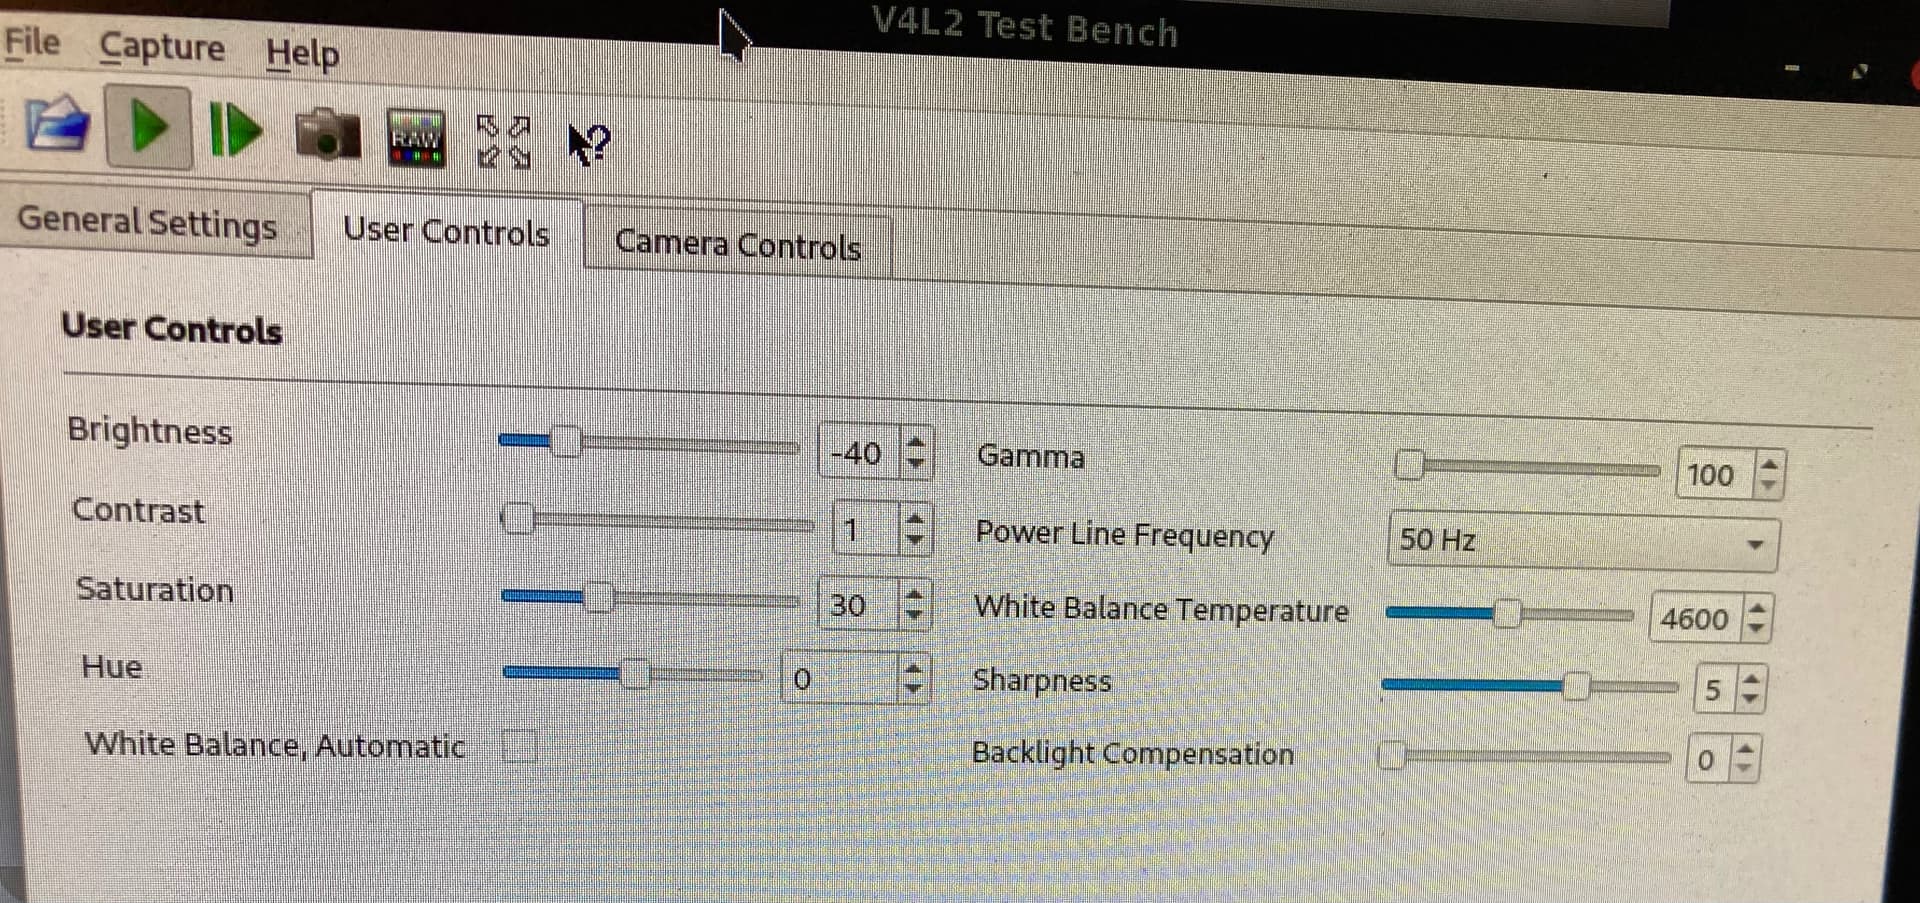
Lens calibration was only possible after I switched off the honeycomb control. During setup I used the default settings for the lens, it is on fisheye. I think it’s a little strange, but it works. The light is a problem I struggle with a bit. Due to the lack of manual camera adjustment for lighting setting in LightBurn on Linux Manjaro, it is a bit of a challenge. The built-in automatic exposure and white balance does not adjust down and with all the light I have now, the work surface comes out as a large white surface. Fortunately, there is a program in Manjaro (V4L2, thanks to @DougL) that can be used to set everything in the camera to suit the purpose. That is, I adjust the camera in V4L2 Test Bench and with these settings I switch to LightBurn.
Once this is done, it goes quickly. My values for lens calibration are all at approx. 0.15, i.e. half of the limit value.
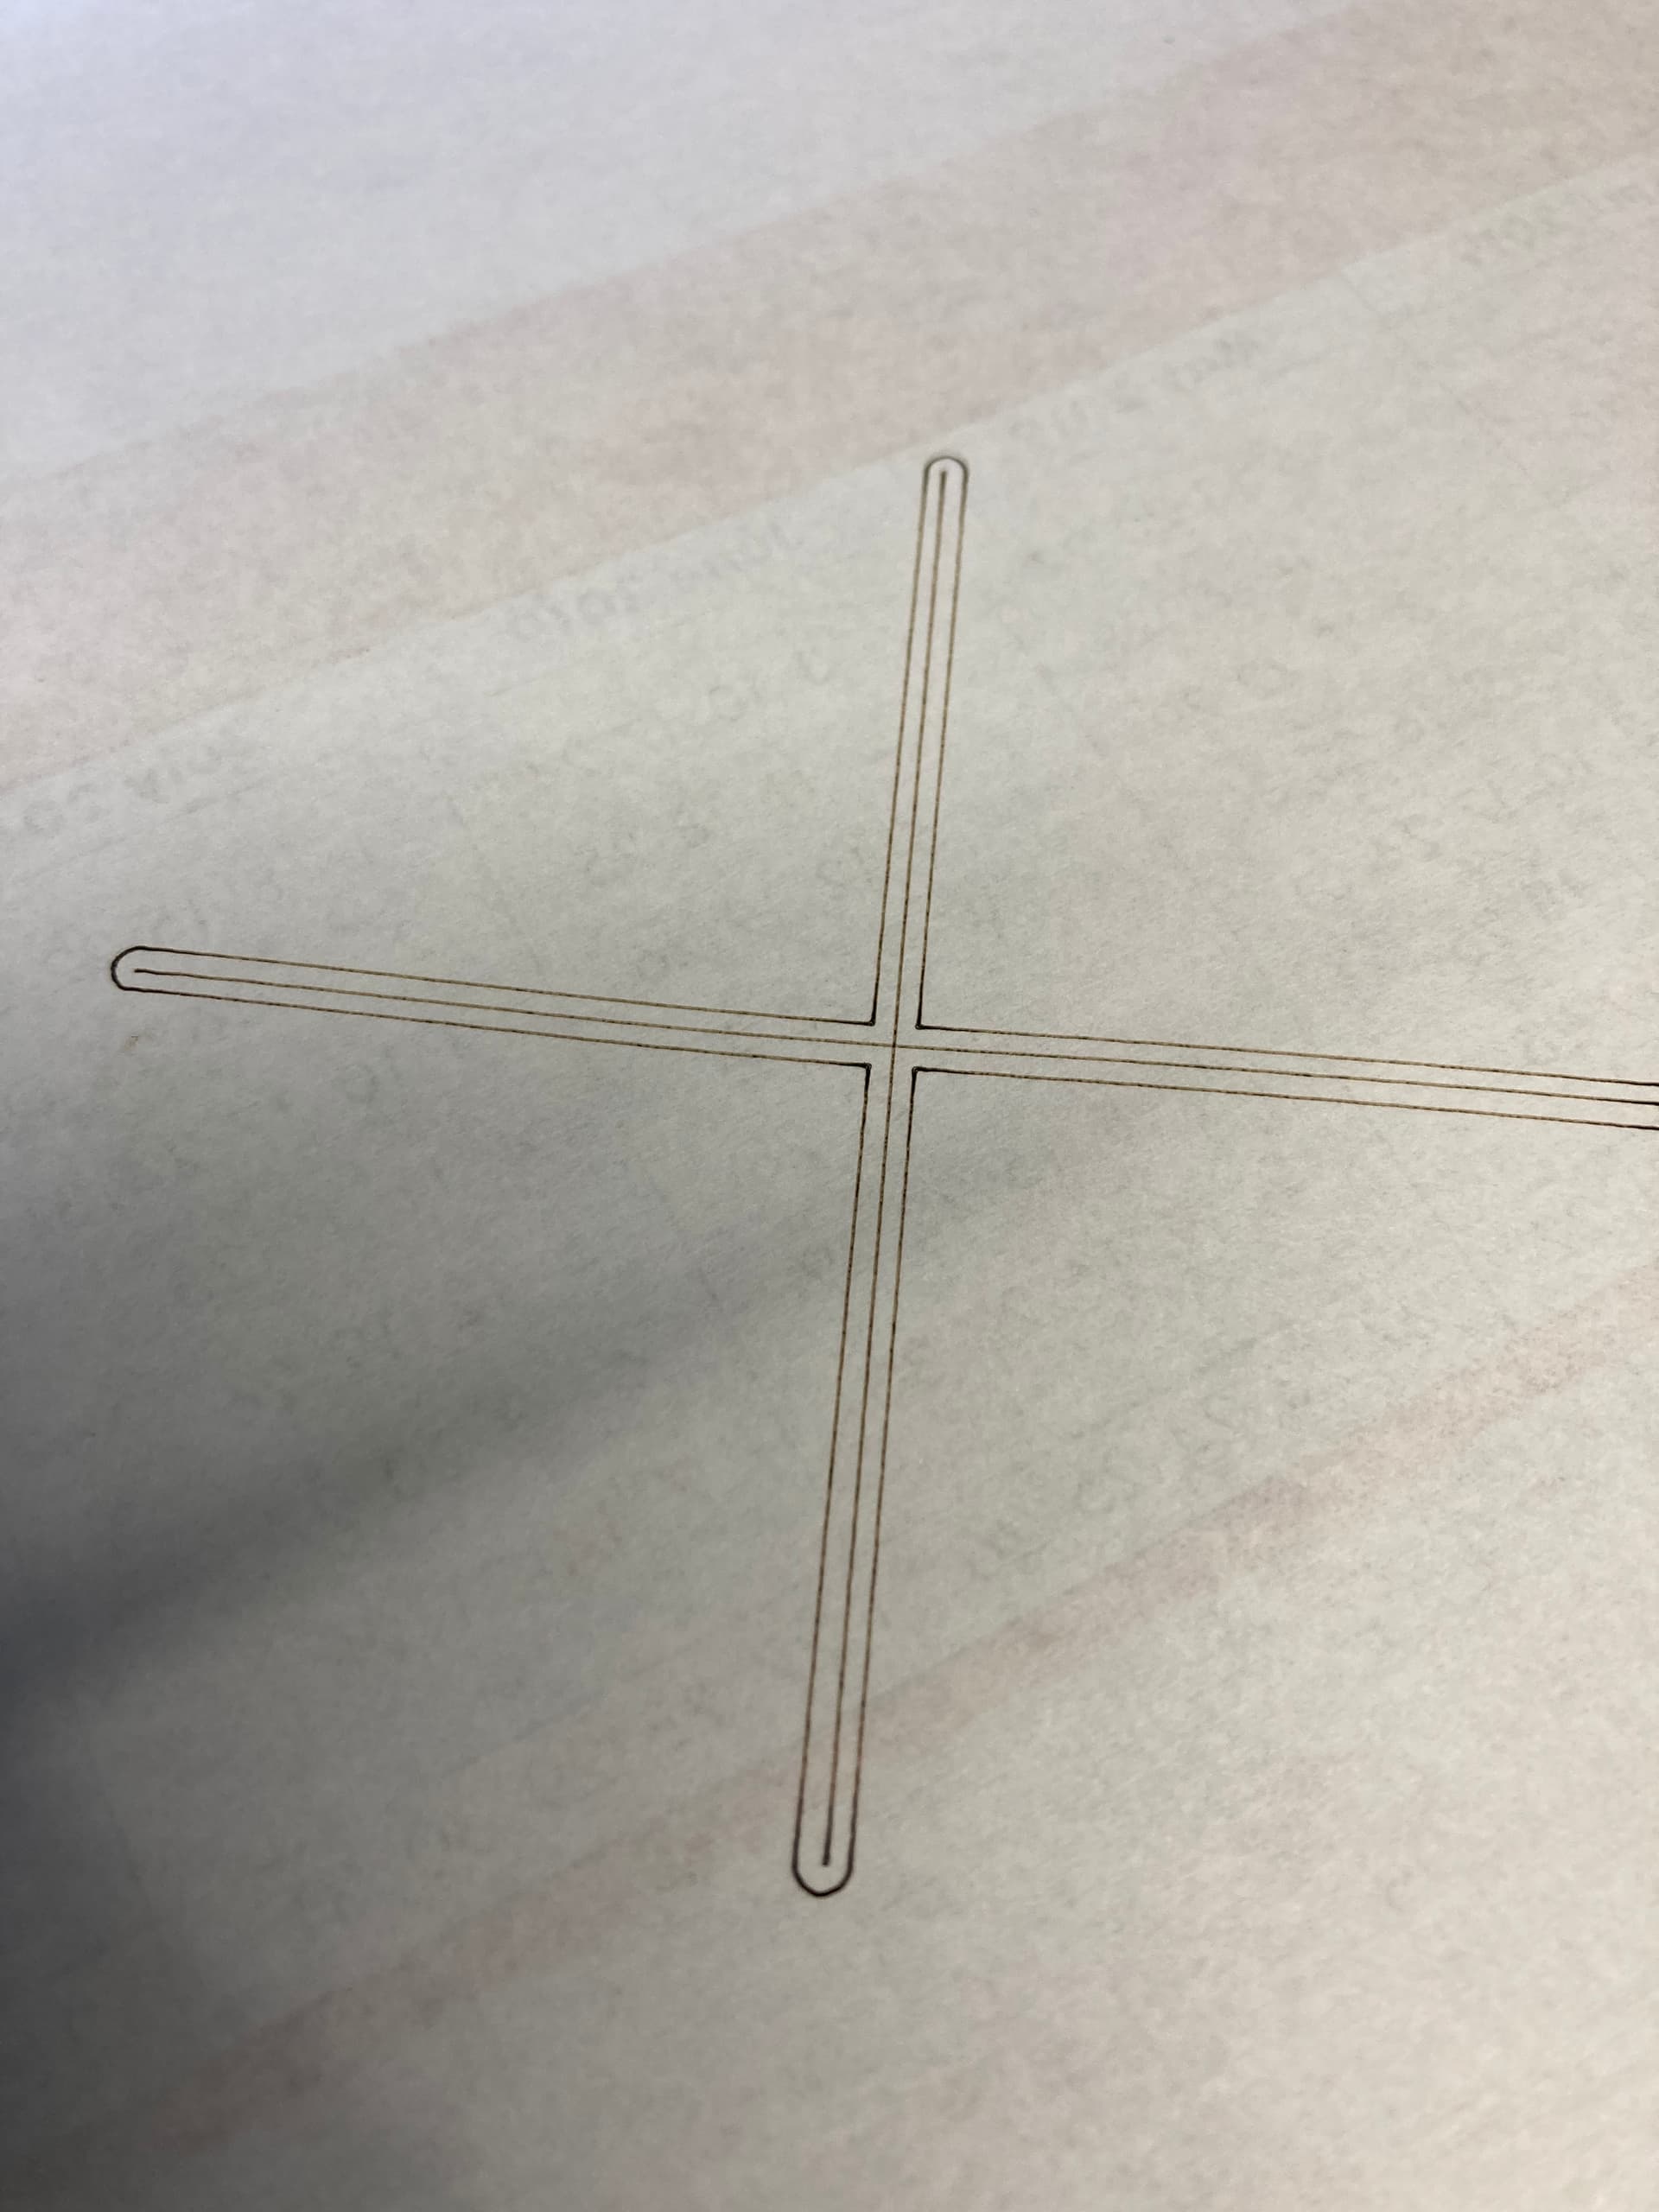
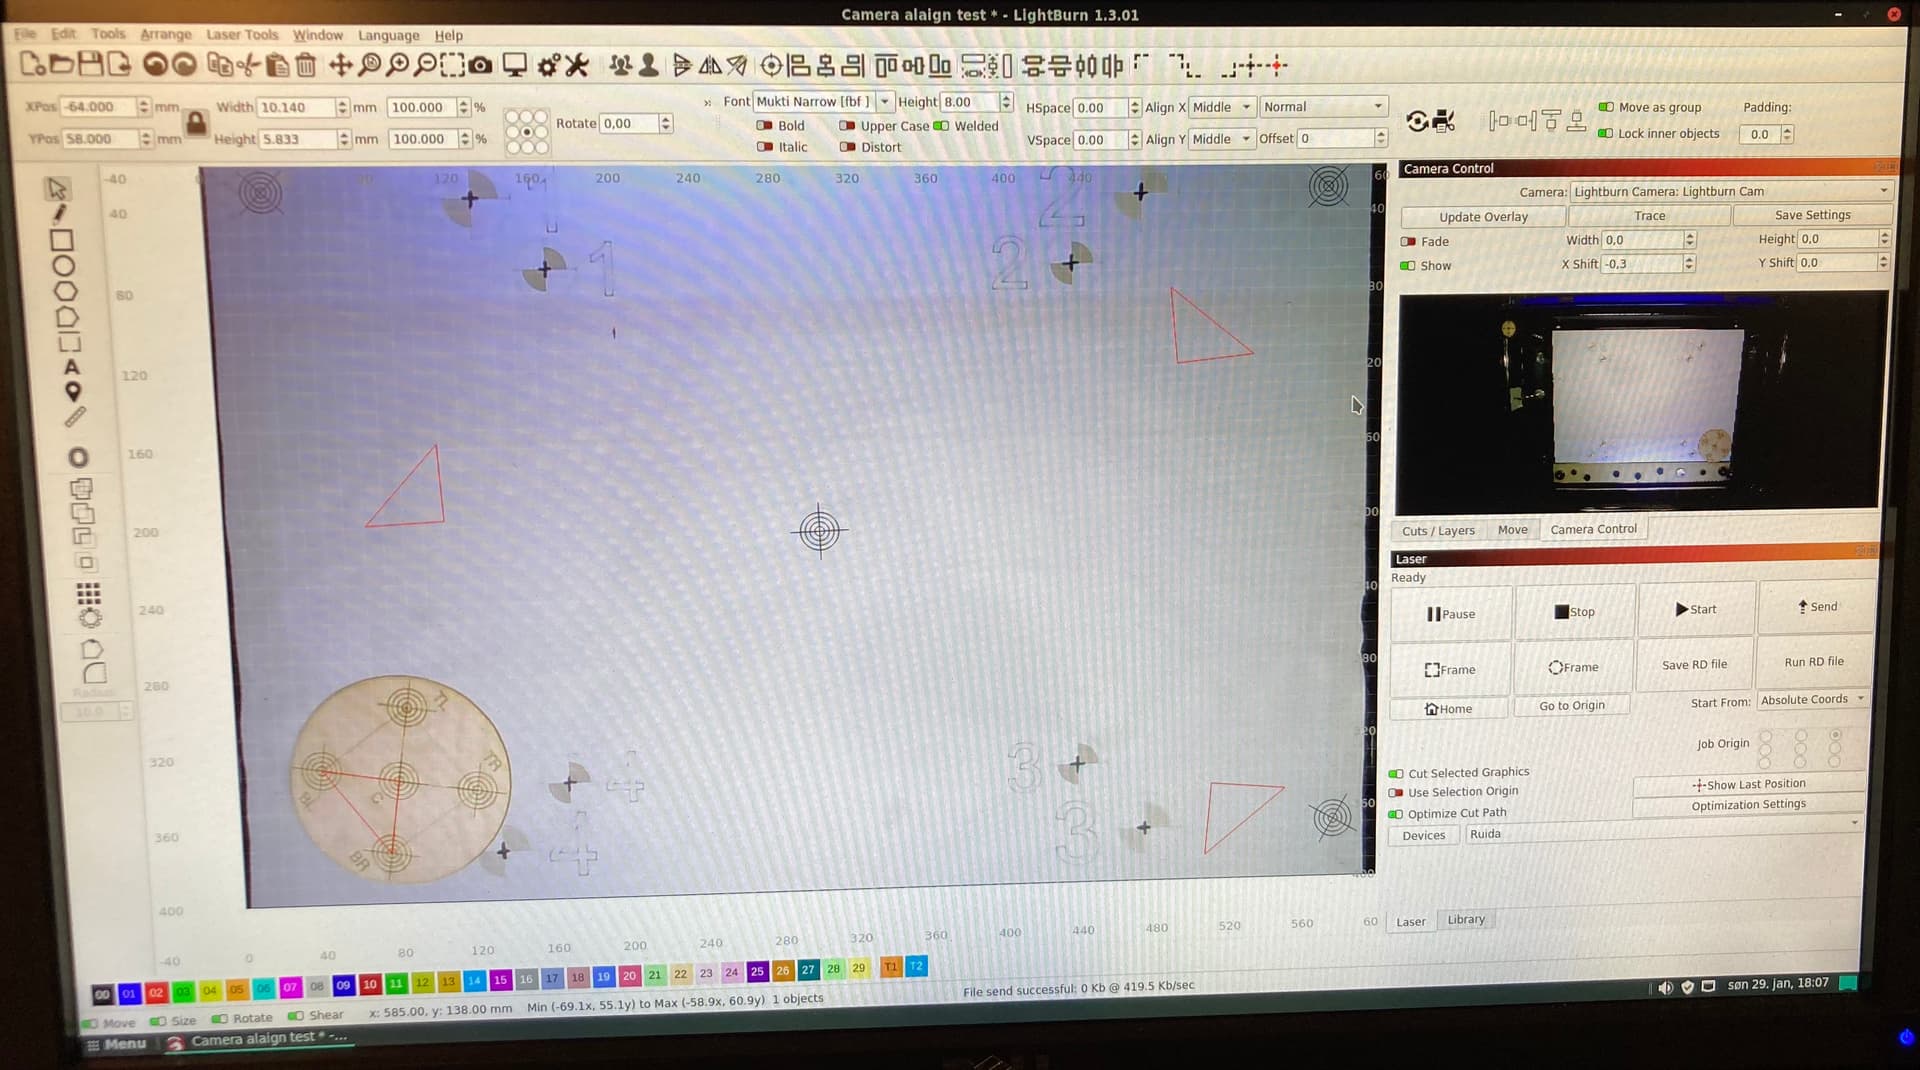
I also hit alignment well, although it is difficult to see the thin lines.
The precision is not the same over the entire machine bed, there is a difference of up to half a millimeter, which I can live with ![]()
I have made a test pattern for fine tuning and checking. 5 targets, for each corner and one for the centre. I engrave the test plate, then I place a single drawing of the target over my test piece, individually in each position.

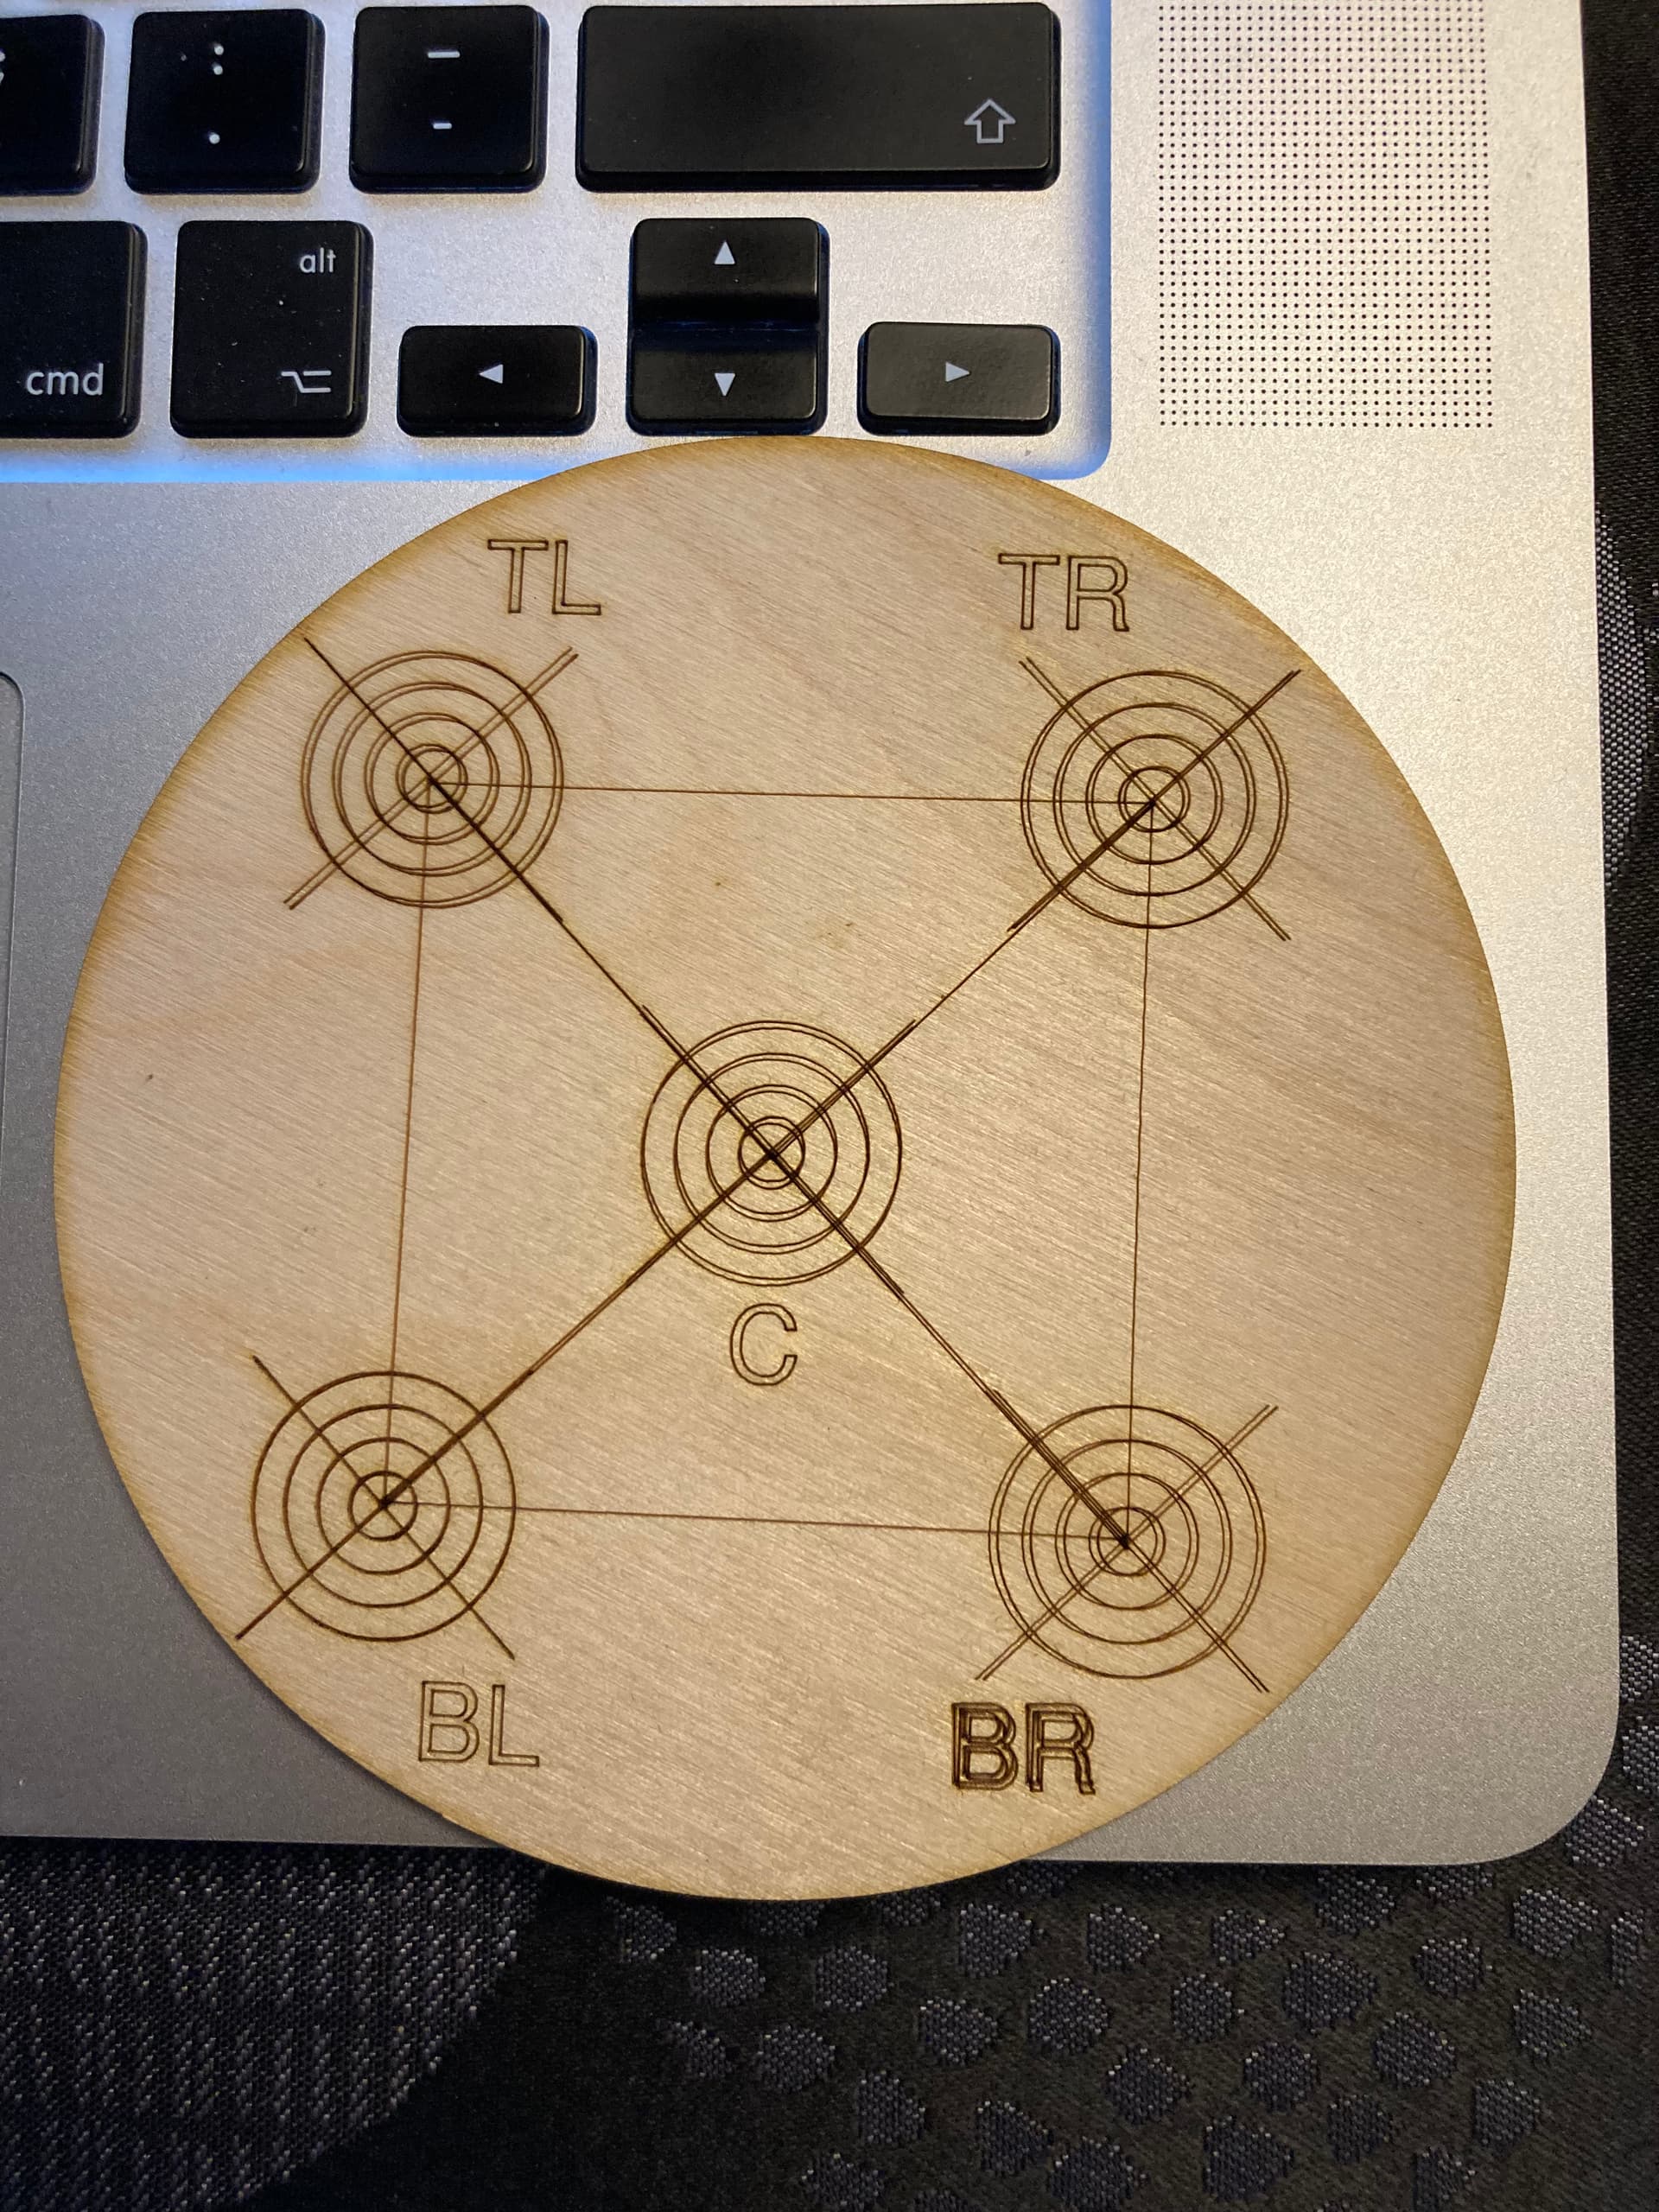
The inner circle is 5mm in diameter, I hit the bottom left best. The result of the four triangles from center to center to center, which finally gives the square, is very precise, with a margin of error of approx. 1-2 tenths of a millimeter. (each triangle is made in a different corner of the machine)
I have done all the tests with a white background. When I remove it I have to exit LightBurn and adjust my Camera again (V4L2).
I can definitely see a difference in the accuracy of my camera if I don’t adjust the focus point 3mm up to the top of the slice from 0 on the paper.
With the right settings I can get a fantastically clear image of my parts on the table, I have tried to engrave a name on a pencil without much effort, it came out fine and precise.
Tomorrow I will test with my Macbook, just to see if and how the automatic exposure and white balance of the LightBurn camera works.
I am very happy that I finally have a camera system that is usable, I have missed the possibilities that a camera gives, a lot.
Thanks to everyone who helped me and special thanks to @Colin . ![]()
![]()
![]()
I hope there is someone with the same or similar machine who can use this info, if there are any questions I will be happy to answer if I can.
Regards Bernd