Ok, I’m new…what I’m trying to do is engrave pens, II don’t know if there’s a way to actually see the laser before I engrave like a sneak preview I know I can frame it but is there a way to fine tune it in so I don’t waste a bunch of pens figuring it out? Thank you.
1 Like
Use the preview to see how the job will run.
Do you have a rotary or are you going to only mark one area?
You will use up materials, that’s part of the game…
Good luck
![]()
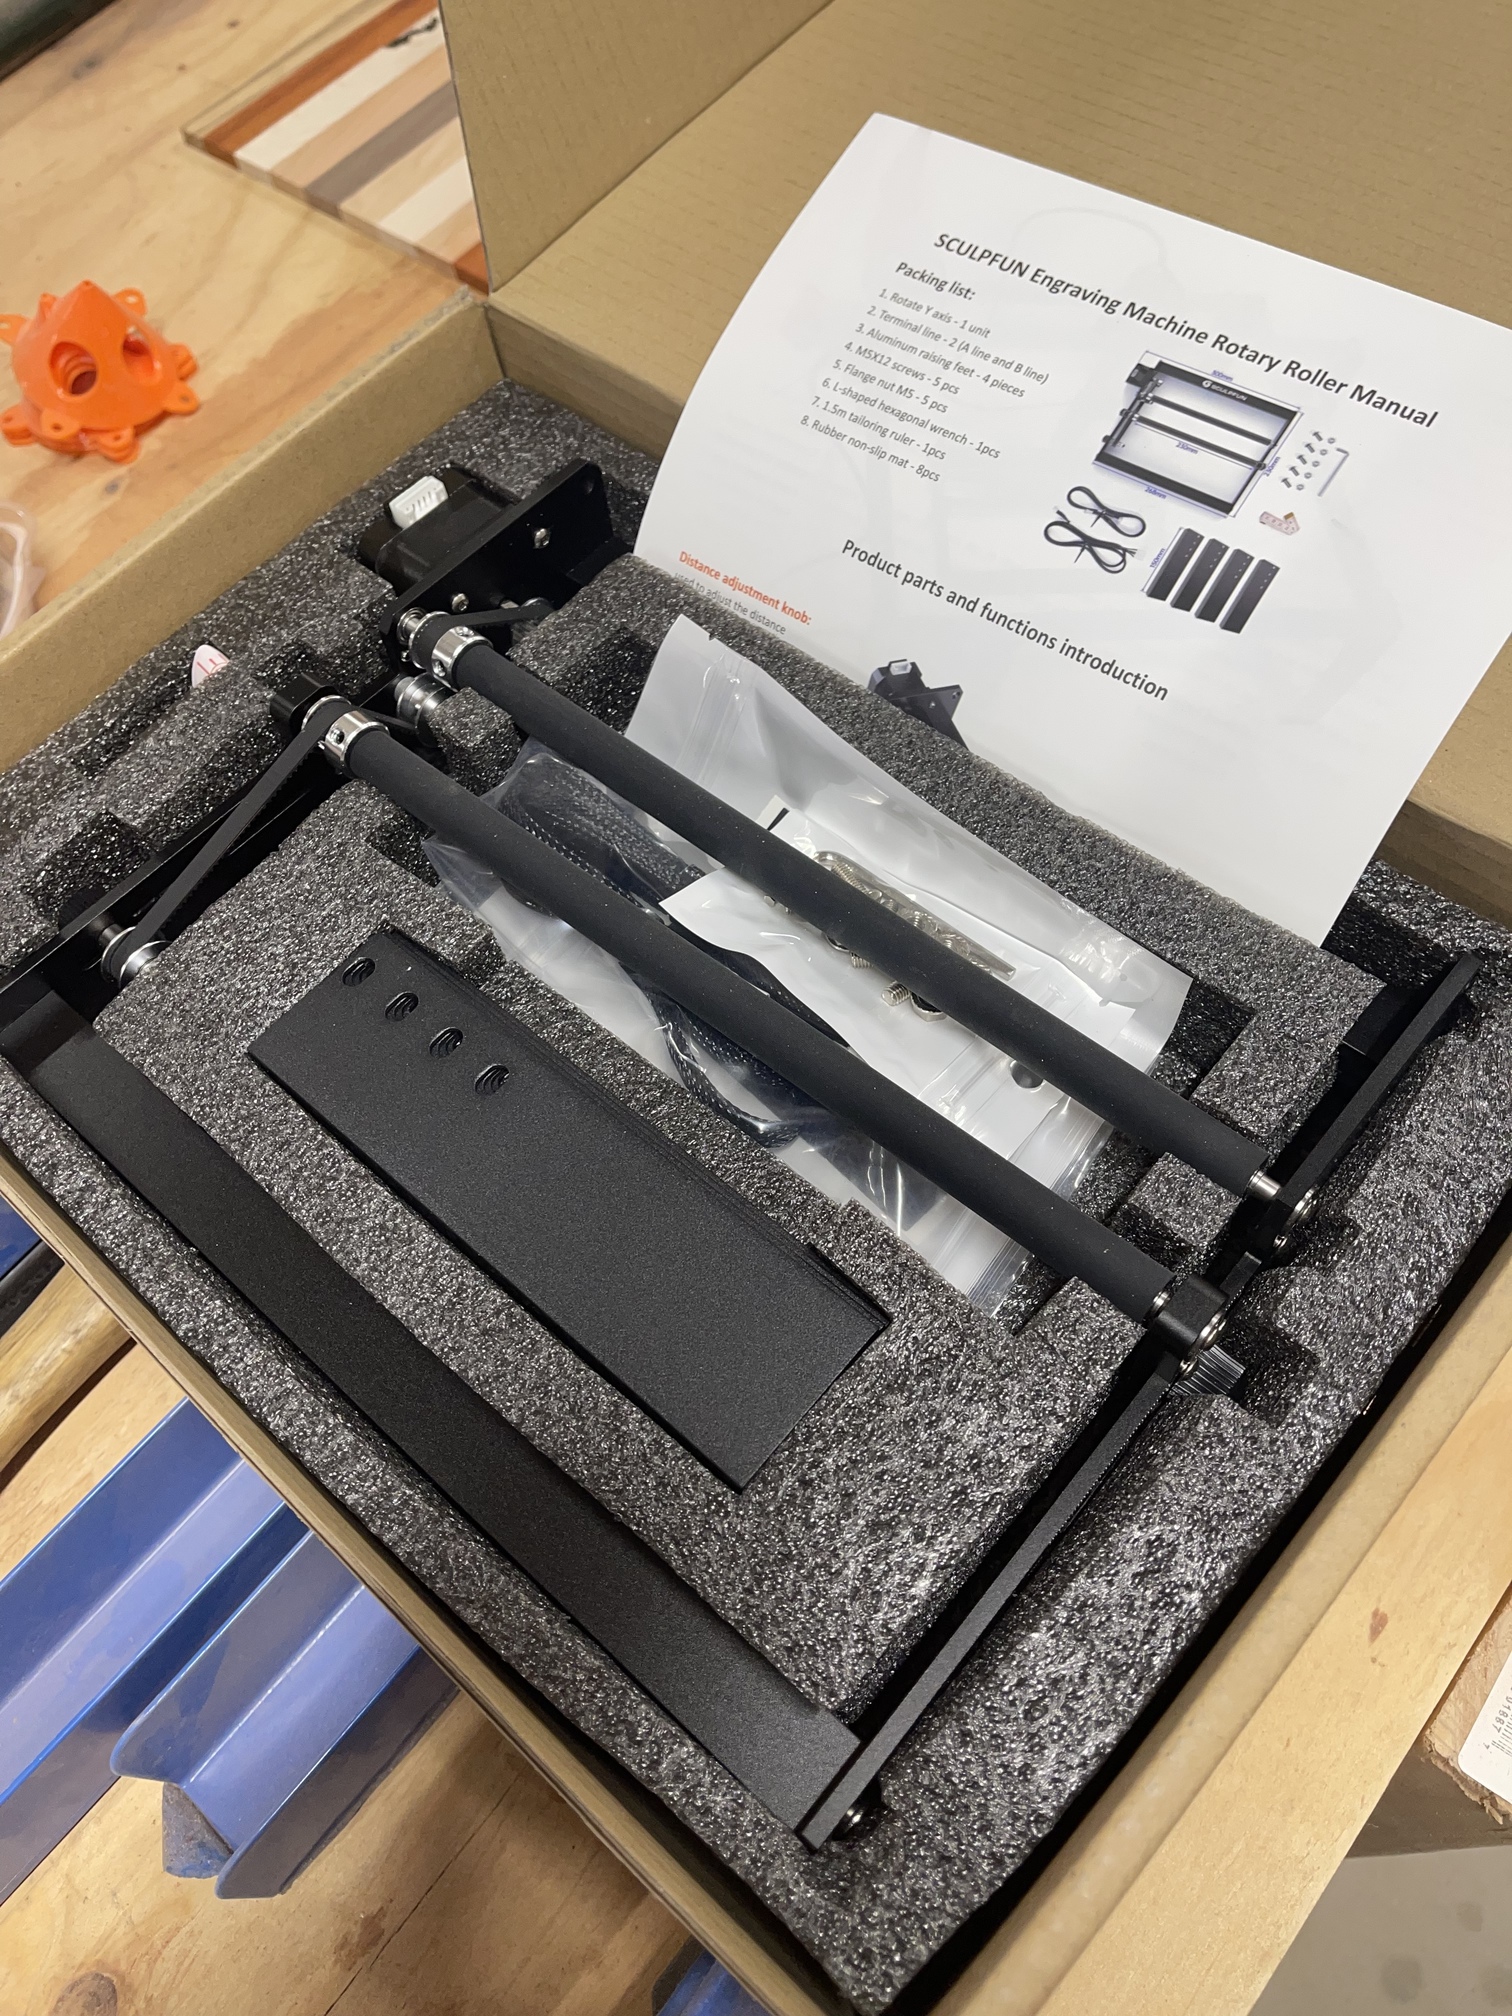
I have a new rotary haven’t even taken I out of box I don’t want to ruin it on my first project.
So I was thinking of cutting styrofoam out and lay pen inside to hold it. Preview just shows you what your engraving not exactly where laser is going.
Frame will show you where the laser is going to go.
With that rotary, looks like they would have to be pretty big pens.
Agree with @Bikemike on both points.
Is it going to be small or will you have to rotate the pen?
That rotary might have an issue with small items, like the pen…
I have a PiBurn 3 and I’ve done down to 3/4" acrylic tubing… but much smaller is going to cause some issues…
Generally for small items, like your pen, a chuck rotary would work better… I realize you can’t just run out and get one… I think you will have some problems with that rotary and a pen…
Let us know how it works out…
Good luck
![]()
There is a way around the size being to small, but it comes with a lot of trial and error. (or heavy math)
I ran into to that 2 days ago.
Give me some time to put something together for a fix and solution.
Oh ok, then I’ll tape styrofoam down and use that, never even thought of a Chuck thanks for the advice.
I made a set of wheels for a small piece so it just rode like a cup in the rotary.
The issue is the surface speed of the pen was not the same as the wheeled rotary is expecting… Since it’s circumference is smaller it’s rotating slower… Have to do computations for a chuck at that point.
![]()
That is exactly what I am working on explaining.
I have a rotary a lot like yours.
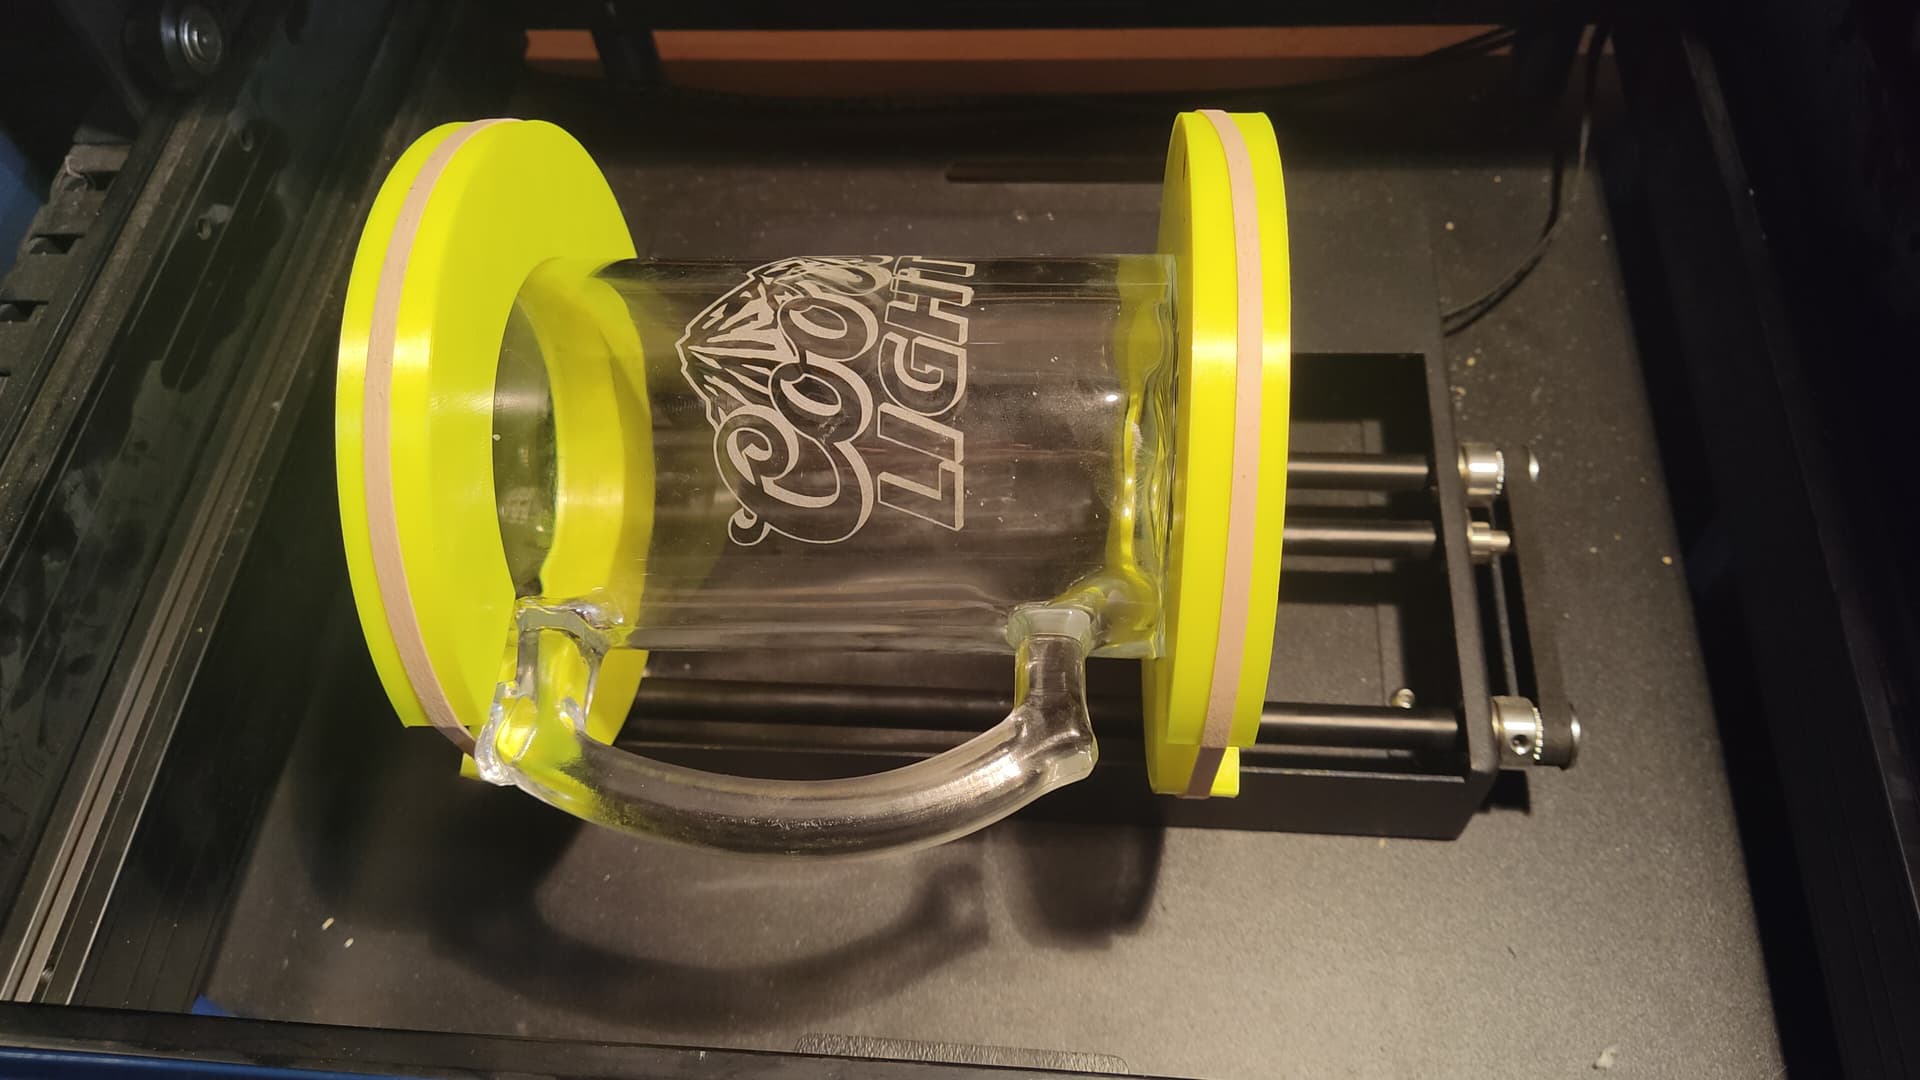
I wanted to etch beer mugs, but the rotation you get with that type of rotary only gives you a small degree of rotation because of the handle.
So, I decided to 3D print some spacers to lift the mug far enough to get good rotation. Picture attached.
The problem as I found out is, since the spacers lift he mug 26mm off the rollers, rotation is not what you would think.
From the wire frame pic you can see the distance from the 2 lines on the outer circle (spacer) is a lot more that the inner circle. (mug)
I had to play a lot with the $101 to get it right.
Normally my $101 is 80 for flat stuff. My rotary is 102 for $101.
For the spacer I had to change my $101 to 170 to make up for it.
Hope this helps. If I missed something let me know.
What I am saying is, you could make spacers for the pens with that rotary.

1 Like
well, I decided to use wood instead of foam since it would be harder to focus came out very good first try. thanks for the help.

1 Like
Looks good! You could measure the diameter of the pens you will use and substitute a wooden dowel of the same diameter for test cuts.
If you haven’t already figured it out, you can set your laser in LB to show the actual laser point during framing to aid in getting your stock set. LHG has a YouTube vid on it.
1 Like
These are relatively small… Check out Harbor freight for drill chucks and see if one will allow your pen to be inserted. You can use any like type of stepper motor, mount the motor and use it as a chuck rotary so you can engrave around the pen… just a thought
How the chuck mounts of the motor would be the main issue. I haven’t done this, but I’d look for a low cost chuck rotary…
Looks nice…
Take care.
![]()
This works for me… none of this is rocket science. I now have a jig similar to this.
works great, dowel material is cheap for test burns. LUV Lightburn.!!! Good Luck with your new machine. beats watching the tube.
I put blue painters tape over the area and burn at 5% power. It puts white lines exactly where the image will go. If it’s not right I replace the tape, adjust, and repeat. When it’s right I remove the tape, turn up the power, and burn.
If you only engrave on one side, just measure you pens. Then cut the shape on mdr or Baltic birch. Leave the mdr there and you can use it to put your pen. You can cut one or many so you can run multiple pens at once.
I’ve done test burns to some pen blanks without adding anything to the rotary and it seems to work well. I plan to set up a camera with Lightburn to help with setup, but I didn’t really have any issues as long as I got the rotary lined up with the axis.
Jerry
Although rotary is probably the “preferred” method for engraving small cylinders like pens, if you are only doing single-line engraving (a name, for example), you can usually get away with pretending that it is a flat surface. For a line of letters on a 12mm diameter cylinder, you won’t find more than 1-2mm of difference in the distance from the lens to the engraving spot. You will probably find that you can’t easily tell the difference between a pen that was engraved with and without rotary, for a single line of text.
If you need more than one line of text, use a jig that will hold the pen where you want it along its length, then just rotate the pen manually in the jig and engrave each line of text separately.
This topic was automatically closed 30 days after the last reply. New replies are no longer allowed.