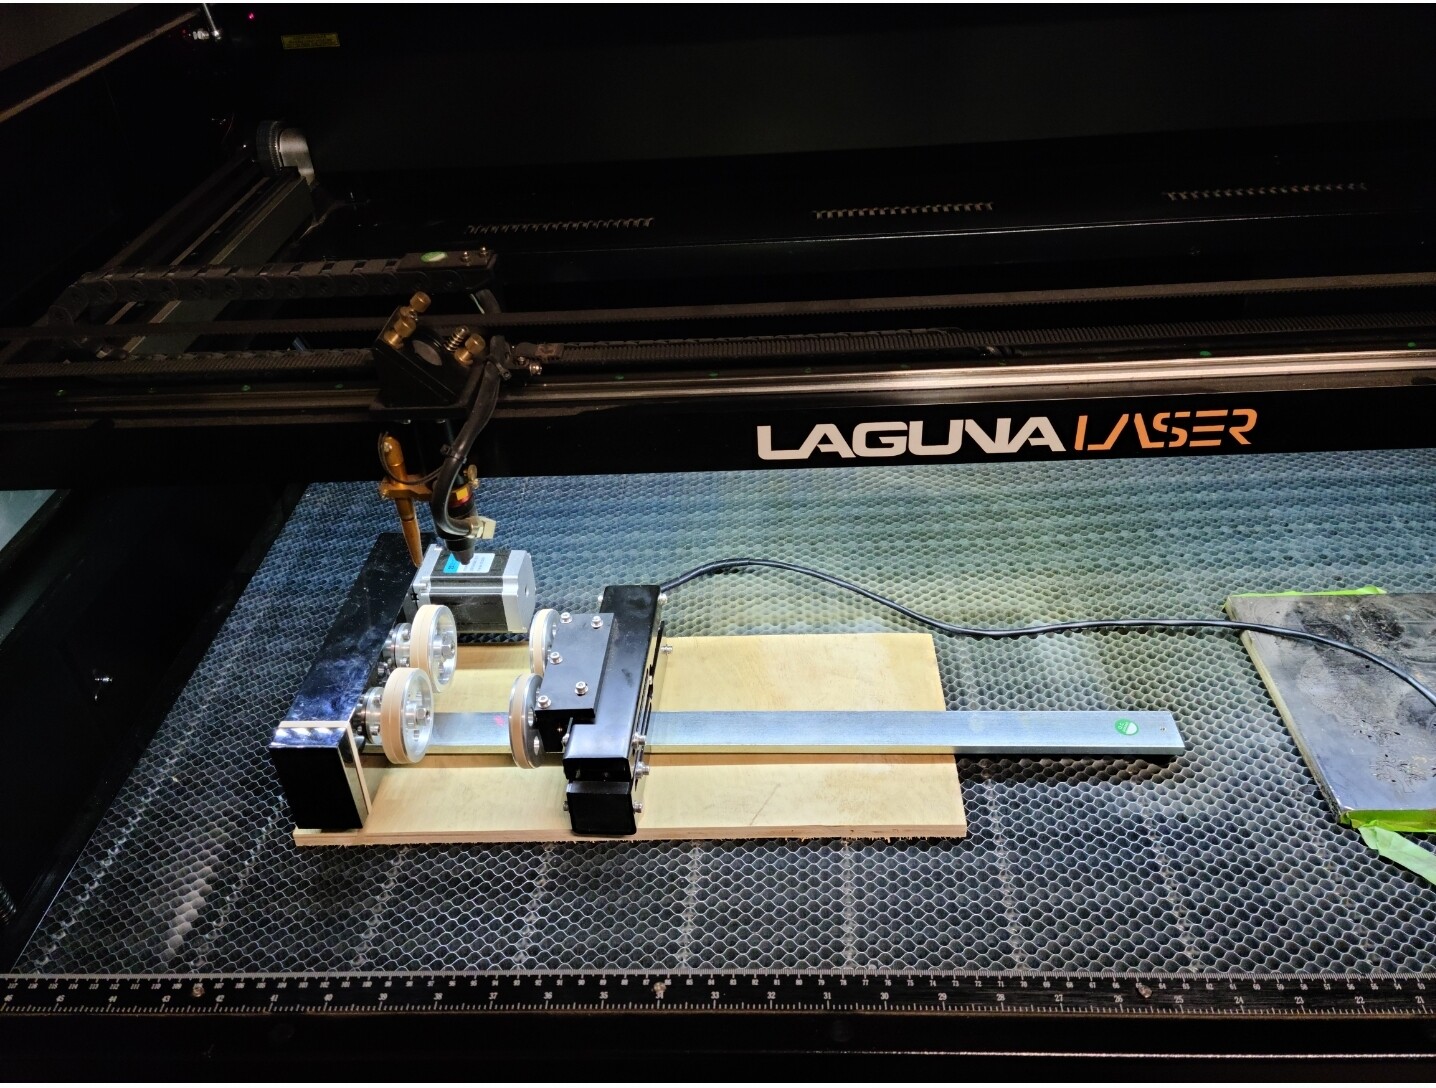
I have a c02 laser, 150w. Ruida controller. Also have the roller type rotary attachment.
I have my laptop attached and am able to send files to the laser, frame the design boundaries, and run the design.
I have a few questions though…
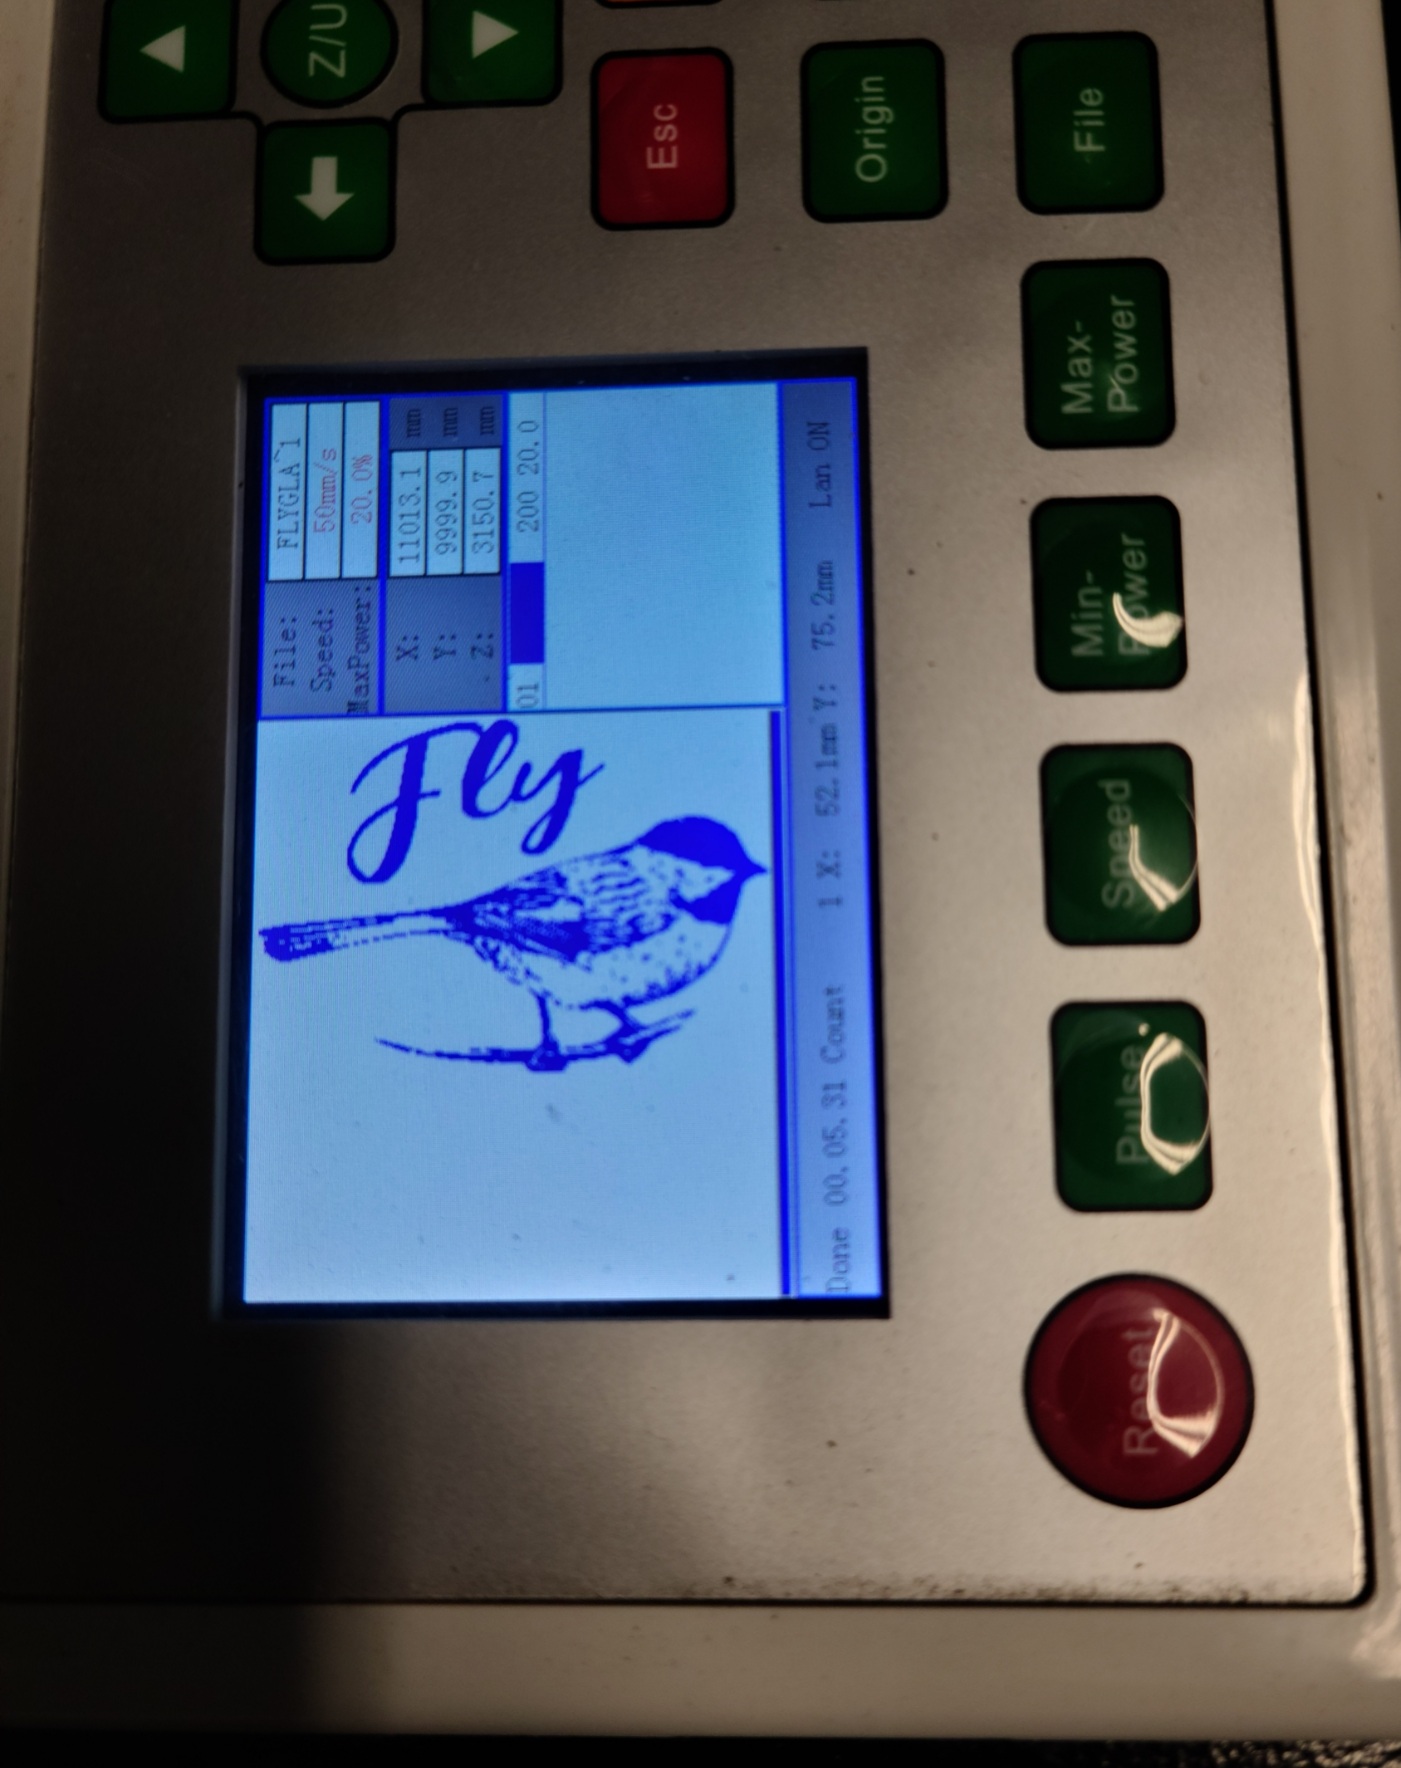
When I create the design on my laptop I set the speed and power and then send it over, but for some reason when I start engraving it starts at 1000 speed when I had set it for 50.
Also, wondering about the settings…
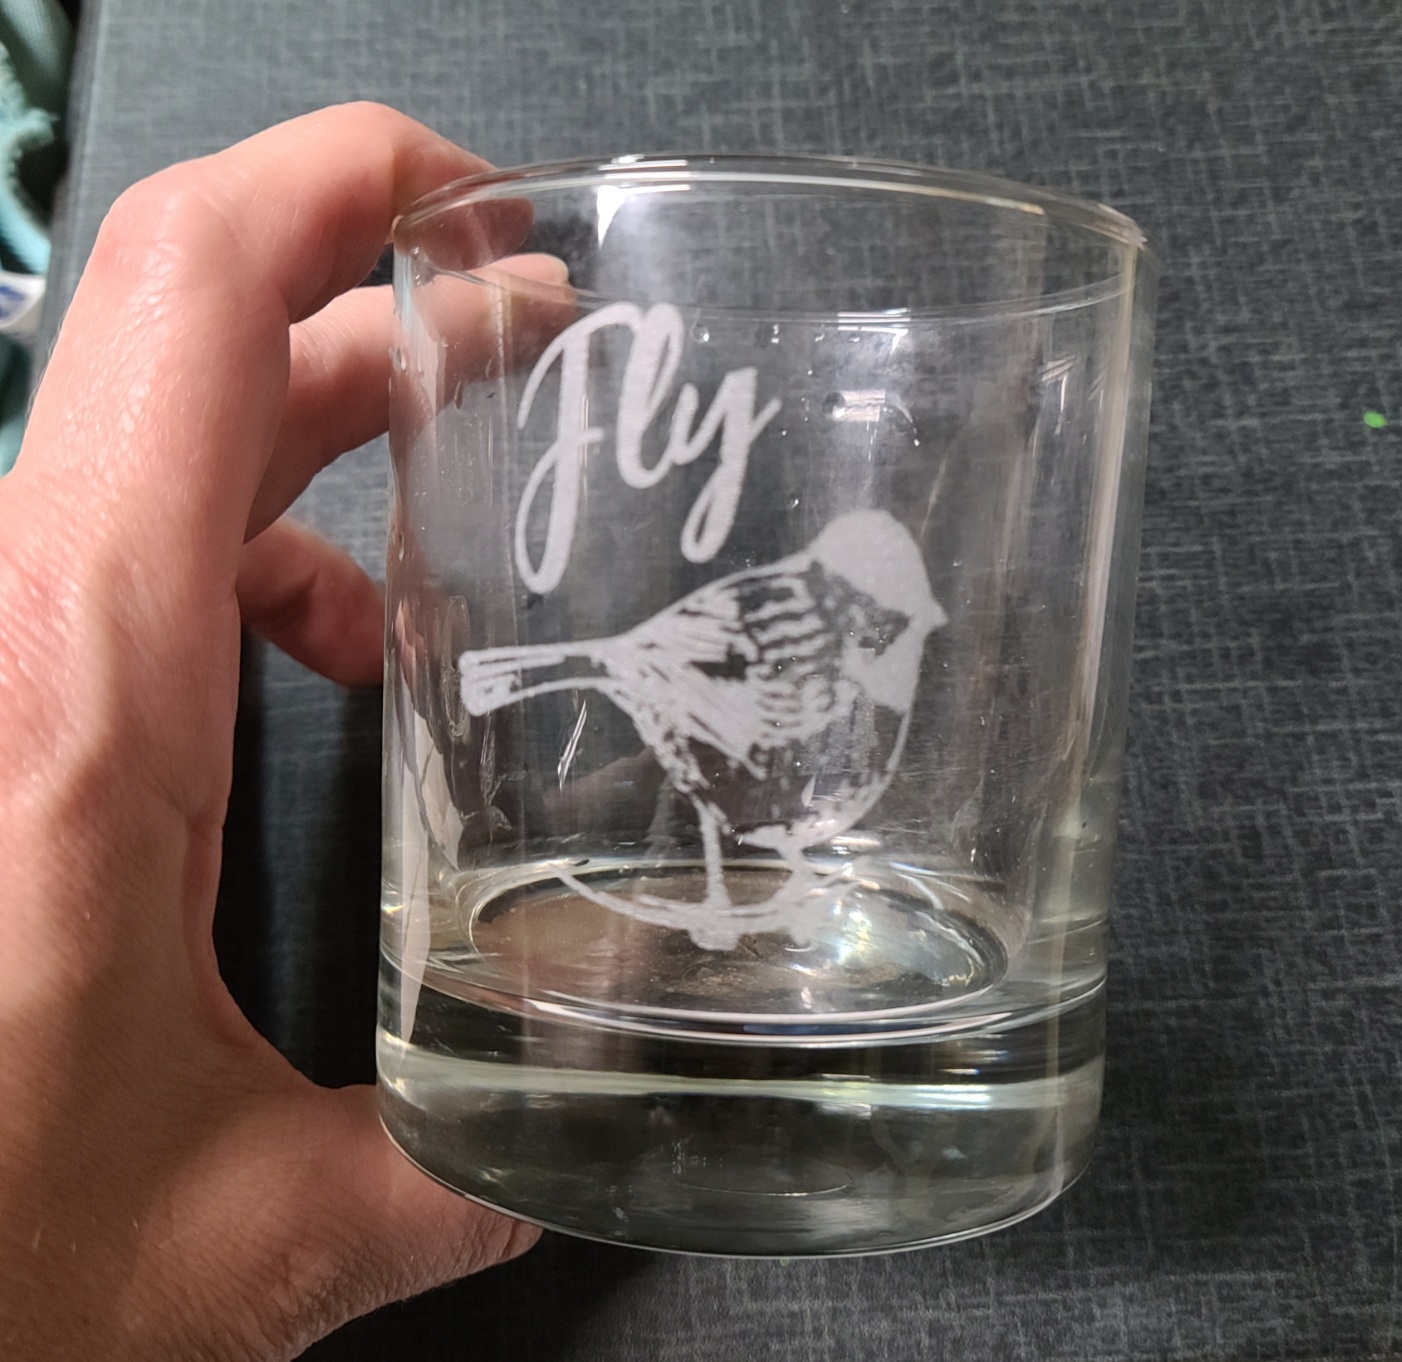
When I engrave glass flat I run 150 speed and 20 power. I tried to run text at those settings and nothing showed up. Yet when I lowered the settings the engraving mark barely changed as seen in the first photo and shows how it engraved the letters “A” and “N” then when I used the same.settings (50 speed and 20 power) for the other design it actually cracked the glass and looks pretty sloppy any way. Seen in second picture (vintage 1971 logo)
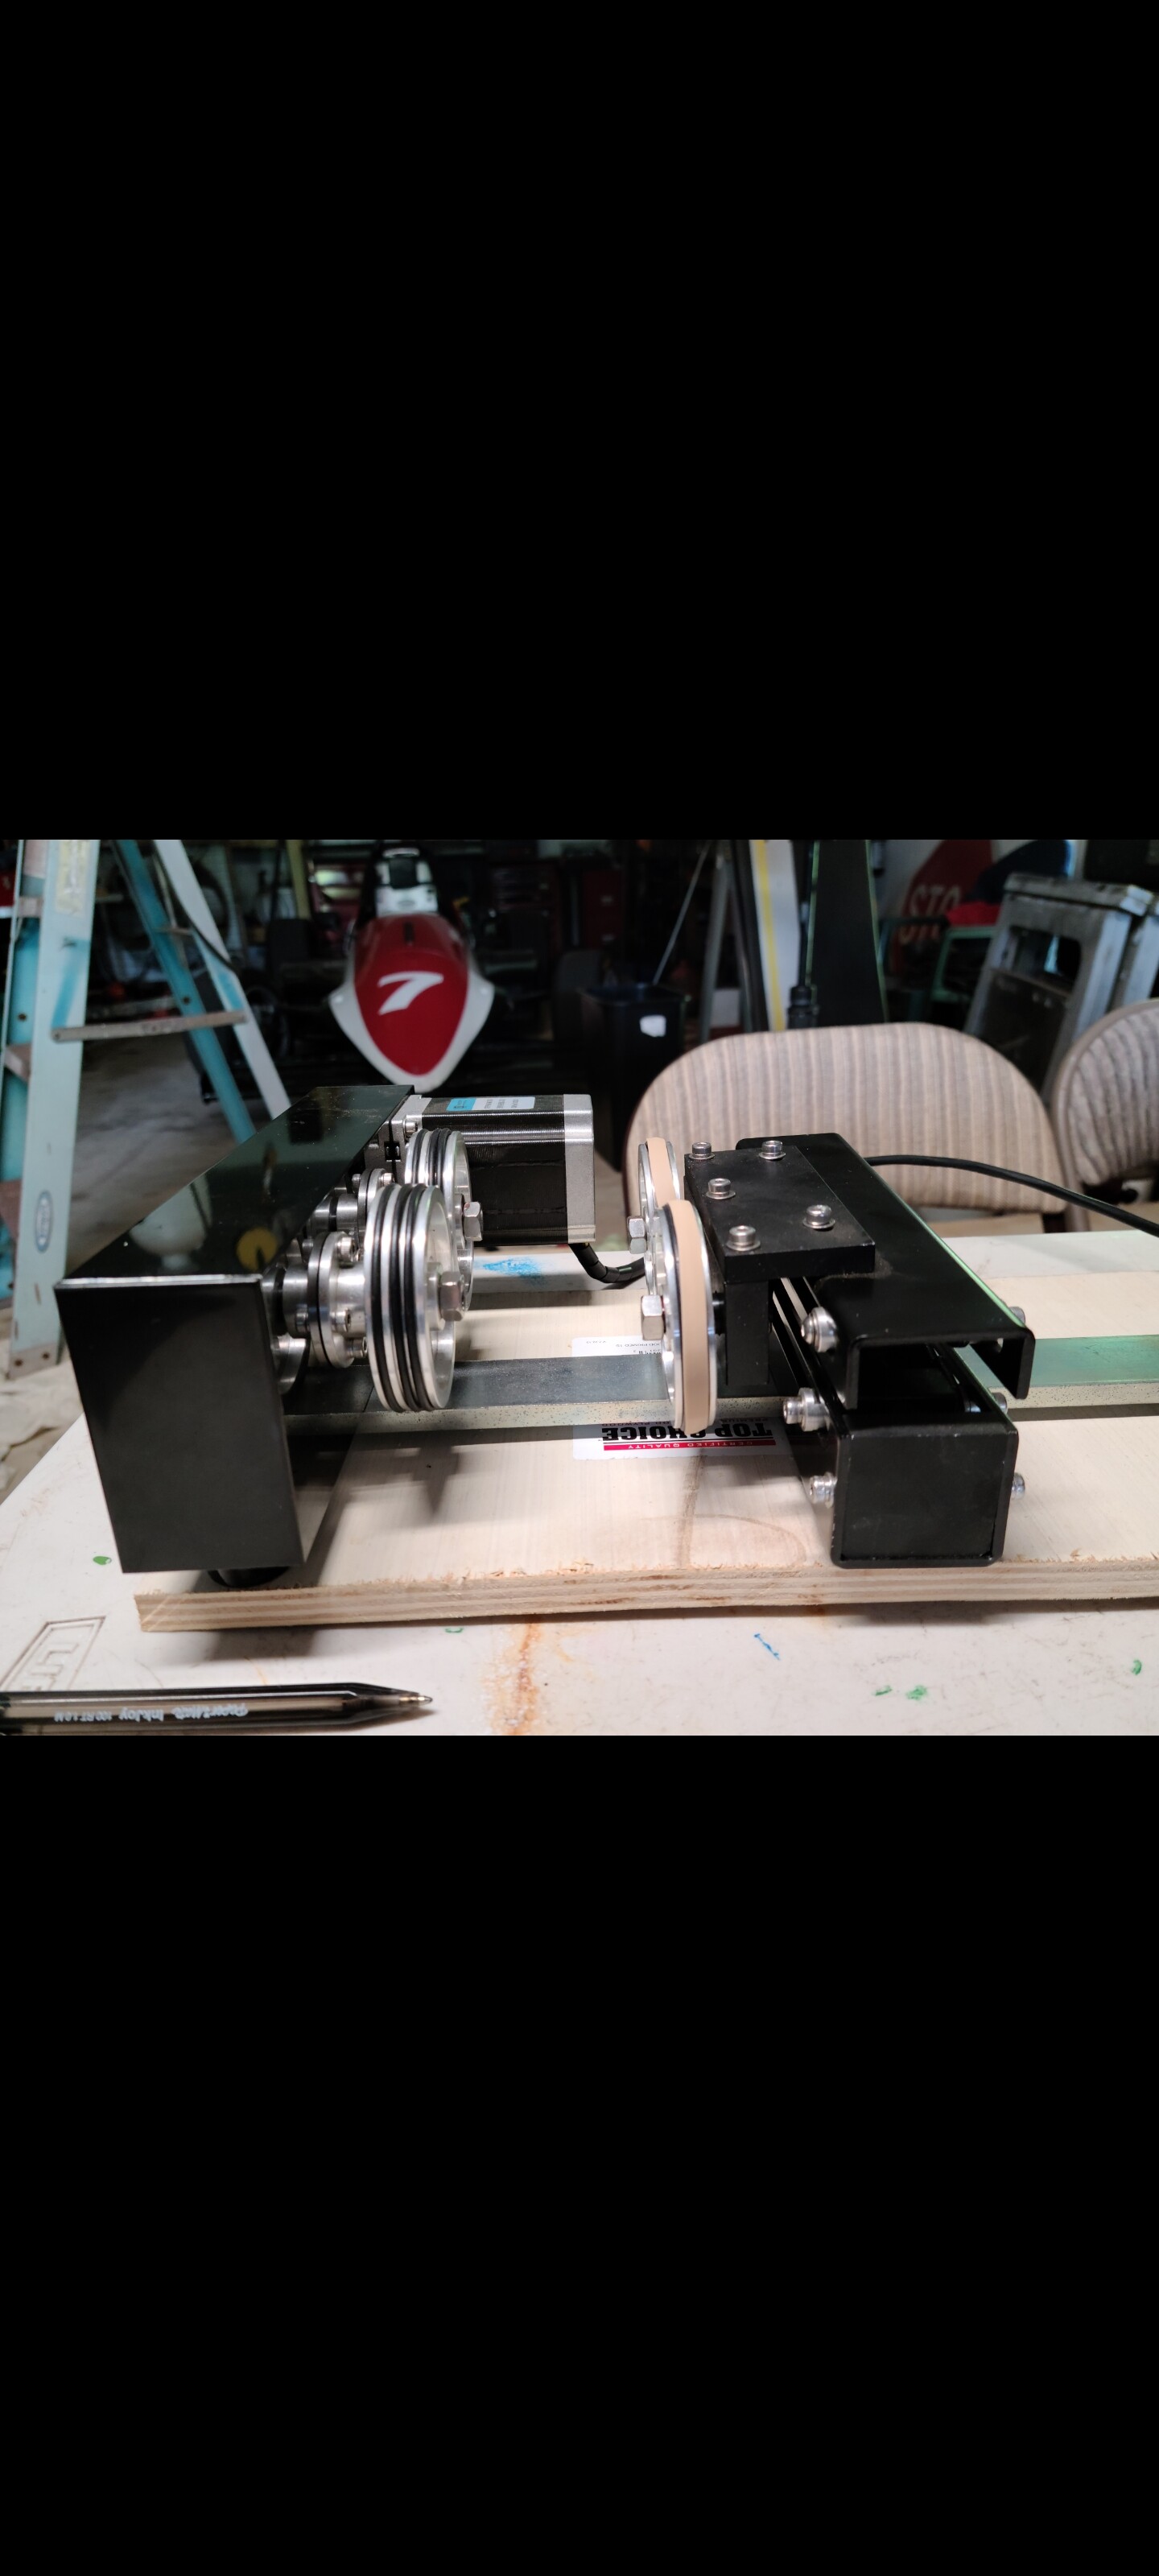
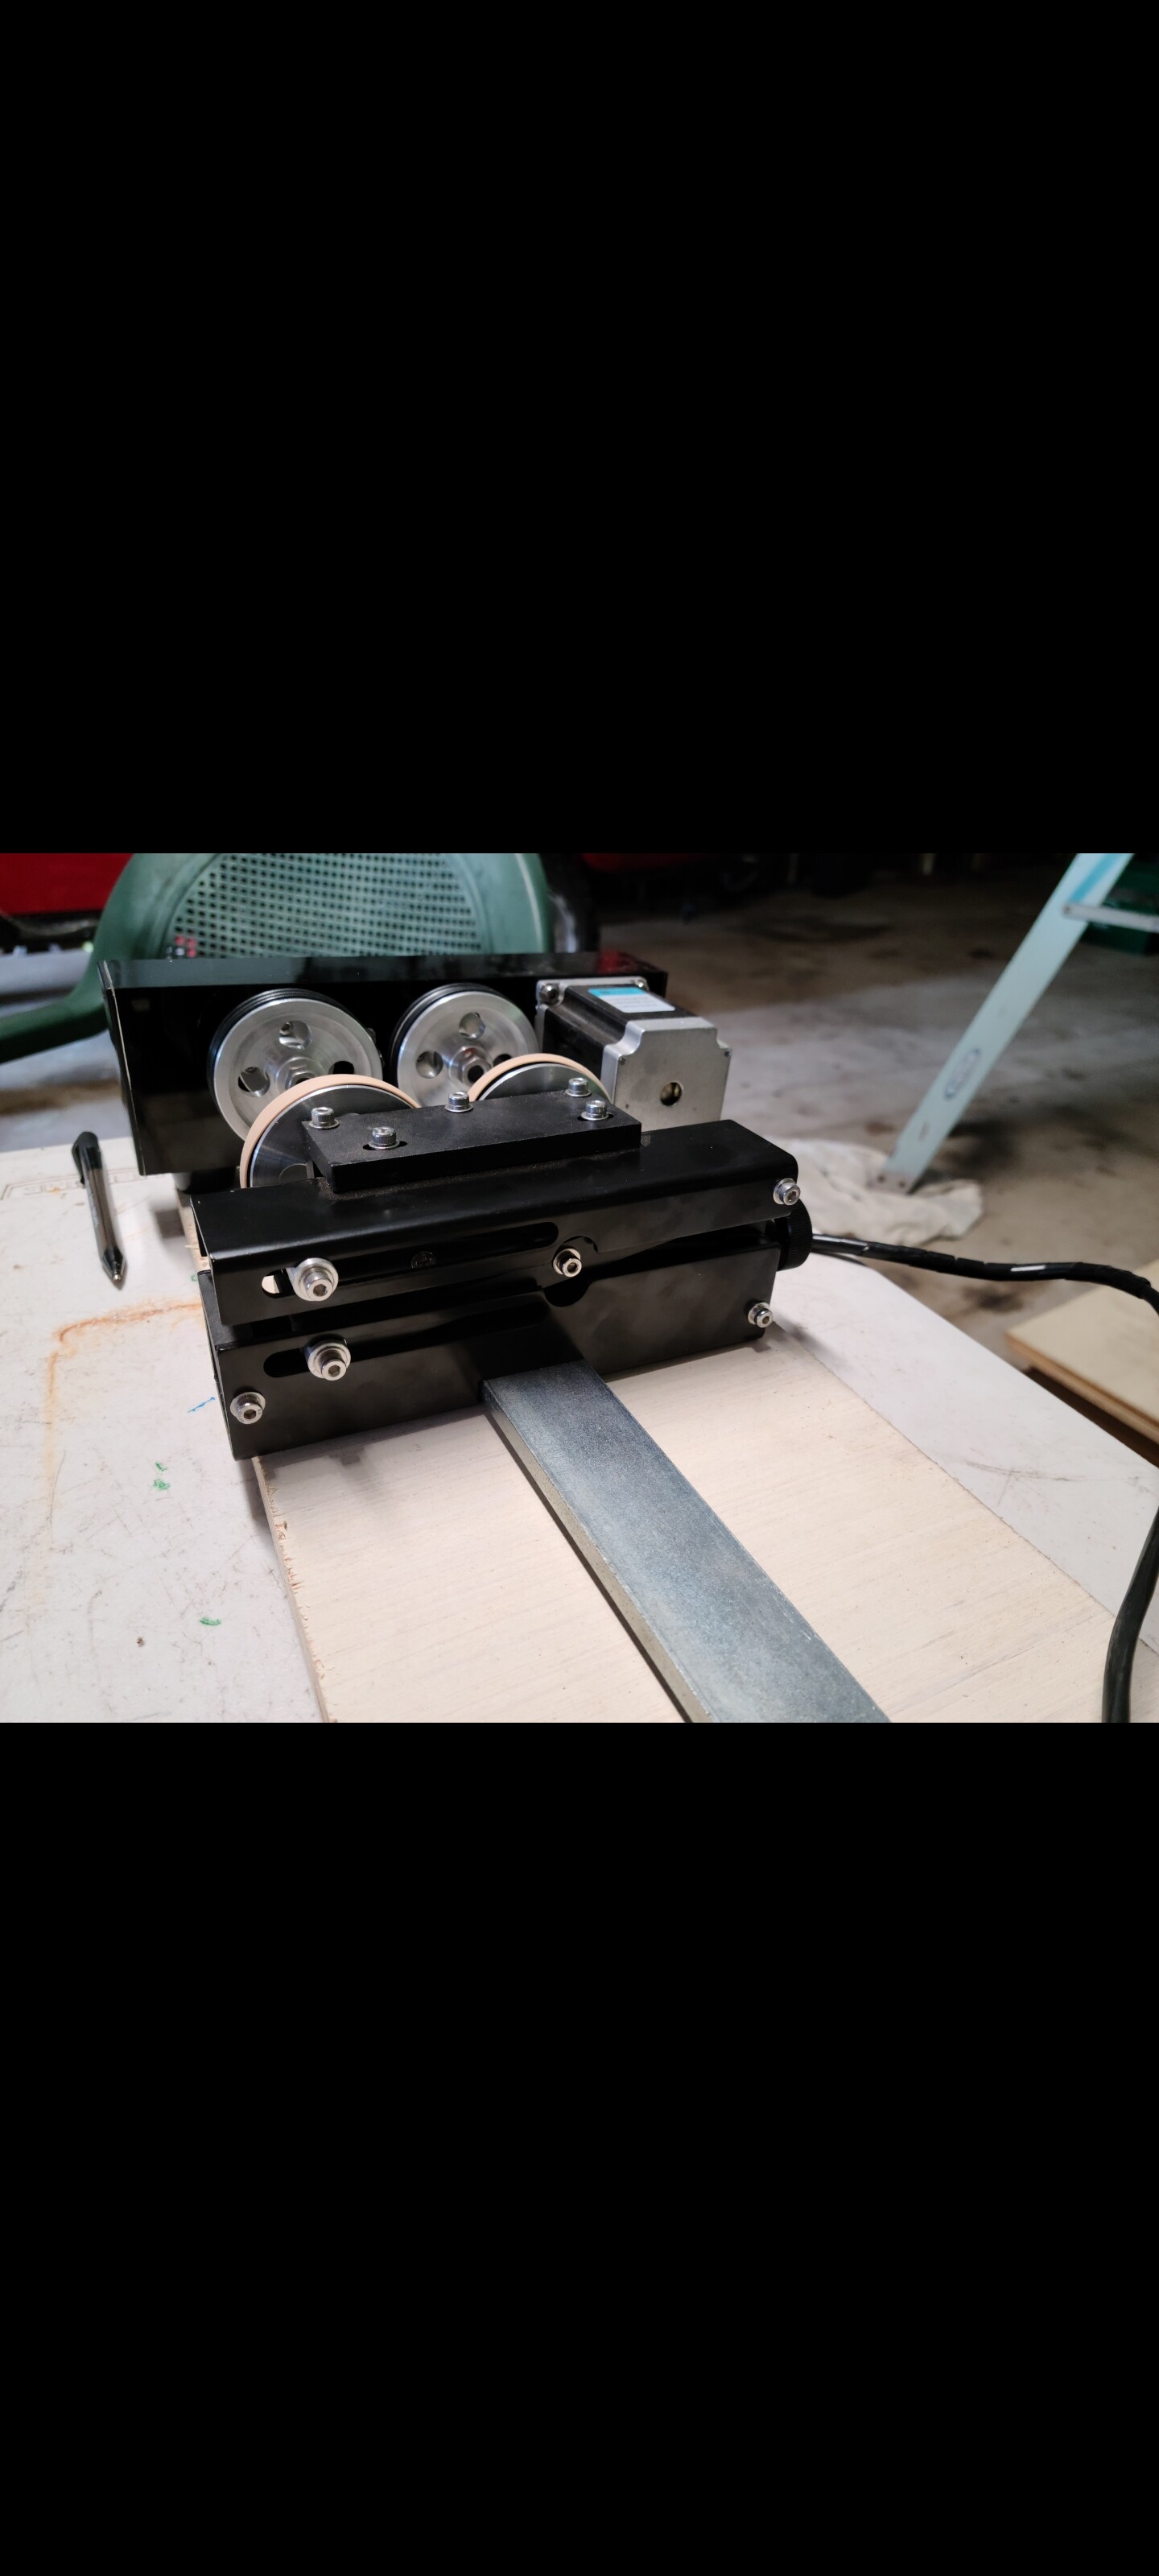
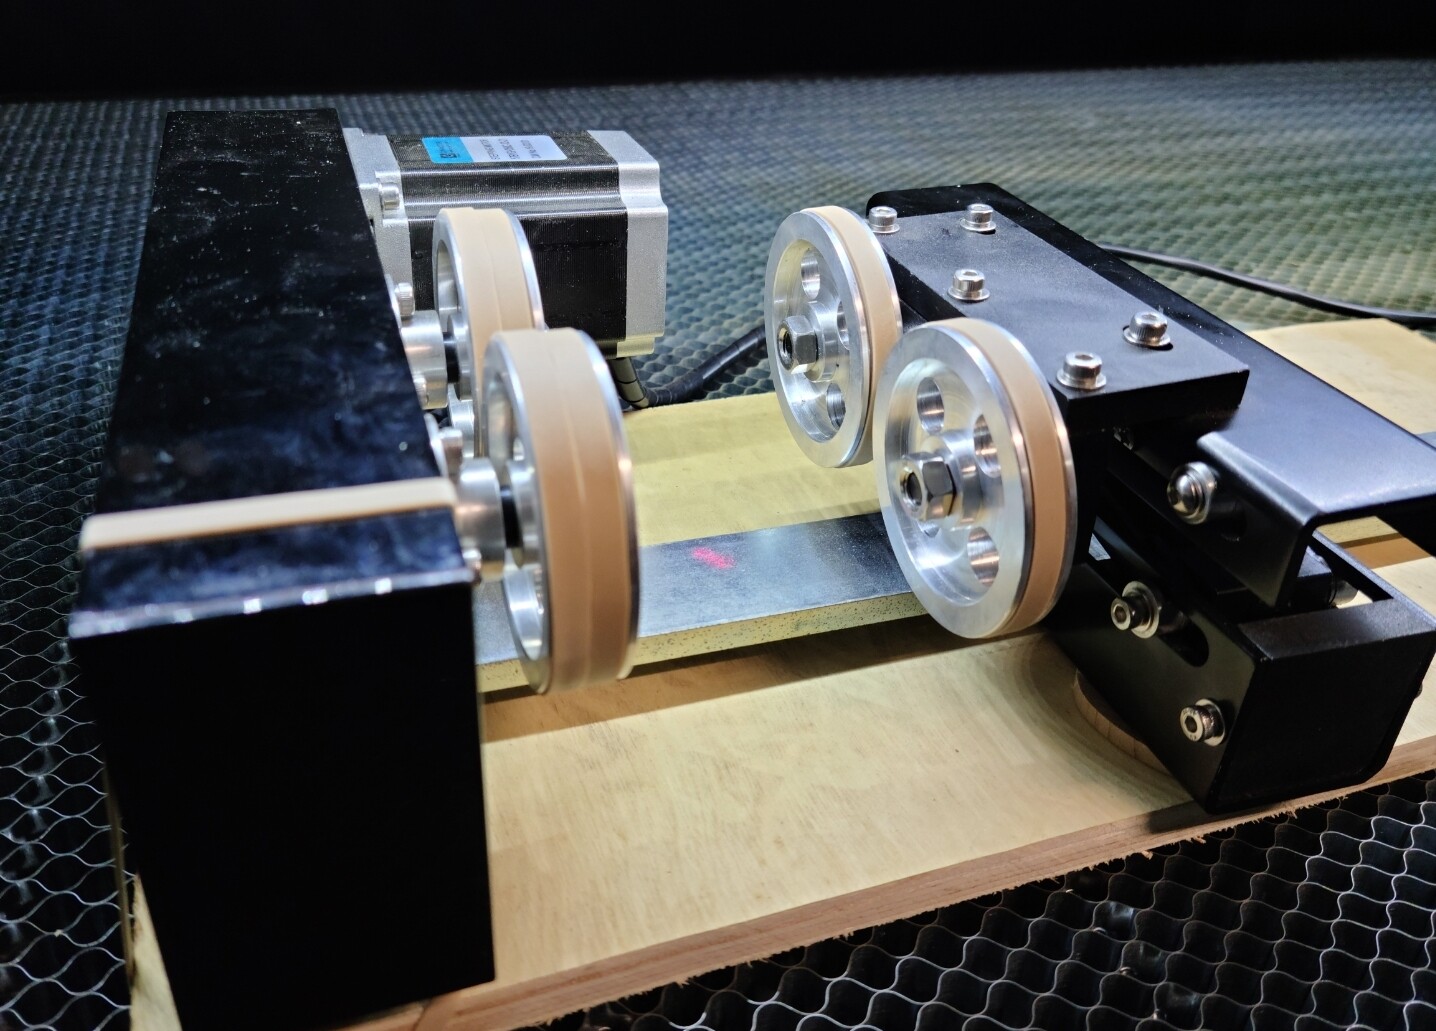
The other issue of course is the sliding around. I used rubber bands around the top and bottom. Put weights inside…wondering if there is another option. It seems that the side of the rotary that has the lifting mechanism is pretty wiggly. I don’t know if there’s a way to secure it more. You can see in the second photo the top of the number 7 engraved way higher then the majority of the number.
I don’t have any advice for the rotary problem, but I’ll say that “1971” glass looks like it was WAY overpowered.
Just for comparison, I have an 80W w/Ruida and I typically run glass around 18% power at 350-400mm/s and get fairly clean results.
You’ll almost certainly need even less % power with a 150w tube.
I’ll also add that I like LOTS of air assist for glass. I think the high velocity stream of cool air on the surface and rapid cooling of the area being lasered helps promote a finer texture to the engraving and reduces chipping around the edges of designs. Just my observation from having done a bunch and experimenting a lot.
I don’t think there’s much difference necessarily between glass done flat or on rotary, but there can be quite a bit variation in settings needed for different types of glass. Glass formulas vary a lot and may need some fine tuning to get best results for a particular mix.
Window plate glass, “art glass” for fusing and kilnworking, and “table” glassware all have different compositions and can behave a very differently.
When I got my rotary and was “finding my way” I went down to the local Dollar Store and bought $20 worth of cheap glasses. Big straight sided 16 oz or larger glasses are good, whatever gives you the most surface area for the buck.
Pick a favorite small logo or something that you can repeatedly engrave 4-8 or maybe a dozen times around the circumference of a glass. Try different settings and mark each engraving with a sharpie when done so you can compare and see which settings look best and decide which way to go to fine tune.
I got a lot of good practice and education that way.
I know that our target object is best parallel to the laser bed, however depending on where the weight is in the glass in your case can depend on where the glass wants to ‘walk’ while it’s rotating as yours clearly is.
Maybe try the smallest of angles on the glass with the heaviest end lowest.
I like the rubber bands, but allow for them in your calculations…and are they straight and in line with the rubber ‘0’ rings on the rotary.
If you go to a good hardware store they may be able to offer you thicker ‘0’ rings to put on the rotary offering more grip and stability.
Re wobbly lifting section. Try, if it’s possible to use some rubber bands on one side or both to take the ‘slop’ out of the mechanism. Better, even a little one sided then here one moment somewhere else another second later.
I’m not experienced with glass so the others like Hank can better advise you.
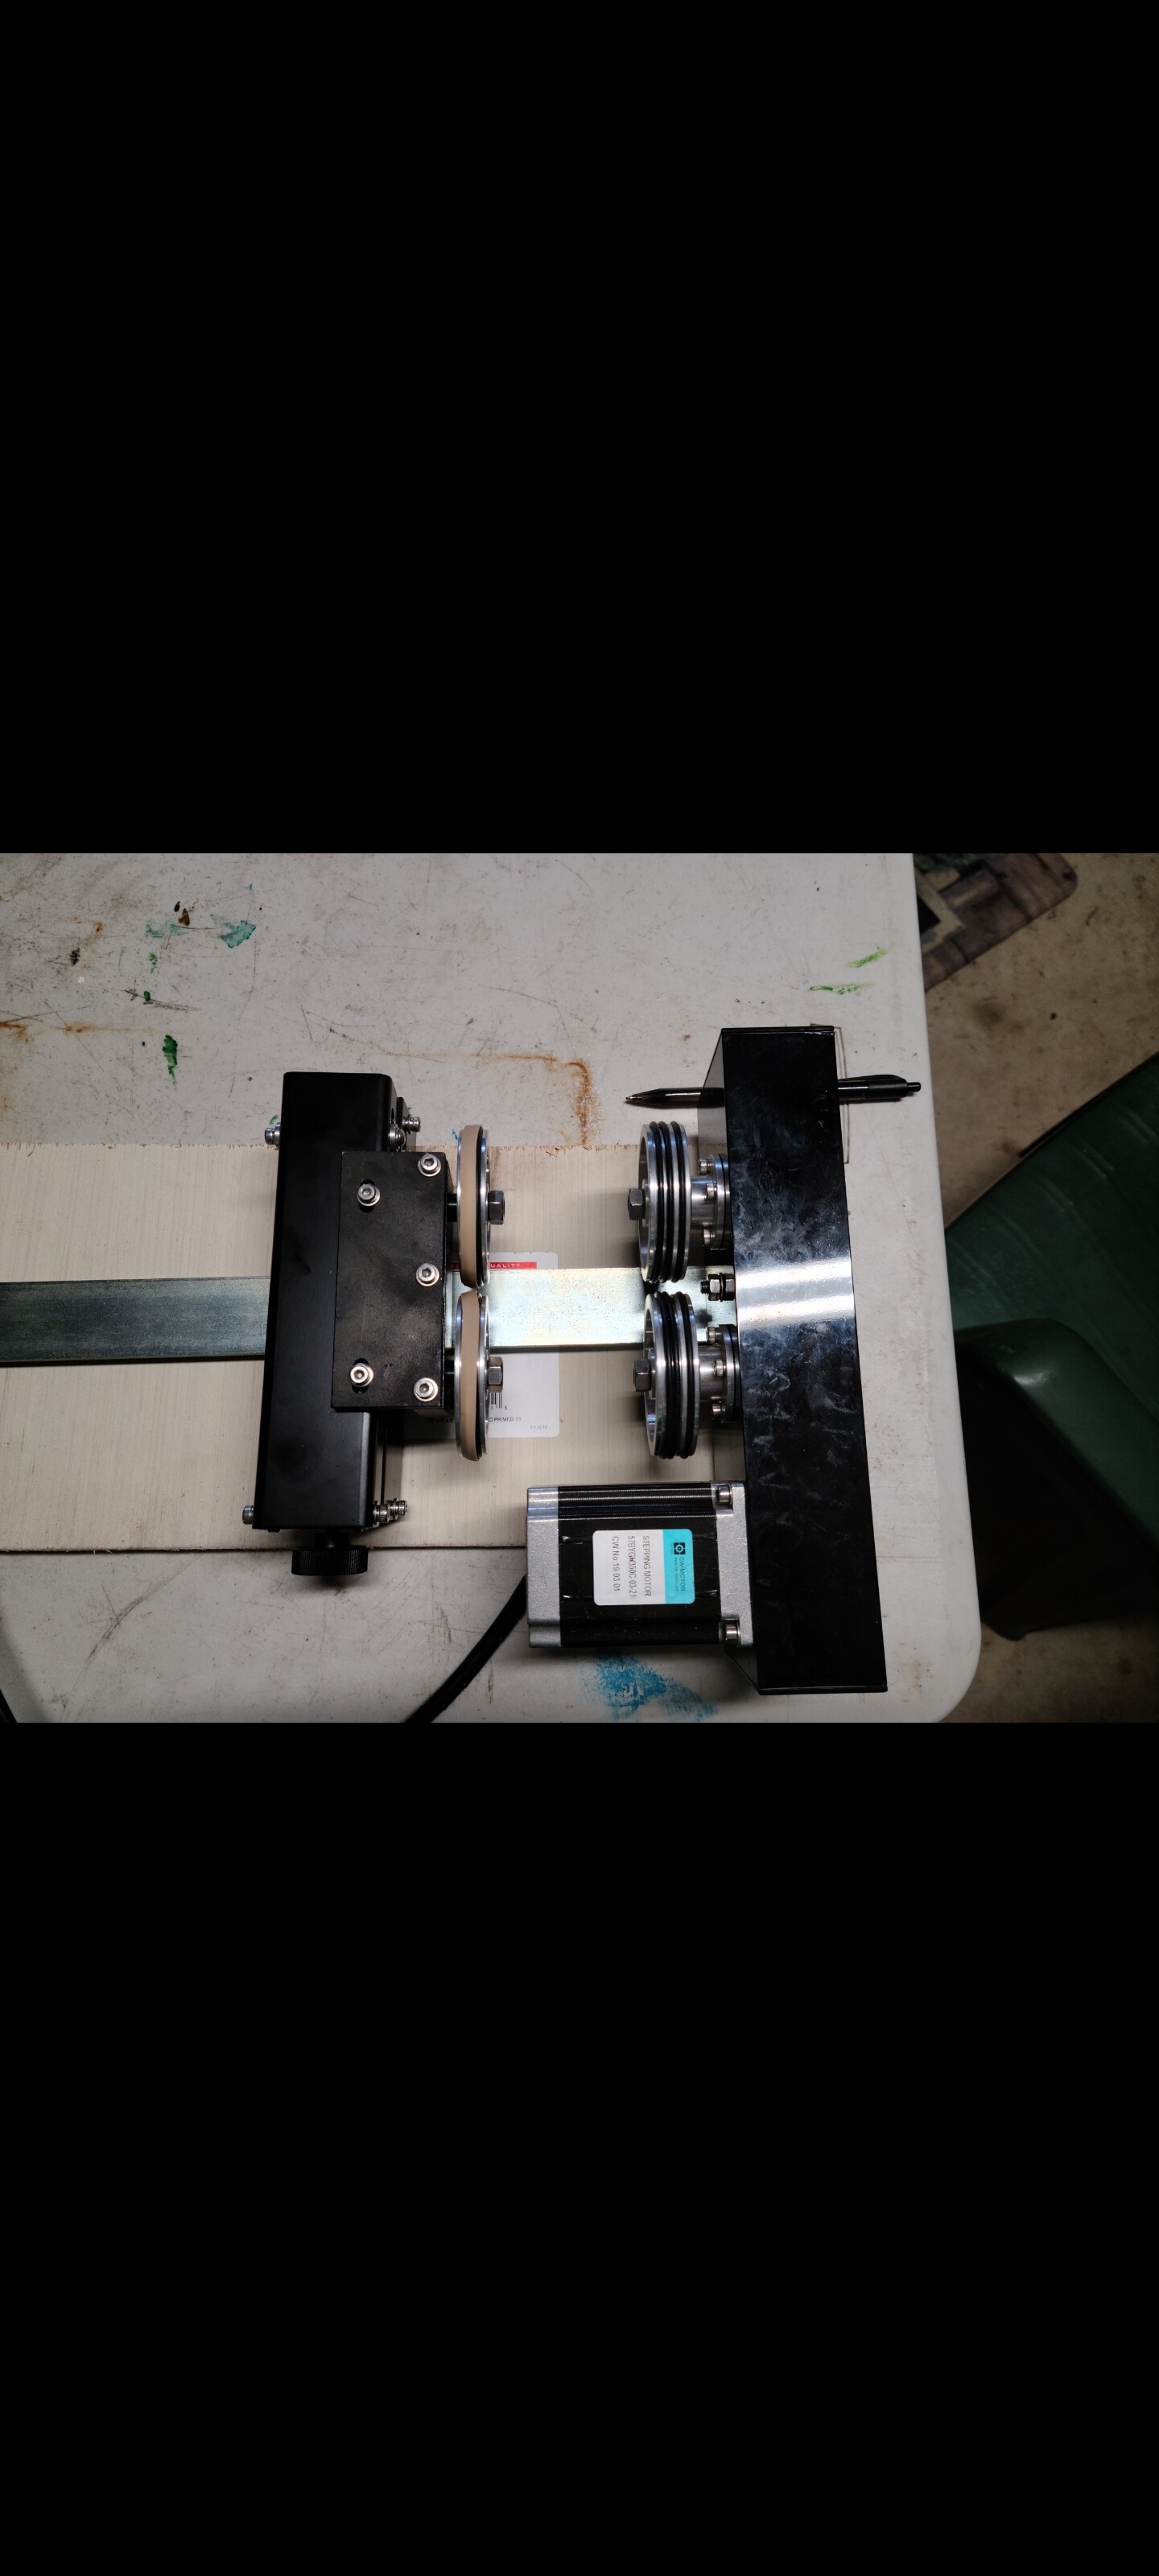
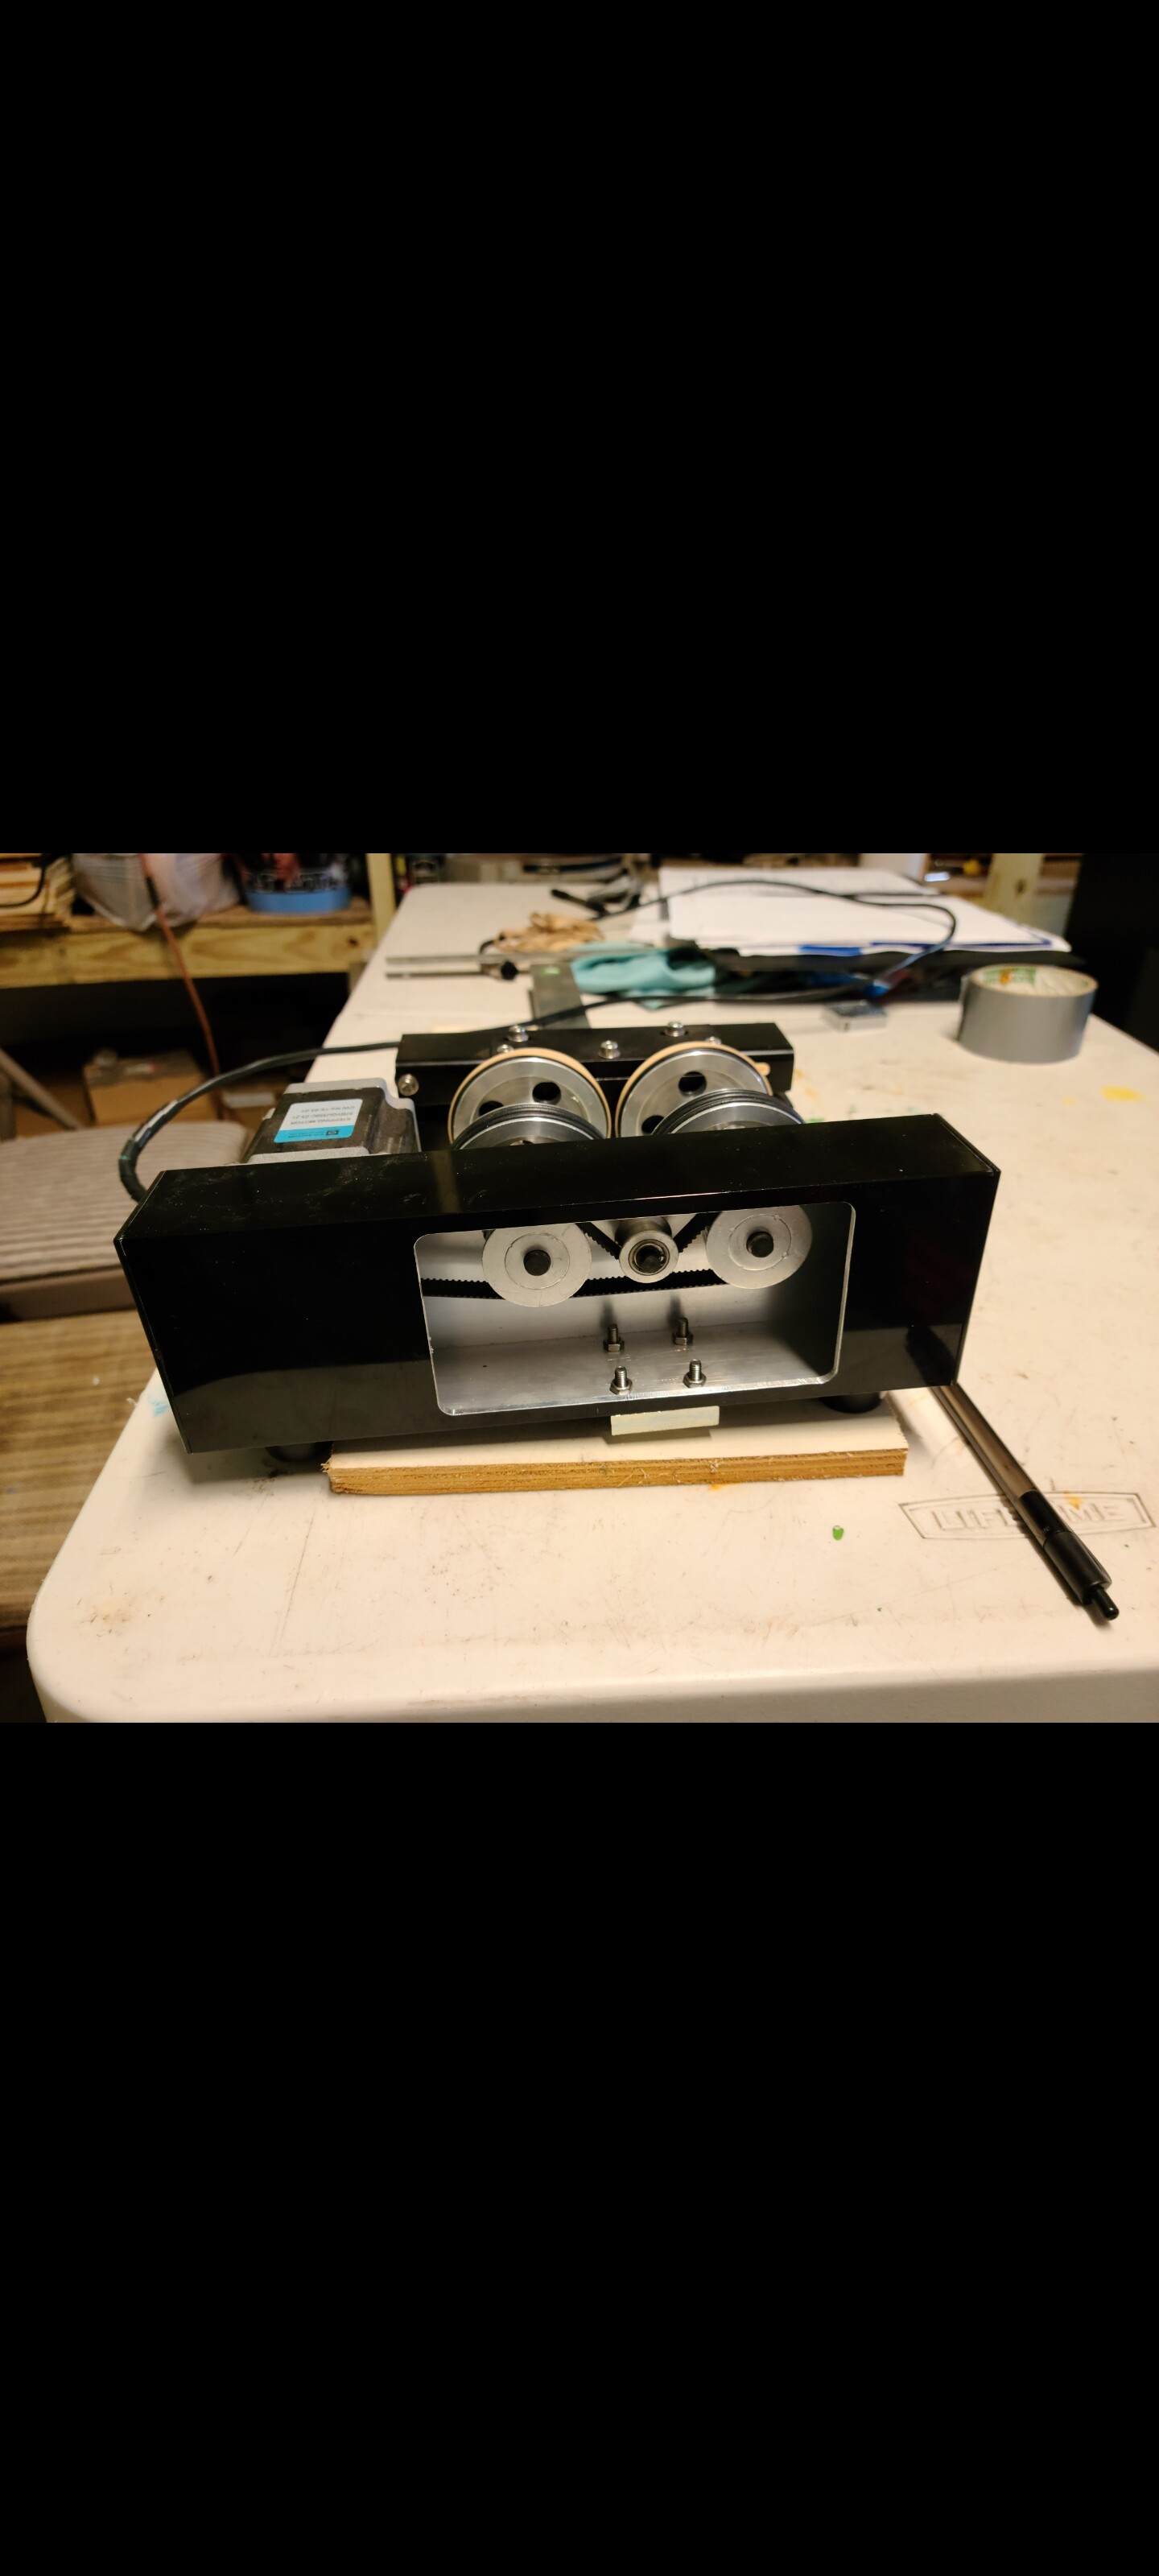
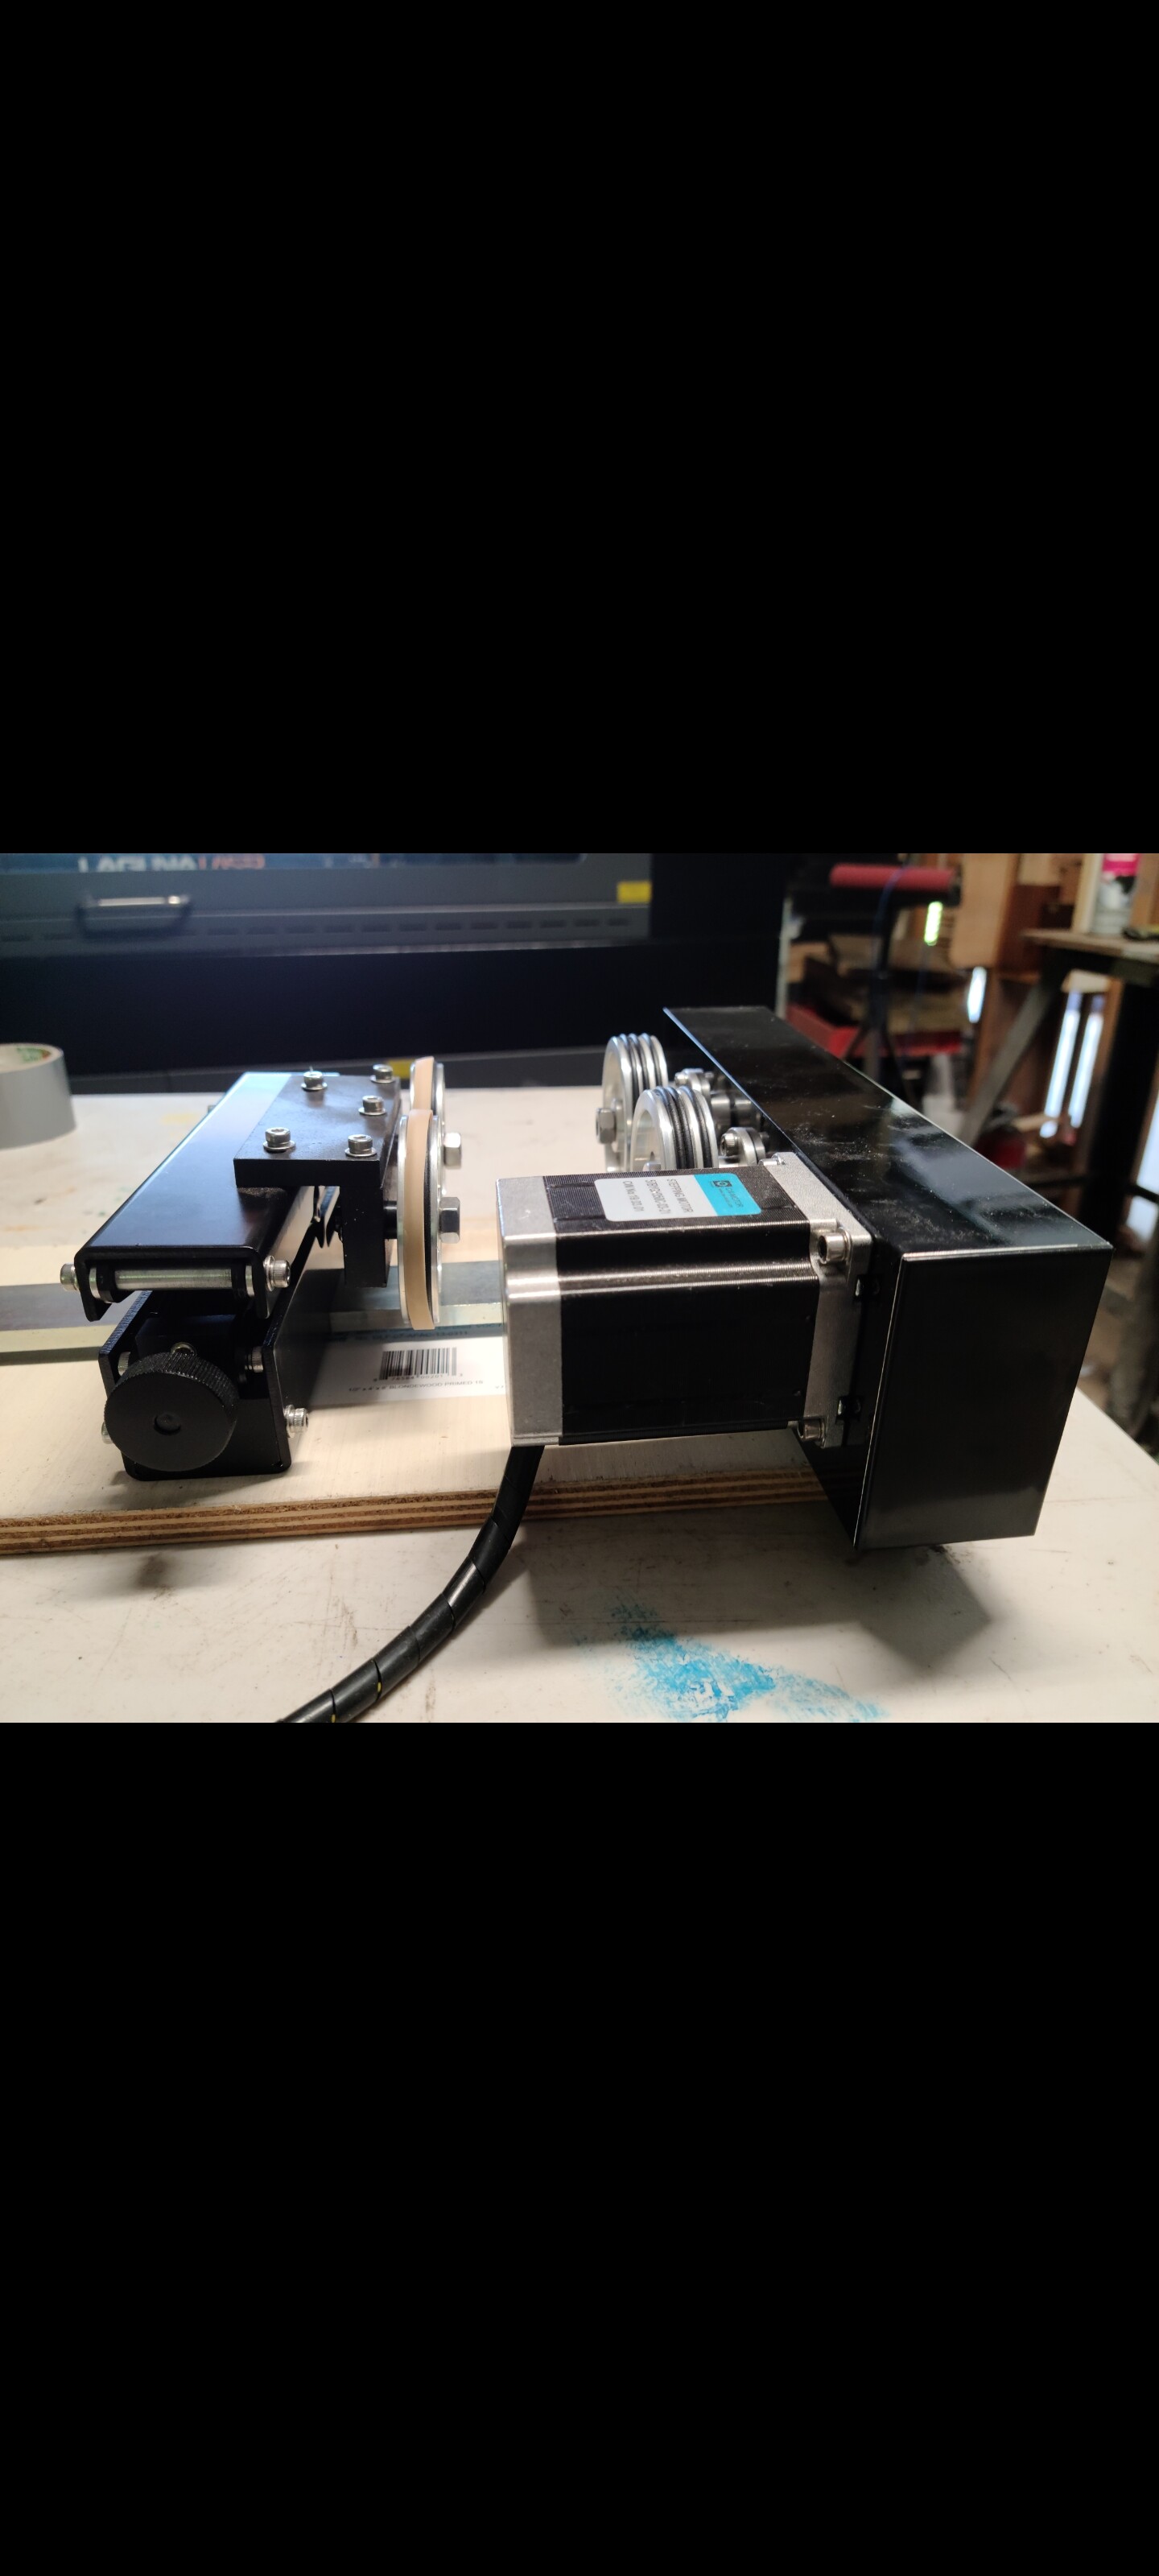
So, I took all the o rings off and put wide rubber bands, sometimes doubling them in spots. I put the rotary on a board, shims under the side that lifts and rubber banded the motor side that teetered. The attachment stabilized and I tried running a glass which had issues…but, it stayed where it was
supposed to.
Do you find that the designs for this attachment are most successful when they engrave from one side to another, rather than moving around more?