Good morning.
I have practiced centre finder with a circle, how do you do this process with a different shape, like a coaster square shape.
When you move your mouse over the area you think is centered the cursor will “catch” the real center and change shape. For example you can draw a very small auxiliary circle with T1 or T2 and use lightburn to center both, then you have your center.
If I have misunderstood your question I apologize
Let me try to explain better.
Sorry for way i am asking.
I have a square coaster i want to engrave, i want a small line around peremiter, with engraving in center.
I know i need exact measurments of coaster etc, im wanting to know how i set that up in light burn.
Maybe it’s the offset function that you can use, the distance from the edge is determined individually.

Yes its a template, but how do i setup to tell my laser what to do…
I know i am not asking this question properly.
I practiced the Centre finder with a circle, i need instruction as to how to do a square shape…
Am i making sense at all?
It will definitely help you get started with LightBurn.
I know how to do that stuff, i am not asking my question properly.
I will try to figure it out
make a sketch or try again in other words ;-), English is not my first language but i try to do my best
Ok, i used the centre finder on a round pre cut shape, to adjust the laser to just engrave within that shape.
I put the 3 points and engraved , it turned out perfect.
I want to be able to do this with something square.
In my opinion you need to create a jig. Set Lightburn to absolute coordinates. Measure your item and place the square on the work area. Affix a piece of cardboard to your laser bed and run the line/perimeter of your item on the cardboard. If you’re on a raised bed where you can cut through, do that, otherwise just mark it for reference. Change the line to a tool layer, then right click and lock it in place. Place your design within the tool layer and use the alignment tools for proper placement. Place your workpiece within the engraved line or cutout, focus and run it.
1 Like
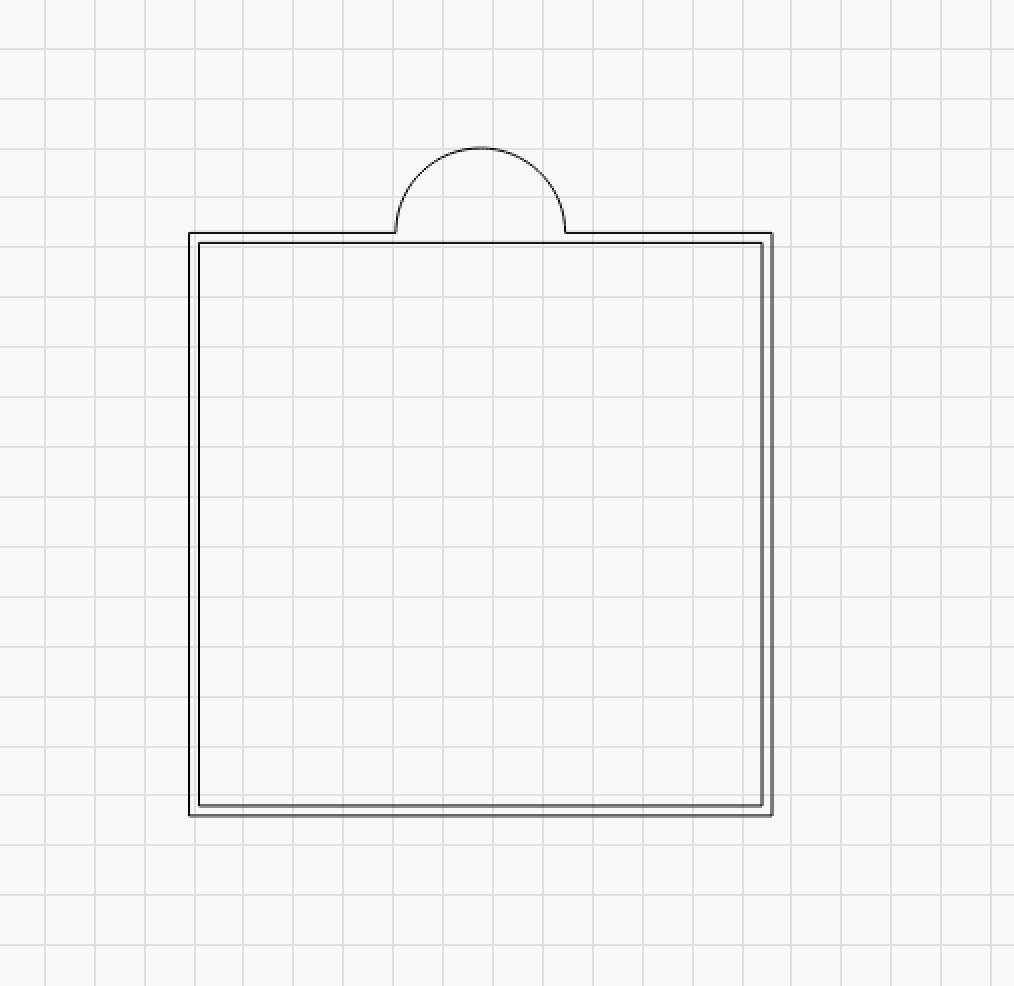
Ok, now I’m in the case ![]()
The easiest will be if you can use “Absolute Coords”. Here you place your template with a corner in home position, ie. 0: 0, cuts out your first item and save your template (physically) and as a project.
If you do not have a static machine bed, use “Job Origen” and manually fine -tune/frame your project until the template fits your new coaster.
1 Like
Ok, will give that a go and see what happens.
Thank you for all your patience.
… the second time in 2 days … you are very fast ![]()
2 Likes
Just coincidence. But we’re on the same page anyhow.
2 Likes
Ok guys, i think i have the Jug creation figured out, havent tried it yet, but will do. I know my jig has to be placed in laser bed in the exact same spot every time? I just have ro figure out how i am going to do that, as my homeycomb is not stationary.
I have another question.
I have a plaque, it has factory routered edges,say its 4x6 inches in size, i want to engrave in the centre of the plaque, how do i set up the laser to do that?
Many ways to achieve this. Here are a few.
If the plaque has straight edges, exactly the same as the square. Measure, engrave jig, place graphics. You may want to subtract the routed edge distance from your jig so you don’t go beyond that space.
If it has a scalloped or other, not straight shape, take a photo of it, straight on, directly overhead and import that into LightBurn. Trace the image and scale it to size in your work area. Use that to place your jig and graphics.
Another option, depending on the shape is to make a rectangle the plaque just fits within. It likely has points on each edge that could be used for alignment.
Trial and error, cover the plaque with foil tape, then painters tape and experiment using low power. The painters tape will mark so you can see how it will locate and the foil tape underneath will keep it from marking the plaque.
Again, several methods. Without knowing what tools you have available and skill level I’ll do my best to keep it simple.
I would take some plywood and cut it to fit snugly between all 4 legs of your laser. This will be your base. Now you have a couple options, you can either inset your honeycomb into a hole in the plywood or set it on top of the plywood. For airflow reasons and ease, I suggest on top. Place your honeycomb with the steel sheet underneath it and airflow spacers on the plywood and ensure you have clearance for the laser head.
In LightBurn enable frame continuously and laser on while framing at a power just high enough that you can see it with your safety glasses on. Make a square the exact dimensions of your work area and start framing. Adjust the honeycomb position so that 2 edges of your choosing align with the laser beam. Mark this position on the plywood and attach the honeycomb to the plywood. You can use small angle brackets or drill through the frame of the honeycomb and screw straight down to the plywood.
Now your honeycomb is fixed in place relative to your laser and you have 2 edges to align and frame off of.
Thank you guys.
Will give it a go…
This topic was automatically closed 30 days after the last reply. New replies are no longer allowed.