I have a Shapeoko 3 XXL CNC, Devices in Millmage only have 4 XXL Pro. Can i use that same profile to setup my device in Millmage?
@deenicewurx That is a GRBL device with USB control so you could either set up a machine from scratch using the “Custom GCode” device/controller from the pick list or you could set up another model of a Shapeoko and tweak the device settings after. Here is the docs page for setting up a new machine ( Adding Your Machine - MillMage Documentation ). The specific profiles that we put in the Wizard were ones we could confidently put in there because we either had the machine or knew people that had that machine.
…or if you give me a few minutes I can post a config for the Shapeoko 3 XXL, makerspace next door has one.
@Maker.Josh Thank you Sir for the response. Yes if its not a bother if you post a config for the 3 XXl please that would be great and Thank you.
Here is the Shapeoko 3 XXL MillMage device profile. Under your devices list just click import to select the file and import it in. If you google this machine it will say 838mm x 838mm, I trimmed down the X-axis to 835mm because the machine doesn’t have any more than 835mm to travel.
Shapeoko3xxl_20260225.mmzip (1.6 KB)
So you know what settings I set to build this machine profile…
-
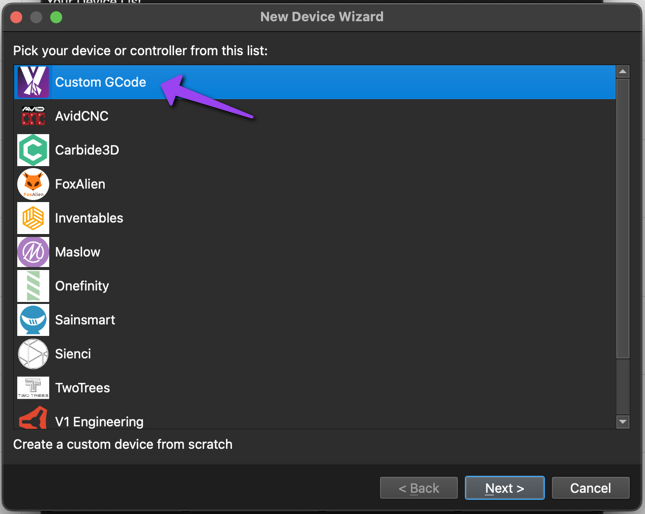
Custom GCode
-
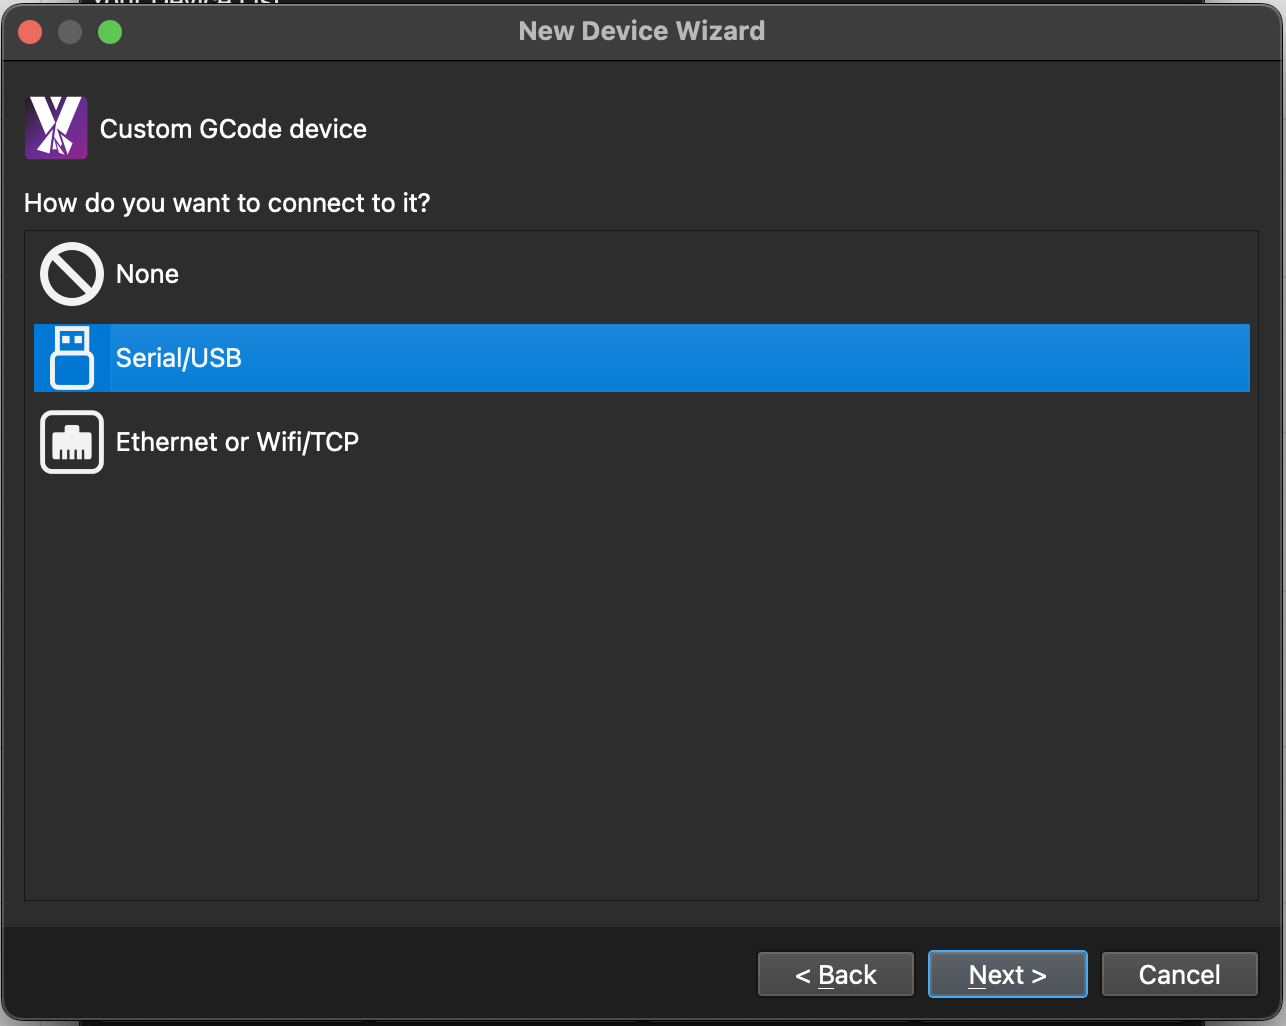
Set the Connection Type: Serial/USB
-
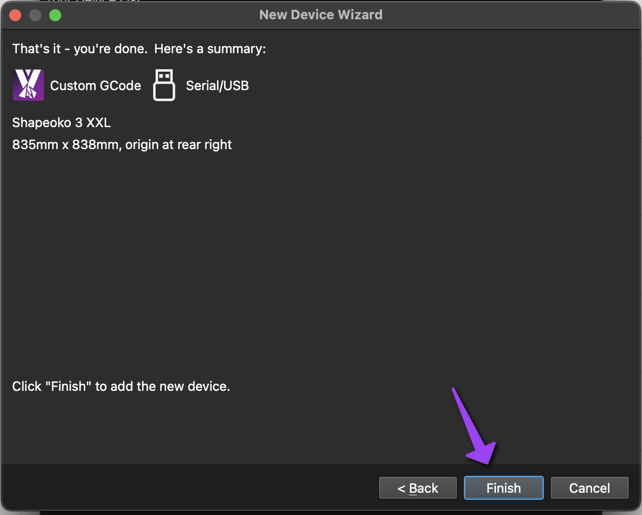
Named Machine, Set Units, Set dimensions, and did not set the zero point configuration (first time you home the machine will set the proper zero point origin but if you were to set it, it would be back right as shown)
-
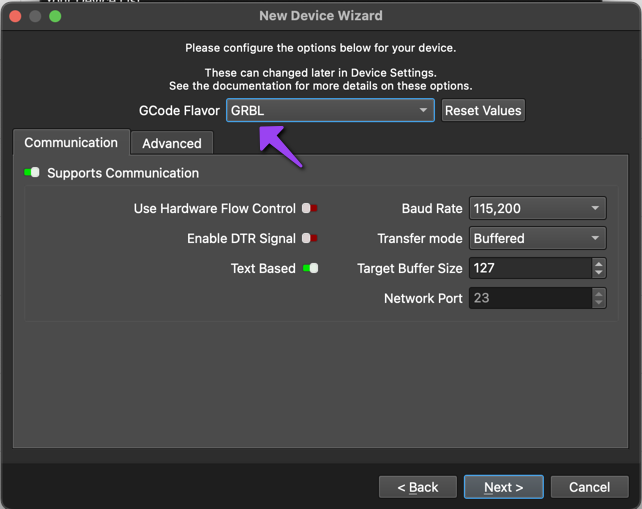
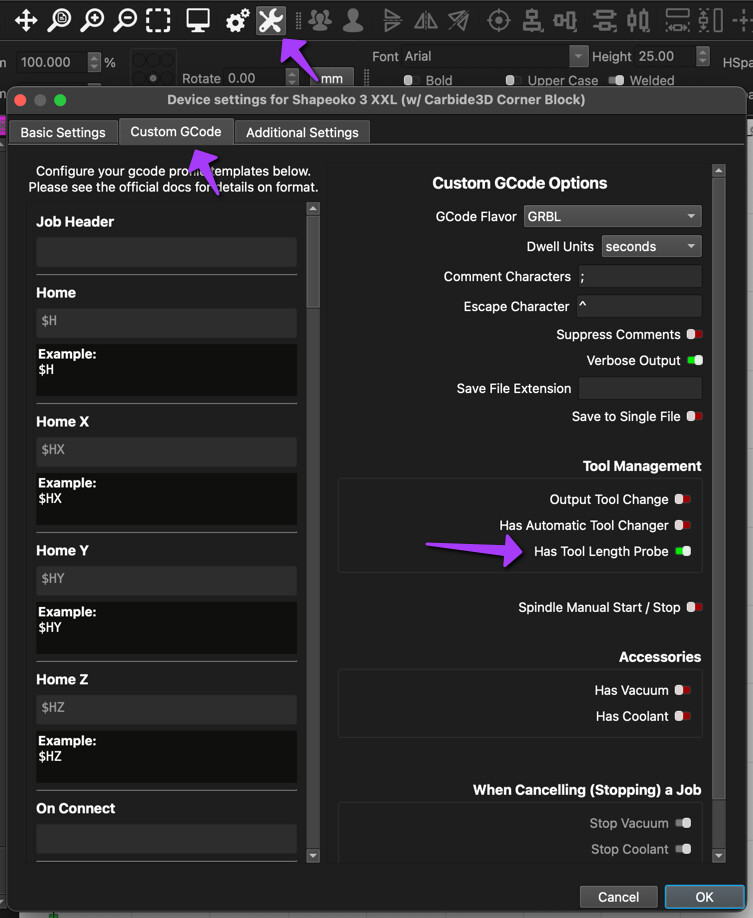
GCode Flavor: GRBL. In this screen under the advanced tab you can turn on other features like tool a tool length probe (or a corner block for material touchoff, Probing documentation: Probing - MillMage Documentation )
-
Finish


@Maker.Josh Amazing thank you so much for doing that. I do have the touch probe from Carbide3D but could not use it with Easel Pro. I’ve been using Easel pro since I have had this CNC only because I had a Xcarve before that and I use to it. But I am also use Lightburn and im more use to that inteface. I just hate paying the monthly on easel pro especially when the months i dont have any business or projects going on.
Thank you again and ill let you know how everything goes.
You can use that touchoff block with MillMage. The makerspace machine I generated this profile off of has the Carbide3D touchoff corner block too. Use the doc how-to on setting up the block ( Probing - MillMage Documentation ).
In the device settings turn on “Has Tool Length Probe” to enable using that block but there will be a little more you will need to do where the how-to can help walk through that.
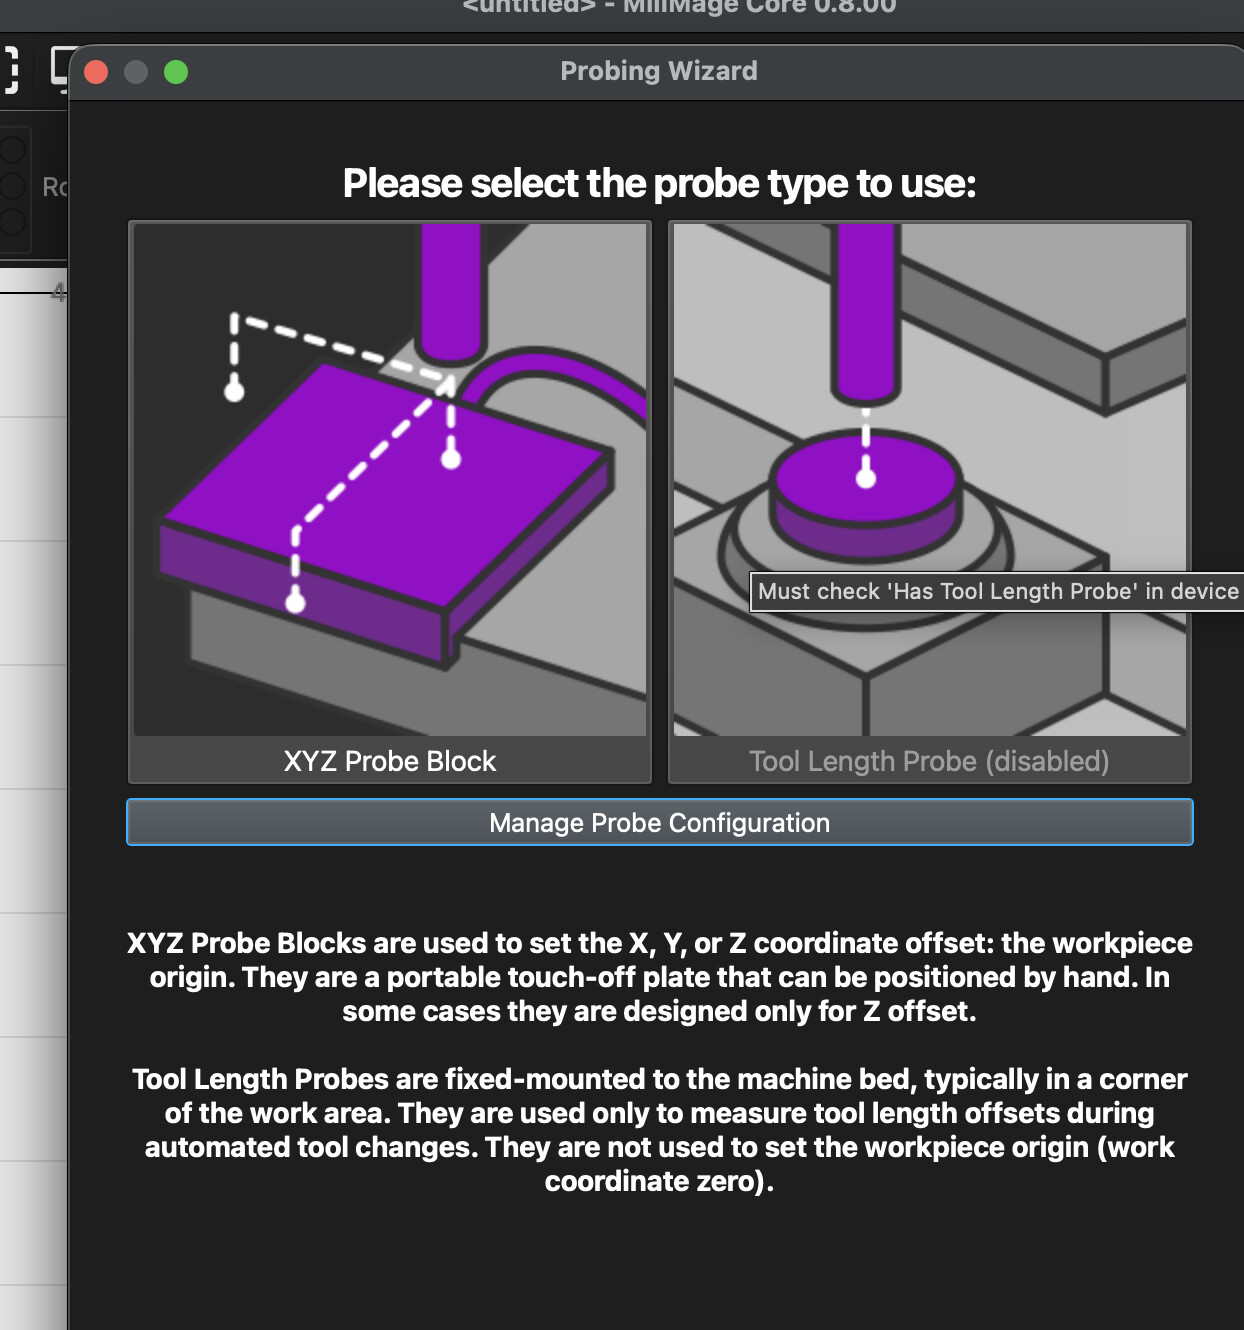
A block is NOT a tool length probe.
A Tool Length Probe, in this instance, is a fixed-position probe button. Usually placed in the bottom corner of the machine. It is used to set tool lengths during a multi-tool job. It does not set your G54 Z offset for your job.

To use a block, leave “Tool Length Probe” unchecked unless you actually have one, and go to “Probing” in the move window and set up the Probe block options.
You would use “XYZ Probe Block,” even if you only have a block that only supports Z, and just disable the probing options for X and Y.
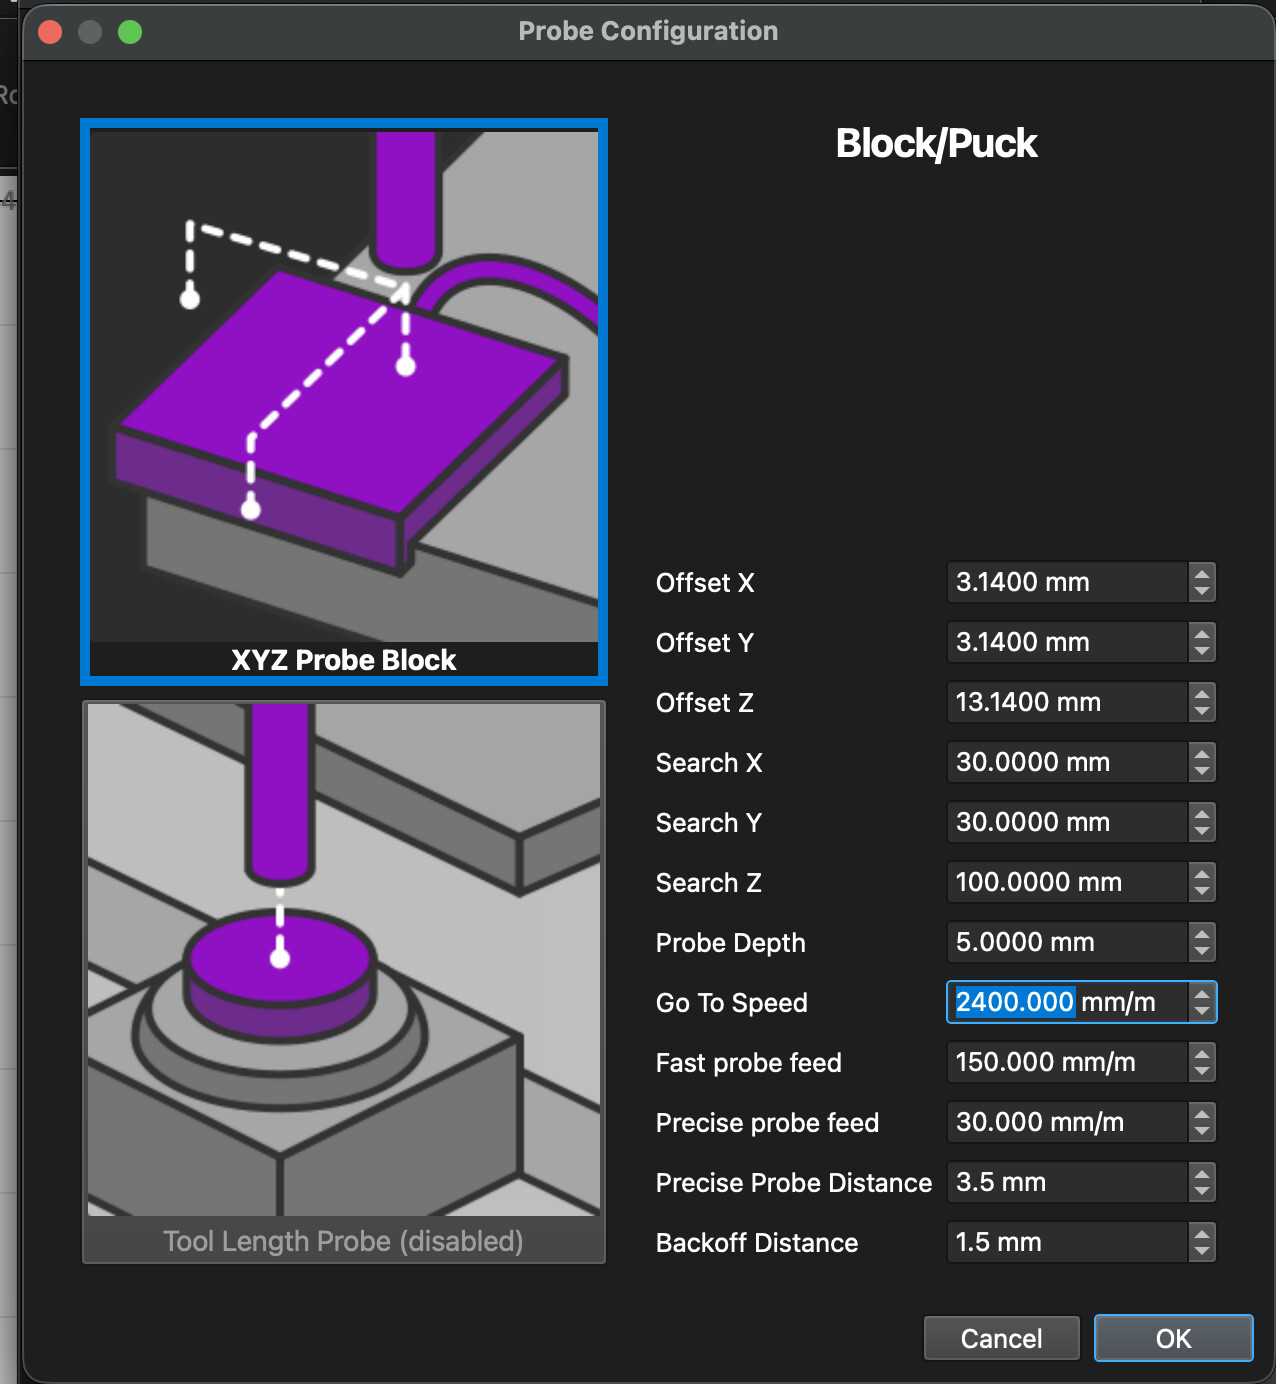
@JoeSpanier do you have any tips or advice as I am having difficulties setting up the Carbide 3d touch probe. I unchecked the “tool length probe”. I measured the Offset XYZ of the block but where I am confused is the Search XYZ and what measurements I should put. I understand that is the travel distance needed for the bit to get to location of the block but I 25 mm travel for Search and its still kept going down and I had to shut off the machine before.
Thanks @JoeSpanier for correcting me… got things mixed up in my head when I was typing that response out.
Checking the basics -
Did you connect the magnet?
I like starting with the spindle high in the air and just touching the block to the bit when I am checking to make sure probing actually is getting triggered.
Does your block have the LED in it that changes colors when contact is made?
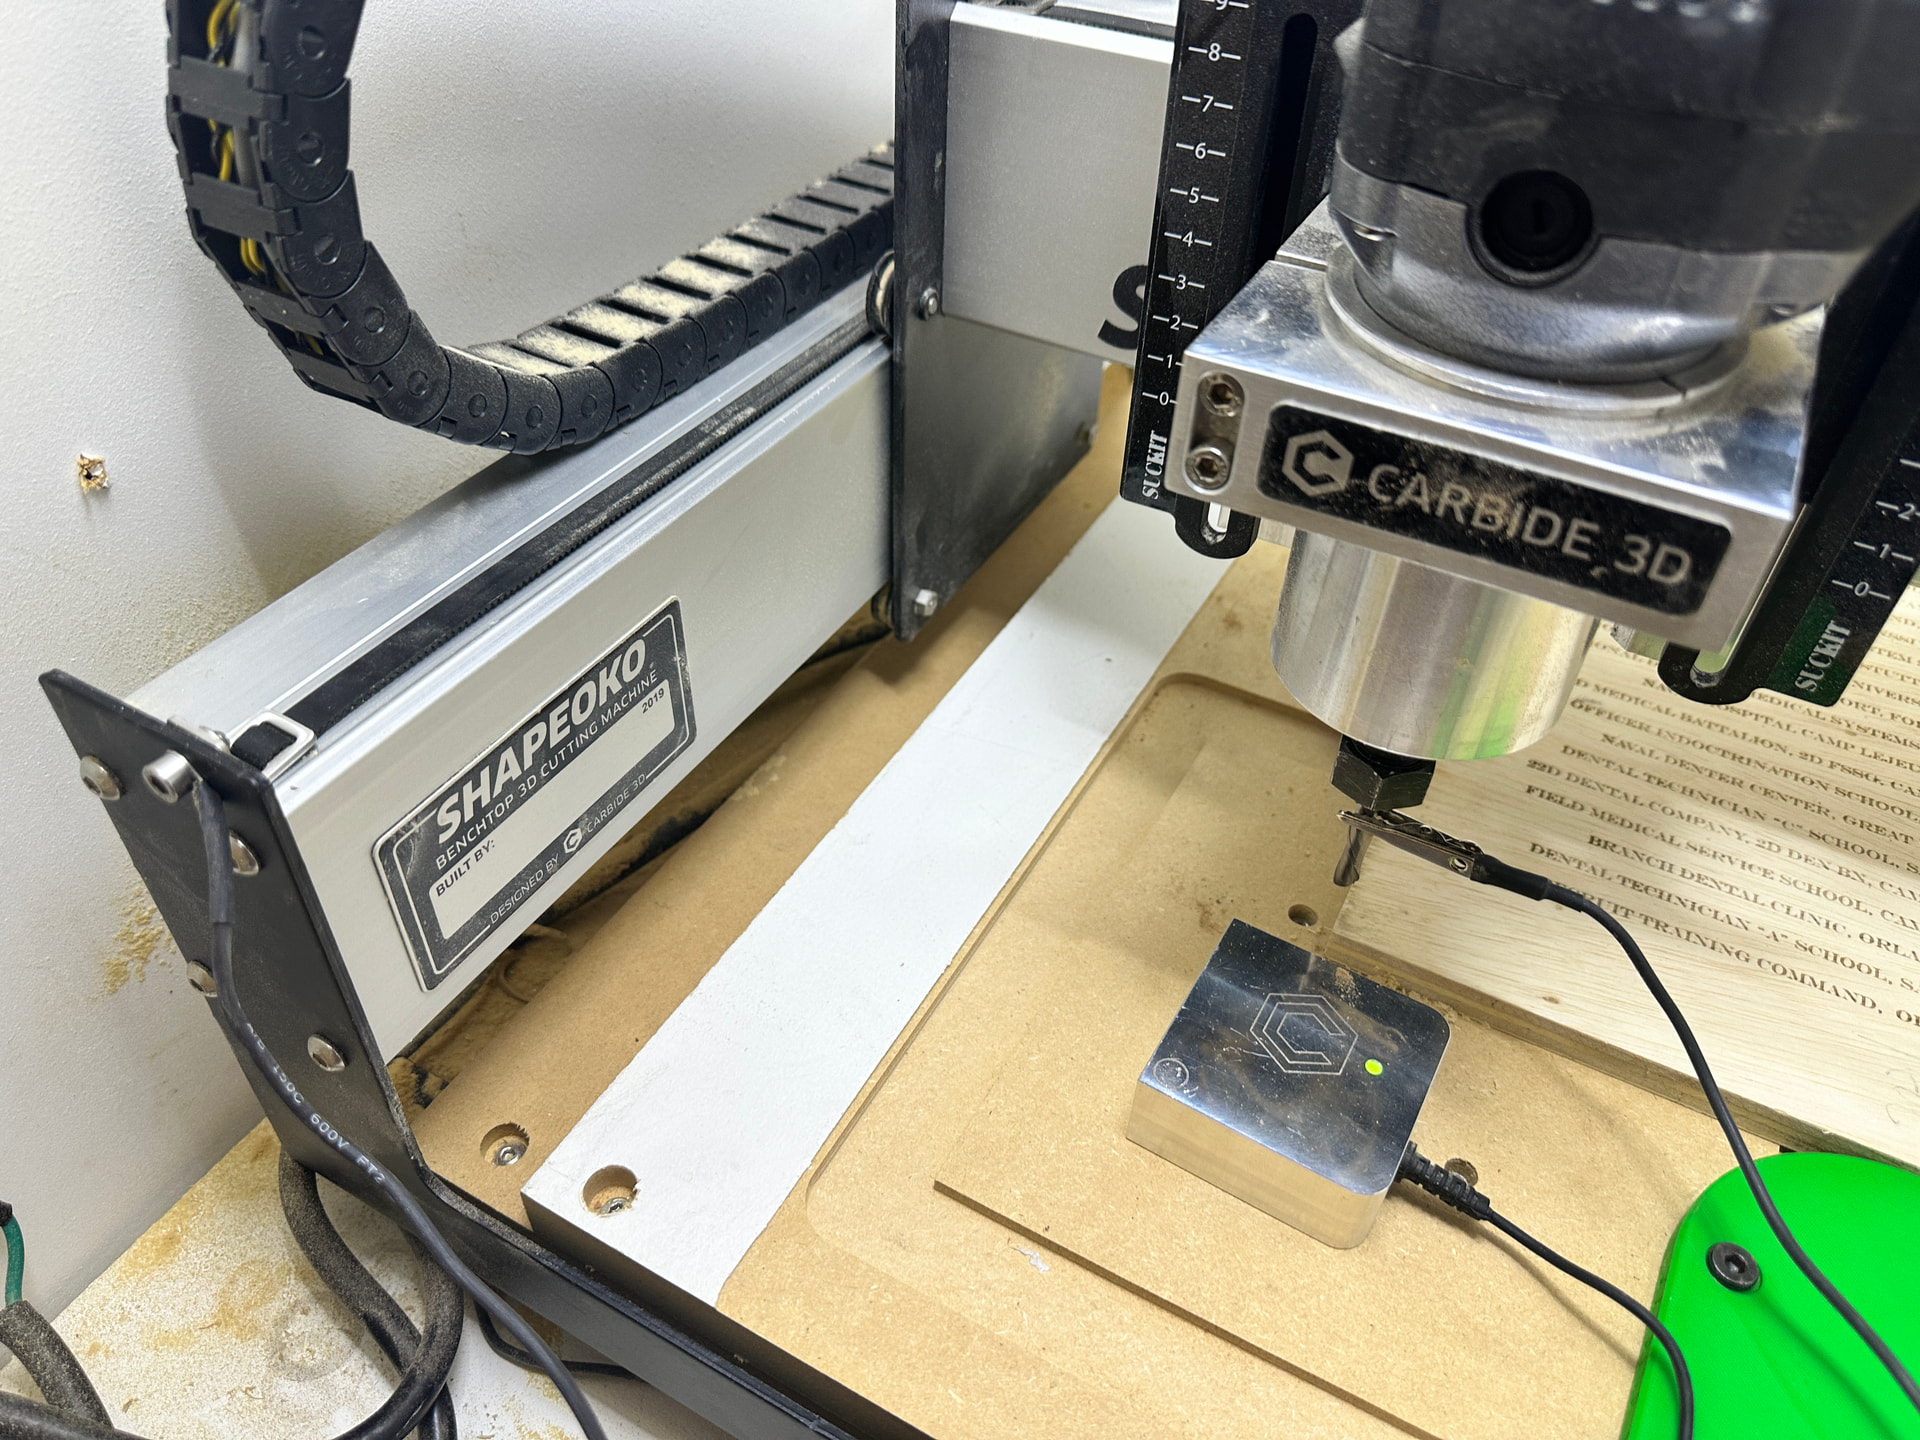
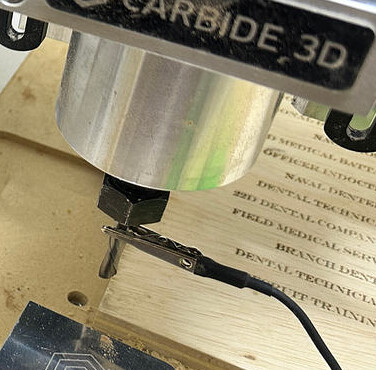
@JoeSpanier Can you clarify what is the magnet part of the touch probe? Currently i have the ground to a bolt on the frame of the Y axis as you see in the picture up front. So when i put the alligator clip to the bit the led does not change to red. What I did after was move the ground and i check every bolt that i can use and only bolts that were closest to the router its self will work and the led will change to red when. But its feasible area for to put it on off. So not sure whats going on.
@JoeSpanier Got it. Right now I’m just looking for a better placement of the ground then ill test out. Thank you again for your help.