been looking at everything I can find to fix my rotary issue. I am using a Longer Ray Laser engraver and their rotary tool as well. I followed the directions and the rotary works when I click “test” in Lightburn but does not rotate during engraving. I don’t get it. 18mm roller 56mm per rotation. These are the manufactures settings. I know I am missing something super simple. But I gave up and am looking for some help. Thanks
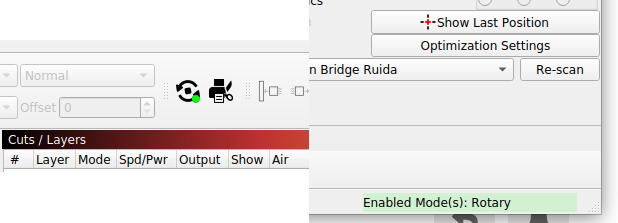
Yup. Green indicator is on next to rotary. I even brought the toggle onto the main Lightburn page so I could toggle off and on without having to go into a menu. Y axis does not move. Odd, tests ok but doesn’t work when engraving. Thanks for your reply though.
Well, I figured it out and as I said it was a stupid mistake. No, the circumference doesn’t matter on a roller rotary while adding your rotary, but matters when you are actually engraving something. Thanks so much for your help here.
I’d like to know what the take-away or ‘mistake’ was.
It might help the next person who asks.
It also helps us discover or uncover counter-intuitive steps in setting up laser engravers and occasionally identifies knowledge gaps on the forum and in other places.
make sure you check and double check your roller rotary settings. I set mine 18mm and my steps to 56mm. Conducted the rotary test in Lightburn everything worked. During my time trying to figure out my issue I went back into rotary setup, the diameter was now 187.36. Not sure how that happened but fixed it
Check your cable connections. It may look fully connected but I think it was not since when I unplugged it and plugged it back in, it worked. Of course I had already done the above too.
I was also confused by the framing of my graphic on the rotary. I realized that when I imported the graphic with a transparent background, the size of the background was still there so that is what the laser was framing and why it looked much bigger than what actually engraved.
When I got it working. Get test materials. I learned a lot engraving over and over on a cheap tumbler. Then I went Dollar General and bought a bunch of glasses for 1.25 each