I am beginning a new thread on the jigsaw puzzles since I am discovering more things to mess up the works.
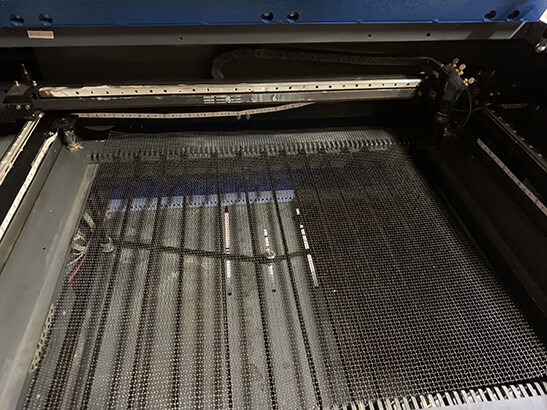
I soaked the stainless steel mesh/screens in Simple Green over night. Cleaned them with one caveat, they are shiny now and reflect the laser beam onto whichever side of the material is next to it. Of course that makes for some interesting little burn marks.
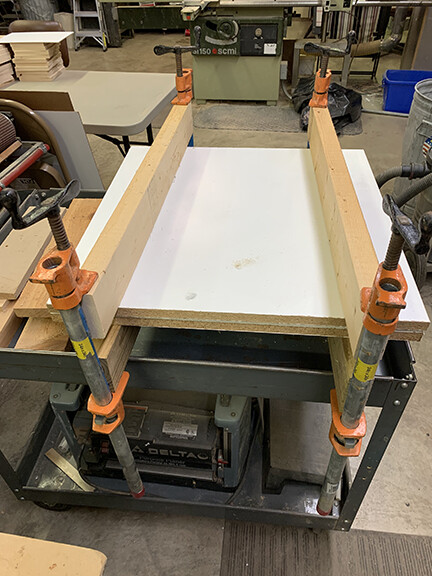
I can assure any of you wishing to cut puzzles with a laser, there are many things that need to be exact. The substrate you are cutting must be absolutely flat on whatever surface you have it laying on in your laser. I am using 3mm/1/8" ply from a couple sources with much the same problems. Mainly, wavy plywood and I don’t care who makes it or what it is made of. My shop is a wood shop and is hanging around 30 to 40 percent humidity. Wherever you store the material there is often going to be at least one side exposed to your shop atmosphere. Photo below is of a temporary clamp setup I am going to try before I make a permanent clamping press from two inch hard maple IF the clamp in the photo gives me any kind of improvement.
Also tried 1/8" MDF which looks promising since it doesn’t twist. I have an order of same coming next week.
Doesn’t matter what type of material used. When you glue a photograph to one side it is going to make the other side draw into a convex shape making it tough to keep the other side flat. Dampening with water seems to be the best way to soften the ply enough to bend it straight in the clamp. Leave it in the clamp too long and it will mould if you get the ply too wet. Steamer works but does take longer to get the ply soft enough.
I am presently cutting with my Omtech 60W using Speed = 12mm/sec, Power = Max & Min - 55%, one pass 17mA.
Am going to run some tests to see if lower power will cut through the entire thickness well and maybe help or eliminate the damage to the photo/down side.
I have a 50 watt (44 really). Using a 2" lens, I’ve been cutting this stuff at 20mm/s @ 45% or about 9mA. I would think it would be quicker on your machine.
What kind of cut are you getting?
Can you wipe a paper towel and get soot off the edge or is it ‘clean’ ?
Have you thought about a photo on both sides in an attempt to keep it from warping … just speculating…
One of my dads friends was a great carpenter and loved to build beautiful cabinets with very expensive plywood.
He latched onto a 1200 lb plate of steel from one of the military shipyards at an action. Had it hooked up to an old winch and kept it ‘parked’ on top of his ‘precious’ plywood. Worked great.
I know no one stole any of it
My dad pointed out it was only about 0.25 pounds a sq/in… but it was held flat…
Jack,
I have tried about a half dozen different procedures this past week with returning to one of my original set ups, supports that hold the substrate about 3/8" above the mesh.
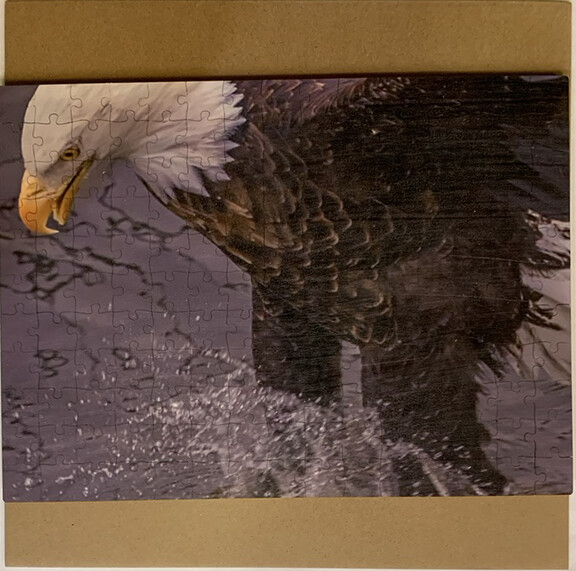
Yes a photo layer that is of commercial grade paper. The photo adds substantially to the amount of power needed to cut through. Best setting for my laser, 60W/50W Omtech, 2.5" lens, Speed 20mm/sec, Power Max and Min 35%, one pass, Air Assist boosted to 30psi, 10mA - 11mA. Photo down. I apply two applications of photo preservation rattle can and two applications of spray water based poly on the photo. I have no smoke on either side. No char falling from the edges, kerf is tight on the photo side but I don’t think it is too tight. Top bare side kerf .35mm - .40mm.
Photo is a portion of a puzzle cut with the above settings.
Problem with attaching photo on both sides has to do with added expense. I use an Epson wide format printer with Ultrachrome ink.
I built all of the cabinetry plus ten foot dining room table with bow back chairs in Oak. Kitchen cabinets are oak, two Deacon’s Benches in Hard Maple, Two bathrooms with pine vanity, Master bathroom has solid natural cherry, various other pieces of furniture in sugar pine, office furnishings are of Black Walnut. Wife and I built our 6500 sq. ft. Log home. Sorry for bragging, we are proud of all of it!
I ordered 3mm BB from Amazon. It is decent and doesn’t warp any more than any of the others.
I had some 3mm MDF that I tried with good results and it is a little cheaper but not much with the shipping. Have another order of it coming next week.
Wife is getting Antsy with the money I am spending to get this off the ground. Guess I had better see about selling something.
Guestion:
My 2.5” lens has around 1.5mm - 2.0mm that is in focus. If I turn the photo on the top and adjust the focal point to let’s say, 12mm instead of 11mm that I normally use, wouldn’t that make my kerf for the photo less? I realize I may have to increase the power or slow down a bit.
Some professional thoughts please.
Going to take it ‘out of focus’ high… to lower kerf? Maybe lowering it, if I’m reading you right.
Focus 12mm high will put the point 1mm above the material, the beam will only grow larger as it goes further.
I think in simple terms you will have an increase in kerf the thicker the material is. The only way around this, that I know of, is a longer lens.
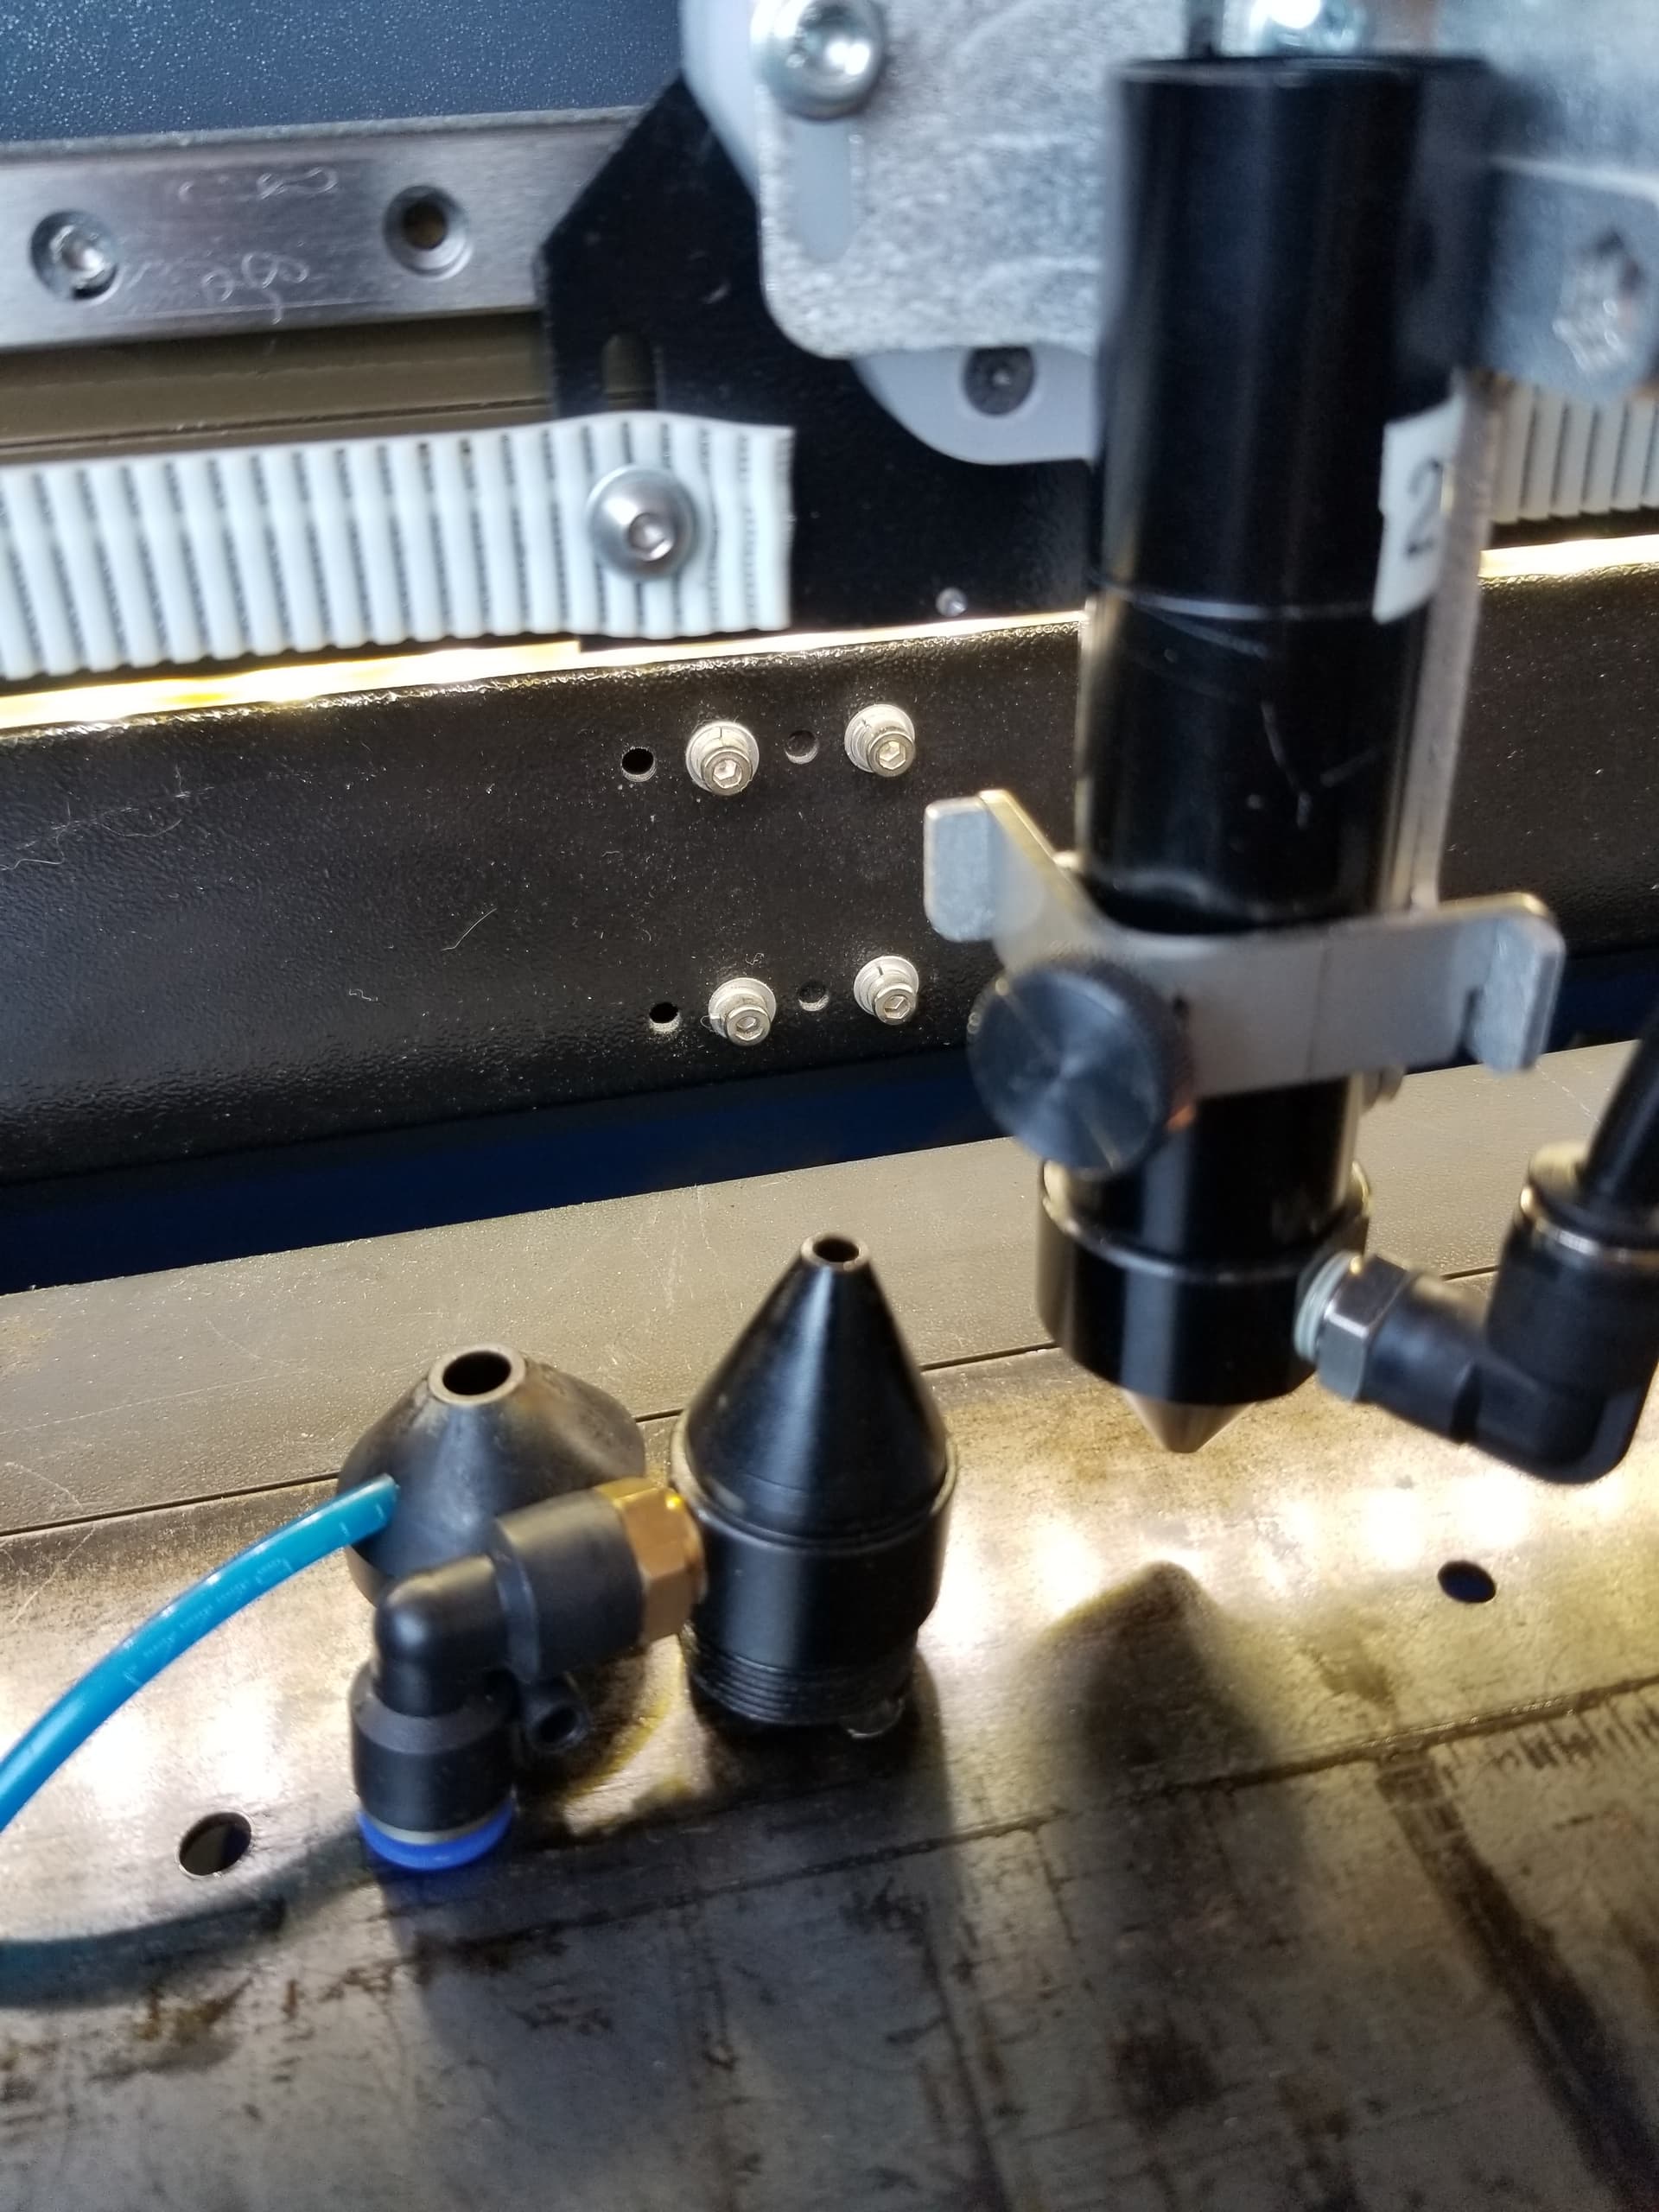
I did change a nozzle change from the one on the left and got a much cleaner cut.
I’m pretty convince a key component of a clean cut for this is the airflow out of the nozzle.
I also think the air should flow ‘around’ the beam. With the beam centered in the air stream. The air stream should be a straight flow parallel to the beam. I think most of these have a ‘swirling’ type of air flow.
My nozzle is “stubby” or blunt on the end.
Agree that I need to acquire a 4” lens. I am actually trying to see if I can do sufficient work around with my 2.5”
I have the air situated so that it blows away from beam, it is working pretty well. Will fiddle with that later.
I had a piece with a photo on it that the printer didn’t do what I thought I said to it. Lol
Actually set the focus 12.3mm above photo on 3mm birch plywood. Notice I now have photo on top. The burn was good with little to no residue on photo or underside. Kerf on photo side is .23mm. I had some funky spots on bottom that were easily sanded clean. Slowed speed to 12.5mm/sec with power at 35%.
Changed back to stainless steel mesh with weight applied where and when needed to keep ply flat. Best results so far.
Sprayed black heat resistant paint on my other mesh. If that doesn’t cause another problem I am thinking it may get rid of the small amount of flashback.
I have always done the perimeter cut last and the longest other cut first. Changed to perimeter first. Good results.
BTW: Kerf on the bottom is between.30mm and .40mm
Order of MDF should arrive tomorrow.
Going to cut at least two more larger puzzles to see if all this works.
Agree, looks awesome. Regarding warping/cost factor - even if you can find a similar density paper to the photo paper but of a cheaper variety to glue to the back it may help considerably with the warping.
WARPING:
My prototype press for flattening the ply does no more than placing my piece of railroad rail on top did. Steaming the ply takes too long. I apply the photo to whichever side is concave doesn’t flatten the ply does pull it the other way. After applying the photo I sprayed water on the back side. Neither side had been sealed. Decided to try that since sealing both sides didn’t help. The spray of water definitely changes the texture of the bare side of the ply, more flexible and less smoke. I also cleaned the puzzle with Simple Green. Minimizes the burn smell somewhat, I may put it in the Ozone chamber anyway.
There was very little residue on the photo side. Backside had a little more but if I sealed the flat sides I think my final way of holding the panels flat plus having a sealed surface to clean with the SG will be best. There is going to be an occasional panel that will not co-operate no matter what so we may as well live with that and use the bad panels for something else.
I done a combination of weights this time and it worked really well. Used the weight with a wire hook to hold the perimeter tight to my stainless mesh. Then used the laser head to adjust and find the spots that had different levels. Since the photo side is “Belly Up” there is no need to worry about low spots. I used weight where ever there was less that 12.3mm from nozzle to ply. May seem a little fiddly but it works and only added about five minutes to cut time. Situated the weights so they wouldn’t interfere with the nozzle, ran however many lines were flat, paused the laser, moved the weights if necessary and continued. NOTE: Did anyone realize when you pause the laser and restart, the head actually moves in reverse about 2mm then fires so there aren’t any tabs to make a mess of everything? I know someone already knew this but anyway…
Received my order of 3mm MDF today. Will try to cut a puzzle with it tomorrow or next day. I seal both sides of it anyway with a brushed on coat of sanding sealer. I am going to follow that on the back side with a coat of water based poly. Will probably go back to doing that with ply.
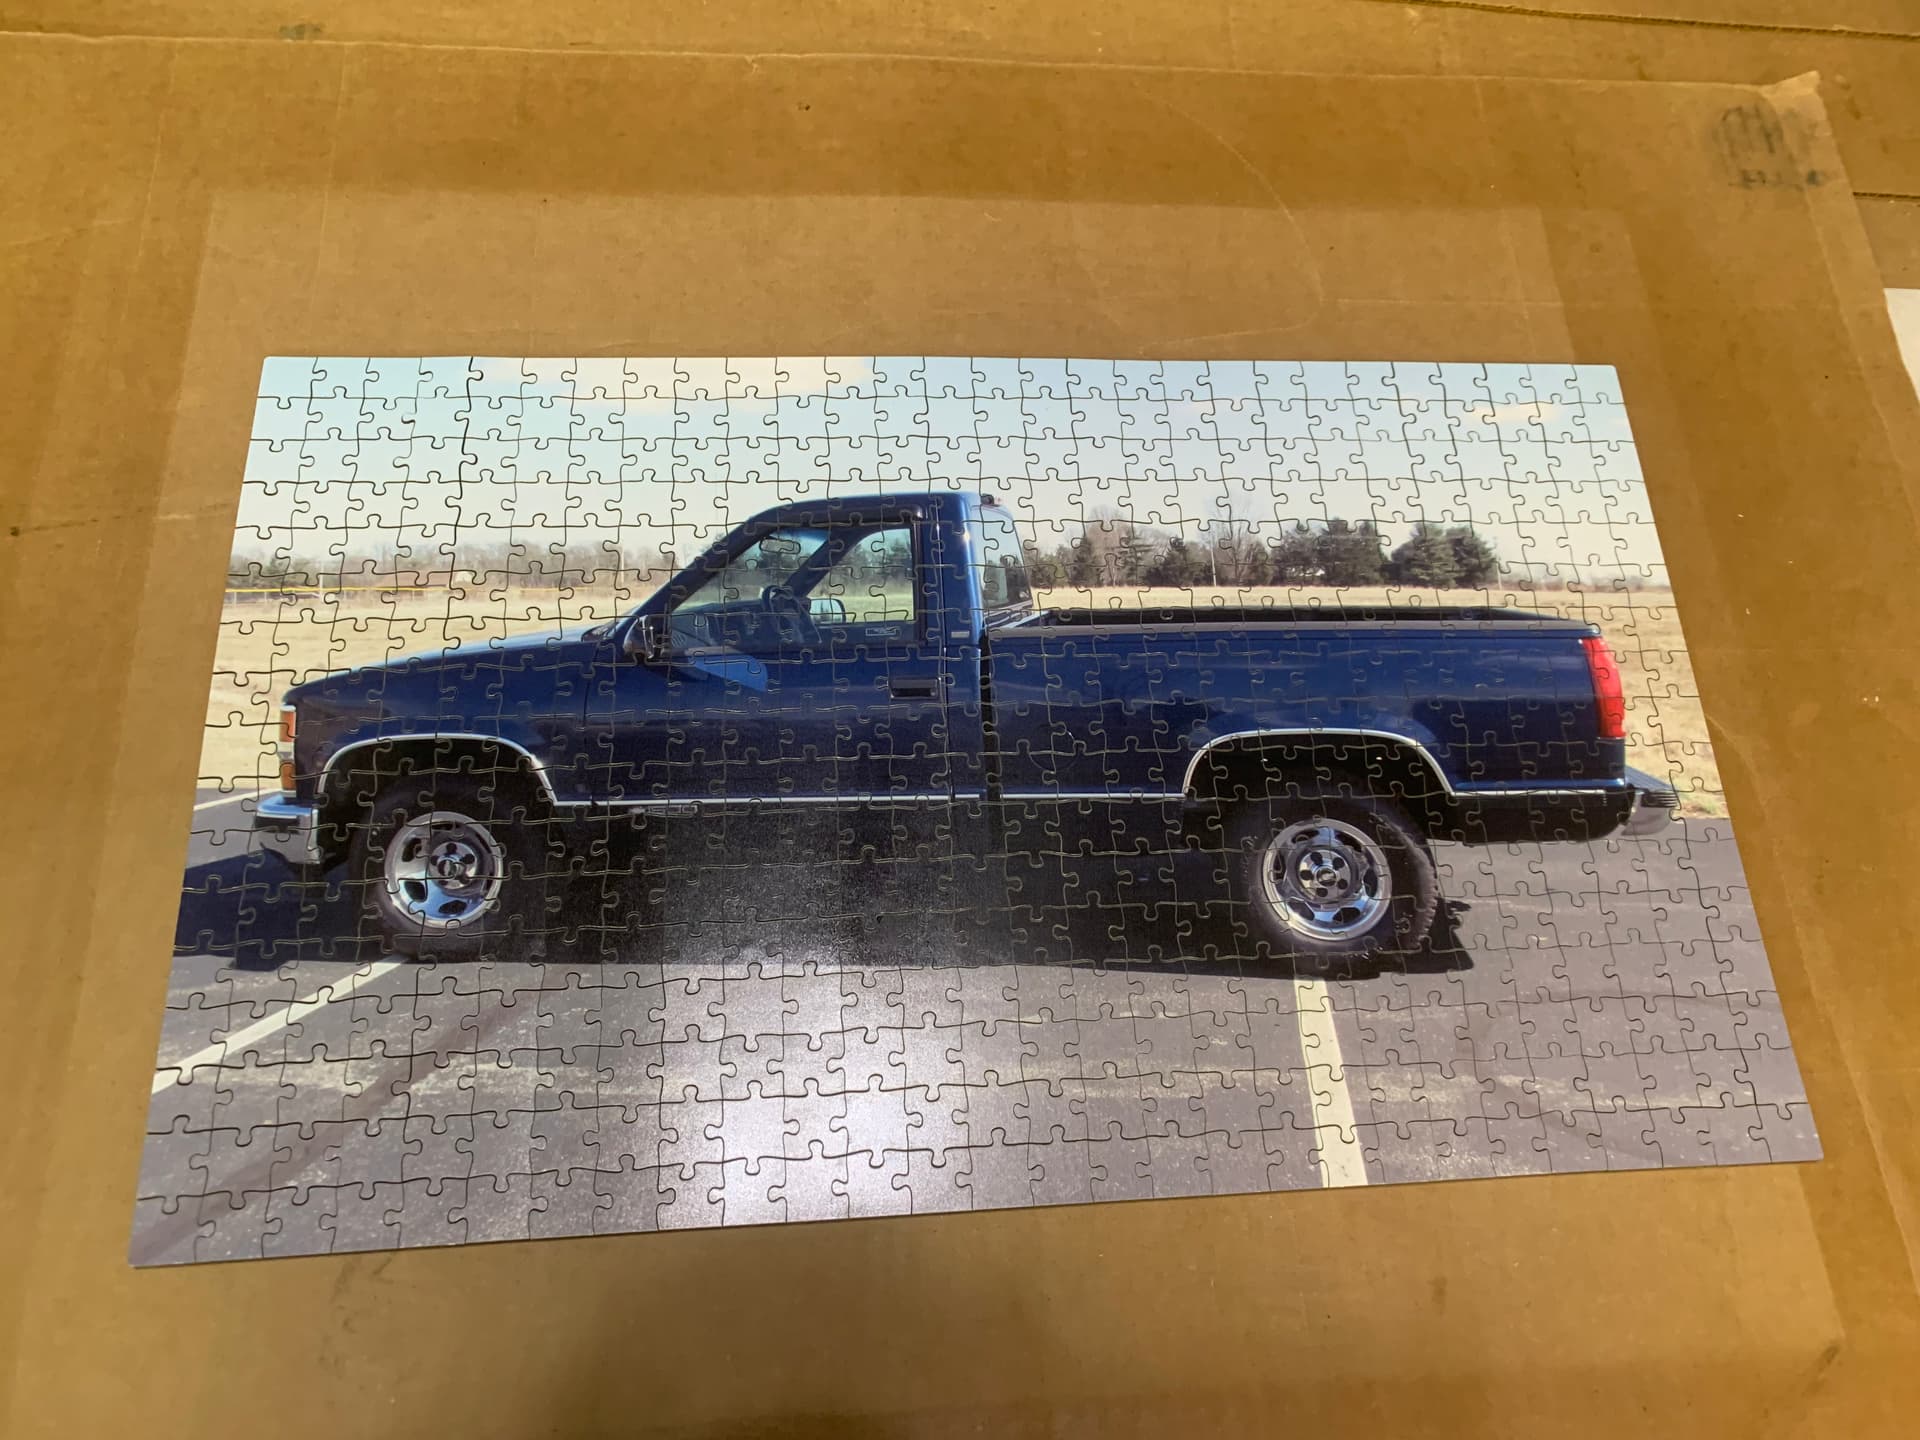
The puzzle in the photo above is of my youngest brothers little Chevy, he is only seventy eight.
Any questions I can answer fire away!
A little additional info:
MDF is slightly more difficult to cut than the same thickness of ply. I slowed the laser to 10mm/sec and left the power at 35% max and min. Cut with 12.3mm from nozzle to substrate, photo face up. Photo side is 95% clean from smoke. I clean the puzzles with a soft cloth dampened with Simple Green. Have very little to no burned wood smell. 10-11mA throughout the cut.
The MDF is a lot easier to keep flat than the ply.
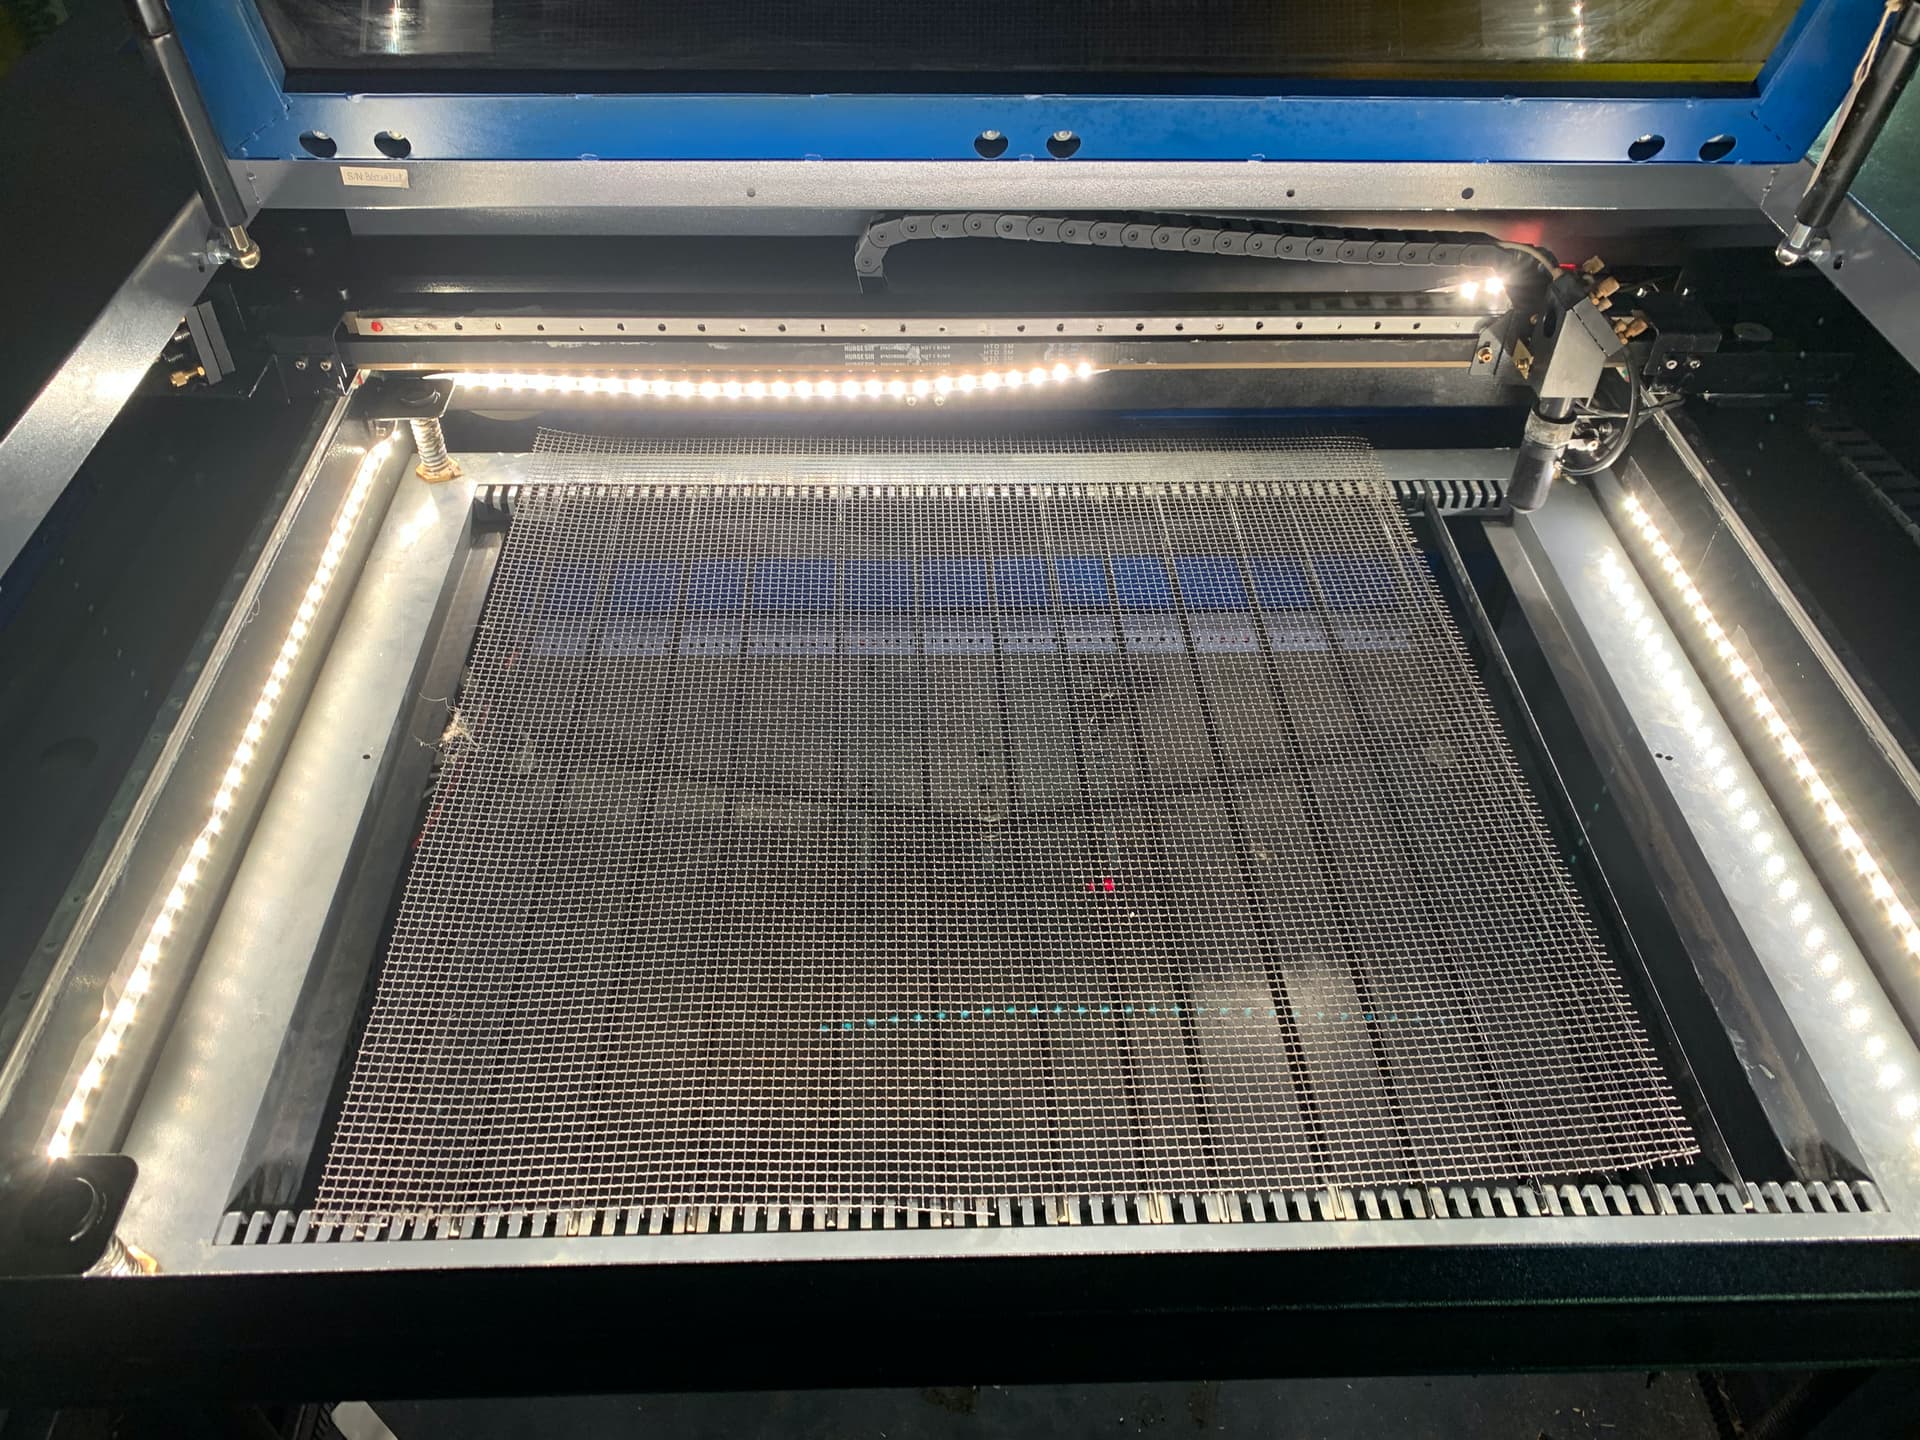
I bought the 24volt Led light string from Amazon to re-light my laser stage. It is a normal Chinese piece of junk as far as the adhesive so get yourself some double sided tape to help hold the strip.
Image before installing lights.