Hello everyone!
I am currently trying to create a bridge for a model train.
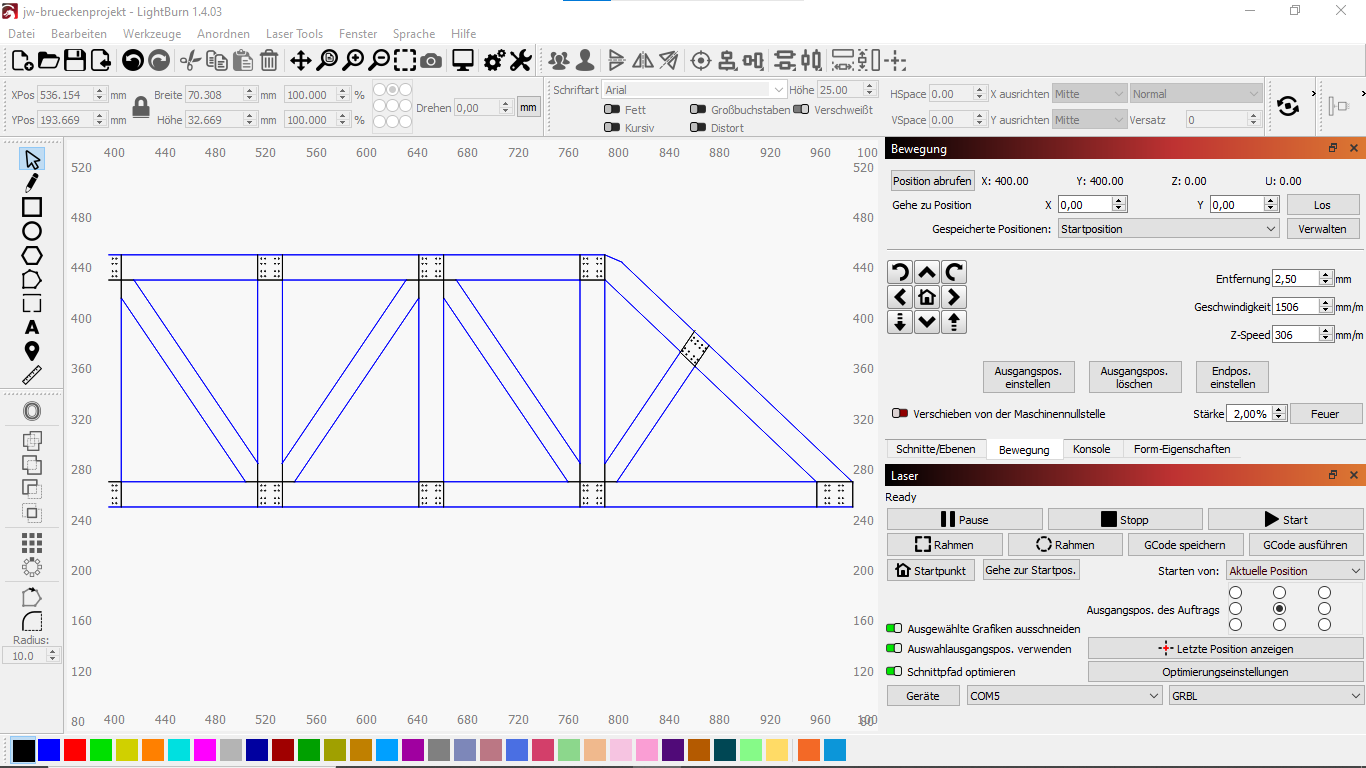
The shape is already done, but it is bigger than the work area.
I now want to split the bridge into two parts so that I can burn them one after another. I just couldn’t really figure out how to do that. Preferably I would draw a line right in the middle from top to bottom of the shape and split it into two parts. Is that possible somehow? Thank you!
If it’s a closed shape, then you can use the “cut shapes” function. Another option is to use the node edit tool to cut your lines at desired points.
If I recall correctly, this topic has been discussed a few times lately, so the search function might bring up additional tips.
Thanks for the reply!
By cut shapes, do you mean the Break Shape function that you can find under Arrange?
It’s Tools → Cut Shapes.
You can also use boolean operations, I think some methods are shown in this older video:

But I think it was referred to in one of the more recent LB videos too. But I didn’t find it now.
Cut Shapes will be your best option. The shape you’re cutting does not need to be closed, but the shape you use to cut it does. So you would draw a rectangle that can contain half the bridge, and position one side of it is right down the middle, then select first the bridge, then the rectangle, and go to Tools → Cut Shapes.
1 Like
Good morning everyone, thank you for all the replies!
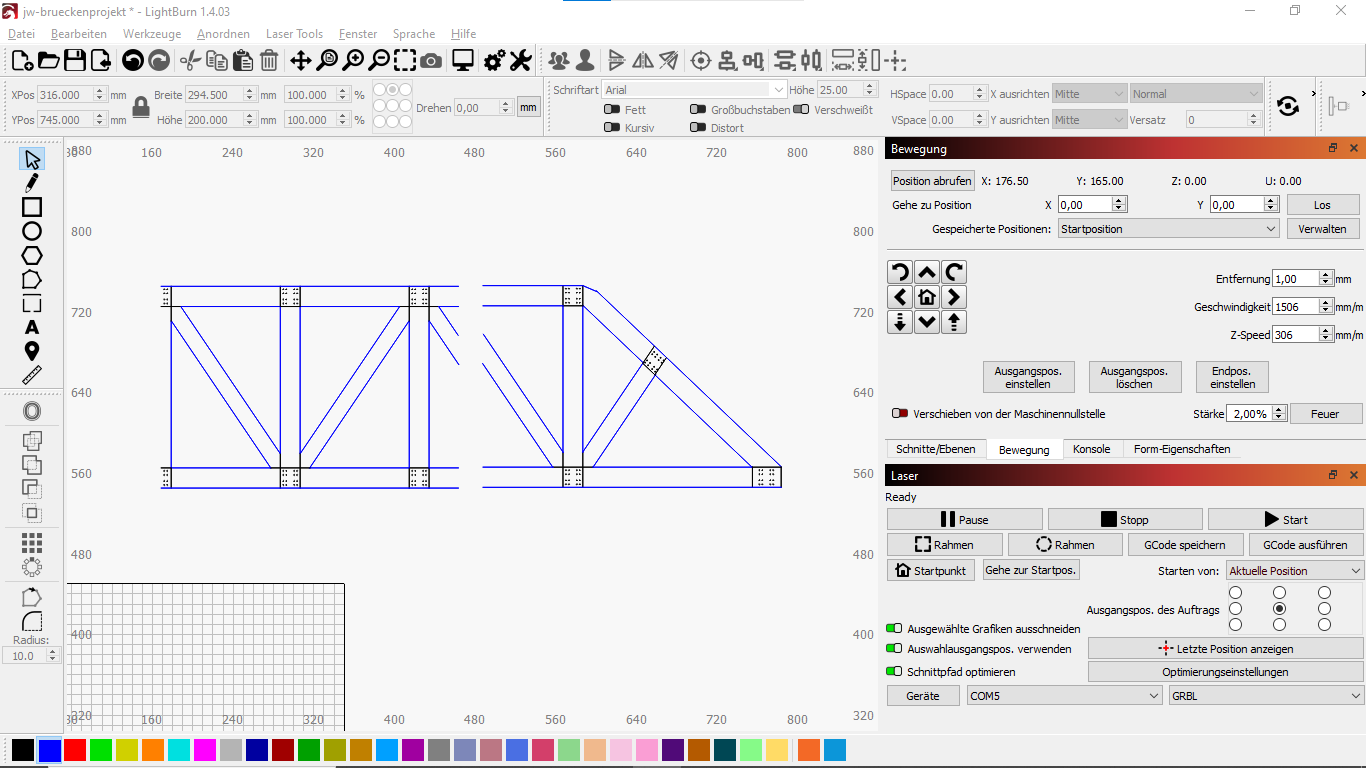
What I ended up doing is using the Cut Shapes function to split it into two. That worked out well! Thank you for the suggestion.
Now, the only problem that I have is properly aligning the two shapes so they seamlessly connect when being burnt. I’ve already watched the guide video about using Print and Cut, though I must say that I am not fully understanding how it works yet. What could I do?
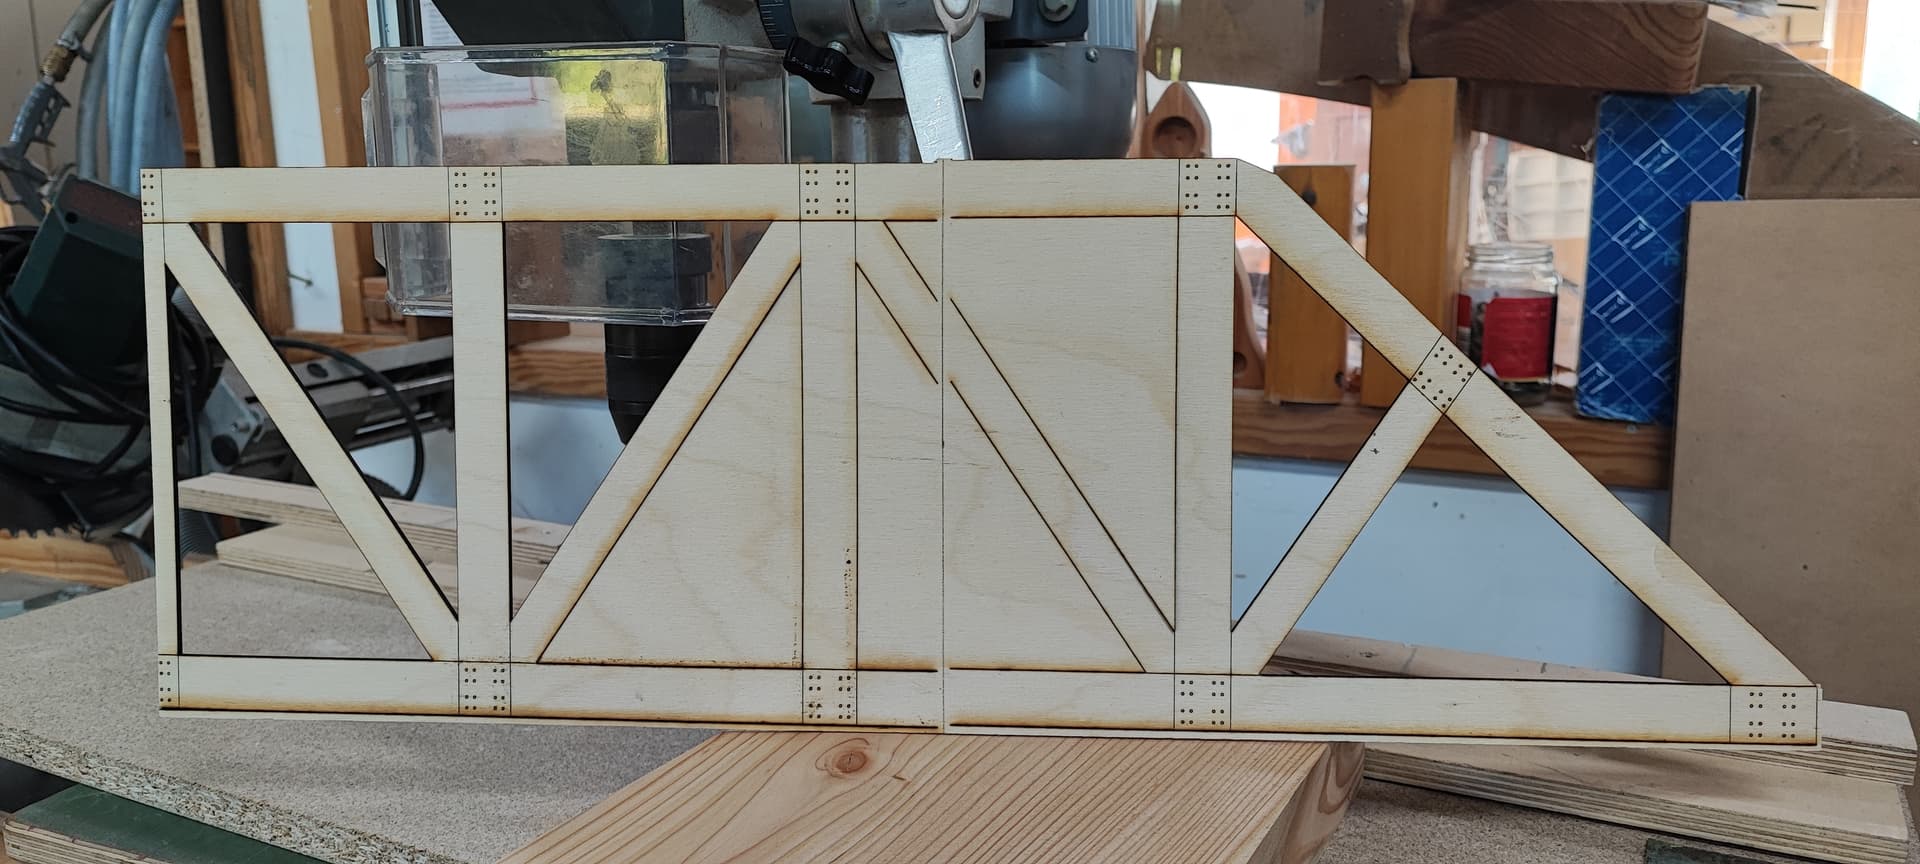
I’ve split the piece of wood into two parts and marked the middle of each one, though I guess the margin of error is still quite high. (At least for someone like me who is no skilled craftsman ![]() )
)
I suggested Print and Cut because I thought it would avoid you having to join the two parts afterwards, therefore making a better end result.
What you would need to do is either use two existing engraved features or engrave a couple of alignment marks (if you’re not painting it afterwards these could be engraved on some masking tape (painter’s tape in the US?)). These will be used to align for the second pass. The graphic might still need to be split into two halves (using the Cut Shapes or the Edit Nodes tool) but the second pass would meet up with the first pass and wouldn’t require joining.
Anyway, I see you’ve cut it out already but I hope this help with future projects.
1 Like
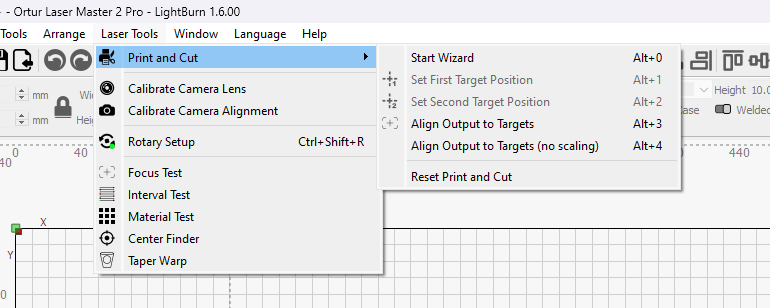
Which Print & Cut video did you watch? We’ve got a few. Your design has plenty of sharp angles to align to — I recommend creating a couple of new shapes set to a Tool layer, centering them over corner points (the farther apart the better), and using those with Print & Cut.
This video shows how to use Print & Cut with existing corners in your output:

And this video shows how to cut a design into multiple parts and use Print & Cut:
")
A combination of the two should work well here.
We’ve also got a general use video here:

This topic was automatically closed 30 days after the last reply. New replies are no longer allowed.