Hi everyone.
I had an order that I had to laser a few big letters on ss with my 50W JPT fiber laser.
I used the 110mm lens.
My settings to anneal is to go over my design twice with cross hatch.
But because the letters were so big (height 12cm / 4.7inch) I think that the ss cooled to much down inbetween layers.
So I was thinking about cutting my design in smaller parts and engrave every small part the full 2 layers and then move on
You shouldn’t need to do that.
Are you trying to just get black letters/ numbers on the surface or are you trying to engrave and then anneal?
How thick is the SS?
What parameters are you using? Post a screenshot.
Do you have a larger lens?
And when I do parts that are 80mmx33mm big, I always get a nice black.
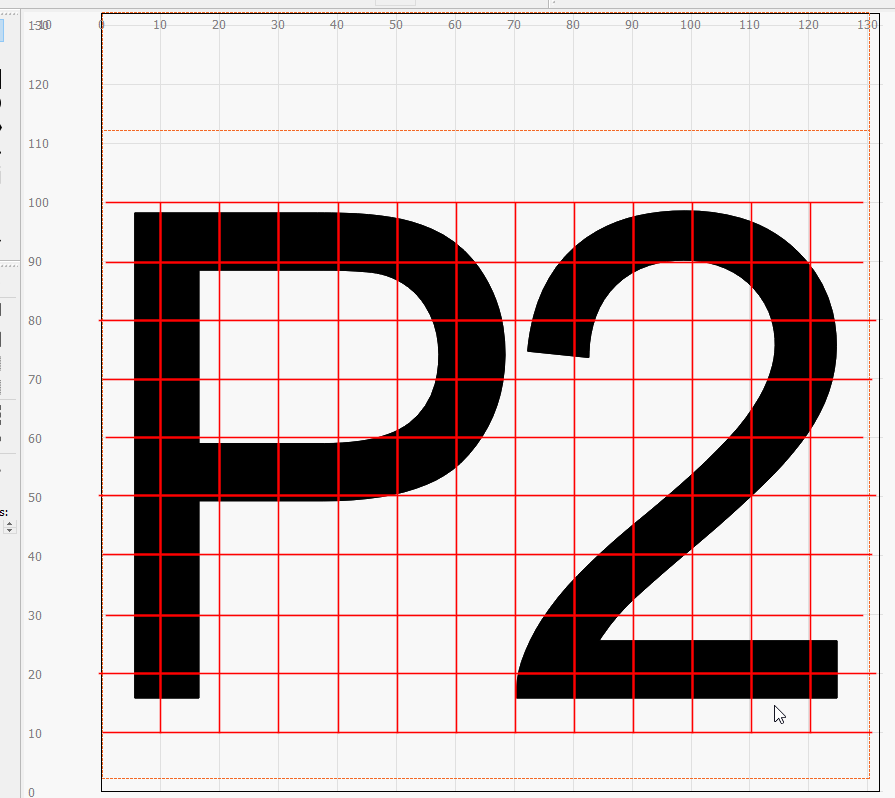
But when I did these ‘P2’ plates, I got a shiny yellow outcome.
When I ran a second time these settings, I got black.
It’s also possible different kind of stainless steel or finish. If you are running multiple passes try enabling angle increment and rotate the scan by 45 deg.
I run a lower frequency when doing black on ss, 20Khz. I de-focus also. All my parameters are for 175 and 300 lens so the rest of my settings probably won’t help much but I run my speed a lot slower as well.
It is indeed possible that the stainless steel is different.
The 2 products come from different companies.
I am now doing a memorial plate that is 300x300mm big.
my settings for my 300mm lens are spd 50.5 / power 21% and frequency 25kHz with a line-interval of 0.0254.
That at both + and -45° angle.
This will take me just under 4 hours to engrave I think.
The first time going over it gives a nice black, but the second time just gives it a deeper kind of black.
Yep. Both instances you are running at maximum size which is not ideal. Max power and crank up the speed or it will take forever.
All my settings are all slow because I do smaller stuff, a zippo or flask is 15-20 min so I m not going to be much more help, sorry.
Something we didn’t look at was jump speed, that might pick you ap a lot.
First dial timing in dead on, then get your jump dialed up.
LMA has some great videos on timings and jump.
Thanks for the advice!
And I indeed don’t want it to go too slow, because I want to be able to sell it repeatedly.
In the future, I will normaly also have orders of around 200 a 300 labels that are 80mmx33mm big.
So it has to be fast.
It is also a side hustle for now, So not much free time left
I don’t know if you can open this from here without logging in or not, but this is LMA’s video on timing and jump. Only thing different is when you make the box, you need two sublayers, one fill and one line, to get the continuous border.