Started this project at the beginning of the year - based on the Further Fabrication series on Youtube by Rob Chesney - a 90w Reci tube, Nema 23’s for the Z and X and a Nema 17 for the Y axis, along with a Ruida 6445 controller. It was a lot more time consuming than I imagined, and certainly took longer than the cnc router I built last year, but finally got it running a couple of weeks ago. To anyone else thinking of building one I’d say go for it - but be aware that it isn’t a quick or a cheap route into laser CNC’ing.
Once it’s up and running you’re not finished - I have found that it requires a lot of research to get a decent result. Fortunately I have a fair amount of experience with photo and vector graphics, but getting a decent image on screen is just the first step.
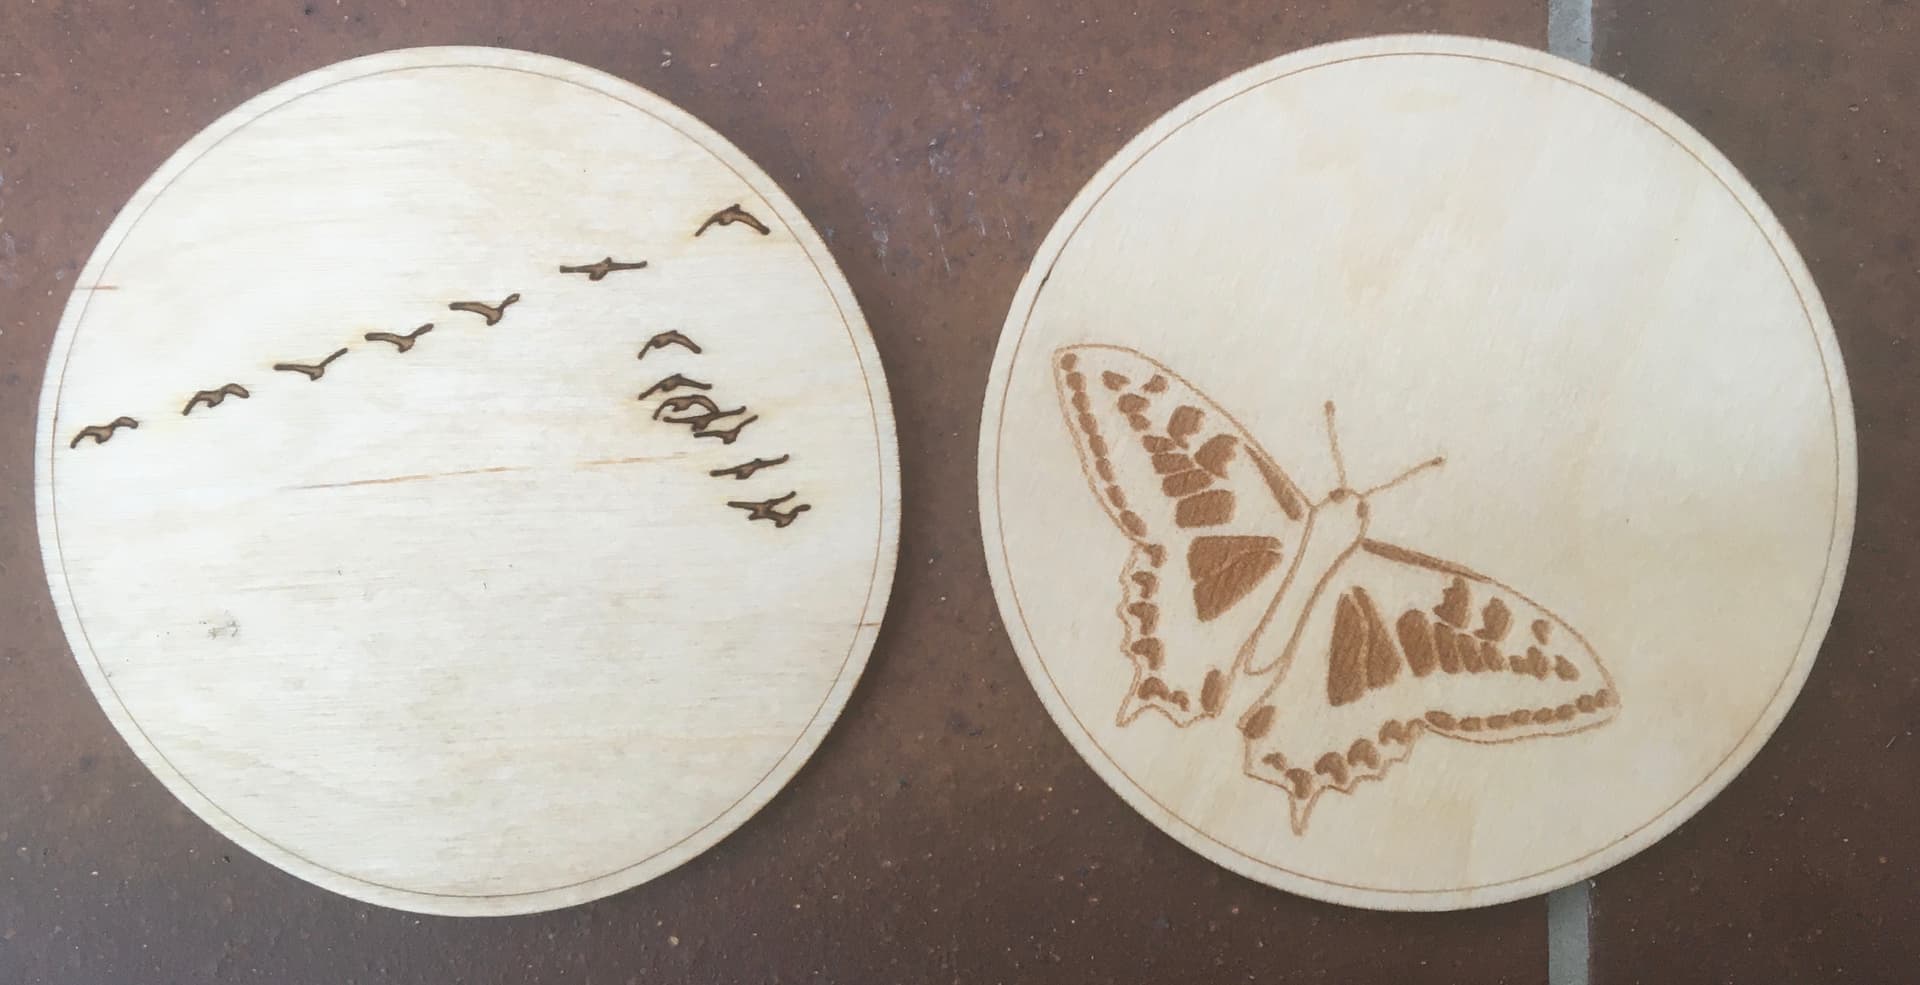
Acrylic is the easiest - it comes prepared in a known thickness, and once you have run a few samples its easy to jot down suitable speeds for engraving and cutting. Wood, in contrast, is completely different - different species, solid vs man-made, different colours etc all make it much more variable. I can’t say that I have made a lot of progress so far - its very easy to produce a muddy result, especially because its always tempting to rush the setup and get the machine running:
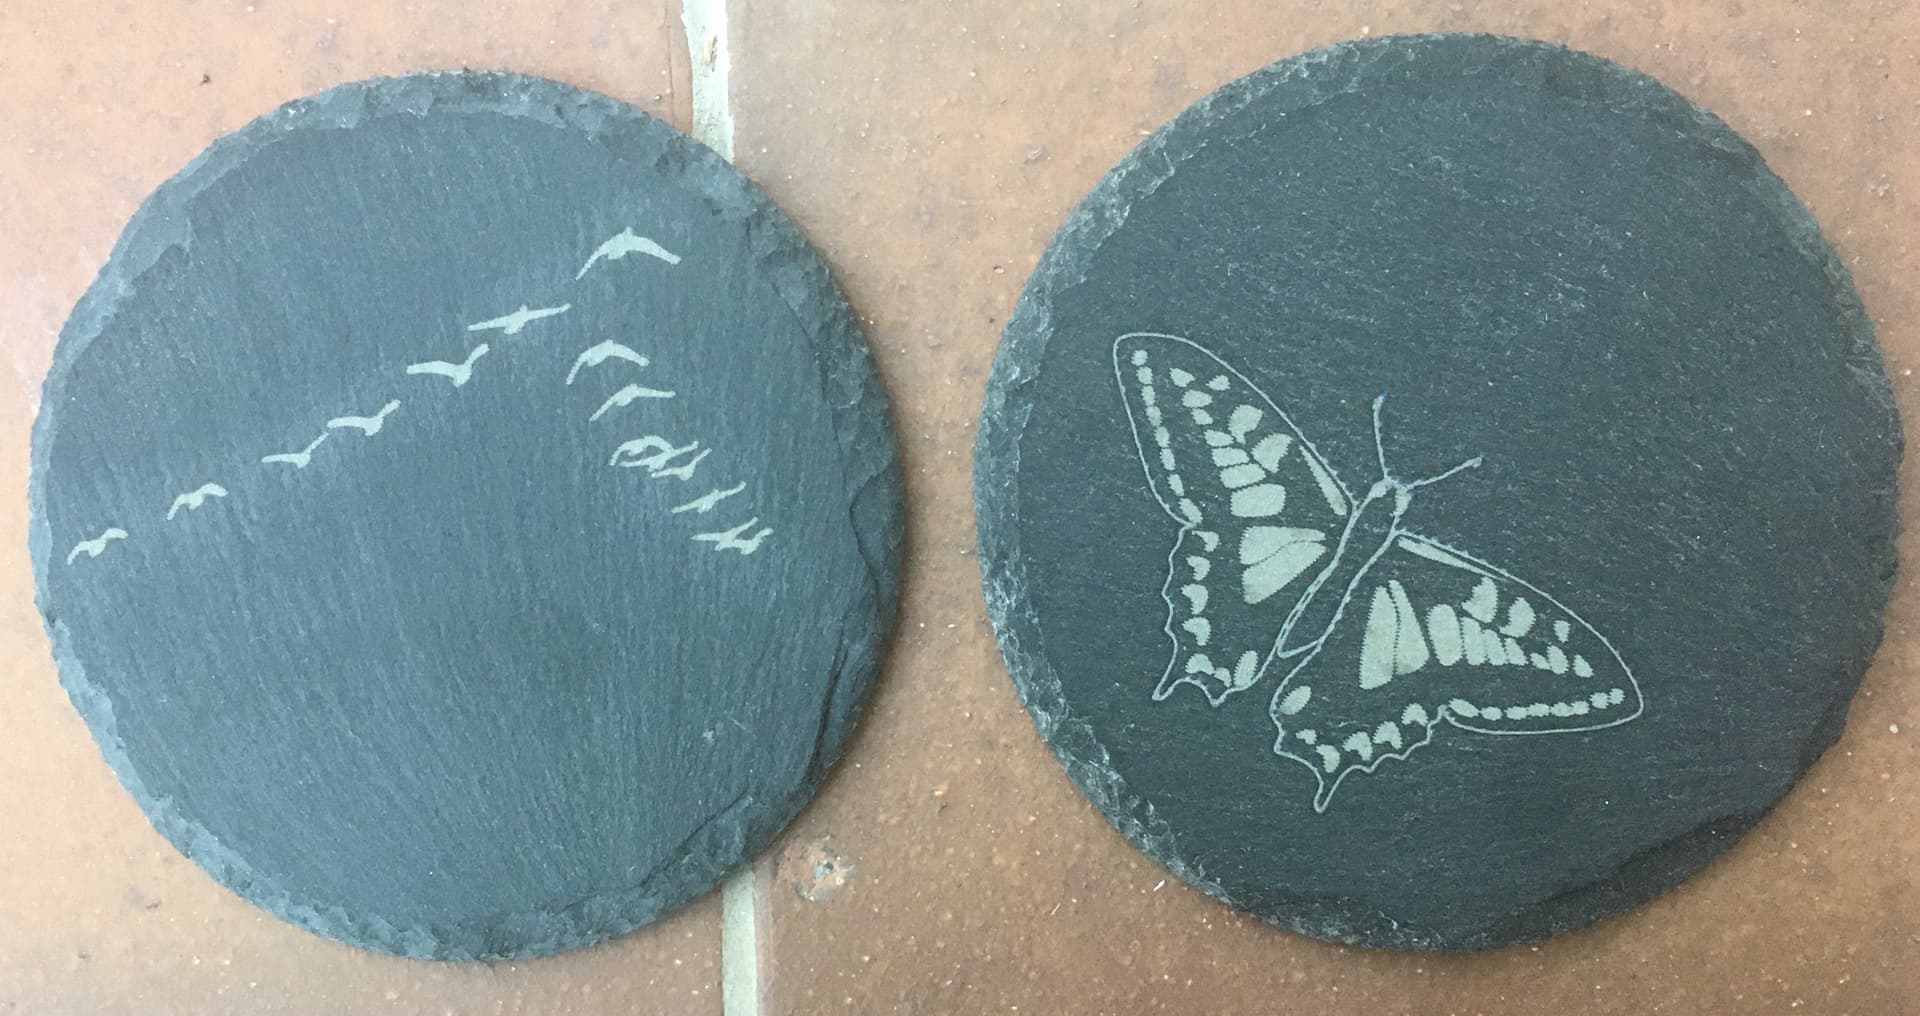
Today was the first attempt with some slate, and I was fairly pleased with the result - partly because there are some good posts here giving useful tips:
I put the laser tube along the longer back edge, parallel to the X axis, and so have three mirrors.
Instead of two motors driving the Gantry along the X I used a double ended Nema 23 with a drive shaft out of each end to the pulleys mounted on the X rails. It does away with the worry over whether the gantry stays square.
In his latest manual he has a double ended Nema 23 for the Y axis as well.
(if the tube is in the back, alongside it becomes the X axis…)
I was thinking of moving the tube as well but I wasn’t sure if it was worth the extra effort.
What was the reason why you changed the positon of the tube?
He swopped his X and Y axes when he built his first model, and without going back to watch the videos I can’t recall his reasoning. My version is smaller, and I didn’t want to make an extension box, so I just placed the tube where it fitted best which is the longer X axis. It meant having a third mirror, which is a very small extra cost, and another small step when initially setting the laser up, but no other disadvantages have come to light since I started using it.
I think I figured out why he put the laser tube in the other way.
To put it ‘normally’ the distance that the carriage needs to travel is very big… and if you put the laser in the back like you and add another mirror, one loses power because of the 3rd mirror I guess.