Hi all. I’m pretty new to laser engraving but I did some research into it before I got my Thunder laser. I know that sometimes it’s just trial and error but I have a 5x7 photo that I’m trying to engrave and I can’t seem to get right. My biggest issue at the moment is that when I don’t get great results, I’m unsure which direction to go to improve the results. Material isn’t cheap so I’d like to test without wasting too much of it.
So far I’ve found that grayscale tends to output details better but is usually very dark and burns too much wood away; dither, stucki, jarvis, etc. come out lighter but with less detail.
I’ve read that most people use Baltic Birch wood for engraving and some say that other types of wood like Maple, Alder, basswood, etc. are better. I don’t have enough experience with them all to know if it’s the wood or if it’s the photo or the Lightburn settings that I need to adjust. Any suggestions are appreciated. I can provide more info if needed.
When you select grayscale on the layer, Lightburn has a note that it’s for 3d type of engraving for co2 users. It’s also probably one of the most tough to master and the data generated is enormous…
I like stucki for a dither, but there are also others to pick from.
This guy does good videos, SarbarMultimedia and explains the heart of what’s happening. I’d suggest his series, but you can start with this one…
If you run a test with your best guess at settings and you’re looking or hoping for a slightly different outcome; please post the pic of the finished attempt and some of the assumptions you’re rolling with.
Someone may have already chased after it and if we can get enough words around it, we might get a solution for you and for a few other folks that are heading in the same direction.
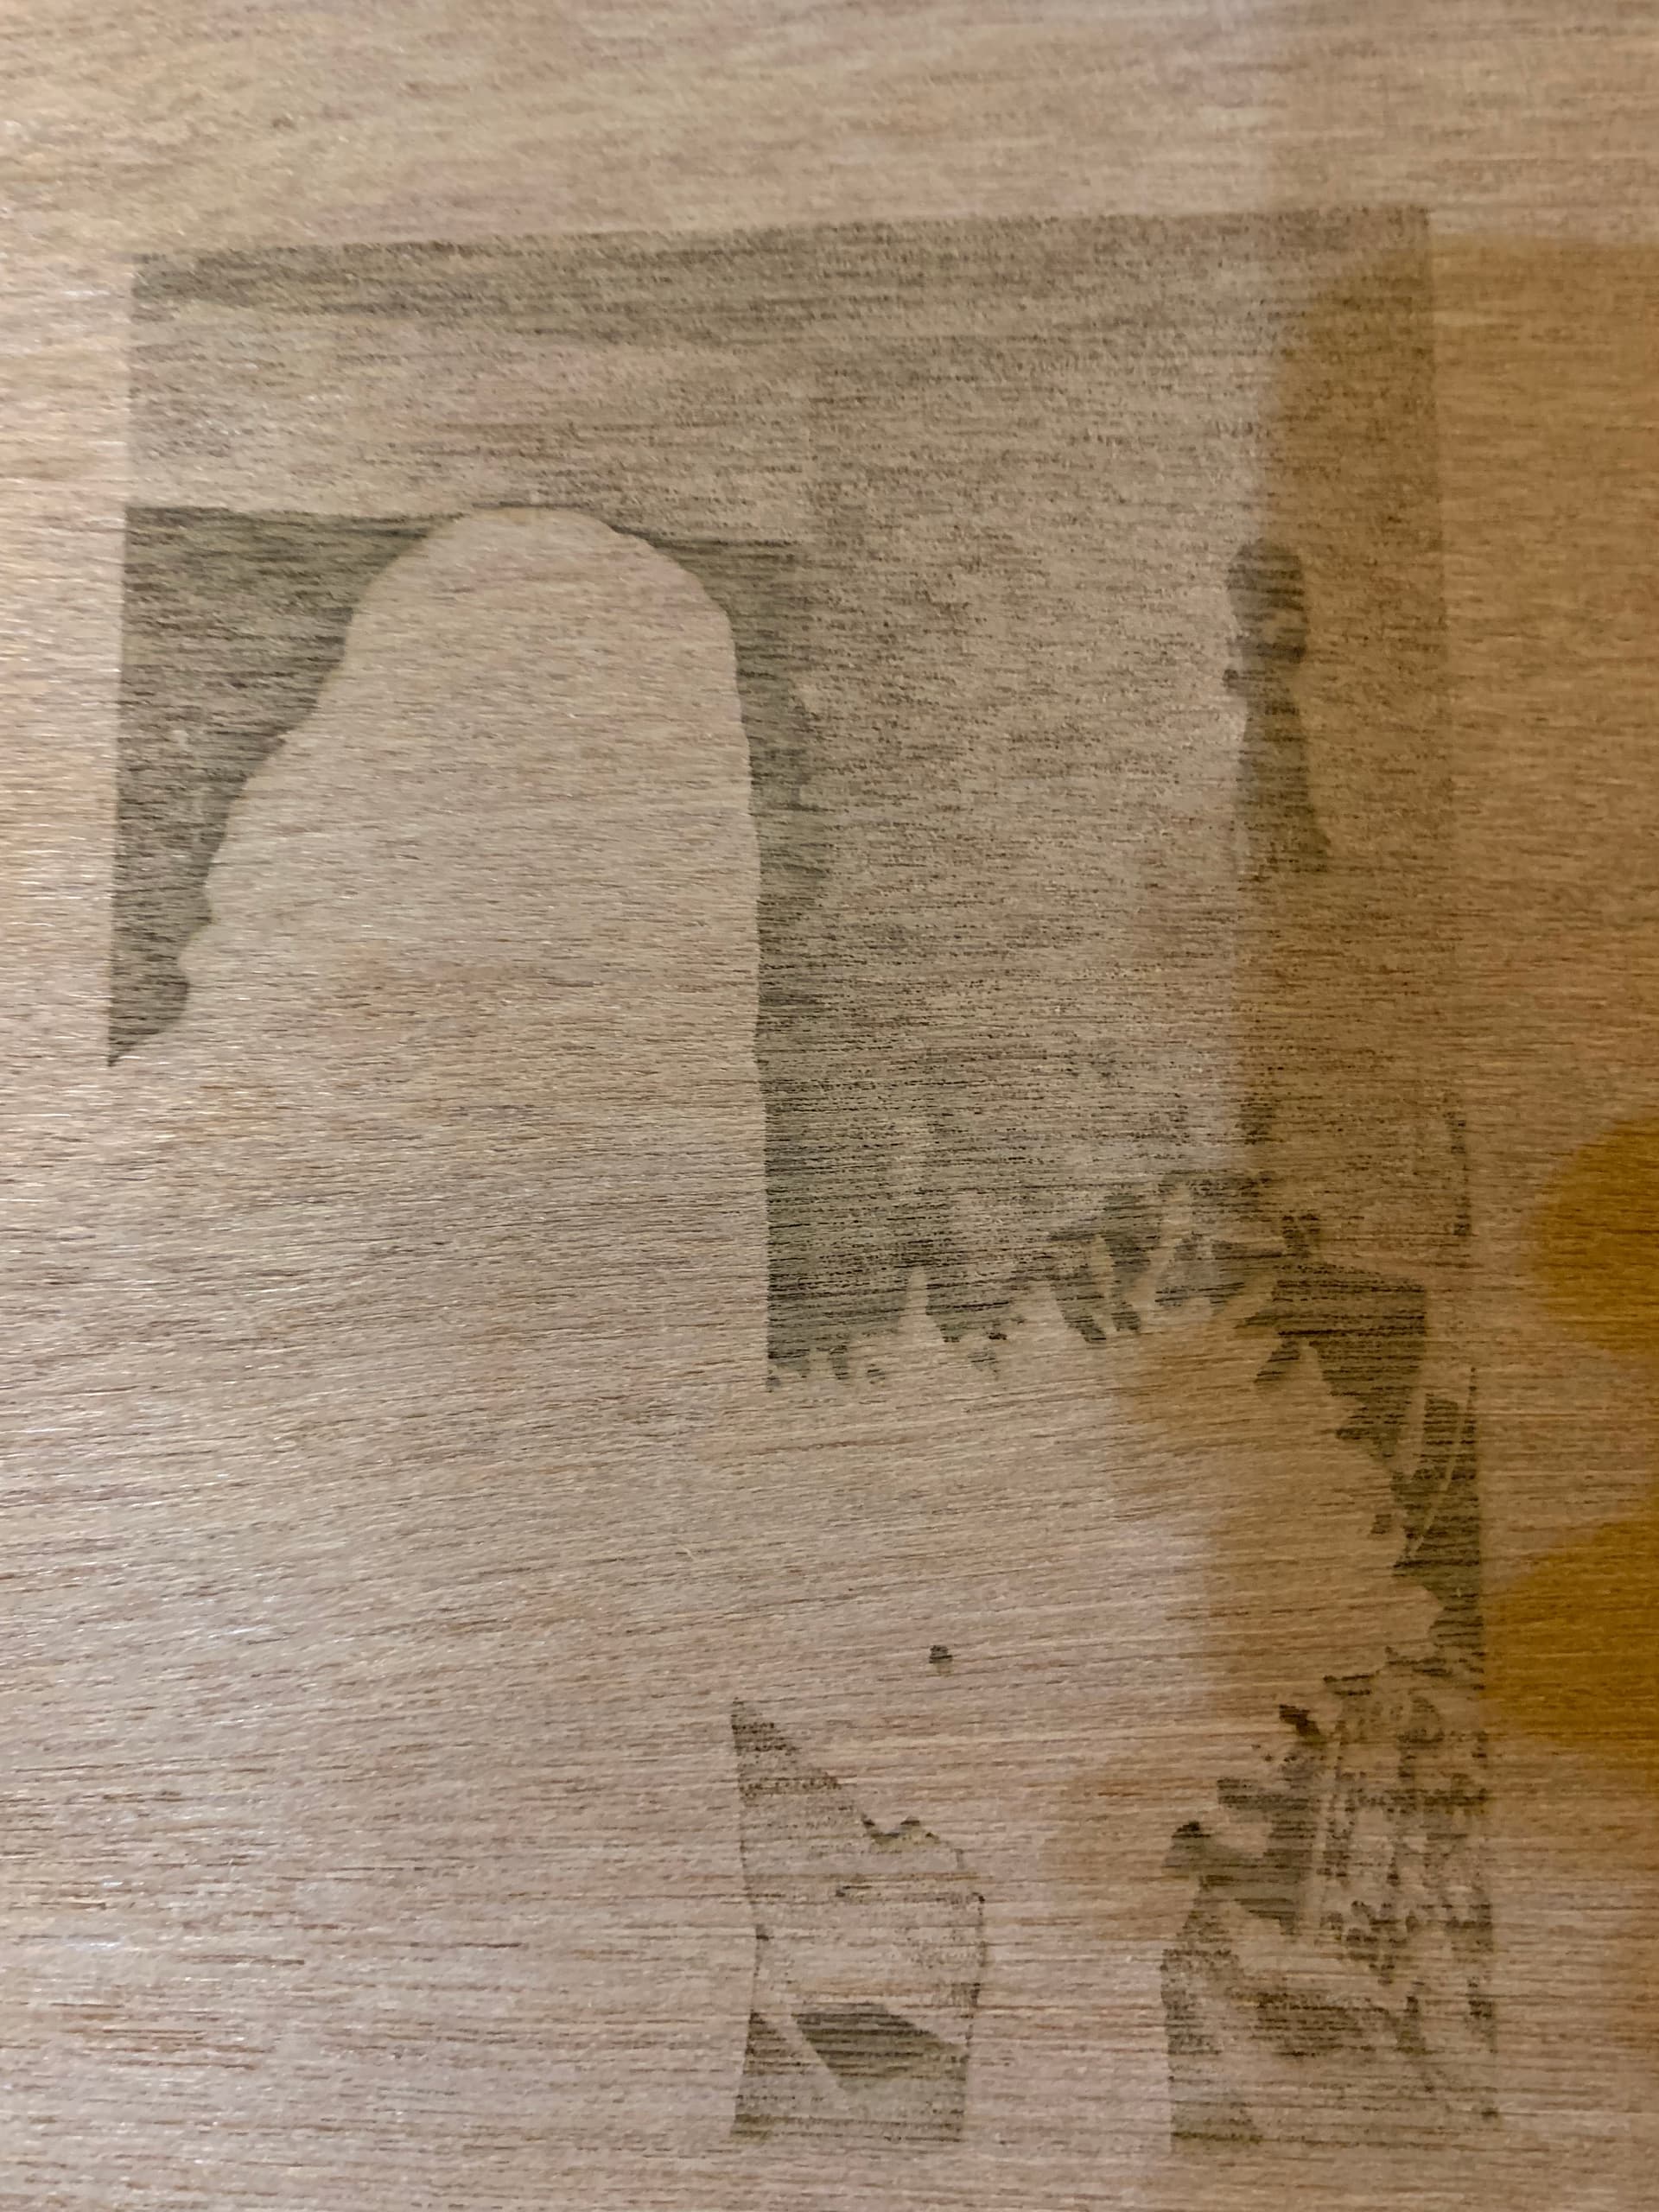
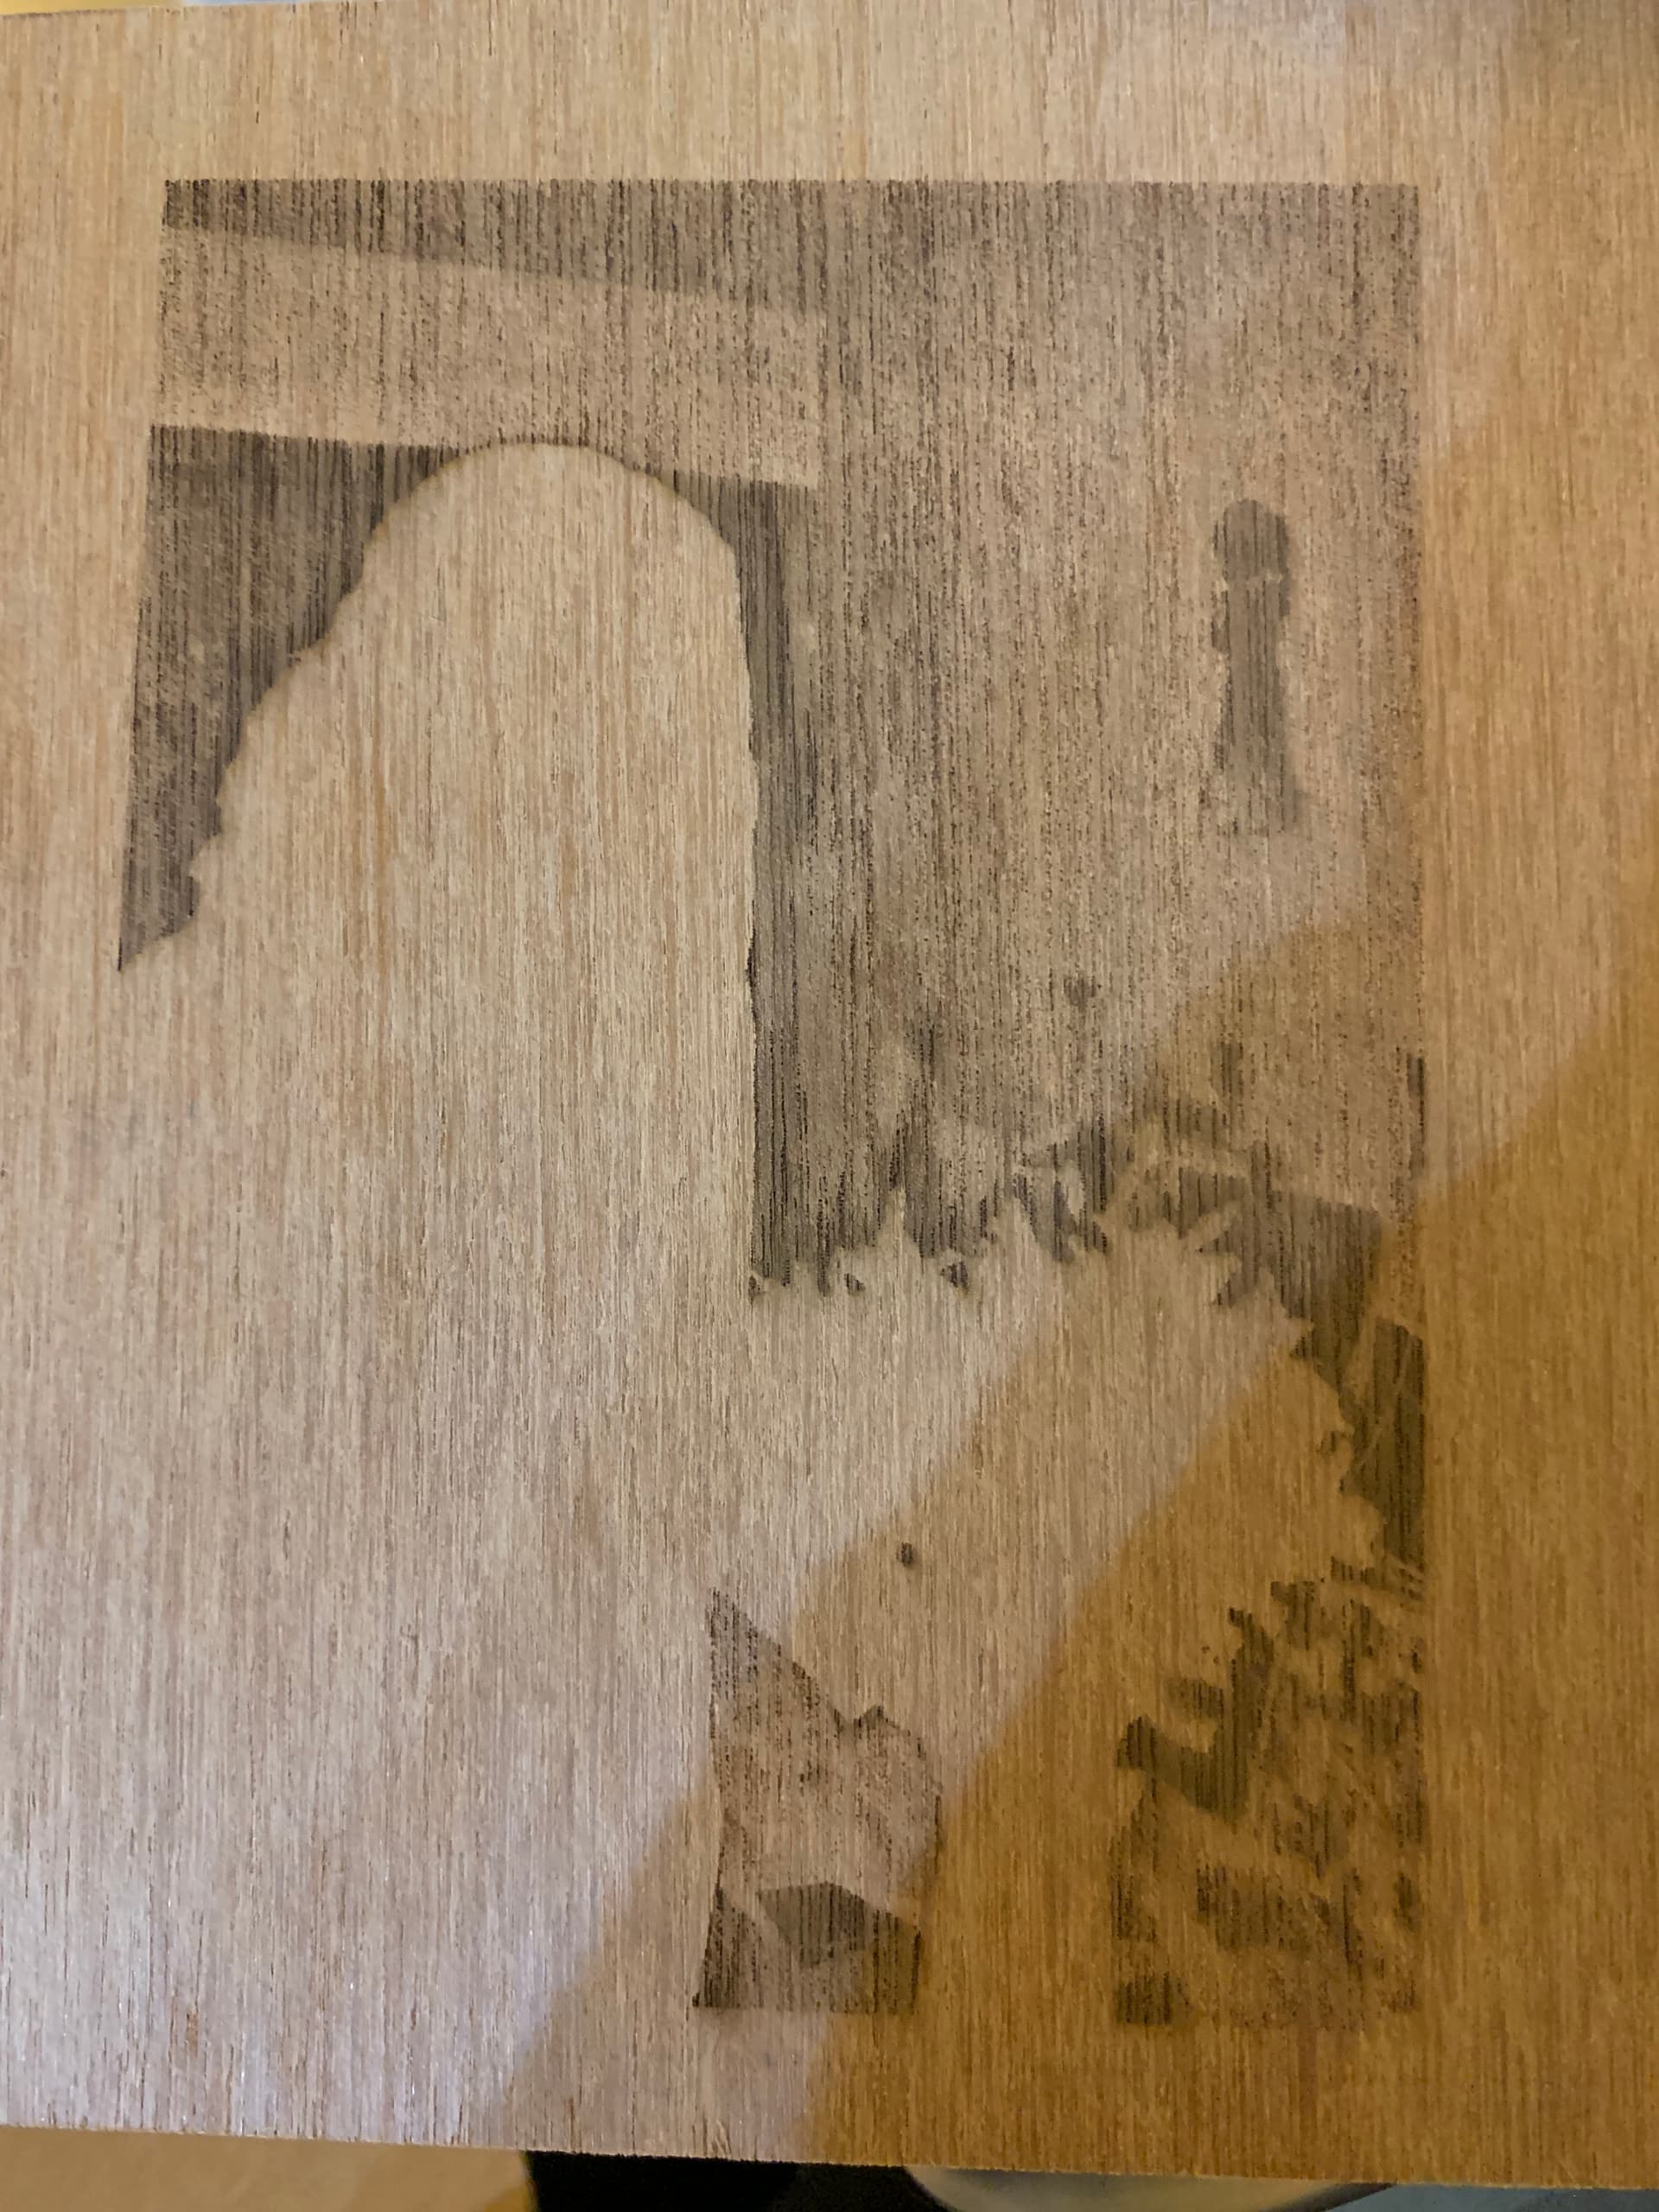
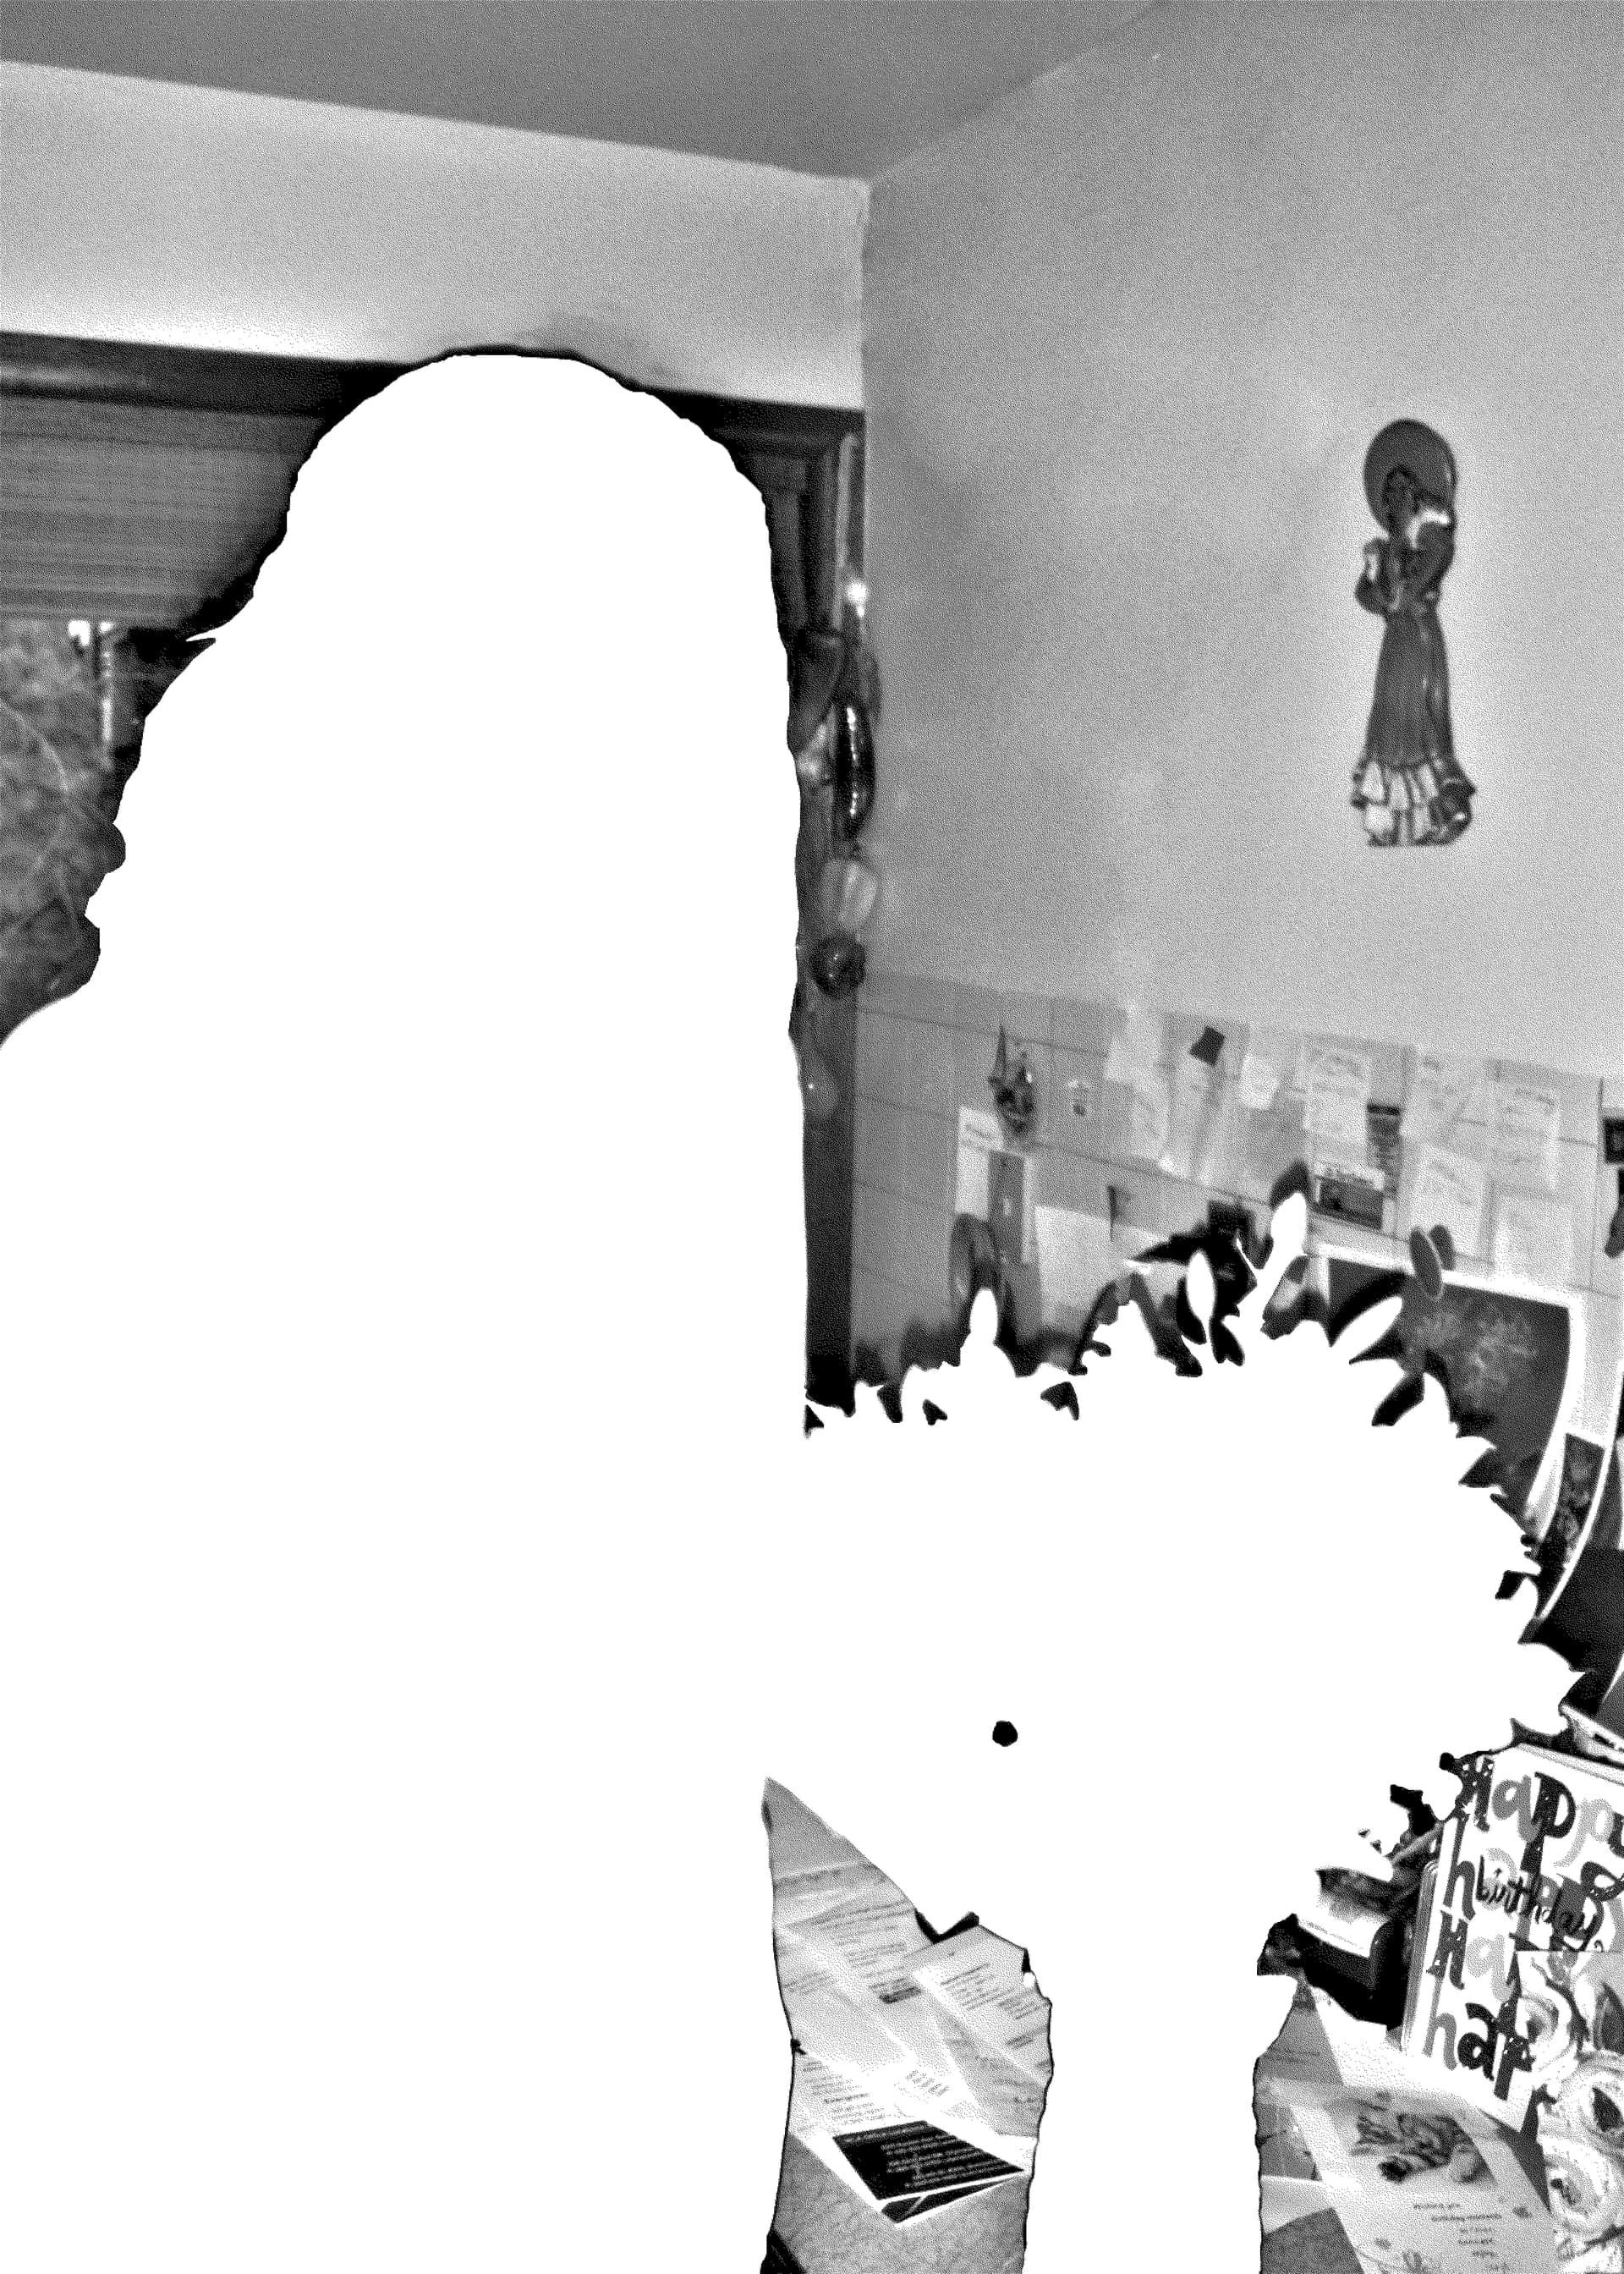
Attached are the photos of my most recent tests as well as the original grayscale image and the image turned into bitmap format. It’s better than before but some detail is still lost. Granted, this isn’t the best example of plywood that I have but I imagine that the details won’t be that much better on better pieces of plywood.
After watching the video he did on joining dots (among some others), I decided to use a similar setting as the one he used for the woman photo on cardstock.
I adjusted the image in Lightburn before sending to my laser to have a power scale of 80, gamma of 0.725, contrast of 10, brightness of 4, Enhance radius of 8, and enhance amount of 170.
My speed is 50 mm/s, Max power 11, Min power 10, High air off, 300 dpi, Dot Width 0.10, Jarvis, and 1 pass.
Hopefully that info helps you to point me in a good direction.
Yeah, this is my original grayscale picture. Is there a way to attach the photo file to this post separately? The last reply I did embedded the photo into it.
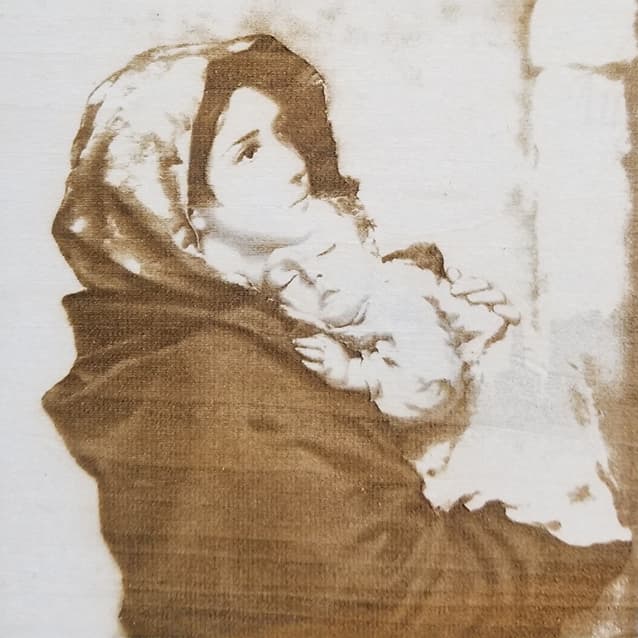
Hi, I am still learning and developing my settings for different materials and coatings on substrates for text, vectors graphics and images but I have had moderate success engraving grayscale images on basswood and white ceramic tile using titanium dioxide. I am using a 5.5-watt diode laser; my image is a 300 dpi grayscale, Speed 25.4mm/sec, 55% Max Power, 0% Min Power with Bidirectional Scanning On, 2.5% Overscanning, 11-degree Scan Angle and .003 Dot Width Correction. Adjust Image settings of: Contrast 9, Brightness 5, Gamma .975. I try to soften up harsh black tones to a mid to slightly dark gray. If I go below 23.5mm/sec or above 60% power, it gets really dark. If the engraving is dark, try lowering your power a little and or raising your speed. If the engraving is light, then try raising your power or lowering your speed a little. Here is an example of a grayscale engraving of a painting on basswood. I did the same on white tile with TiO2 and it came out almost the same as the one on wood.
The best coating for wood is baking soda dissolved in water. Spray on and let dry. I then leave wood under some books to flatten it. Google the process, there is loads of people using this method and the results are far better than just uncoated wood.
Thanks for the tips! It turns out that, for some reason, the Scanning Offset Adjustment settings that I put in when I first got my machine had disappeared. After I re-entered them and did a little manual focusing of the lens, the details and “darkness” improved a lot. I will definitely try the baking soda/water (I’ve also seen some mention of botox and water) method on some other pieces as well.
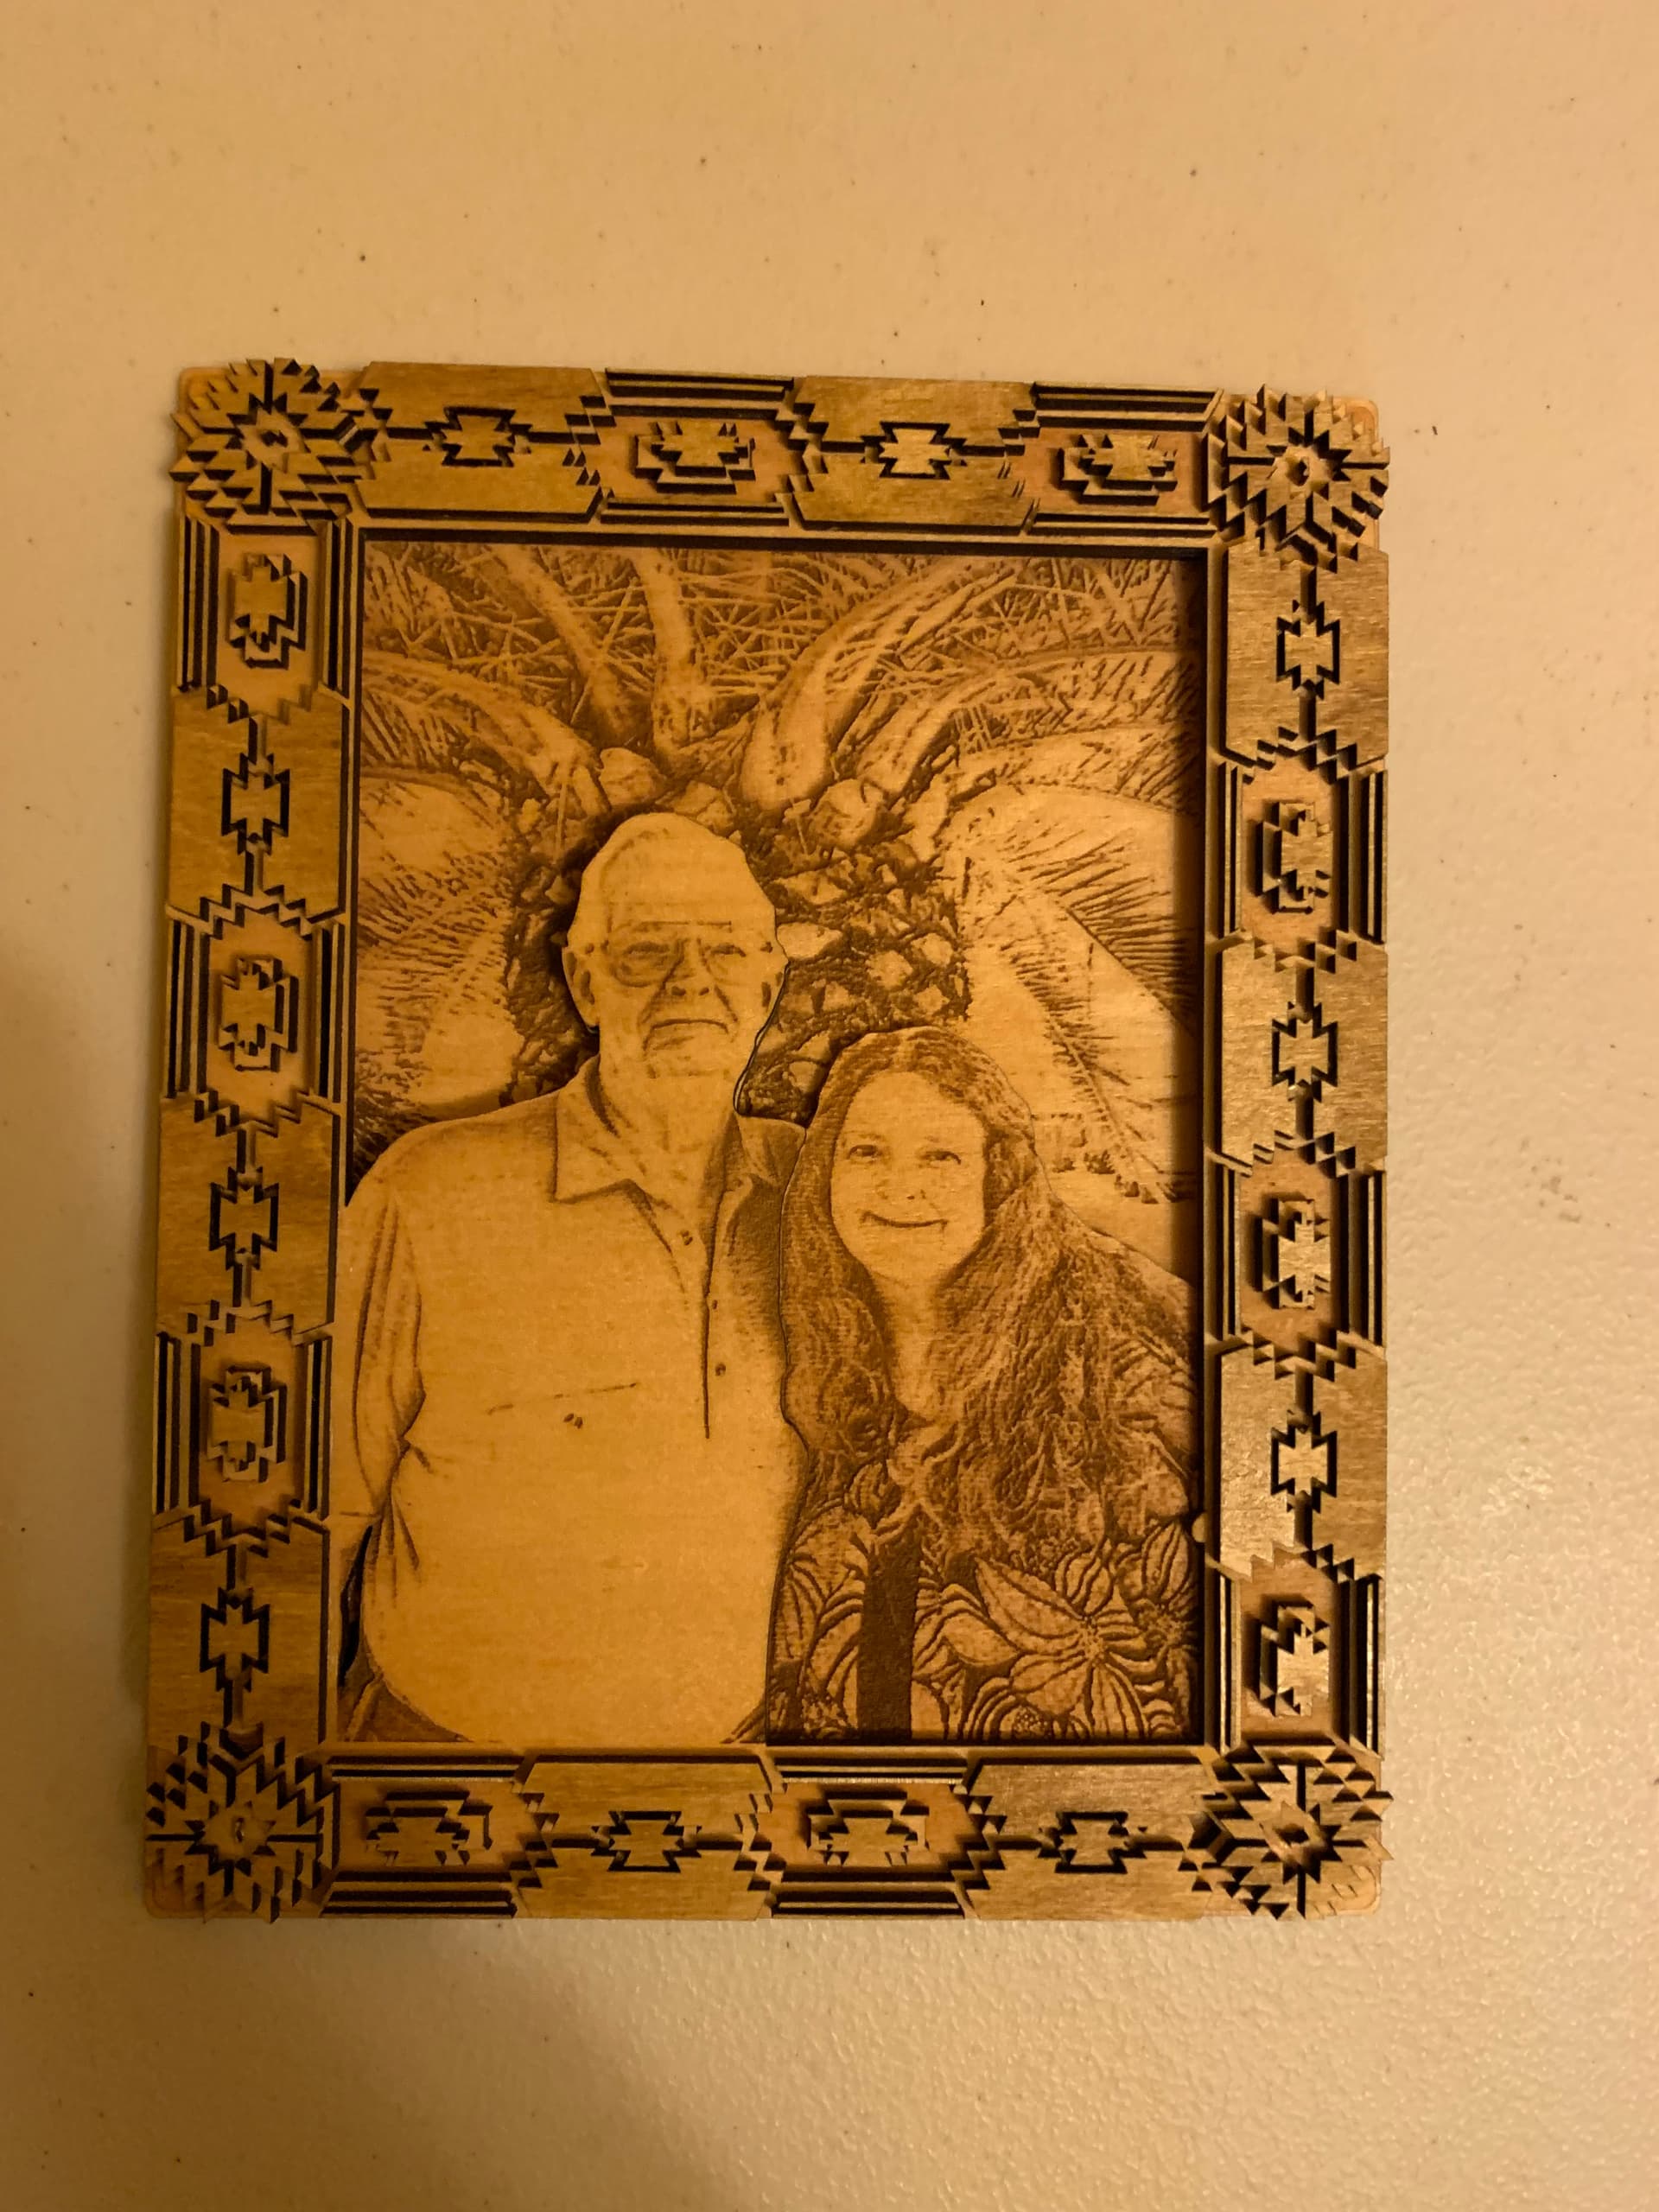
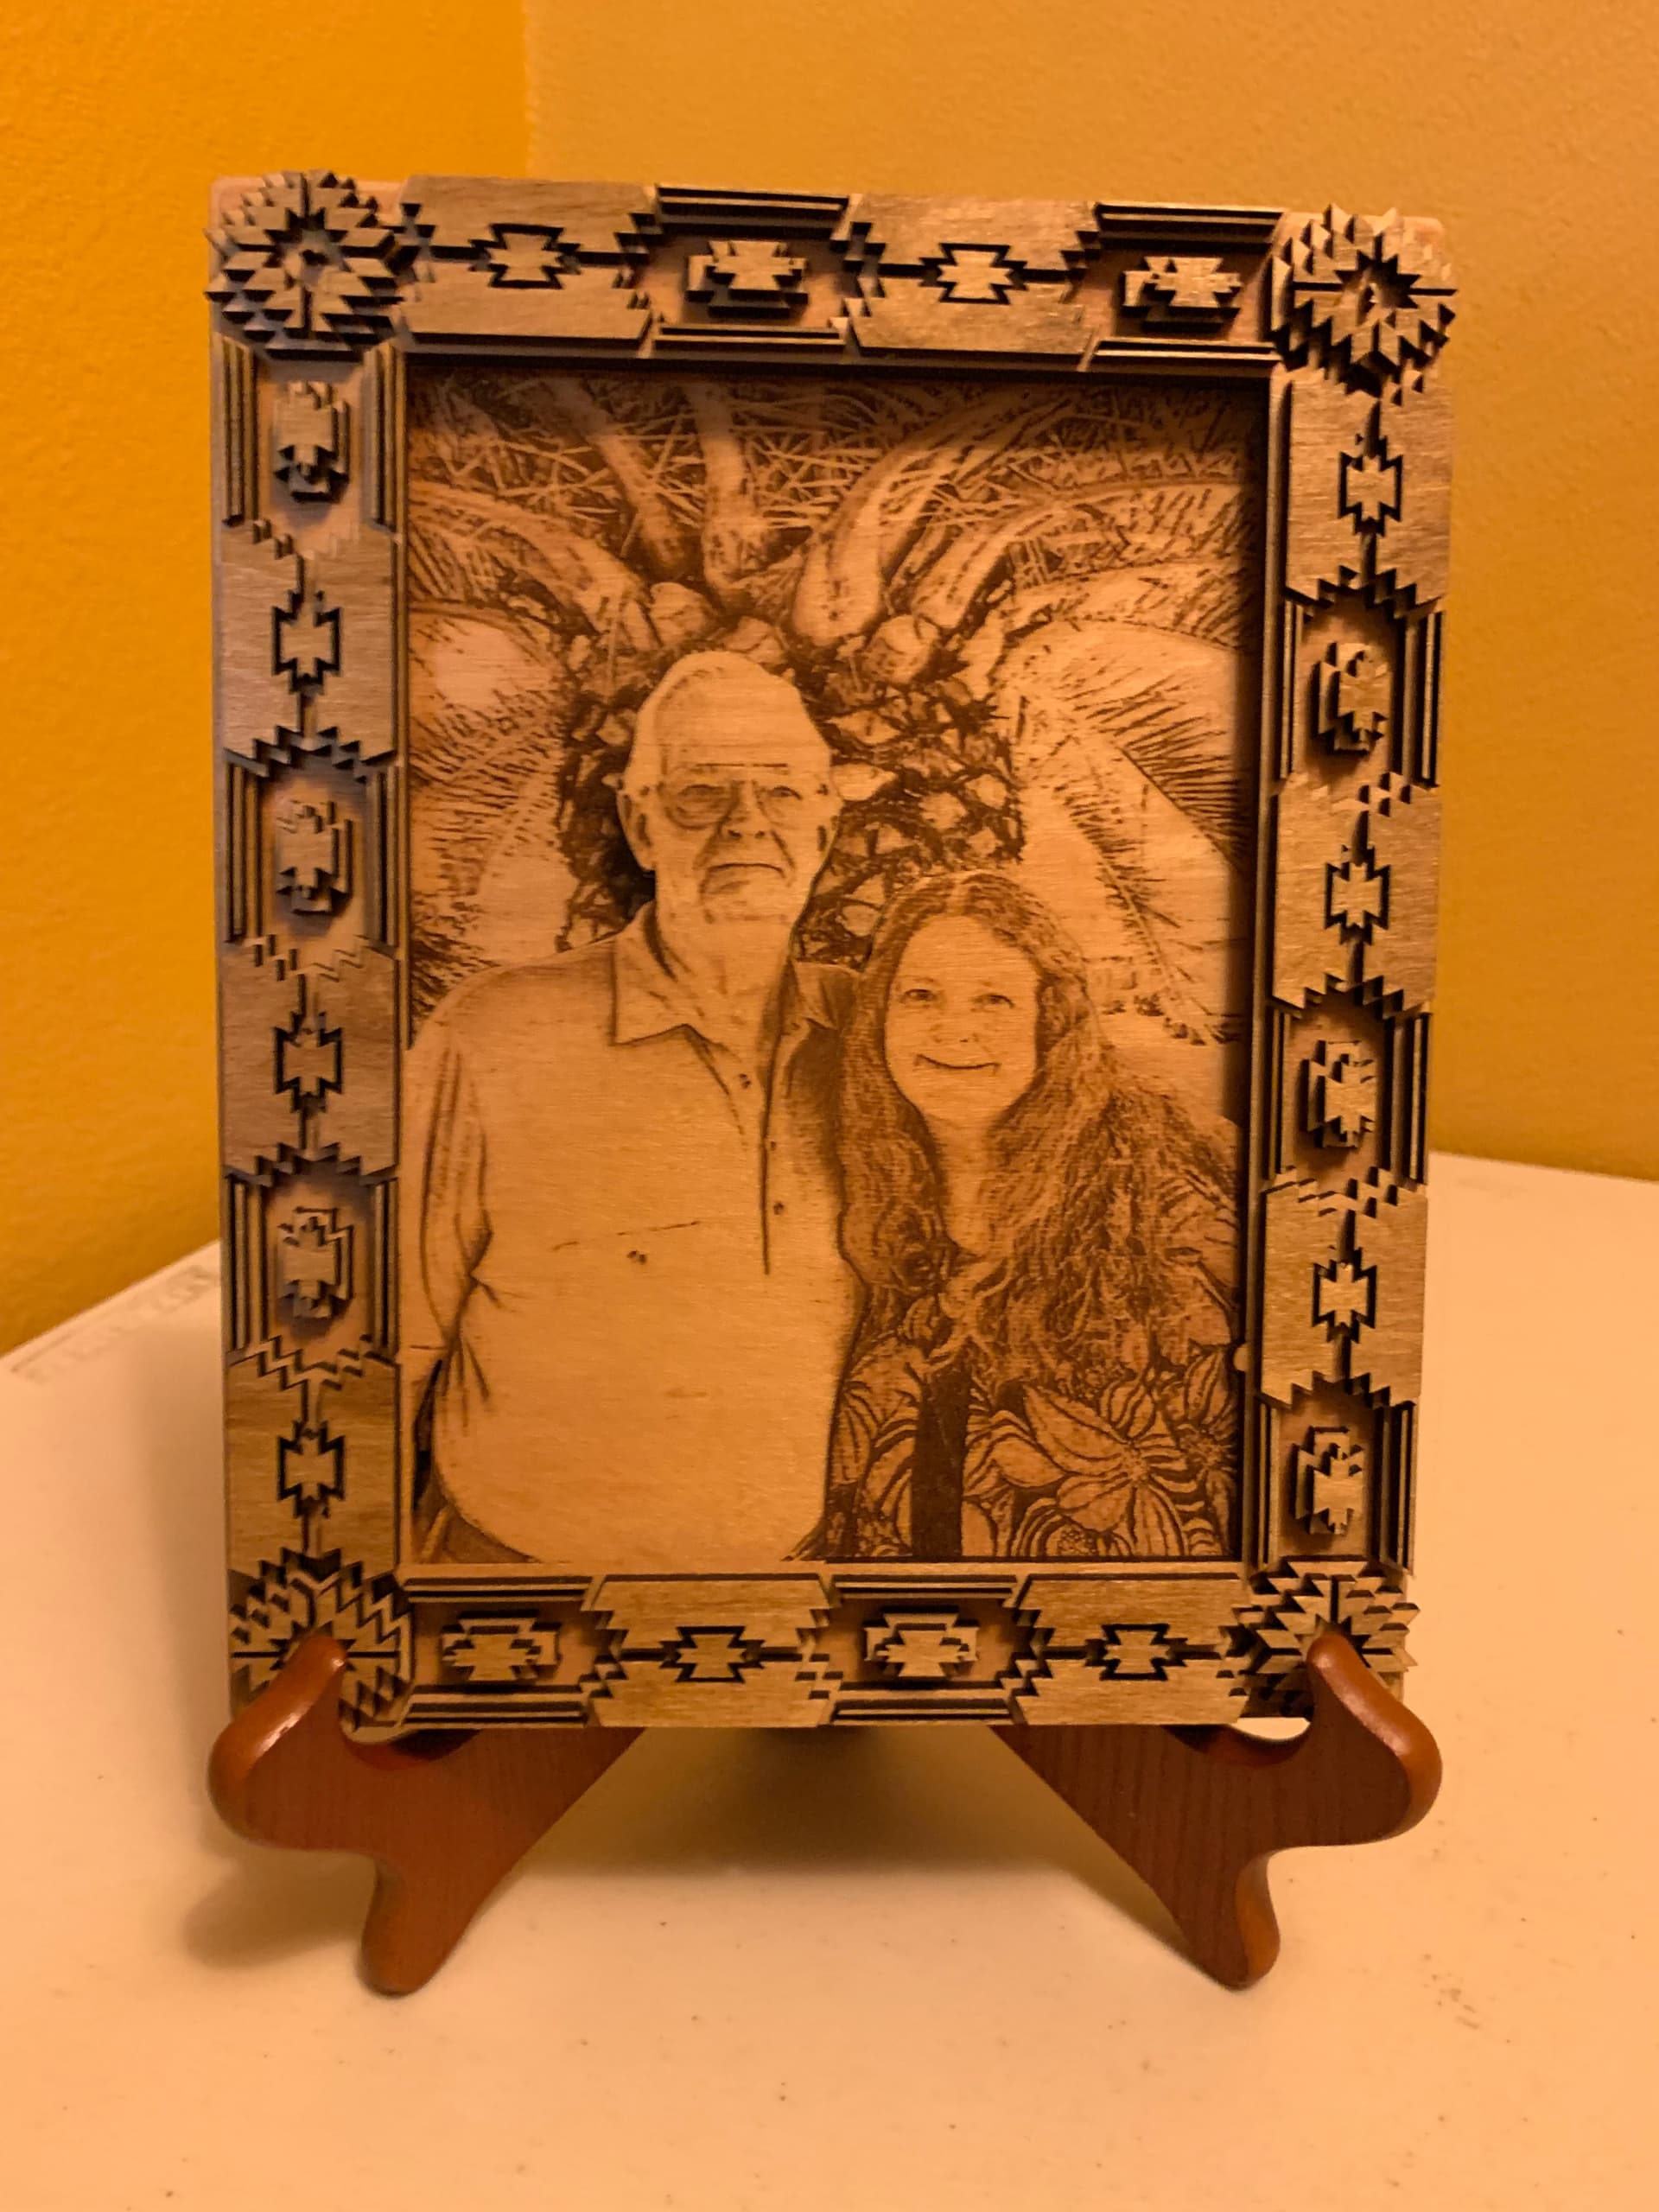
Hi again, I got pretty good results with this piece but I noticed that after applying stains/finish, some of the detail in the faces seemed to get washed out. I used oil-based pre-stain, 2 coats of stain, and 1 coat of polyurethane on each layer.
Aside from the borax or baking soda methods to make the engravings darker (which I still haven’t tried yet), any ideas on why the stains and/or finish might have done that to the photo?
I suspect the finish may be doing at least one of two things.
First, what remains after engraving is the engraved (removed) wood and some charred wood on top. I’d expect the charred wood to be washed away, or at least smudged by an oil finish. You might try something like a light coat of spray lacquer or shellac to see if that ‘fixes’ the charred parts in place.
There is also a chance the oil finish is reacting with what remains of your engraving. A different finish, like a water-based acrylic (like Crystalac) could behave differently.
Of course, oil-based finishes will always darken the wood and this could also lead to a peceived loss of light/dark contrast.
Yeah, I did clean off the “burn” marks outside of the engraved areas with some white vinegar (some of the details of the frame were too hard to sand) before I applied the oil-based coats.
I guess that makes sense that darkening the wood with the oil finishes makes some of the more subtle light details appear as if they disappeared.
I’m trying out the baking soda method tonight to see if I can get more crisp/darker details. I may try a water-based stain in the near future as well.