Video at the end.
From left to right in under 3 minutes.
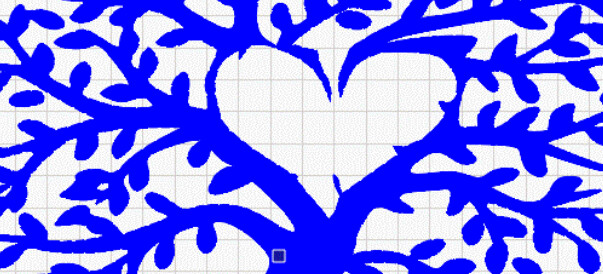

-
Select all the tree shapes
-
Break Apart
-
Delete Duplicates
-
Auto-Join Selected shapes
. -
Set the tree Cut/Layer to Line
-
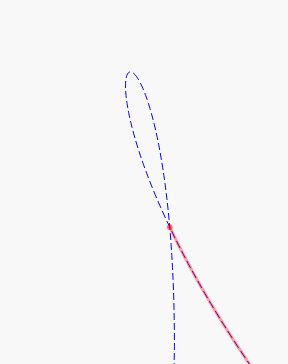
With the Trim-Shapes tool check if your shape is a continuous line and remove “problematic” zones
..
.
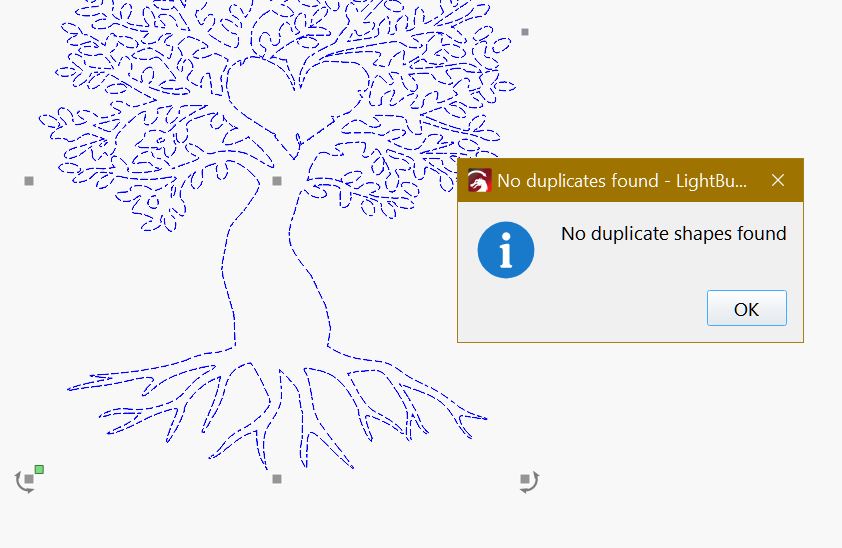
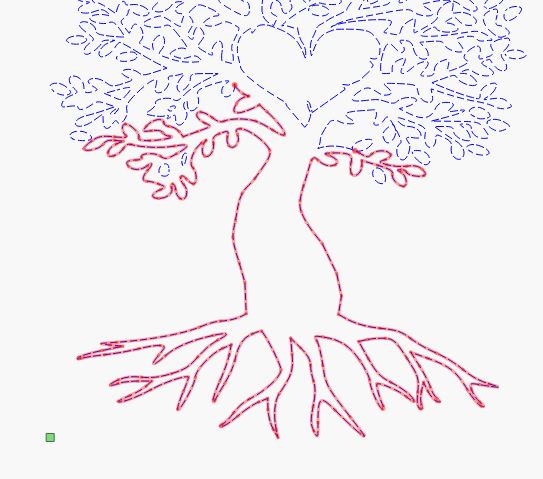
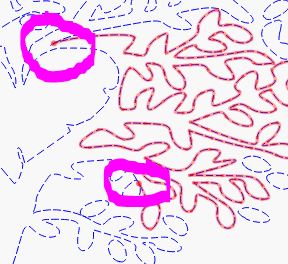
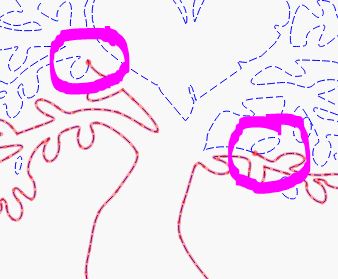
.
..
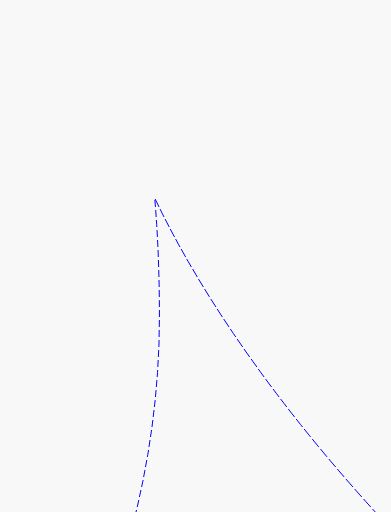
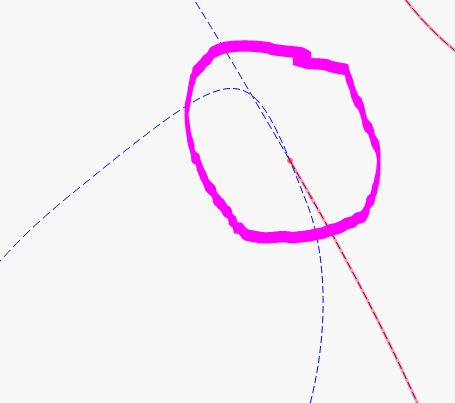
-
TIP: At the end check with the Trim-Shapes tool if the tree shape is a continuous line
. -
Group all the tree shapes and set Layer to Fill.
-
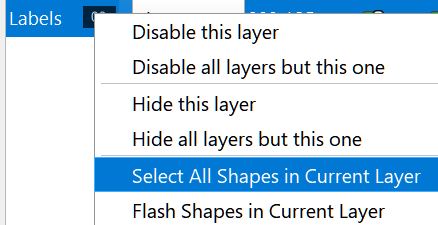
Super Pro TIP: To make it easier to select the shapes later set the frame shape C00 to Fill and move the layer to the end of the Cut/Layers list. (yes! Cut shapes can be Filled Shapes)
-
Duplicate the Frame Shape each time you place and distribute on the tree
. -
Select all the Frame Shapes duplicate them set to C11 and set fill to check if you didn´t missed one. Then hide C11.


.

12. Do select tree Ctrl + Click first frame shape then Cut-Shapes tool to each one.
-
Unhide and select all C11 shapes, Ctrl + Click the tree and group.
. -
Select C11 to line.
-
Finished.
. -
VIDEO: Remove .txt at the end
-
Cut-Shapes_forum_.mp4.txt (5.0 MB)

Thanks Lightburn Team.