SVG Files from VectorWitch not coming in clean

Looking for some help on this one…

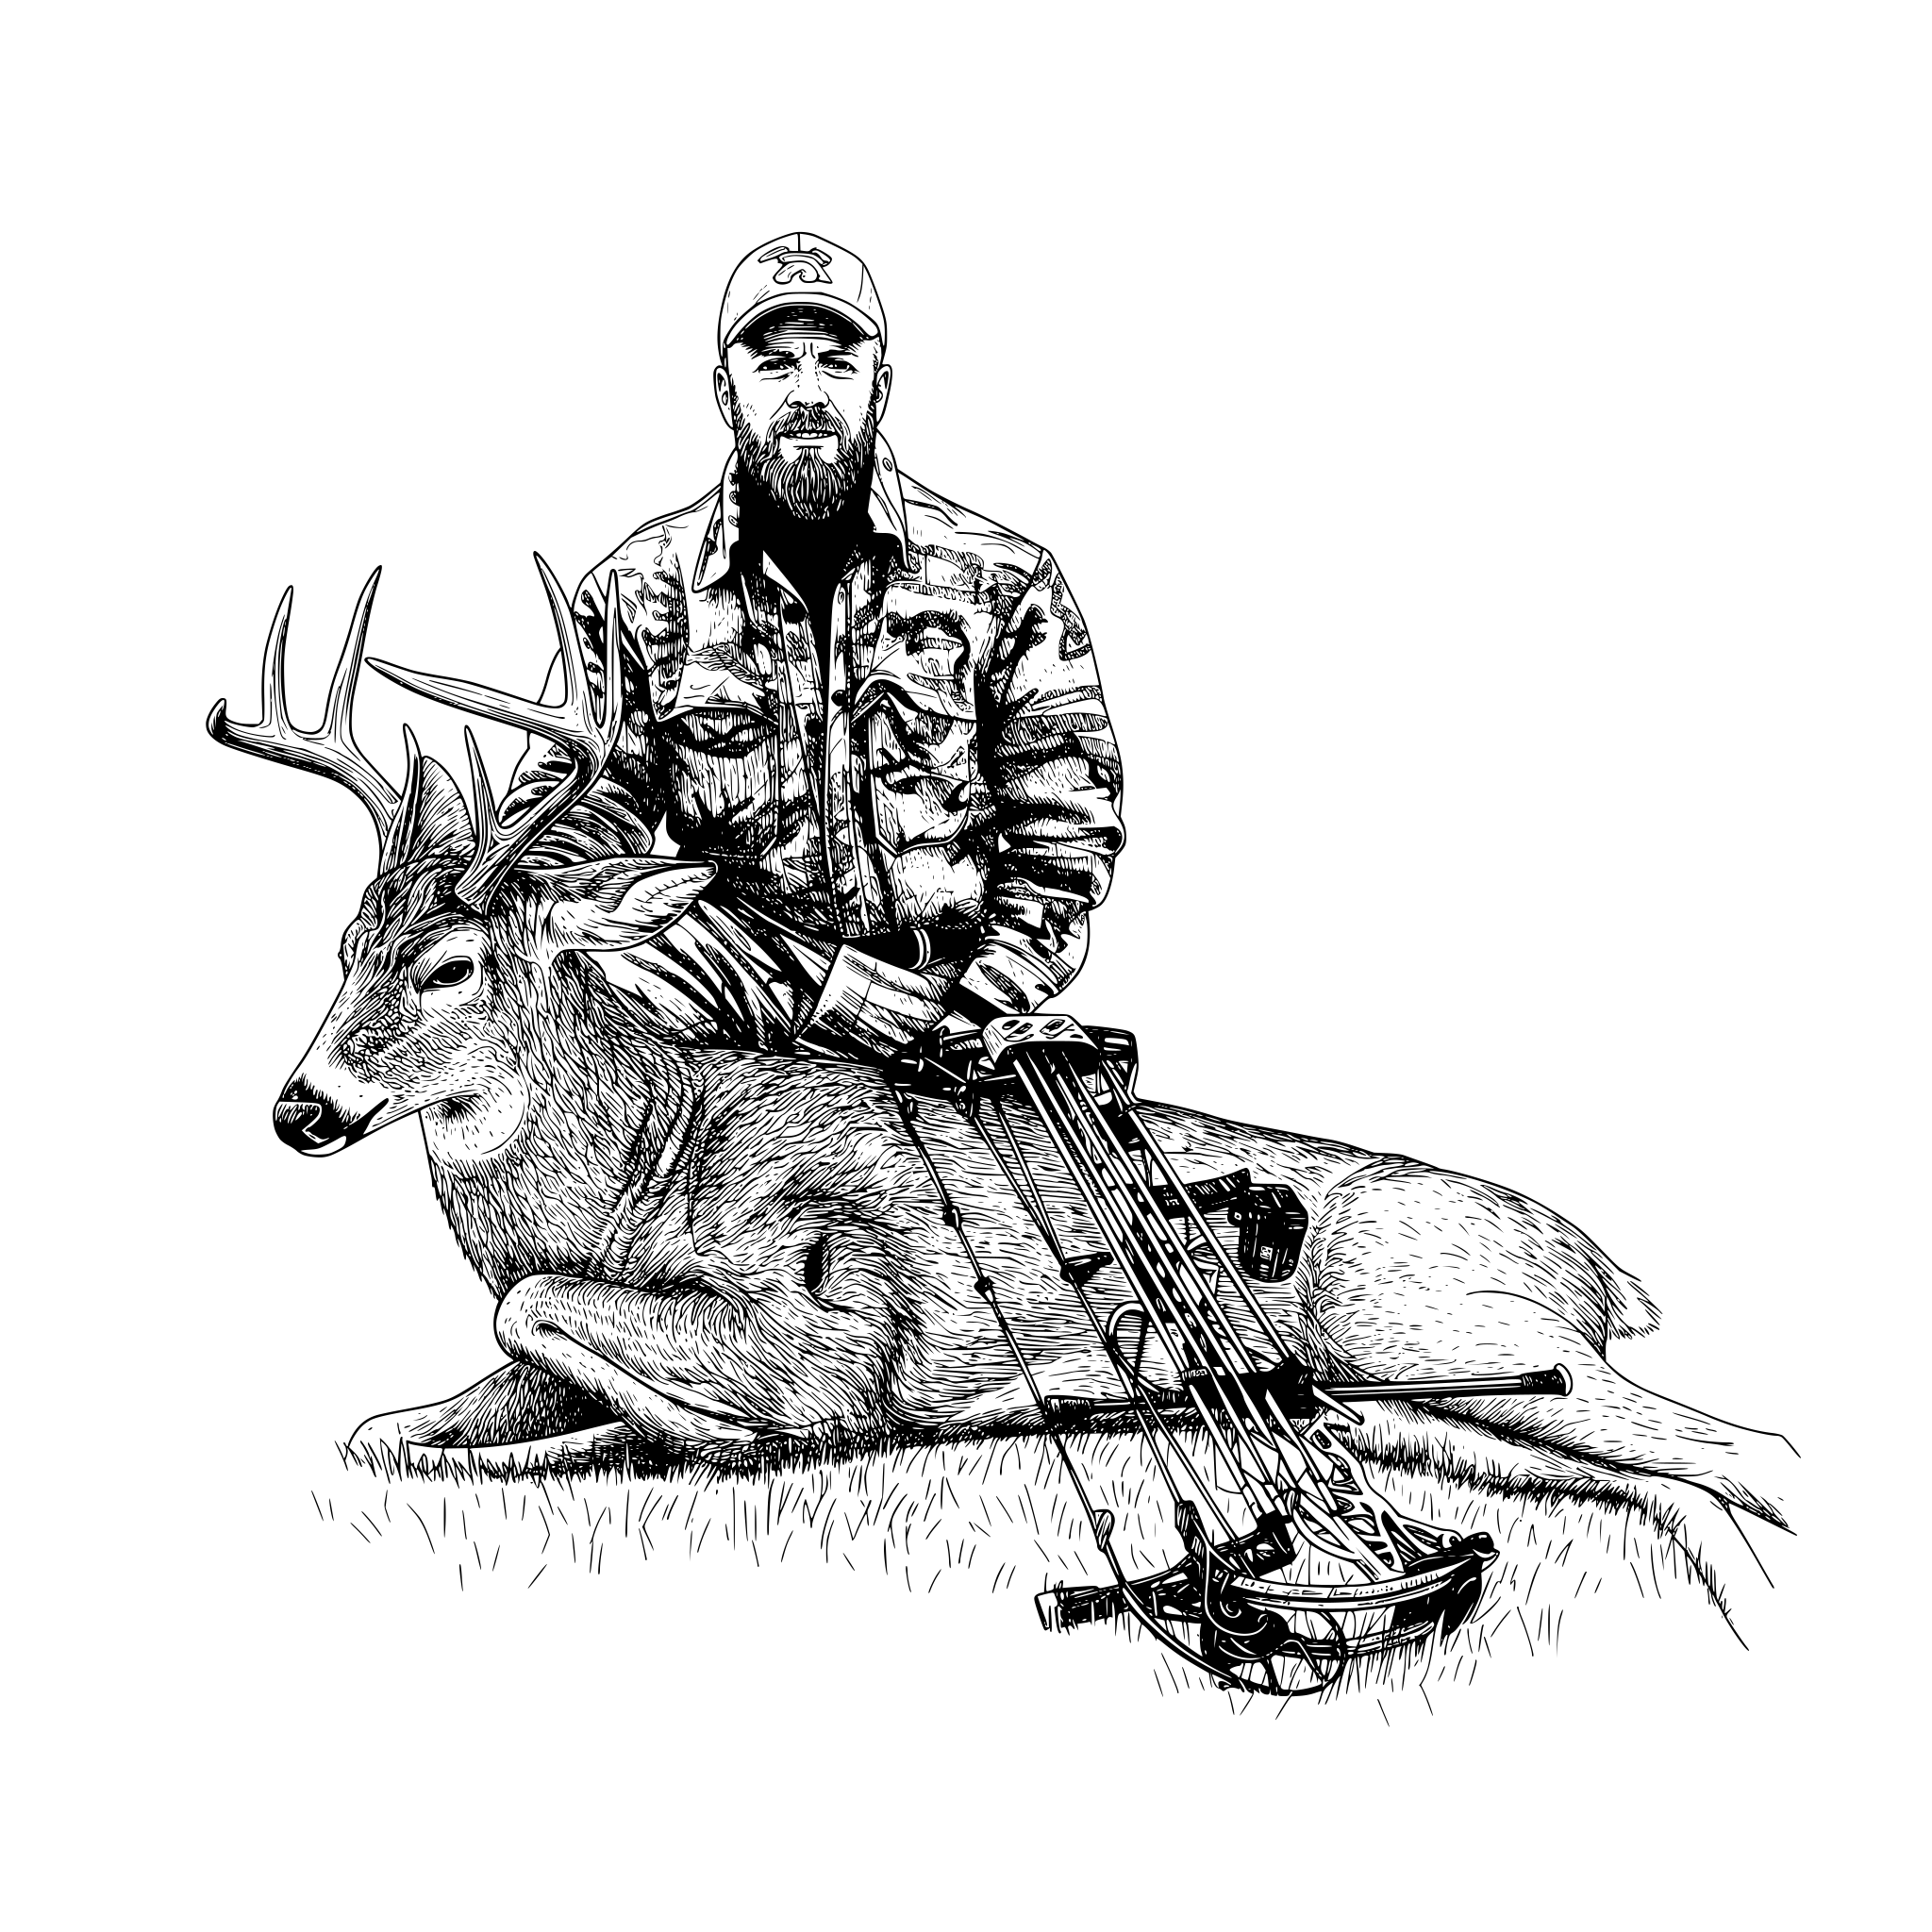
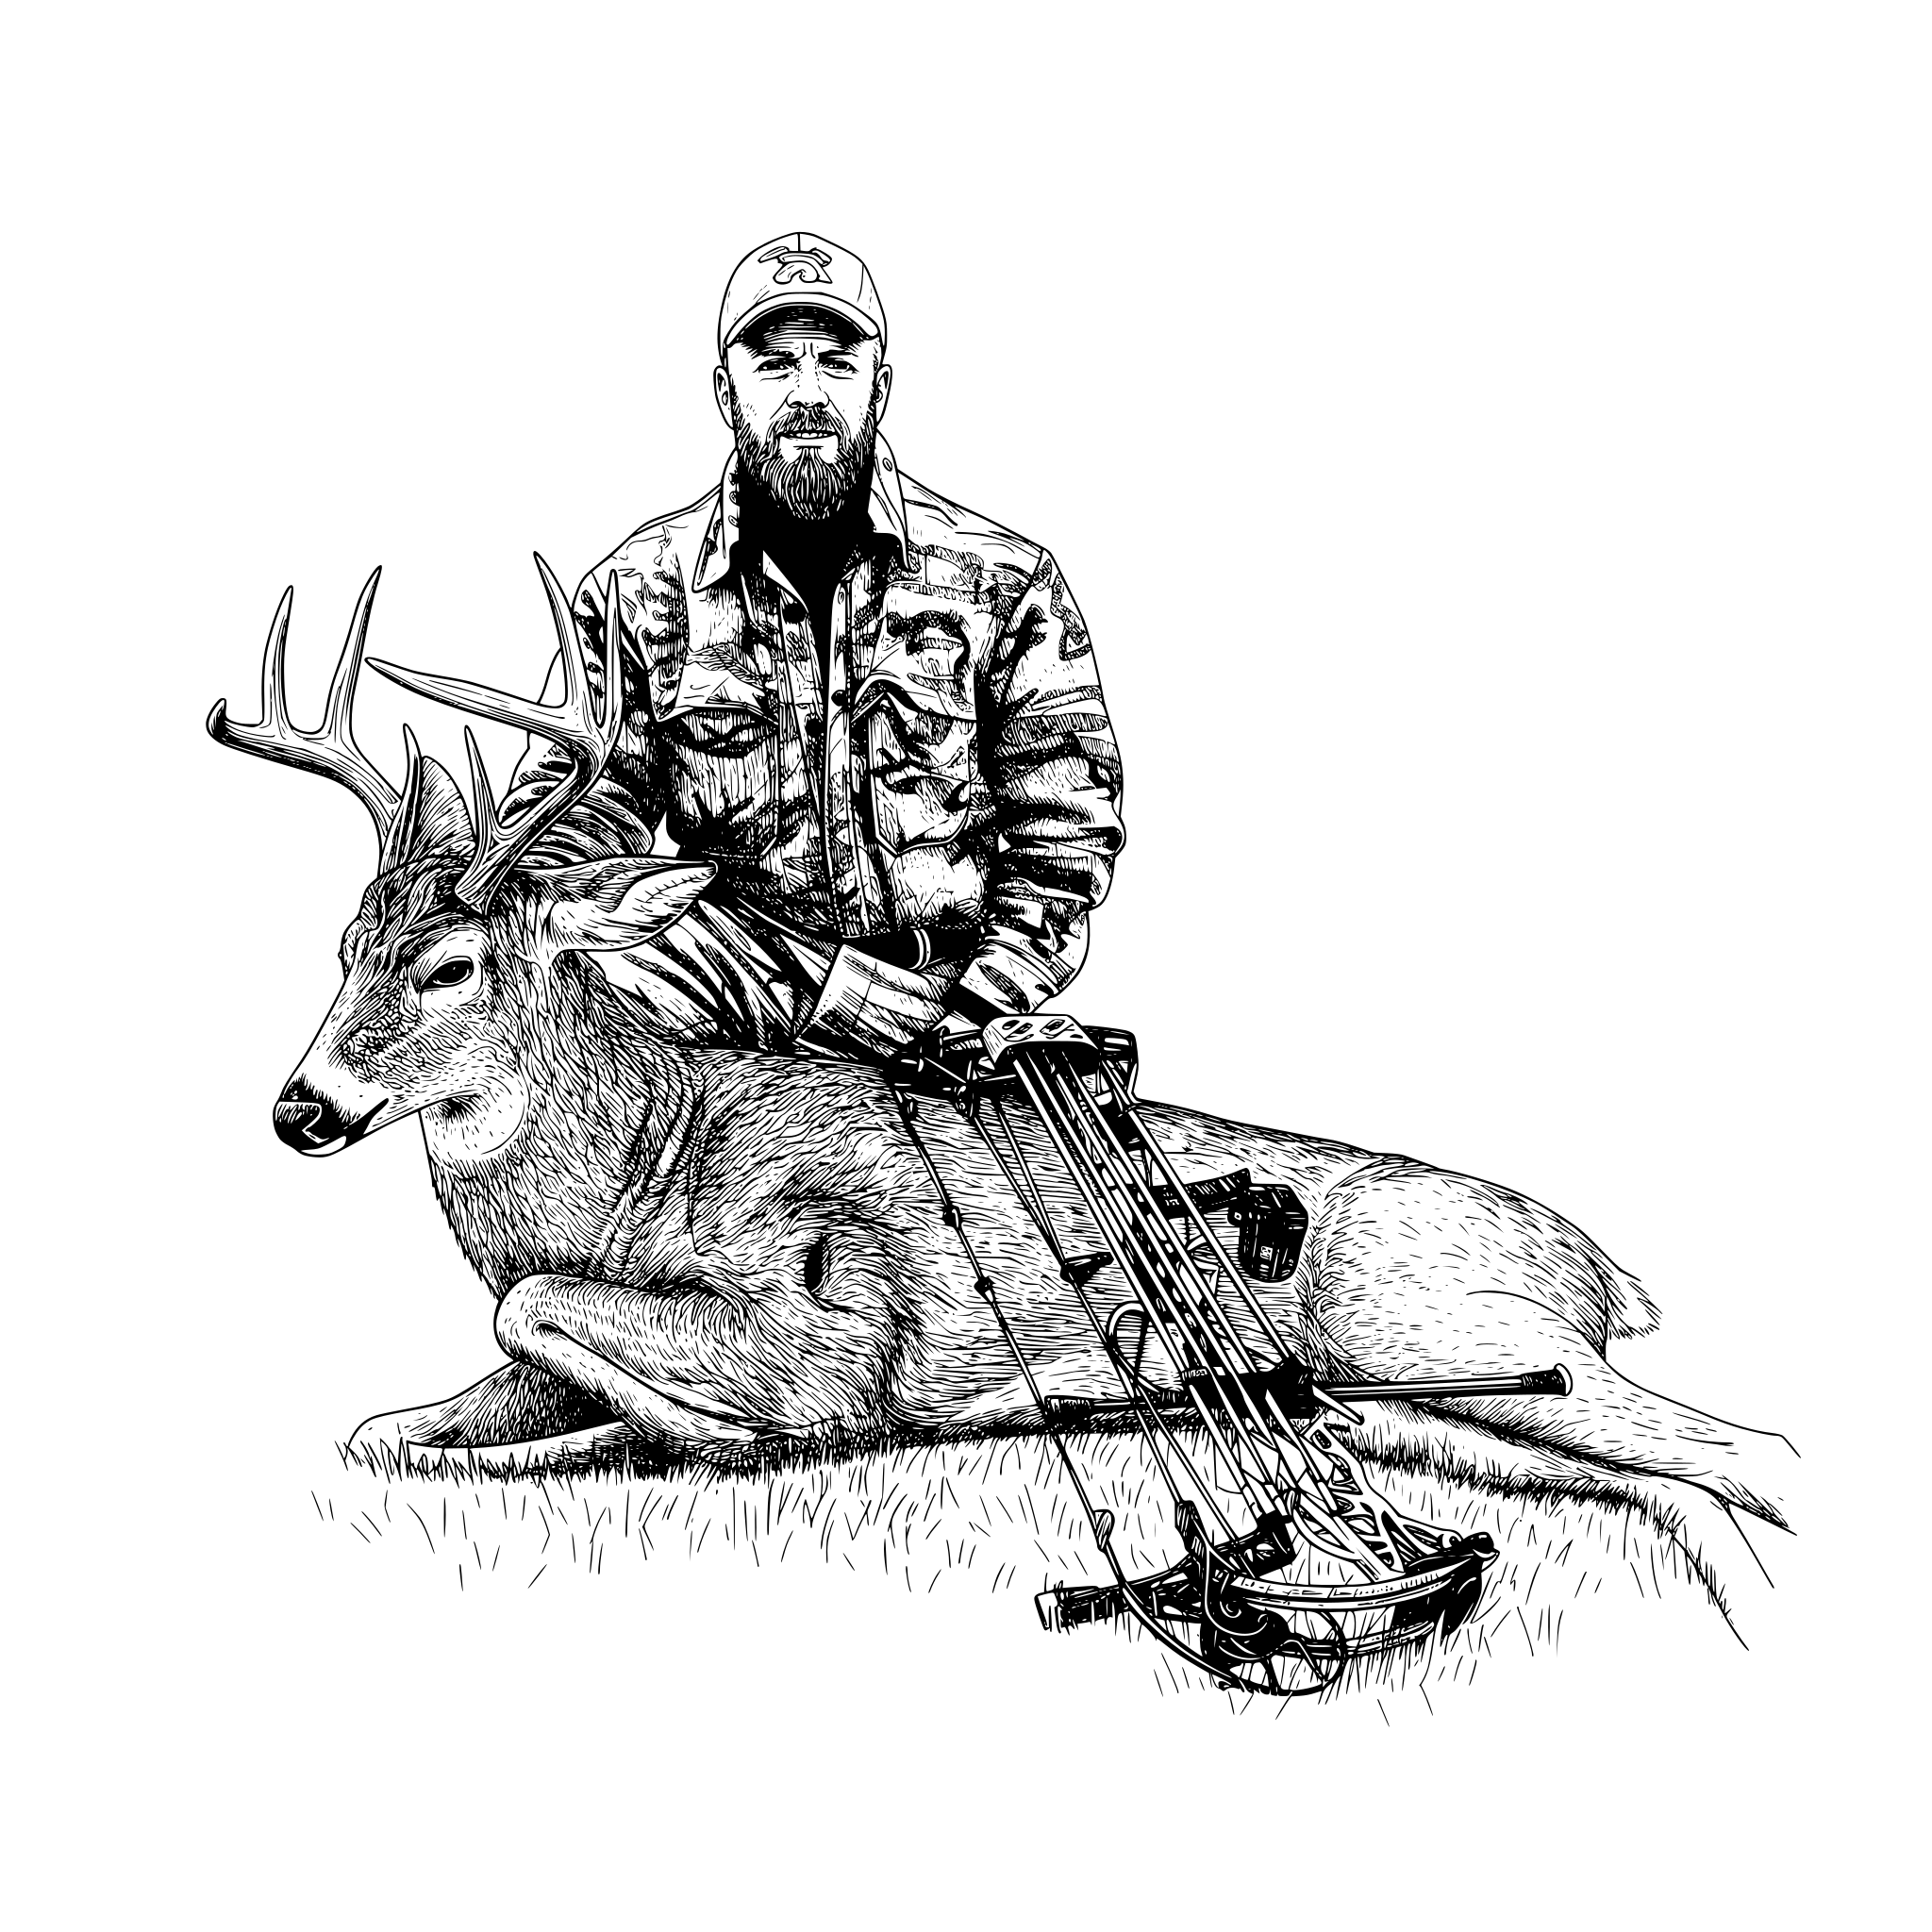
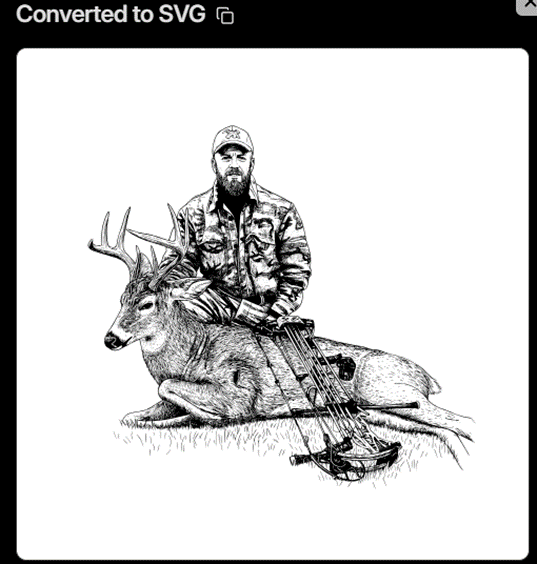
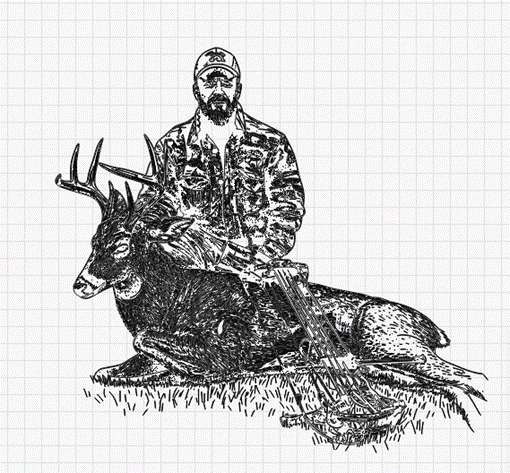
I used VectorWitch to convert some photographs to an SVG file. When I convert in VectorWitch it turns out great and looks very close to the photo in regards to detail. When I save it and bring it into LightBurn it comes in as if already traced…something that is not able to be burned. Can someone tell me what I may be doing wrong. Below is the SVG before in goes into LightBurn and then once I open it up in Ligthburn…Any help would be appreciated

You need to upload the actual SVG file. If it will not let you, add .txt to the filename.

Mike, Thanks for the quick response….the file is an SVG file prior to opening in LightBurn…

I know, but we can do nothing with the first JPG image file you uploaded. At least it shows as that when I try to download it. Sometimes whan I mouse over an image, the filename will include SVG.

If we have the SVG, we can mess with it to see if we can get the results you are after.

Mike, Will this image work

It looks as though it’s already done the tracing, although the resulting vectors have shading that a laser cannot reproduce in Line mode.

The doc has a caveat:

Use caution with AI-generated files

If you use AI/LLM tools to generate files, please be aware that the files generated may not conform to standards for the file type you’re importing and you may experience failed imports or unexpected results.
Some troubleshooting tips may be relevant:

First make sure you are using Fill mode:
image

Now when you try to preview the job you will see an “Open shapes skipped” warning. Click on “Show Me”, to select the open paths and use “Close Path” or “Close Paths with Tolerance” to fix:

2026-03-27_23-57-13

The gap is in the outline at the top of the cap:
2026-03-28_00-15-23

Nicholas, That looks really good! I will try that later on this evening and see what happens…Thank you very much!

Steve

1 Like

Nicholas, I went through the steps you share above and it did indeed pick up the gap on the outside. However, the inside of the image is still very distorted and does not look like your image. Is there another step I may be missing.

Thank you in advance

Steve

This topic was automatically closed 30 days after the last reply. New replies are no longer allowed.